With yesterday’s drama behind you, enter Wyndon Stadium. Before you go inside, Hop will cheer you on. If you’re ready, speak to the receptionist at the front of the lobby to sign up for the finals. You’ll be taken to the locker room, where all the challengers–the other Gym Leaders–are waiting. Speak to them if you want; go through the door to start the first battle.
…Except a certain somebody has come to interrupt the finals!
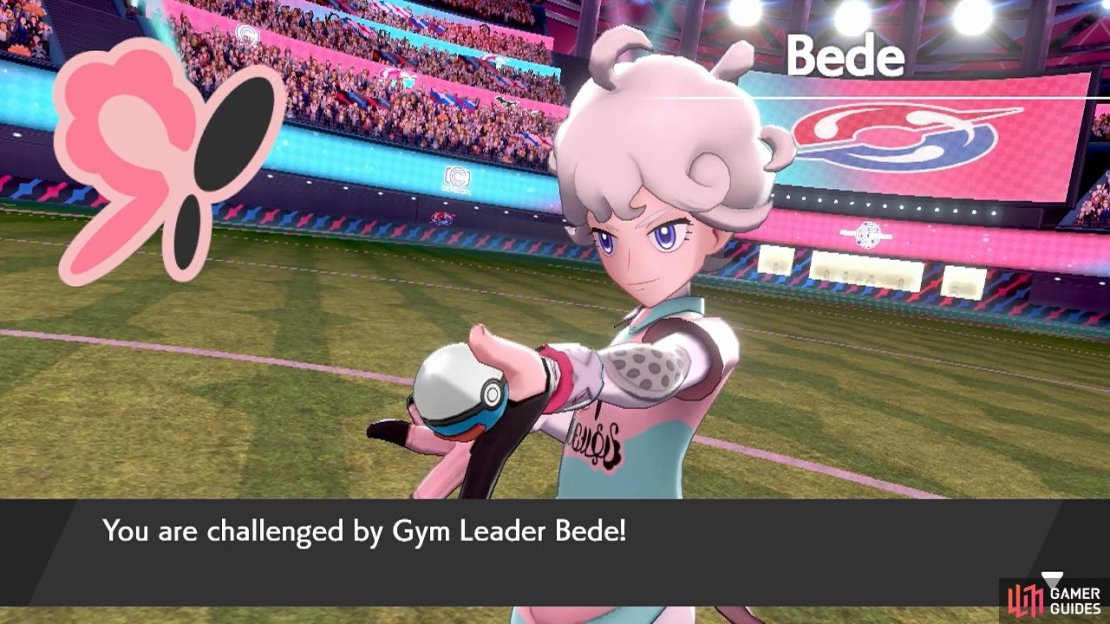
Gym Leader Bede
| Pokémon | Level | Type |
|---|---|---|
 Mawile Mawile |
51 | Steel/Fairy |
 Gardevoir Gardevoir |
51 | Psychic/Fairy |
 Rapidash (Galarian) Rapidash (Galarian) |
52 | Psychic/Fairy |
 Hatterene Hatterene |
53 | Psychic/Fairy |
Bede has taken up the mantle of Gym Leader; his Pokémon are all Fairy-types, although three of them are also Psychic-types. For the most part, Steel or Ghost-types are highly recommended. By the way, unlike other challengers, Bede only has four team members and not five.
You’ve already fought a couple of  Mawile recently, so you should have a way of dealing with it. Fire or Ground-types are best. Be careful of its Intimidate ability, which lowers Attack.
 Gardevoir is a fully evolved
  Ralts; it’s weak to Poison, Ghost and Steel. This elegant Pokémon can hit pretty hard, but it has poor Defence and mediocre Speed.
Next, there’s Galarian  Rapidash. It’s Psychic and Fairy like Gardevoir, so it shares the same weaknesses. This time, avoid Poison-types unless you’re confident, because it’s faster than Gardevoir.
Finally, Bede has a  Hatterene, which he’d love to Gigantamax. Its G-Max Spite can cause confusion; it can also use Max Flare (Fire) and Max Mindstorm (Psychic). Like the previous two, it’s weak to Poison, Ghost and Steel. But Poison-types will hate Max Mindstorm and Steel-types should be wary of Max Flare.
Triumph against Bede’s new resolve and you’ll be taken back to the locker room. Once again, go through the door to (hopefully) begin your first match of the finals! Your Pokémon will be fully healed, so the only thing to really worry about is the order of your team.
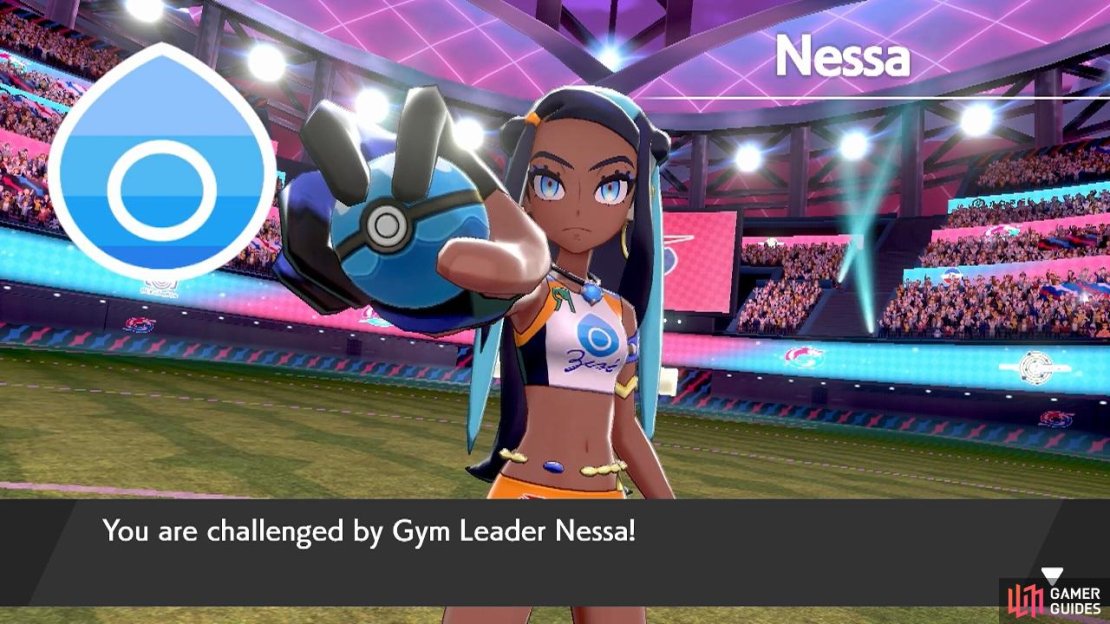
Gym Leader Nessa
| Pokémon | Level | Type |
|---|---|---|
 Golisopod Golisopod |
51 | Bug/Water |
 Pelipper Pelipper |
51 | Water/Flying |
 Barraskewda Barraskewda |
52 | Water |
 Seaking Seaking |
52 | Water |
 Drednaw Drednaw |
53 | Water/Rock |
Nessa, the Hulbury Gym Leader has come for a rematch! She now has an almost full team, including fully evolved versions of her original team members. As before, Grass and Electric-types are her bane; ideally, you want both–and maybe a Flying-type as your lead.
Her first Pokémon is a new one– Golisopod, an evolved
  Wimpod. It’s weak to Electric, Rock and Flying. If your Pokémon doesn’t resist Bug, it’ll probably use First Impressions to go first and score decent damage, but only on its first turn. Once it falls below 50% HP, it will automatically switch out because of Emergency Exit.
 Pelipper is another new member of her team. This evolved
  Wingull is weak to Electric (4x damage) and Rock. When it enters battle, it will cause rain because of Drizzle. On top of STAB attacks, it can use Roost to restore HP and Tailwind to raise its party’s Speed. Zap it unless you want to be outsped.
Next, Nessa has evolved her  Arrokuda into
  Barraskewda. It’s a pure Water-type, so you’ll want to counter it with a Grass or Electric-type. That said, it’s really fasty and is carrying Ice Fang (good against Grass) and Drill Run (good against Electric), so you should be somewhat cautious.
 Seaking is an evolved
  Goldeen; like Barraskewda, it’s pure Water. Compared to Barraskewda, it’s less of a threat because it’s a lot slower. Still, Grass-types that lack sufficient firepower (and that are weak to Bug) will need to be careful of its Megahorn.
Lastly, Nessa has brought her  Drednaw with her again. Previously, she Dynamaxed it, but now she’ll Gigantamax it. If you’re unsure, it’s weak to Grass (4x damage), Electric, Ground and Fighting. Its G-Max Stonesurge deals Water damage and adds Stealth Rock. It also has Dark and Rock moves.
Turn the tides against Nessa a second time and you’ll advance to the next bracket. Your next opponent will be Bea, if you’re playing Sword, or Allister, if you’re playing Shield. You’ll be brought back to the locker room before the next battle, if you want to swap your team etc.
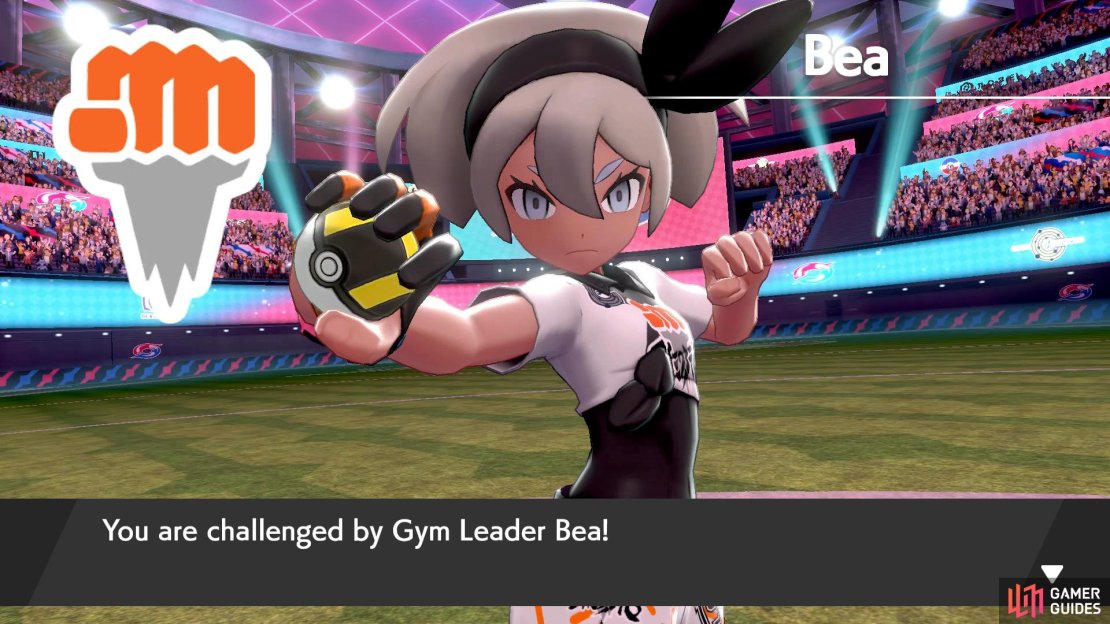
Gym Leader Bea (Sword)
| Pokémon | Level | Type |
|---|---|---|
 Hawlucha Hawlucha |
52 | Fighting/Flying |
 Grapploct Grapploct |
52 | Fighting |
 Sirfetch’d Sirfetch’d |
53 | Fighting |
 Falinks Falinks |
53 | Fighting |
 Machamp Machamp |
54 | Fighting |
The soul-shaking Fighting gal from Stow-on-Side is back! She’s changed her team slightly, removing  Hitmontop and
  Pangoro. The loss of the latter, and the fact that her new additions are all pure Fighting, means you can easily win with strong Psychic-types.
Her first Pokémon is a new one:  Hawlucha, a rare Fighting and Flying-types. It’s weak to Electric, Ice, Flying, Psychic and Fairy. It can use its signature move Flying Press, which deals Fighting and Flying damage together, plus High Jump Kick. You’re bound to have a Pokémon with super-effective moves.
 Grapploct is another newbie in her team. This evolved
  Clobbopus marks the beginning of Bea’s pure Fighting-type train. For attacks, it has Submission for STAB and Mega Punch for other purposes. Its special move, Octolock, prevents escape and slowly reduces your defences. If you’ve got one, Ghost-types can run rings around it.
 Sirfetch’d is a Pokémon that she’s kept. This evolved Galarian
  Farfetch’d can use Brick Break to shatter barriers, Leaf Blade for critical hits and Brutal Swing to hit Psychic and Ghost-types. Try to confront it with a Flying or Fairy-type.
 Falinks is new, but you should have experience dealing with one of these. If you’re slow, it can use No Retreat to enhance all of its stats, but stop it from switching out. For damage, it will rely on the immensely damaging Close Combat or Rock Tomb, which hurts Flying-types and lowers Speed.
Lastly, Bea still has her Gigantamax  Machamp. Its G-Max Chi Strike increases the chances of critical hits. It can also use Max Flare (Fire) and Max Strike (Normal). Max Flare is probably there to annoy
  Corviknight users, but most Psychic, Flying or Fairy Pokémon should have little trouble here.
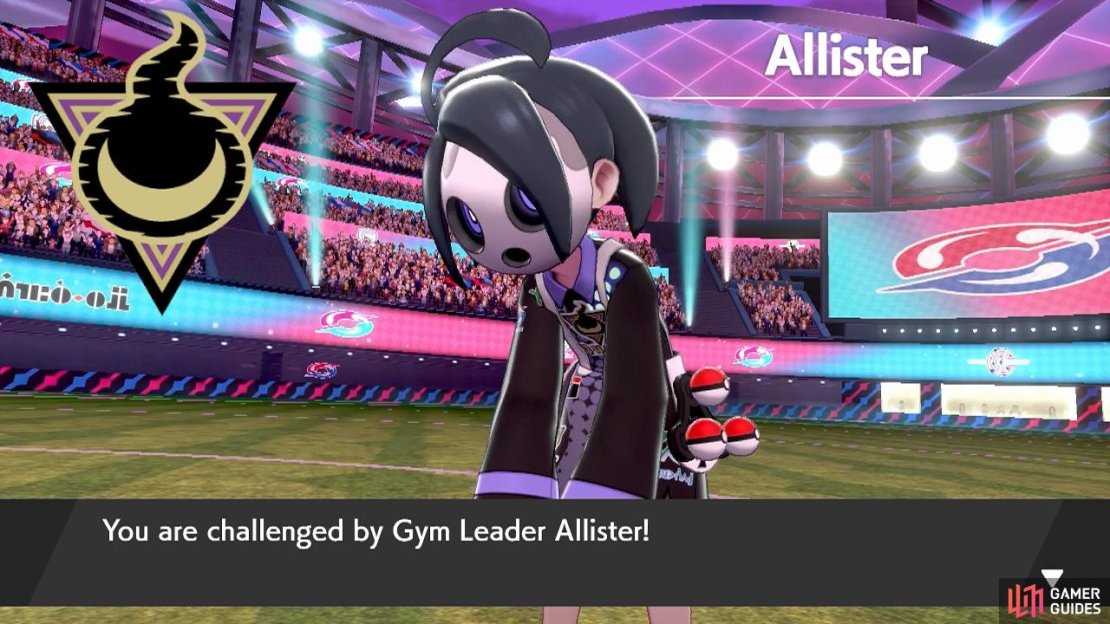
Gym Leader Allister (Shield)
| Pokémon | Level | Type |
|---|---|---|
 Dusknoir Dusknoir |
52 | Ghost |
 Chandelure Chandelure |
52 | Ghost/Fire |
 Cursola Cursola |
53 | Ghost |
 Polteageist Polteageist |
53 | Ghost |
 Gengar Gengar |
54 | Ghost/Poison |
The spooky but shy boy from Stow-on-Side is your second (official) opponent. He’s mixed up his team slightly, although it’s kind of easier than his original team. This time, there’s pretty much nothing stopping your Dark-types from wreaking havoc. If possible, go for a special attacker though, in case you get burned.
Allister’s first ghoul is  Dusknoir, a fully evolved
  Duskull. It’s a pure Ghost-type, so shouldn’t be very complicated. As well as a STAB Shadow Punch, it can use Rock Tomb to lower Speed, Thunder Punch to potentially cause paralysis and Disable to prevent you using your most recent move.
Next, he may send out  Chandelure, which is a fully evolved Lampert. Like its prior forms, it’s weak to Water, Rock, Ground, Ghost and Dark. Physical attackers should sit this out because of Will-O-Wisp.
Allister’s brought back his  Cursola, another pure Ghost-type. Avoid letting this fight drag out because it can use Strength Sap to lower your Attack and restore HP, plus Amnesia to greatly boost its Special Defence.
Meanwhile,  Polteageist is another new addition to his team. This evolved
  Sinistea is the third pure Ghost. It can use Nasty Plot to greatly boost its Special Attack and Protect to stall for time.
Finally, Allister has his Gigantamax  Gengar. It’s weak to Ground, Psychic, Ghost and Dark; stick to Ground and Dark-types if you can. Its G-Max Terror will stop your Pokémon from switching out. It can also use Max Darkness (Dark) and Max Ooze (Poison). If you caught a
  Bisharp from the Giant’s Seat, you’ll be smiling here.
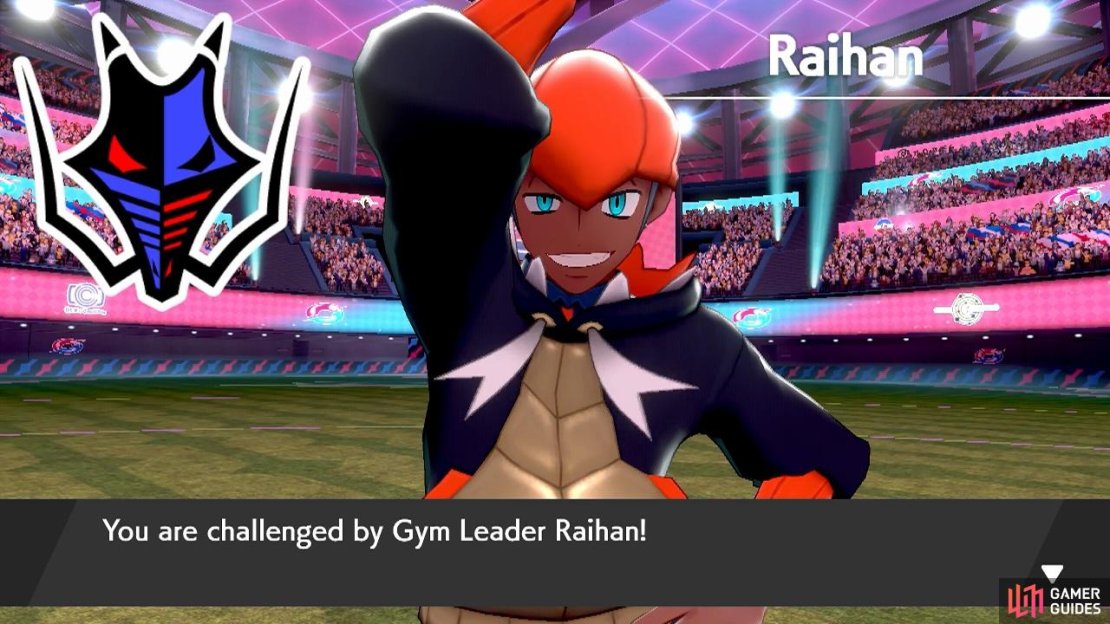
After defeating Bea or Allister, Piers and Marnie will catch up with you in the locker room. From here, you’ve only got one more opponent–and like your Gym Challenge, it’s Raihan, the Dragon-type master.
Gym Leader Raihan
| Pokémon | Level | Type |
|---|---|---|
 Torkoal Torkoal |
53 | Fire |
 Goodra Goodra |
54 | Dragon |
 Turtonator Turtonator |
54 | Fire/Dragon |
 Flygon Flygon |
54 | Ground/Dragon |
 Duraludon Duraludon |
55 | Steel/Dragon |
Raihan has modified his team for Single Battles, but he still loves using Dragon-types and taking advantage of weather effects. A Fairy-type would be nice, plus it’d be useful to have Water, Ice, Ground and Fighting-types for support.
His first ‘mon is  Torkoal, which isn’t a Dragon-type at all. When it enters the field, its Drought ability will make the weather sunny. This will power up its Lava Plume and let it use Solar Beam without charging. If you want to annoy it, use Rain Dance to change the weather. Be careful of Yawn, which induces sleeping.
If it’s raining, he likes to send out  Goodra, a pure Dragon-type, but one with moves that utilise the rain. In particular, it can use Surf and Muddy Water to take advantage of the double damage and Thunder, which cannot miss in the rain. It can also summon the rain with Rainy Dance. Sick an Ice or Fairy-type on it.
 Turtonator is Raihan’s primary answer for Fairy-types. It’s not strong against Fairies, but it receives neutral and not double damage. Instead, it’s weak to Ground, Rock and Dragon. For attacks, it has Shell Trap to punish physical attackers and STAB Fire and Dragon moves. Plus Sunny Day to boost its Fire moves.
 Flygon’s main goal is to set up sandstorm–it’s pretty fast, so there’s a good chance it’ll succeed. Hit it with Ice (4x damage), Dragon or Fairy moves to quickly shut it down. On top of STAB Ground and Dragon moves, it can use Crunch, but that’s unlikely to do much damage.
To close off, Raihan has brought back his Gigantamax  Duraludon. To jog your memory, it’s weak to Ground and Fighting. Unless there’s a Fairy or Steel-type around, it’ll probably use G-Max Depletion, which is a Dragon-type move that also reduces PP. It can also use Fighting and Rock Max Moves.
After securing a second victory against Raihan, Hop will be waiting for you back in the locker room, to give you a final pep talk. Well, this is it–the moment you’ve been waiting for. Go through the doors once again to begin the fated Champion battle! Actually, you don’t need to get too serious. Literally seconds before the battle is about to begin, the fight will be postponed.
Leon will run off to assess the damage. Meanwhile, Hop wonders if there’s some other way you could help out. When he asks, suggest looking in the Slumbering Weald, where you met that mysterious Pokémon. You’ll both head back to Postwick; there, you’ll bump into Sonia. As encouragement, she’ll give you 3 Max Revives. You’ll then be taken straight into the Slumbering Weald.
No Comments