
This is a walkthrough for Victory Road, including what Pokémon you can encounter and items you can find.
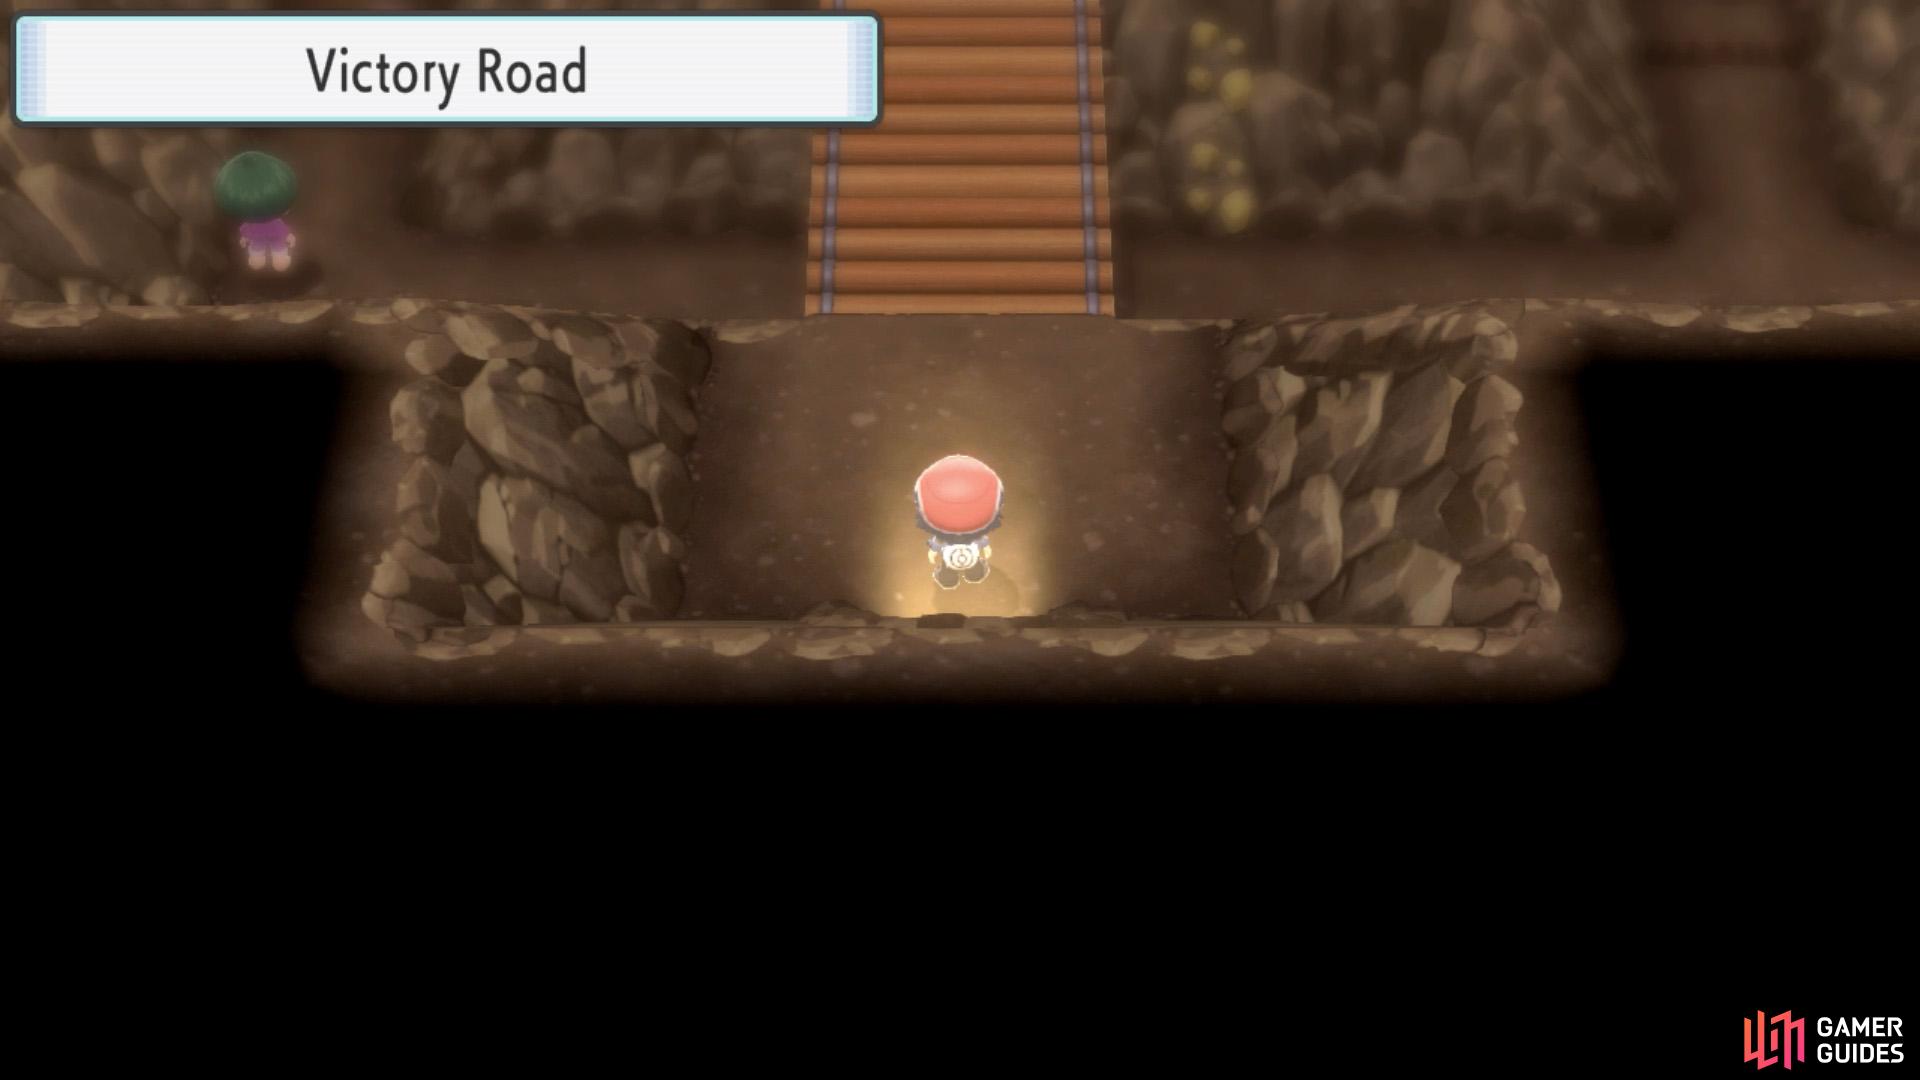
Victory Road is a maze of bridges and tunnels.
You’ll need to use various HMs, such as Rock Climb.
Similar to past Pokémon titles, Victory Road is the final dungeon of the main story, accessible via the Pokémon League at the end of Route 223. Within, many formidable trainers and wild Pokémon lurk. Be sure you’re fully prepared before venturing forth!
How to Enter the Blocked Cave
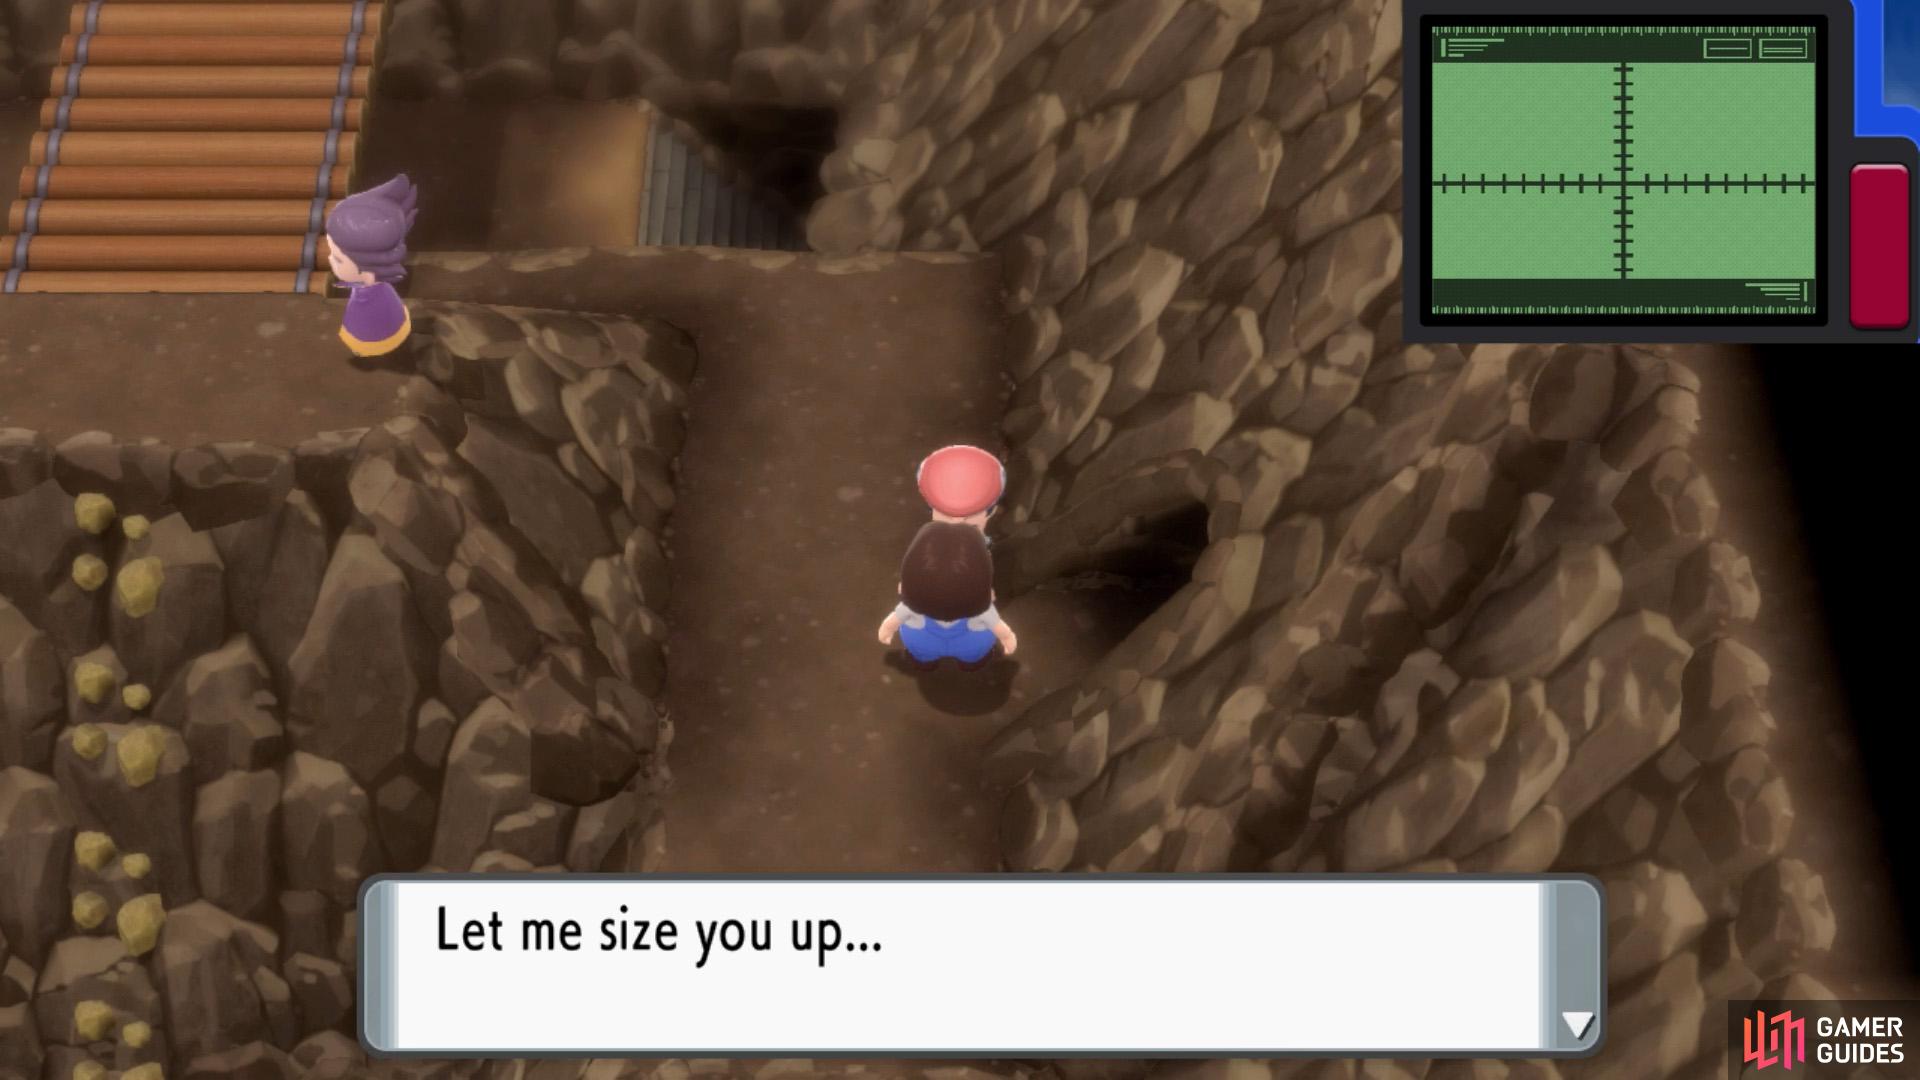
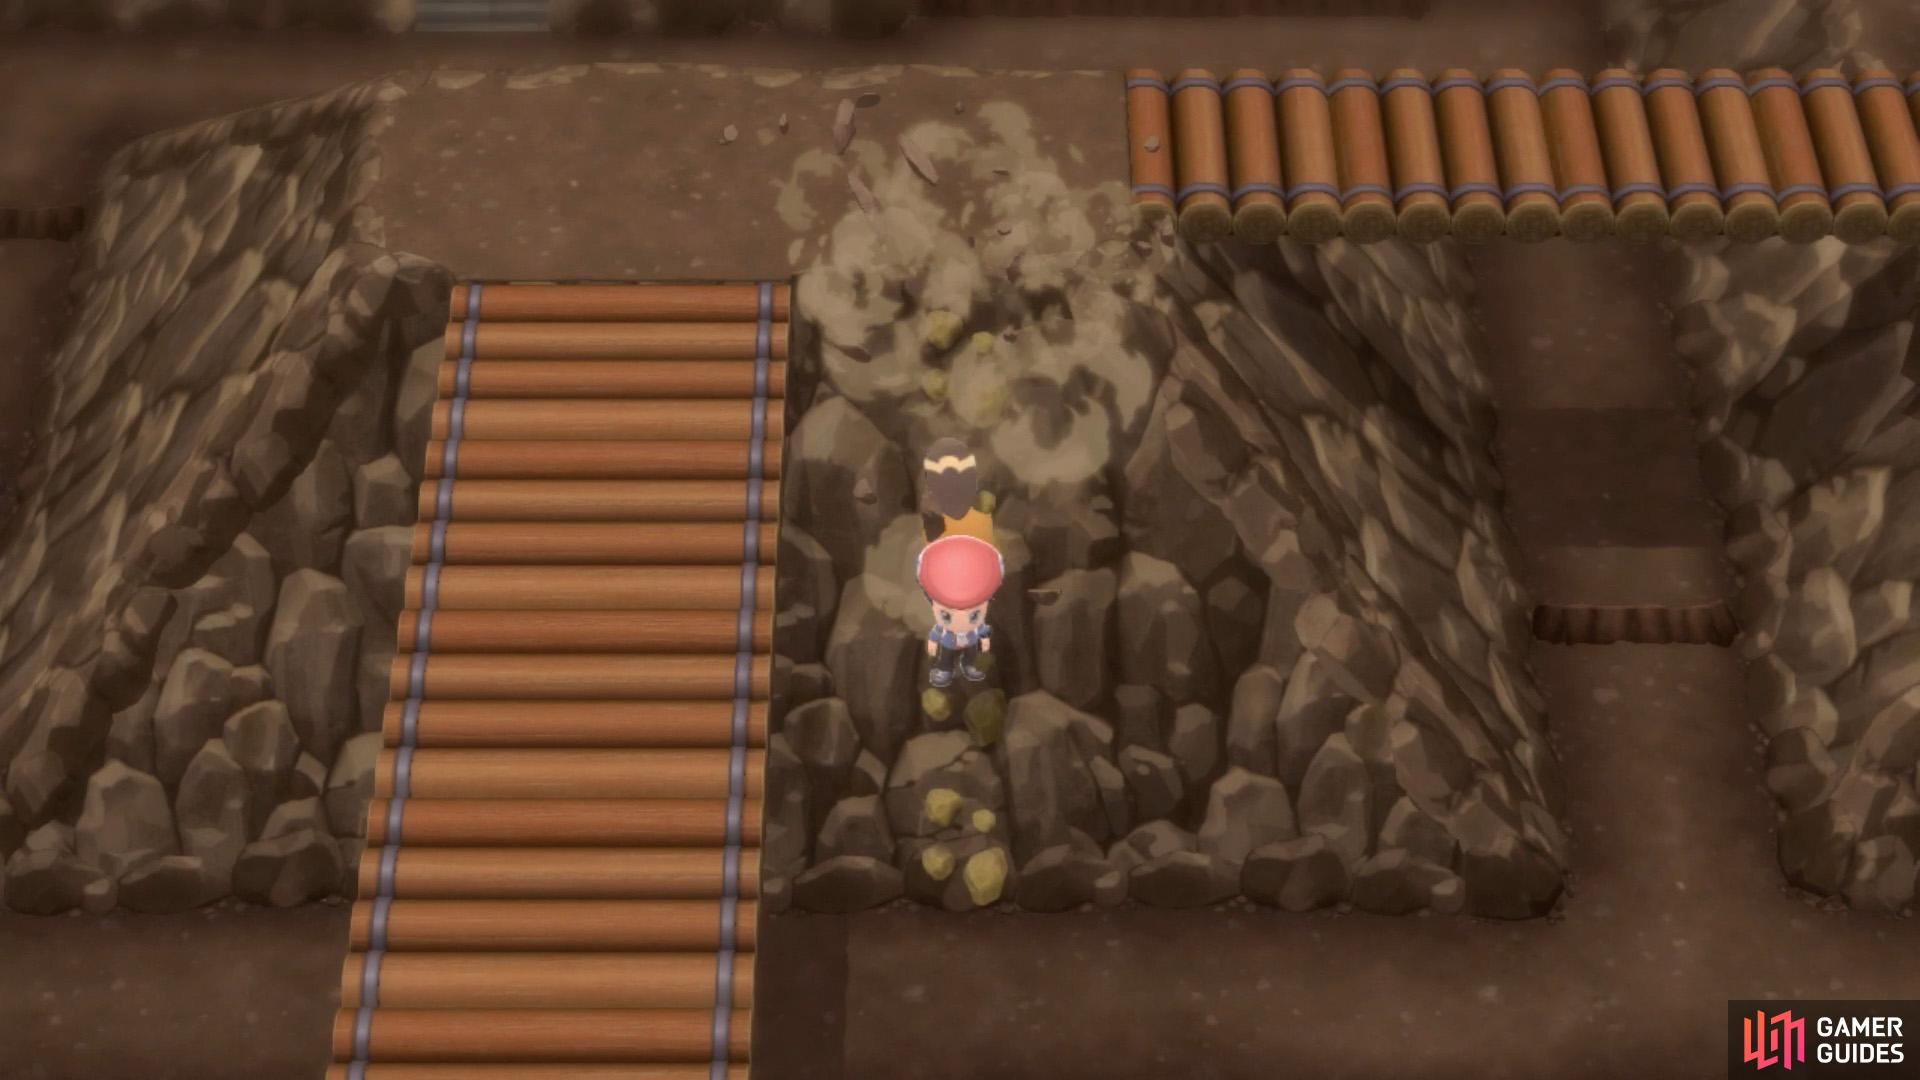
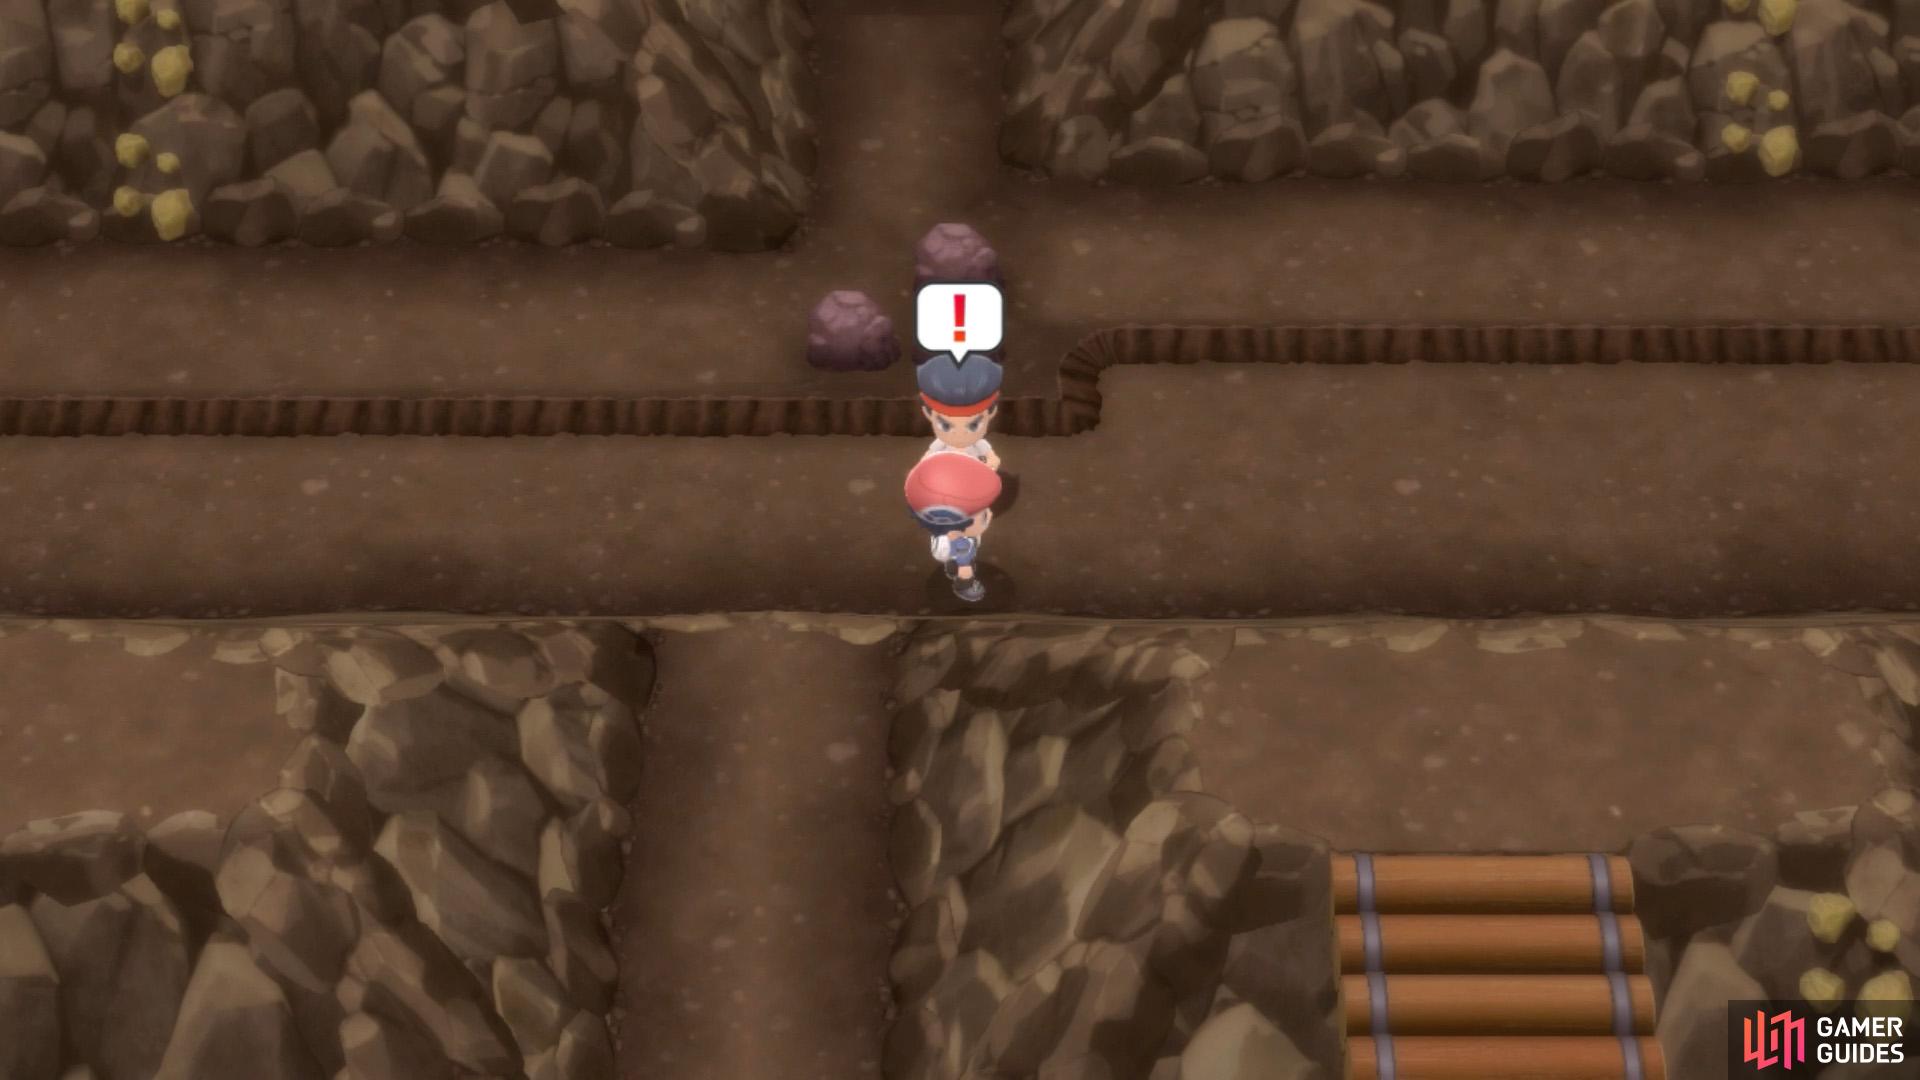
This guy is blocking a cave near the north exit.
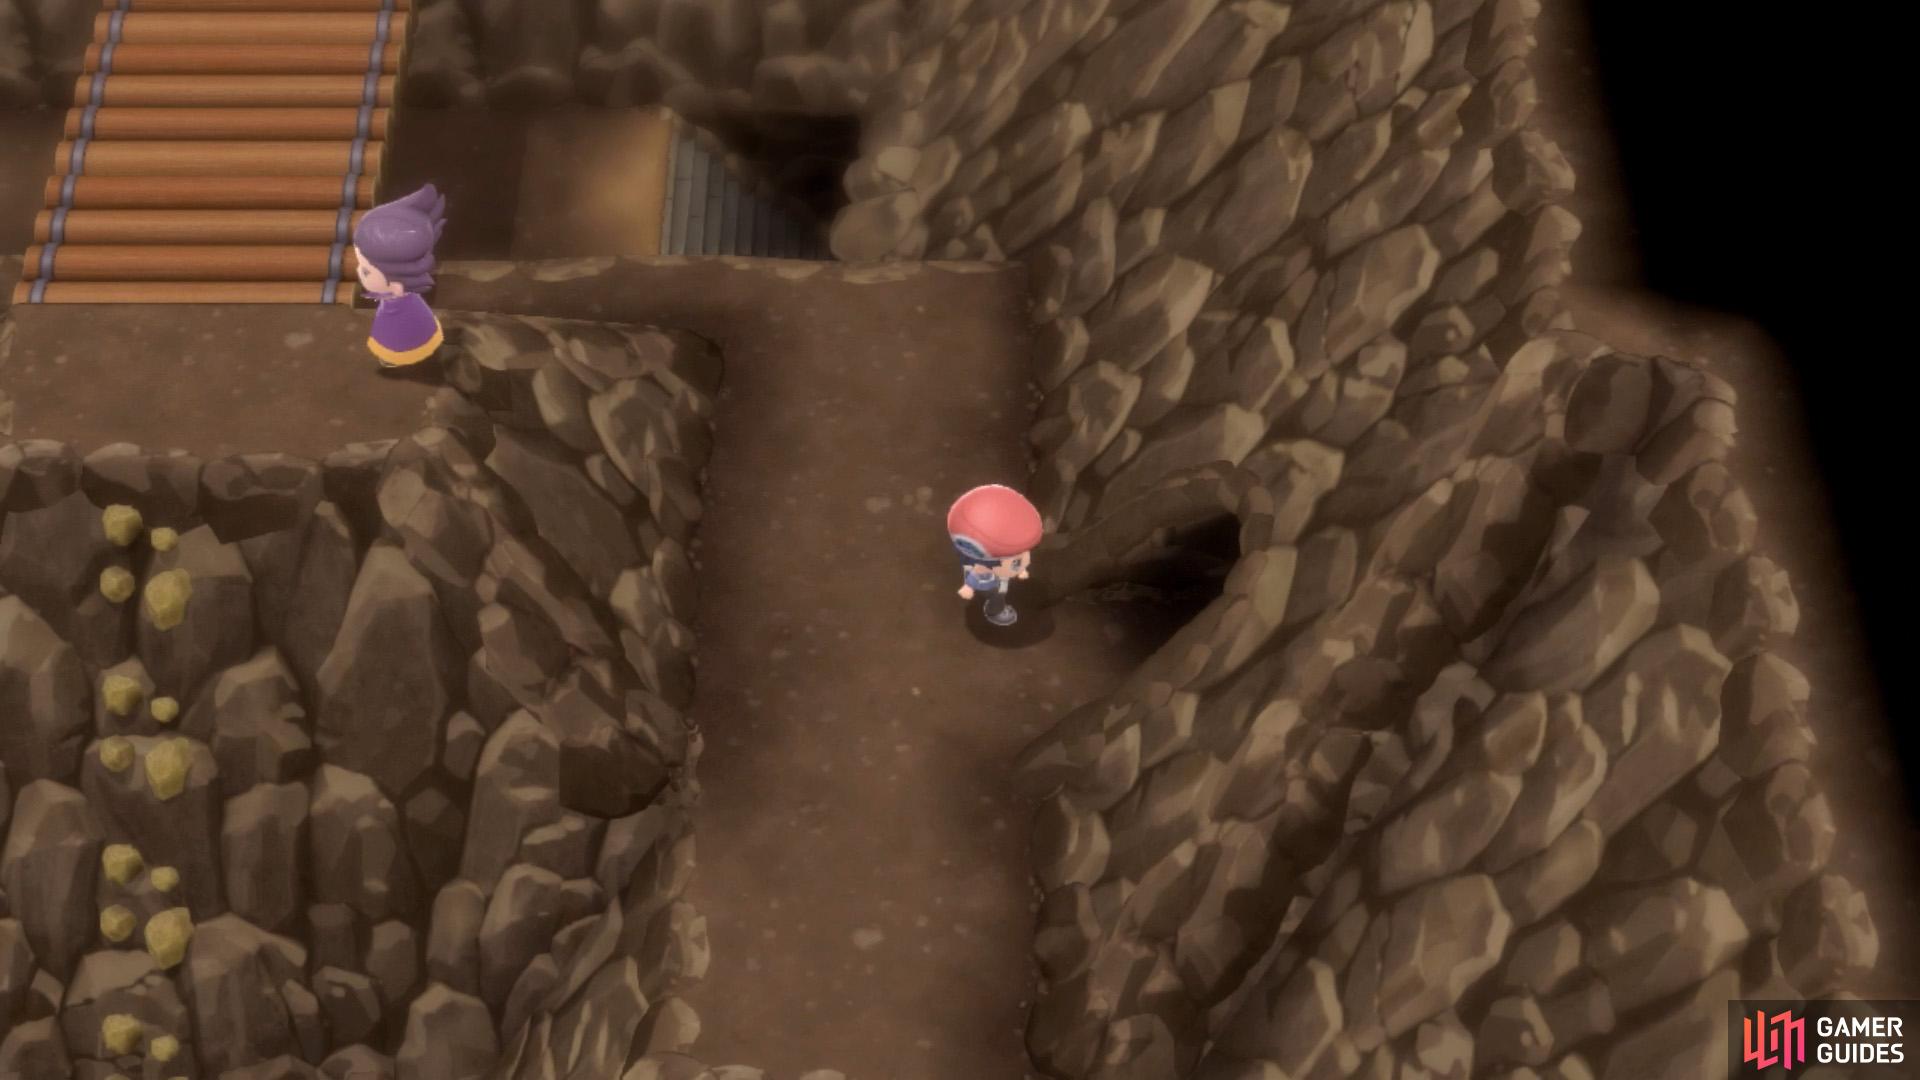
He’ll disappear during the postgame.
Not far from the north exit, there’s a suspicious cave towards the east that you cannot enter, because somebody’s standing in the way. Annoyingly, you barely get any hints–and it’s all too easy to forget about this cave.
After you’ve completed the game and obtained the National Pokédex, you’ll be able to enter this cave. Inside, there’s a new area that connects to Route 224.
Map
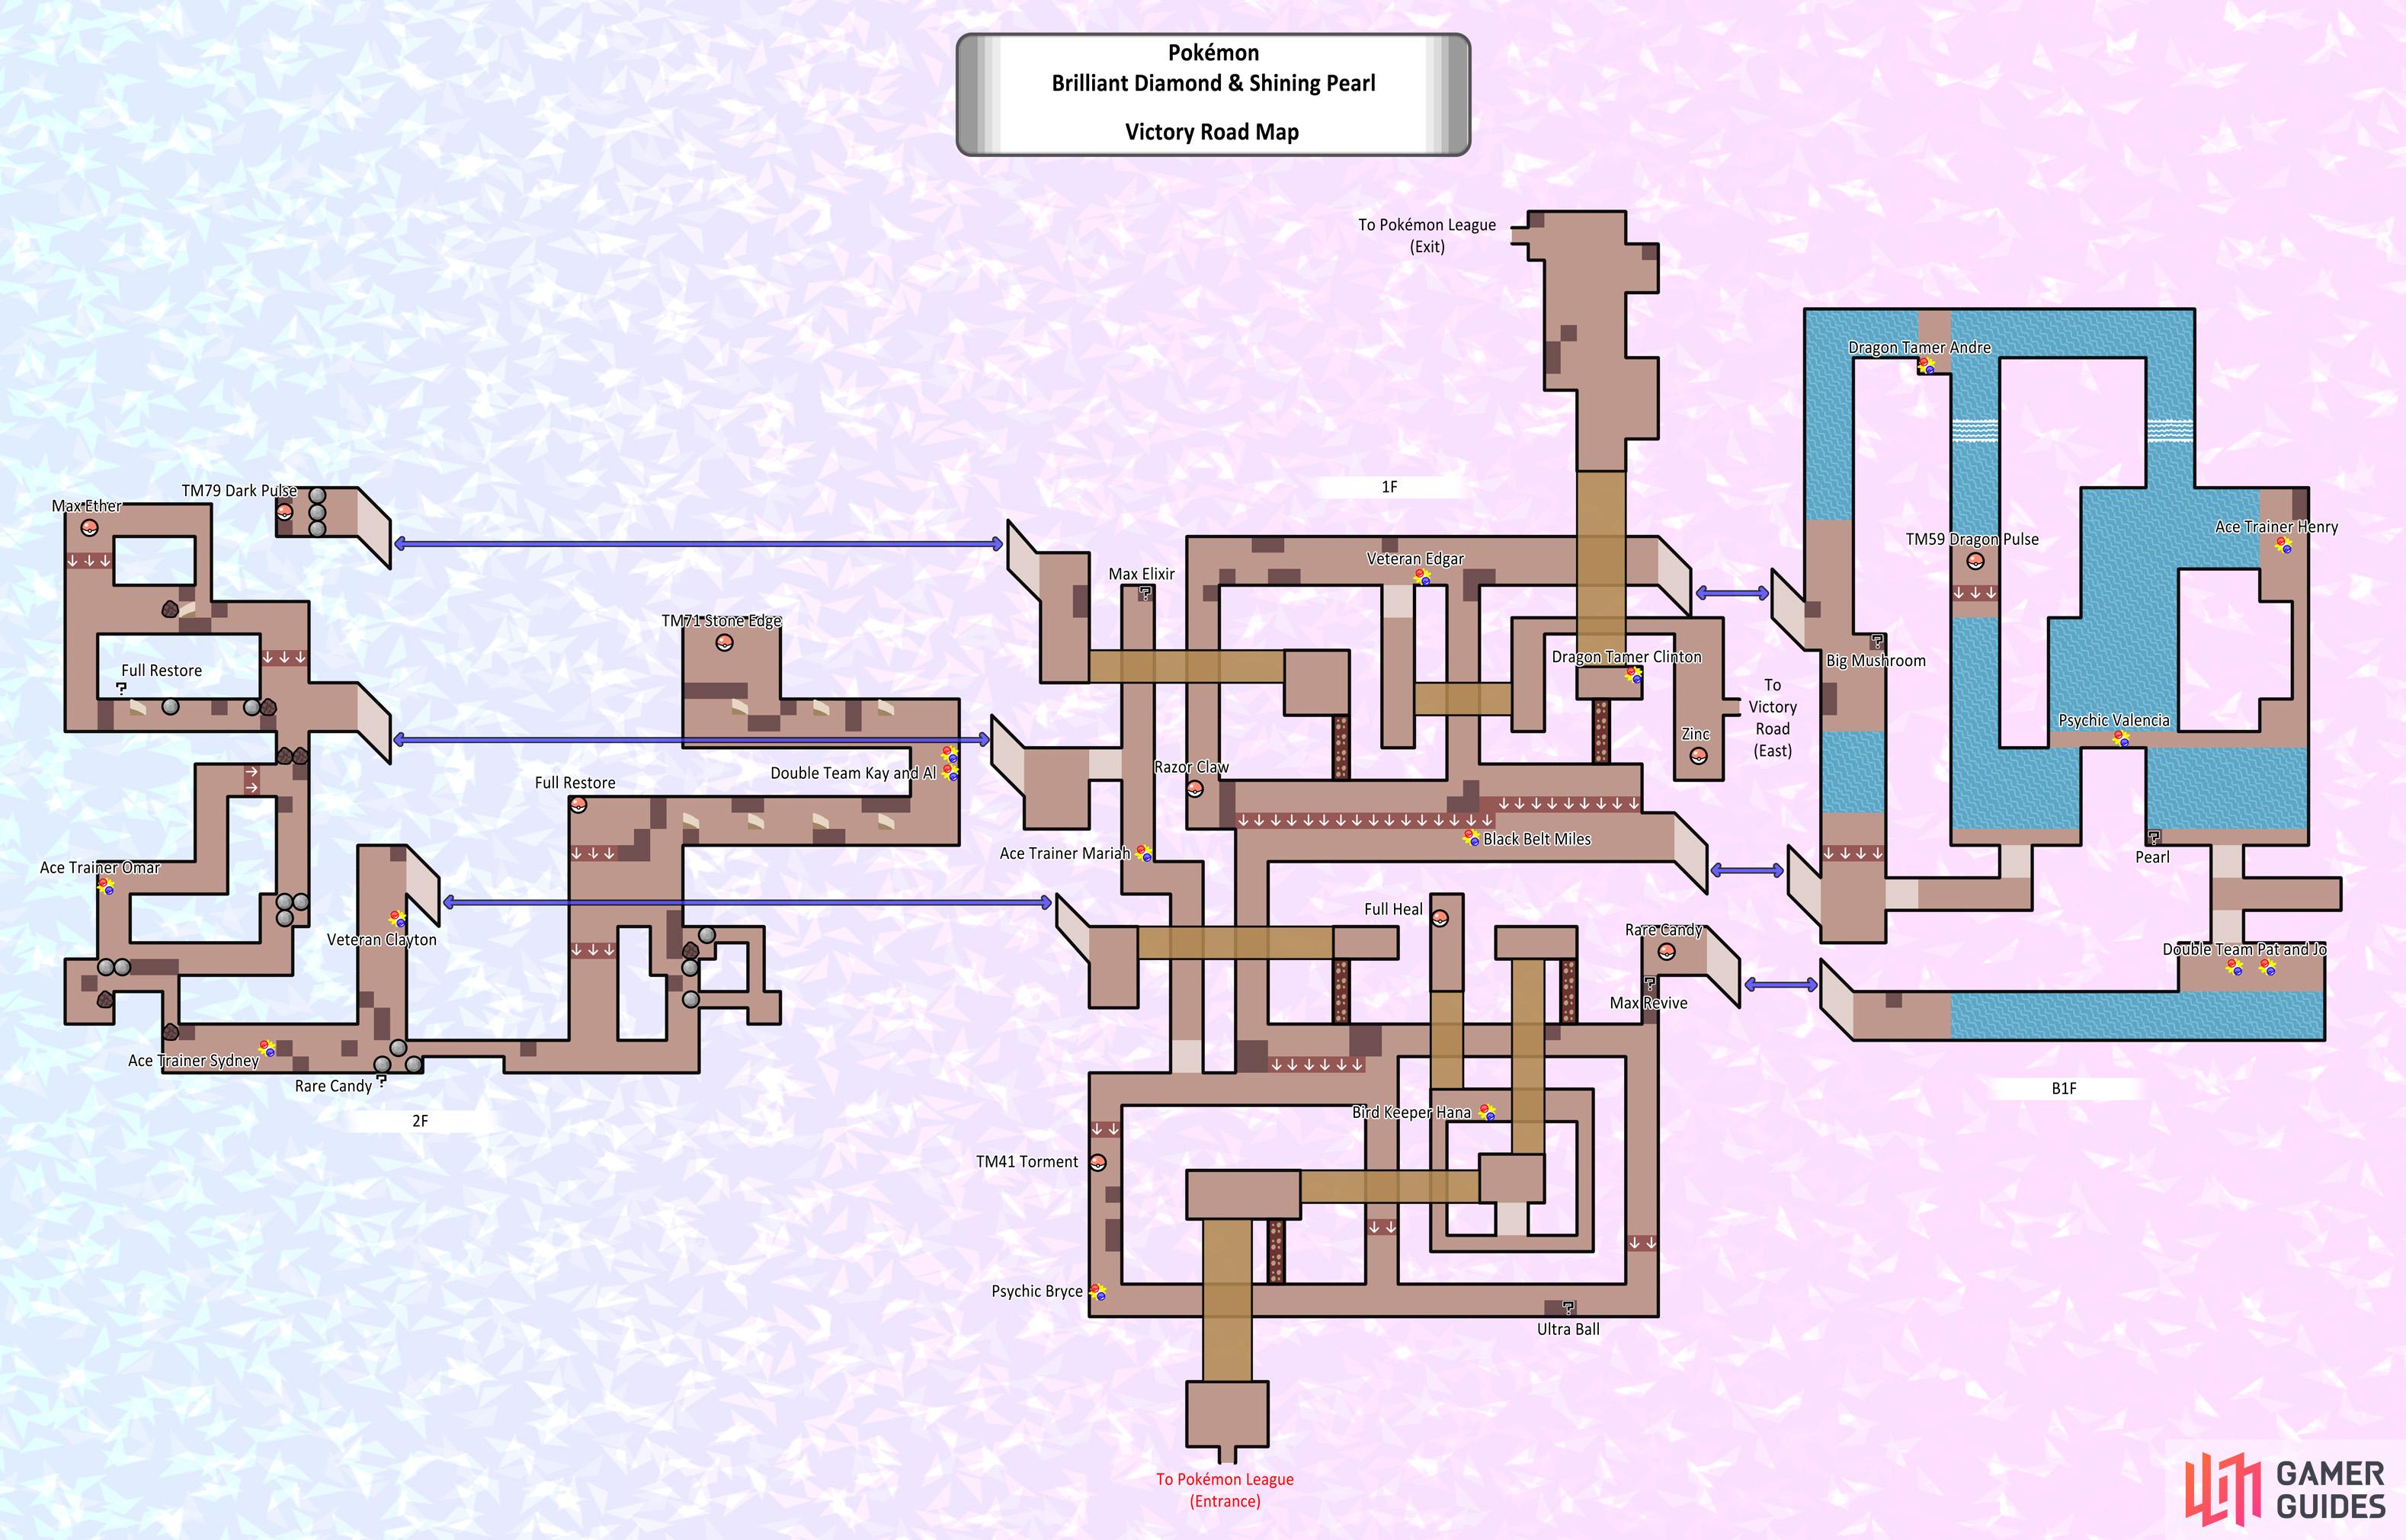
Full map of Victory Road. Now you shouldn’t get lost!
1F (South)
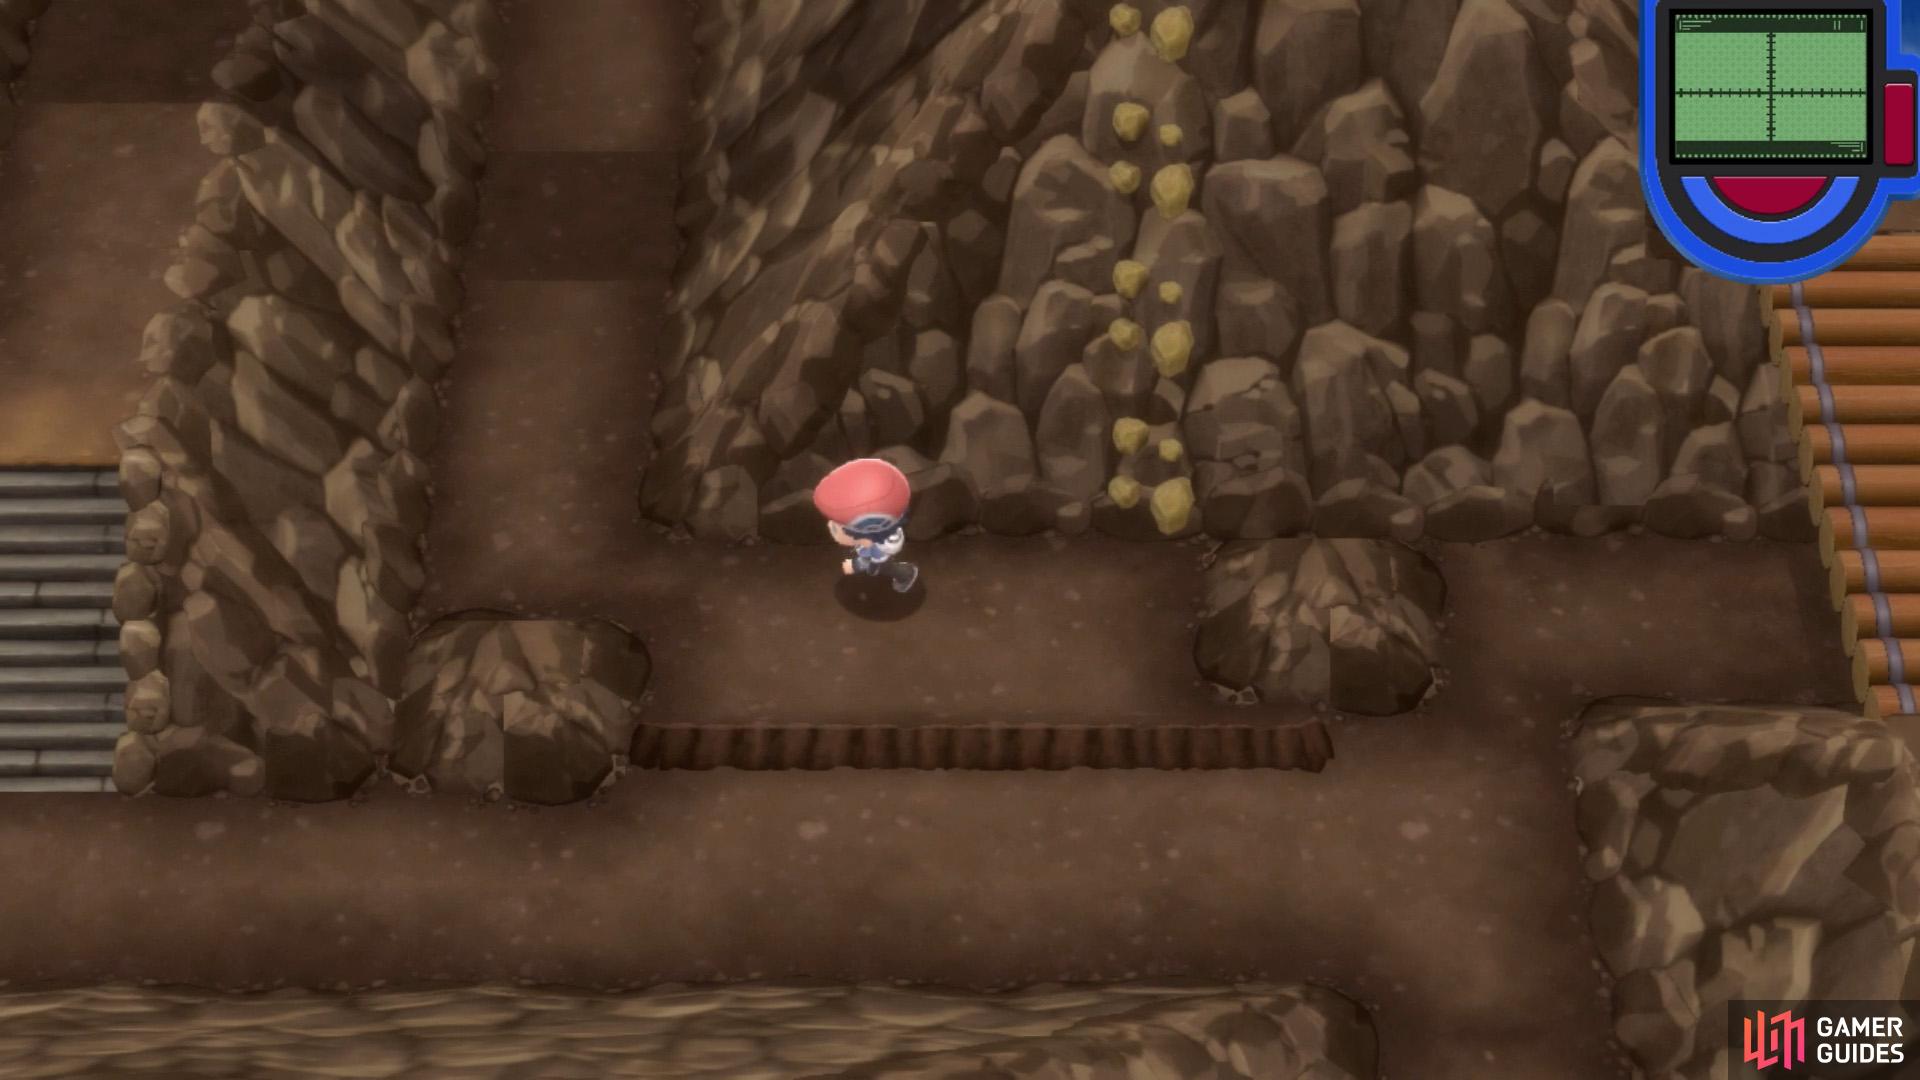
You’ll begin near the south side of 1F, on high ground. Head across the bridge just ahead, then use HM Rock Climb on the nearby rocky wall to descend to the floor. If you want, go all the way east and search the two rocks near the corner for a hidden Ultra Ball.
Anyway, go over to the south-west corner where you can fight Psychic Bryce. Above him, pick up TM41 Torment below the ledge. Then go back around and use Rock Climb to return to higher ground. Go across the next bridge to the east. Next, walk down the steps just below and go around from the left or right.
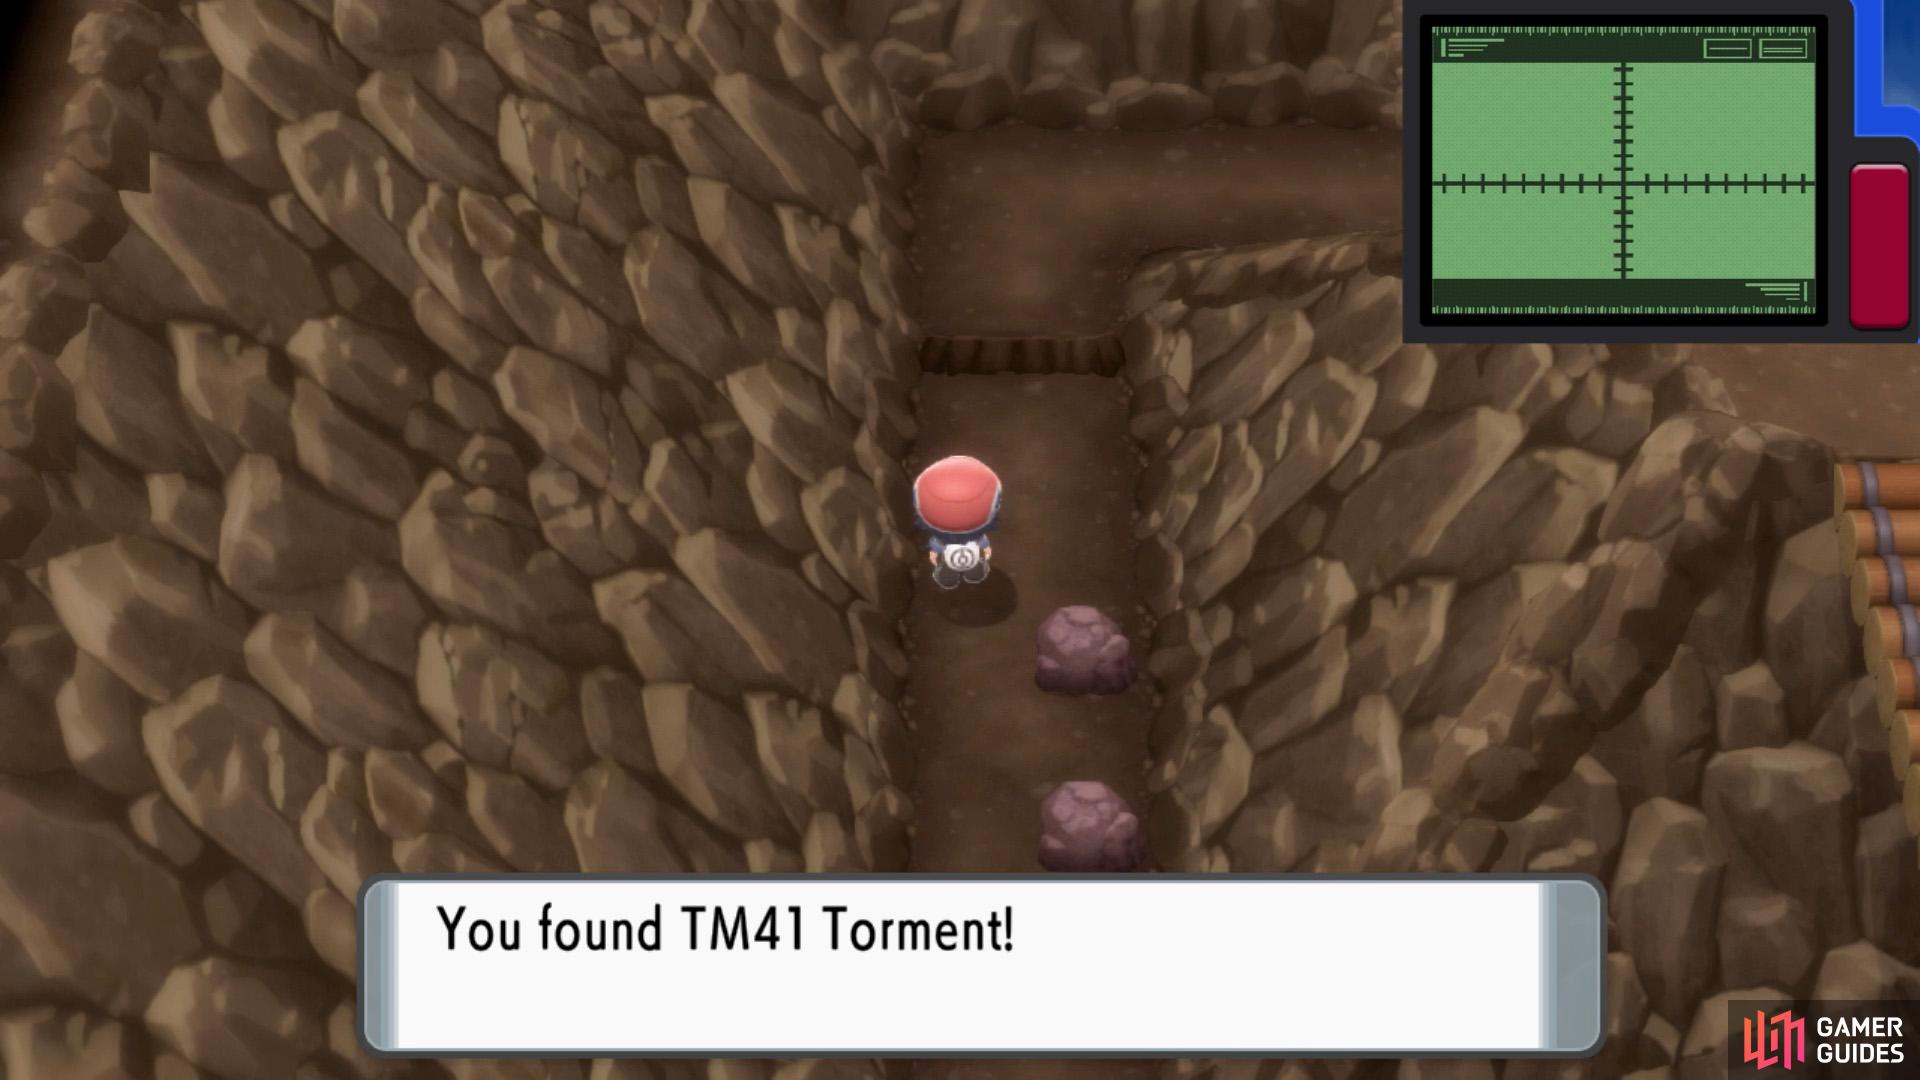
TM41 Torment.
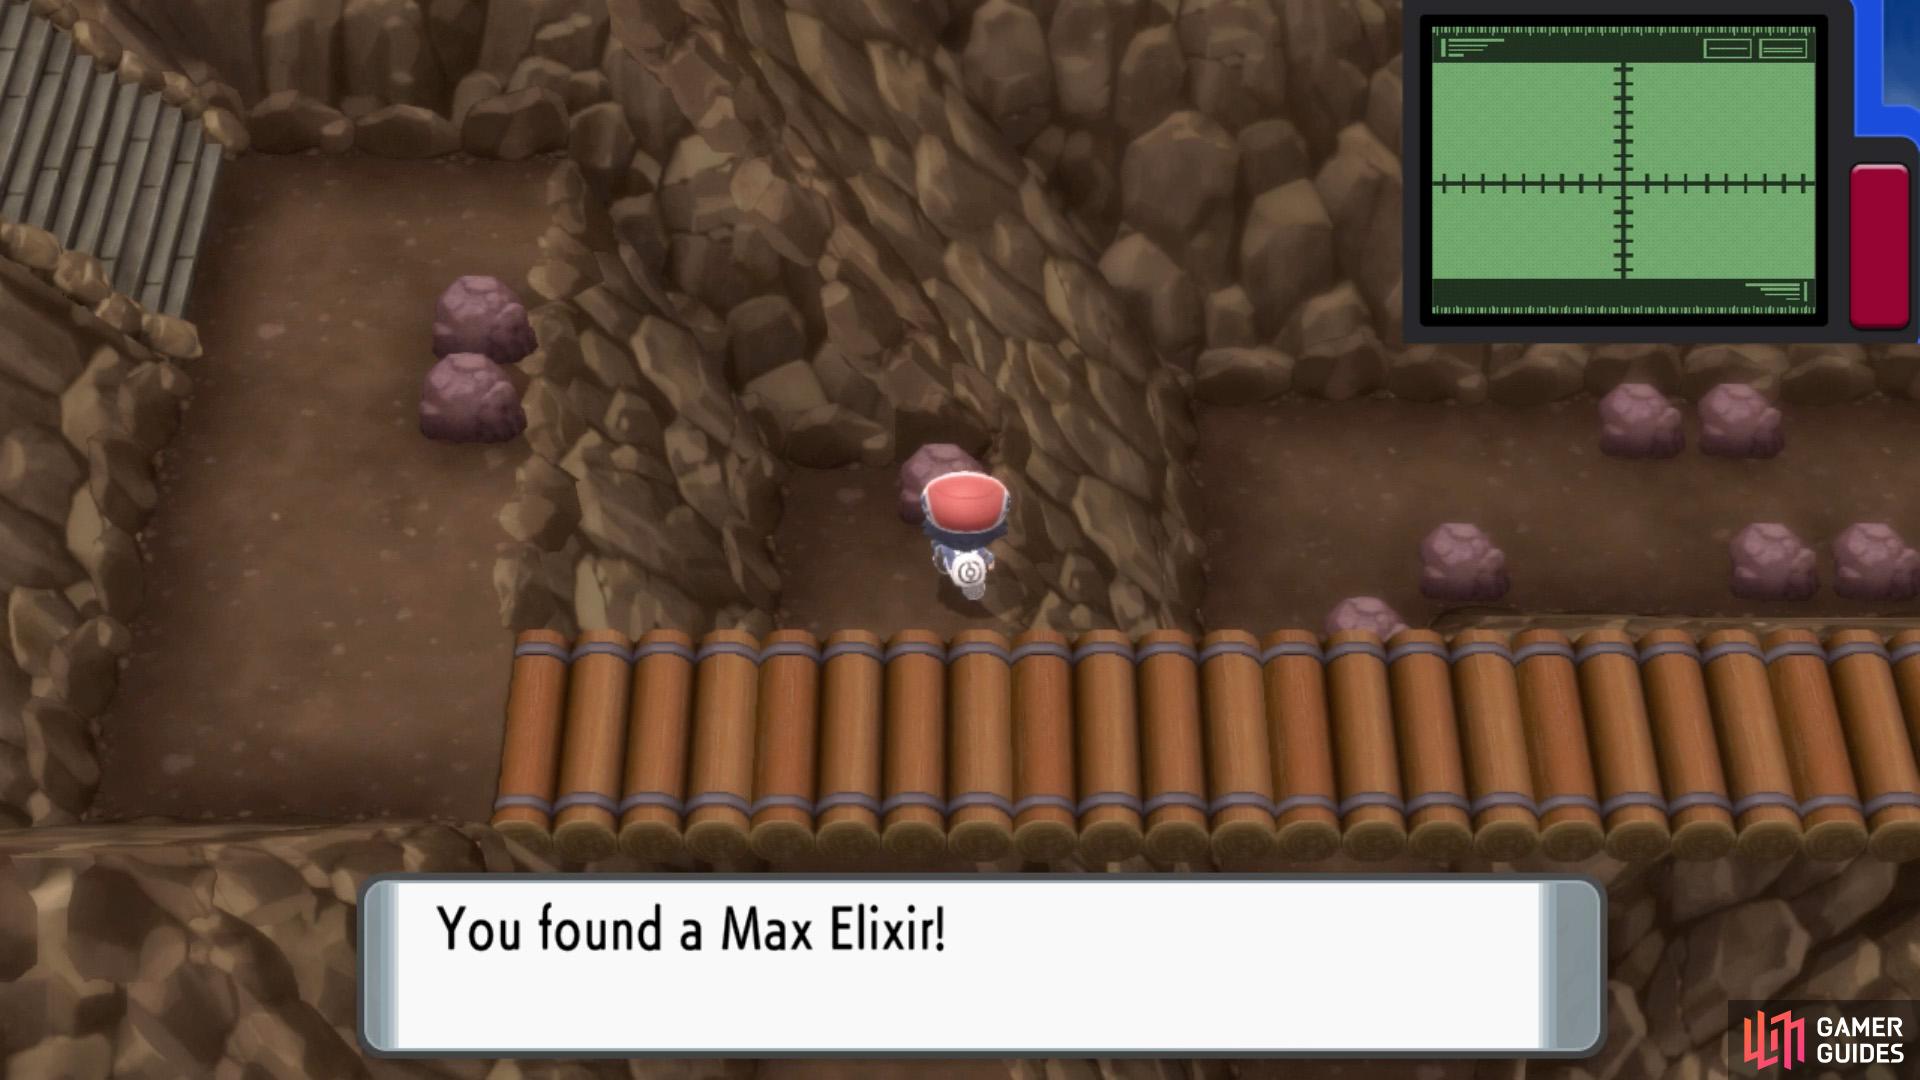
Hidden Max Elixir.
Further up, you can fight Bird Keeper Hana. You can avoid her by going around from the right. Head across the bridge past her and scoop up the Full Heal. Return to the steps and go across the third bridge, towards the north. Then Rock Climb down on the right.
Back on the floor, head west, then go up the steps just before you reach the wall. Make your way north, underneath the bridge. Next, you’ll have to fight Ace Trainer Mariah. Keep going north from Mariah, ignoring the steps for now. Search the rock at the end for a hidden Max Elixir. Then double back and ascend the stairs on the left.
2F
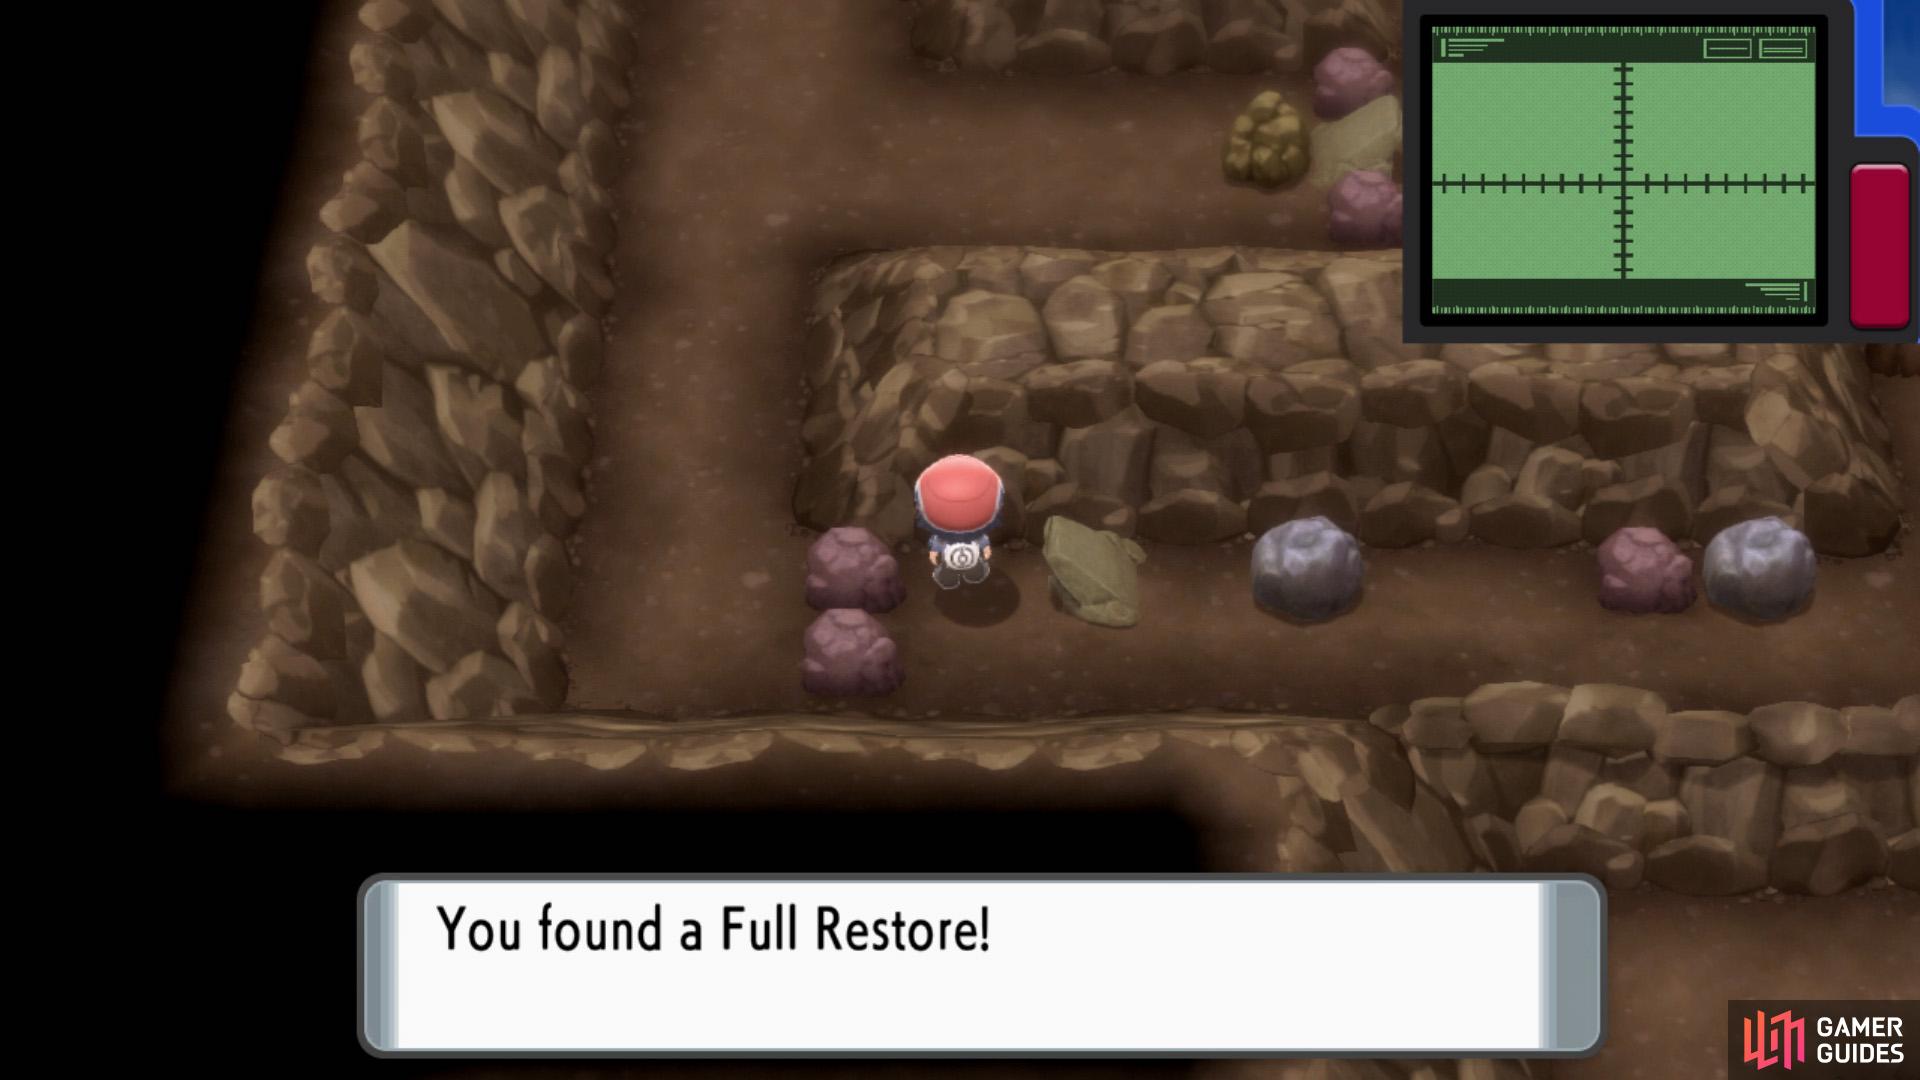
Hidden Full Restore.
Switch to the lower 3rd gear for this ramp jump.
Towards the left, there’s a breakable rock and then a boulder you can push. Use HM Rock Smash and HM Strength to clear a path west. When you reach the small ramp, search the wall behind it for a hidden Full Restore. Now get on your bike, switch to 4th gear, then go over the ramp to leap over the rocks.
Further north, smash the breakable rock in front of the next ramp. This time, drop to 3rd gear before going over the ramp. You should land just before the rock. Go up and pick up the Max Ether from the corner, then hop over the ledge. This time, hit the ramp with your bike in 4th gear. Then jump over the next ledge to return to where you were before.
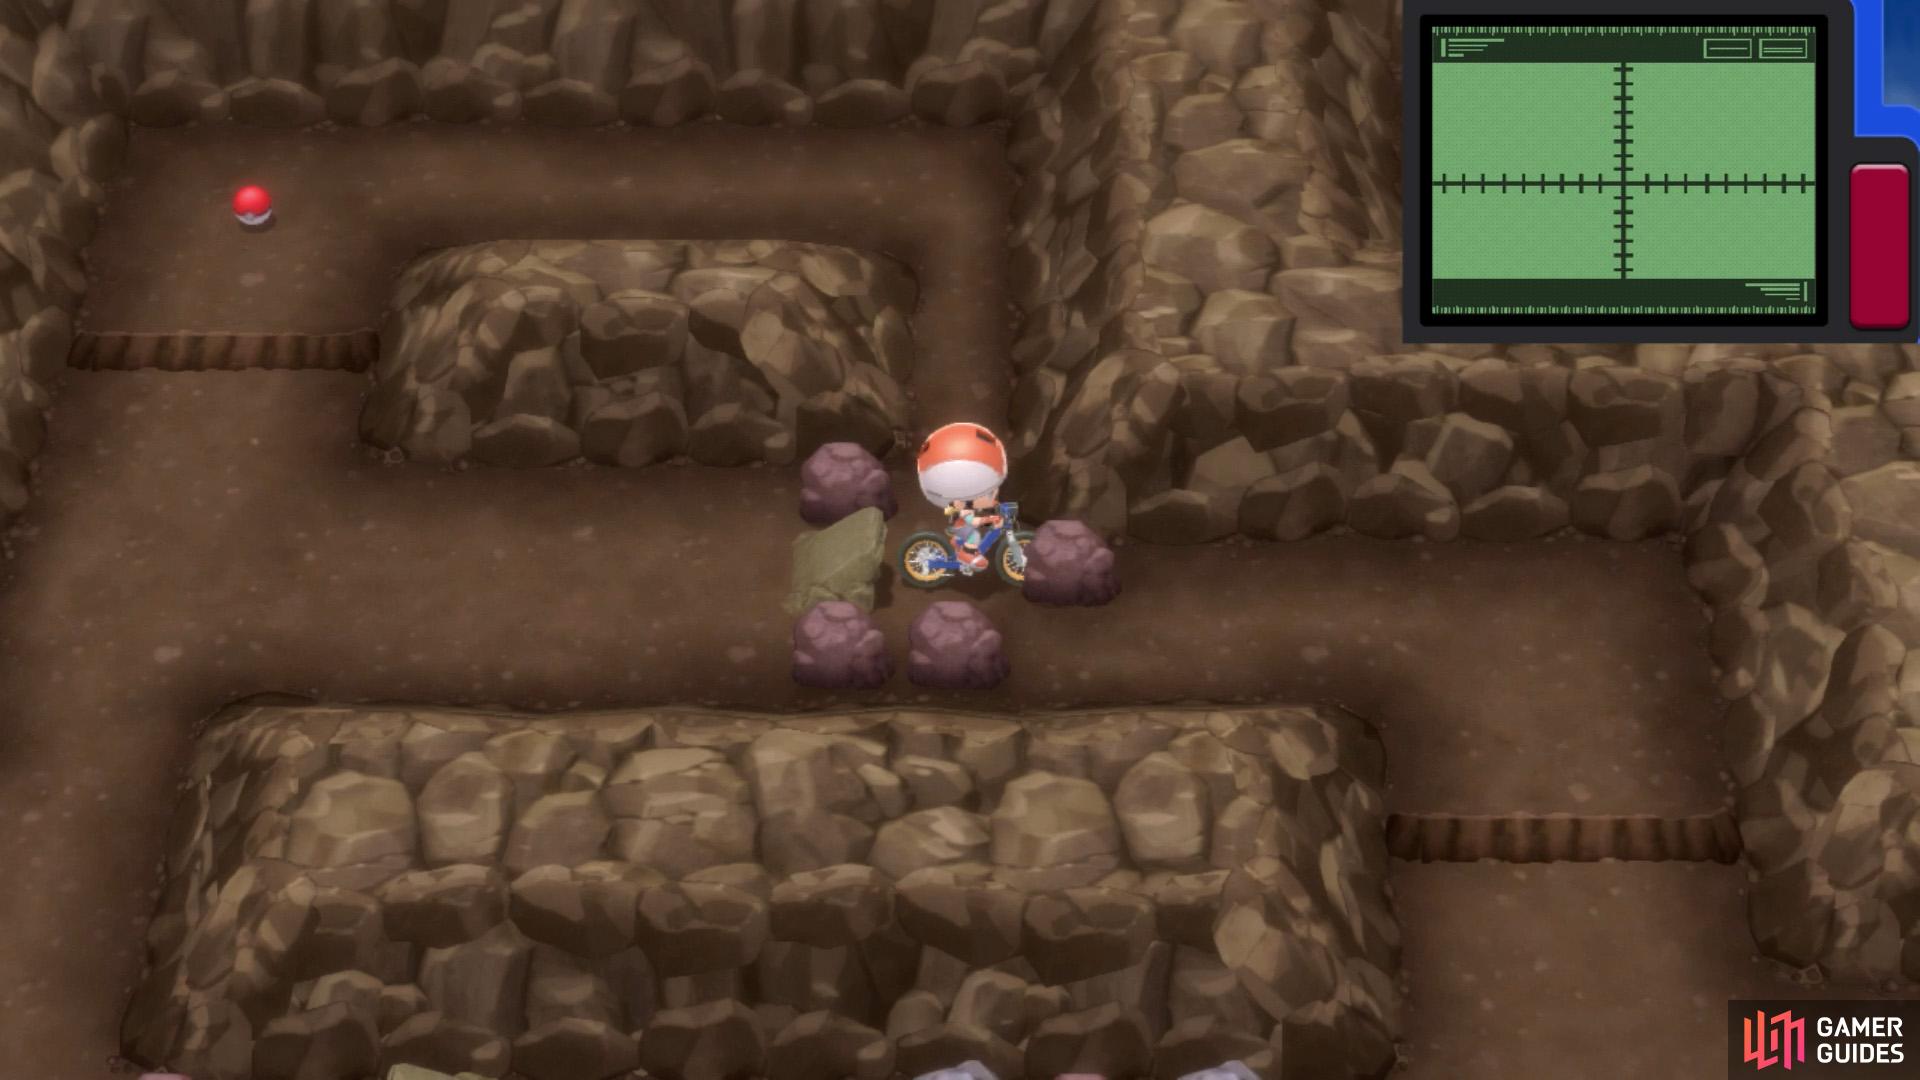
Moving on, smash the breakable rocks to the south, then continue south towards a cluster of 3 boulders. Push the right-most boulder south, then the boulder to its left, left. Finally, shove the remaining boulder south to break free. From here, head west towards some more boulders. Above is Ace Trainer Omar keeping watch.
Careful you don’t mess up the boulders or you’ll need to re-enter the room to reset them.
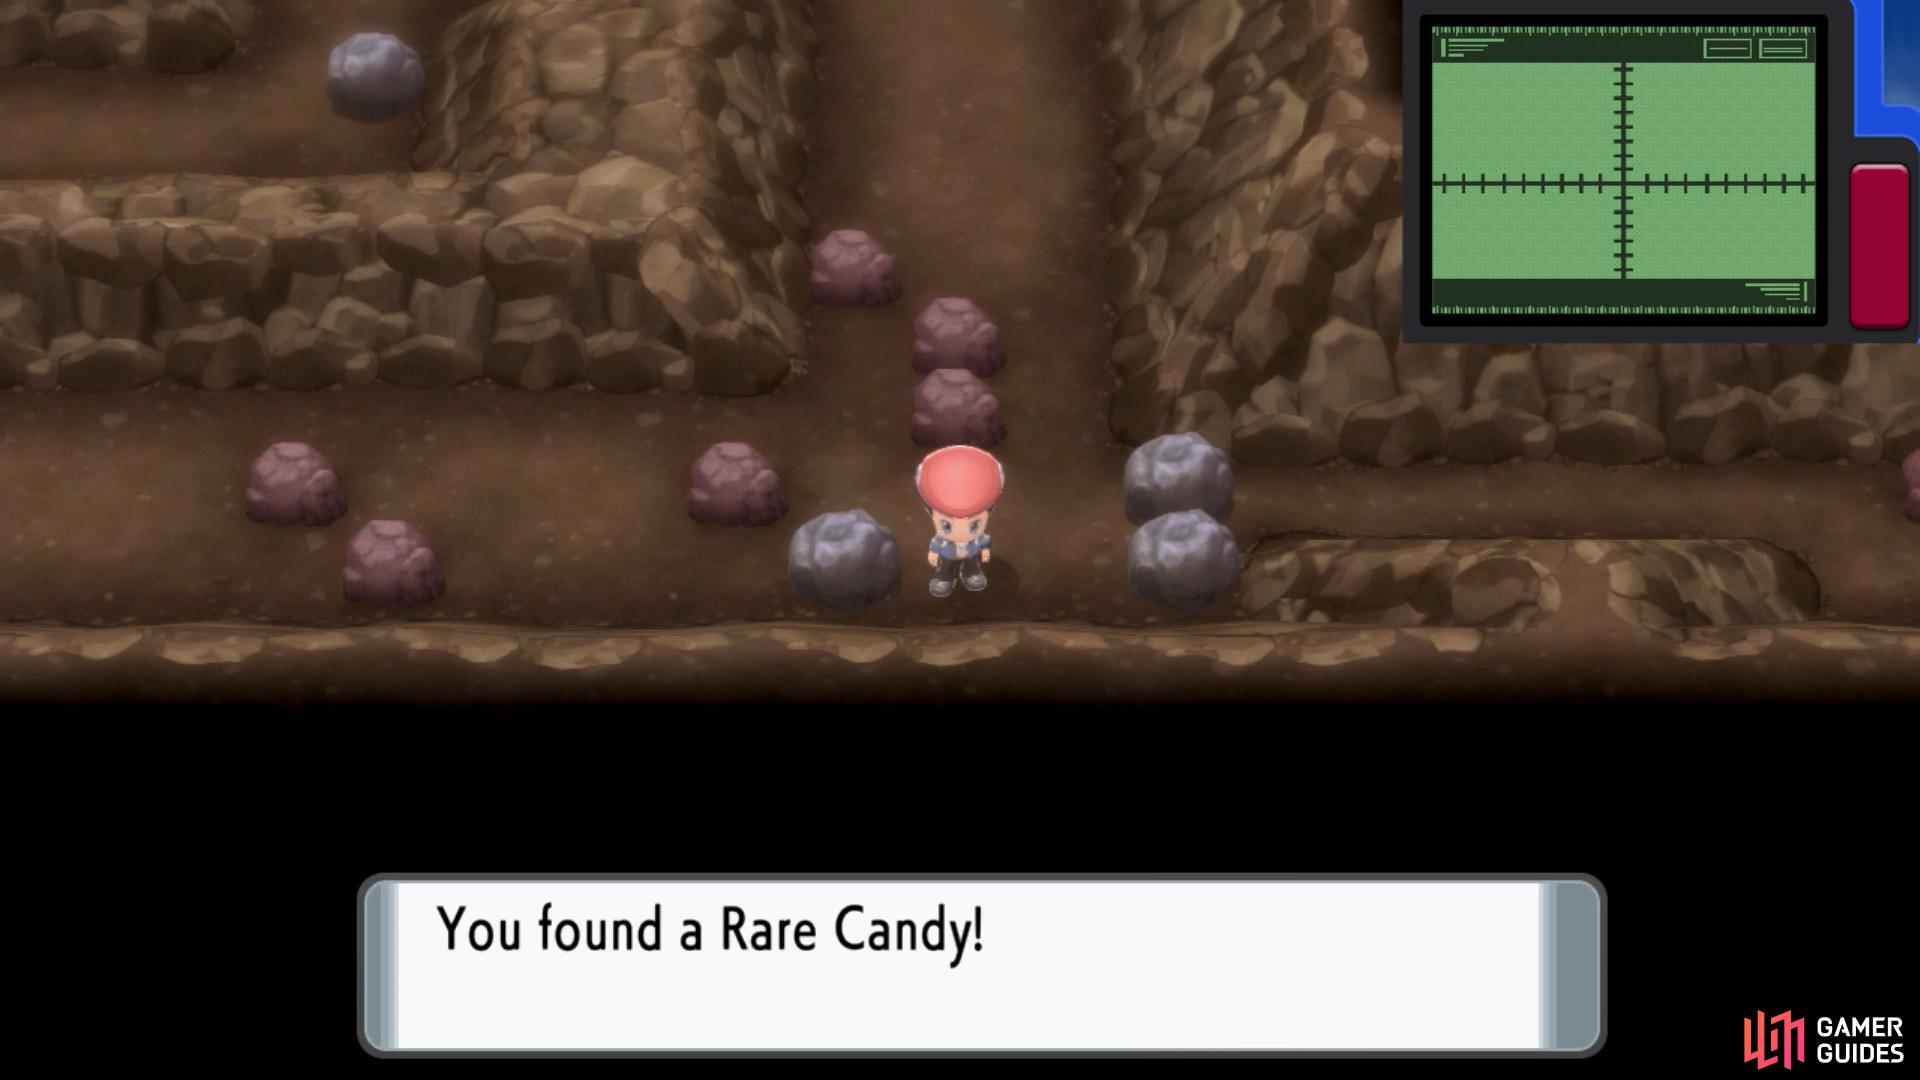
Hidden Rare Candy.
Push the left boulder south, then go around and smash the breakable rock just below it. Now shove the same boulder north, so it’s back in its original position. Now you can squeeze through to the right. Smash another rock, then get ready to intercept Ace Trainer Sydney to the east.
Head east where another boulder puzzle awaits. Push the top-most boulder one space towards the right. Don’t push it further, because there’s no space ahead. Next, push the left boulder towards the left. Search the wall it was covering for a hidden Rare Candy. Yum.
That’s all you can do right now. Head north and beat up Veteran Clayton. Then go down the stairs past him. After going down the stairs, go back up. Now head south back to the three boulders, whose positions have reset. Push the top bottom south; you can now head east through the narrow path.
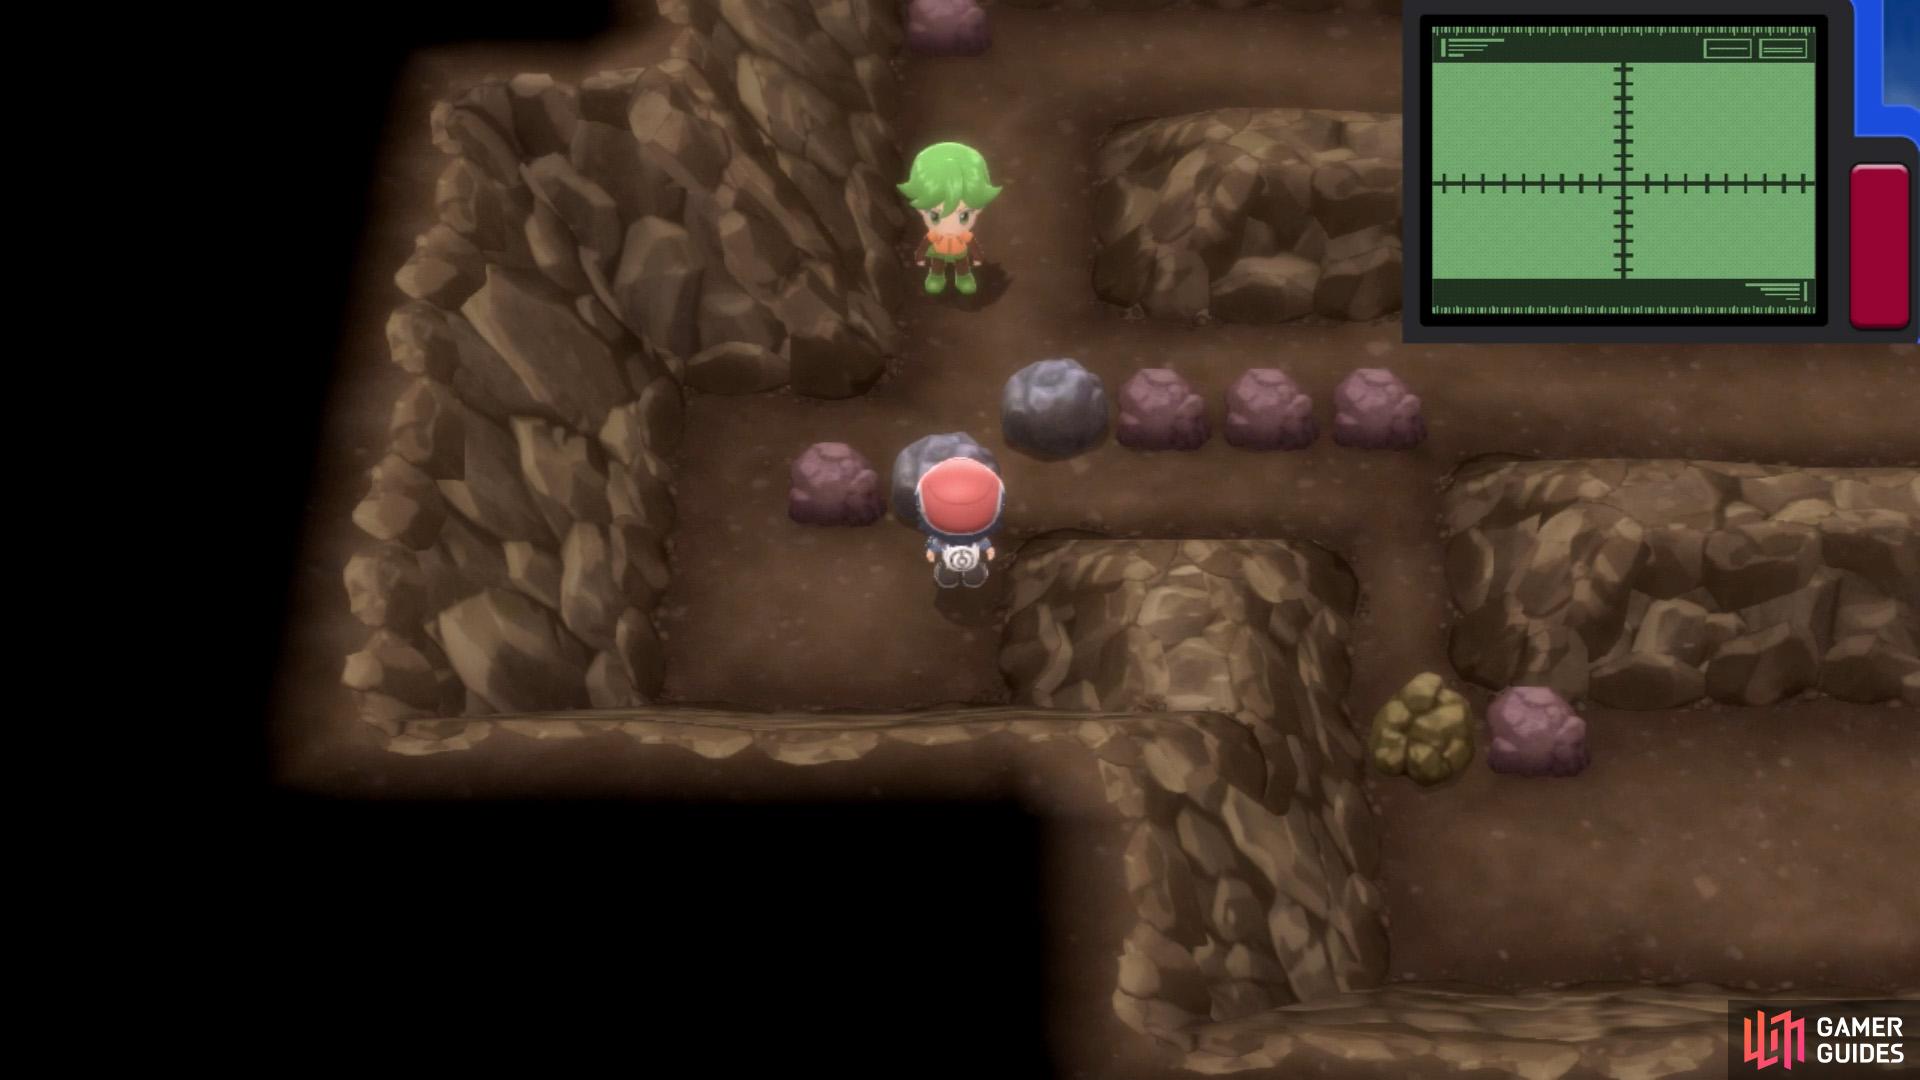
Here’s what the easternmost boulder puzzle looks like when solved.

TM71 Stone Edge.
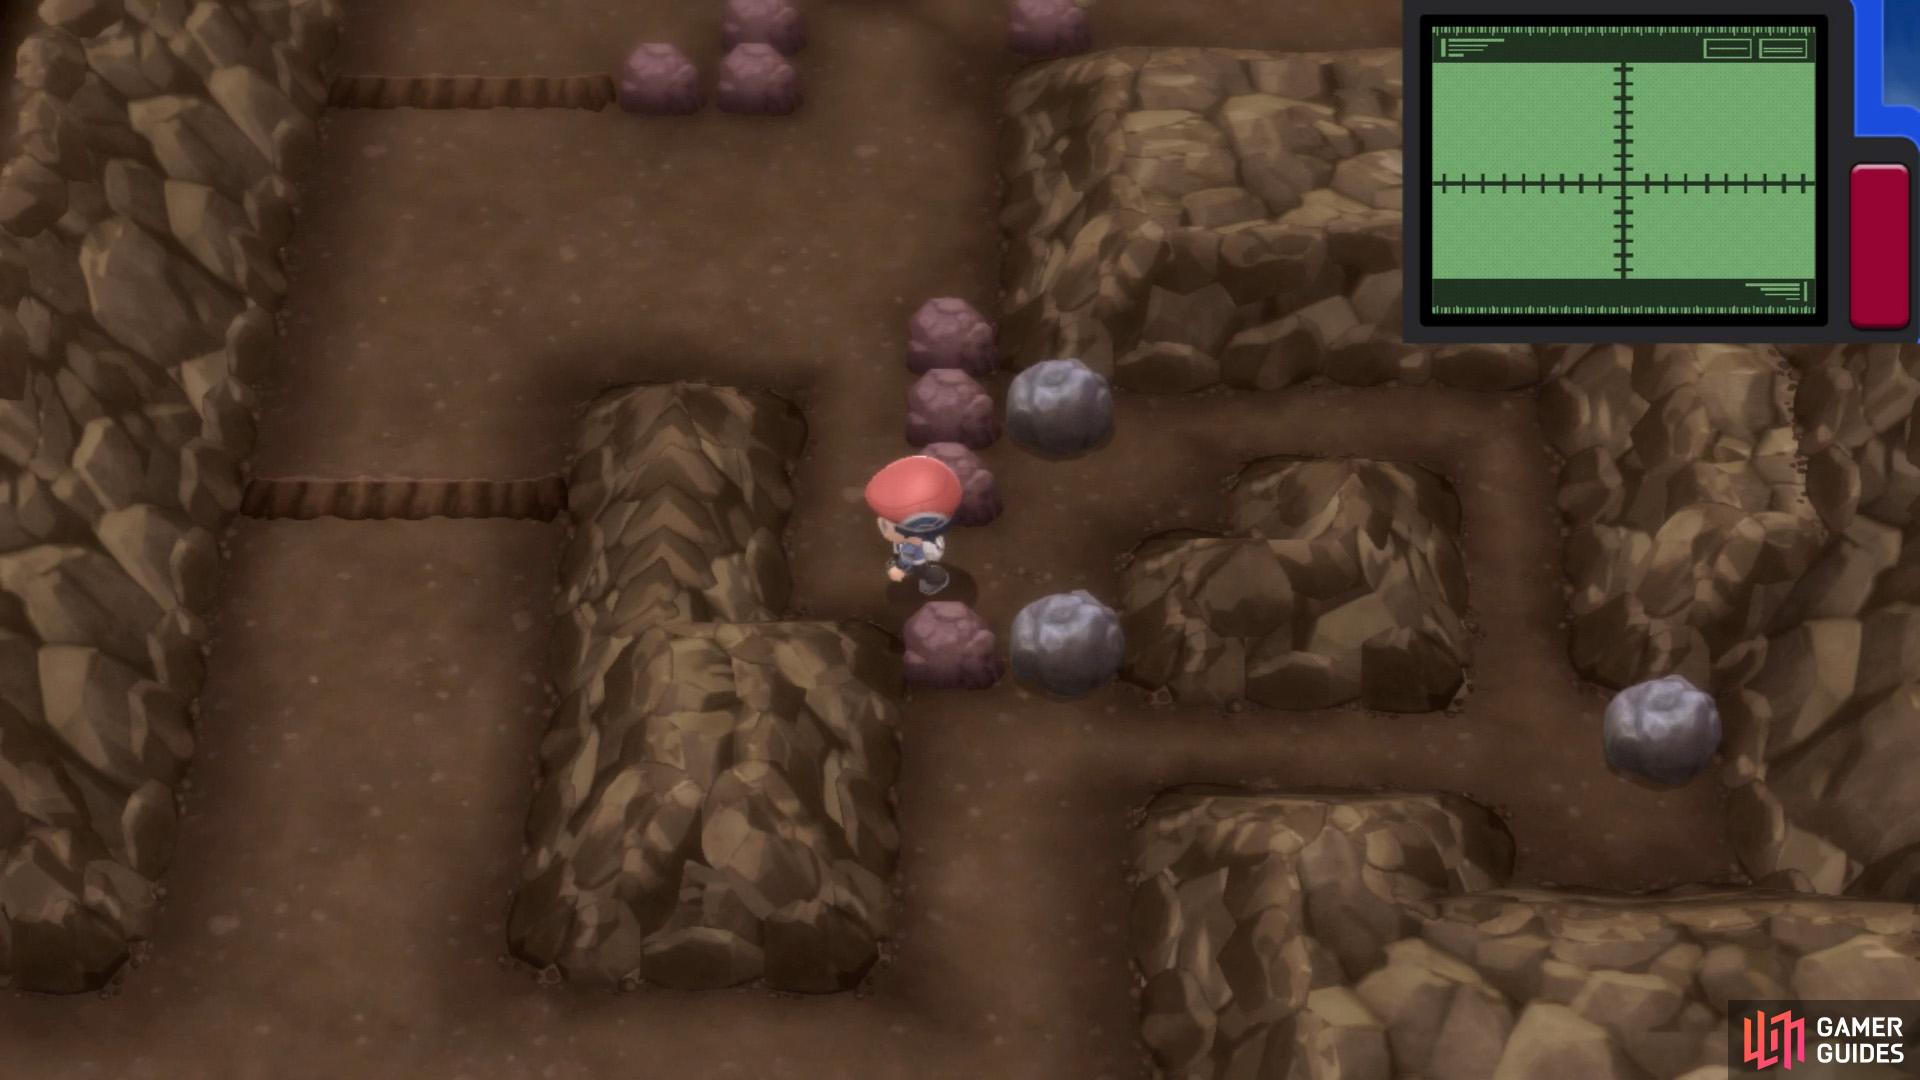
Further east, more boulders to push! Carefully push the first boulder all the way right. Go up along the narrow path and shove the second boulder left one square. Smash the rock below the second boulder, then push the third boulder south. Ta-da! You can go left and up through another narrow path.
Above, weave your way through the bike ramps, making your way east. After the corner, a pair of Ace Trainers want a piece of you. Beyond, there are more bike ramps. Switch to 4th gear and jump over the first two ramps, then stop! Just before the third ramp, go up and grab TM71 Stone Edge.
Return to the Ace Trainer pair and go over the first set of ramps at 4th gear. Grab the Full Restore from the corner. That’s everything on this floor (for now). Backtrack until you’re at the stairs north of Veteran Clayton, then go down them again.
1F (Center)
Please don’t jump over this ledge!
Some fights you can’t avoid.
Arriving from 2F, you’ll be near the west side, roughly halfway up. Head across the bridge ahead, then Rock Climb to the floor. Being very careful not to jump over the ledge below, go left and up. (If you jumped over the ledge, you’ll need to go left and up, then go all the way through 2F again.)
Further north, there’s a really long ledge. Follow it east towards Black Belt Miles. Beat up Miles, then continue east down the stairs to the next area.
B1F
Begin by going down the steps on the right. A short distance away, there are more steps above, leading to a subterranean lake. Use HM Surf to enter the water. Now swim towards the gap near the top-right, where you’ll have to square off against Psychic Valencia. Once she admits defeat, swim around so you’re behind her, then enter the pool to her south-east.
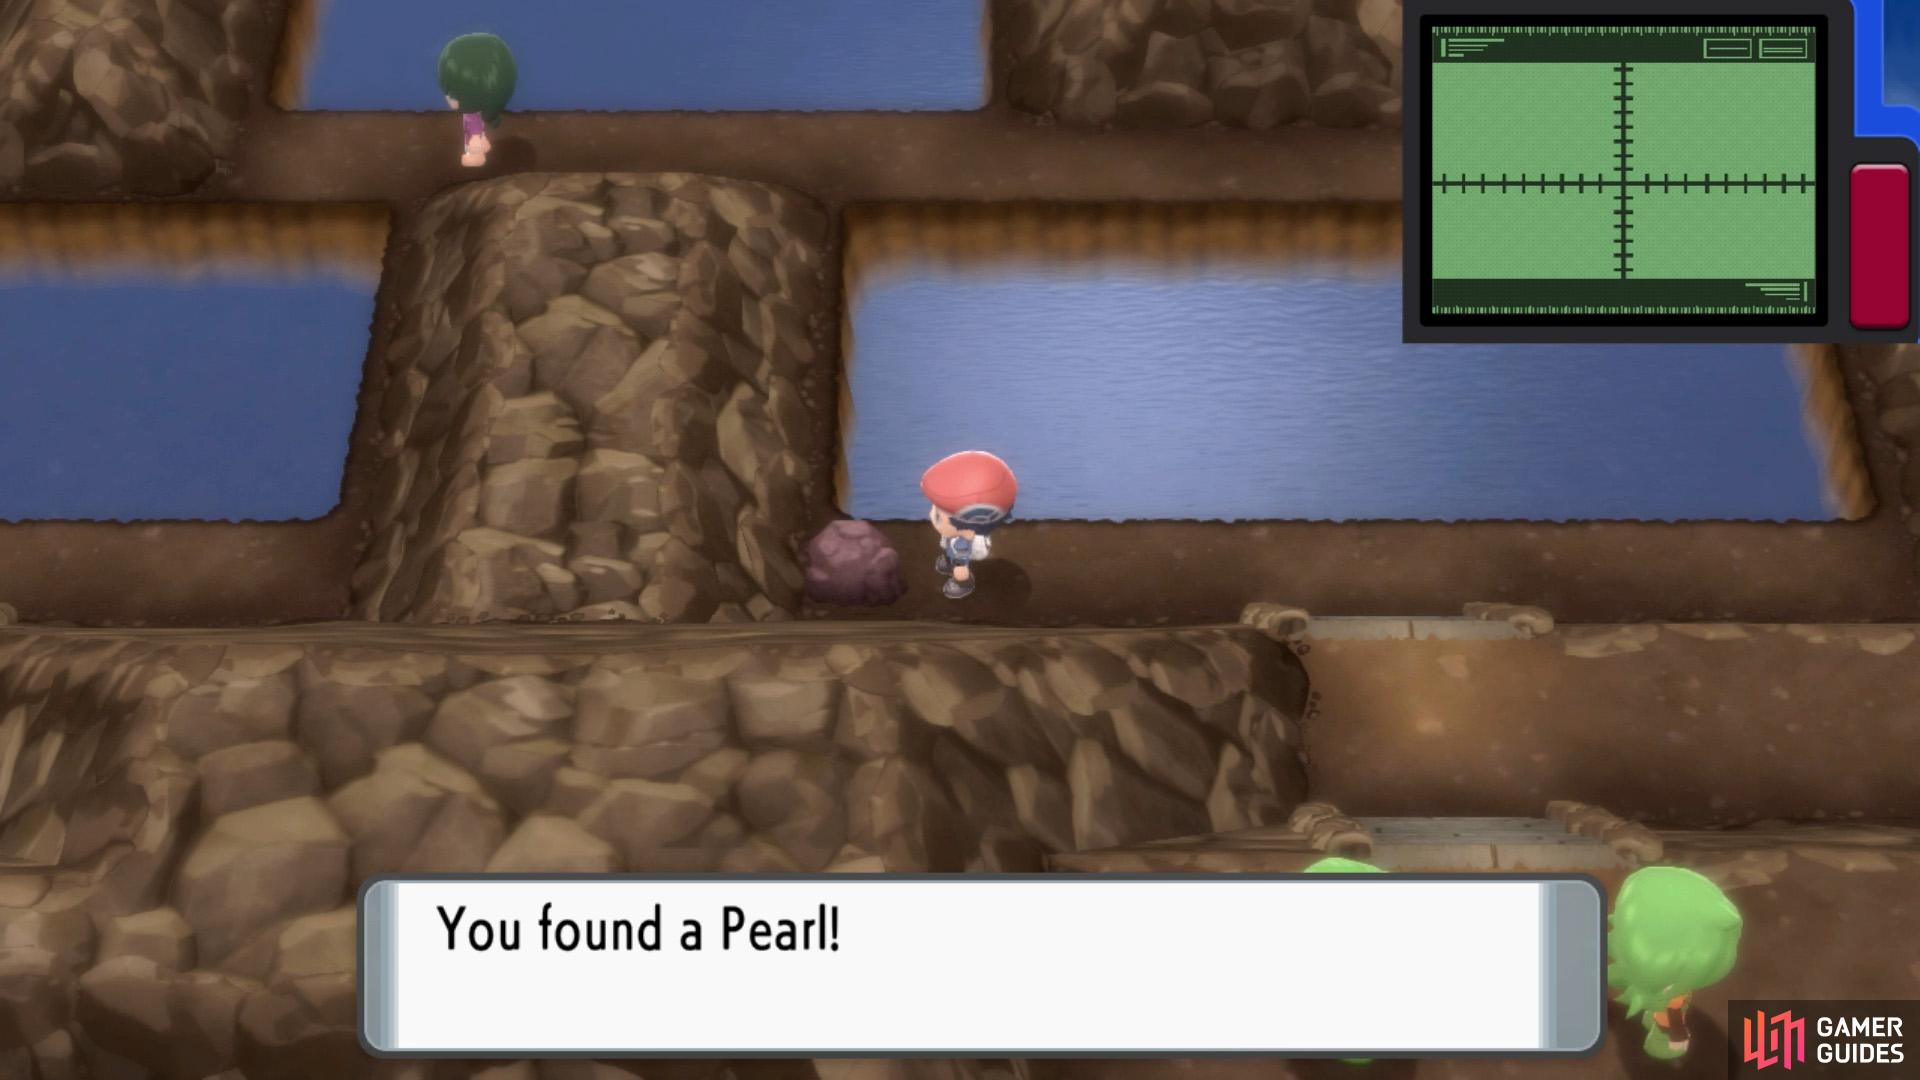
Hidden Pearl.
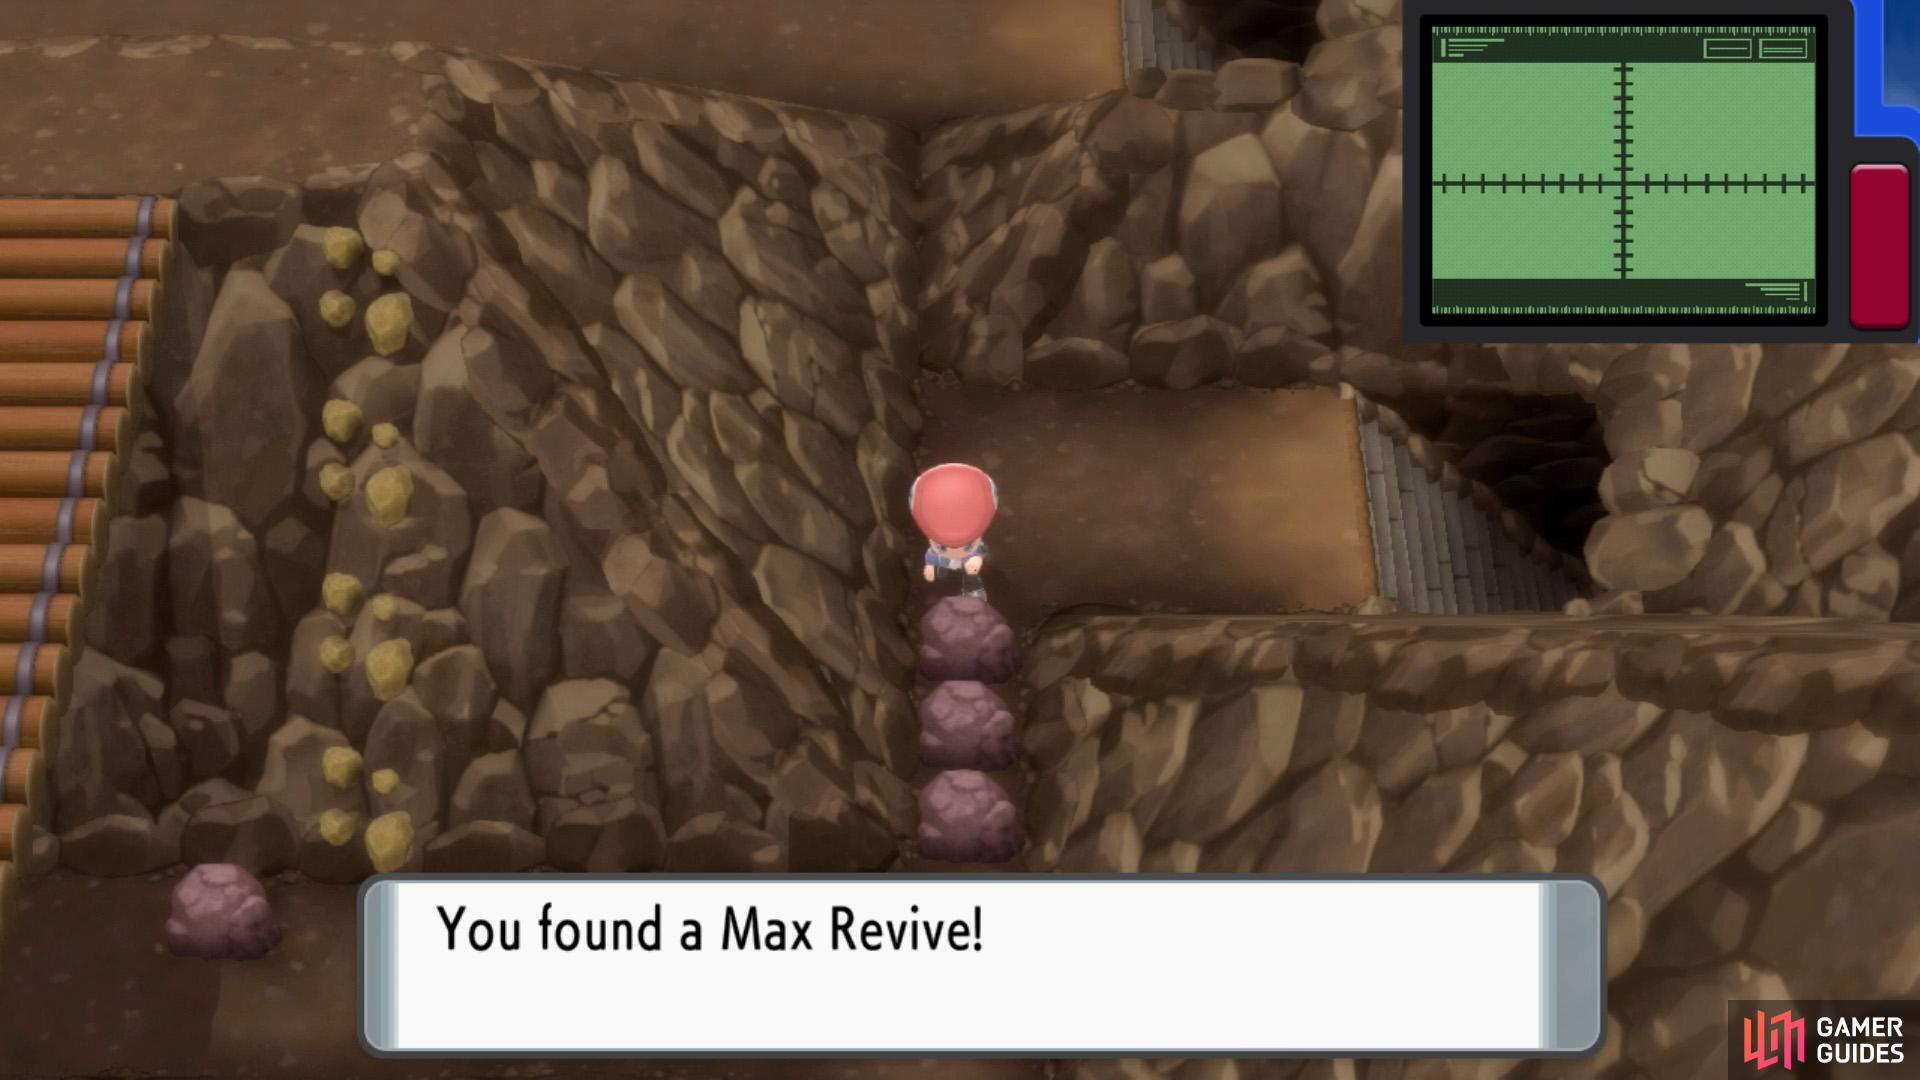
Hidden Max Revive.
Head south back to land. Before going up the steps, search the rock on the left for a hidden treasure: a Pearl. Now go up the steps to the south. After the second steps, two Ace Trainers are running around in a circle. Should we interrupt or…? Anyway, dive into the water below them and swim all the way west.
On the other side, ascend the stairs to reach an isolated part of 1F. Retrieve the Rare Candy from the ground and search the nearby rock to the south-west for a hidden Max Revive. Once you’re done, go all the way back towards Psychic Valencia near the center of 2F.
This time, swim north from her. Up here, there’s a waterfall. If you want, you can also fight Ace Trainer Henry, who’s jogging on the right. Ascend the waterfall with HM Waterfall, then proceed west until the next strip of land. Before landing, head south, down a second waterfall. Pick up TM59 Dragon Pulse, then go back up.
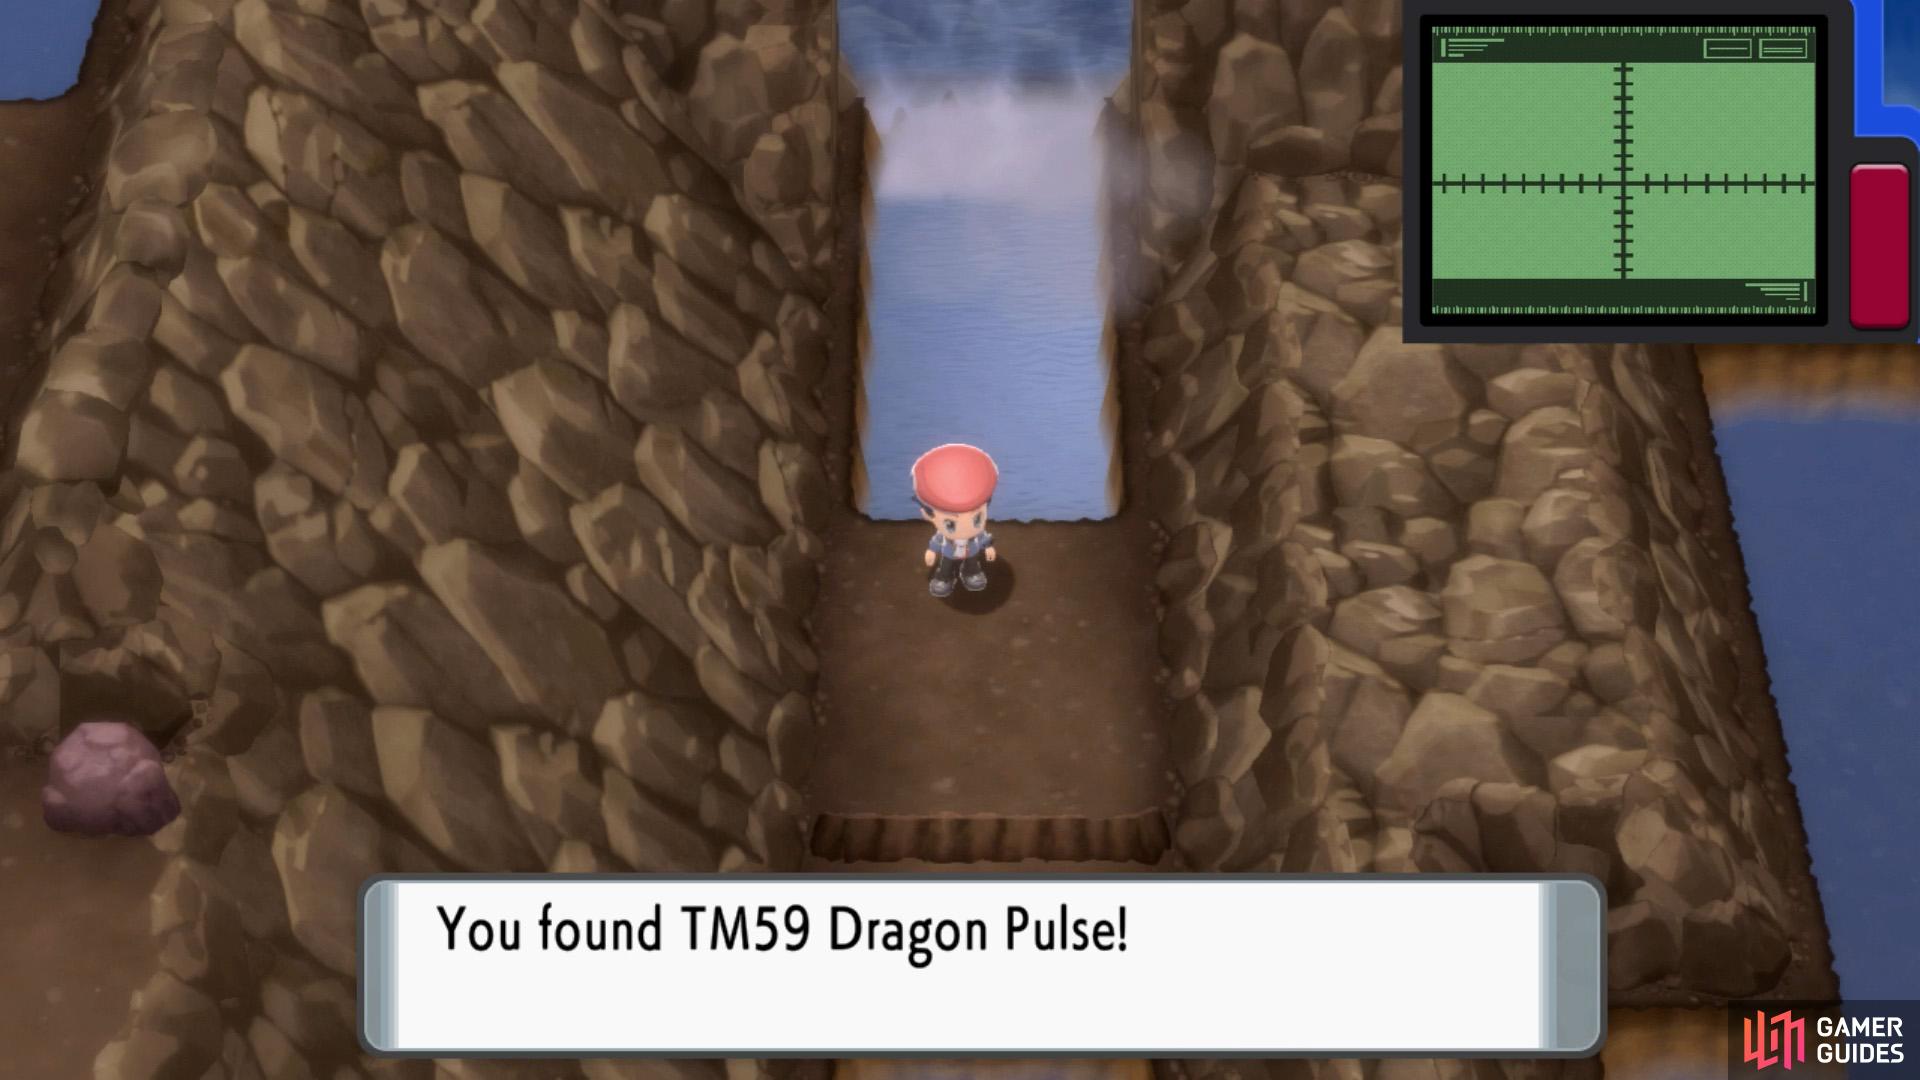
TM59 Dragon Pulse.
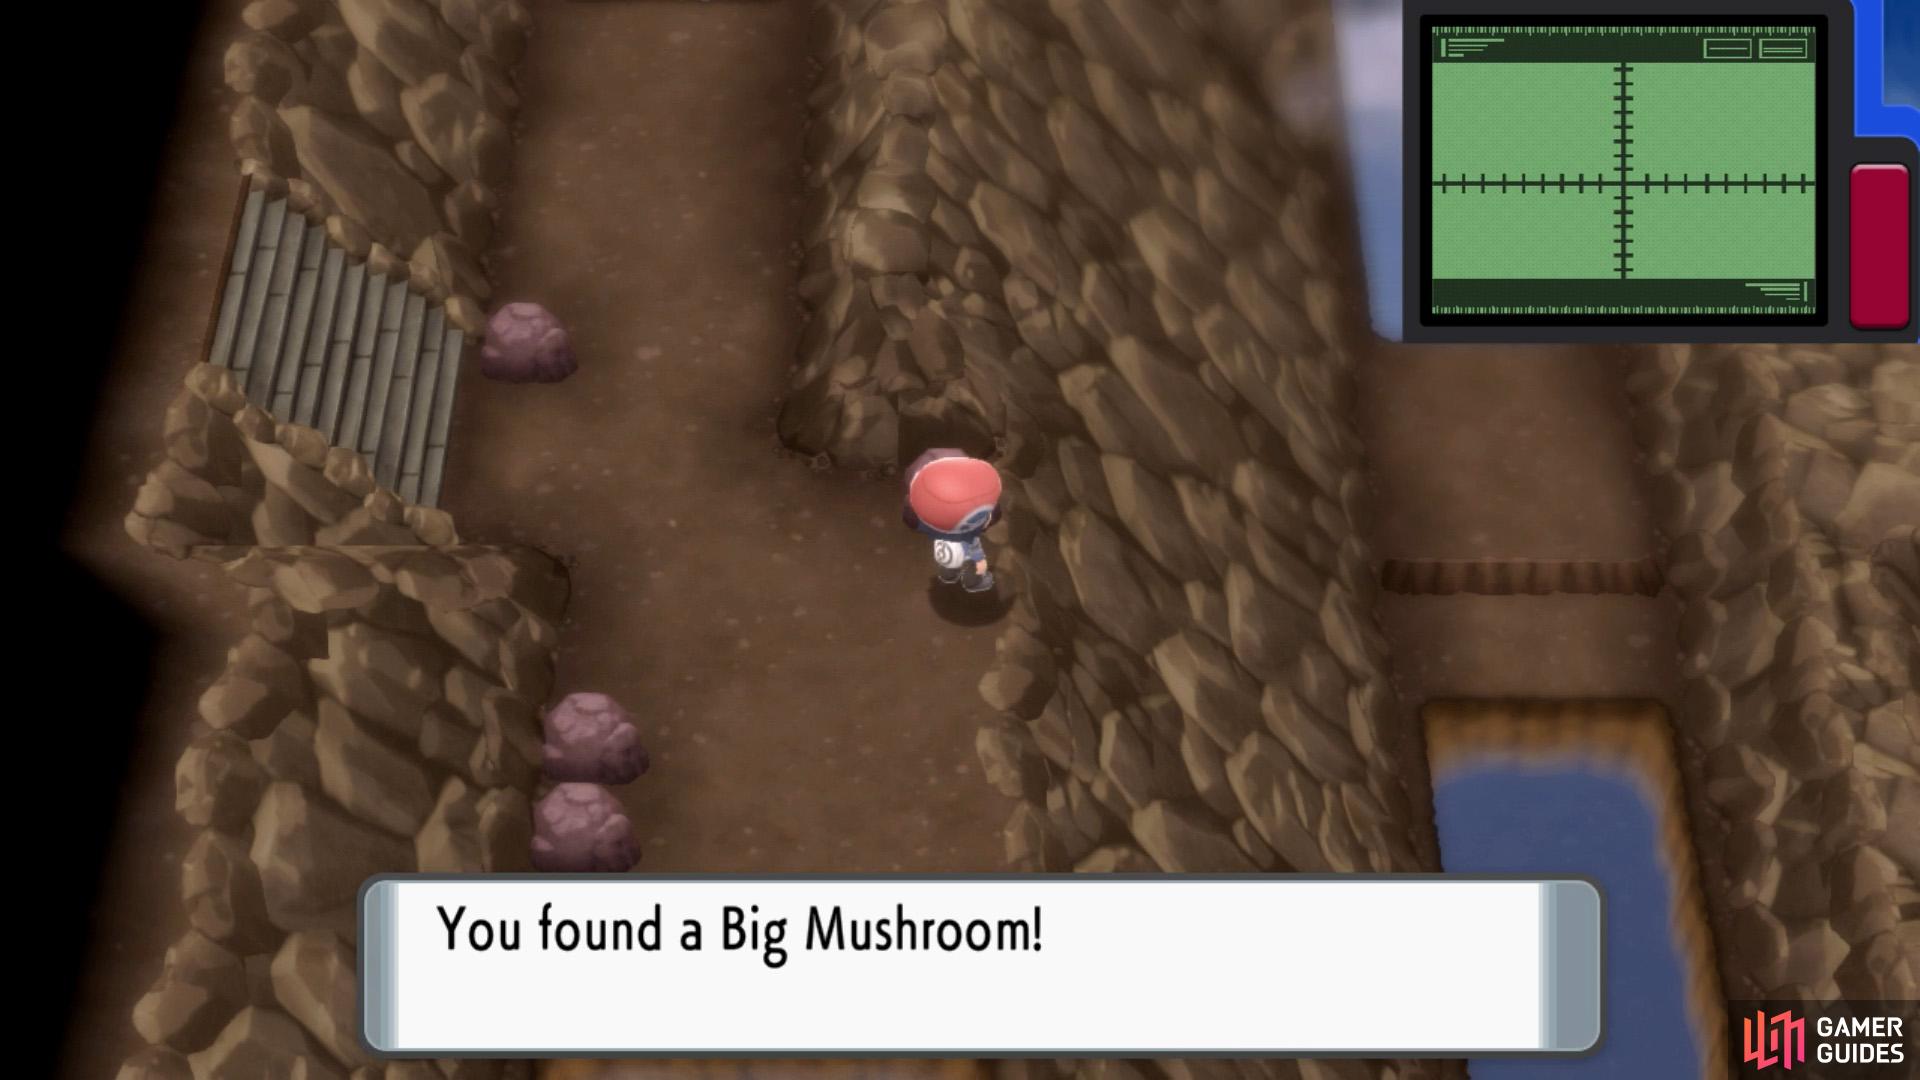
Hidden Big Mushroom.
Hop onto the strip of land from before and challenge Dragon Tamer Andre. Next, enter the water to the west. Follow the stream south until you reach more land. Further south, there are stairs on the left. Before going that way, search the rock in the corner opposite the stairs for a Big Mushroom.
1F (North)
After passing through B1F, you’ll be near the north-east corner of 1F, on the ground. Head west, underneath the bridge. Soon, there’s a T-junction with a Veteran on the left. Knock the Veteran down a peg or two, then carry on west and later south after the corner. Pick up the Razor Claw and return to the Veteran.
Next, go up the nearby steps to higher ground. Head across the bridge towards the next hill. Then go around the hill from the top, passing underneath the bridge from earlier. On the other side, there’s a bloke blocking the entrance to another area of Victory Road–you cannot go past until you’ve beaten the game. For now, scoop up the nearby Zinc.
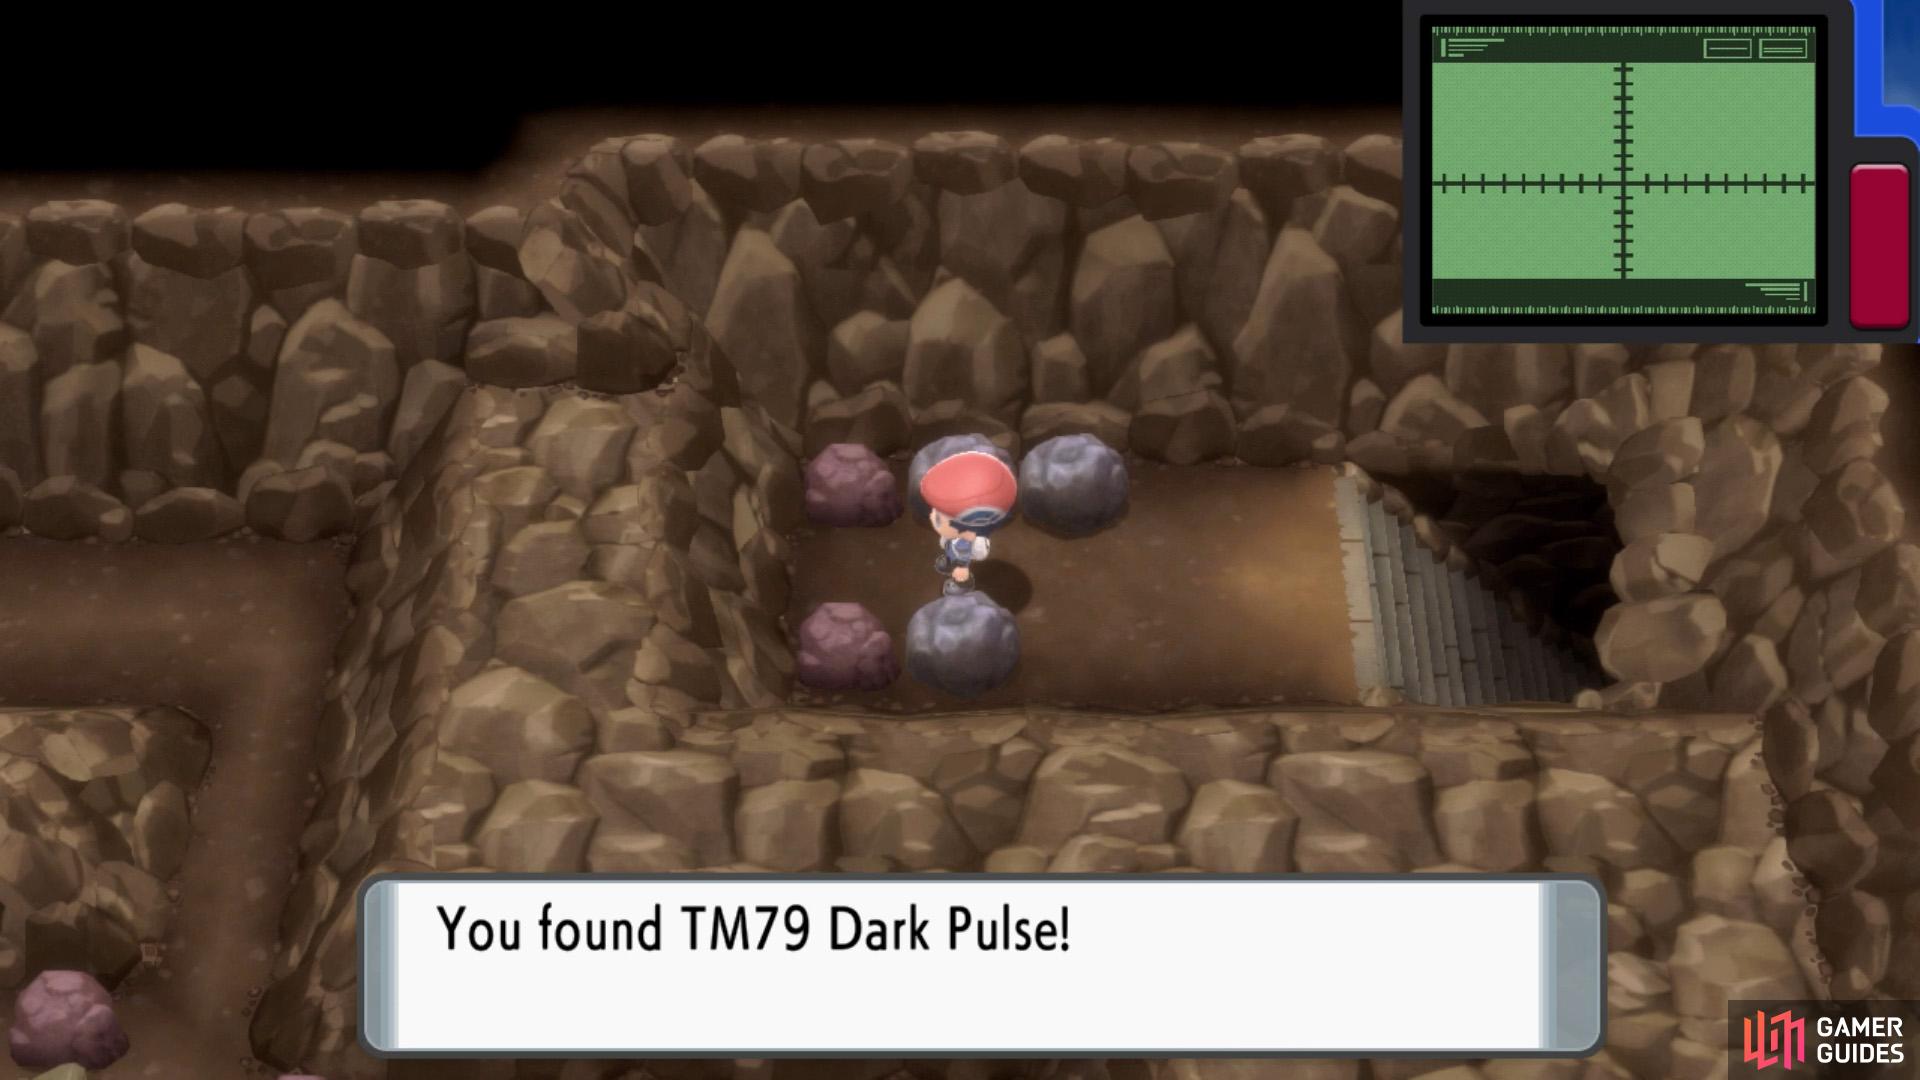
TM79 Dark Pulse.
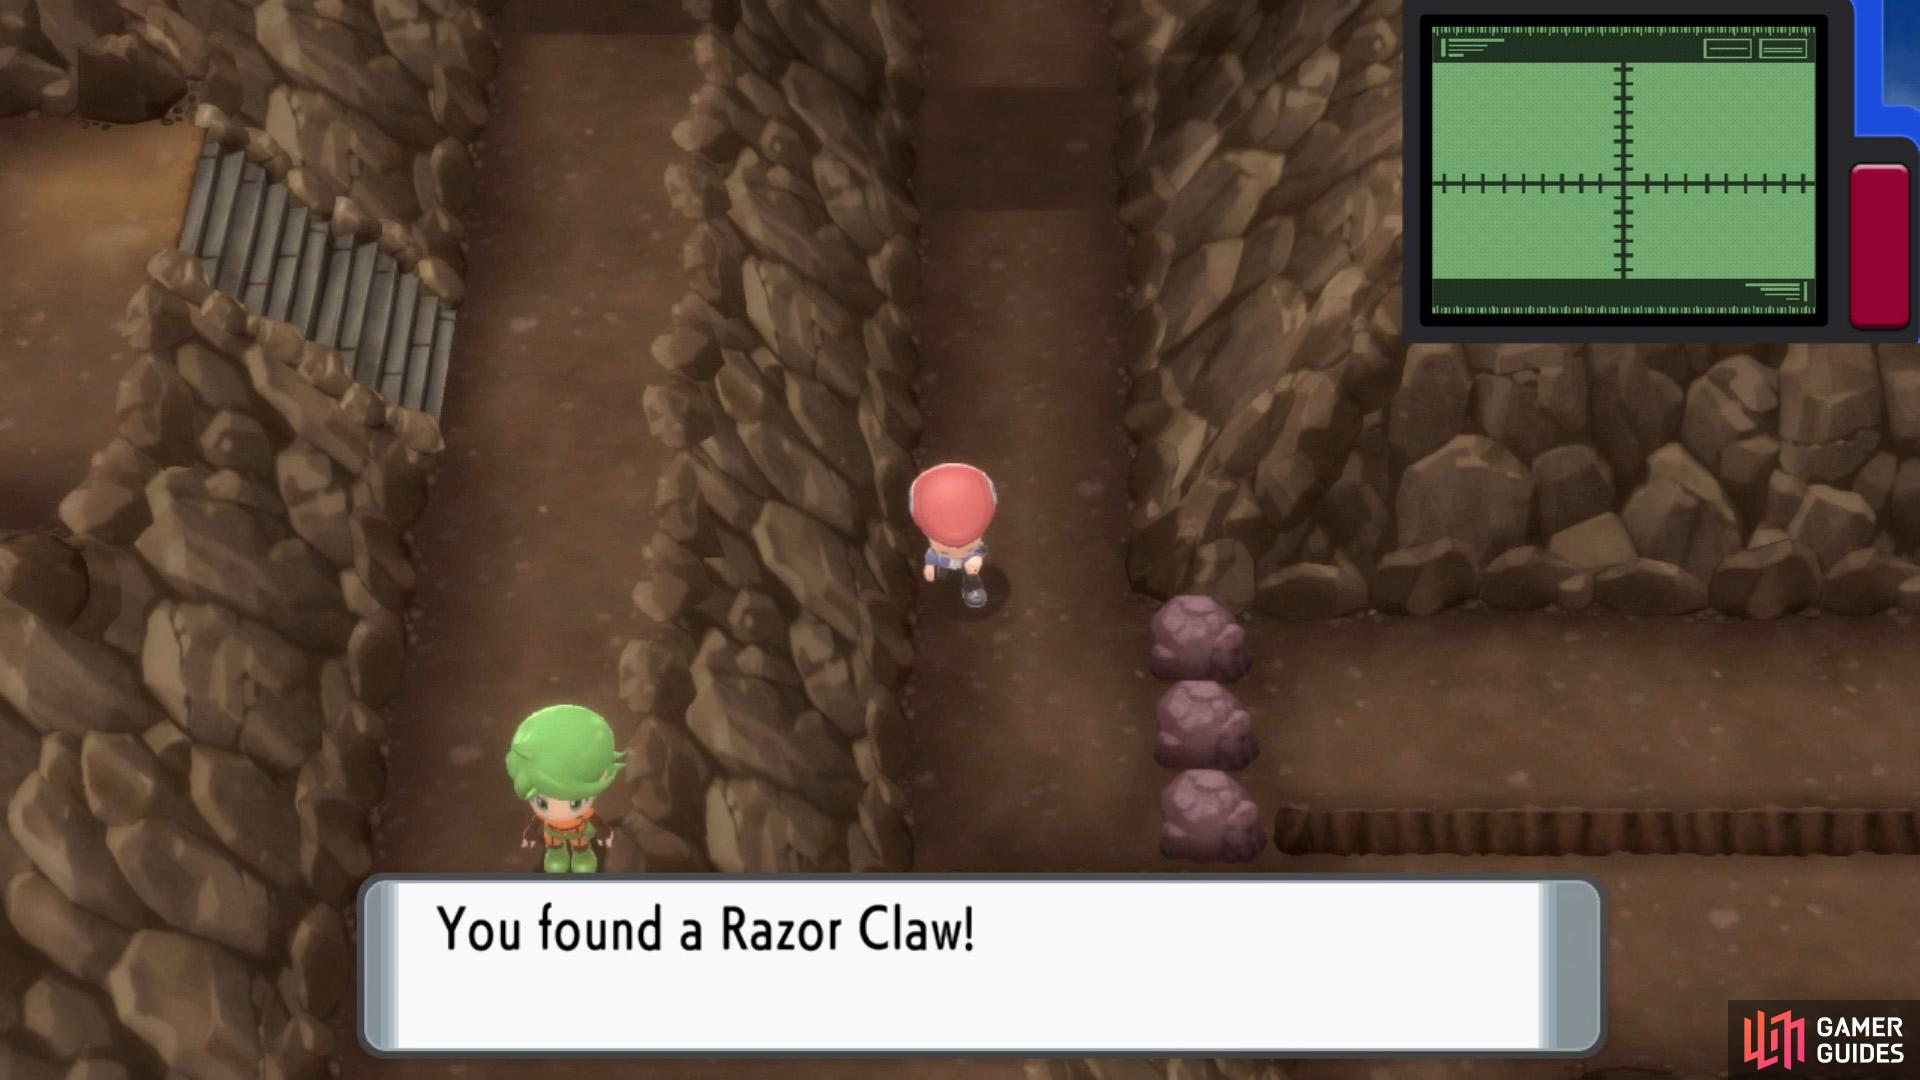
Razor Claw.
Return to the same Veteran again. Now go south until you reach the rocks in a L shape, near the center point of the really long ledge. Try not to jump off the ledge, OK? Carefully head west towards a rocky wall you can ascend with Rock Climb. Cross over the bridge and go up the stairs at the end.
You’ll arrive at an isolated area of 2F. Here’s a little boulder puzzle that Zelda fans should recognize. Push the top-most and bottom-most boulders 1 space left. Then push the middle boulder up or down. Grab TM79 Dark Pulse, then go backwards until you’re at the rocks in a L shape.
This time, go east and ascend another rocky wall with HM Rock Climb. At the top, you’ll need to fight your way past Dragon Tamer Clinton. Once he surrenders, head north across the bridge you went under twice. From here, continue north to reach the exit. Don’t worry: nobody will try and stop you.
Pokémon Encounters
Wild Pokémon - Ground (1F)


Wild Pokémon - Ground (2F)


Wild Pokémon - Ground (B1F)


Wild Pokémon - Surfing
| Pokémon | Type | Encounter Rate |
|---|---|---|
  Golbat Golbat |
100% |
Wild Pokémon - Fishing


Item Locations
| Item | Location |
|---|---|
| TM41 Torment | 1F: Near south-west corner, north from Psychic Bryce. |
| Ultra Ball | 1F: Near south-east corner, hidden among the two rocks. |
| Full Heal | 1F: Near center. Across the bridge north from Bird Keeper Hana. |
| Max Elixir | 1F: Near north-west corner, hidden in rock north from Ace Trainer Mariah. |
| Full Restore | 2F: West from the entrance. Hidden in wall behind the 1st bike ramp. |
| Max Ether | 2F: North-west corner. Use 3rd gear to jump over the 2nd bike ramp. |
| Rare Candy | 2F: Towards the south. Hidden in the wall covered by leftmost boulder south from Veteran Clayton. |
| Full Restore | 2F: Towards the east side. Jump across the first set of bike ramps in 4th gear. |
| TM71 Stone Edge | 2F: East side, towards the far end. Jump across the second set of bike ramps in 4th gear, but stop before the 3rd ramp. |
| Pearl | B1F: Across the pool south-east from Psychic Valencia. Hidden in the rock on the left. |
| Rare Candy | 1F: Isolated area towards the east. Accessible by heading through the southern portion of B1F. |
| Max Revive | 1F: Isolated area towards the east. Hidden in the rock south-east from the Rare Candy. |
| TM59 Dragon Pulse | B1F: Go south from the right side of Dragon Tamer Andre (near the north-west corner). |
| Big Mushroom | B1F: Towards the west. Hidden in the corner rock opposite the upper stairs leading back to 1F. |
| Razor Claw | 1F: Towards the west. Head all the way west and then south from the upper stairs from B1F. |
| Zinc | 1F: Towards the east. Go south from the left side of Veteran Edgar (towards the north), then go across the bridge and around the back of the next hill. |
| TM79 Dark Pulse | 2F: Isolated area towards the north. Accessible from the northern potion of 1F, by heading south from the right of Veteran Edgar, then using Rock Climb towards the west. |
Trainer Battles (1F)
Psychic Bryce


Bird Keeper Hana


Ace Trainer Mariah


Black Belt Miles
| Pokémon | Level | Type |
|---|---|---|
  Machamp Machamp |
49 |
Veteran Edgar
| Pokémon | Level | Type |
|---|---|---|
  Tentacruel Tentacruel |
45 | |
  Golem Golem |
45 | |
  Empoleon Empoleon |
48 |
Dragon Tamer Clinton


Trainer Battles (2F)
Ace Trainer Omar


Ace Trainer Sydney


Veteran Clayton


Double Team Kay and Al


Trainer Battles (B1F)
Psychic Valencia


Double Team Pat and Jo
Ace Trainer Henry
| Pokémon | Level | Type |
|---|---|---|
  Honchkrow Honchkrow |
49 |
Dragon Tamer Andre
| Pokémon | Level | Type |
|---|---|---|
  Gabite Gabite |
49 |
No Comments