
This is a walkthrough for Turnback Cave, including what Pokémon you can encounter and items you can find.

(1 of 2) Turnback Cave has a thick fog.


Turnback Cave has a thick fog. (left), Even when the fog’s gone, you may get lost for other reasons… (right)
Turnback Cave is a postgame dungeon located at the back of Sendoff Spring, which itself is found at the end of the Spring Path, accessible by heading east from the lower half of Route 214. Despite its name, it’s less of a “cave” and more of a “Lost Woods” type of maze. Deep within, the Legendary Pokémon  Giratina awaits.
Preparing for Giratina
Before heading for Turnback Cave, it would help immensely if you brought two things with you (in addition to your usual Legendary catching gear).
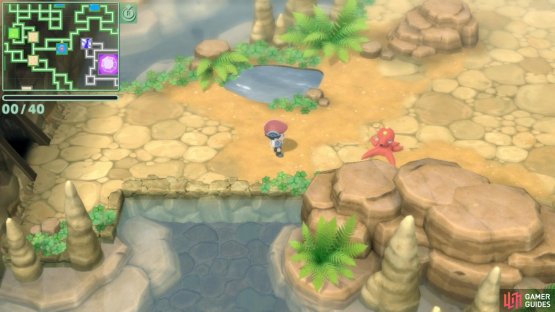
(1 of 2) An Octillery in Fountainspring Cave.


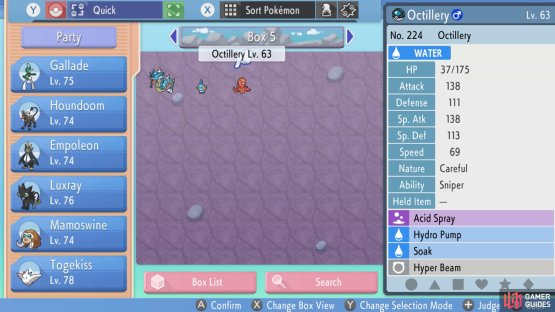
An Octillery in Fountainspring Cave. (left), High Level Octillery will already know Soak. (right)
One, we highly recommend a Pokémon that knows Soak. Since Giratina is a Ghost-type, it’s immune to False Swipe, but not if you change it to a Water-type with Soak. You could catch a high Level  Octillery in a Fountainspring Cave, for instance.
Alternatively,  Golduck and
  Seaking can be found in Sendoff Spring, just before entering Turnback Cave. Golduck must be Level 44 or under, while Seaking must be Level 44 or higher (unless you want to use Heart Scales for Golduck or Level Up Seaking).
Two, do yourself a favor and obtain a  Shedinja. You can catch
  Nincada in a Grassland Cave, then train it one Level so it evolves into
  Ninjask. At the same time, make sure there’s an empty space in your party. That way, you’ll also get Shedinja at the same time as Ninjask. Shedinja will be invaluable for handling Giratina.
How to Get Through Turnback Cave
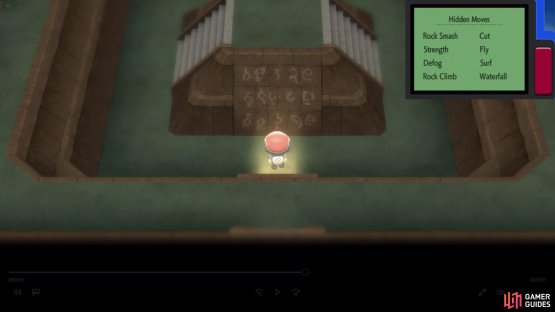
If you enter Turnback Cave without any advice, there’s a good chance you’ll be very confused. Anyway, first things first, use Defog to clear away the fog so you can see. In front of the entrance, there’s a plaque that offers a very vague clue.
How it works is that every room in Turnback Cave has four doorways–located to the north, east, south and west. When you go through a doorway that isn’t the doorway you came from, you’ll arrive in a random room.
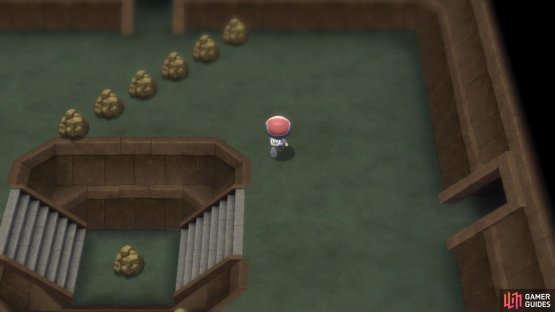
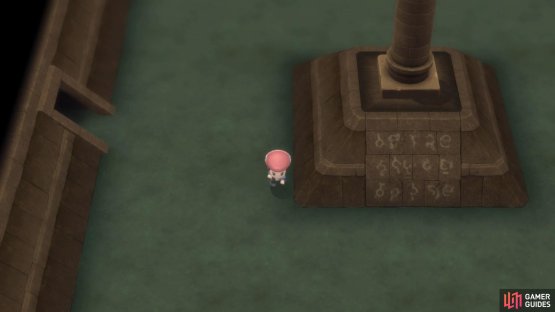
(1 of 2) A filler room.


A filler room. (left), A pillar room. (right)
This random room may have a bizarre arrangement of cracked rocks that you can Rock Smash–these are “filler” rooms that serve no purpose. Or it may have a single pillar in the center, with a rectangular base and a plaque similar to the entrance one–these are pillar rooms.
Your goal is to find 3 pillar rooms, while going through than 30 or less rooms. The chance of finding a pillar room or a filler room is completely random and there’s no method involved: just pure luck. If you enter more than 30 rooms, you’ll return back at the entrance room and must start again (or give up).
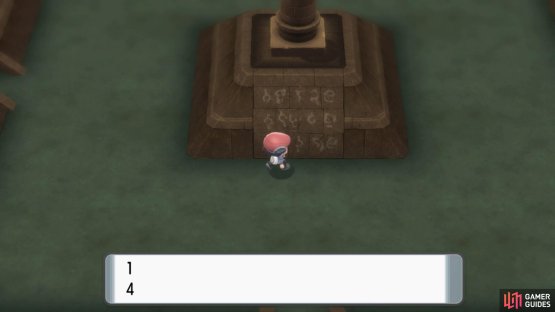
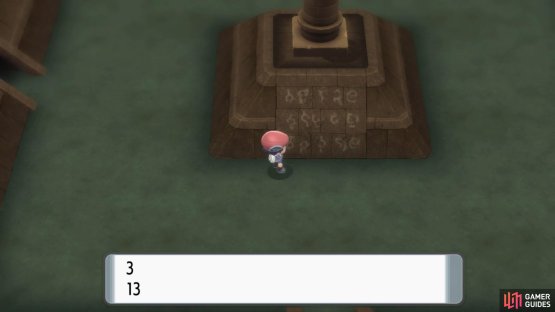
(1 of 2) We reached the first pillar room in 4 rooms.


We reached the first pillar room in 4 rooms. (left), Phew, it took us 13 rooms to reach the last pillar room. (right)
Also, if you go through a doorway that’s the same as the one you came from, you’ll also be booted back to the entrance room. So if you need to leave, just turn back… get it?
Should you reach the 3rd pillar room within 30 rooms, the next room (provided you don’t turn back) will be the room with Giratina. From there, you can interact with Giratina to battle and catch it.
Legendary Pokémon
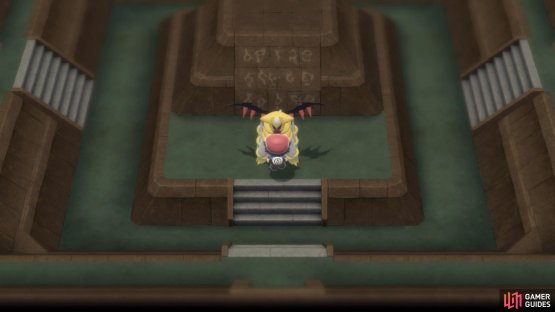
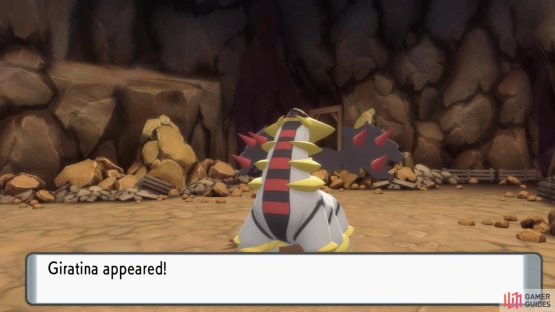
(1 of 2) Giratina’s chamber.


Giratina’s chamber. (left), You’ll fight Giratina in its Altered Forme. (right)
| Pokémon | Level | Type |
|---|---|---|
| Giratina (Altered) |
70 |
Giratina completes the trinity that includes  Dialga and
  Palkia. Of the three, it’s more defensively oriented. Therefore surviving Giratina isn’t too tricky, but wearing it down might prove cumbersome–moreso, when you consider some other factors.
Attack-wise, Giratina can use Shadow Force to disappear one turn and attack the next (like Dig or Dive, but it can bypass Protect/Detect/etc.), Aura Sphere to annoy Dark-types and Dragon Claw for pitiful STAB. It can also use Pain Split to average together your Pokémon’s HP and its HP, which is probably the most annoying thing here.

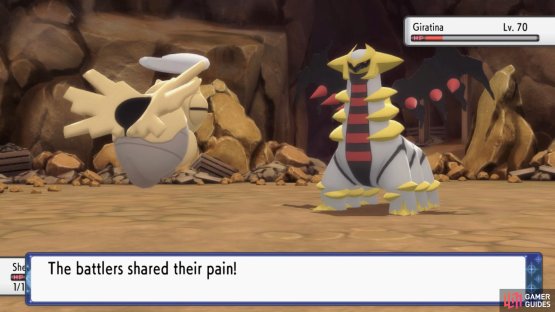
(1 of 2) Shedinja is immune to Dragon Claw and Aura Sphere.

Shedinja is immune to Dragon Claw and Aura Sphere. (left), Also, whenever Giratina uses Pain Split, its own HP will be reduced! (right)
As mentioned, your Pokémon shouldn’t struggle to stay alive. If in doubt, Fairy-types are great for walling duties, as they’re immune to Dragon Claw and take reduced damage from Aura Sphere. Pain Split is the biggest nuisance here, as it allows Giratina to restore its HP by reducing yours–the worst of both worlds.
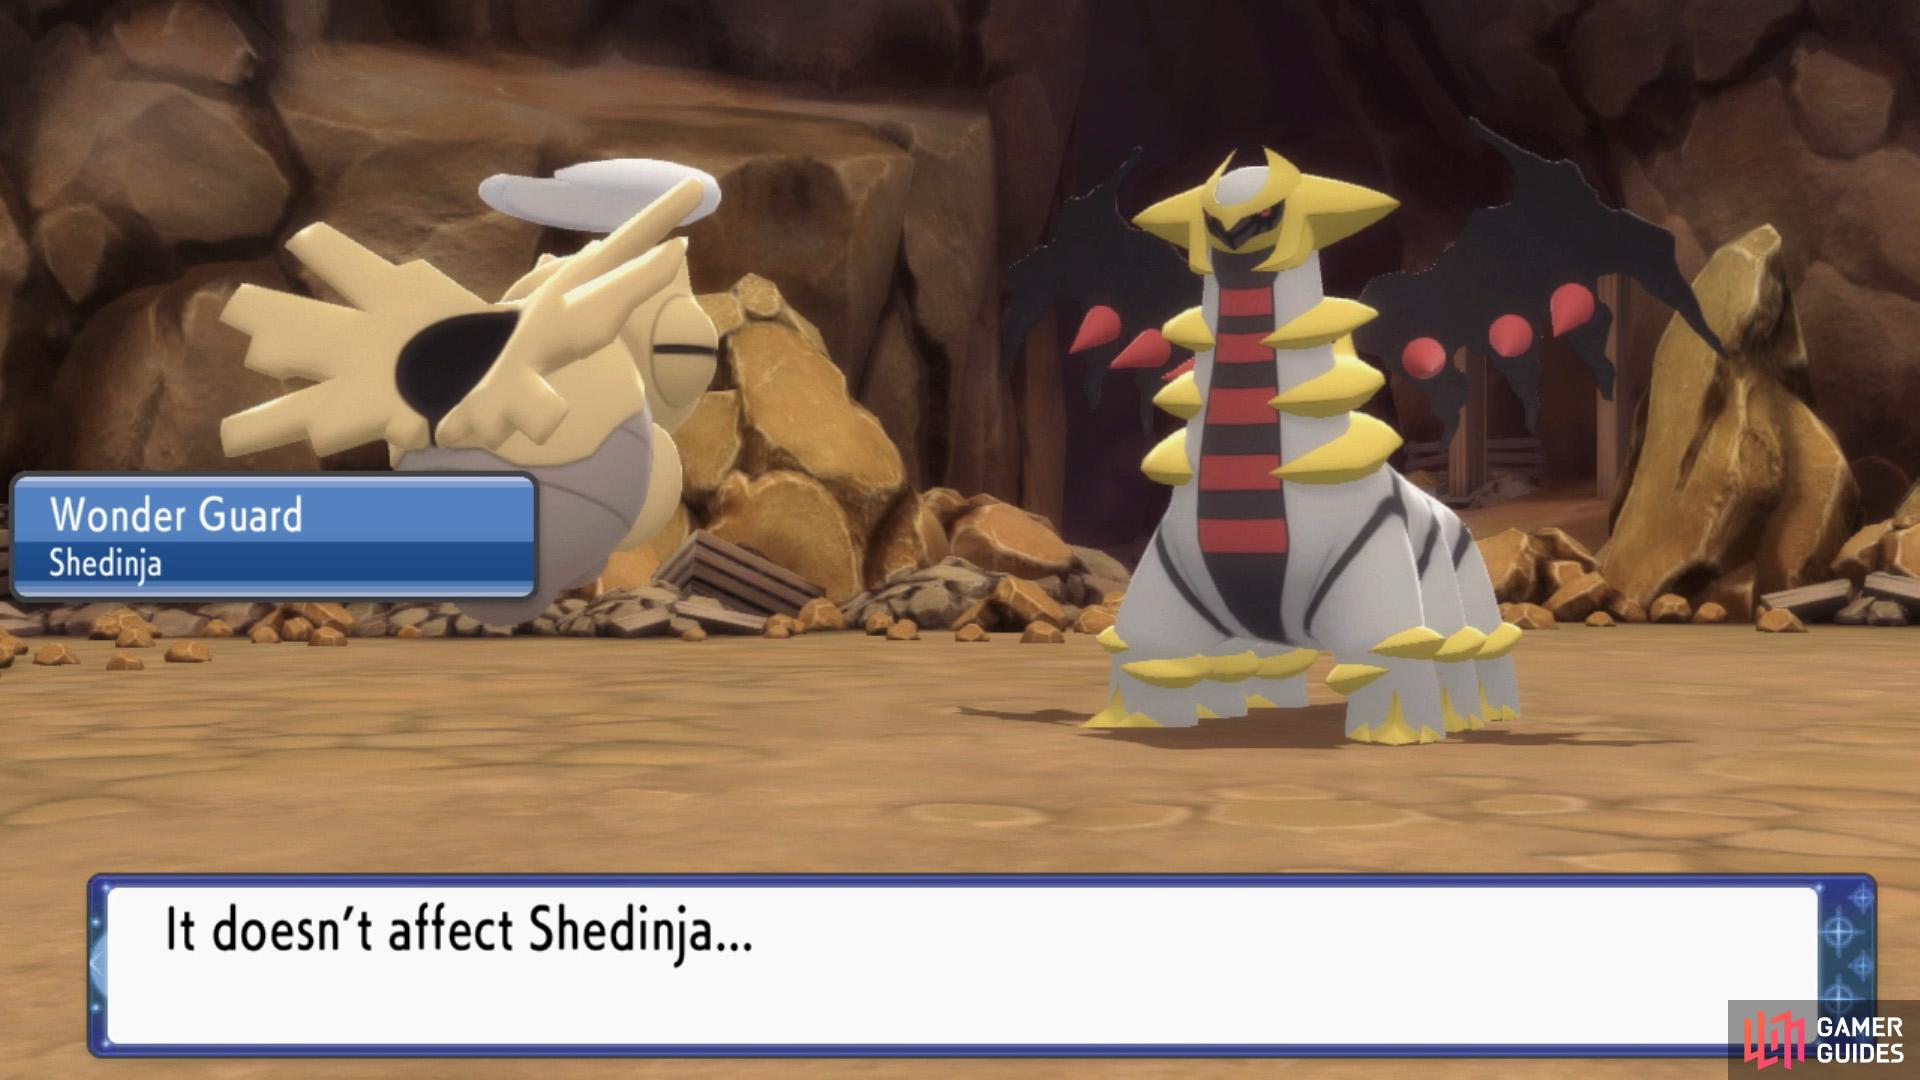
There are a few ways to deal with Pain Split, but the easiest (and most hilarious) method is to field Shedinja. Since Shedinja always has 1 HP, whenever Giratina uses Pain Split, Shedinja’s HP will remain the same, but Giratina’s HP will halven. Well, isn’t that smart?
Additionally, thanks to Wonder Guard, Shedinja is immune to Dragon Claw and (naturally) Aura Sphere. If Giratina uses Shadow Force, swap to a Normal-type (can be any Level) to absorb the hit, then swap back to Shedinja. If can be a little fussy, but Giratina can only use Shadow Force 5 times (less if you field a Pressure Pokémon). To top it off, Shedinja can learn False Swipe.
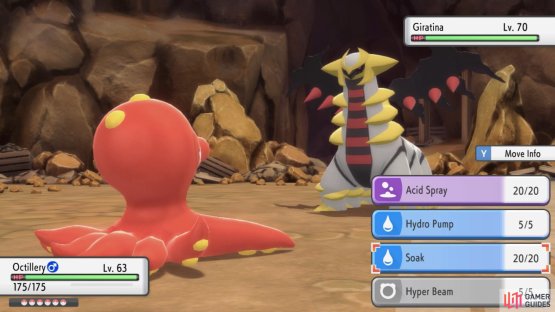
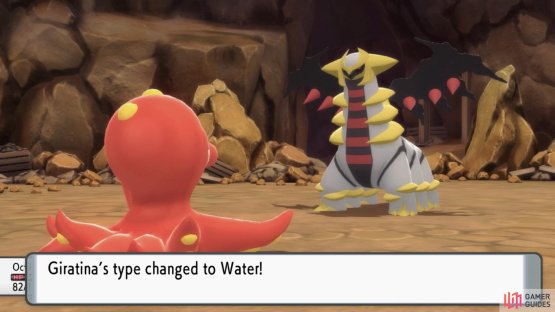
(1 of 2) As soon as you can, use Soak on Giratina.


As soon as you can, use Soak on Giratina. (left), This will override its Ghost-type, allowing you to freely False Swipe. (right)
Less important, but still significant: Since Giratina is a Ghost-type, it’s immune to False Swipe. You can bypass this inconvenience by soaking Giratina. Your game plan should be this: use Soak at the beginning, quickly swap to a dedicated False Swiper and/or status condition applier, before finally swapping to Shedinja after inflicting enough damage.
When you’ve lowered Giratina’s HP enough and applied a suitable status condition (we recommend paralysis since you don’t need to keep reapplying it), it’s ball throwing time! You probably know all this already, but just in case… Use Ultra Balls if you’re lazy, Timer Balls when 10 turns have passed or Dusk Balls since you’re in a cave. If you’re daring, you could toss a Quick Ball on turn 1 too. Whee!
Bonus Puzzle
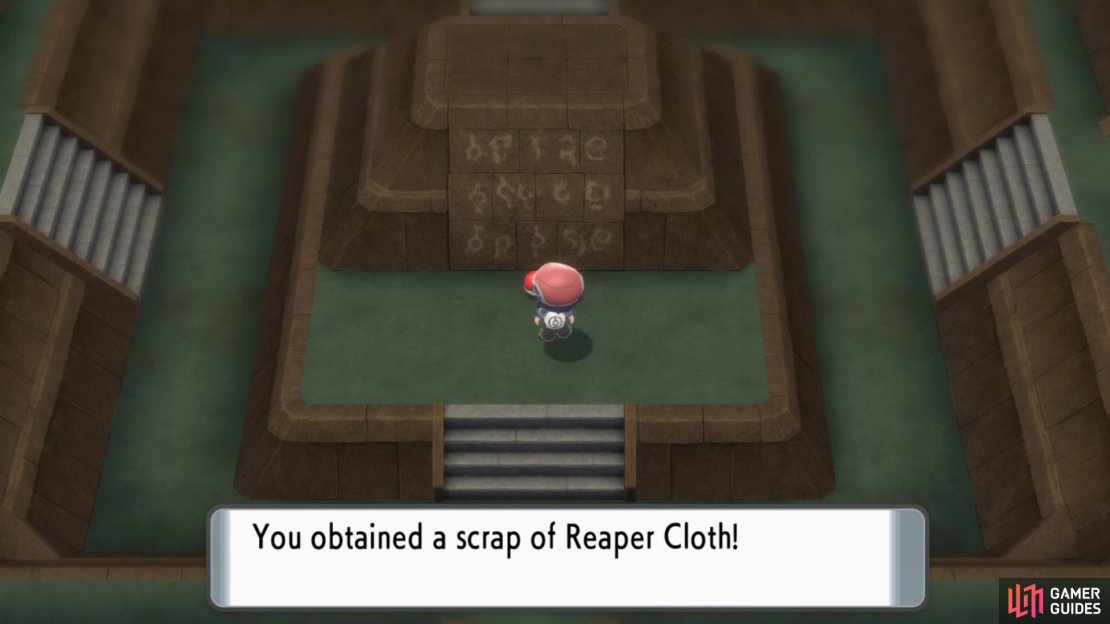
After catching or defeating Giratina, you can repeat the puzzle with a twist. If you reach the 3rd pillar room within 3 rooms, there will be a Reaper Cloth where Giratina was. Meanwhile, if you get to the 3rd pillar room in 4 to 15 rooms, there’ll be a Rare Bone there instead. Finally, if you make it in 16 to 30 rooms, your reward is a bag of Stardust. These items will respawn endlessly.
How to Guarantee a Pillar Room
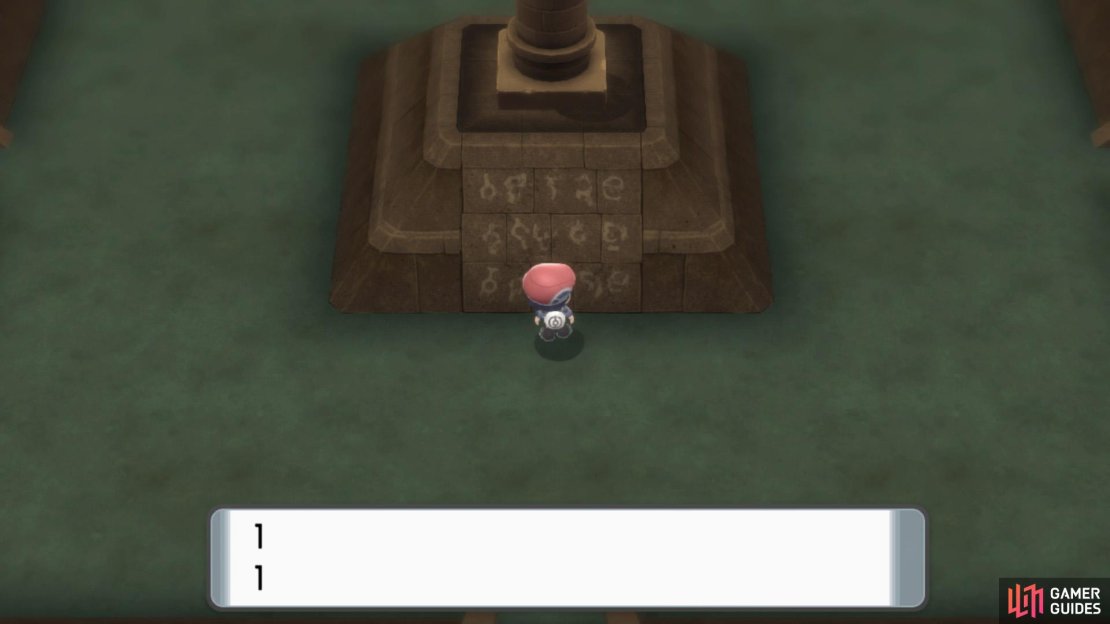
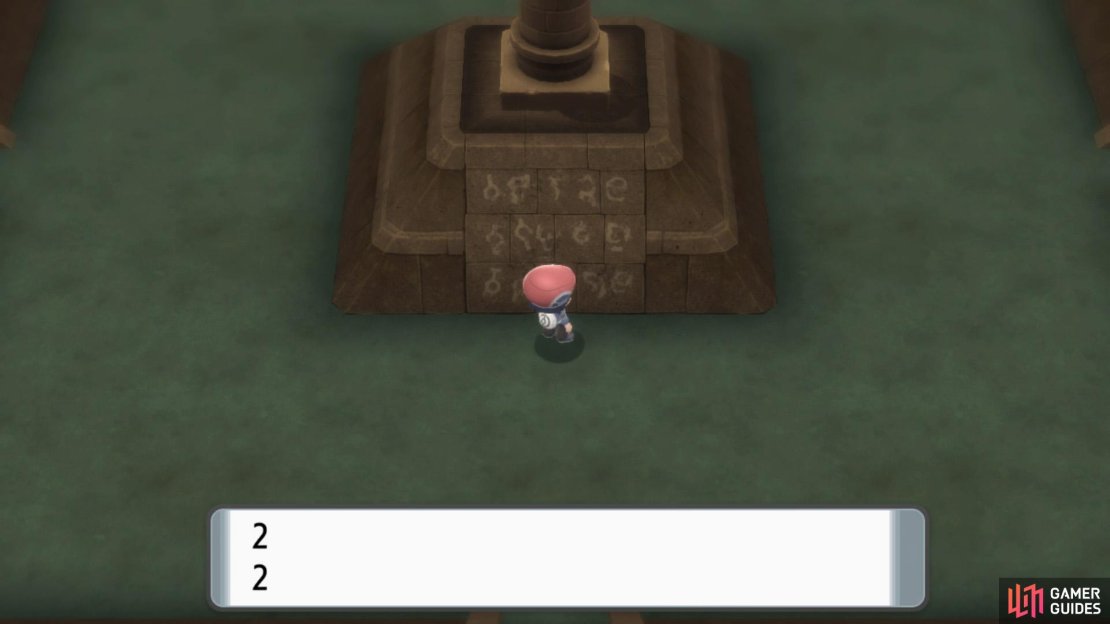
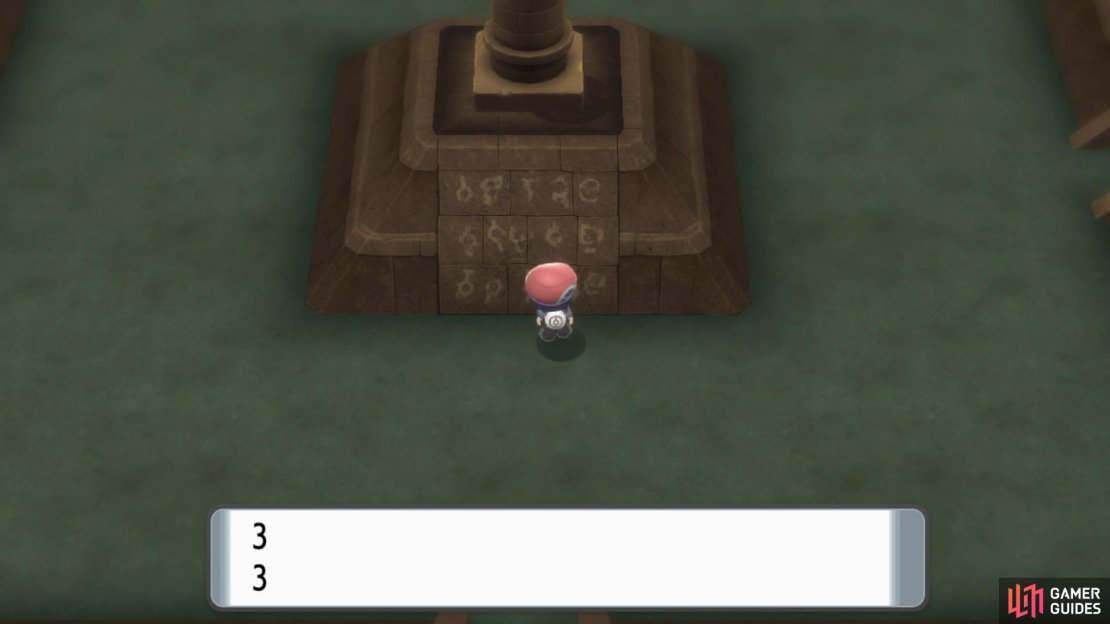
(1 of 4) 1st pillar room within 1 rooms.
If you’re unlucky, there’s a trick to always getting a pillar room: it’s called determination (and save-scumming).
First, keep entering and exiting until the first room is a pillar room. Due to the rules of the realm, you can’t use the same doorway repeatedly. So you’d need to do something like enter the left doorway, leave, then enter the upper doorway, leave and repeat.
Once the first room is a pillar room, save your game inside the pillar room. Then enter a new doorway and soft-reset if the next room isn’t a pillar room. Keep doing this and eventually you can brute force 2 more pillar rooms in a row.
Pokémon Encounters
Wild Pokémon - Ground


Wild Pokémon - Interact
| Pokémon | Type | Encounter Rate |
|---|---|---|
| Giratina |
100% |
Item Locations
| Item | Location |
|---|---|
| Stardust | In final room (after catching/defeating Giratina), if you got there in 16 to 30 rooms. |
| Rare Bone | In final room (after catching/defeating Giratina), if you got there in 4 to 15 rooms. |
| Reaper Cloth | In final room (after catching/defeating Giratina), if you got there in exactly 3 rooms. |
No Comments