This is a guide for the Great Marsh in Pokémon Brilliant Diamond and Shining Pearl (BDSP), including what wild Pokémon and items you can find.
What is the Great Marsh?
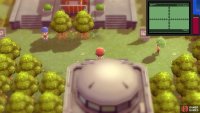
(1 of 2) The Great Marsh.
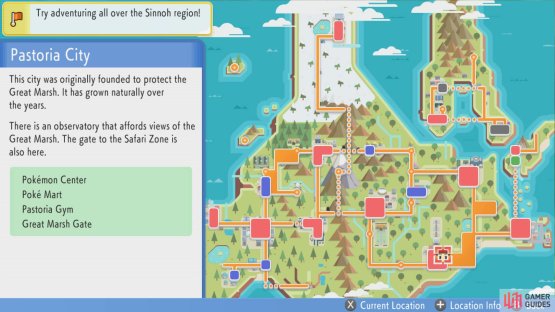
The Great Marsh. (left), It’s located at the north end of Pastoria City. (right)
The Great Marsh is a large swampy area located in Pastoria City, where the safari game is held. For 500 Poké Dollars, trainers are allowed to roam around for 300 steps and they’re given 30 Safari Balls to catch any Pokémon they encounter.
The marsh itself is divided into 6 seamless areas, each with a slightly different assortment of wild Pokémon. You can travel between these areas on foot or by riding a tram along the central tram line that stretches from north to south.
How to Get HM Defog
(1 of 2) Chat to this woman near the entrance.
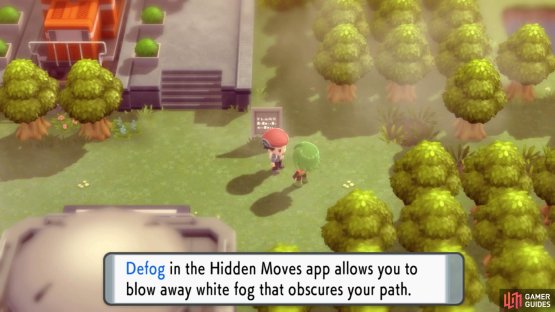
Chat to this woman near the entrance. (left), You’ll need Defog to clear away fog later. (right)
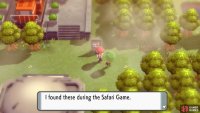
When you begin the safari game, there’s a female Ace Trainer to the right of the entrance. Speak to her and you’ll receive a bunch of TM97 Defog, plus HM Defog for your Hidden Moves app.
How to Catch Pokémon in the Great Marsh
(1 of 2) The options are similar to those in the Fuchsia City Safari Zone.
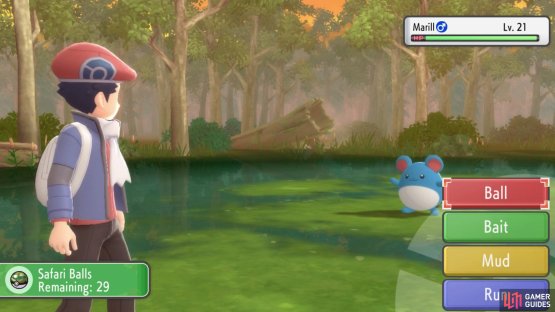
The options are similar to those in the Fuchsia City Safari Zone. (left), Pokémon that are eating are easier to catch, but more likely to flee. (right)
Inside the Great Marsh, you can randomly encounter Pokémon by moving through the swampy grass. Unlike regular wild Pokémon encounters, you do not send out your Pokémon to battle and weaken the wild Pokémon. Instead, you can choose from four actions:
- Ball: Throw a Safari Ball.
- Bait: Throw food at the wild Pokémon, which makes them easier to catch, but more likely to run.
- Mud: Chuck mud at the wild Pokémon, which makes them less likely to run, but harder to catch.
- Run: Escape from the wild Pokémon.
After choosing one of the first three actions (and if the Pokémon wasn’t caught), there’s a chance the Pokémon will run away. Some Pokémon are more likely to run than others. If the Pokémon doesn’t run, you’ll get another turn to perform an action.
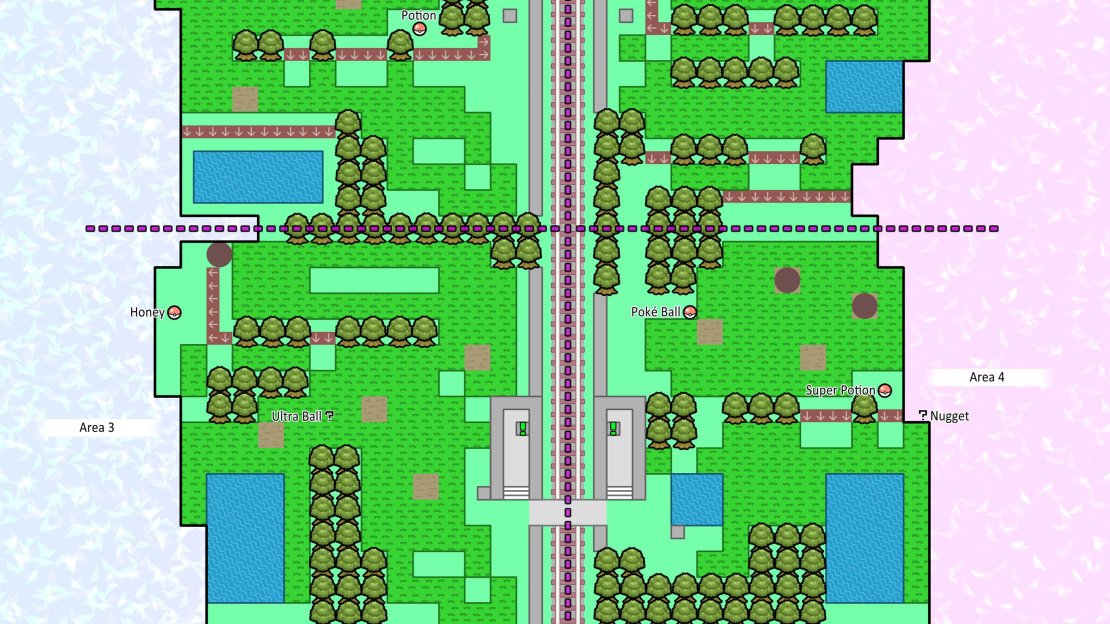
Map
Map of the Great Marsh.
Available Pokémon
To mix things up, the majority of the Pokémon you can encounter are fixed and never change. However, each day, for each of the six areas, one random Pokémon will be selected to appear in that area. It’s possible for the same Pokémon to appear in multiple areas. After obtaining the National Pokédex, the variety of random Pokémon will increase.
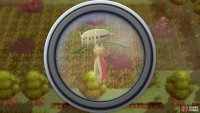
(1 of 4) Use the binoculars before entering the safari game to search for interesting Pokémon.
You can check which random Pokémon are present in the Great Marsh by paying 100 Poké Dollars to use the binoculars on the top floor, before entering the safari game. Each time you use the binoculars, you’ll be shown a random selection of 5 Pokémon from all the possible areas. These may include Pokémon that are always present, so you may have to use the binoculars multiple times to determine the random ones.
Wild Pokémon - Tall Grass (Fixed)
| Pokémon | Type | Encounter Rate |
|---|---|---|
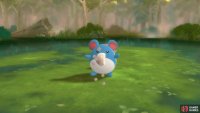
  Azurill Azurill |
5% (Area 5), 1% (other areas) | |
  Bibarel Bibarel |
20% | |
  Bidoof Bidoof |
5% (Area 5), 1% (other areas) | |
  Budew Budew |
10% (Morning/Day) | |
  Hoothoot Hoothoot |
10% (Night; Area 1 and 2), 20% (Night; other Areas) | |
  Marill Marill |
15% | |
  Noctowl Noctowl |
10% (Night; Area 1 and 2 only) | |
  Psyduck Psyduck |
8% (except Area 5) | |
  Quagsire Quagsire |
15% | |
  Starly Starly |
10% (Morning/Day) | |
  Wooper Wooper |
20% |
Wild Pokémon - Surfing
Wild Pokémon - Fishing
| Pokémon | Type | Encounter Rate |
|---|---|---|
  Barboach Barboach |
40% (Good Rod) | |
  Carvanha Carvanha |
45% (Super Rod) | |
  Gyarados Gyarados |
15% (Super Rod), 5% (Good Rod) | |
  Magikarp Magikarp |
100% (Old Rod), 55% (Good Rod) | |
  Whiscash Whiscash |
40% (Super Rod) |
Wild Pokémon - Tall Grass (Random)
The lists below include all the random Pokémon that can appear in any area. As outlined above, you won’t encounter all of them at once.
| Pokémon | Type | Encounter Rate |
|---|---|---|
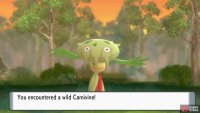
  Carnivine Carnivine |
10% | |
  Croagunk Croagunk |
10% | |
  Golduck Golduck |
10% | |
  Roselia Roselia |
10% | |
  Skorupi Skorupi |
10% | |
  Staravia Staravia |
10% |
Before National Pokédex obtained
After National Pokédex obtained
| Pokémon | Type | Encounter Rate |
|---|---|---|
  Drapion Drapion |
10% | |
  Exeggcute Exeggcute |
10% | |
  Gulpin Gulpin |
10% | |
  Kangaskhan Kangaskhan |
10% | |
  Paras Paras |
10% | |
  Shroomish Shroomish |
10% | |
  Toxicroak Toxicroak |
10% | |
  Yanma Yanma |
10% |
Item Locations
Area 1
| Item | Location |
|---|---|
 Potion Potion |
Above ledge south-west from tram stop |
 Super Repel Super Repel |
North-west from tram stop, across the trees. |
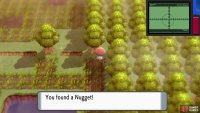
| North-west corner, hidden among the swampy grass. |
Area 2
| Item | Location |
|---|---|
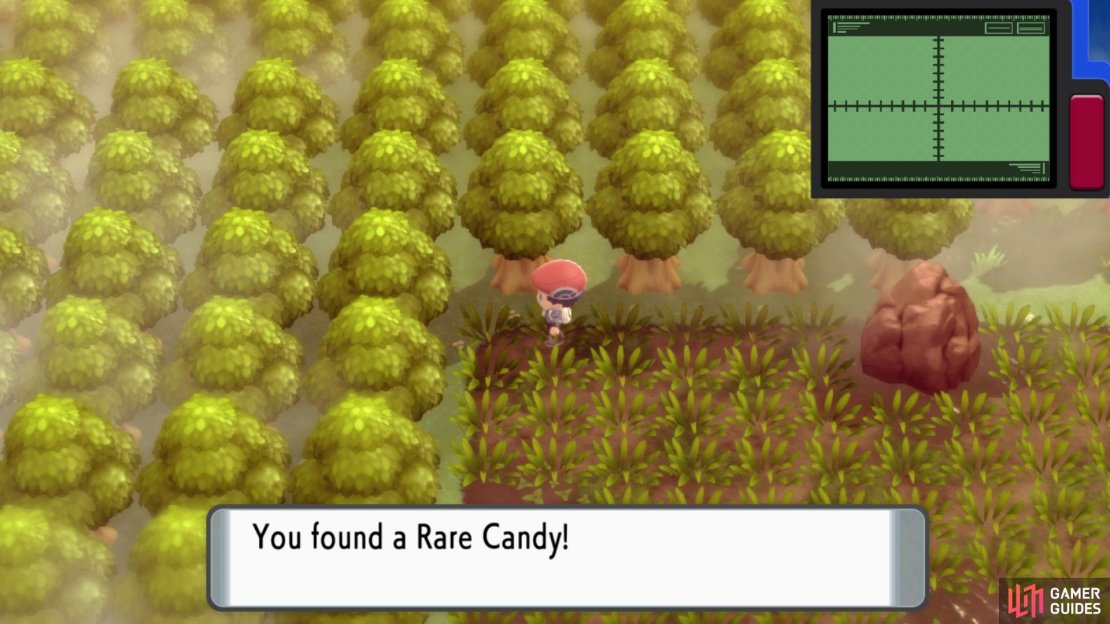
| East from the tram stop, across the trees. | |
| Hidden among the bordering trees along the north. North from the Parasol Lady. |
Area 3
| Item | Location |
|---|---|
| North-west corner, near a man. | |
| West from the tram stop, hidden above the vertical line of trees halfway along. |
Area 4
| Item | Location |
|---|---|
 Super Potion Super Potion |
Towards the far east, above a ledge. |
 Poké Ball Poké Ball |
North-east from the tram stop, near the passageway to Area 2. |
| Towards the far east, hidden in one of the trees at the corner south-east from the Super Potion. |
Area 5
| Item | Location |
|---|---|
 Antidote Antidote |
West from the entrance. |
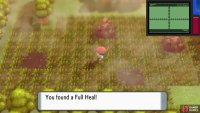
| Hidden near the center of the swamp. |
Area 6
| Item | Location |
|---|---|
| From female Ace Trainer standing near the entrance. | |
 Paralyze Heal Paralyze Heal |
East side of the big pond. |
 Hyper Potion Hyper Potion |
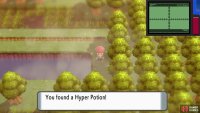
Hidden a few spaces below the Paralyze Heal. |





No Comments