
Kichuk is one of the new Strongholds added with the Vessel of Hatred Expansion in Diablo IV. Situated in the far east of the Teganze Plateau, this Stronghold will have you rescue Survivors of the attack and join up with them in taking the town back. Read on to find out where and how you can complete the Kichuk Stronghold.
Kichuk can be found in the east of Teganze Plateau.
Table of Contents
If you want to jump to a specific section, click on the links below.
| Quickjump |
|---|
| Stronghold Location |
| Walkthrough |
| Defend the Villagers |
| Destroy the Pillars |
| Kirma, Blood Bargainer Boss |
| Kirma, Ascended |
Kichuk Stronghold Location
Kichuk can be found in the far east of the Teganze Plateau subregion of Nahantu. The nearest Waypoint to it is Zarbinzet in Kehjistan, otherwise, you’ll need to come from The Den. If you come from Zarbinzet, exit the area via the southern exit, and then head southwest a short way to reach the Stronghold.
However, if you come from The Den, you’ll need to enter Teganze Plateau by heading northeast, and then go all the way east before going south and east one last time.
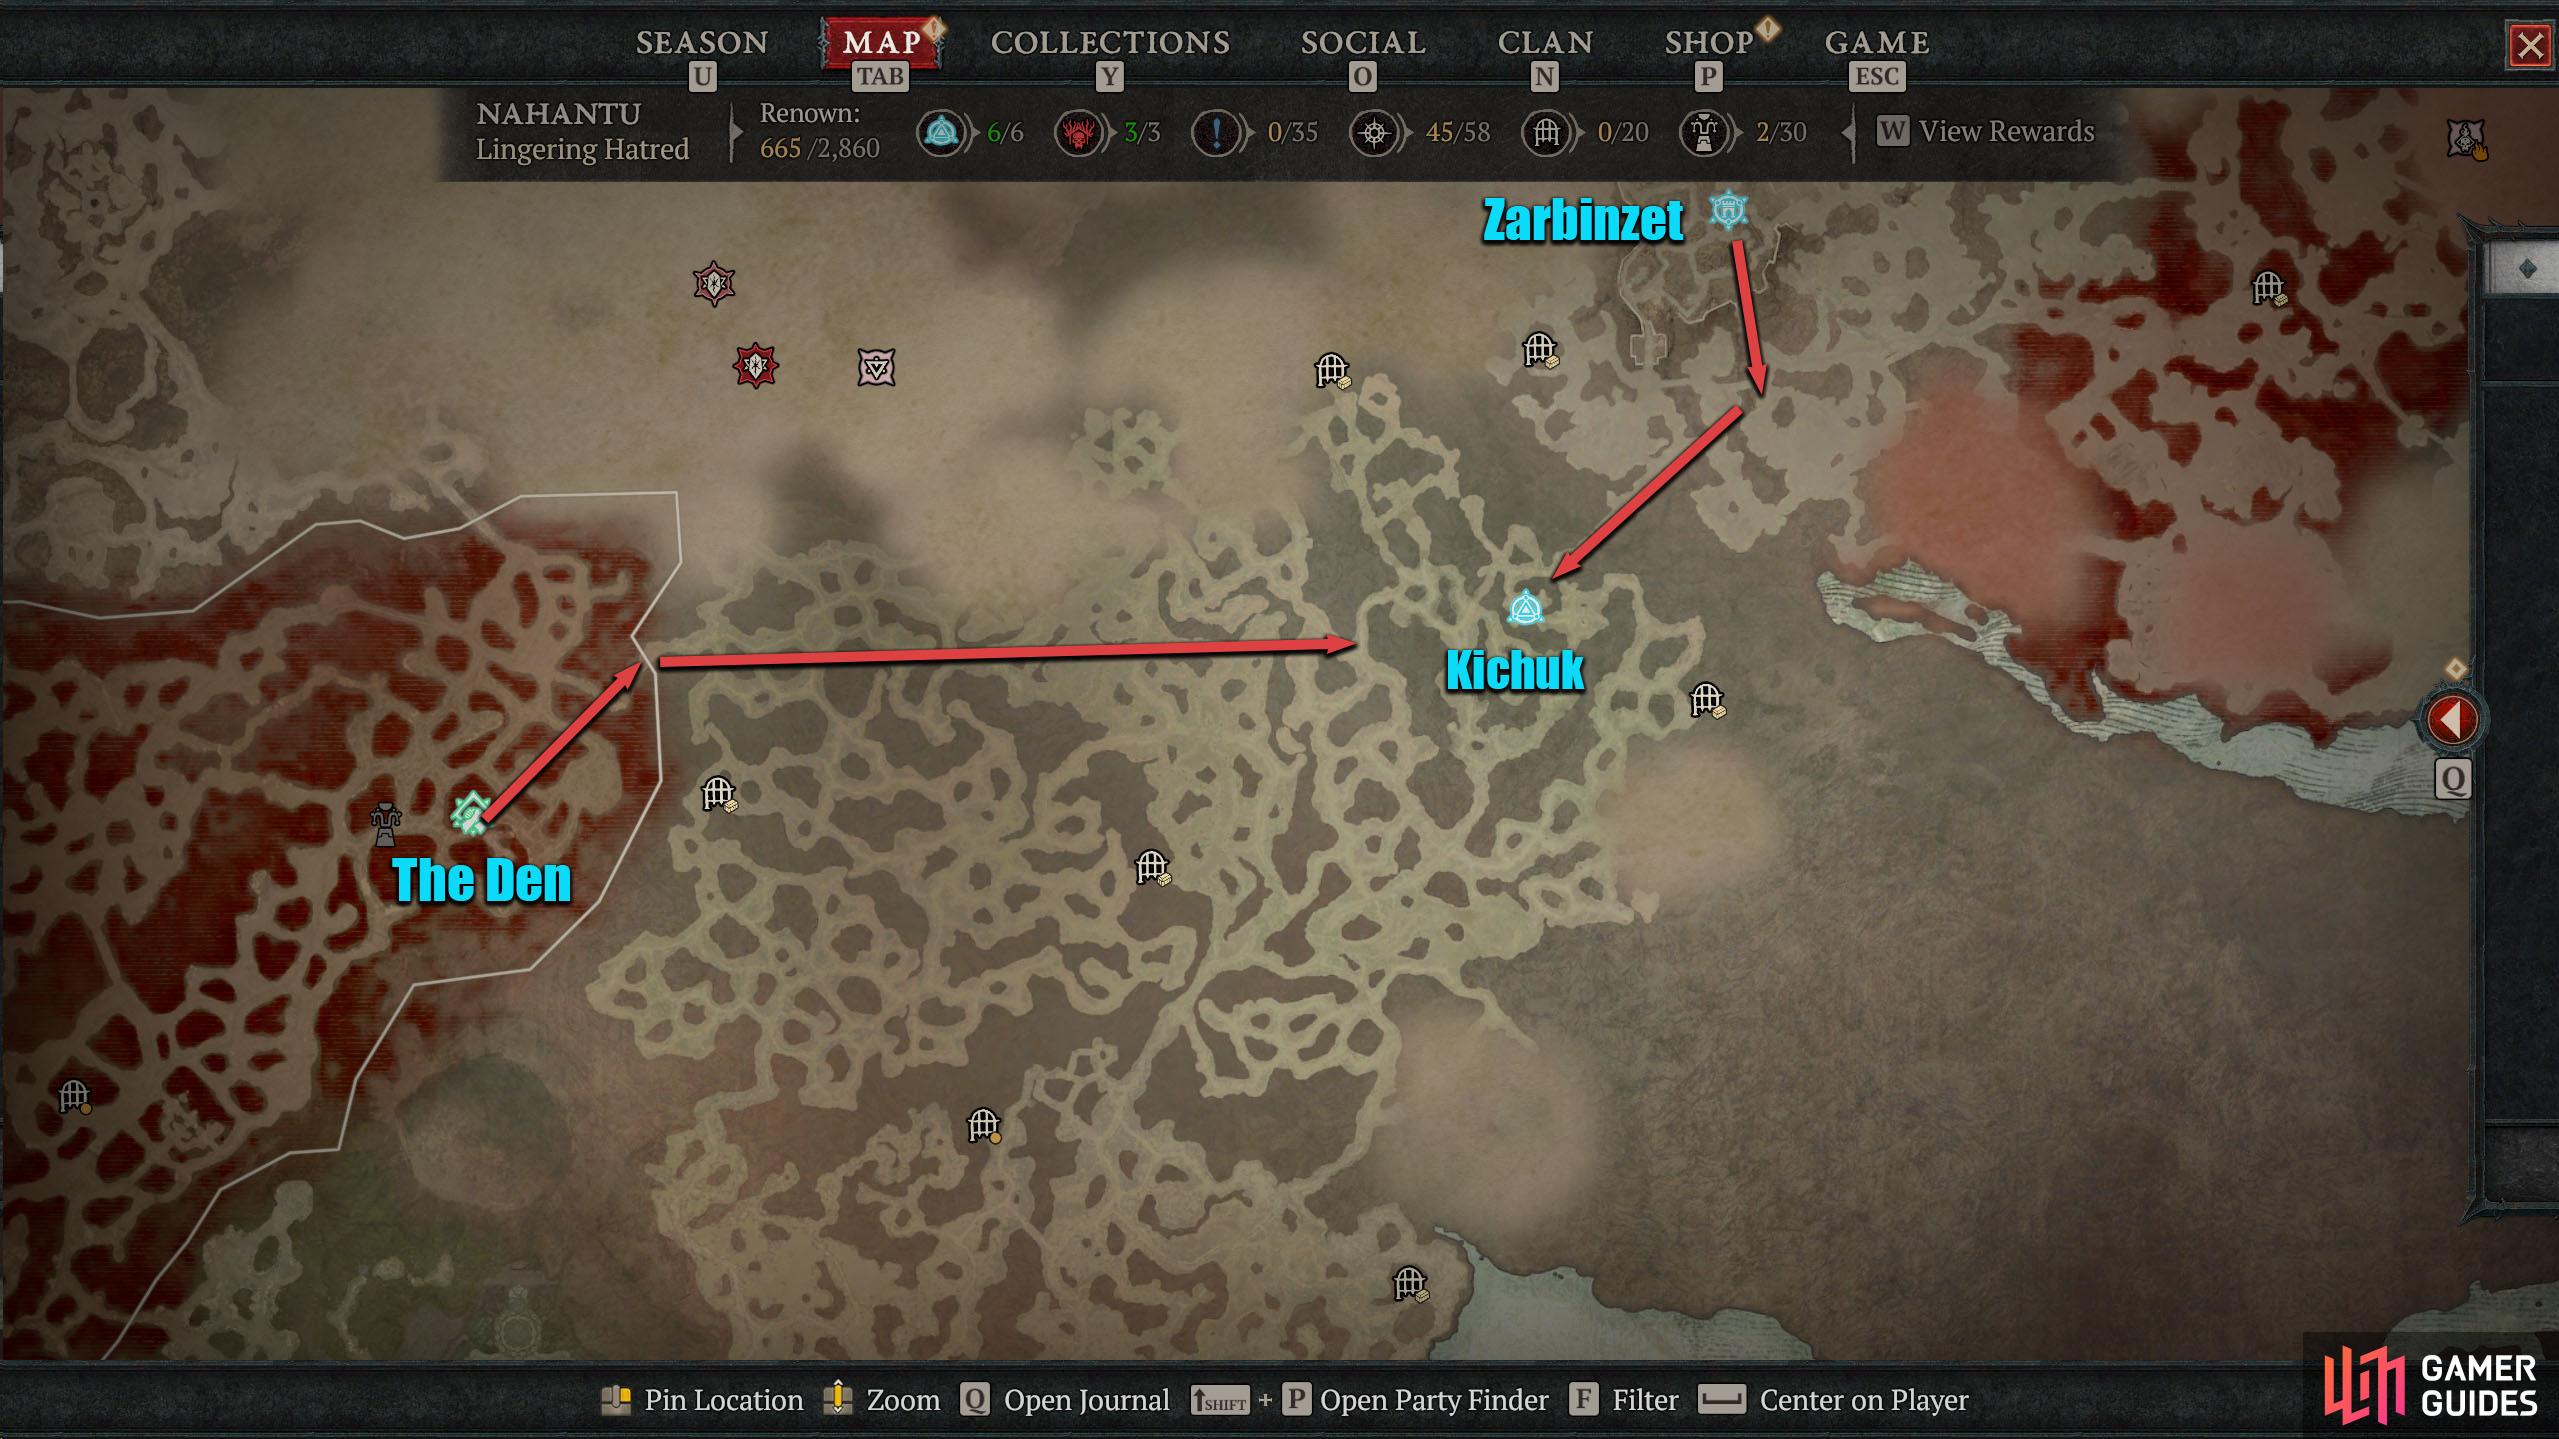
There are two Waypoints “near” Kichuk, The Den and Zarbinzet.
Kichuk Walkthrough
Free the Villagers from their Cages
As soon as you reach Kichuk, you’ll be tasked with freeing the villagers from their cages. These villagers are scattered around the area and marked as diamonds on the mini-map. When you find a villager, they’ll be accompanied by hordes of enemies attempting to stop you from freeing them. To break them free, simply attack the cages until they get destroyed. There are eight cages to destroy in total, and once you’ve done that, you’ll need to reunite with them in the northwest.
When you reach the designated location, you can attack the nearby Giant’s Fang destructible to the right of it to acquire the Scribbled Note. Once the survivors have regrouped, speak to Akhin to start the next task.
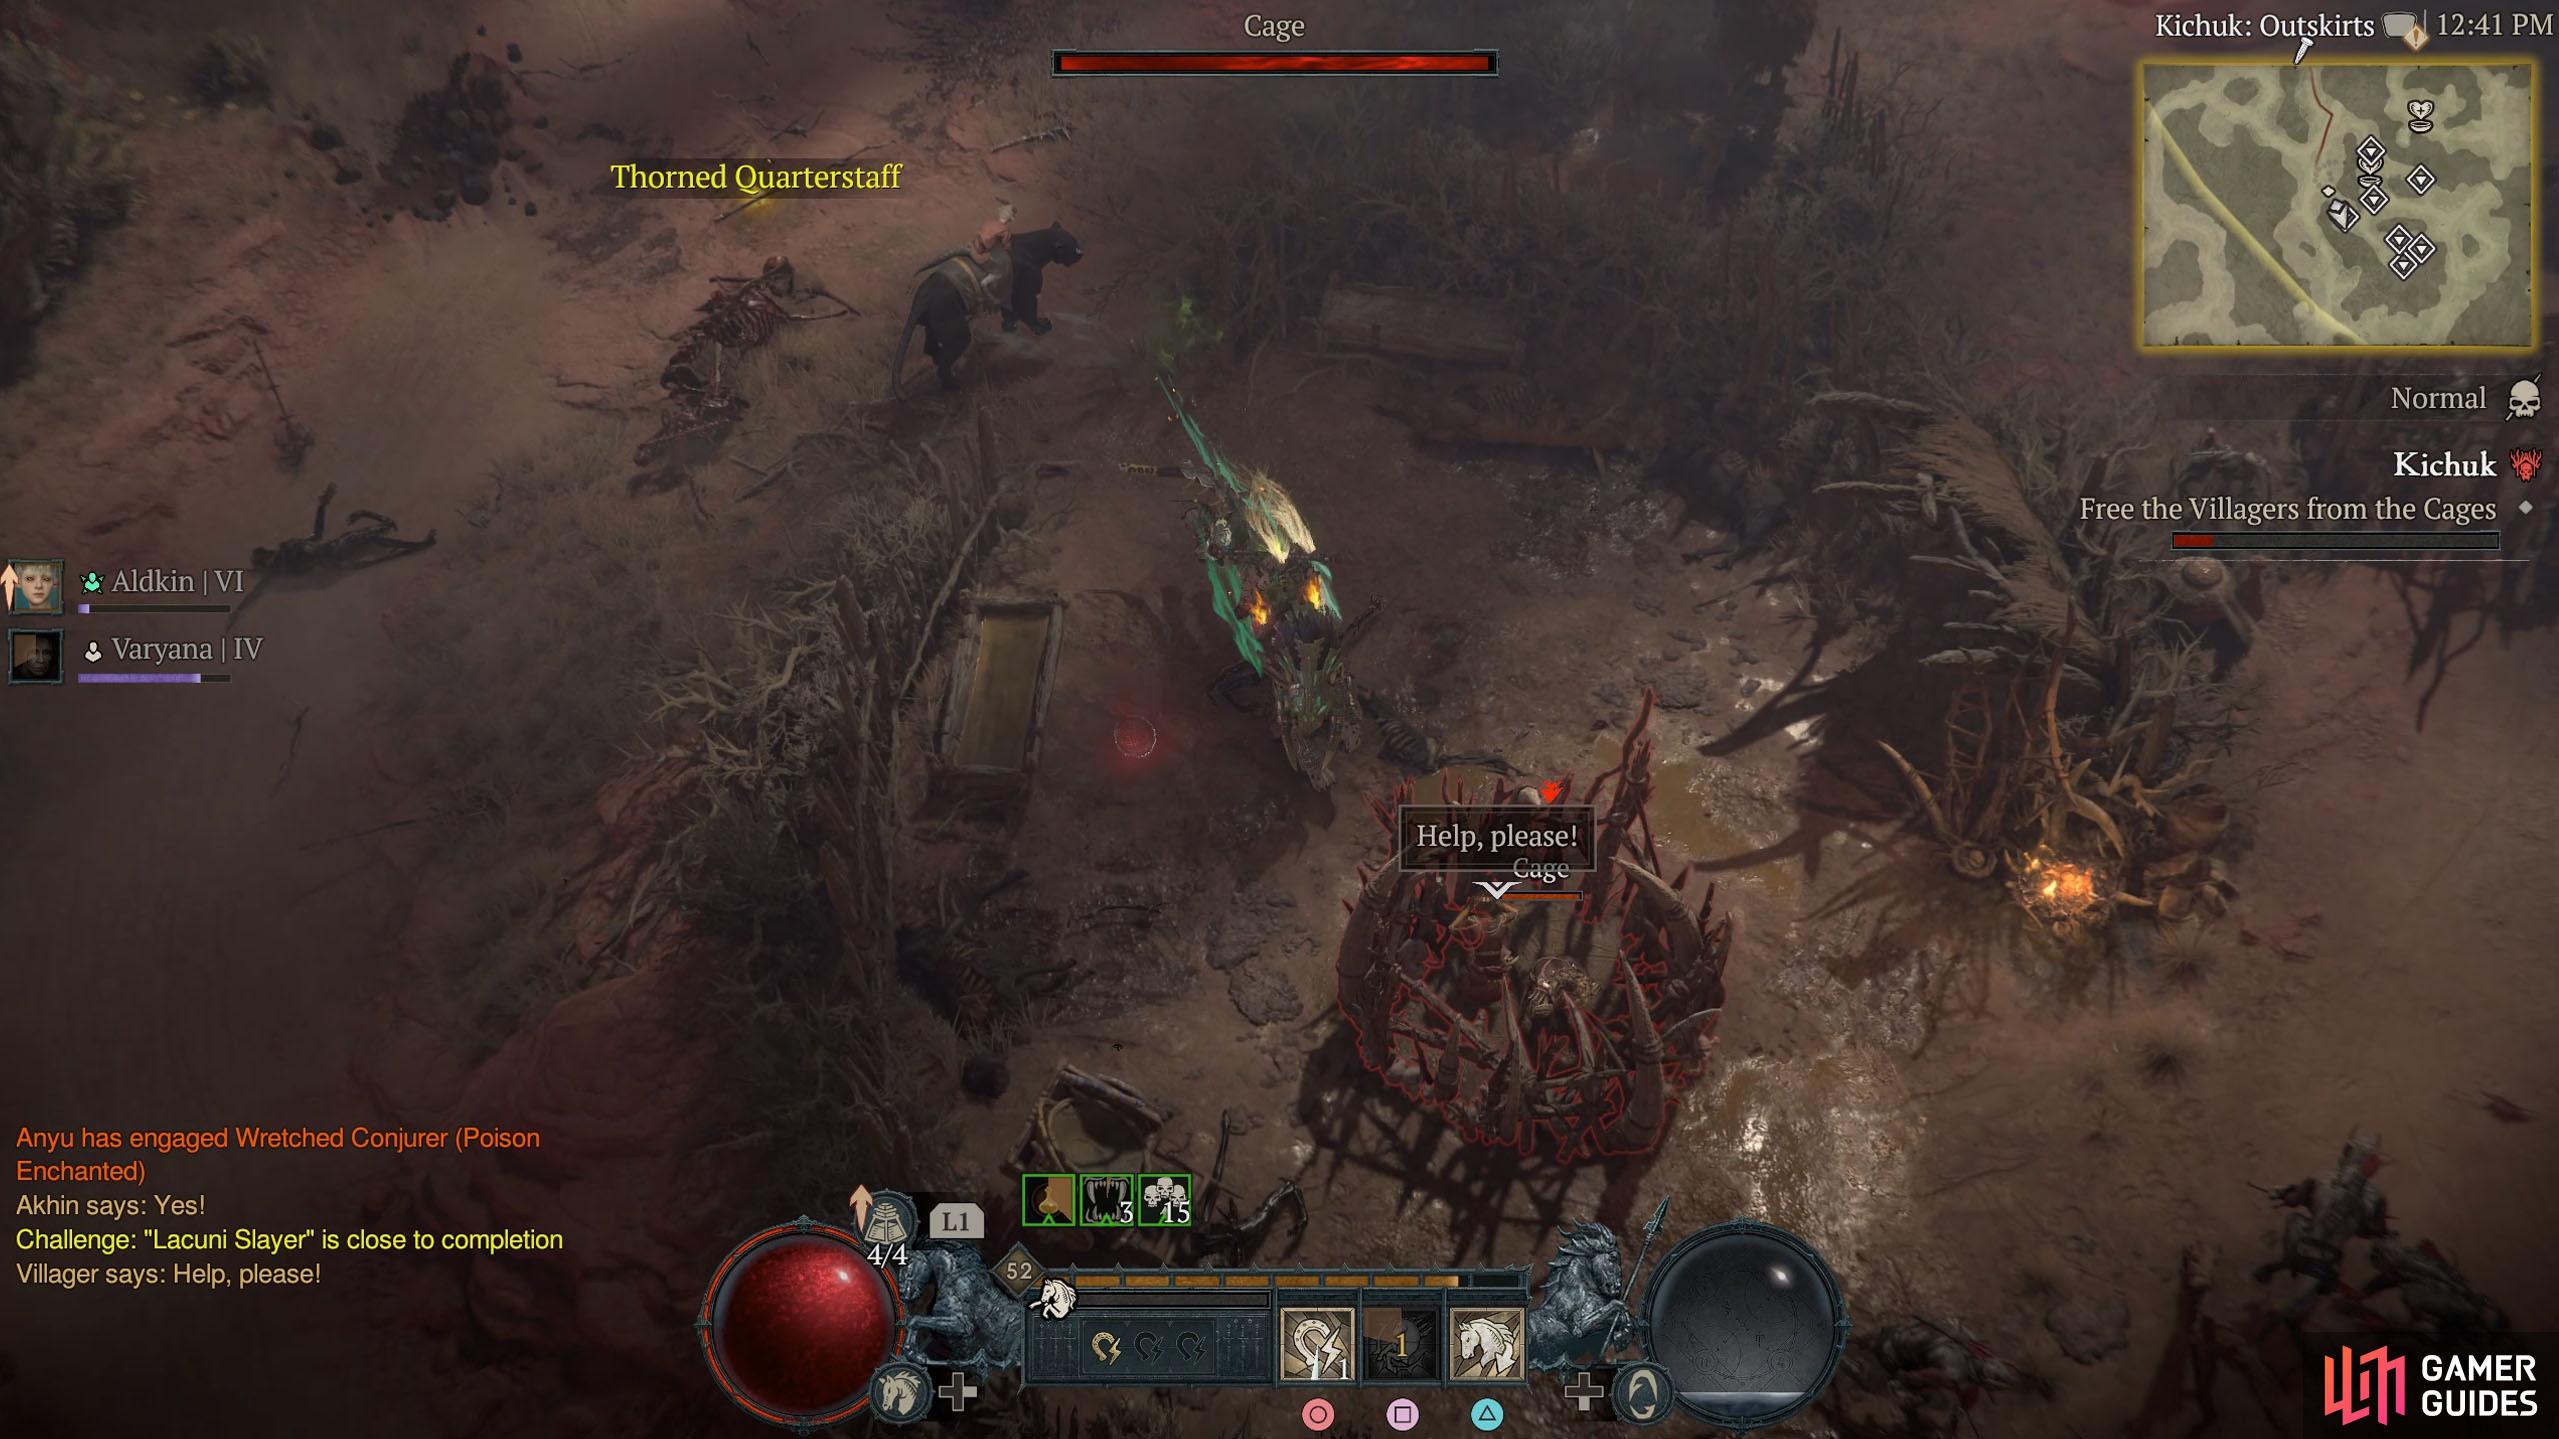
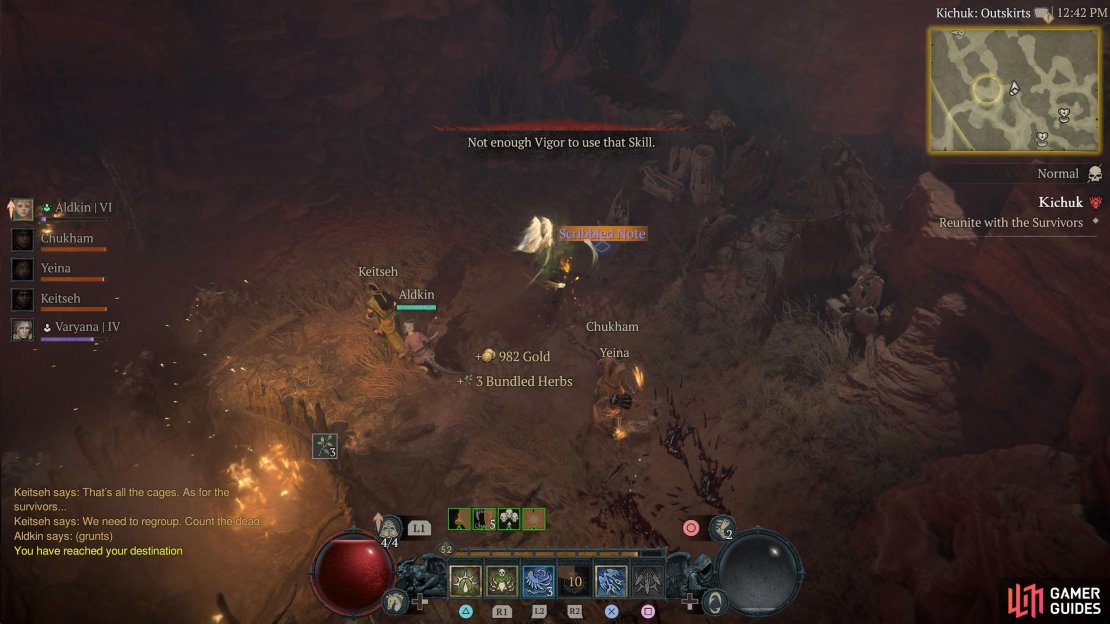

(1 of 3) Destroy all the cages in the Stronghold to free the villagers.
Defend the Villagers
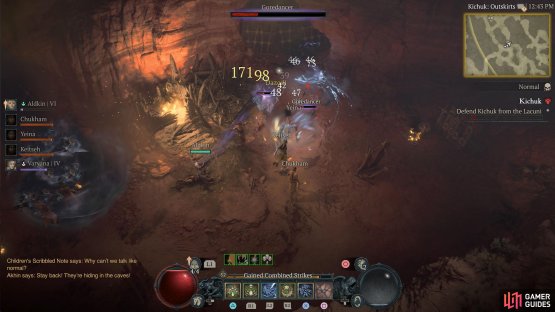
Your next objective is to defend the group from a Lacuni attack. They will appear from the two cave entrances to the northwest and northeast. Stay by the group, and keep killing them until the bar fills up. Once the bar is filled, defeat the remaining enemies, which are normally a few Elites, and then it’s time to enter the caves to finish the Lacuni off.
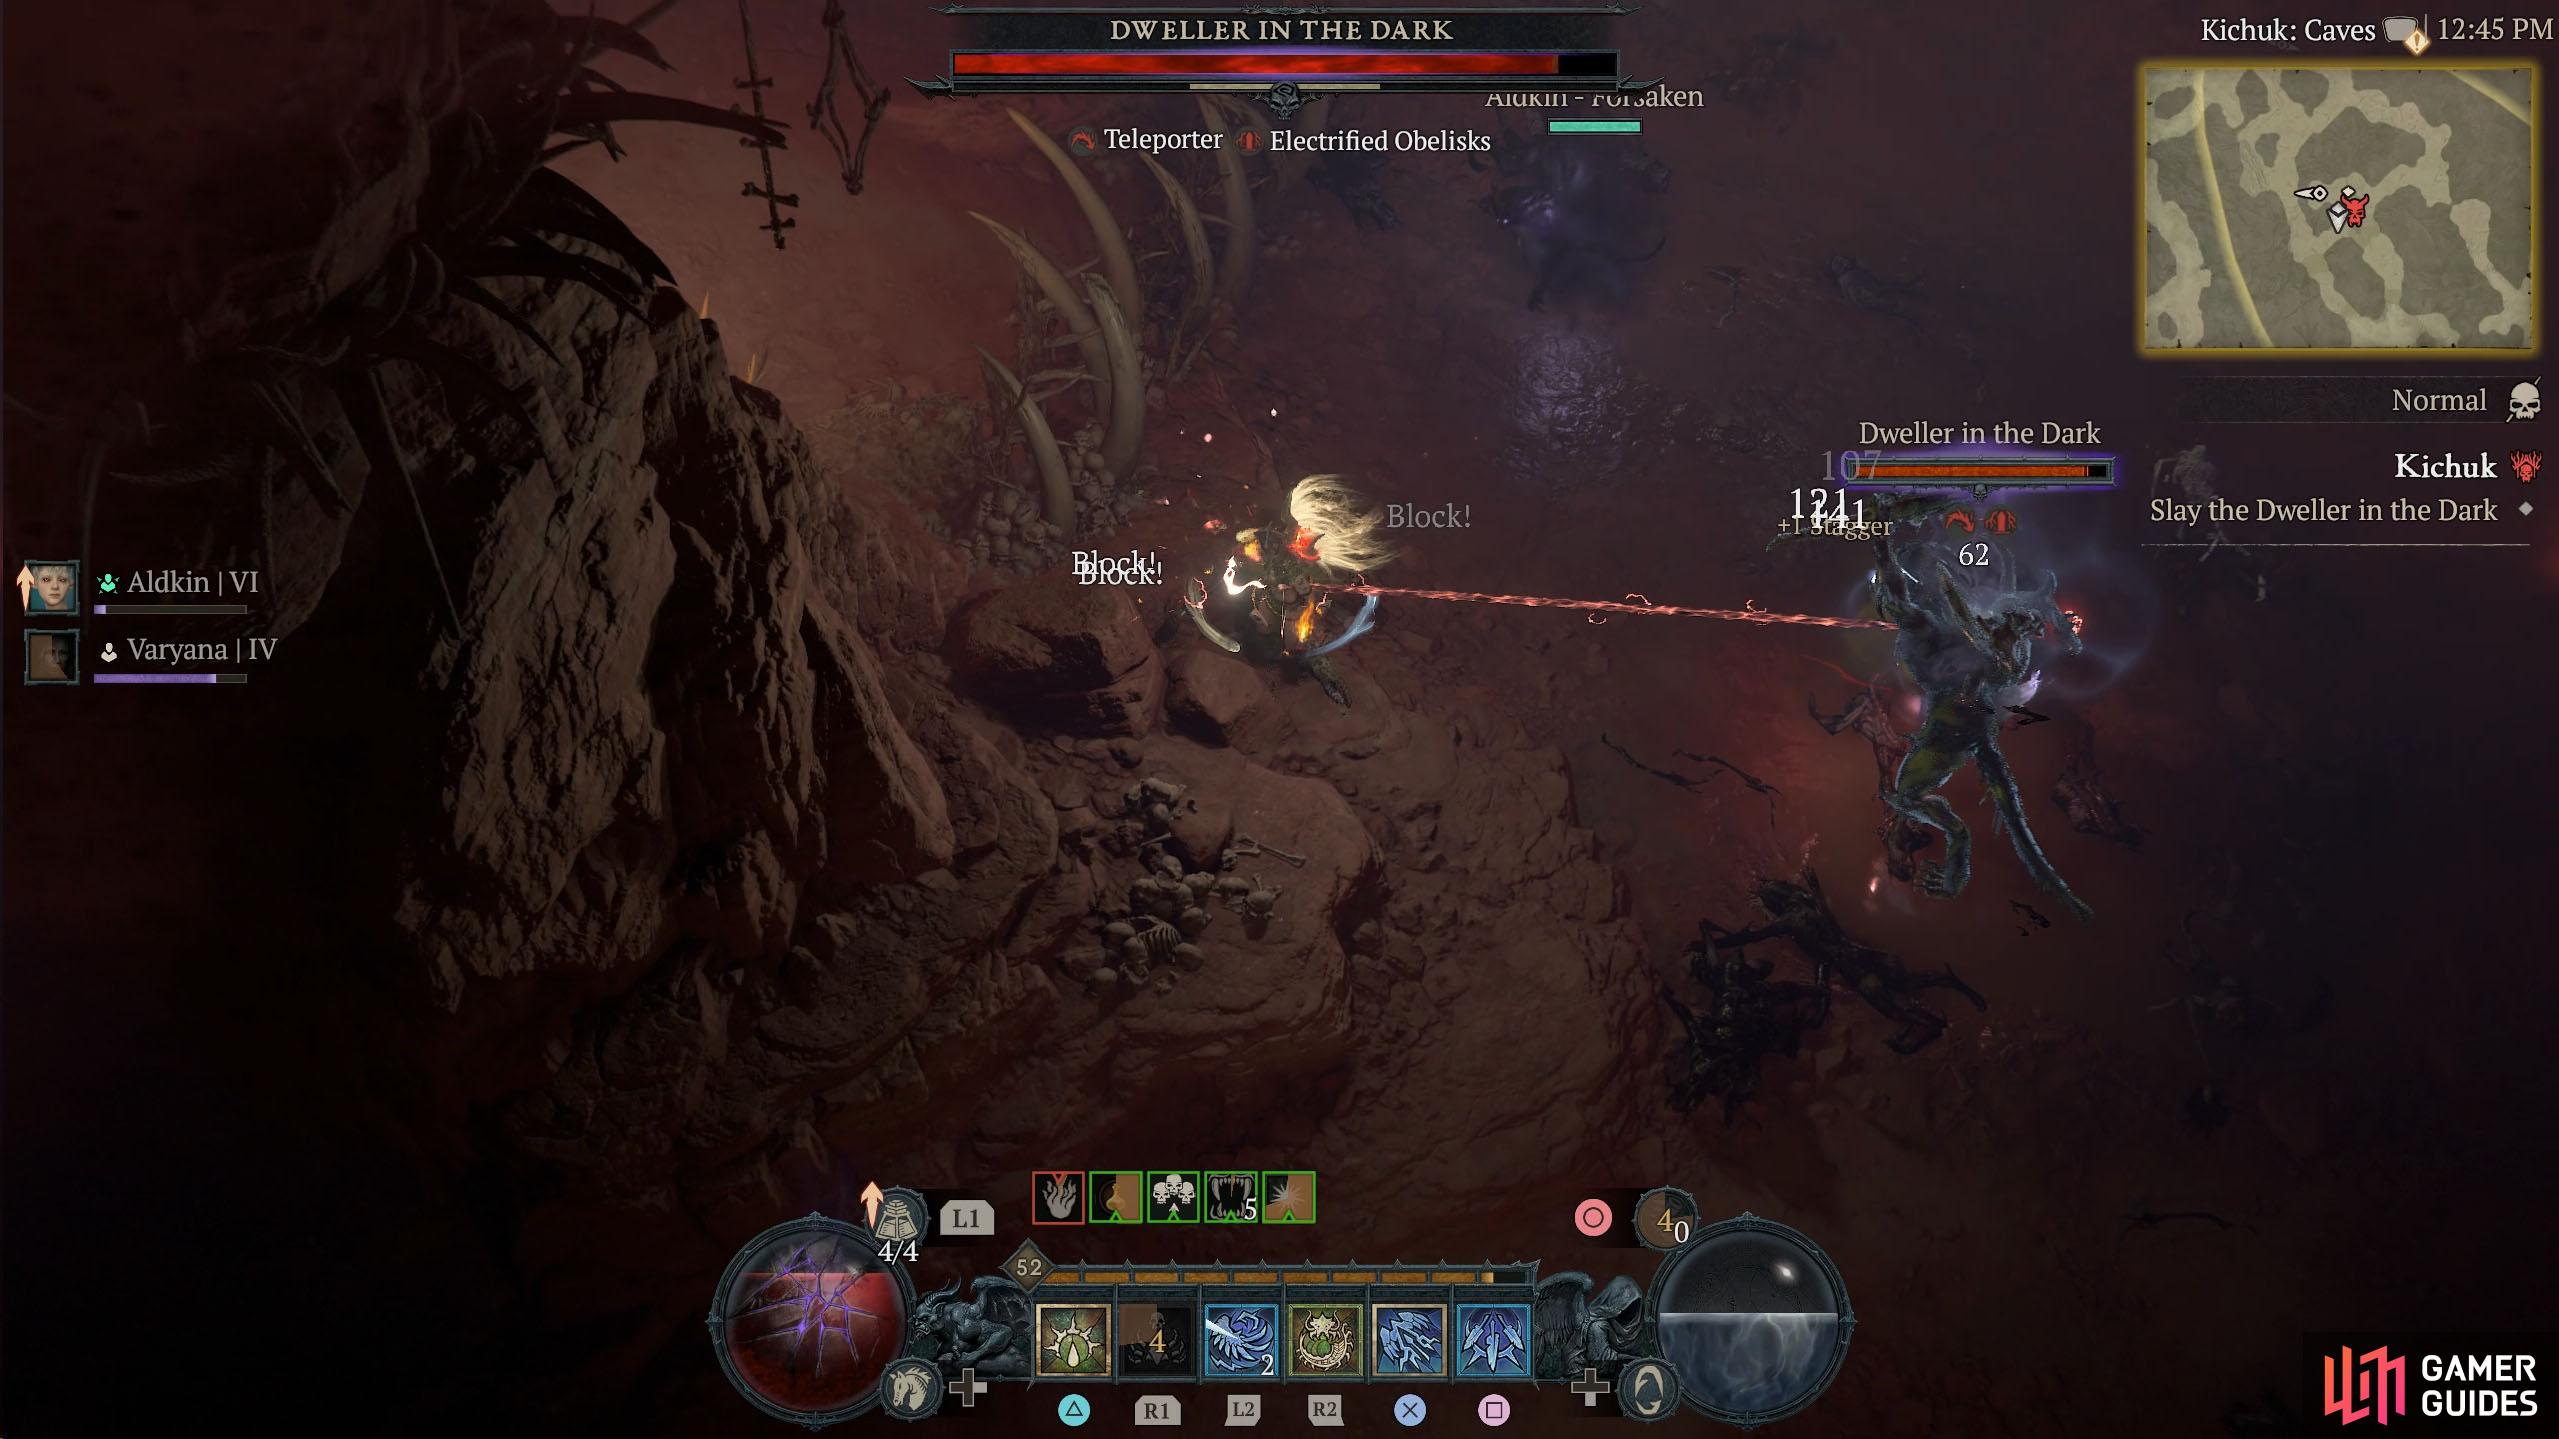
Enter the cave via any of the two entrances and head north until you get ambushed by a group of enemies, including the Dweller In The Dark boss. You won’t need to defeat it right now, but you do need to do enough damage to it to trigger the next objective. This shouldn’t be too difficult, but the Dweller can attach a chain to you that will drain your health and stun you if you don’t break it, which can be done by getting away from the boss.
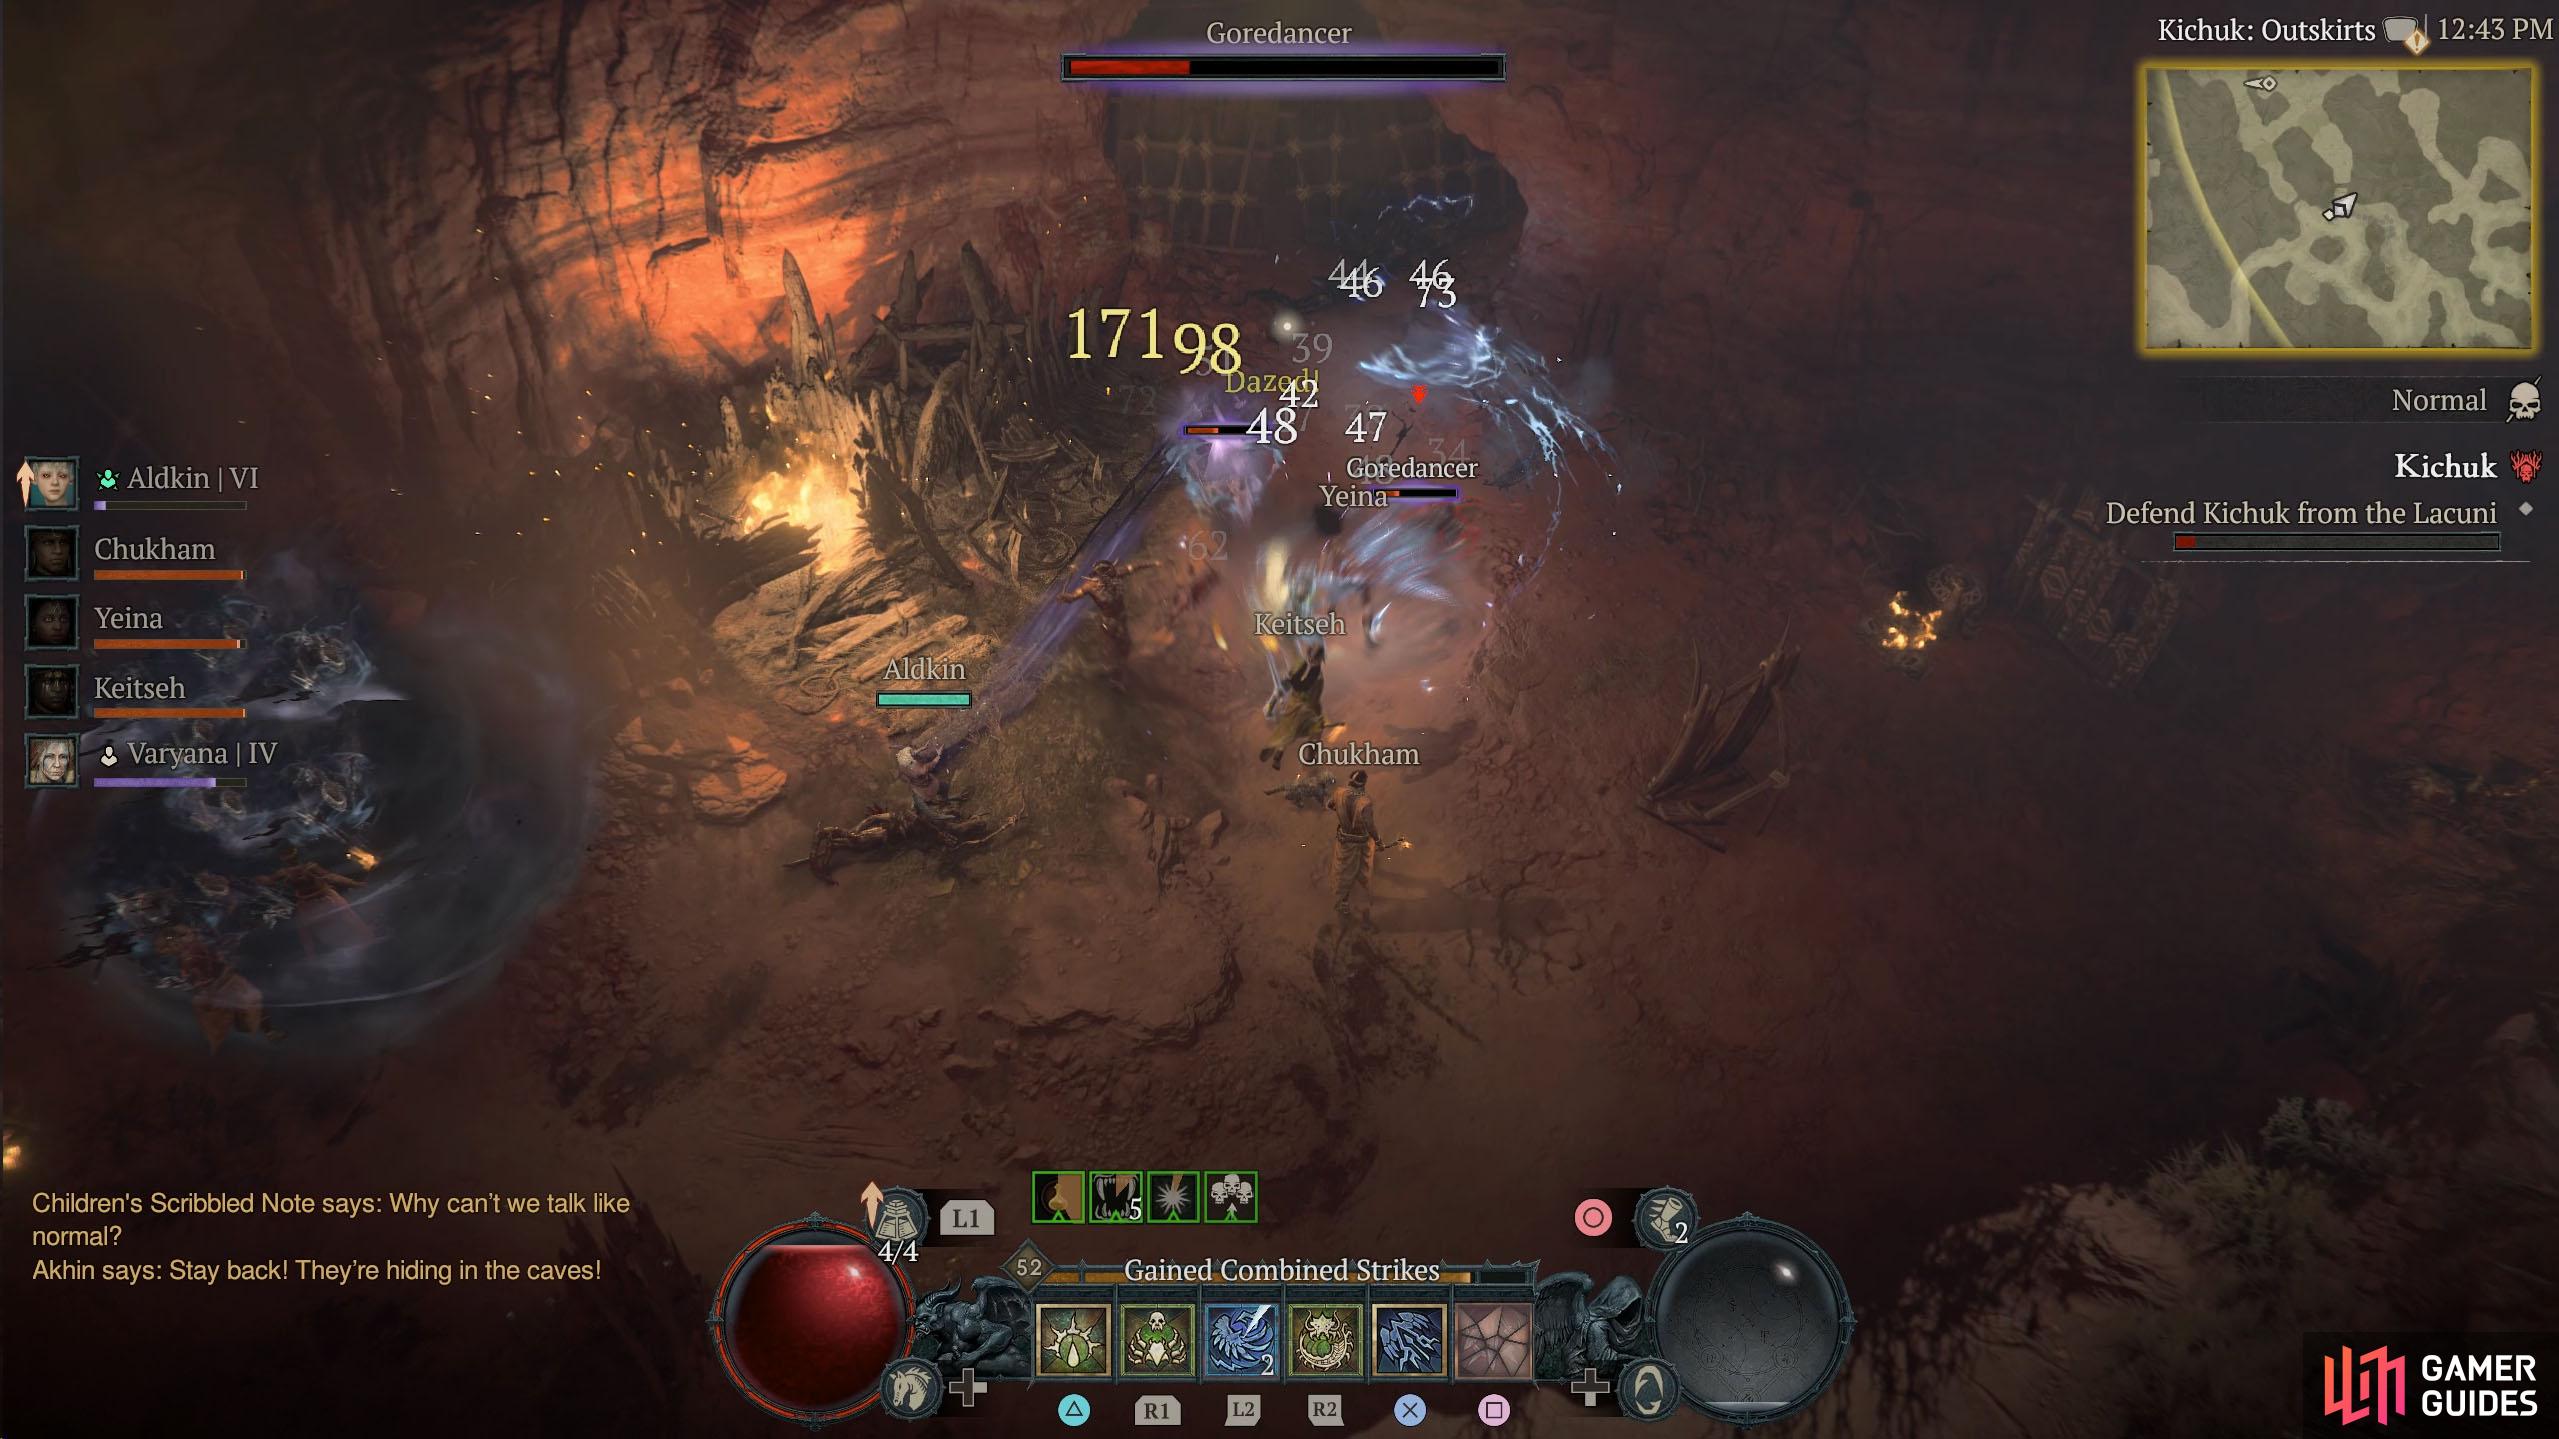

(1 of 2) Fight the hordes of enemies that spawn at both cave entrances to your left and right.
Fight the hordes of enemies that spawn at both cave entrances to your left and right. (left), You’ll meet the Dweller in the Darkness as you head inside the caves. Move away from it whenever you’re chained. (right)
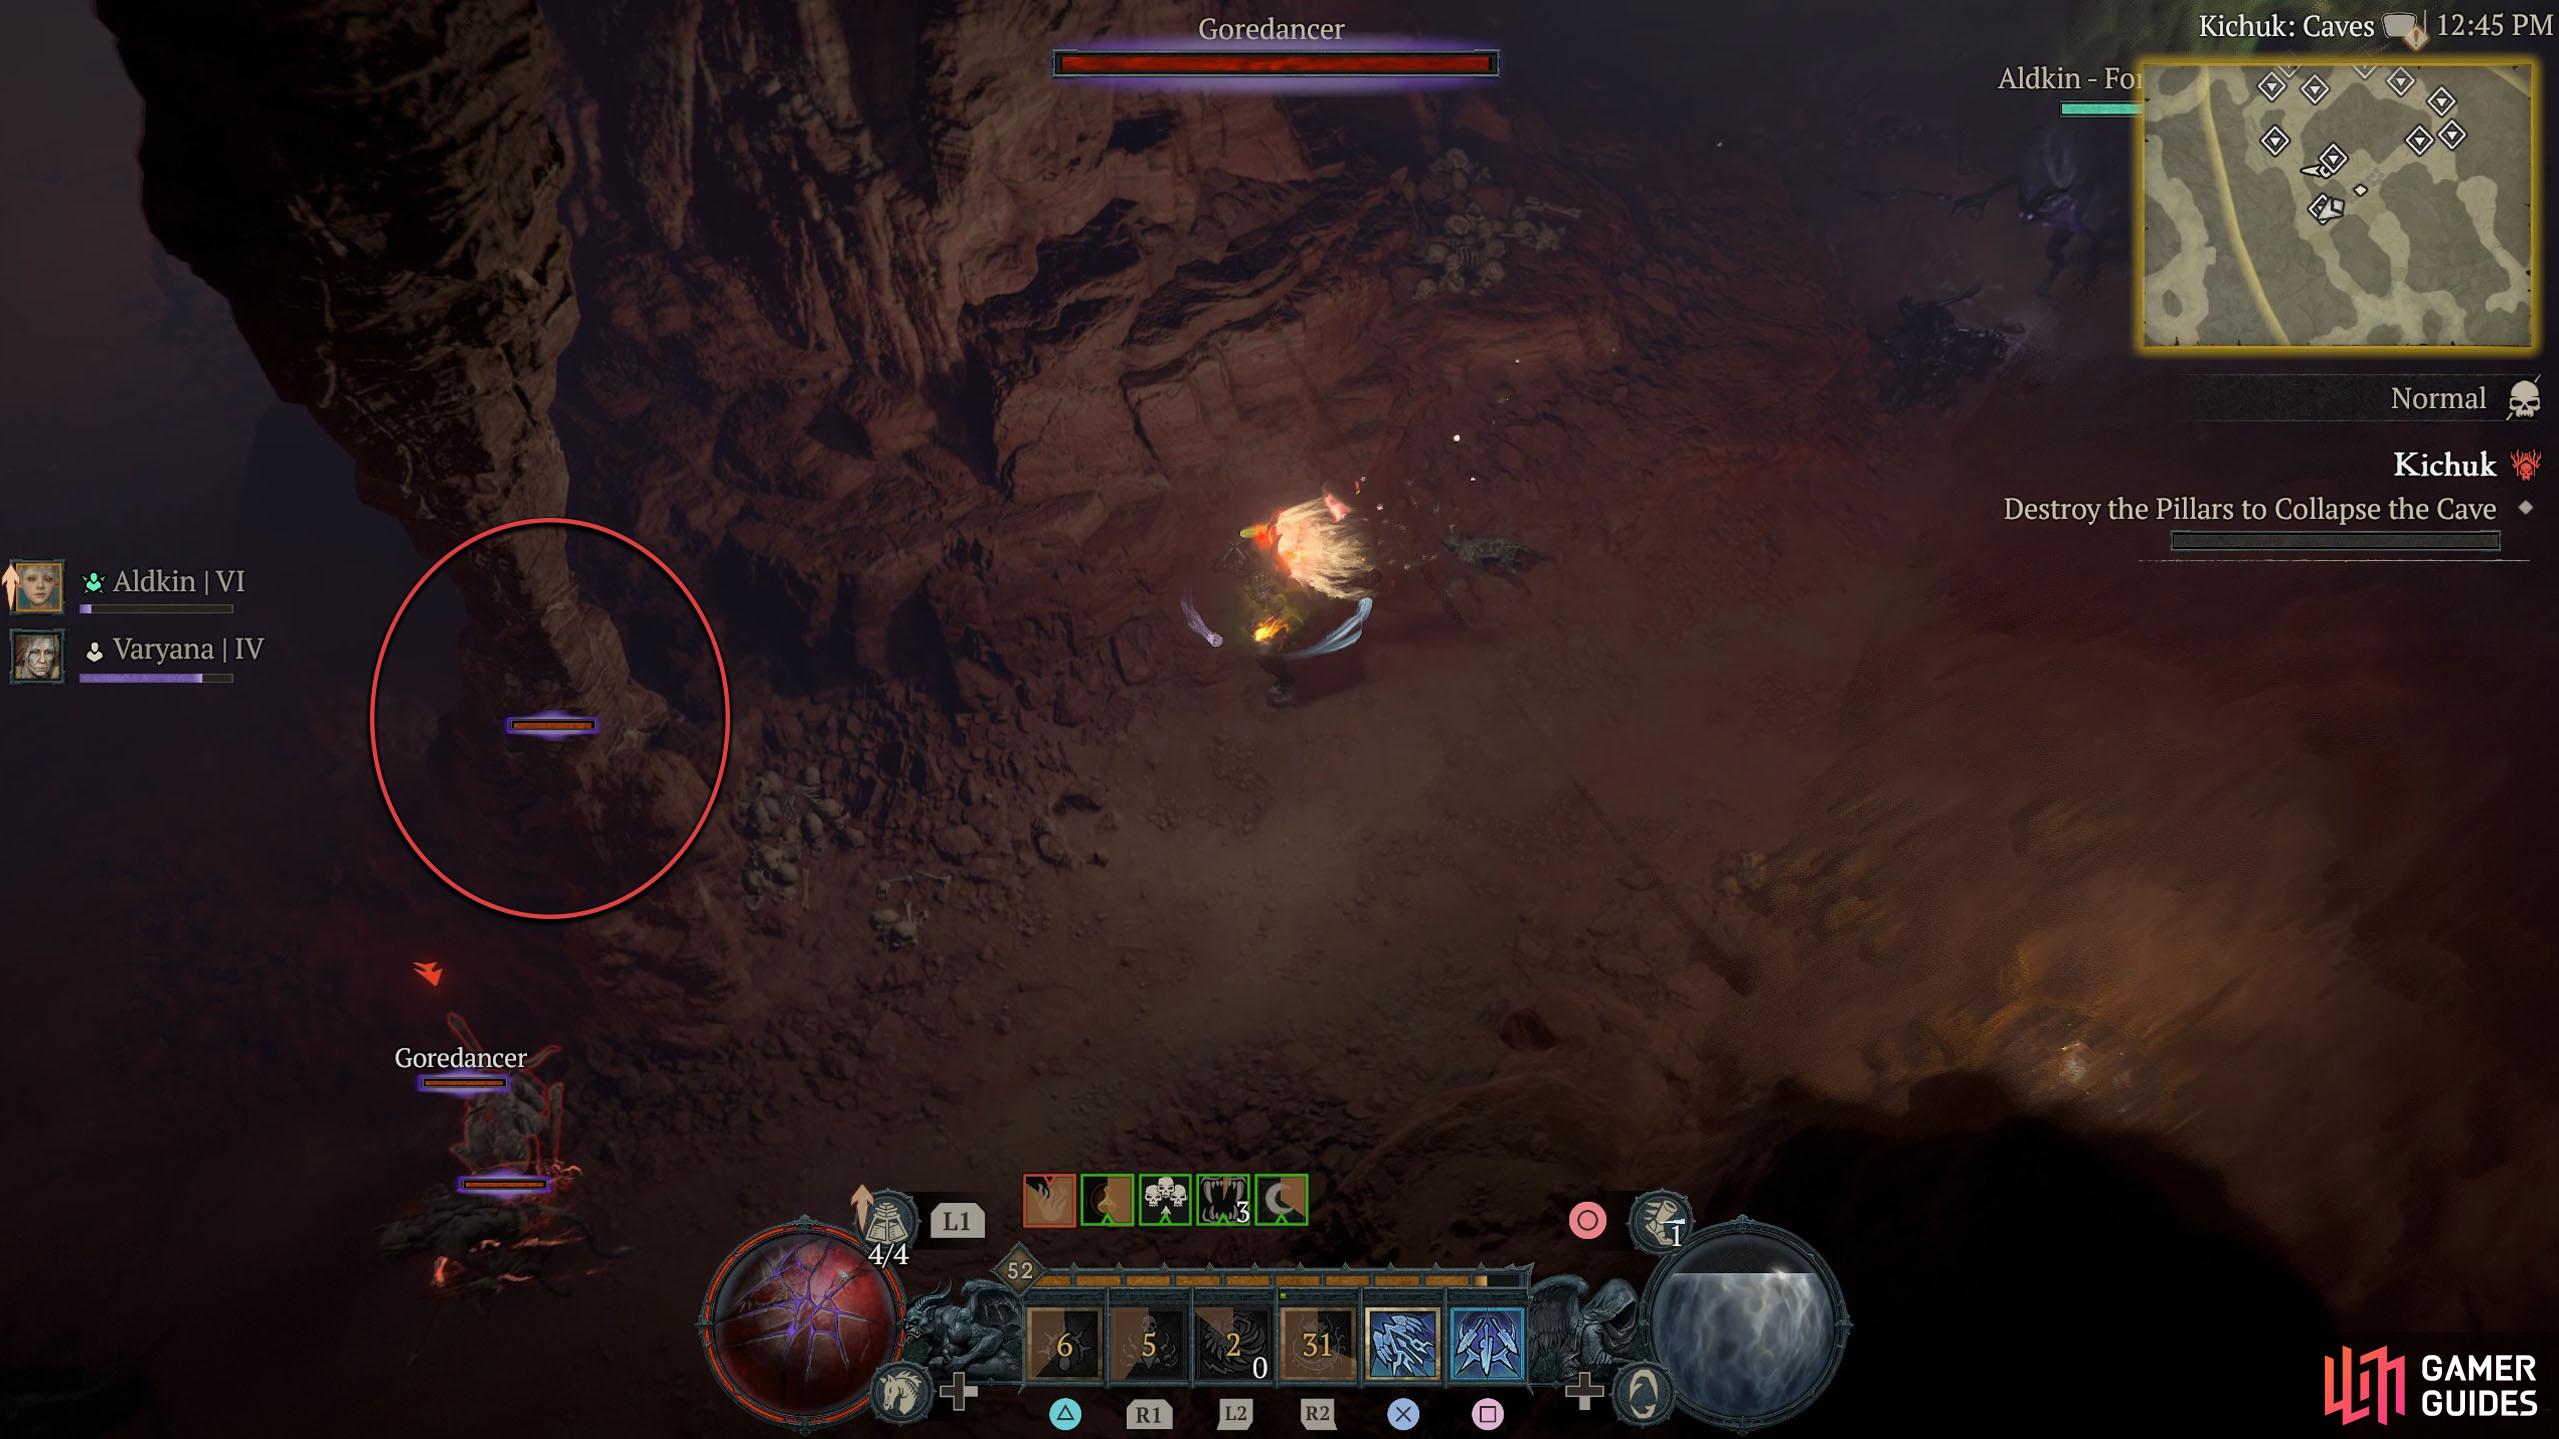
Destroy the Pillars
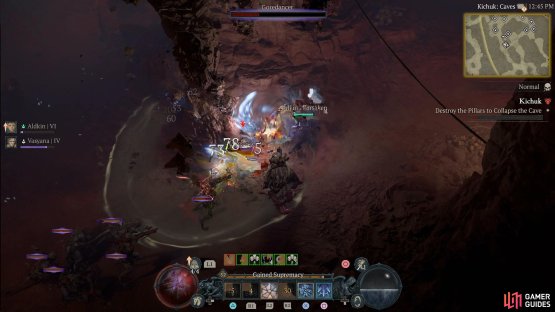
After dealing with approximately a quarter of its health, you’ll need to destroy the pillars in the cave, of which there are eleven scattered around the caves. Like most things in this game, attack the pillars (indicated by a diamond on the mini-map) until they get destroyed, and then move away as it’ll crash to the floor, dealing damage to anything in the area-of-effect marker it leaves behind.
As you get deeper into the cave, the Dweller will attack you again, but you don’t need to fight it…yet. Dodge its attacks as you go around the caves destroying the pillars, and if you time it right and position the Dweller underneath a falling pillar, it’ll take a decent amount of damage from it.
There are around 11 pillars to destroy, so make your way around the path in a clockwise fashion, taking out the pillars, and once you’ve destroyed the last one, escape the cave by going back the way you came. If the Dweller is still alive, you’ll find what’s left of it in the following area. Defeat it and continue on.

(1 of 2) There are around 11 pillars to destroy in the caves. Attack them to destroy them.

There are around 11 pillars to destroy in the caves. Attack them to destroy them. (left), Once a pillar is destroyed, move away from it as it’ll crash onto the marked-out circle. (right)
Kirma, Blood Bargainer Boss
Once you’ve exited the caves, go southeast and speak to Keitseh. There will still be enemies around, so you’ll need to defeat them along the way. You can find Keitseh to the east of the Healing Wells you saw earlier.
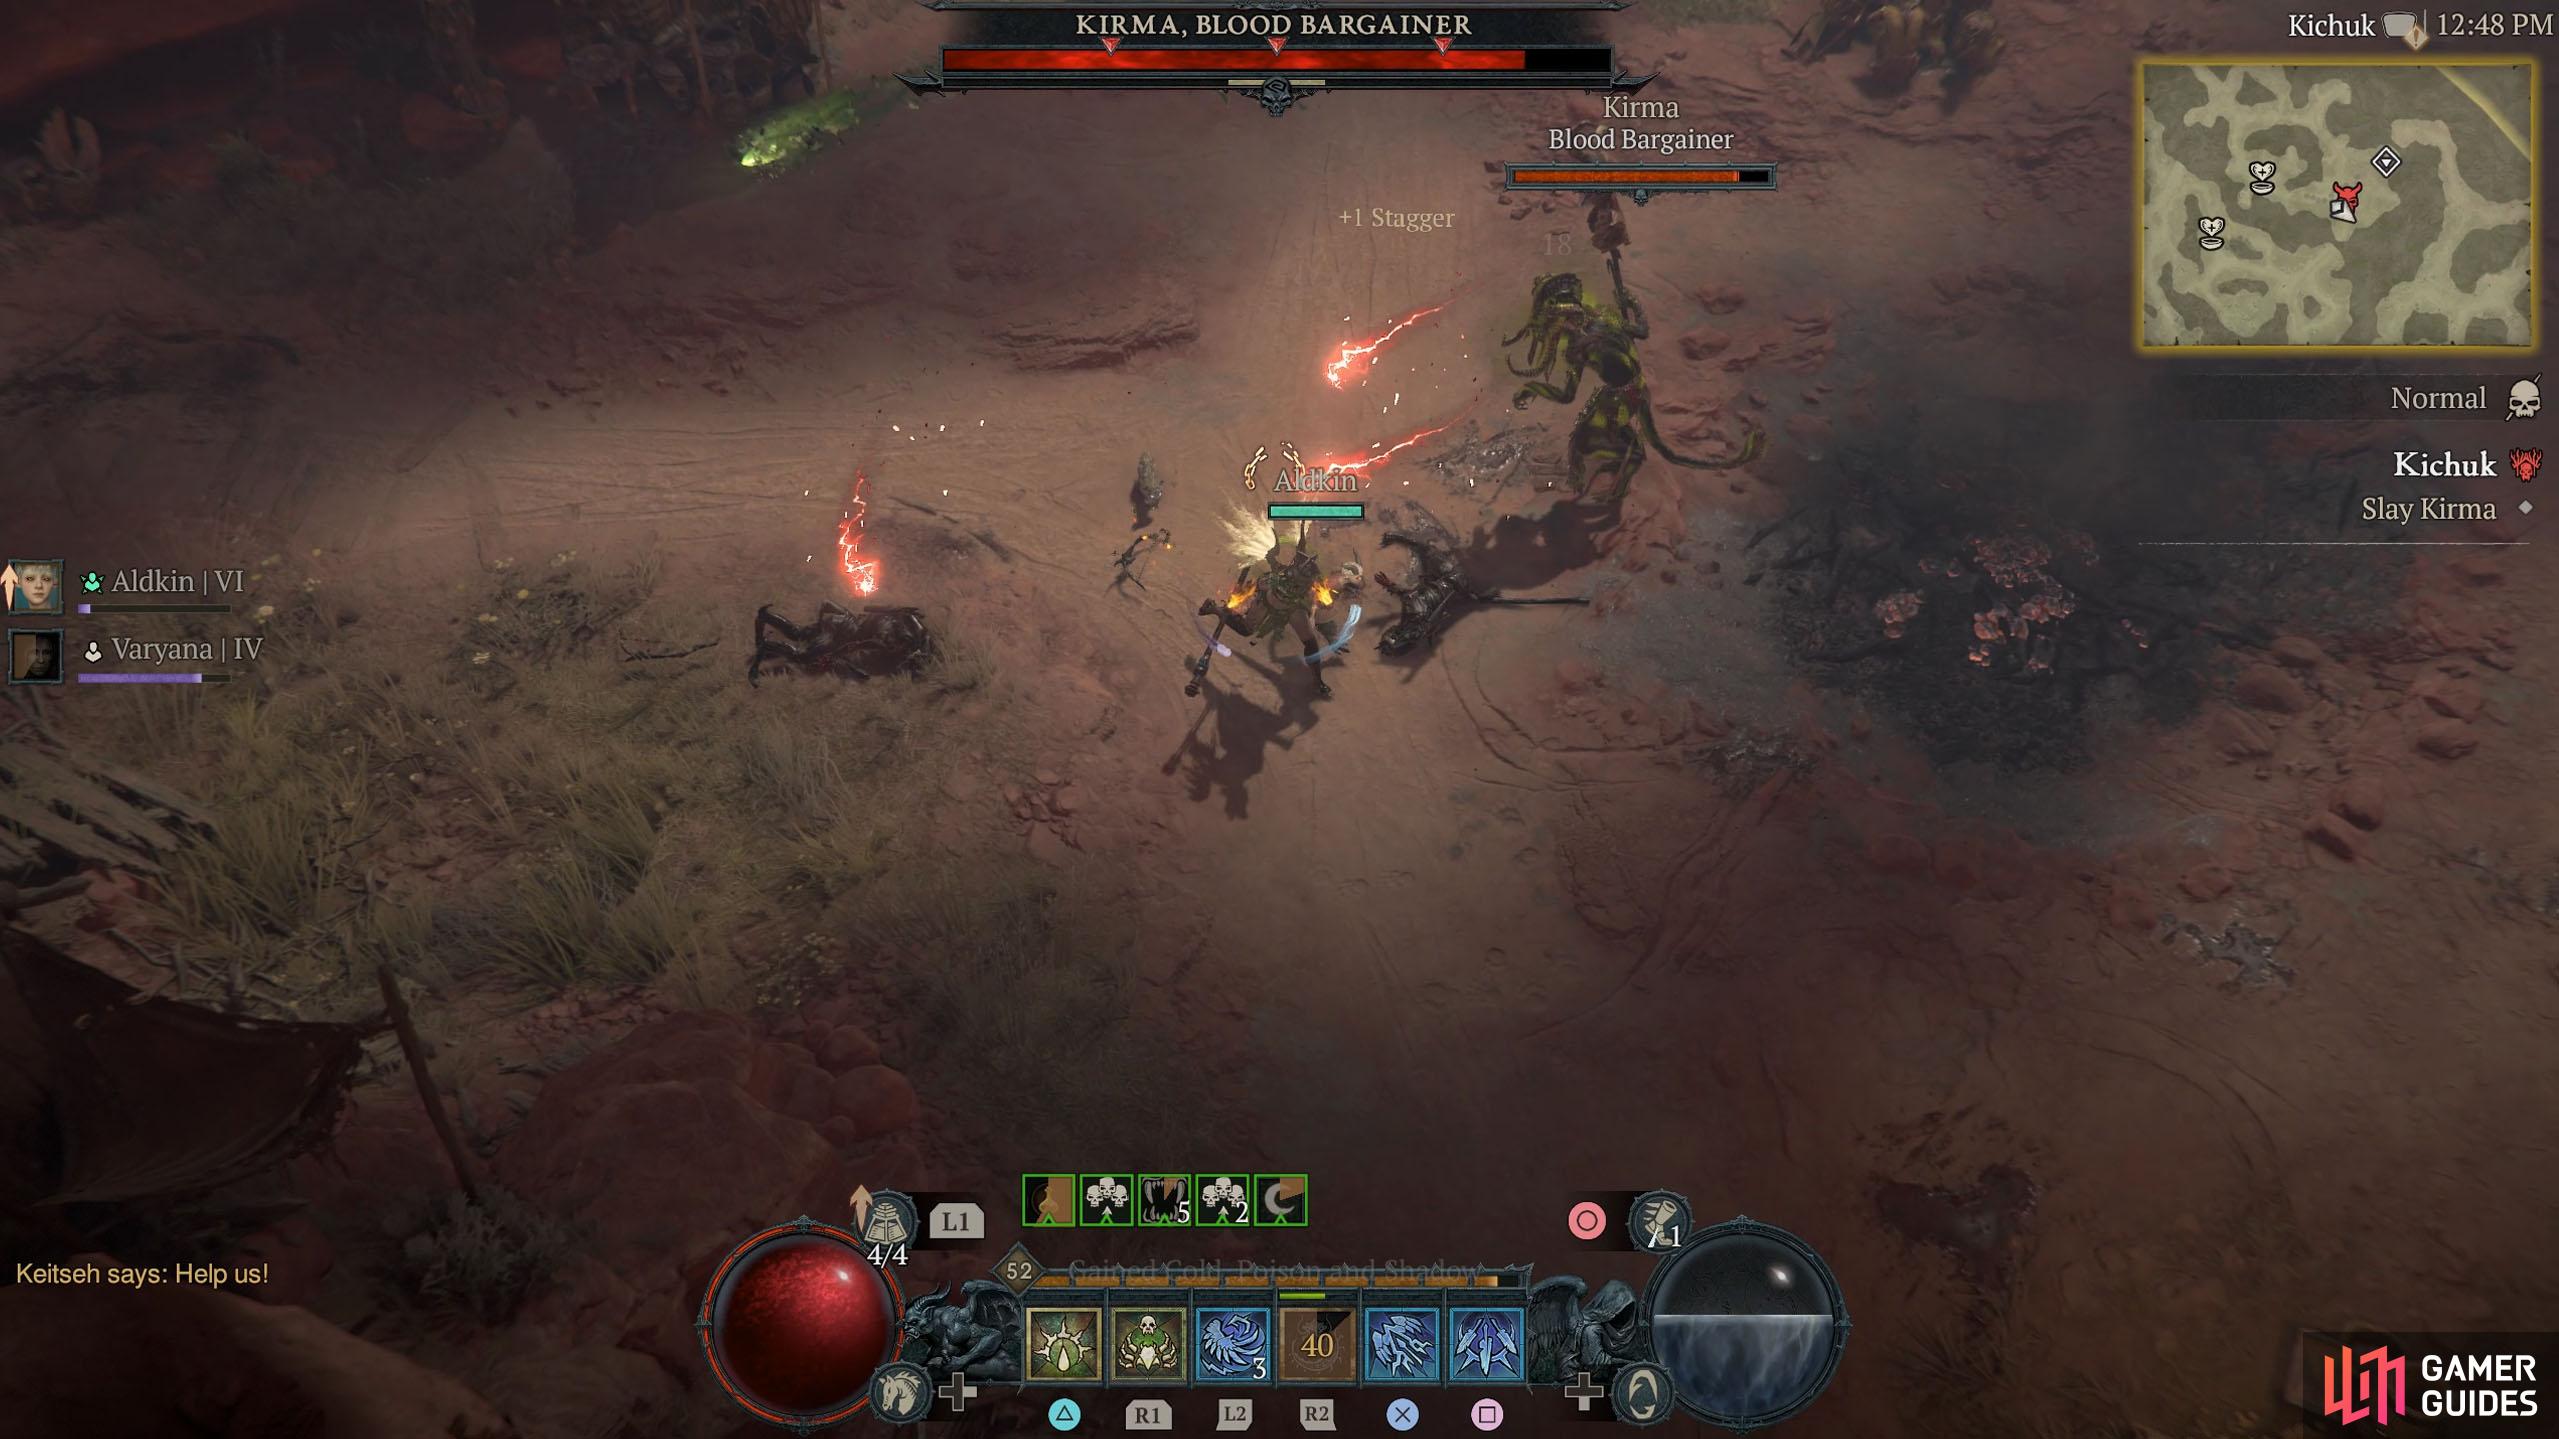
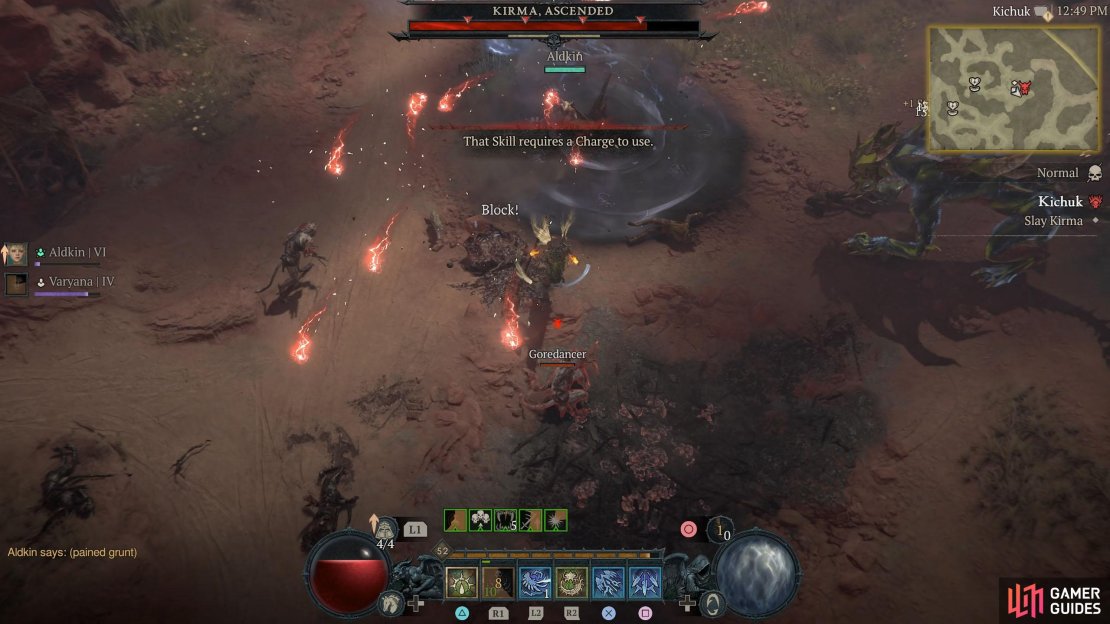
When you reach the location, you’ll be ambushed by Kirma, and be in a boss fight. Kirma is your typical Lacuni mage, it has a staff, and will frequently send out lightning projectiles that move around the area in random patterns. There’s not much you can do about this other than to run in between them, but be careful as they do deal respectable damage to you.

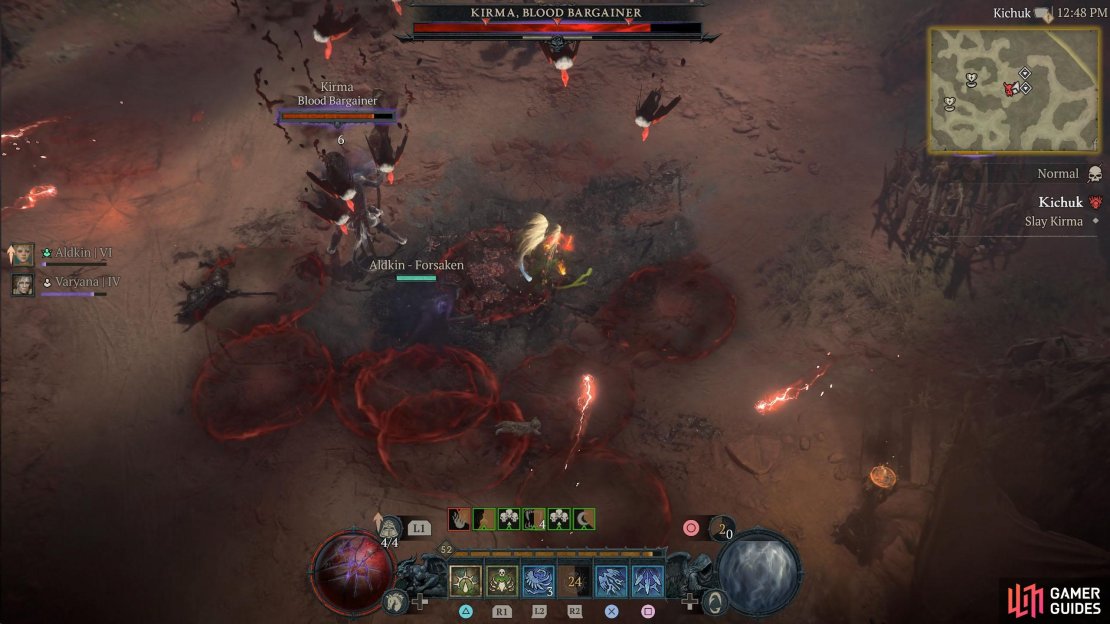
(1 of 3) Kirma will unleash lightning wisps at you that move in a random pattern.
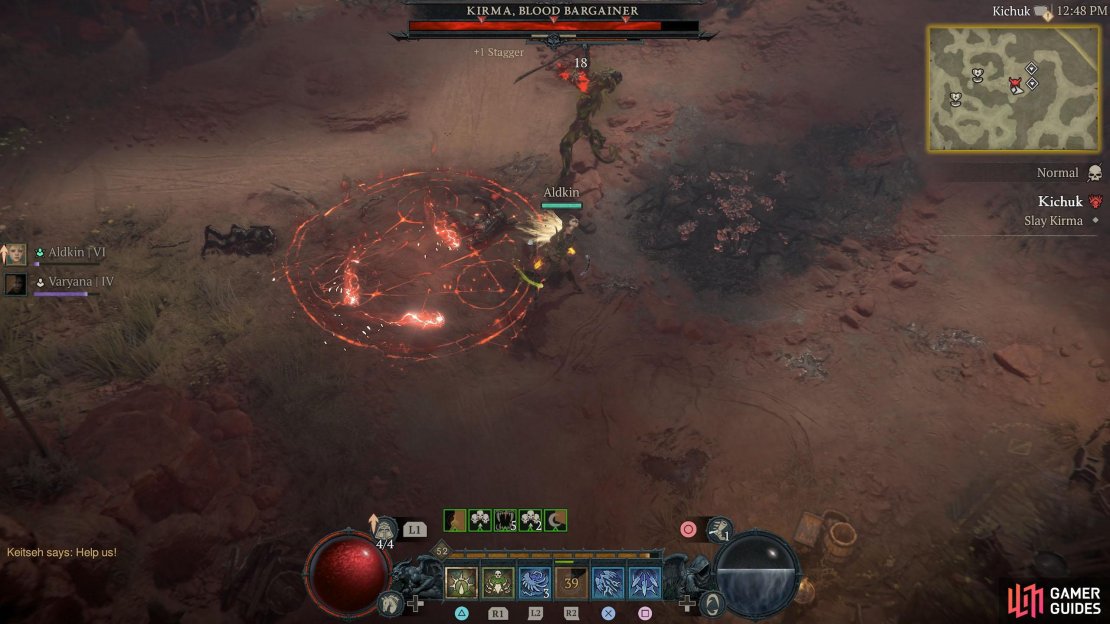
Another attack that Kirma likes to use is Blood Explosion, which places a large red glyph on the floor before exploding underneath you. This can be avoided by moving/evading out of the glyph before it goes off.
The hardest attack that you’ll have to deal with is its Blood Rain attack, which rains down blood projectiles that explode upon impact. This will place numerous red circles on the floor, and you’ll need to be mobile to avoid them.
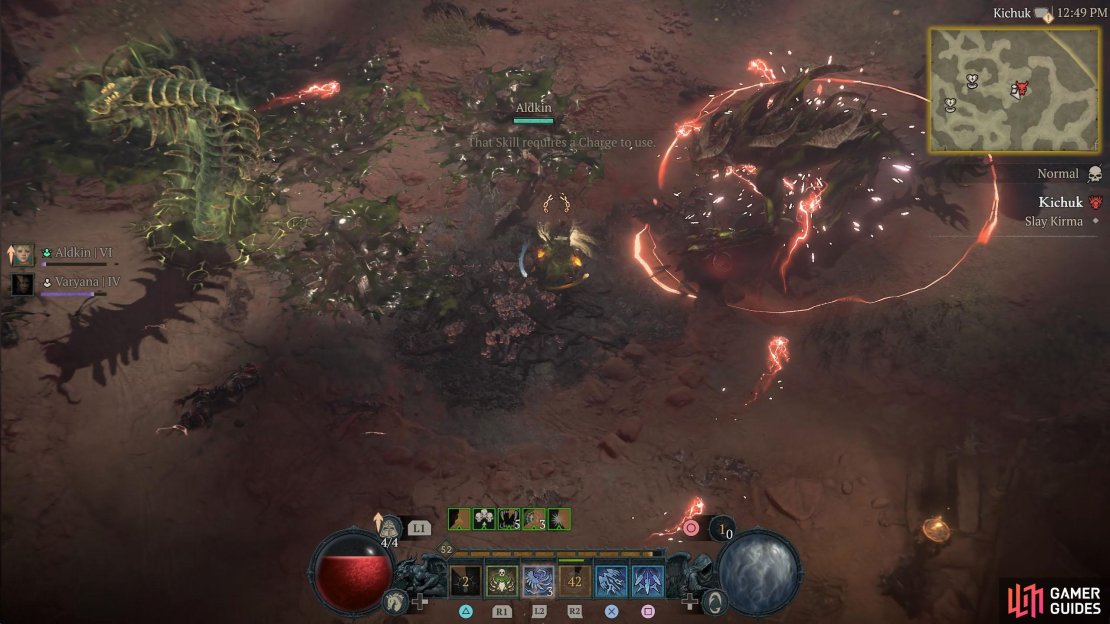
When you take the first quarter of its health away, Kirma will teleport and disappear and enemies will spawn. During this phase, there will be two cages in the room that you can destroy, one in the northeast and one in the southeast. Destroying these will free some groups of villagers. Once the enemy’s number dwindles, Kirma will appear again, but it’ll transform into a hulking beast.
(1 of 2) When you’ve dealt a quarter of Kirma’s health, destroy the cages.

When you’ve dealt a quarter of Kirma’s health, destroy the cages. (left), One will be in the northeast and the other in the southeast. (right)
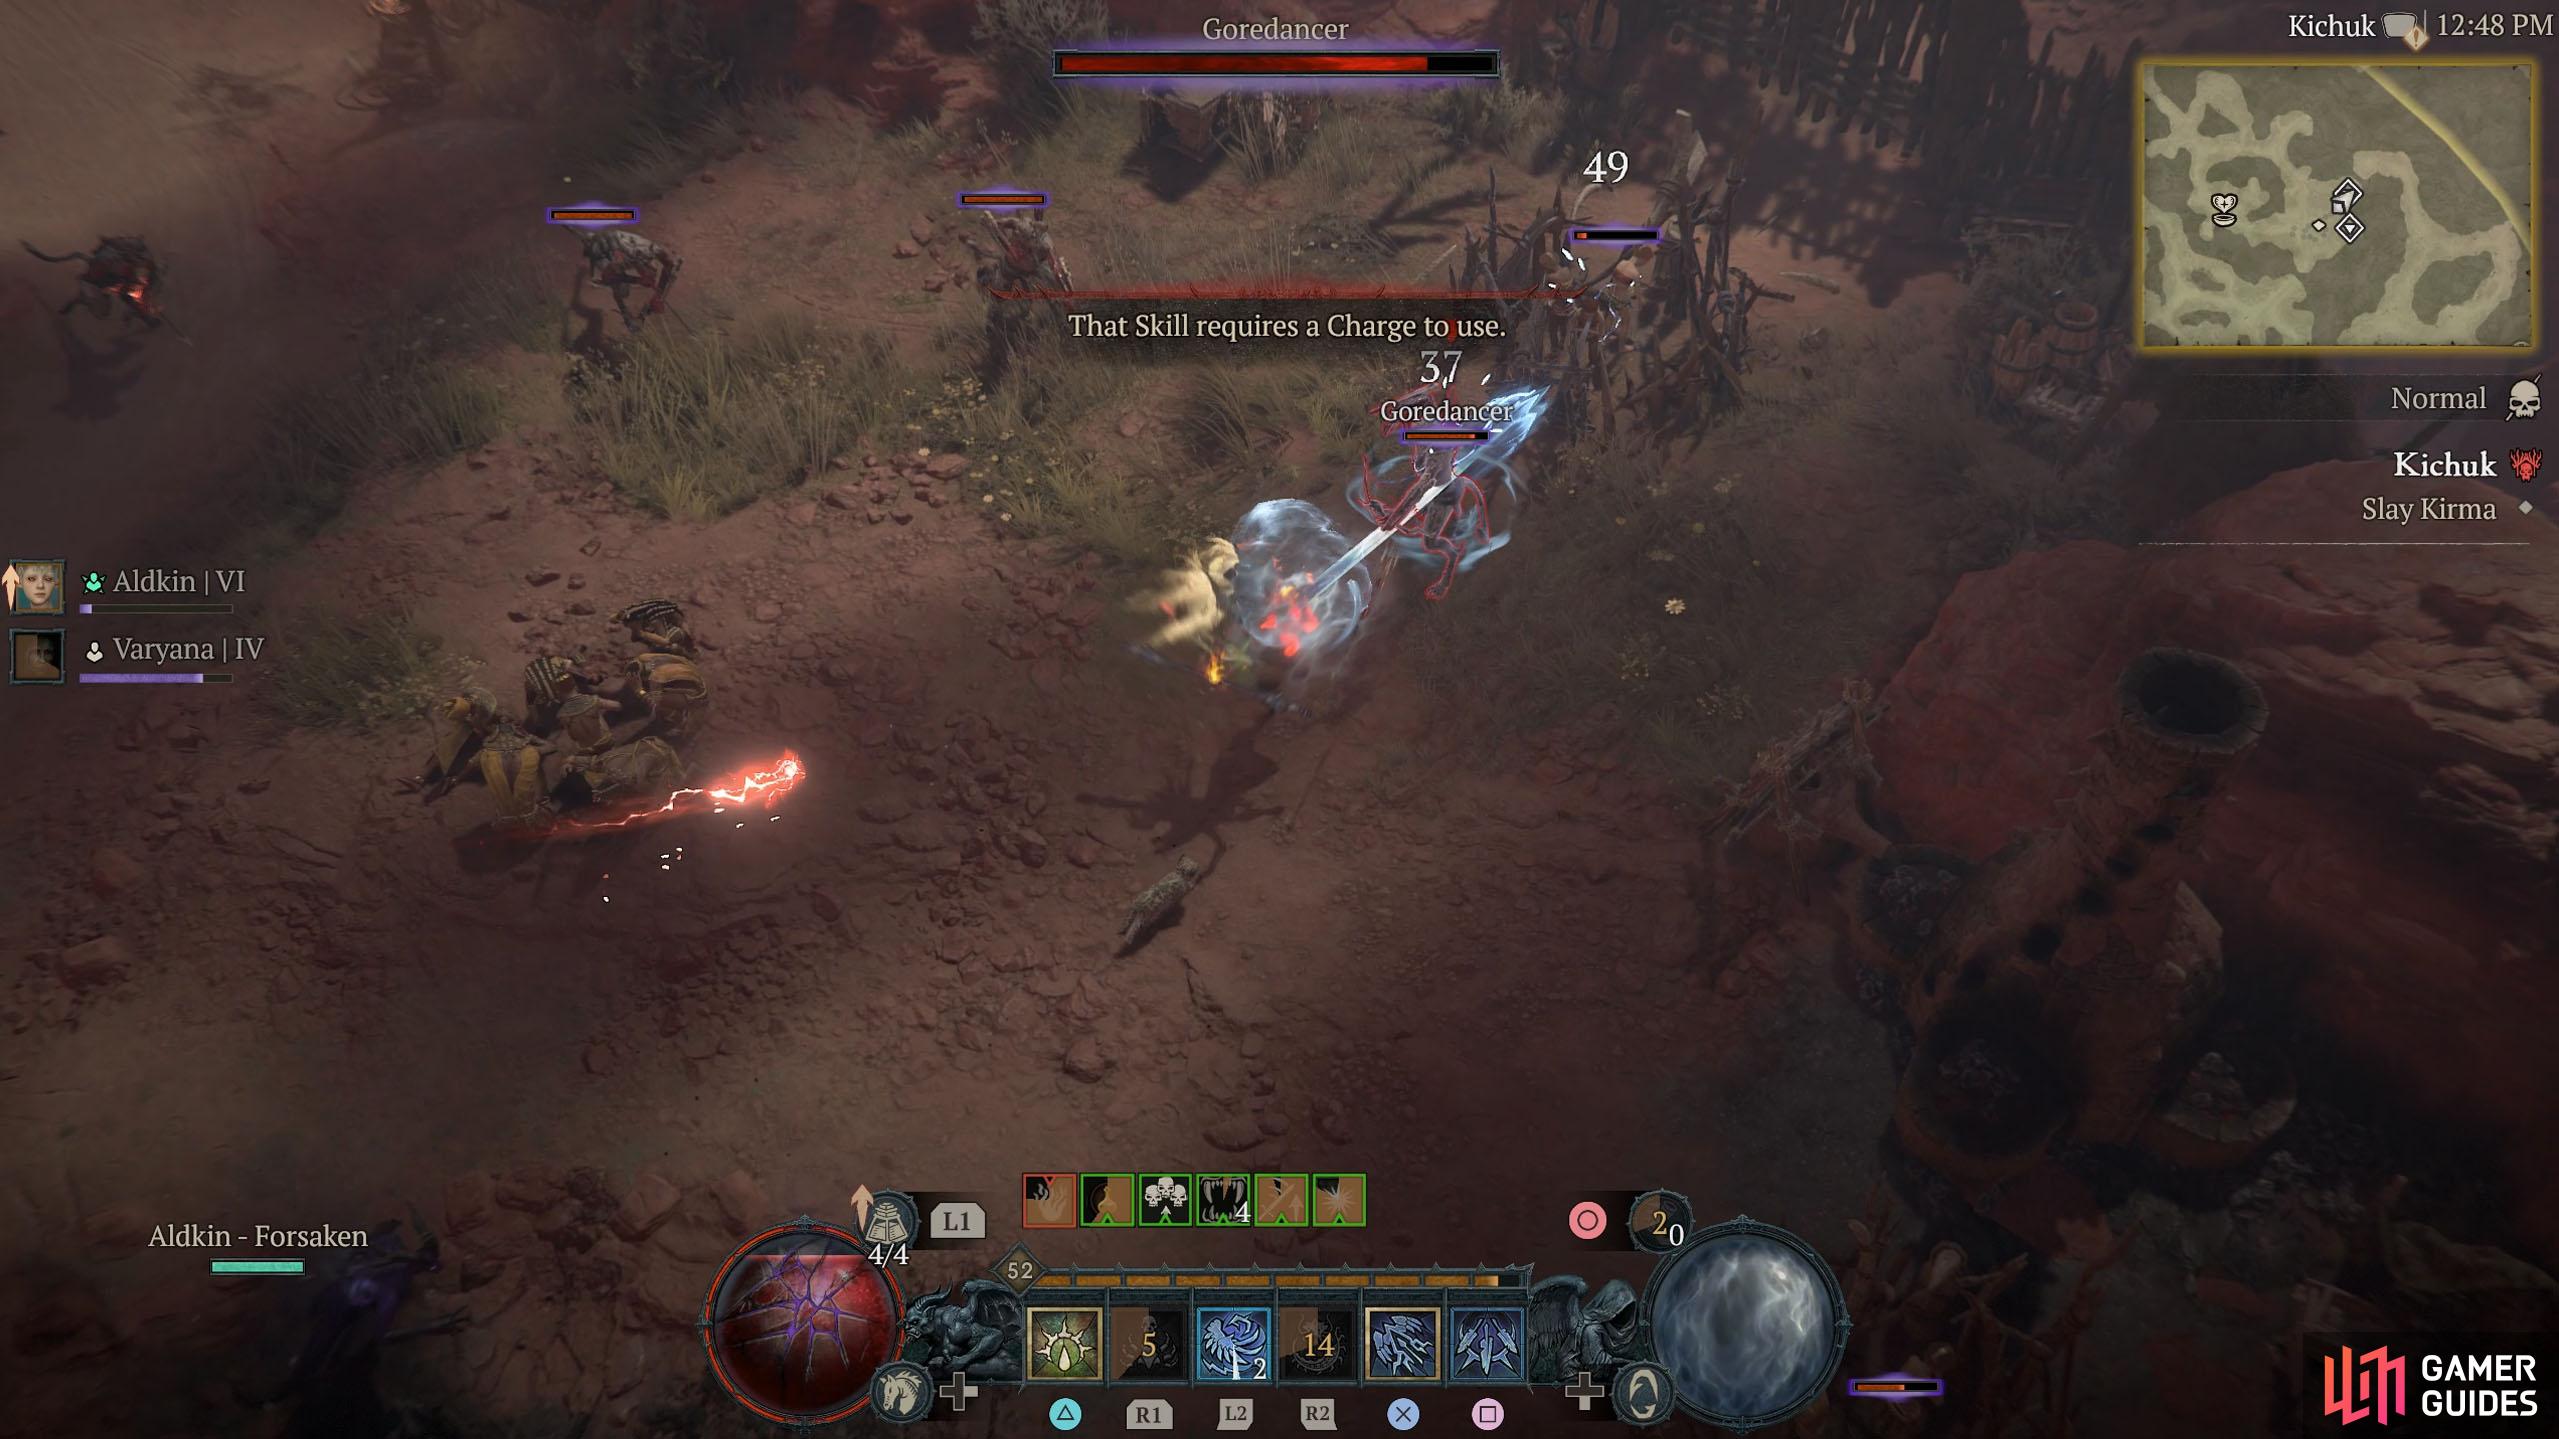
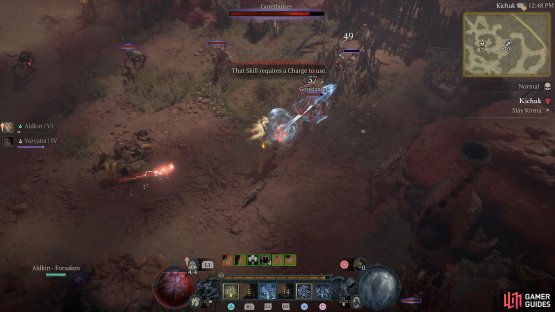
Kirma, Ascended
This is the true version of Kirma with a full health bar. Fortunately, it isn’t too difficult. It’ll have the same attacks as last time, although it appears to use them more frequently, other than that, it will hop around the arena and swipe at you with its claws.
The hardest part of this fight is the lightning projectiles that fly around the room, as they’re difficult to avoid, and the Ascended version of Kirma will unleash more of them than the regular version.
Another trick Kirma has is that it will briefly teleport, leaving behind a lightning circle before reappearing at its original location. Just make sure you keep moving and you’ll be fine. Depending on your build, you can take Kirma out pretty quickly, especially if you stagger it early.


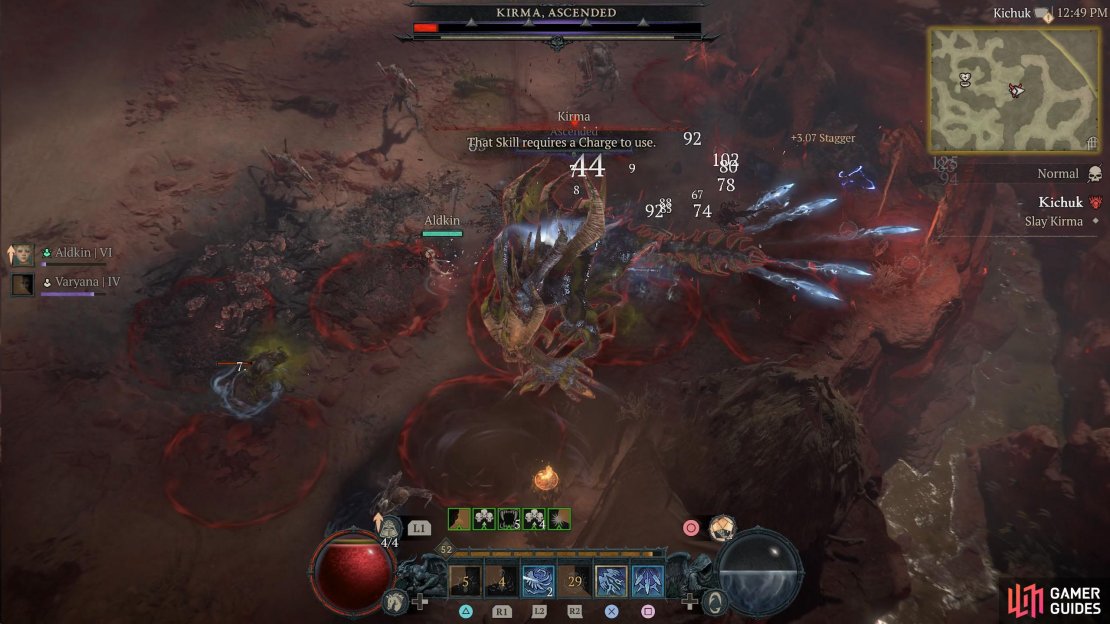
(1 of 4) Kirma will hop around the arena swiping at you or slamming its fist on the floor.
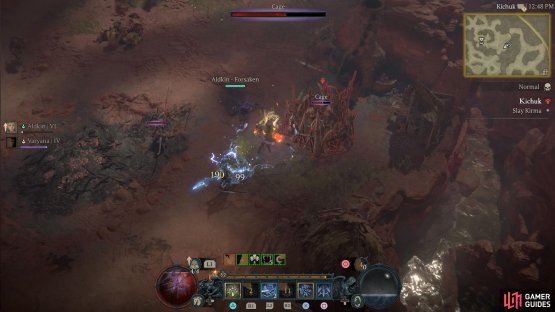
In short, keep moving to avoid all the abilities, as standing still will make you take too much damage. If Kirma unleashes the lightning projectiles, run out to the edge of the arena and fight it there. When there isn’t any, keep attacking Kirma from the front, and when it closes in on you, evade behind it and continue attacking.
The only difficult part of the battle is the lightning projectiles, so you may want to bolster your lighting resistance from gear and potions to lower the damage it does.
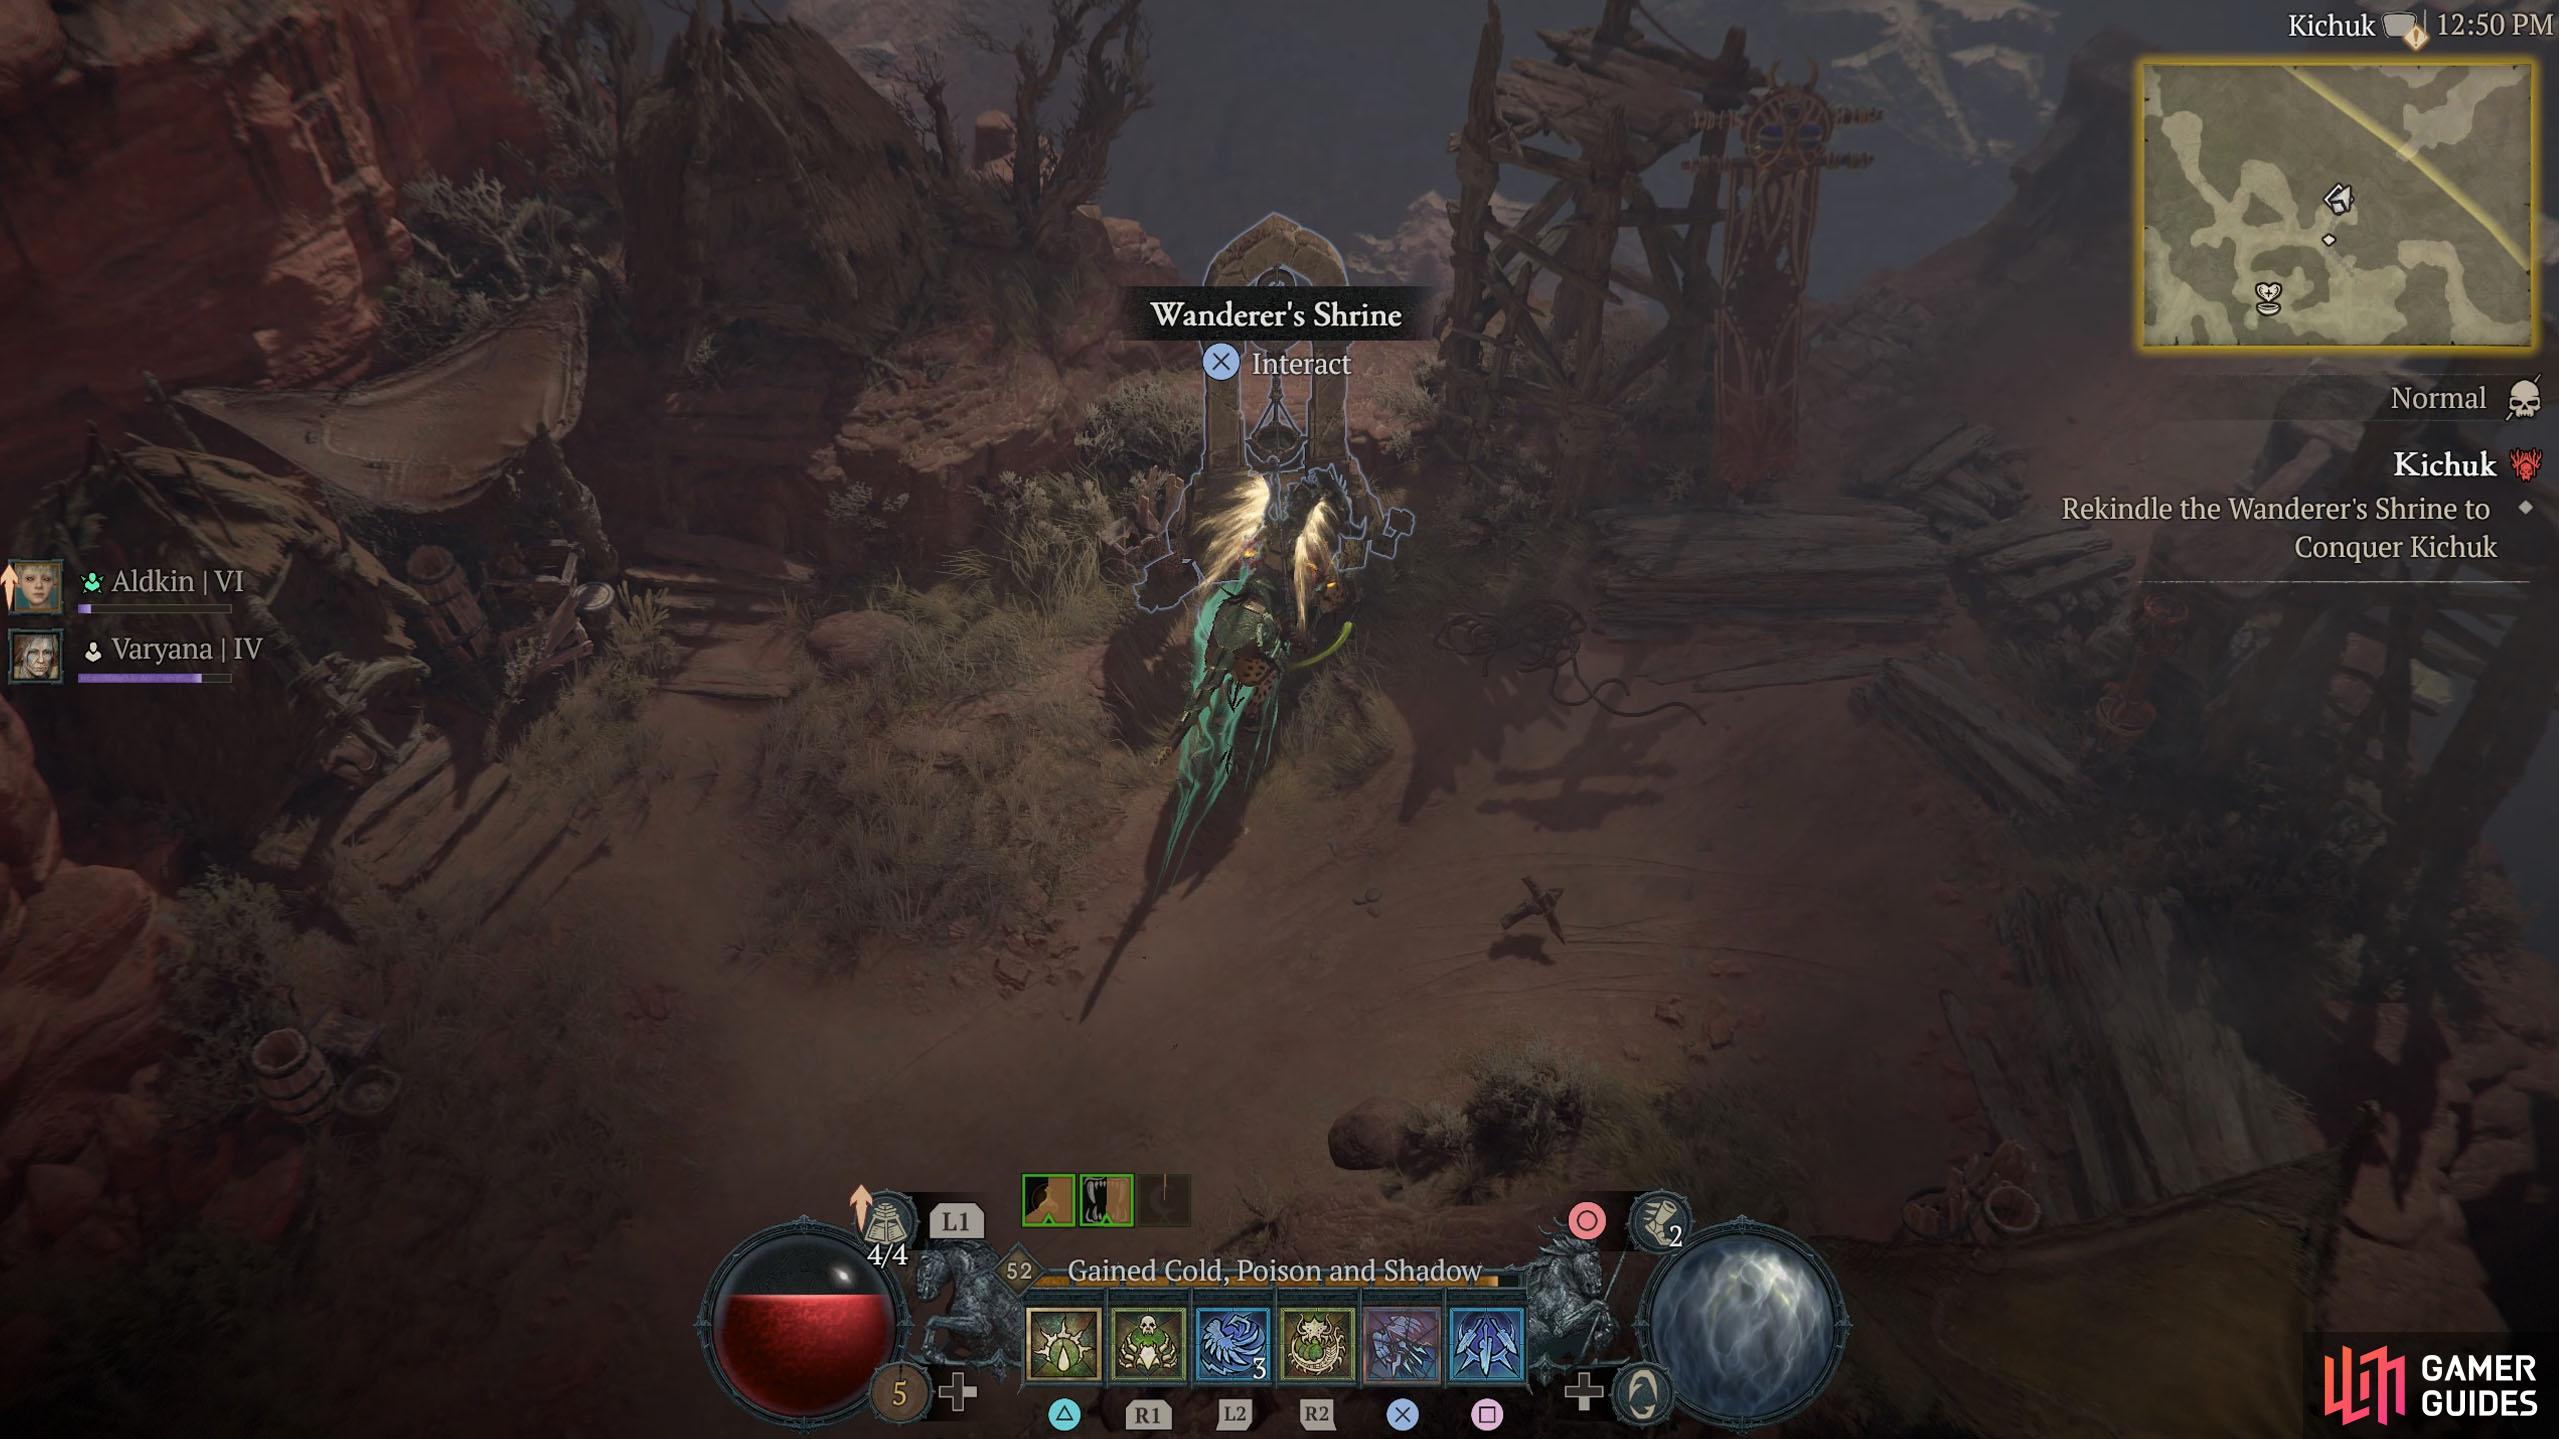
The Wanderer’s Shrine can be found northeast of the boss arena.
Once you’ve defeated Kirma, pick up the loot, head northeast, and interact with the Wandering Shrine to cleanse the area, and complete the Stronghold. Completing the Stronghold will unlock a new Waypoint.
No Comments