
Chakhir is one of three new Strongholds added with the Vessel of Hatred expansion in Diablo IV. Found in the northwest corner of the Seven Stones subregion through Spiritcall Forest in Nahantu, the ruins have been taken over by deadly plants and two deadly brothers. Read on to find out where to find Chakhir and how to complete the Stronghold.
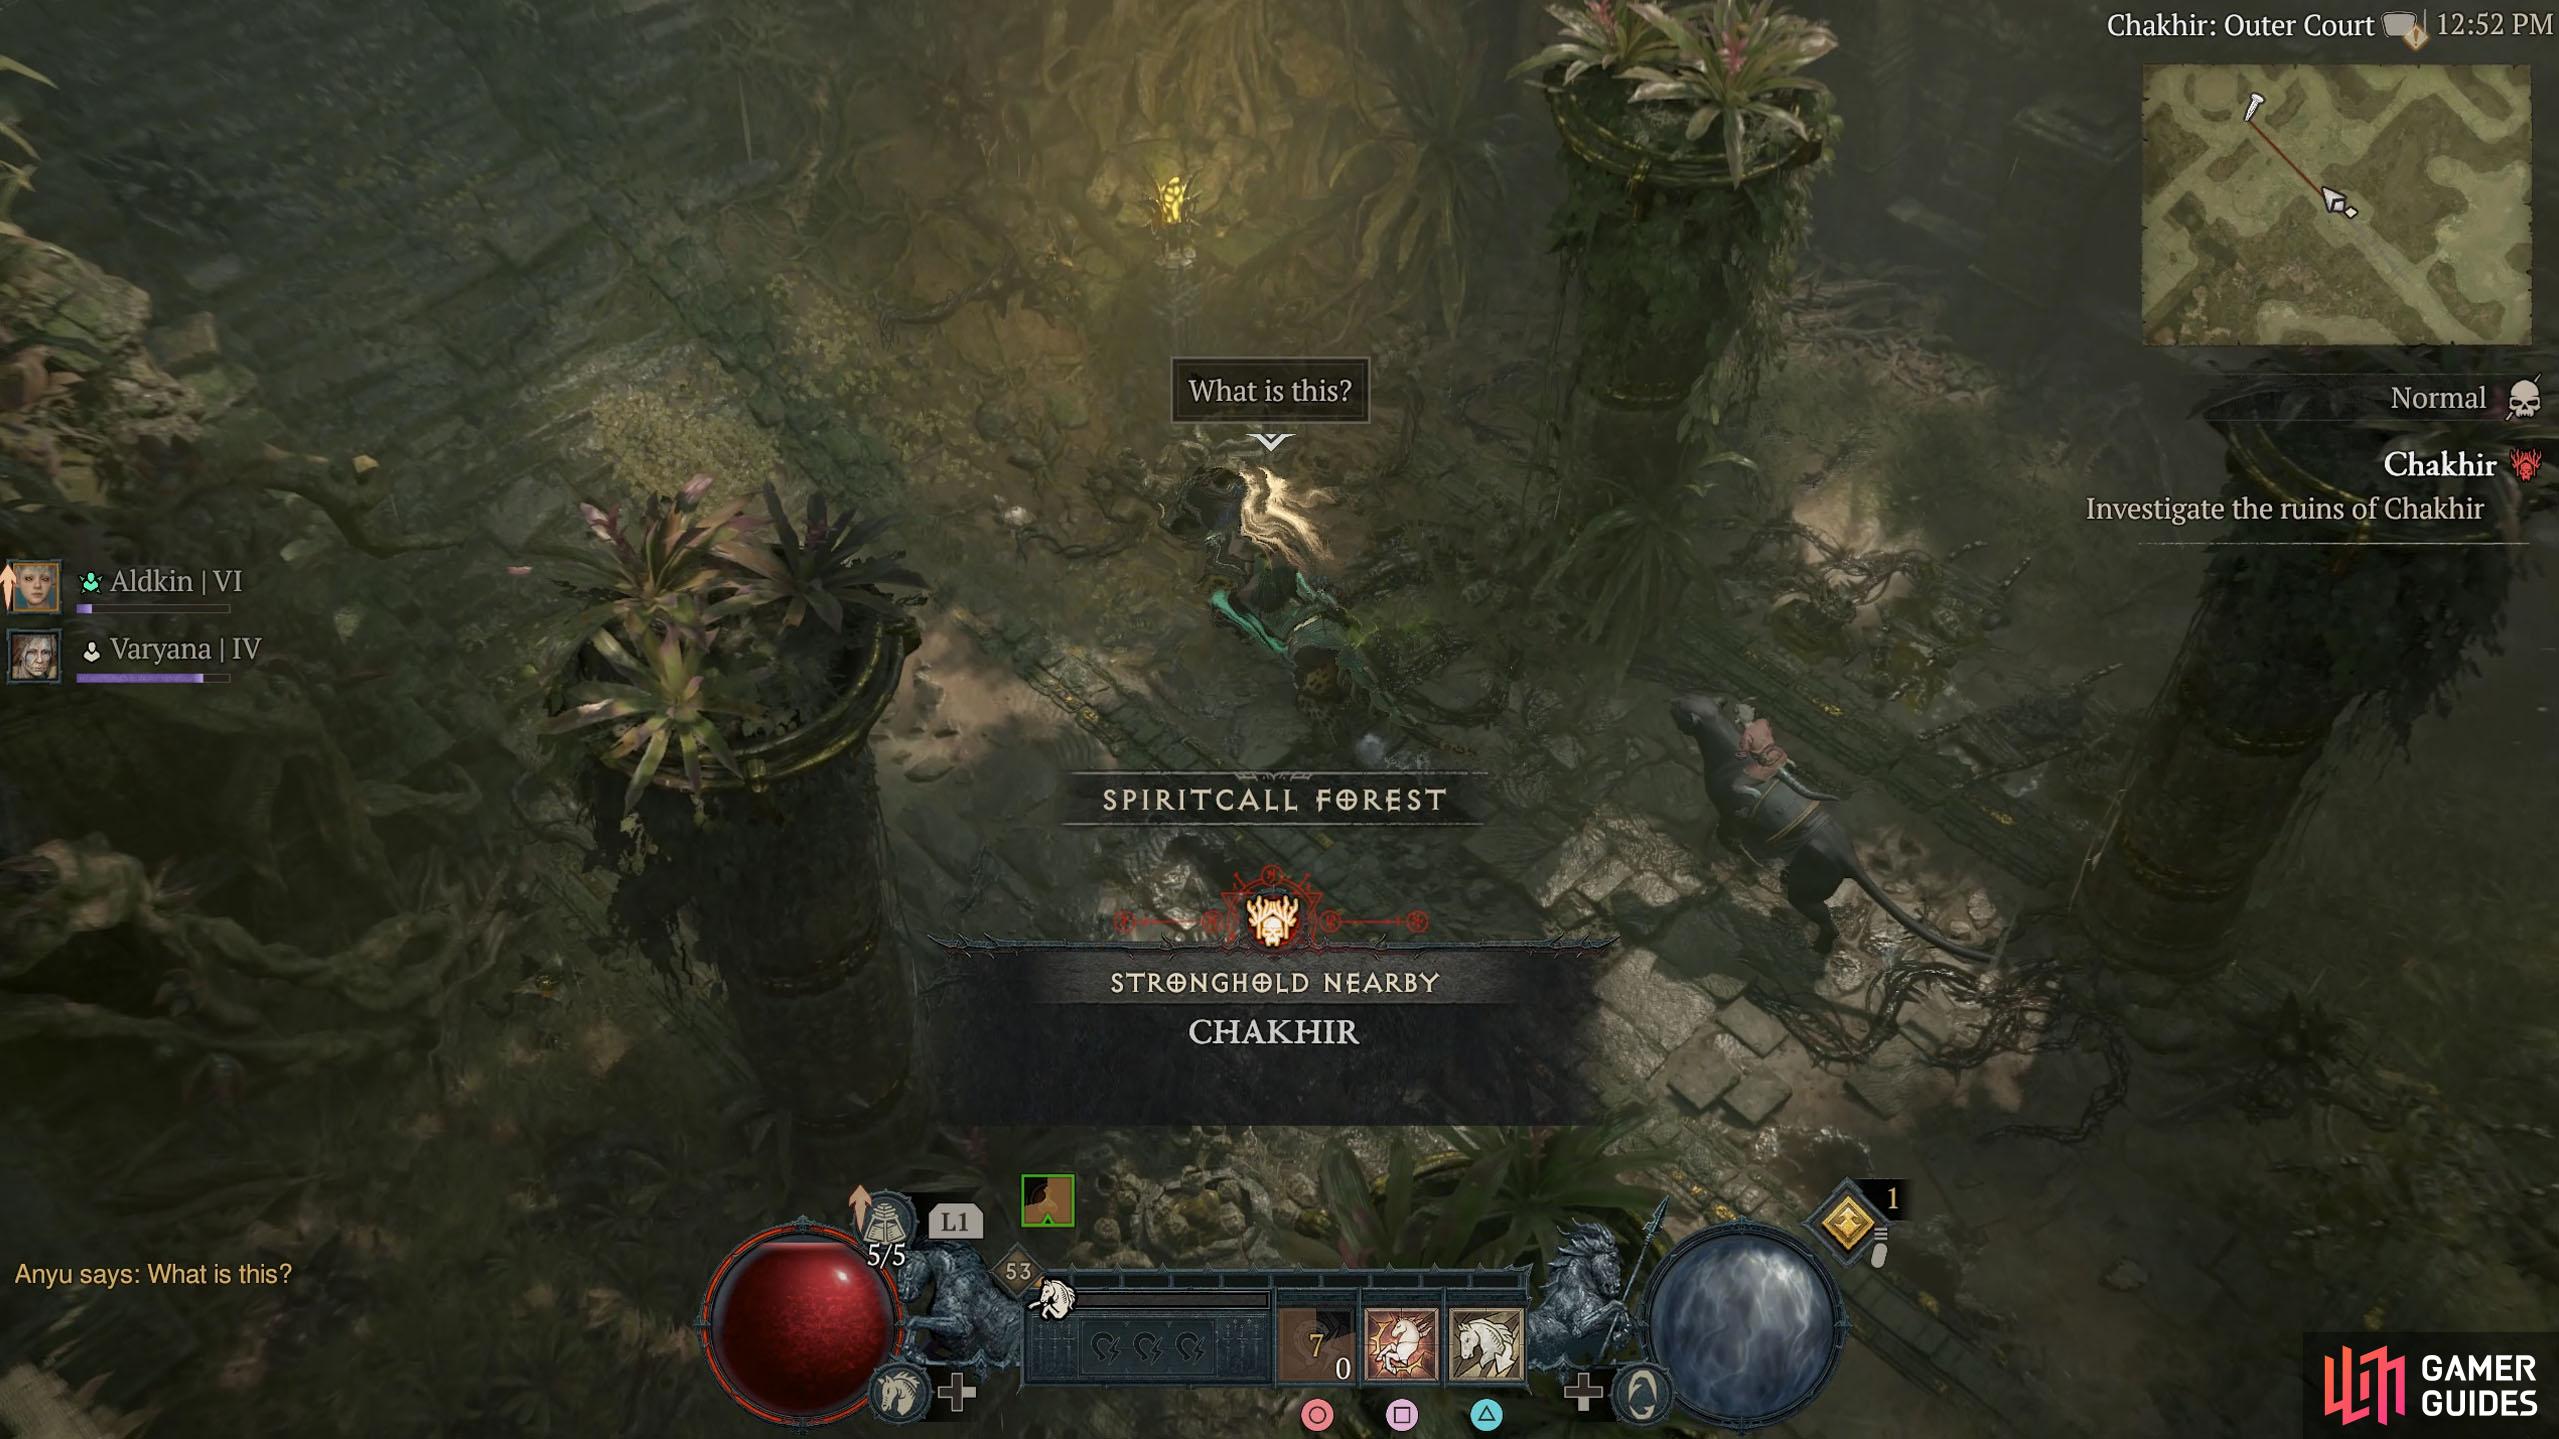
Chakir is a Stronghold situated in the Seven Stones subregion of Nahantu.
Table of Contents
If you want to jump to a specific section, click on the links below.
Chakhir Location
The Chakhir Stronghold is in the far northwest corner of Nahantu in the Seven Stones region. Starting at the Samuk Waypoint in the Five Hills subregion, leave via the northern exit, which will take you straight into Seven Stones. From there, head directly northwest until you reach the Iron Cenotaph Dungeon, and take the northeast path before immediately heading northwest again. This will take you to the Chakhir: Outer Court entrance.
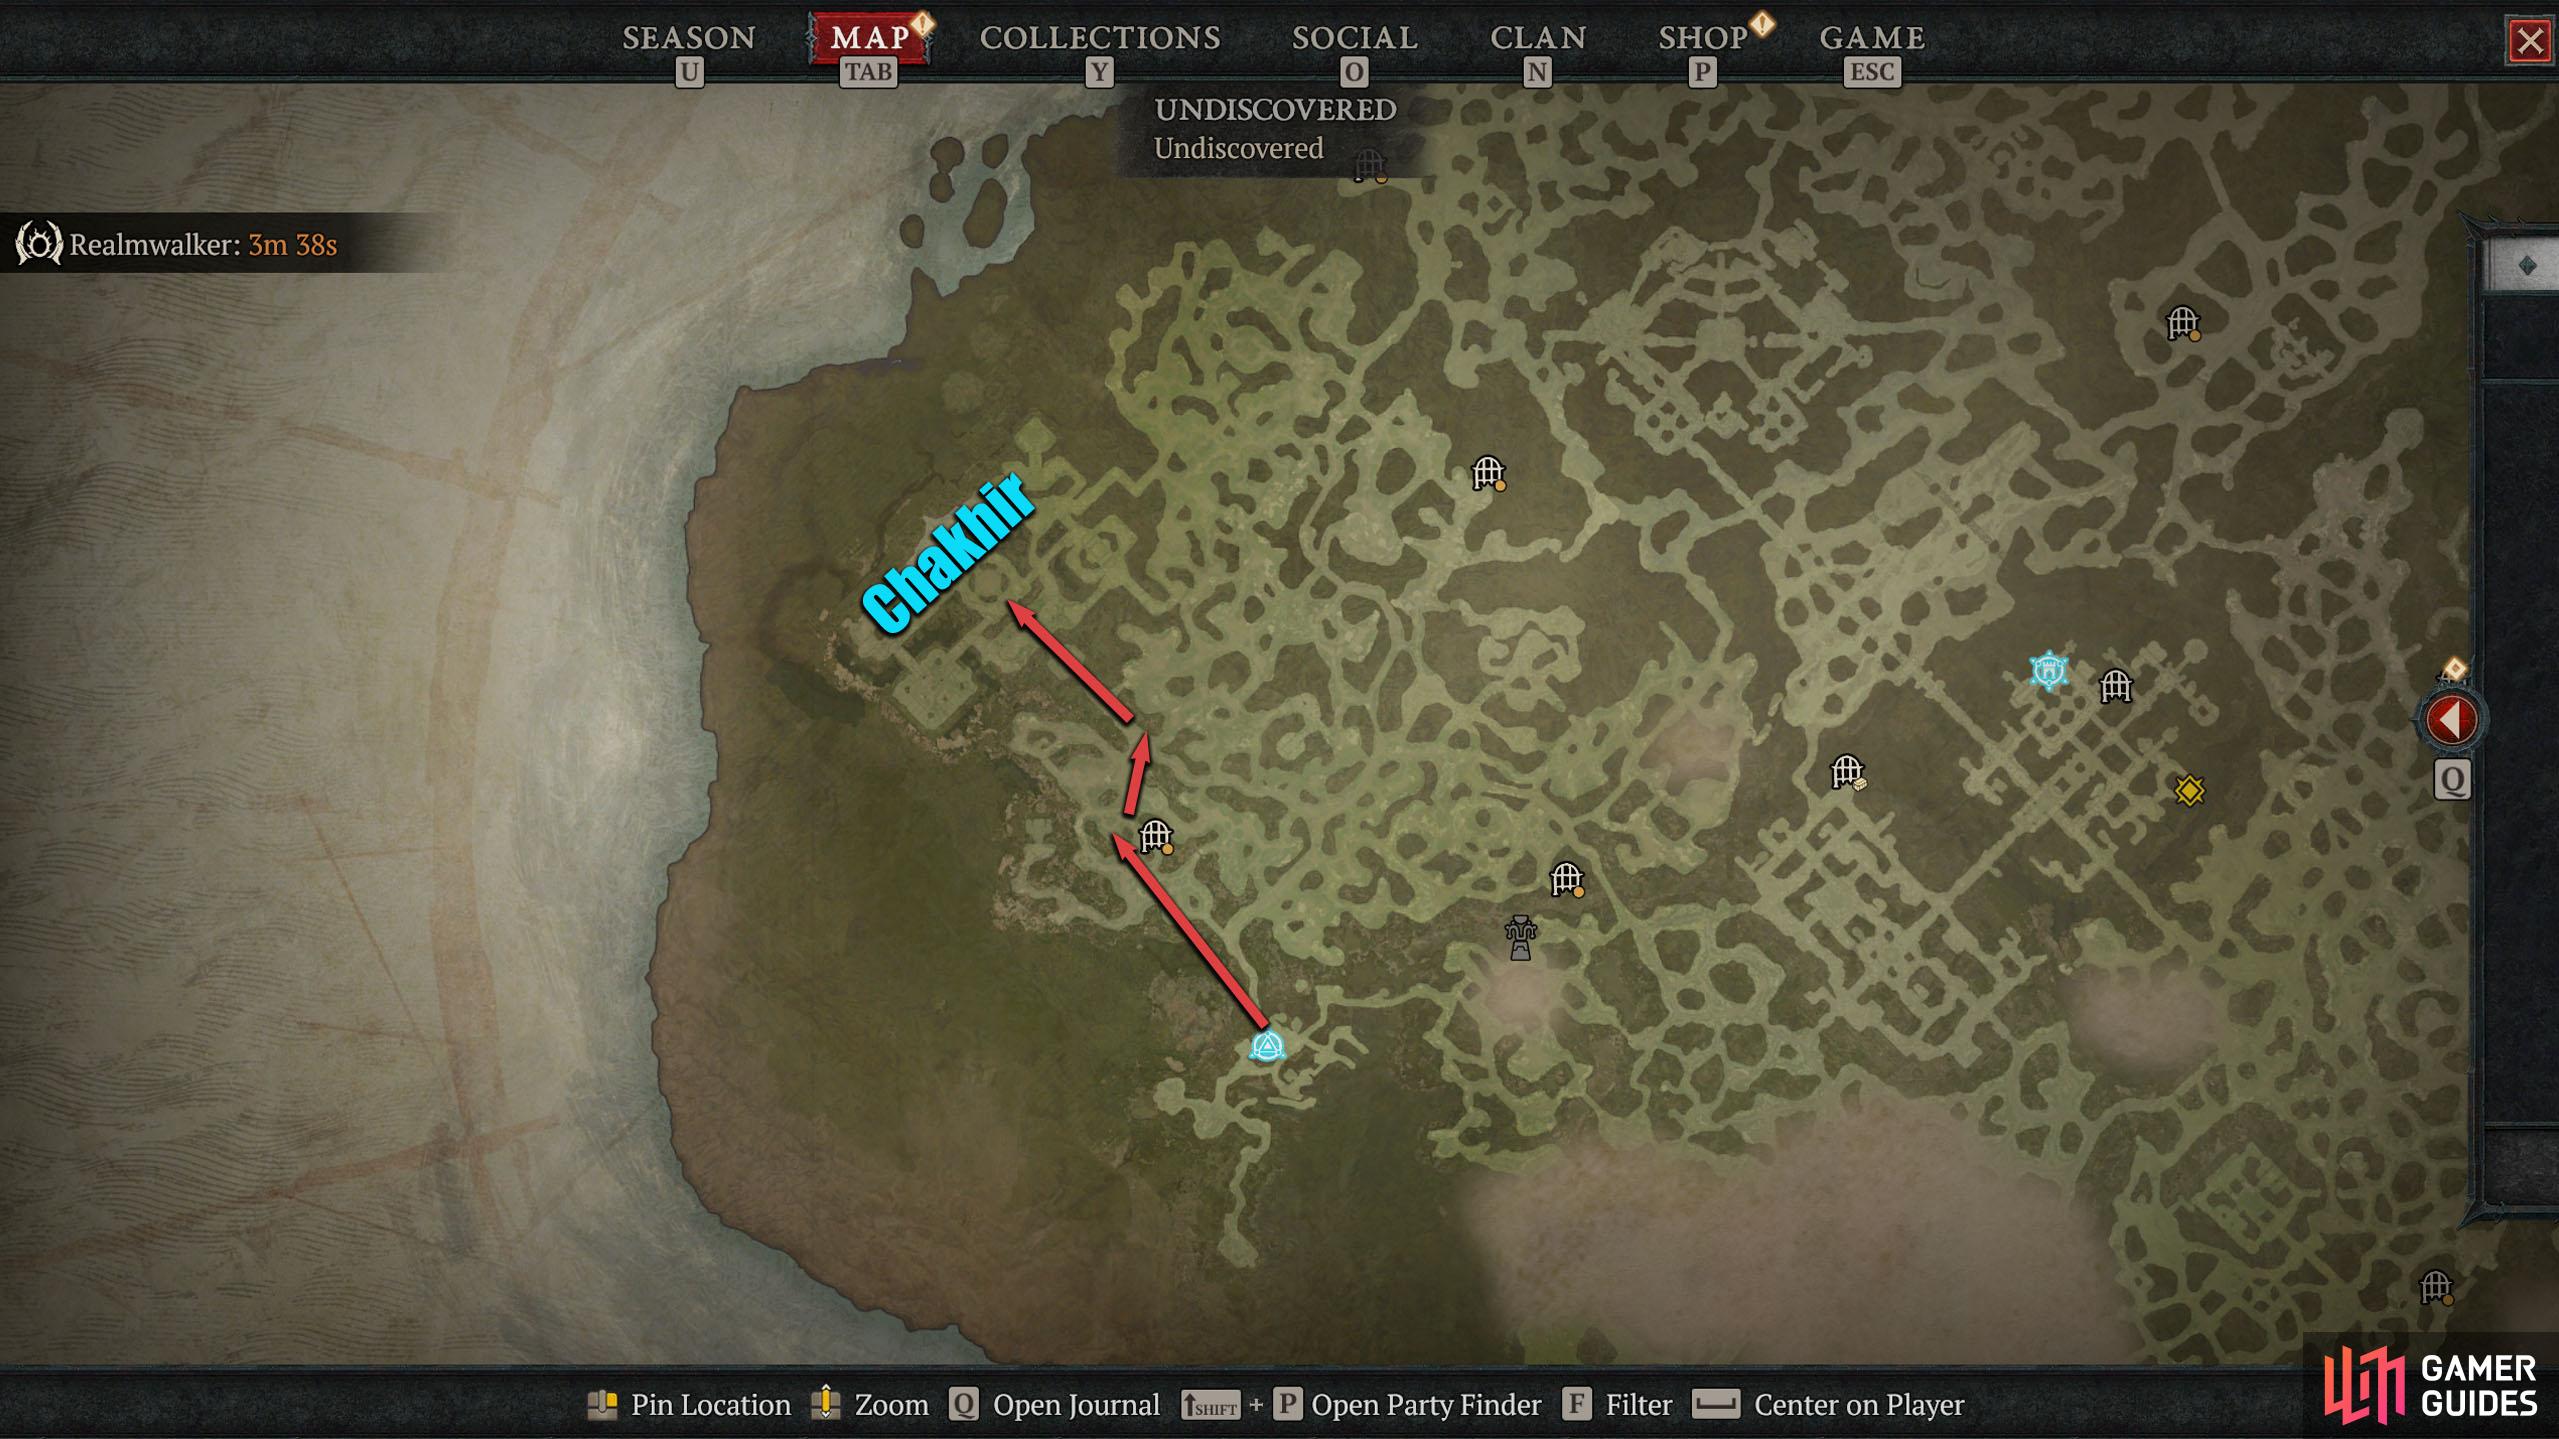
Head directly northwest from the Samuk Waypoint to find the Stronghold.
Chakhir Walkthrough
As you enter the ruins, you’ll hear some dialogue from the brothers Skerg and Sinerat. Once they’ve said their bit, you’ll get your first objectives. This Stronghold is separated into four areas with their own objectives. These areas are Courtyard, Market, Amphitheater, and Observatory.
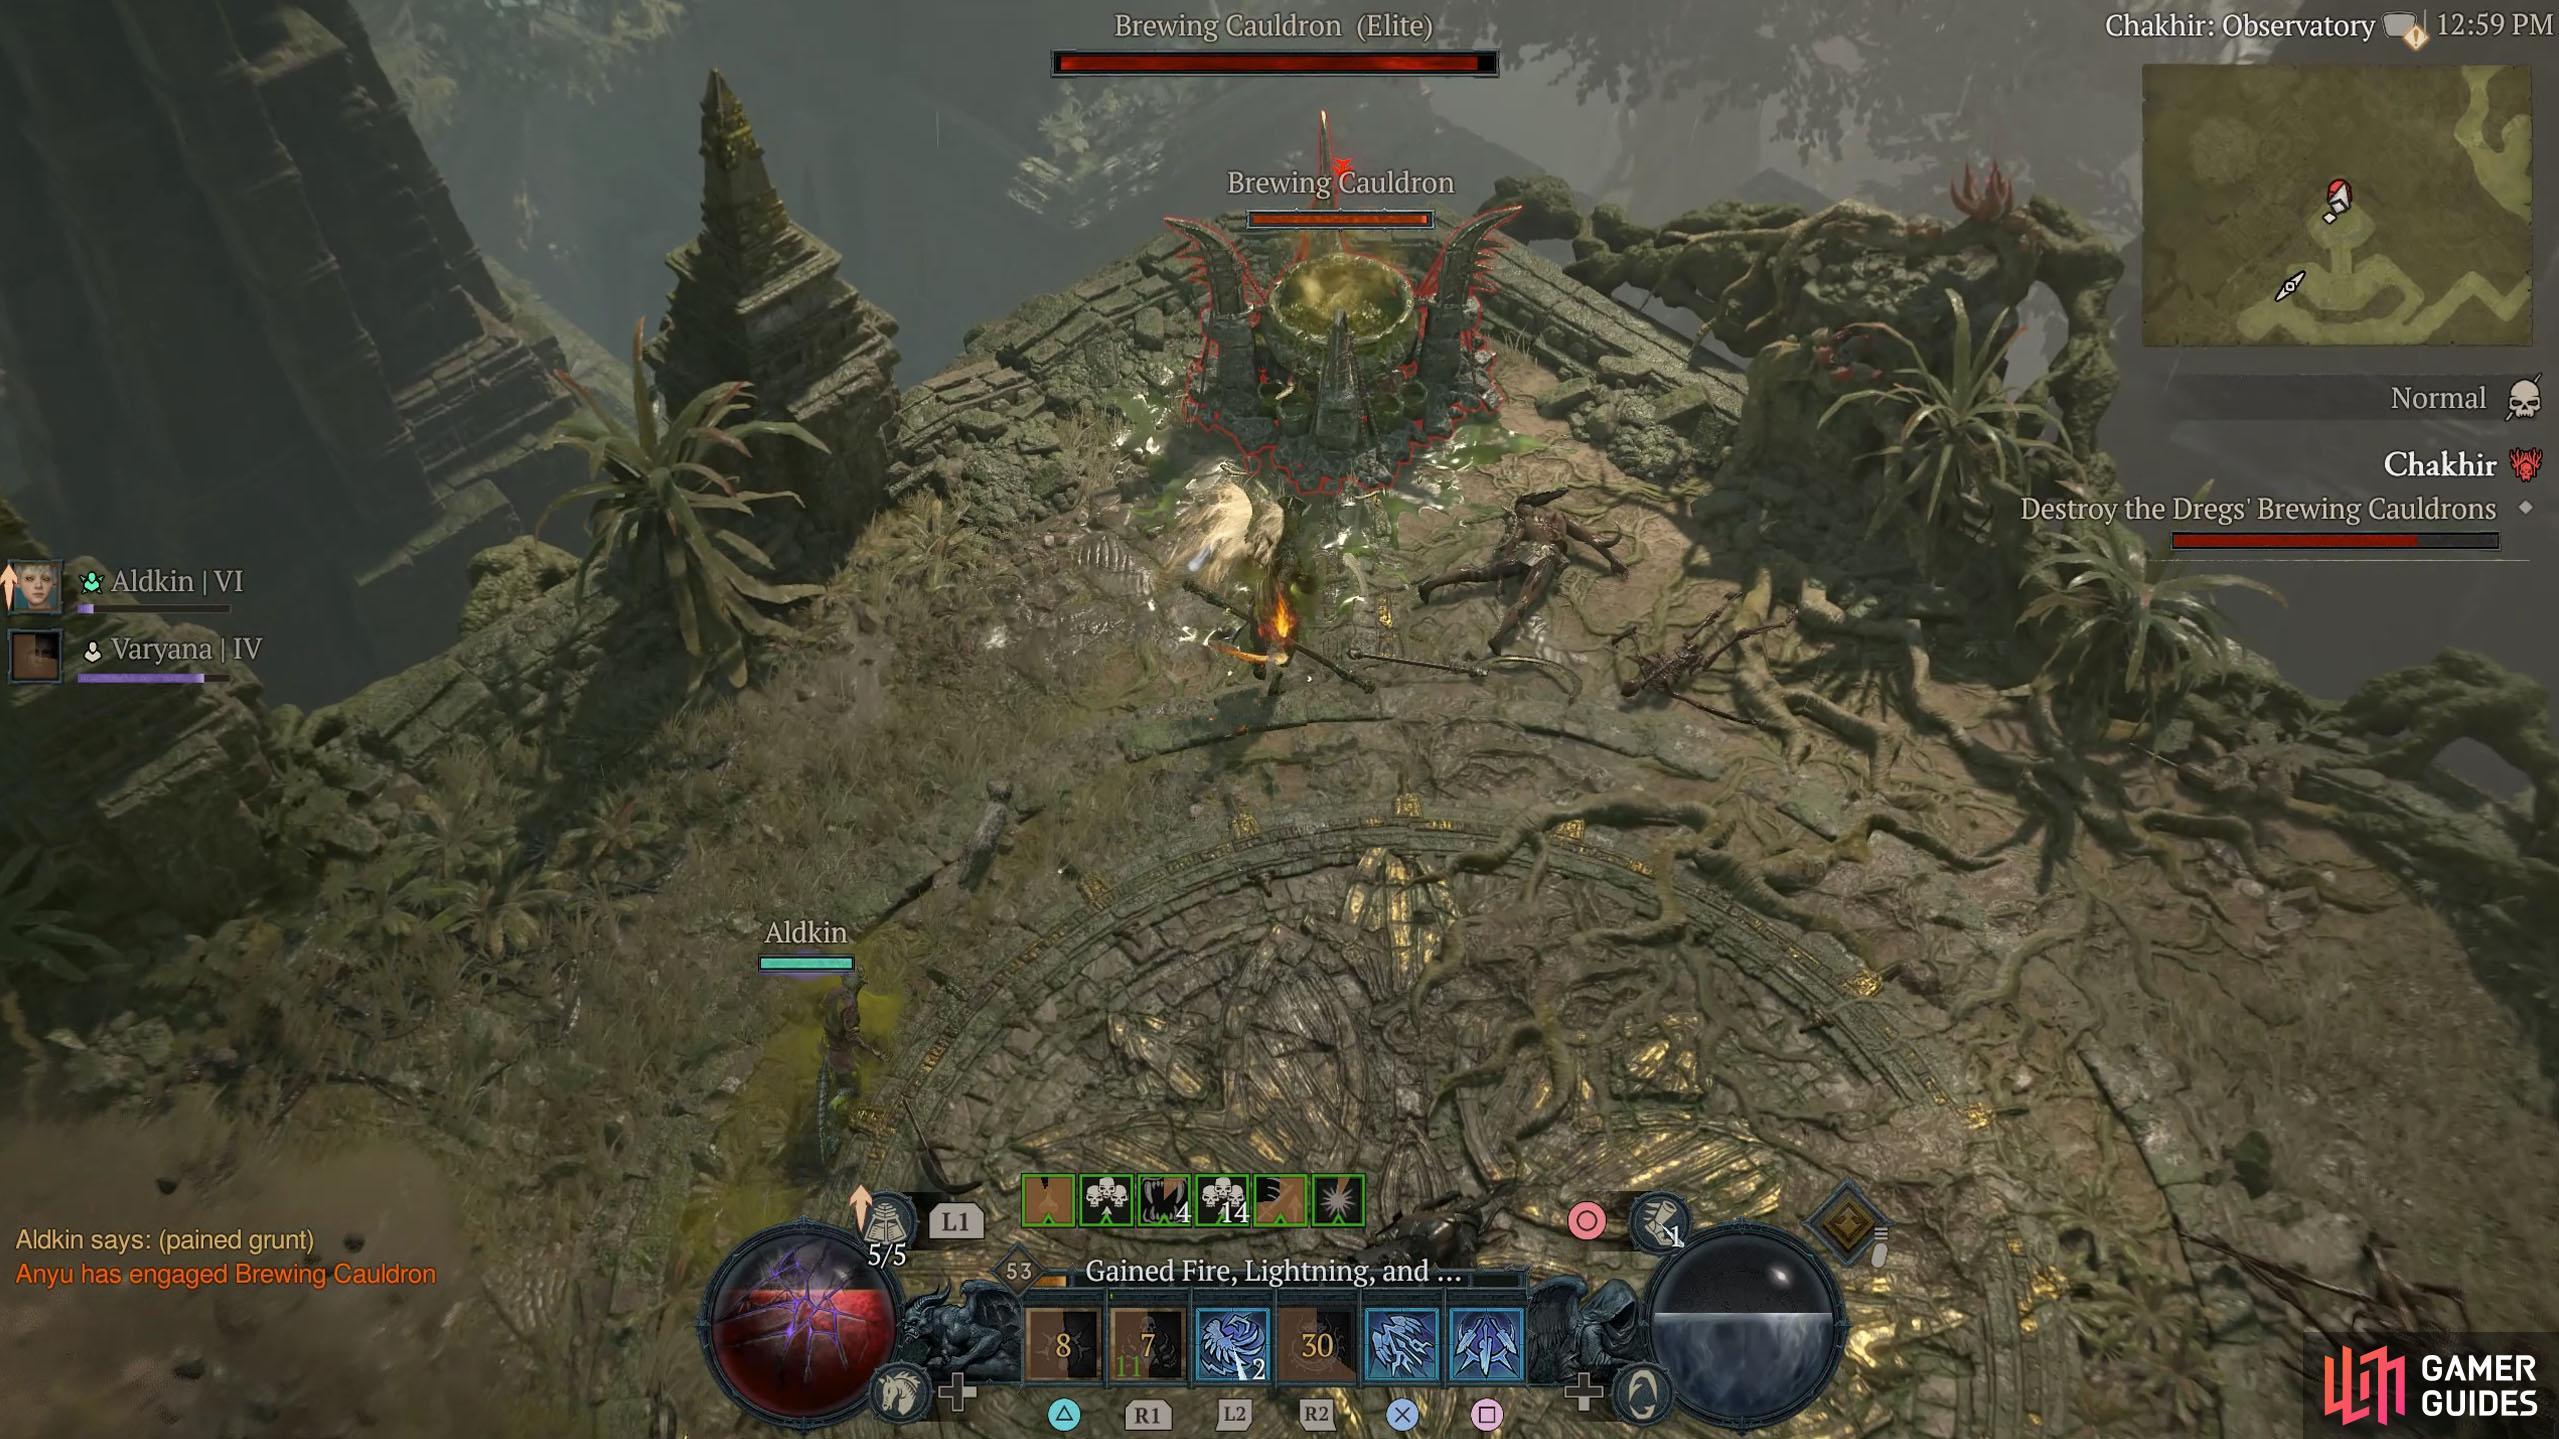
Destroy the Dregs’ Brewing Cauldrons
The overall main objective of the Stronghold is to destroy the cauldrons, so you’ll want to head around to each corner of the Stronghold and complete the smaller objectives to complete the main objective. Although you can do this in any order, for guide purposes, we start in the west.
Chakhir Courtyard
Head west into Chakhir Courtyard, and you’ll find an Undulating Maggot Mound to destroy in the center of the Courtyard. This is hiding a Brewing Cauldron, so destroy the mound first to unveil the cauldron, and then destroy that after. Naturally, you’ll be attacked by numerous enemies while you do this.
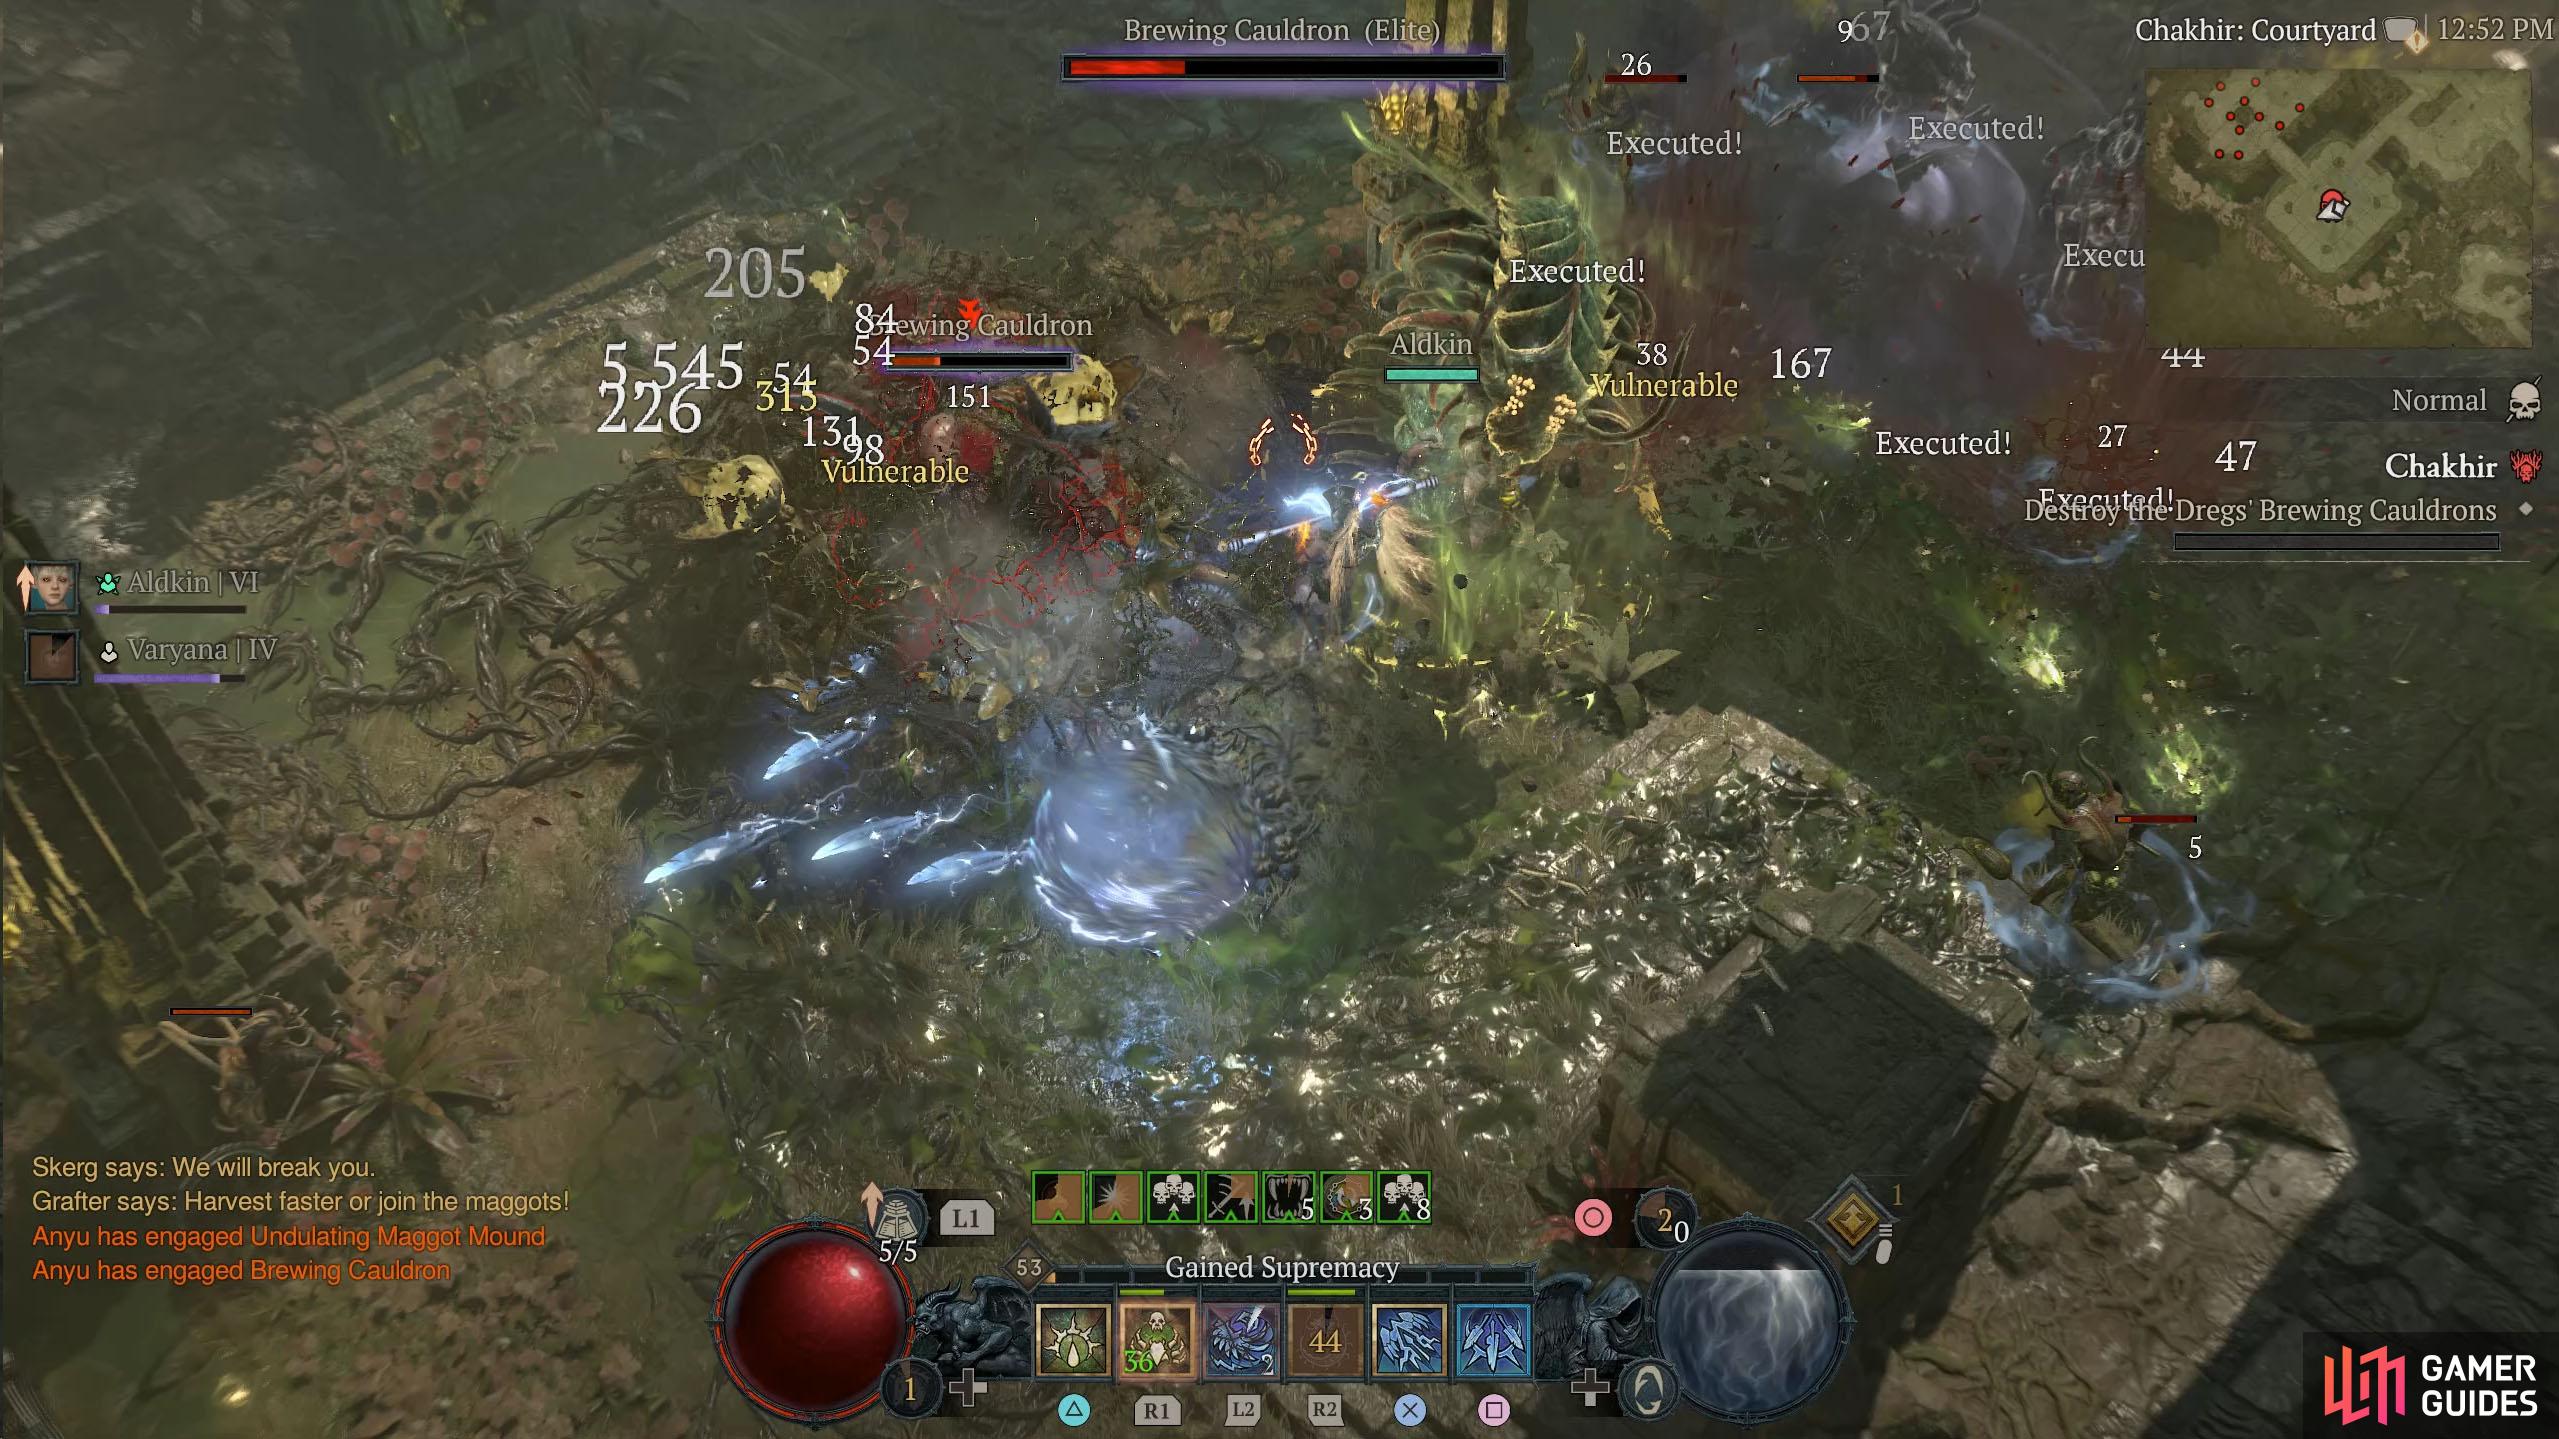
The Courtyard Brewing Cauldron can be found under the Undulating Maggot Mound.
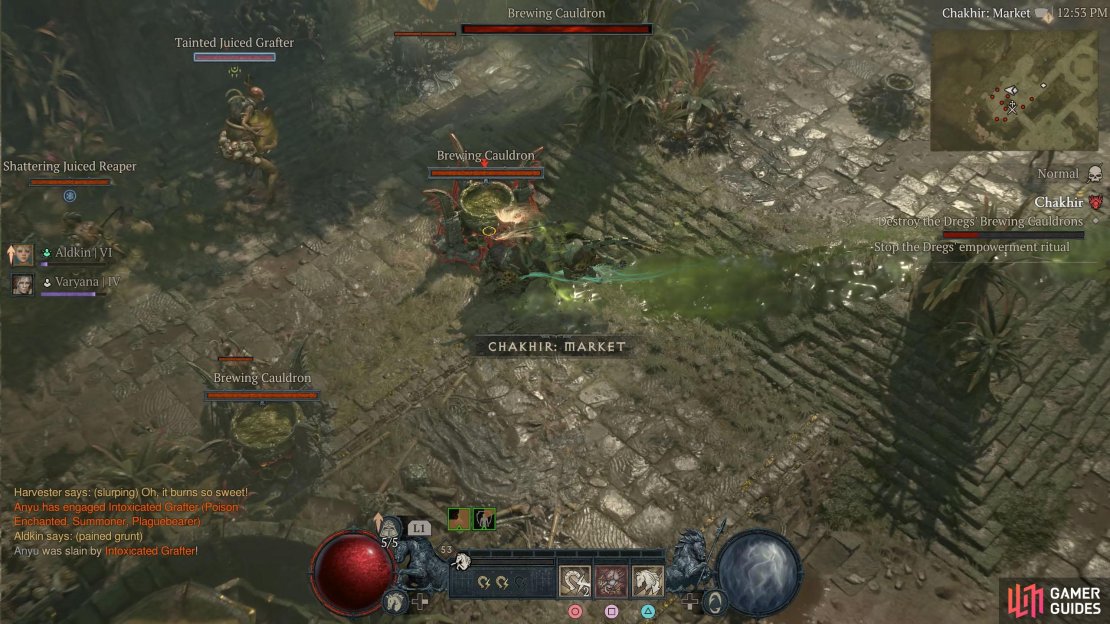
Chakhir Market
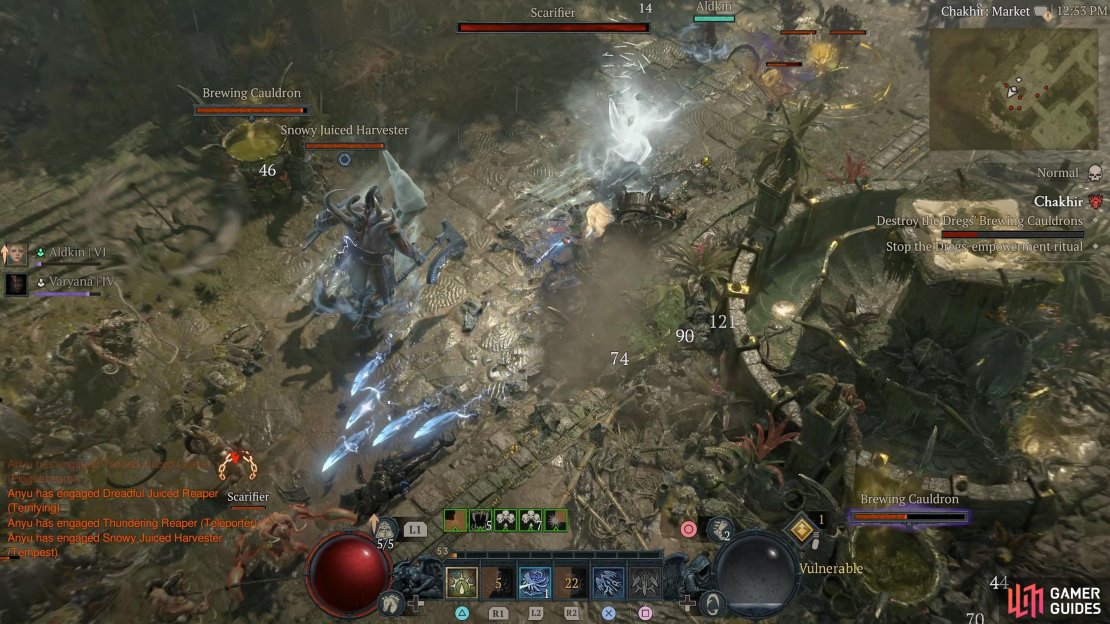
After destroying the cauldron, head northwest into the Market area. Your secondary objective here is to stop the Dregs’ empowerment ritual. As soon as you enter the market, you’ll find one cauldron to the right of the entrance and four in the center around the old fountain, accompanied by many Dregs.
Destroy these cauldrons first, and then destroy the cauldron to the northeast of the central ones. Another cauldron can be found in the northwest, not too far away from the fountain. There will be two more cauldrons in the southwest and one in the east. Once you’ve dealt with these, that will stop the empowerment ritual too.

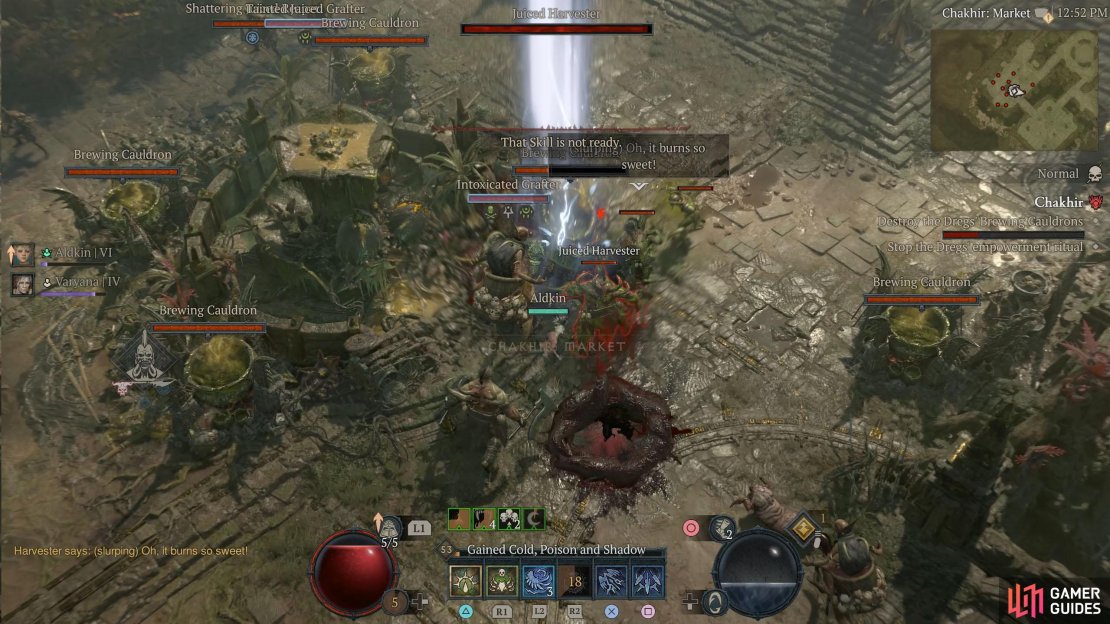
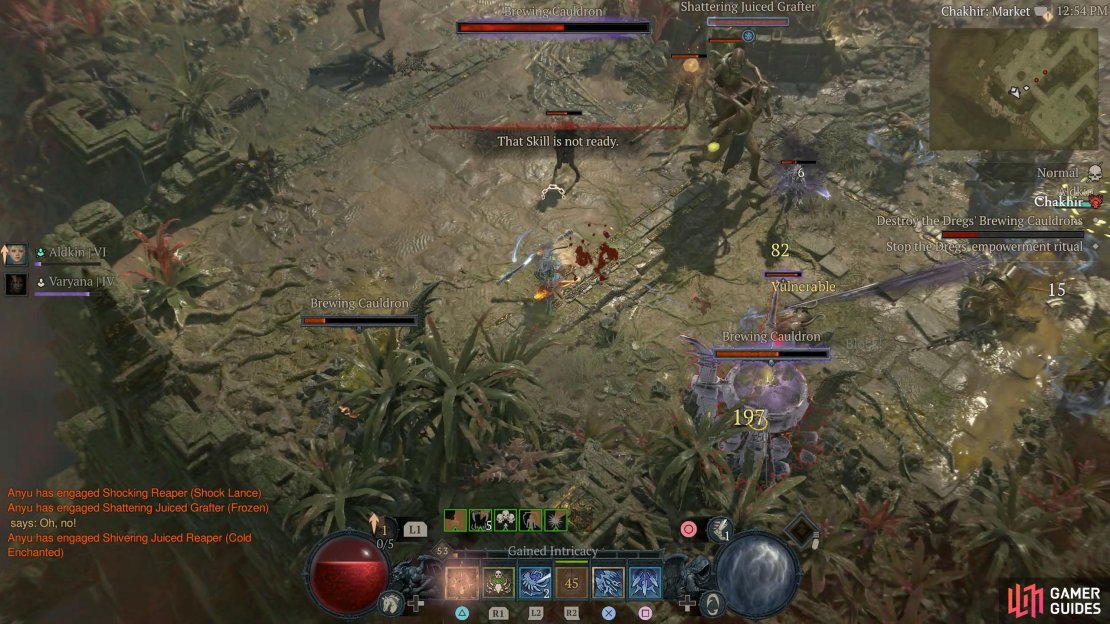
(1 of 4) There are four Cauldrons around the old fountain in the center.
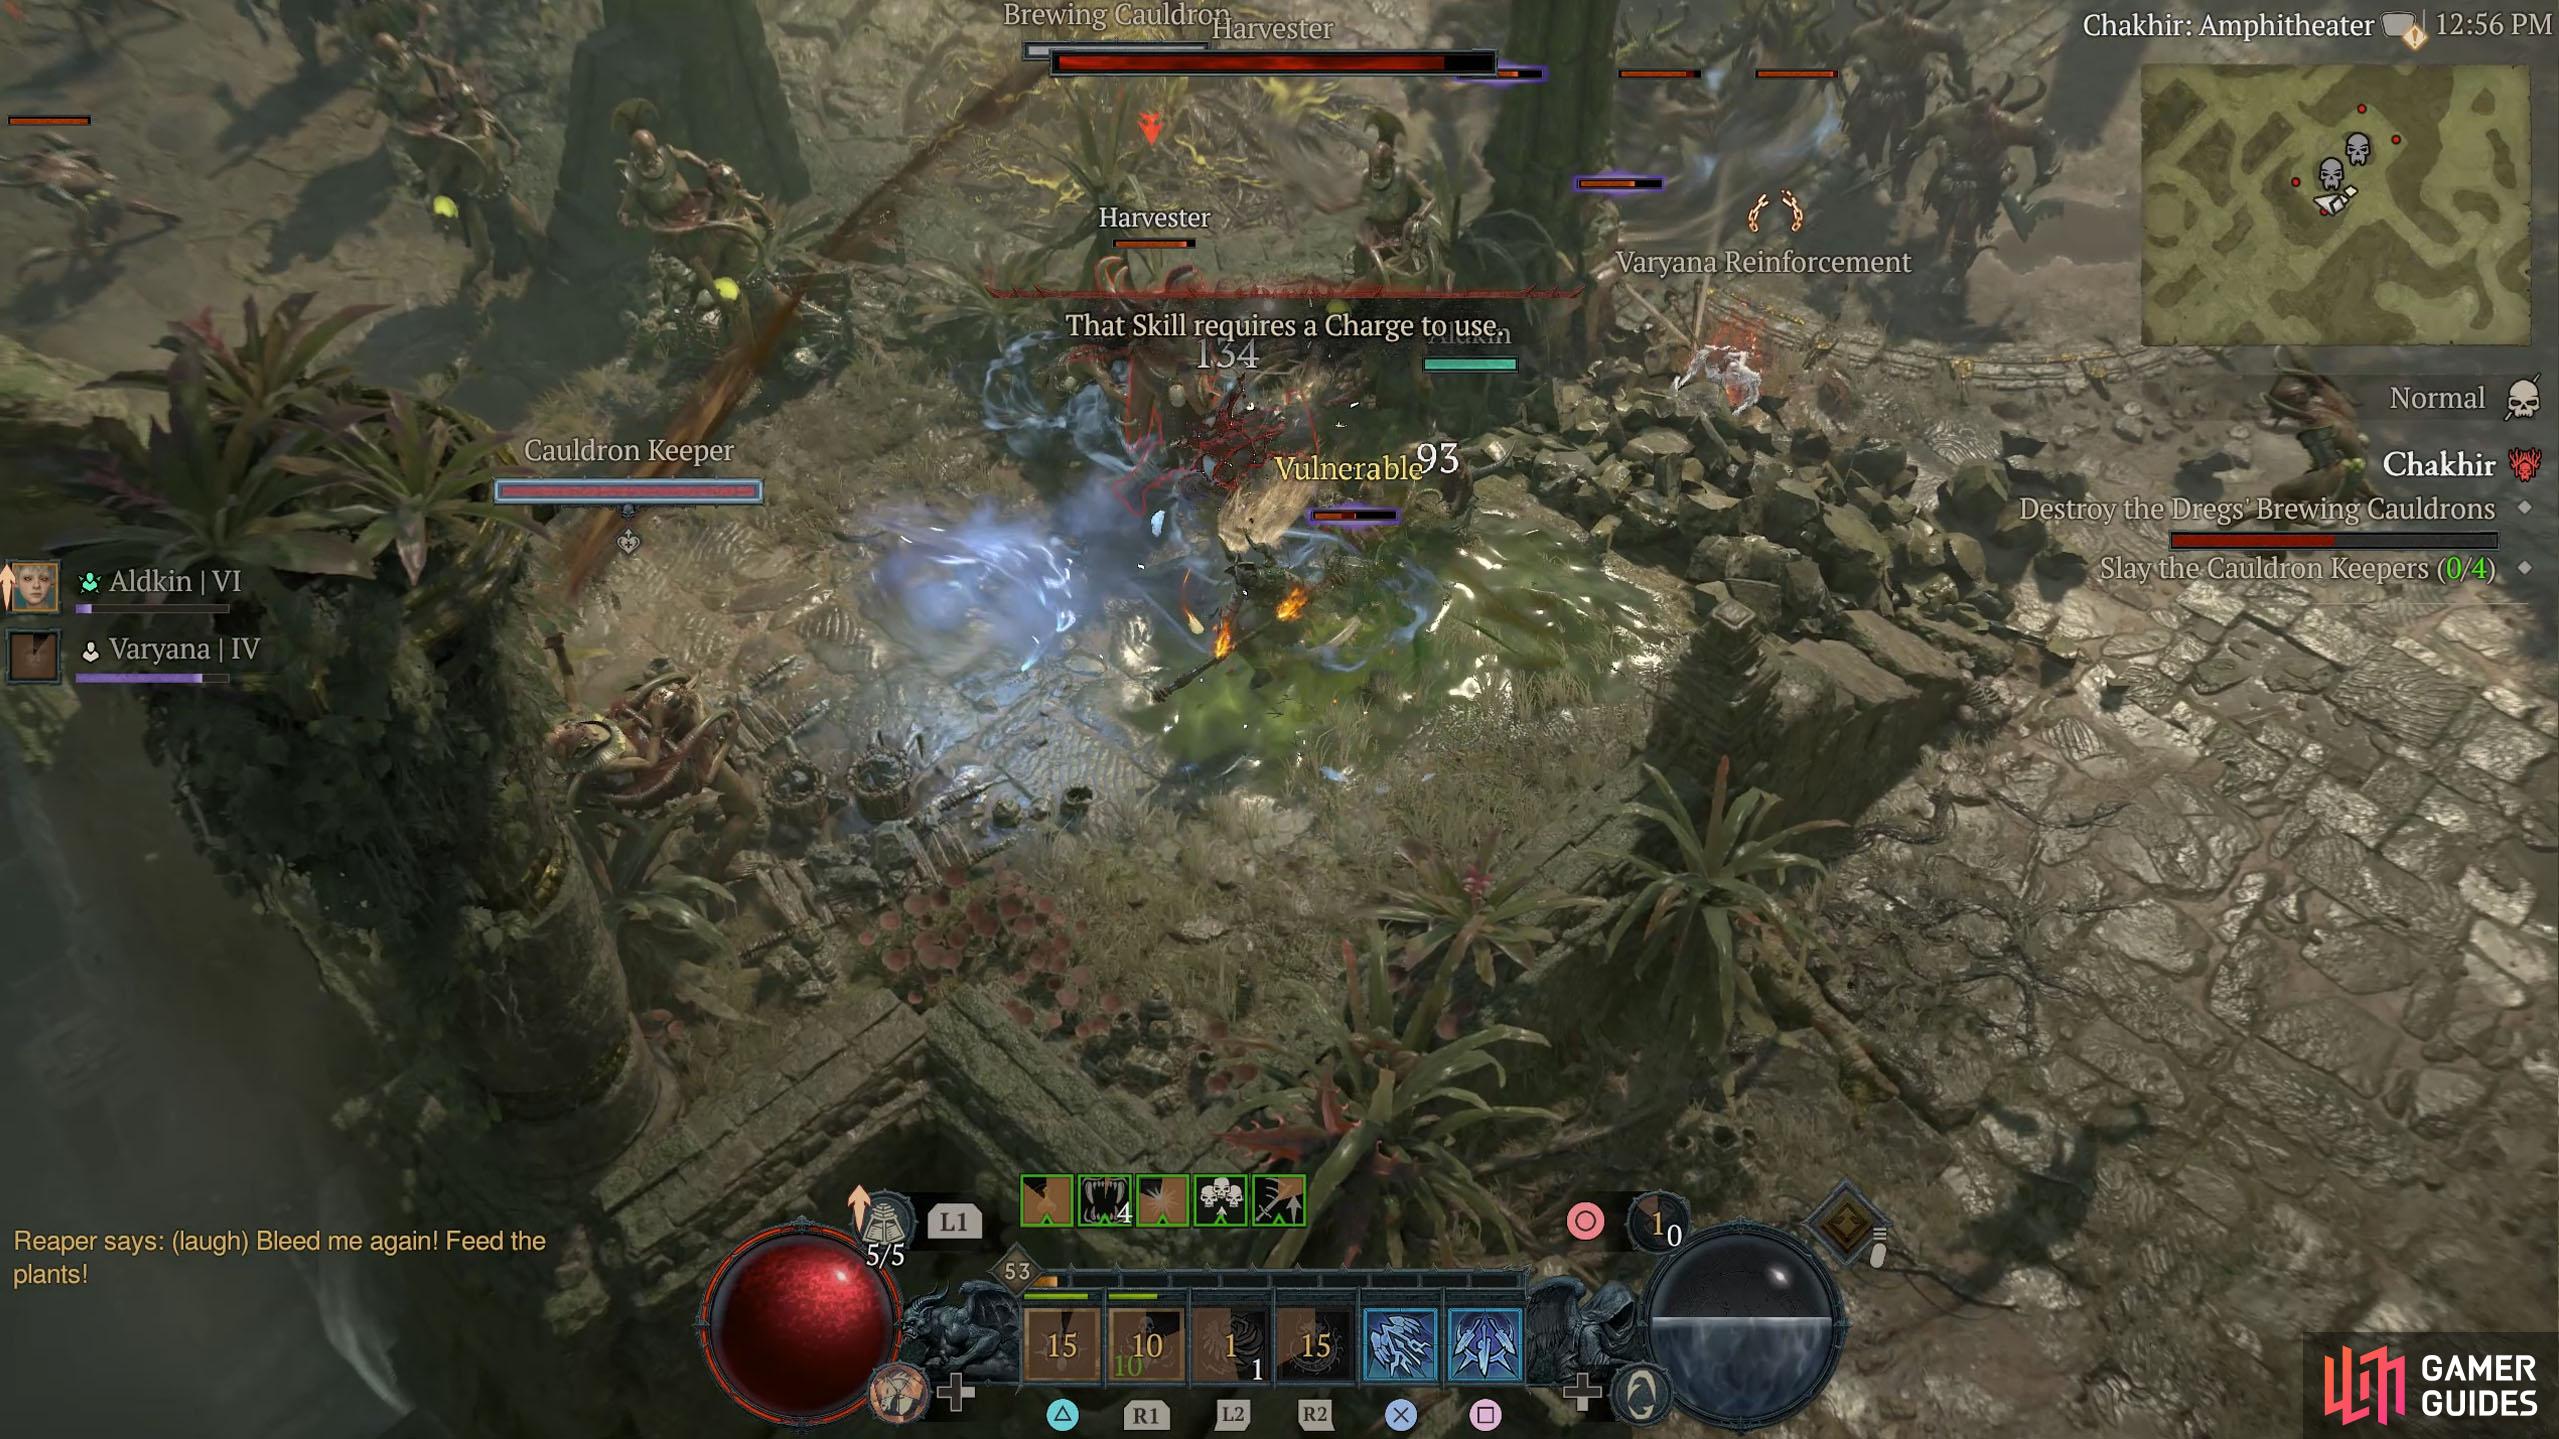
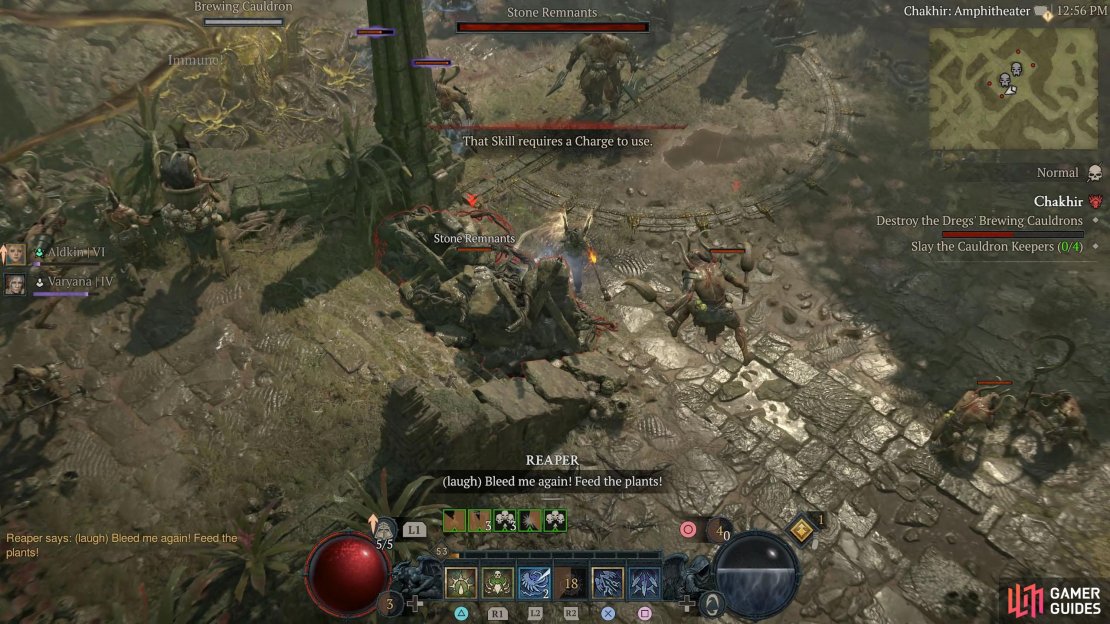
Chakhir Amphitheater
When the Market area is cleared, head northeast through the Sculpted Gardens until you reach the Observatory and go southeast into the Amphitheater. This area’s gimmick is that the cauldrons are invulnerable until you defeat the Cauldron Keepers, of which there are four.
Pick a side between the northeast or southwest, and destroy the Stone Remnants blocking your path, and you’ll find the Cauldron Keepers. Each side has two keepers who will be tethered to one of the cauldrons with a brown line.
The Cauldron Keepers themselves are no stronger than any other enemy here, so burn them down as quickly as possible, and then take out the cauldrons. One thing to note is to keep moving because you’ll be frequently attacked with poisonous circles that move over to you and shrink before imploding on you, dealing significant damage. Once you’re done here, head north to the Observatory for the last set of cauldrons.

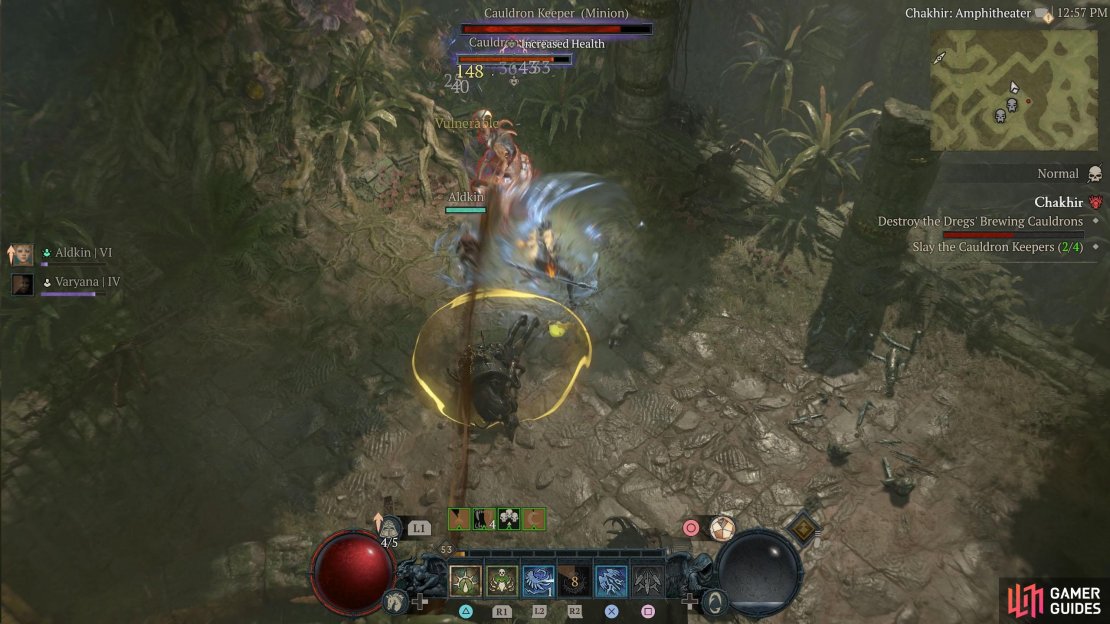
(1 of 3) There are two Cauldron Keepers on both sides of the Amphitheater.
Chakhir Observatory
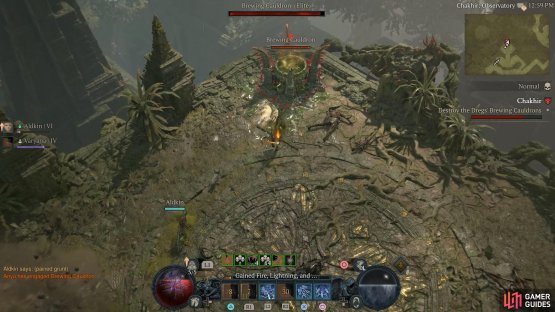
Found in the far north of the ruins is the Observatory, and once again, you’ll have a secondary objective, and that is to destroy four Befouled Briars. There’s not much to note here outside the cauldron will be invulnerable until all the briars are down, and that the briars can spit pools of poison across the floor. However, they die so quickly, that you’ll barely notice it. Simply defeat the briars, and then destroy the final cauldron.

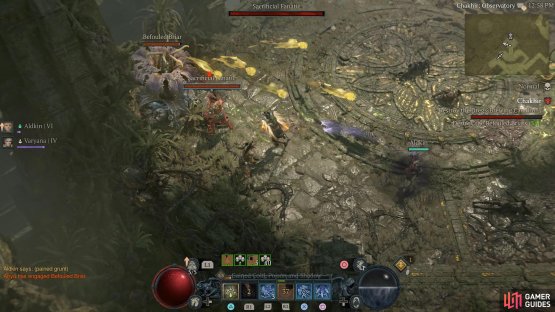
(1 of 2) Destroy the Befouled Briar’s in each corner of the room.
Destroy the Befouled Briar’s in each corner of the room. (left), Destroy the cauldron in the north. (right)
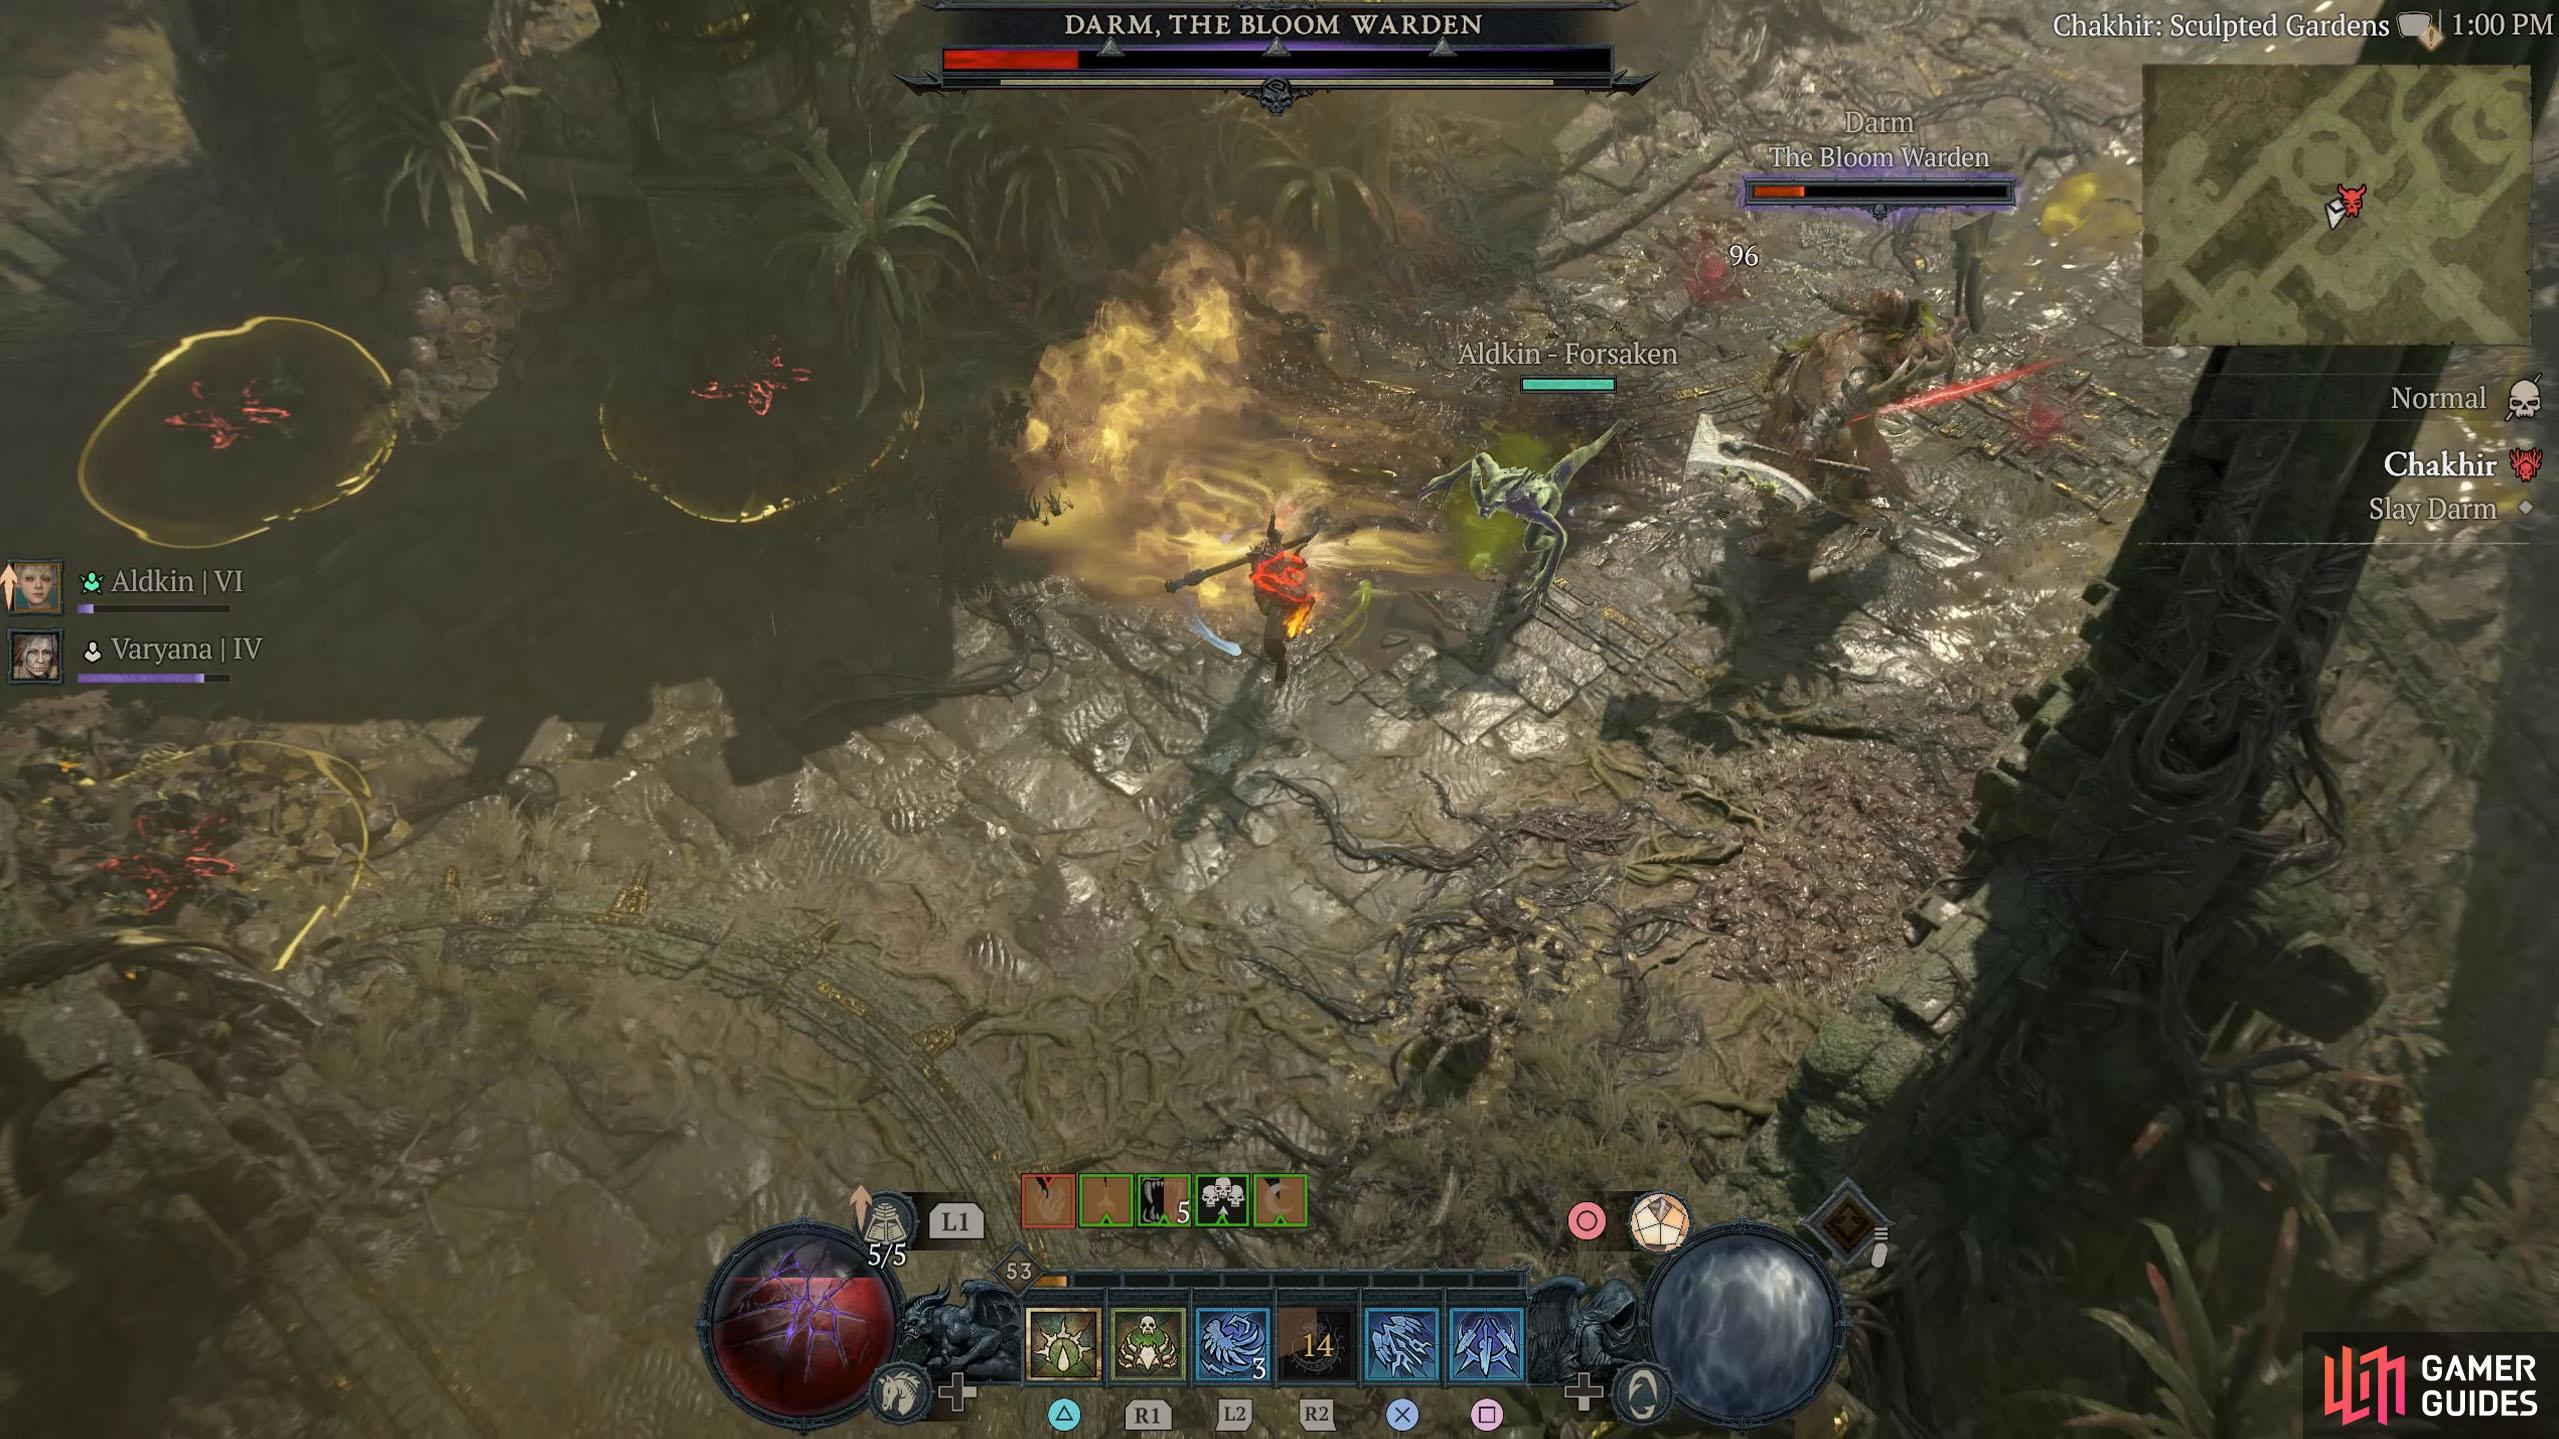
Darm, The Bloom Warden Boss
Once all the cauldrons have been destroyed, go southwest to the Outer Court area, and as you head to the front of it, Darm will appear. Due to the theme of the area, Darm will predominantly use poison attacks. These come in all shapes and sizes, so let’s take a quick look at them. One attack, Darm has, is it will join its dual axes together to fire off a Poison Blow that knocks you back. This attack has a cone marker in front of the boss, which can easily be sidestepped or evaded. Next up is the Poison Flower Mines.
Darm will frequently slam its axes to the ground, which will launch numerous flower mines on the floor that explode when you walk inside their area of effect circles. Simply, don’t stand on or near them to avoid the attack. One of Darm’s more dangerous attacks is the multi-hit, poison-flinging melee combo. The first attack will hurl poison in a wider arc, with the follow-up attacks flinging trails of poison in a straight line.

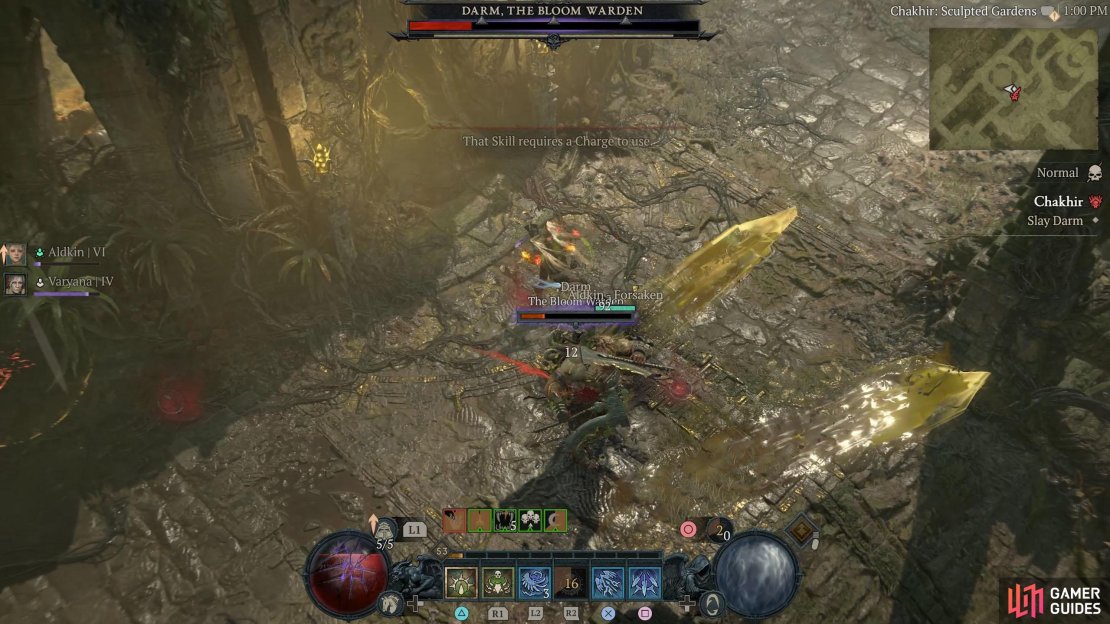
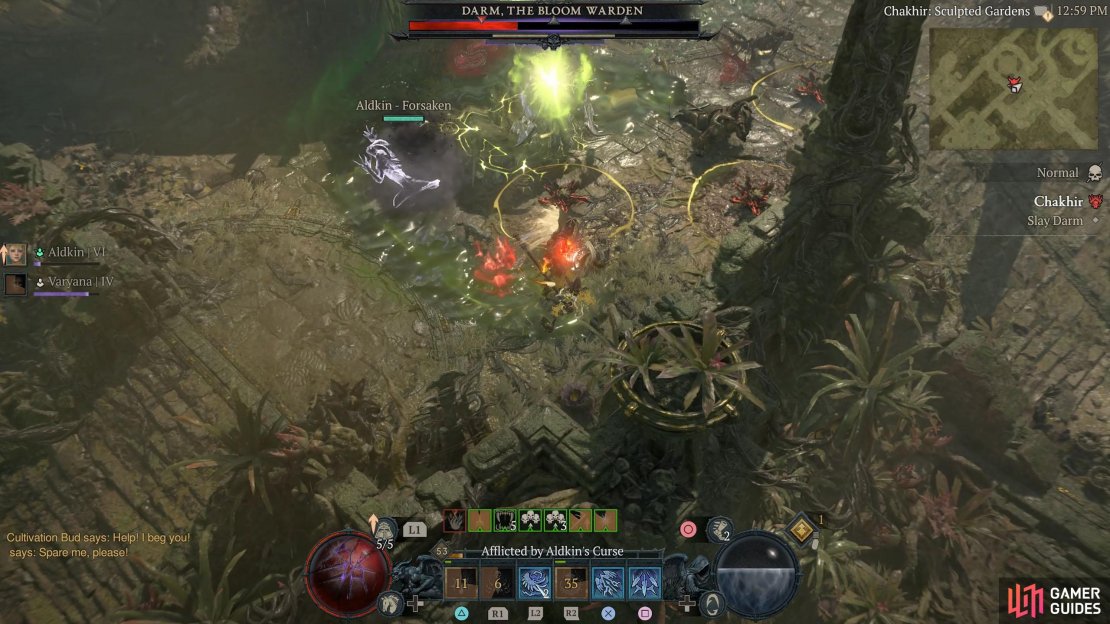
(1 of 3) Try not to stand in front of Darm as a lot of its attacks come that way.
What makes this dangerous is that the poison persists on the floor for a bit after the attack. To avoid this attack, evade through the first, and then run around away from Darm to prevent further damage. That’s pretty much it for Darm, outside the attacks listed above, it’ll use some regular melee attacks. Once Darm is defeated, attack the overgrown vines on the nearby structure for the next objective.
Destroy the Falo Blooms
Inside the central structure, there are five Falo Blooms to destroy. Simply attack all five of them while dealing with any enemies who try to stop you. Once they’re dealt with, it’s time for the final bosses of the Stronghold, Sinerat, and Skerg who can be found at the Temple of Bala in the center north of the area.
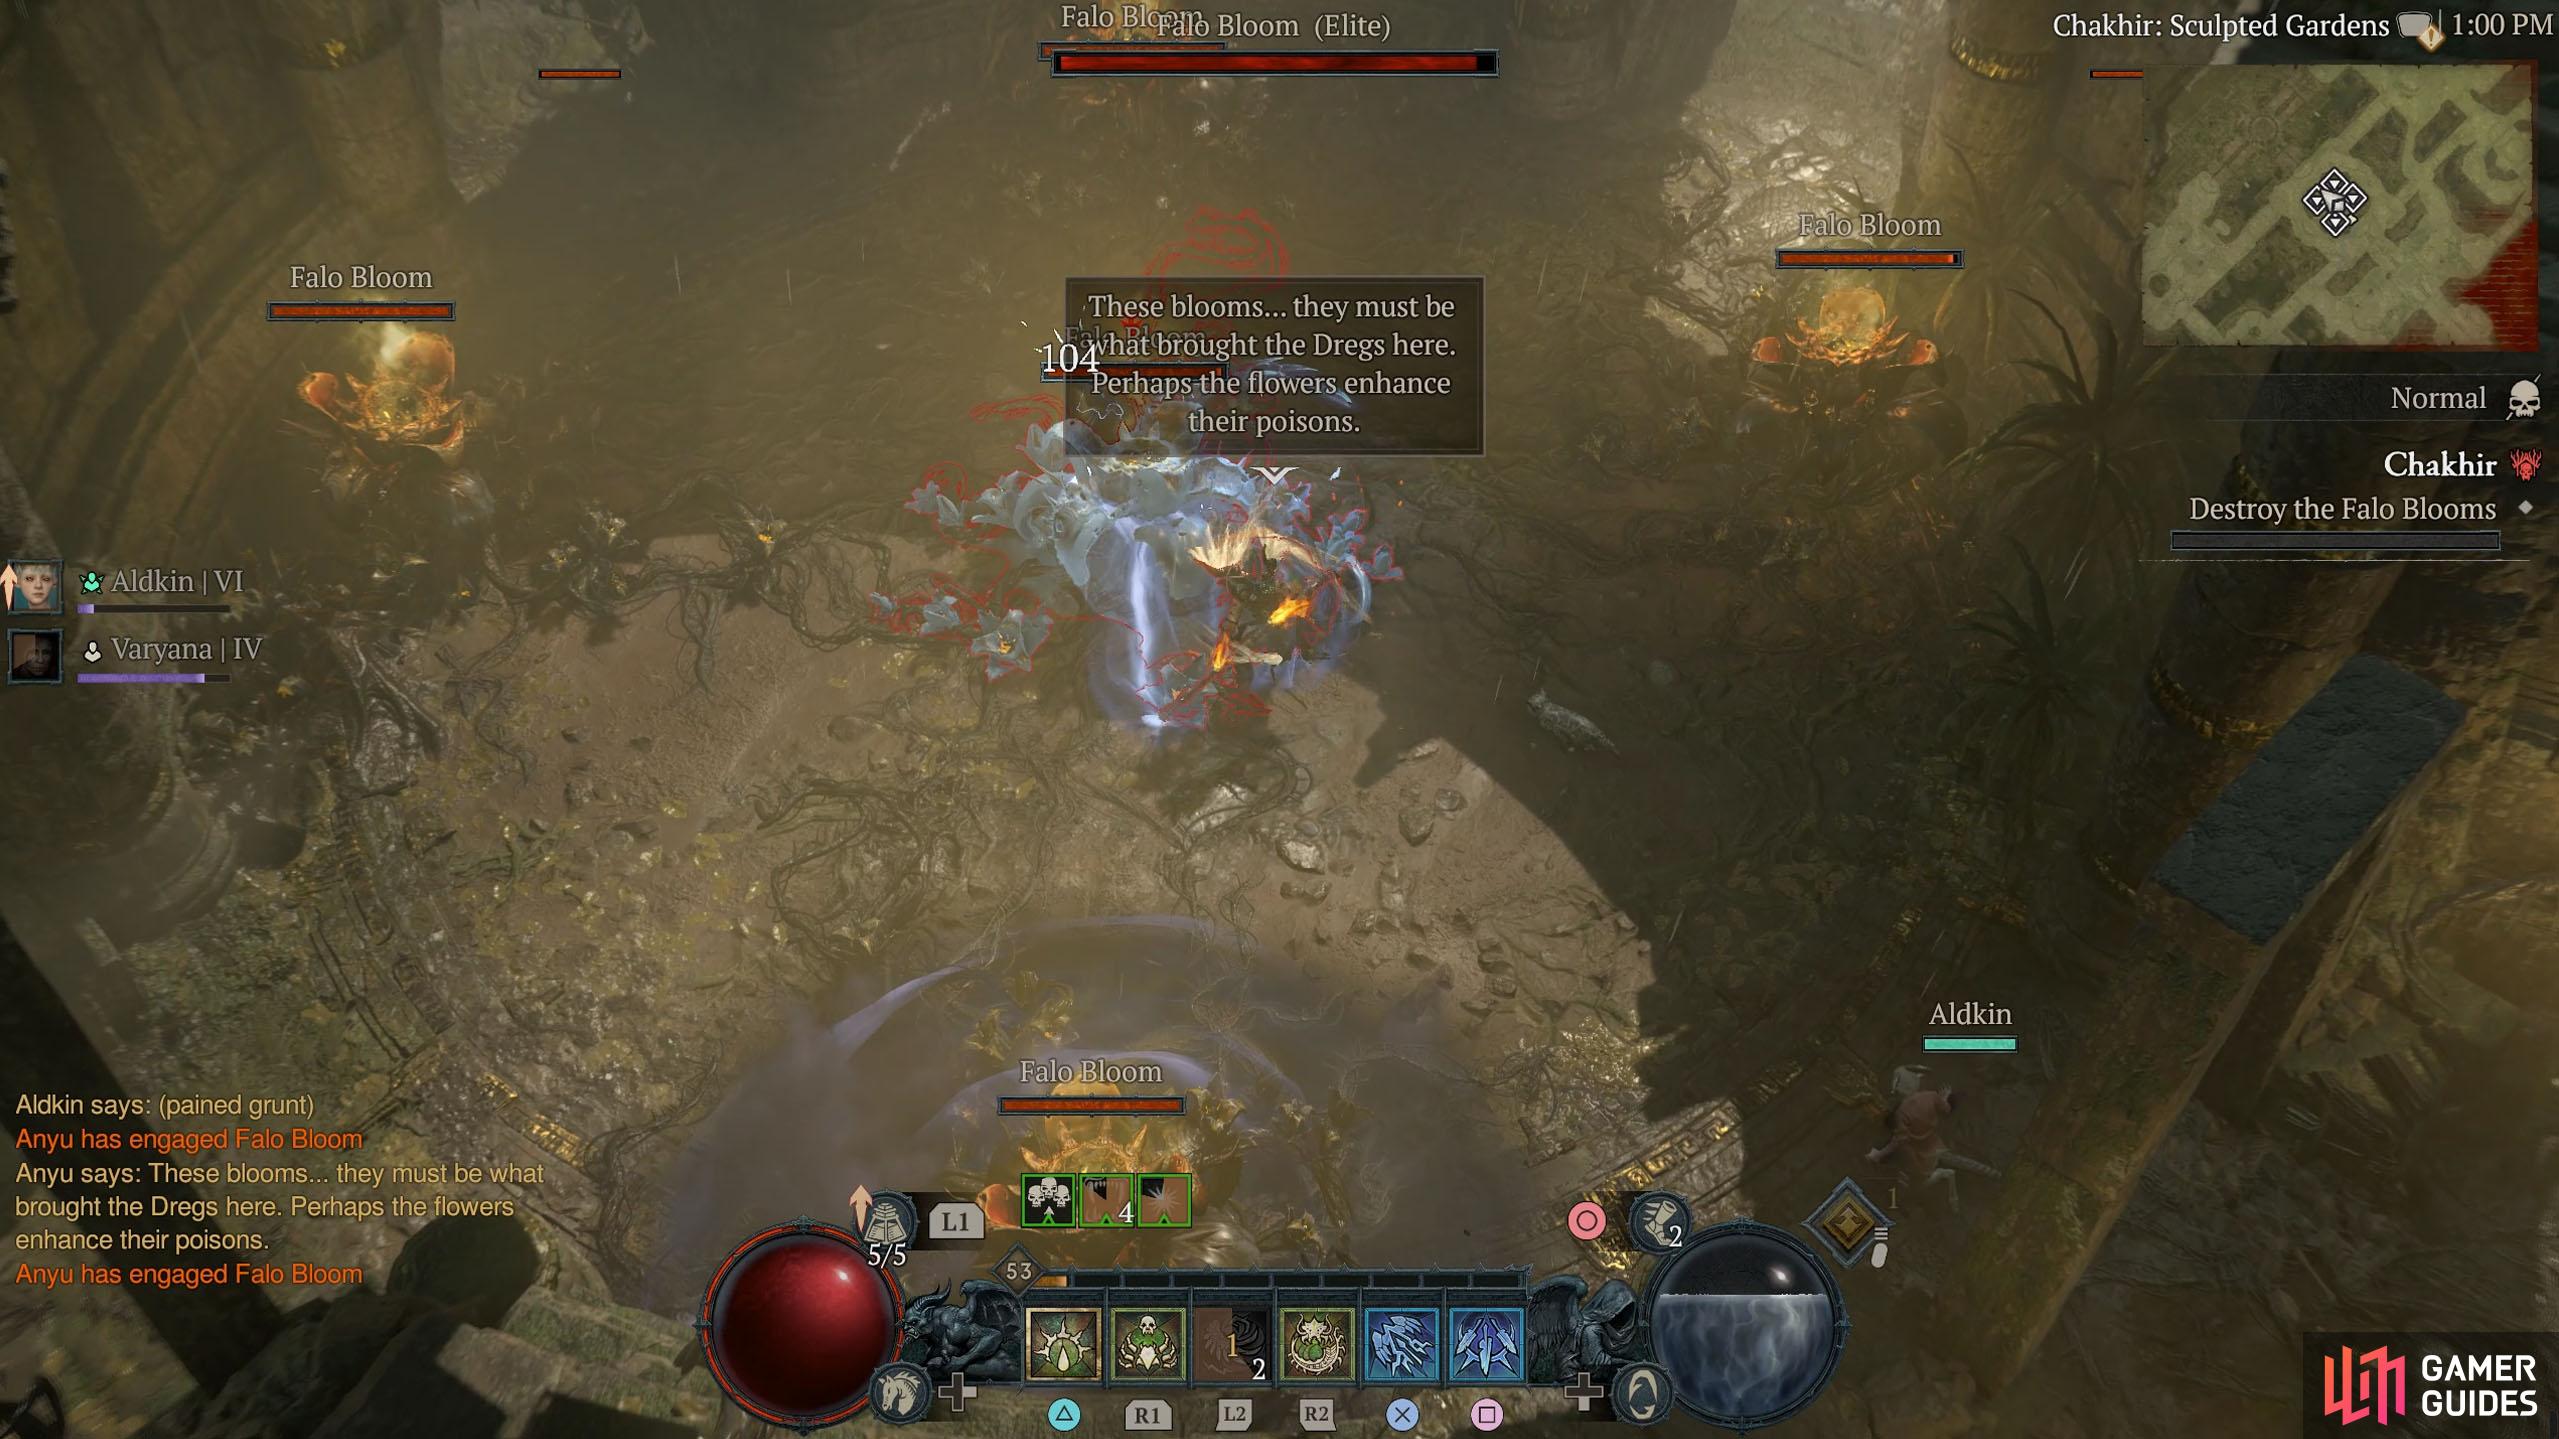
After defeating Darm, destroy the four Falo Blooms in the structure behind.
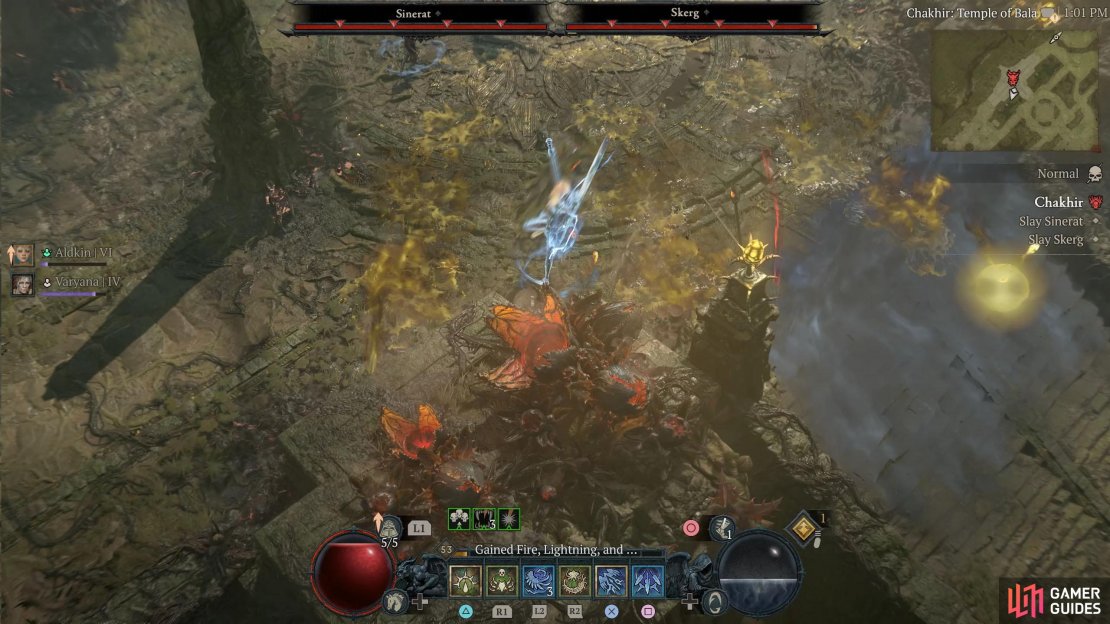
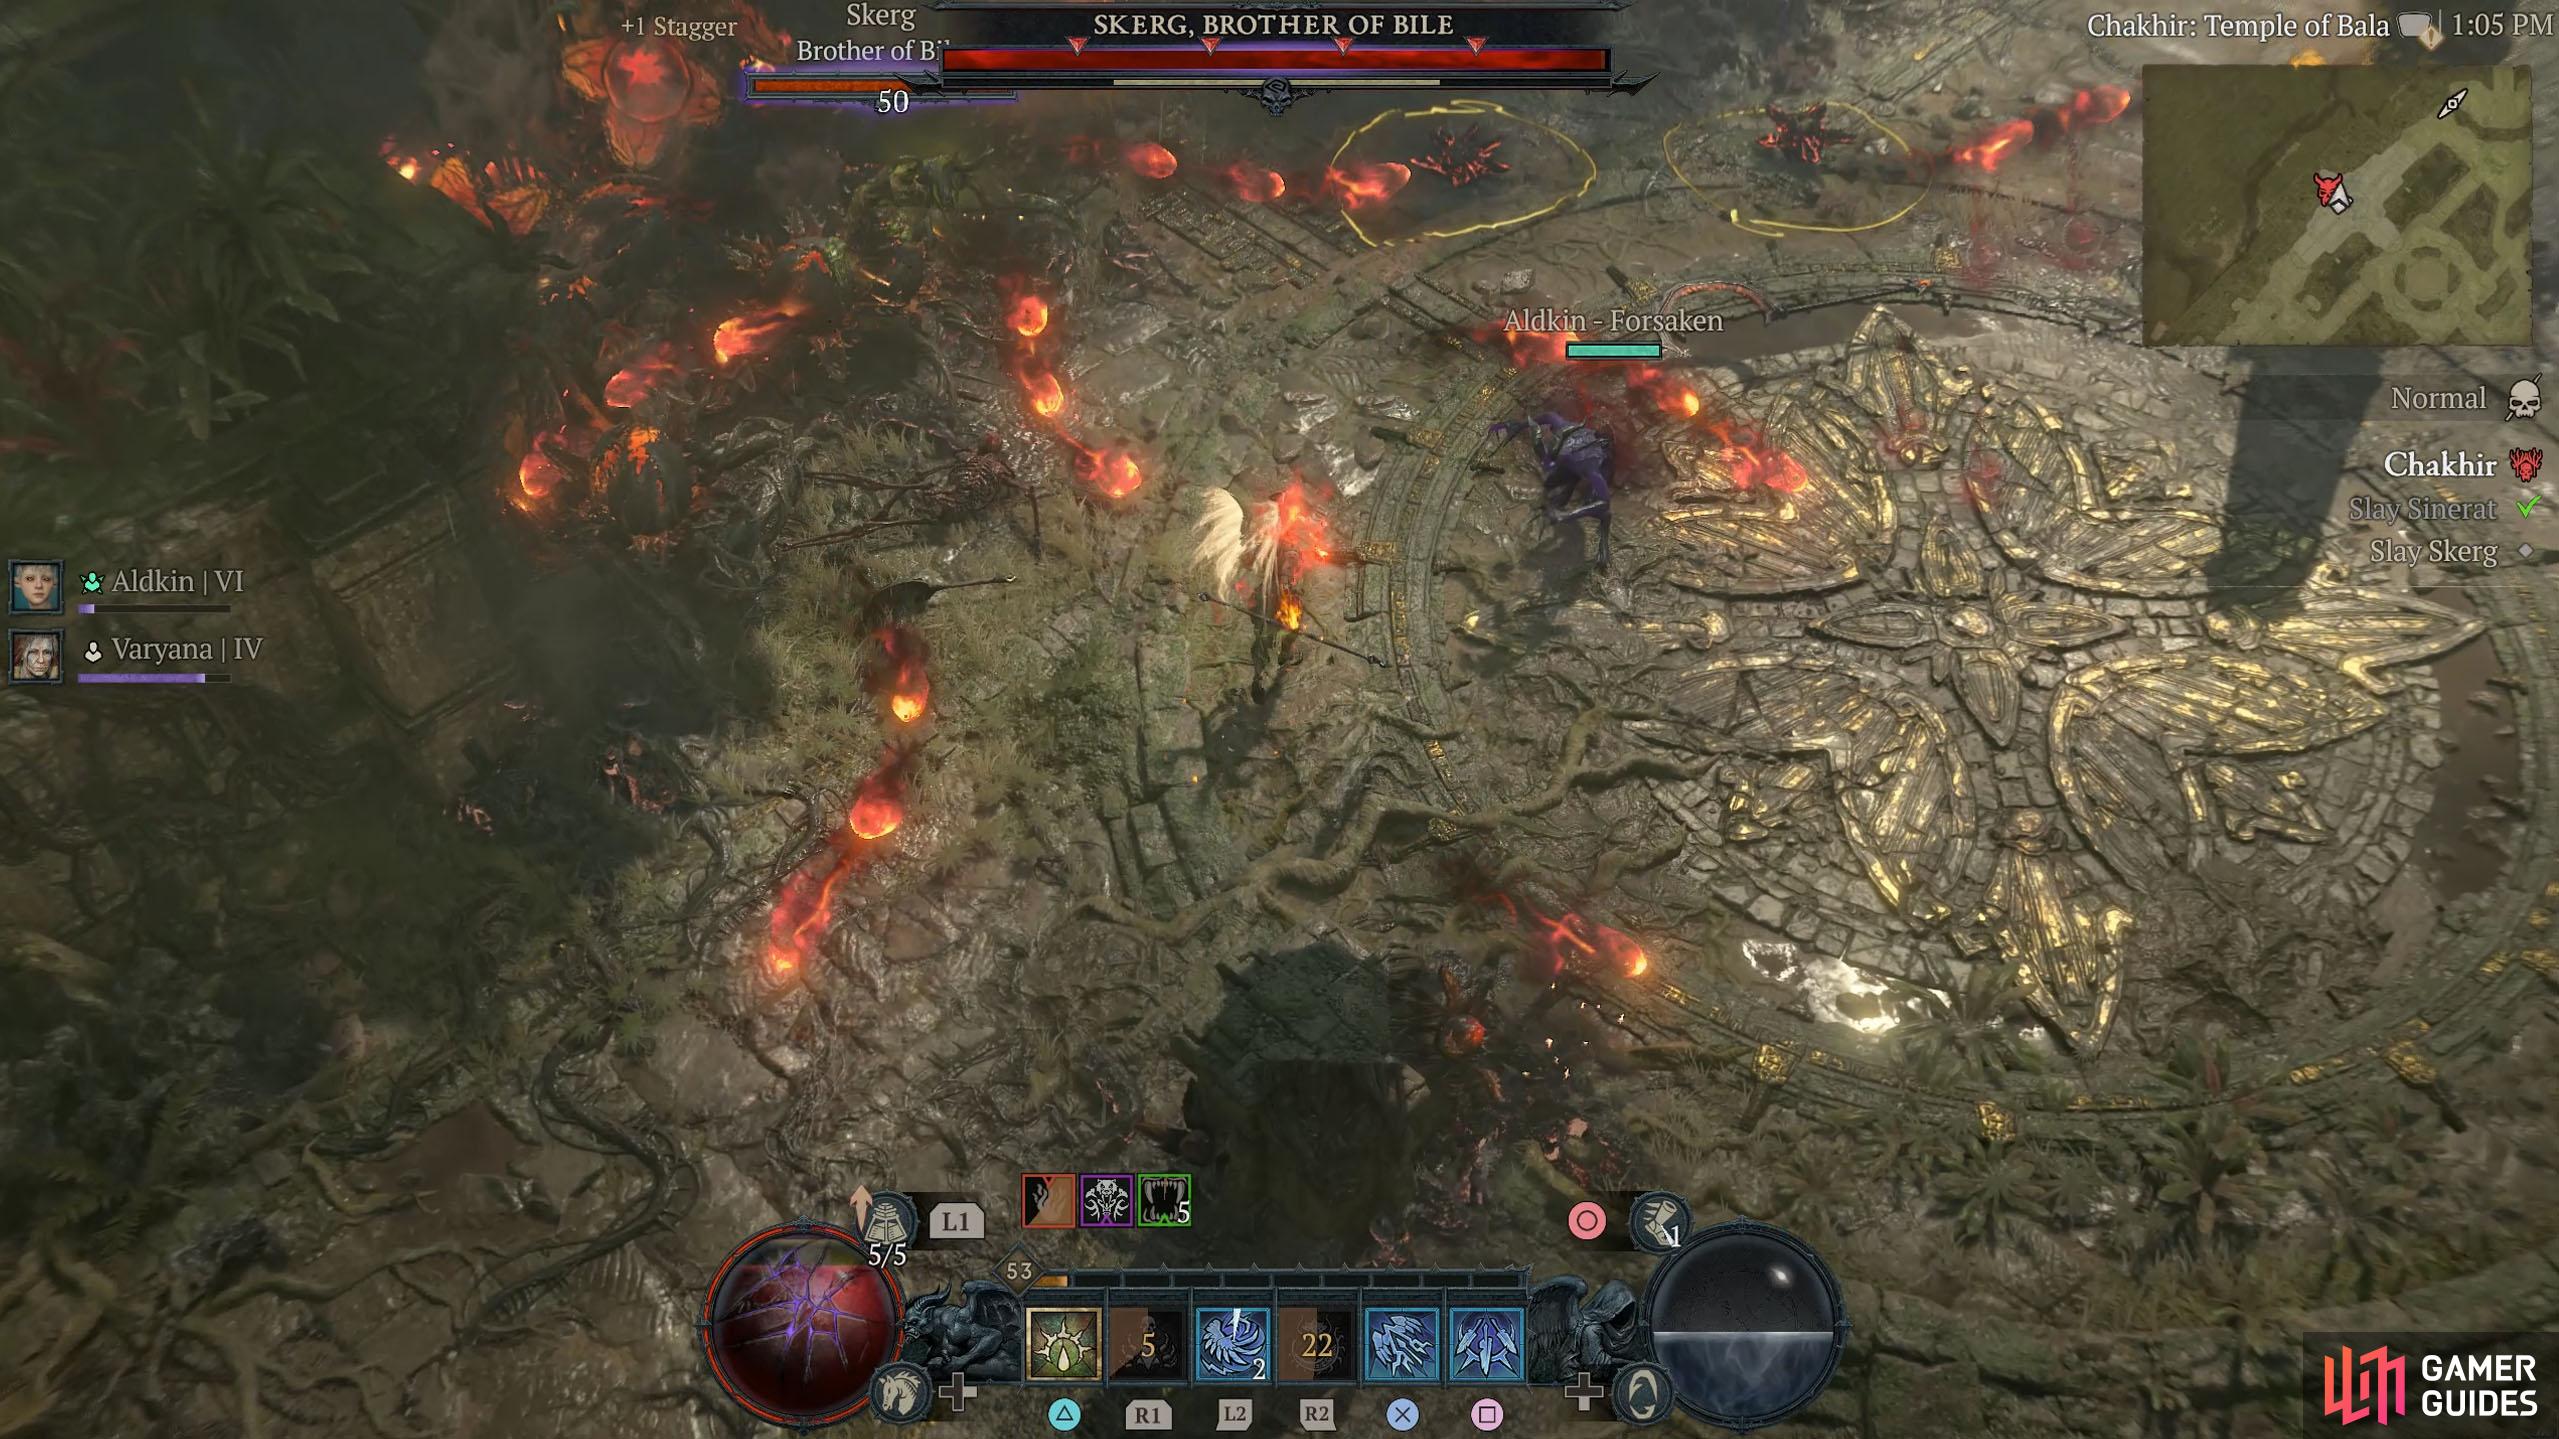
Sinerat and Skerg Boss
That’s right, this is a duo boss who uses two different elements for their attacks. Sinerat is the “Brother of Blaze” and uses fire-based spells, while Skerg is the “Brother of Bile” and uses poison. This is a tricky boss fight, with both bosses covering a lot of ground with elemental magic on the ground.
Once you defeat one of the brothers, the other will replenish their health to full as well as give them the other brother’s attacks. If you’re lucky, you can bring them both down to low health and defeat them both with the same attack to avoid this, but it can be tricky to pull off.
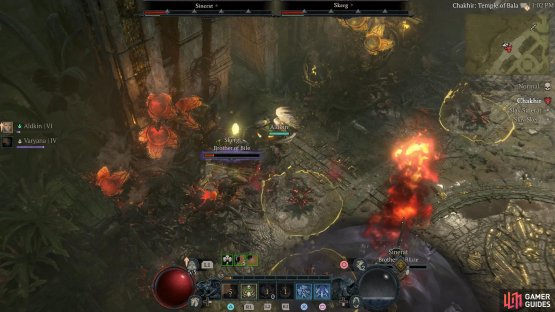
Skerg Attacks
Skerg is responsible for placing all those annoying Flower Mines on the floor, similar to Darm. When they are hit with Sinerat’s fire attacks, they’ll explode, producing a large circle of fire around each mine hit. Ideally, you’ll want to stay as far away from the mines as you can, as they can deal significant damage. Another difficult attack to avoid is his backflip poison throw. Skerg will leap backward and hurl a wide arc of poison that travels through the arena.
To avoid this, you’ll need to get back and stand in between the trails of poison. Finally, Skerg has a regular poison attack that he’ll throw at you from time to time.


(1 of 3) Skerg will backflip and throw three lines of poison in front of him, spreading apart the further it travels.
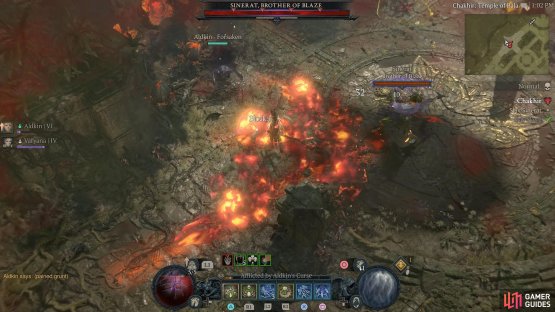
Sinerat Attacks
Sinerat is the more explosive brother (literally), he’ll use his fire attack to explode the flower mines left behind by his brother that when hit, explode into a devastating fire mine dealing significant damage.
The fire attack he predominantly uses to do this is his fire slam attack, which sends out a line of fire when he slams his weapon into the ground. Apart from that, he will frequently fling his weapon across the arena and use it to jump across, leaving behind a trail of fire that’ll persist for a short time after, or sprint in a line doing the same thing. The only other thing he’ll do is attack you with melee attacks.


(1 of 2) Sinerat will slam his weapon to the ground, unleashing a line of fire in front of him.
Sinerat will slam his weapon to the ground, unleashing a line of fire in front of him. (left), At times, he will throw his weapon across the screen to pull himself across, leaving a trail of fire behind. (right)
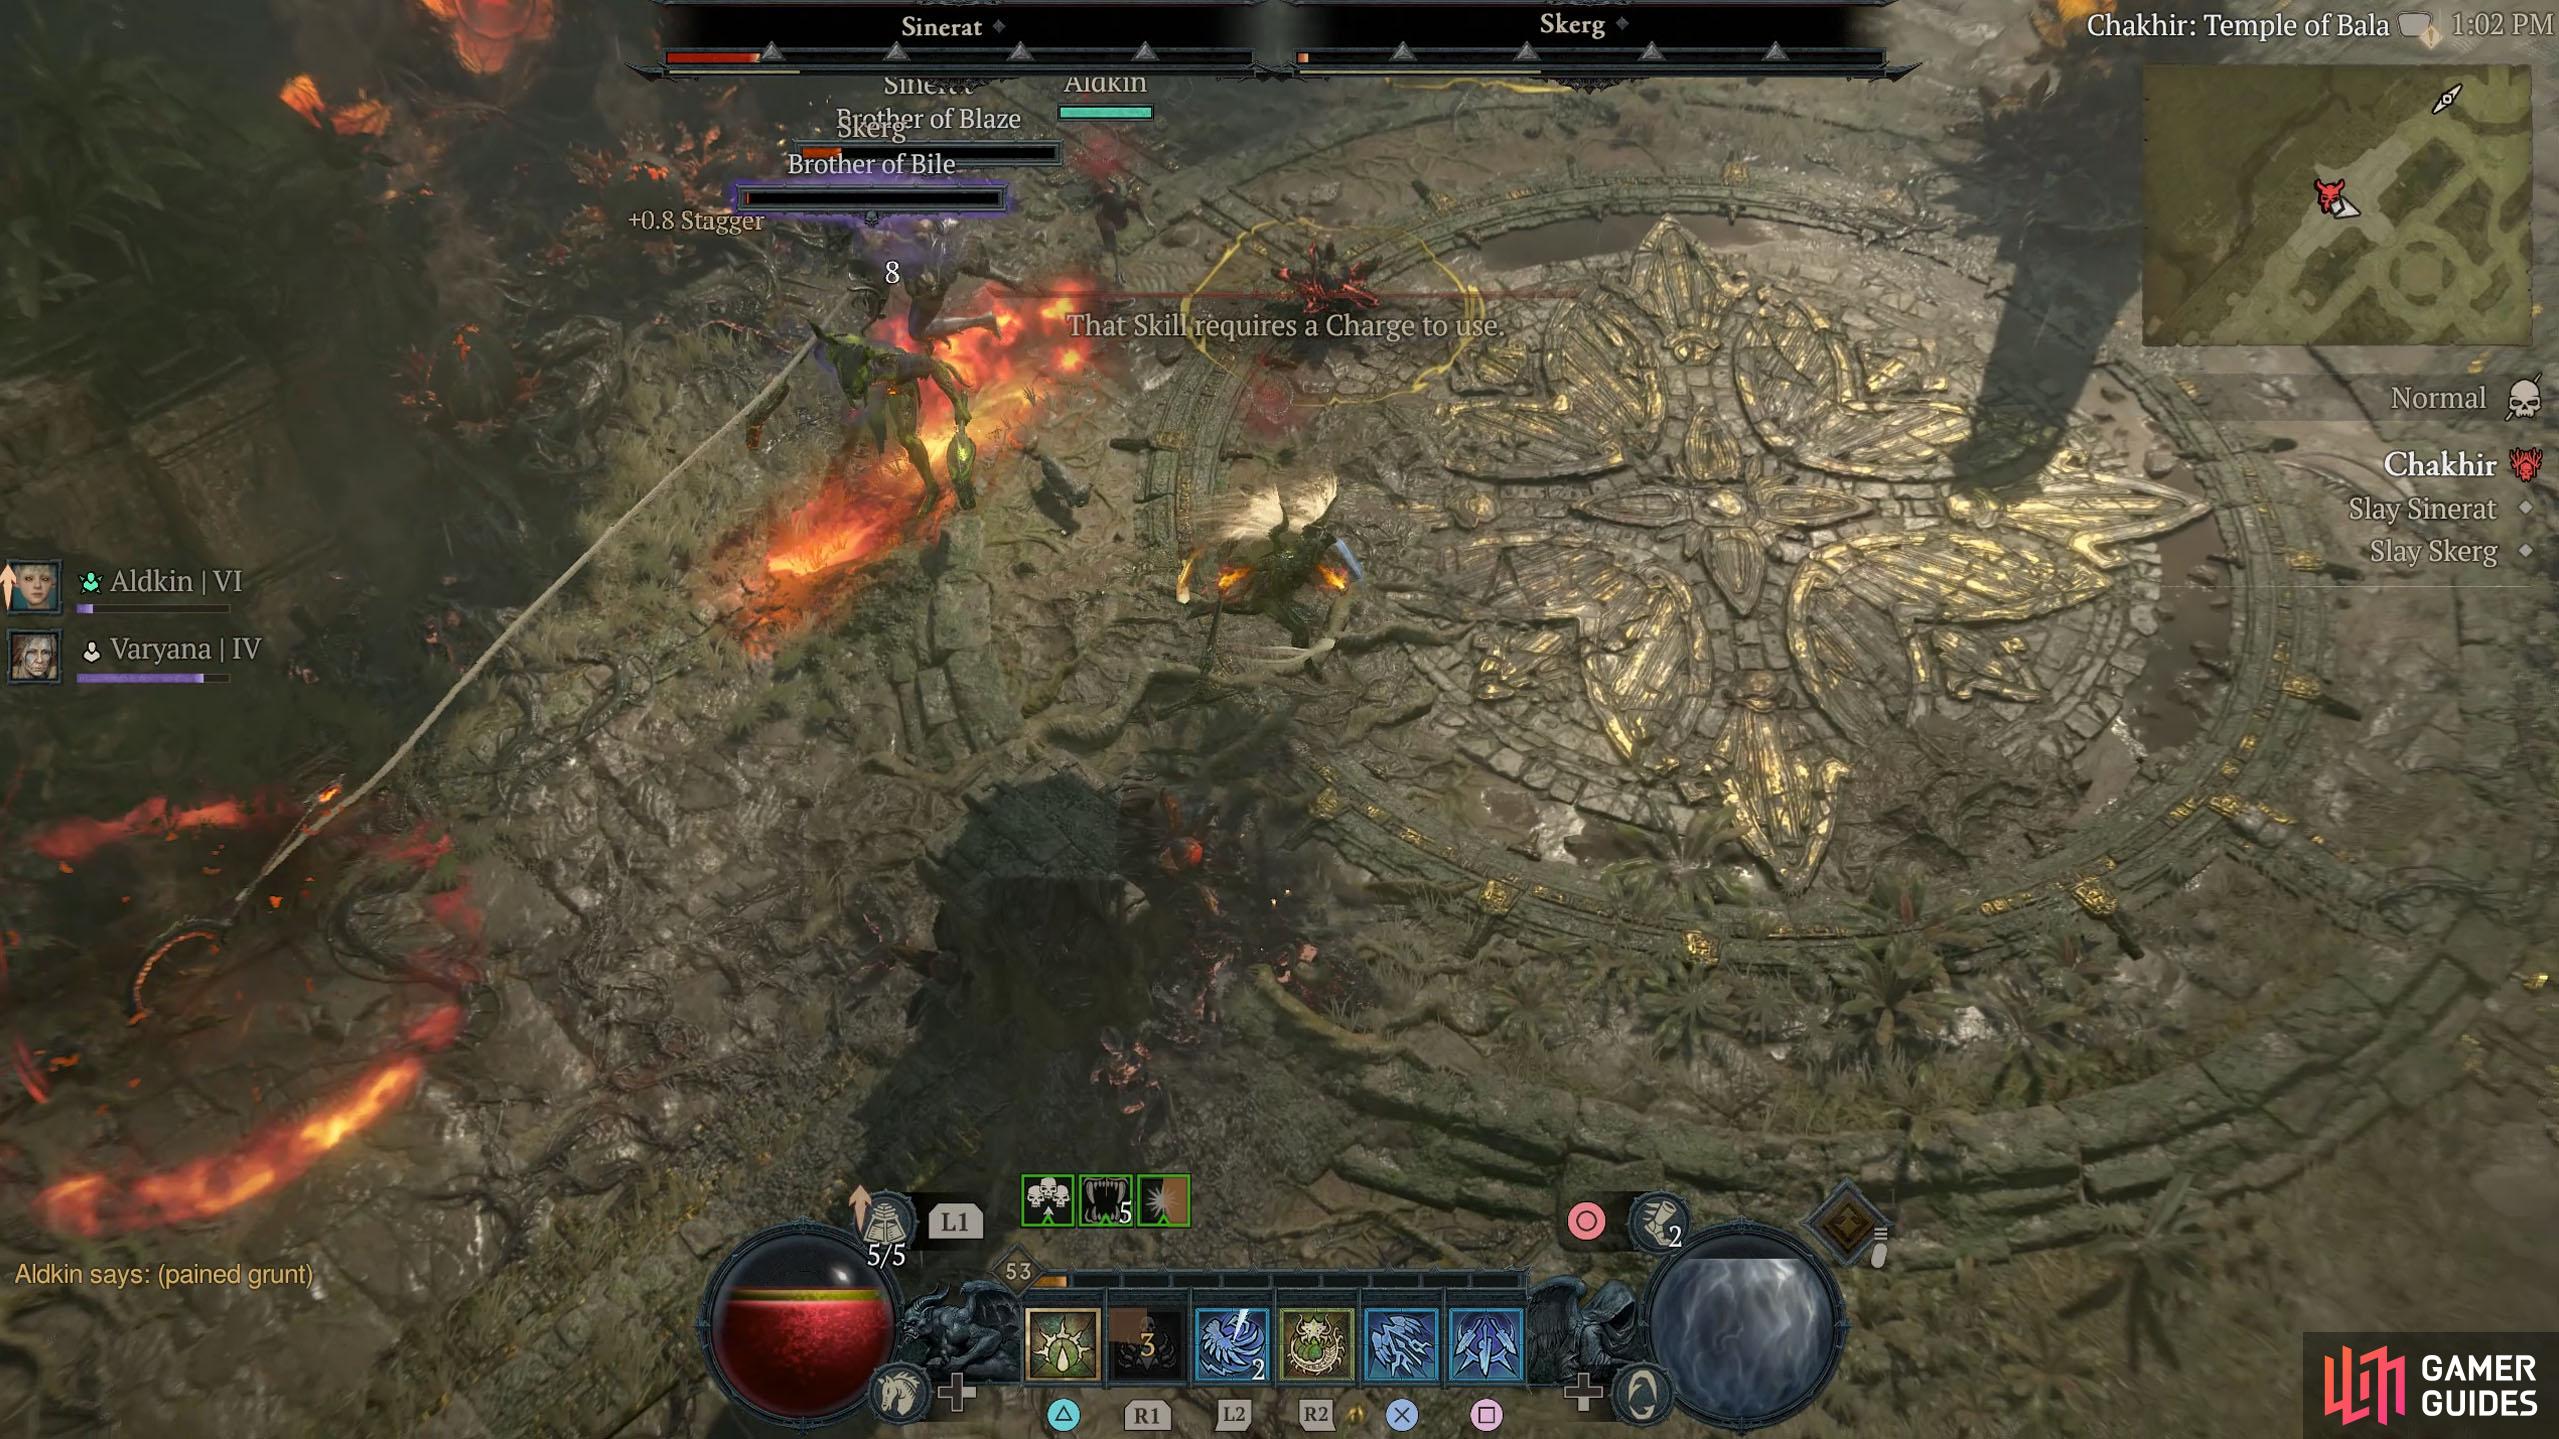
Strategy
The most difficult part of this battle is the exploding mines. These cover a lot of distance and deal a lot of damage. It doesn’t matter who you take out first, as they absorb the other brothers’ attacks anyway, just make sure whoever you’re fighting is not near any flower mines.
The only other tricky part of the fight is when Skerg unleashes his wide poison attack at you, as this is generally difficult to avoid, just make sure you get some distance and stand in between the poison trails.

(1 of 2) Depending on which brother dies first, the other will absorb their powers and get some new attacks.

Depending on which brother dies first, the other will absorb their powers and get some new attacks. (left), This particular attack from Sinerat is deadly. (right)
Fortunately, the brothers have relatively low health and are easy to stagger, and you can typically take off most of their health after the first stagger. If one survives and retains their health, they will get either a spiral fire or poison attack on top of their regular attacks.
This will unleash numerous projectiles in a spiral while spinning around. It’s easier to avoid this attack if you get some distance.
Once the brothers are dealt with, head back down the stairs into the Sculpted Gardens and interact with the Wandering Shrine to complete the Stronghold.
No Comments