
Strongholds are subregions that have fallen to hostile forces, functioning like a mix between an overworld dungeon and a side quest. To begin a Stronghold, just enter the subregion and complete the objectives, the first of which is usually to headhunt some elite enemies or destroy some defended object, after which you’ll need to find and defeat the Stronghold’s boss monster. Strongholds are unique, one-time events, and once cleared the subregion may become a safe area, populated with merchants and a Waypoint. Even without that incentive, some Dungeons cannot be accessed until the nearby Stronghold is cleared, and you gain a whopping 100 points of Renown for each Stronghold you conquer. On this page you’ll find a walkthrough for ![]() Alcarnus, a Stronghold in the Kehjistan region in Diablo 4.
Alcarnus, a Stronghold in the Kehjistan region in Diablo 4.
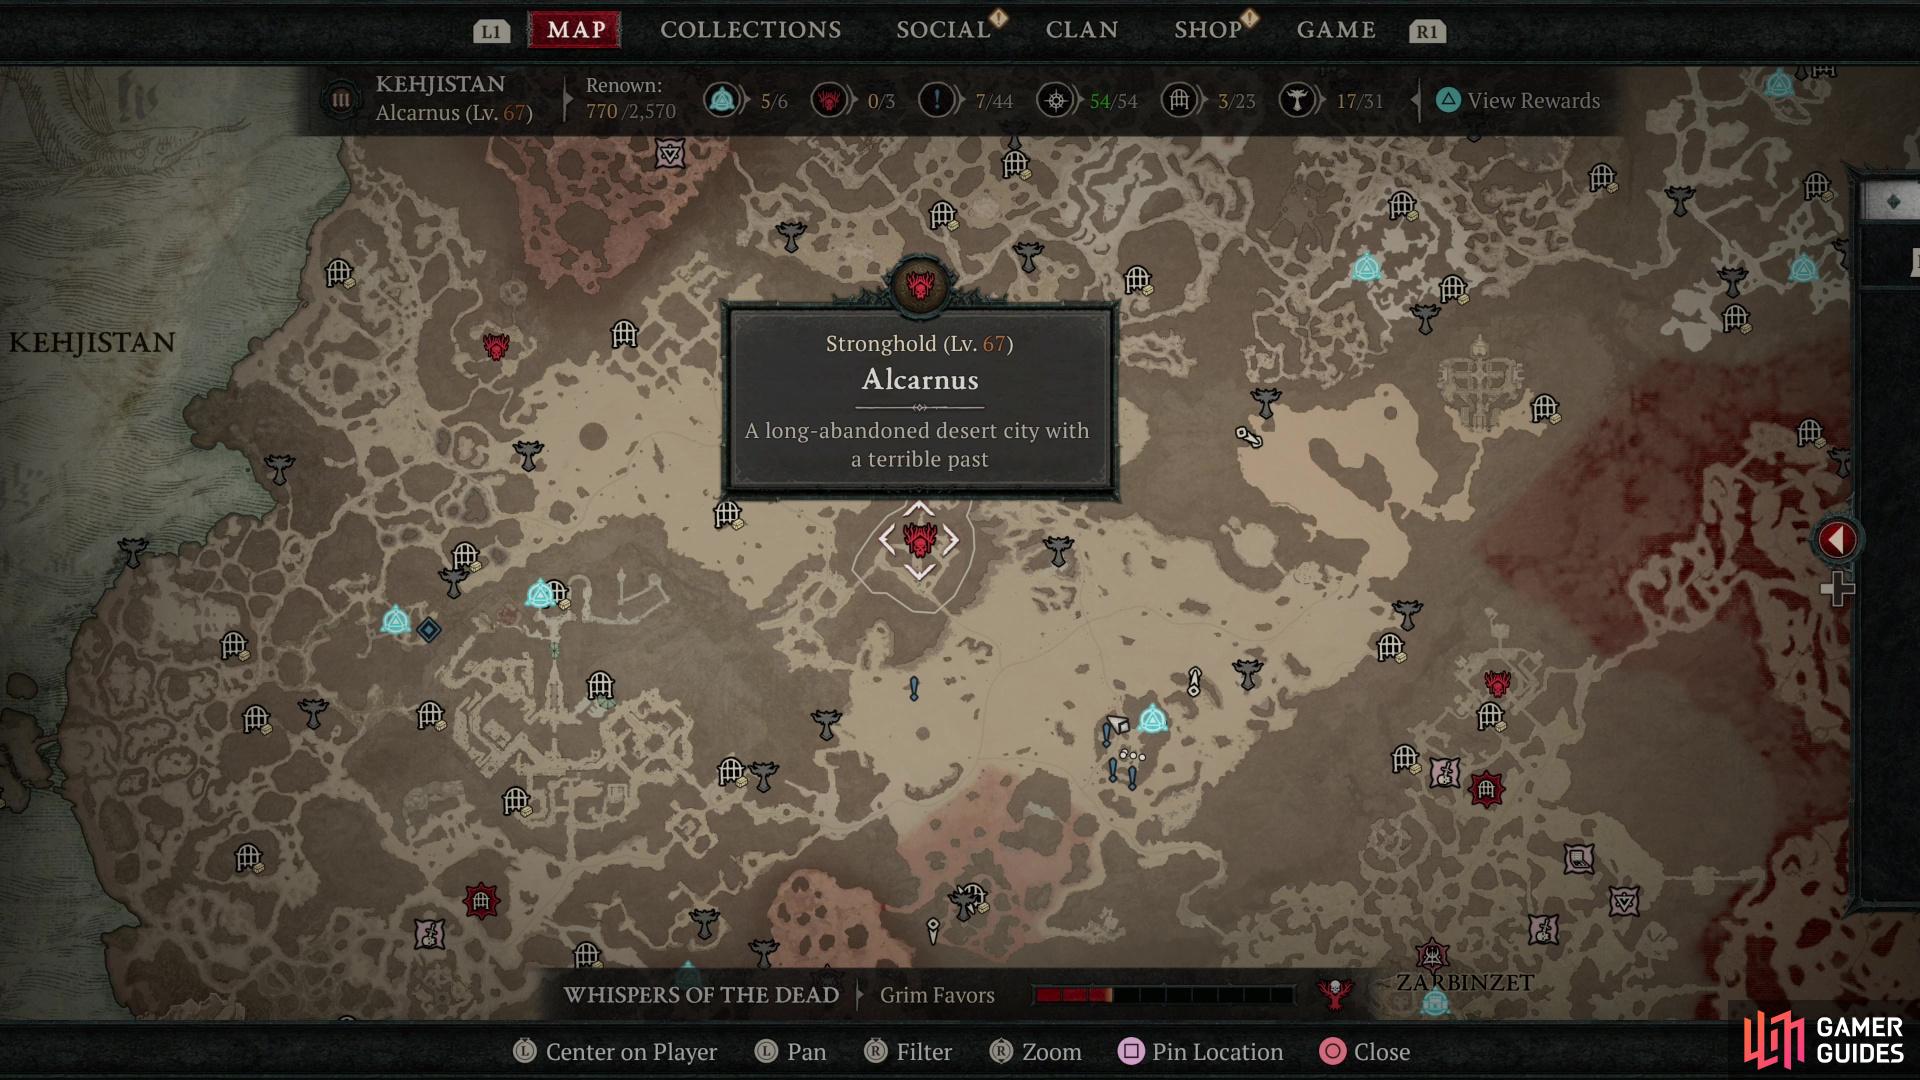
The location of the Alcarnus Stronghold on the map.
How to Find the Alcarnus Stronghold in Diablo 4
Alcarnus can be found along the northern edge of Kehjistan, wedged in between the Amber Sands (northwest) and the Scouring Sands (southeast), just northwest of Tarsarak, due south of Jirandi. You’ll likely pass by it during the main quest, when you first visit Kehjistan. You can reach Alcarnus via two routes, both taking you to the southern edge of this Stronghold - one route from the Amber Sands and another from the Scouring Sands. Neither route is preferable, as the Stronghold’s first objective is found along the northern edge of the Stronghold.

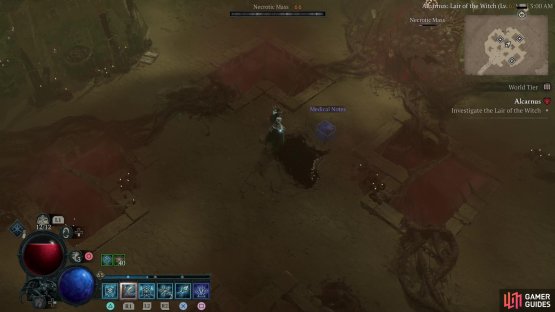
(1 of 2) Confront Rashta in the Lair of the Witch,

Confront Rashta in the Lair of the Witch, (left), and after driving the rogue Necromancer away, read her research notes. (right)
Enter Alcarnus and head north, killing enemies and noting the odd Necrotic Mass along the way. You can’t currently do anything with these masses just yet, as they’re invulnerable, but you can bet they’ll be important soon. Continue into the “Lair of the Witch” area where you’ll find a Necromancer - Rashta - who is up to no good, and talk to her. Somebody known as “The Mad Surgeon” probably isn’t going to be friendly, especially if she’s hyper-fixated on her foul “research”.
Approach her and, unhappy with the interruption, she’ll attack, but this isn’t much of a fight, as all she will do is toss out some fairly weak bone spirits. Whittle her health bar down and she’ll vanish, leaving behind some Medical Notes and several Research Notes. This are marked on your minimap, so seek them out and read them to advance to the next objective - time to go hunt those Necrotic Masses!
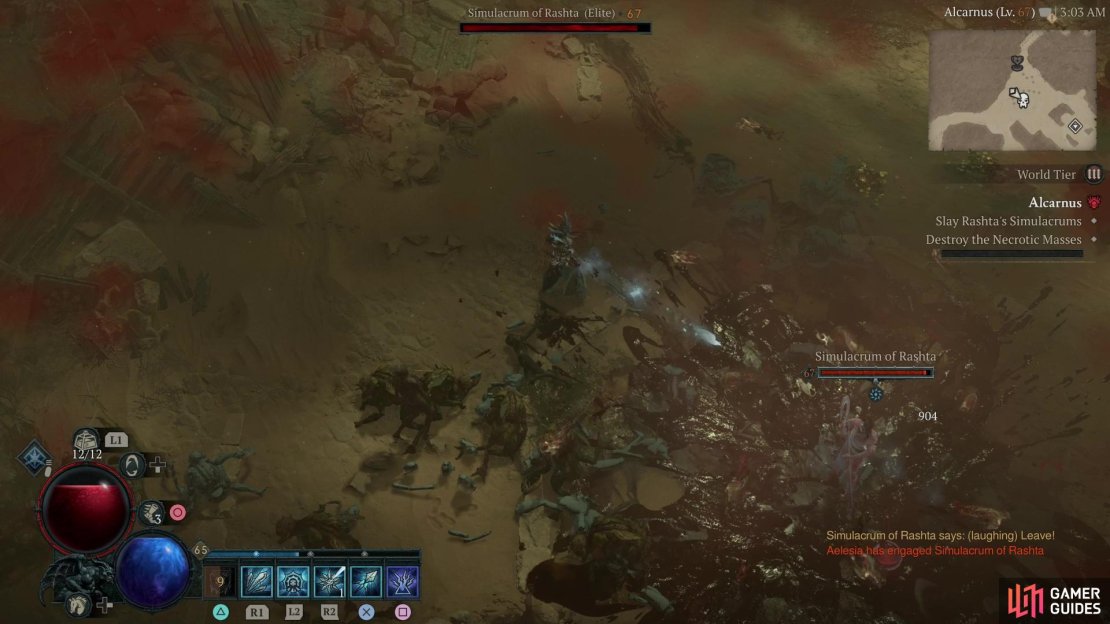
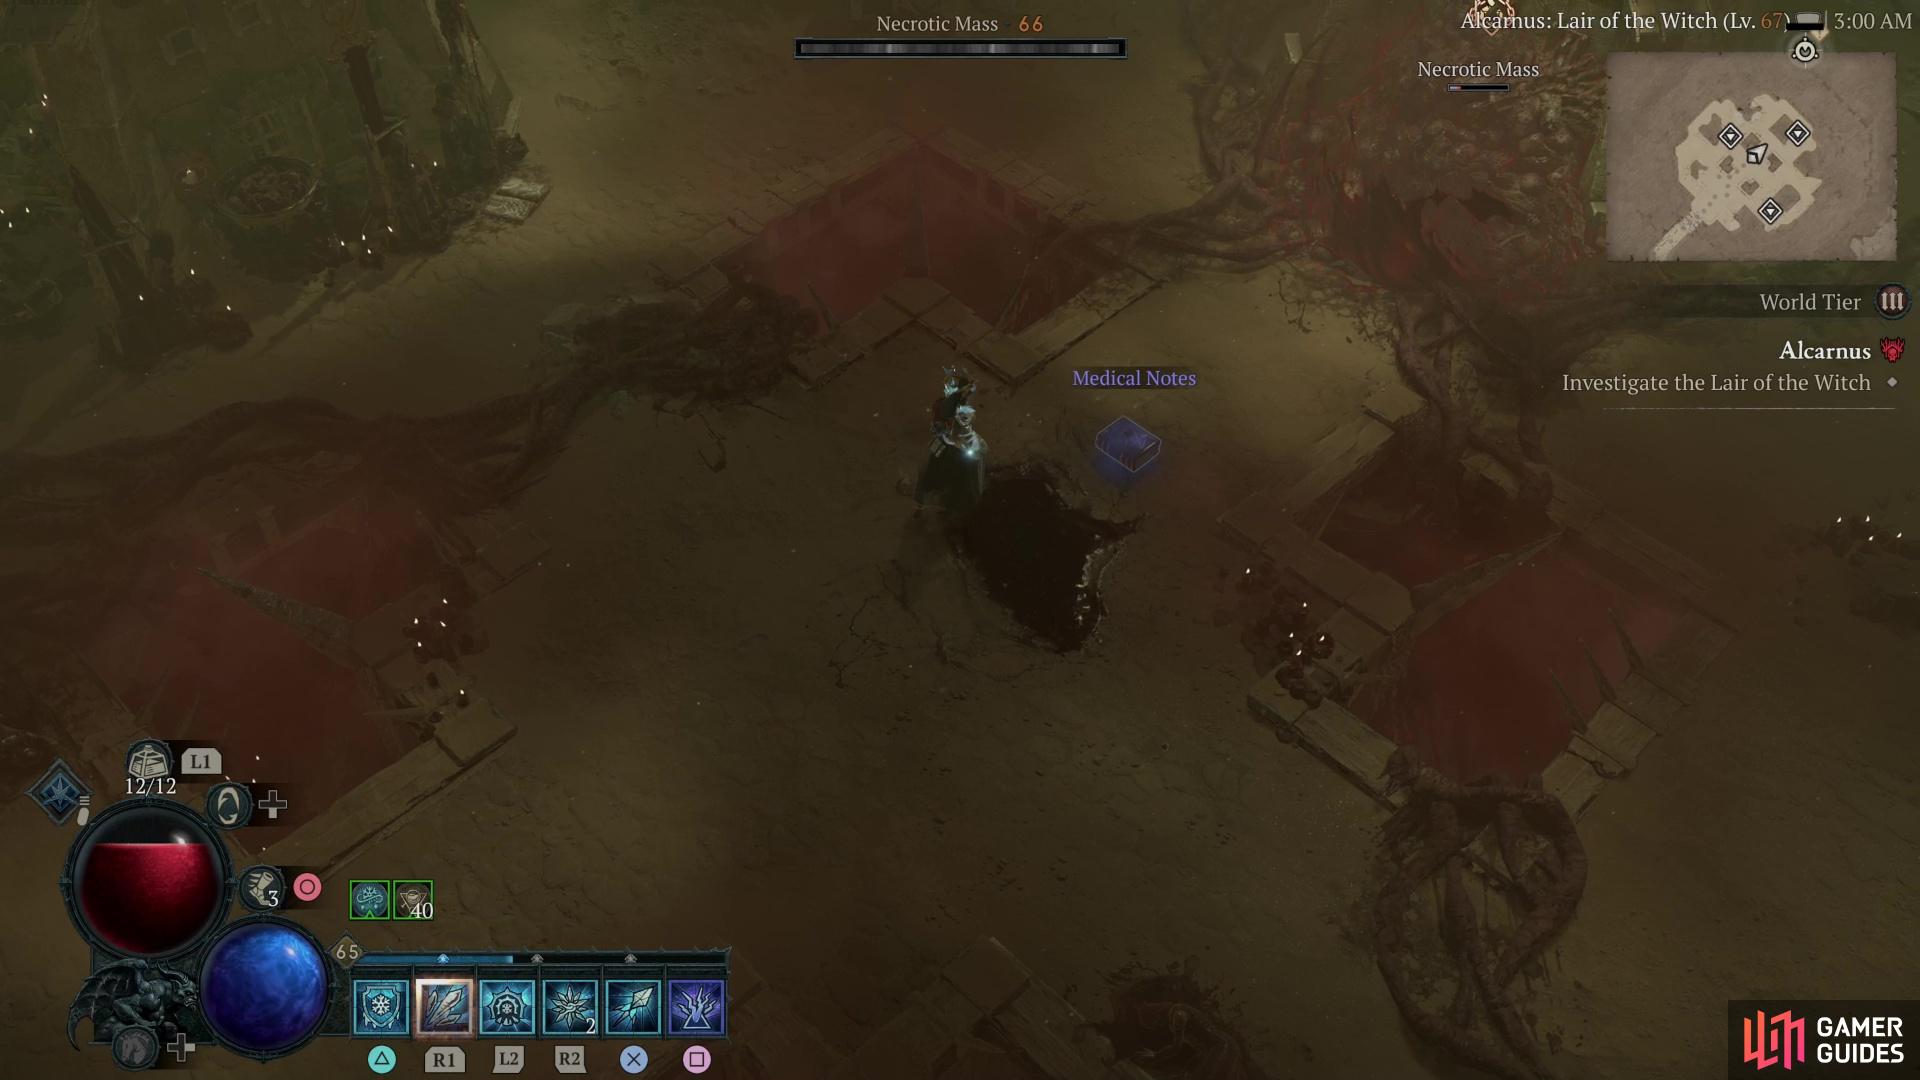
(1 of 4) Destroy Necrotic Masses to expose Rashta Simulacrums.
How to Destroy the Necrotic Masses and Defeat the Simulacrums of Rashta
Make your way back to Alcarnus proper, being wary of the once inert egg sacks that will now burst forth with pestilential life in the form of Fly Swarms and Skittering Abominations. After you exit the passage connecting Alcarnus to the Lair of the Witch you’ll find the northernmost Necrotic Mass, which will be guarded by the various undead you encountered on your way in as well as various insectoid abominations. Kill them and destroy the Necrotic Mass only to find that it has birthed a Simulacrum of Rashta, who must also be put down.
First Simulacrum of Rashta
This first Simulacrum of Rashta isn’t much more of a fight than the original, she can still use bone spirits and a new attack - a miasmic pulse that sucks in nearby putrescence, surrounding Rashta in a damaging aura, which she’ll shortly expel into a vortex of unsavory… chunks. These chunks of unspeakable filth fly in expanding arcs around Rashta, similar to the Paladin’s Blessed Hammer spell in Diablo 2, albeit thankfully infinitely less painful. While this Simulacrum of Rashta is more durable than the original and has a new trick up her sleeve, she’s not much more difficult to defeat. Put her down and you’ll need to destroy two more Necrotic Masses.
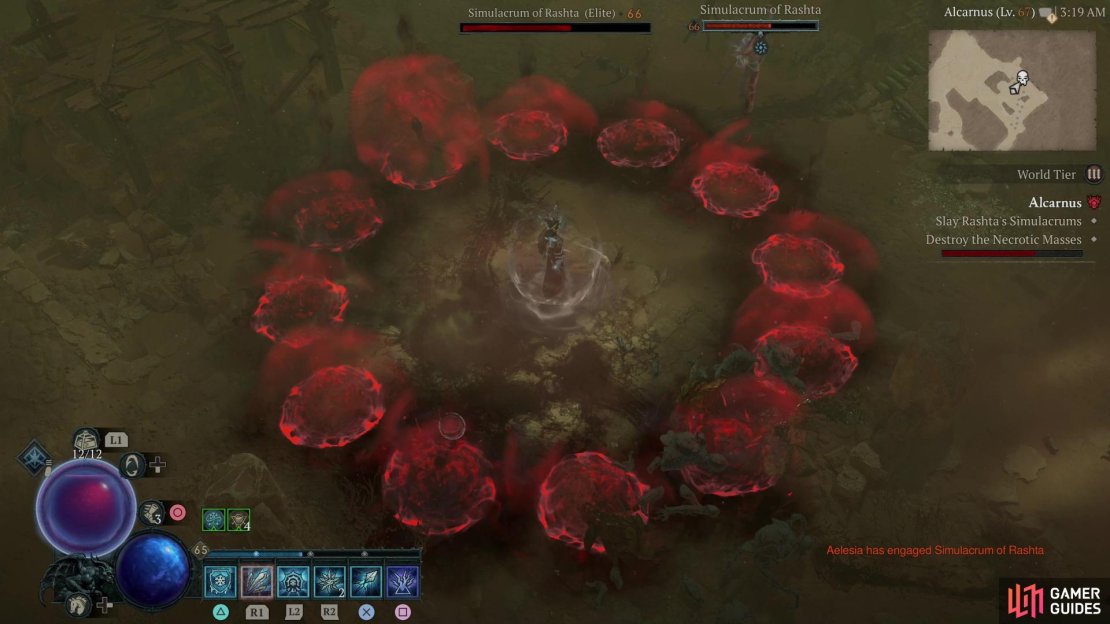
Second Simulacrum of Rashta
The second Necrotic Mass is just a bit southeast from the first, but you should consider sweeping the area of hostiles before you start attacking the Necrotic Mass in earnest - it’ll make your next fight with the Simulacrum of Rashta easier if she doesn’t have any critters backing her up. Also be wary of an Elite that will spawn when you’ve weakened the Necrotic Mass. After destroying the Necrotic Mass you’ll find another Simulacrum of Rashta, who has lost access to the Miasmic Pulse attack in favor of a much more powerful Necrotic Storm. This conjures a ring of red necrotic energy to bombard an area centered on you, with subsequent smaller rings spawning closer to you, tightening the noose. You’ll have to dodge through these necrotic rings at some point, and the sooner the better - the attack will not refocus on you after you’ve moved, but the tighter the rings get, the more they overlap, and the smaller rings can deal stupendous damage if they land a solid hit.
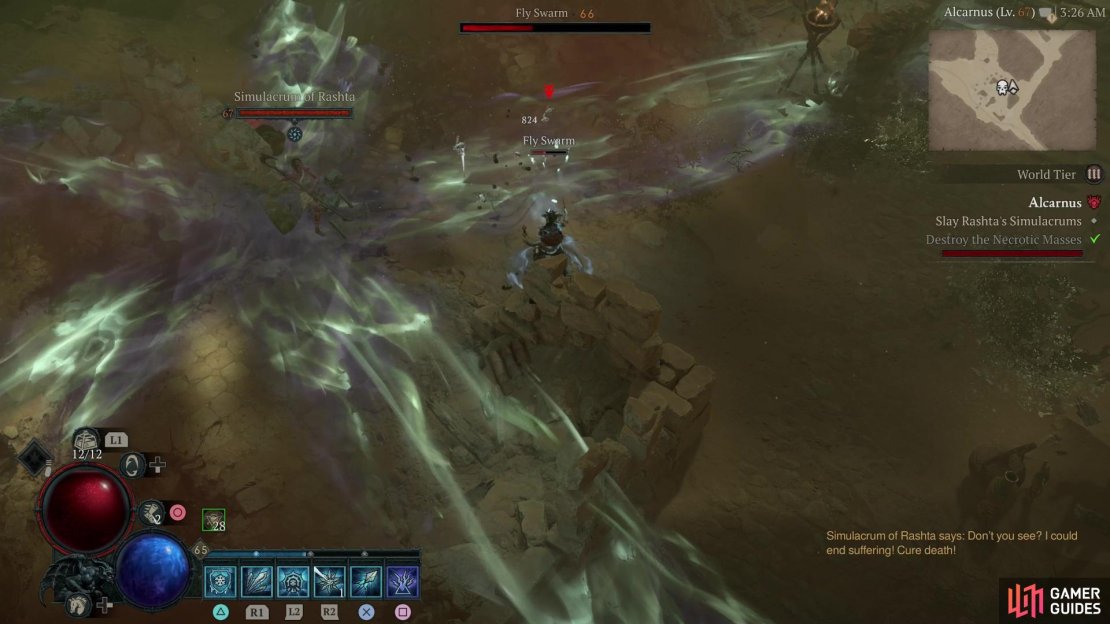
Third Simulacrum of Rashta
Repeat the process above for the third Necrotic Mass, which can be found along the southern end of Alcarnus. This time when you’re doing your sweep and subsequently attacking the Necrotic Mass, expect two Elite enemies to spawn in its defense. As usual, a Simulacrum of Rashta appears when the Necrotic Mass is destroyed, and she uses a new Spectral Wave attack instead of the two previous tricks employed by the other Simulacrums of Rashta. This creates five broad strips of spectral energy that persist for a while, damaging you if you enter their area of effect and generally constraining your mobility. Arguably the least dangerous of the three simulacrum attacks you’ve seen, and nothing to worry about.


(1 of 2) Rashta Reborn has only one new attack - summoning Imperfect Clones to distract you.
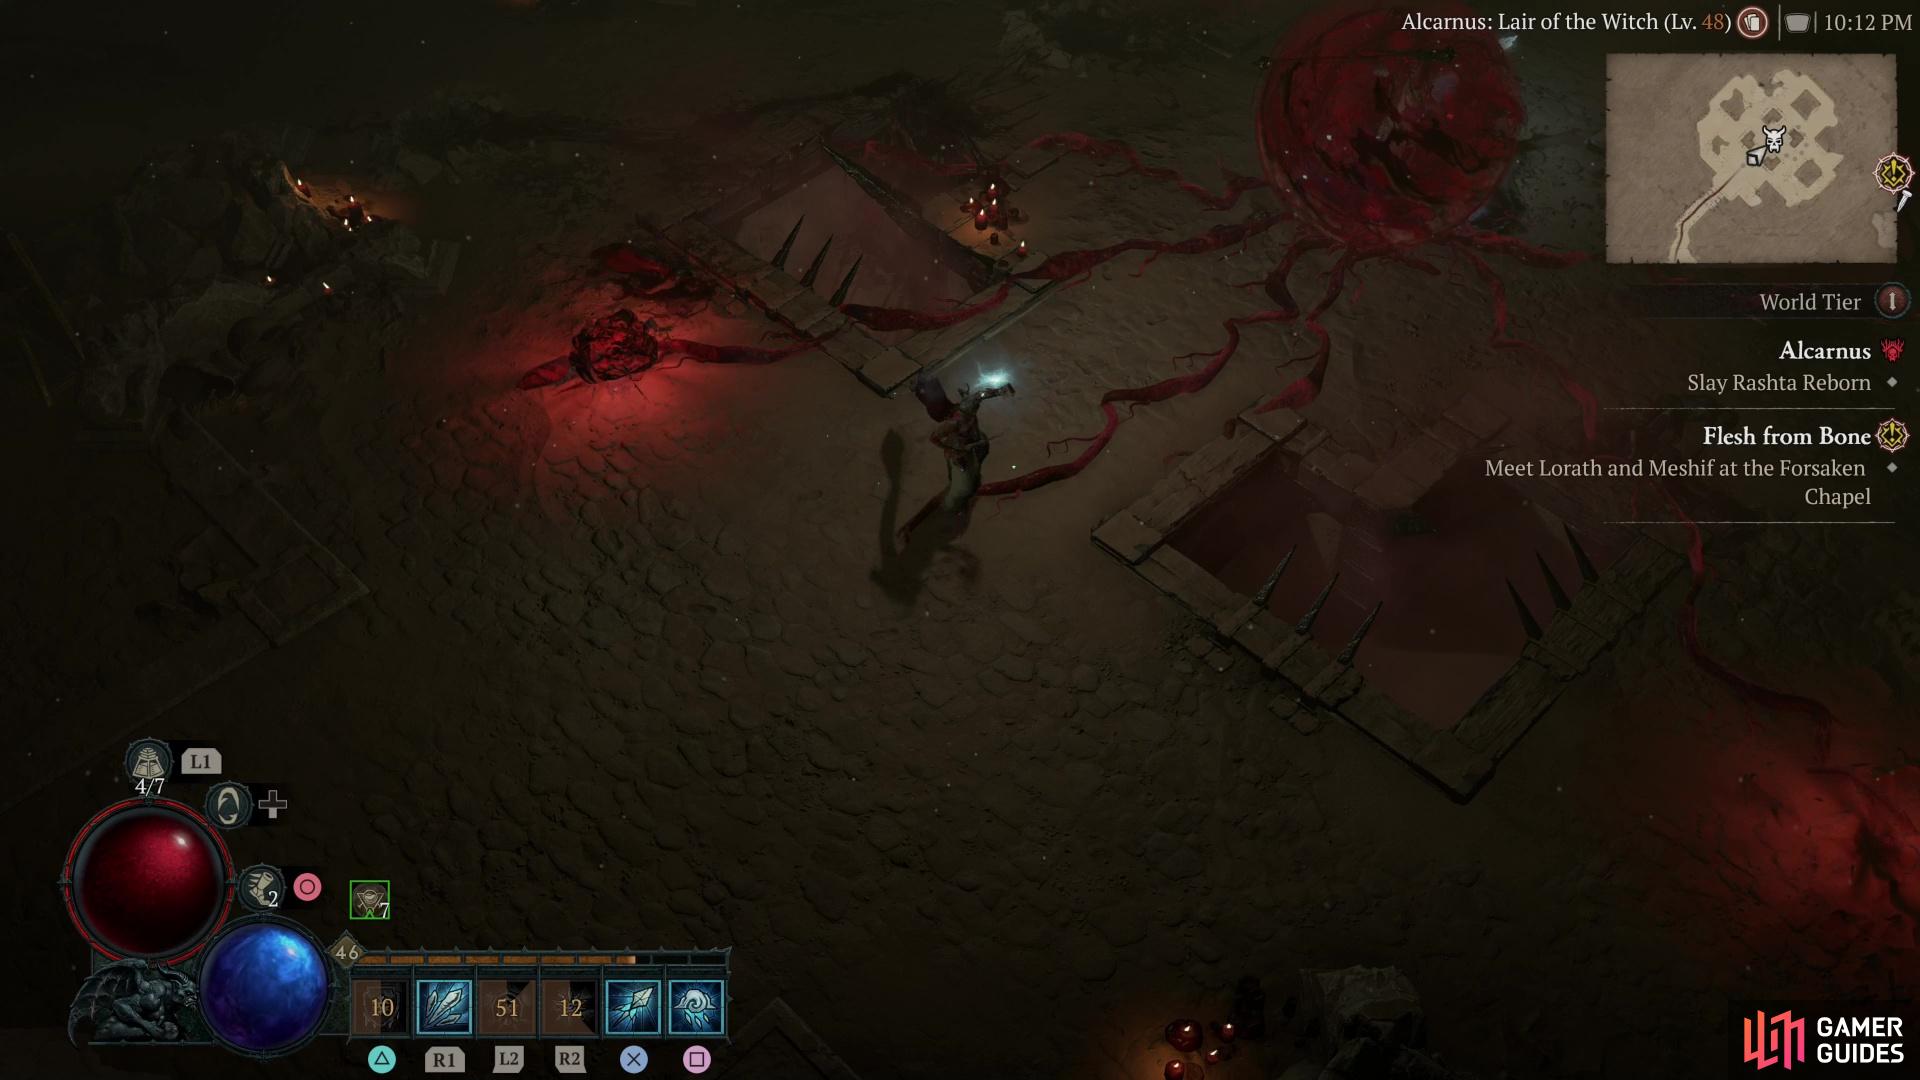
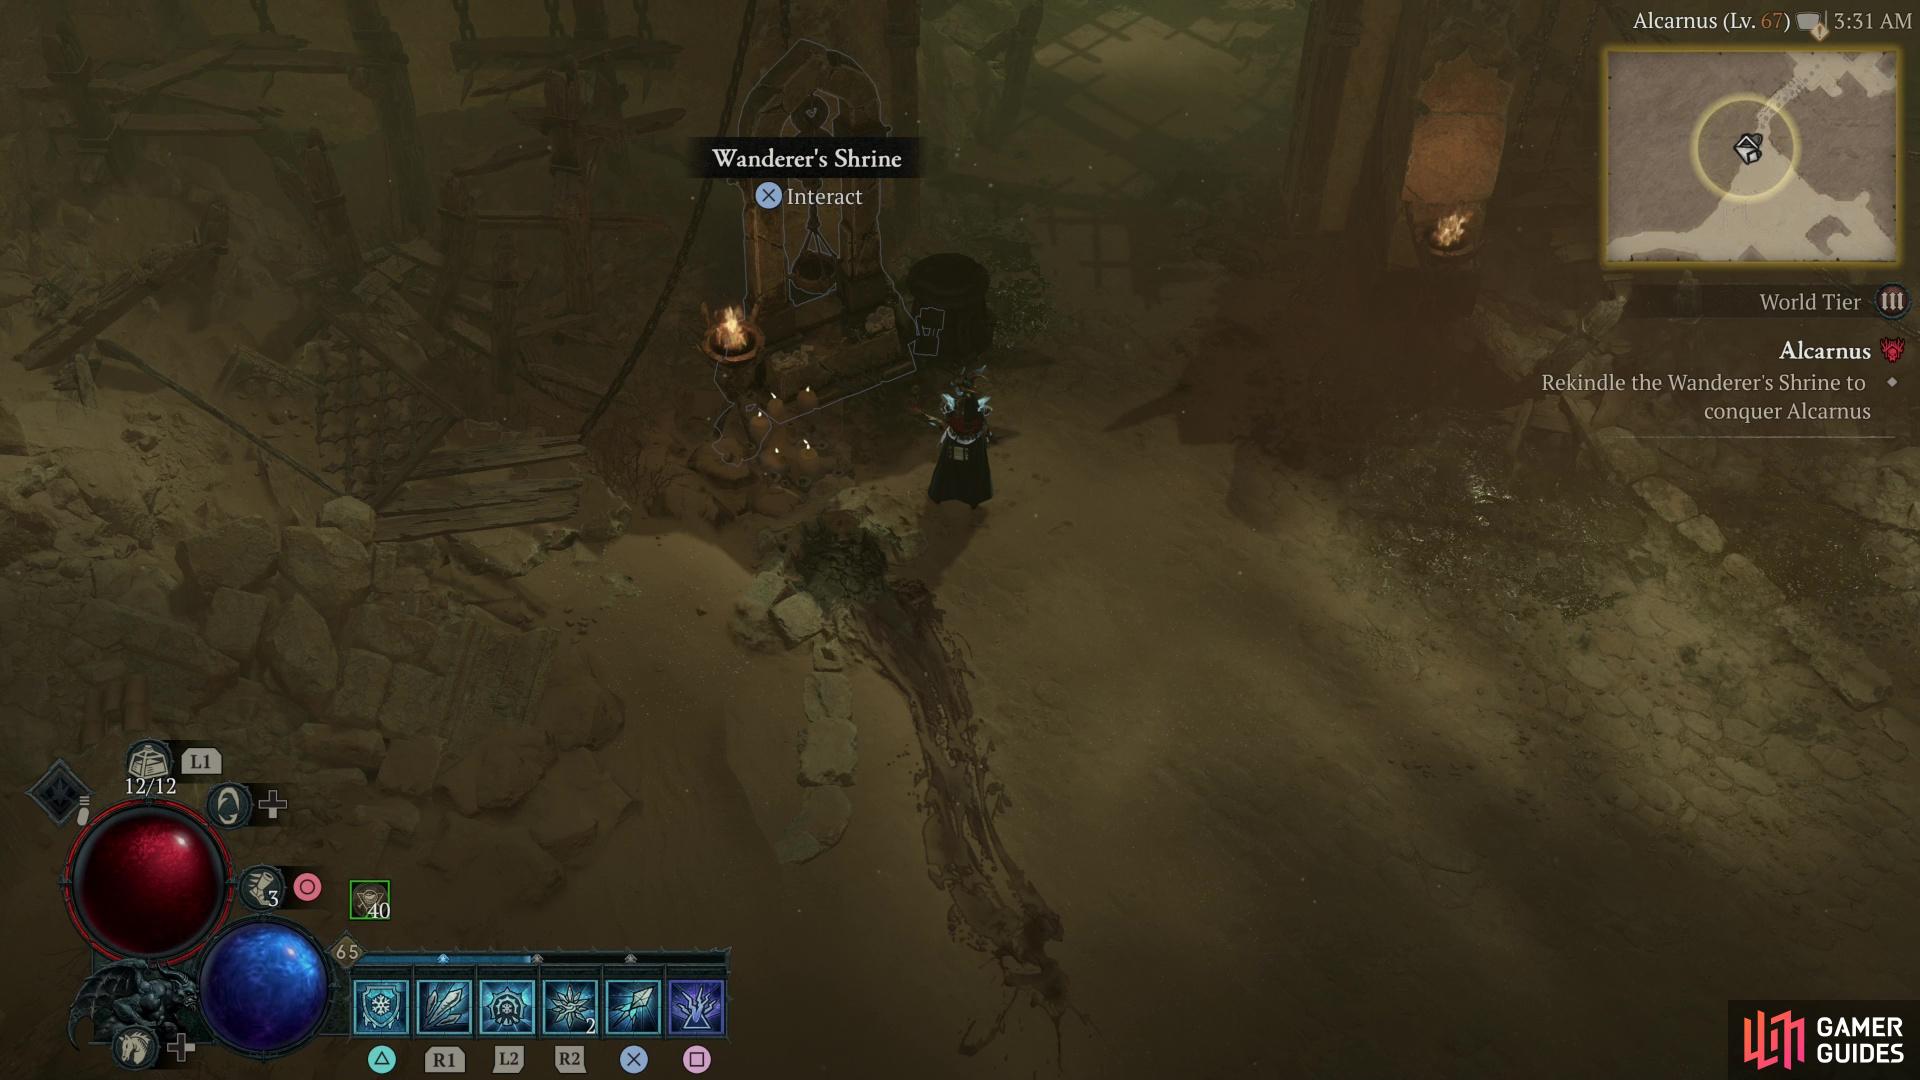
Rashta Reborn has only one new attack - summoning Imperfect Clones to distract you. (left), Defeat Rashta Reborn and interact with the Wanderer’s Shrine to conquer Alcarnus. (right)
How to Defeat Rashta Reborn
After eradicating all three of Rashta’s simulacrums, return to the Lair of the Witch to find Rashta Reborn waiting for you. The culmination of whatever foul research Rashta was doing, she’s got all the attacks of every previous version of Rashta you’ve fought, plus some new tricks.
-
Bone Spirit: With a swing of her scythe, Rashta expels a single bone spirit. The bone spirit itself has minor tracking and deals paltry damage, but it’s worth noting the scythe swing itself can also deal damage if you’re close enough. Really just a filler attack between the more interesting stuff.
-
Miasmic Pulse: The exact same ability used by the first (northernmost) Simulacrum of Rashta, she’ll siphon in necrotic energy around her, creating a damaging aura immediately around herself, then expel a cyclone of putrescent chunks that spin in an arc around her. Moderately damaging, but they have a maximum range, so keeping your distance will suffice to avoid damage here.
-
Necrotic Storm: Rashta’s most dangerous attack, she’ll call down pulses of necrotic energy in a ring formation on your current location. The first two rings will be fairly wide, but the third and forth will tighten the noose on your location, and constrained into such a small area each necrotic pulse that makes up these rings will have significant overlap, dealing massive damage if they hit. For all its potential, this attack targets a fixed location - where you were standing when the spell was cast - and doesn’t adjust, so if you dodge past the rings between impacts, you’ll be safe. The sooner you do this, the better.
-
Spectral Waves: Another common boss attack, Rashta will create five lines of spectral energy centered on herself. They’re fairly wide and persist for a while, but you can see them coming and if you just avoid them, you’ll be fine. Area denial with some damage to chastise you if you’re not careful.
You should be familiar with Rashta’s attacks and how to avoid them, and until she’s reduced to under 50% of her health, Rashta Reborn won’t display any new tricks. Once she’s wounded, however, she’ll cocoon herself in necrotic energy and summon several Imperfect Simulacrums, who fortunately are limited to Rashta’s bone spirit attack. Still, these nuisance enemies will harass you and deal chip damage, and Rashta Reborn isn’t sporting enough to wait until you’ve dispatched them, as she’ll renew her assault shortly after summoning the simulacrum. Weather these distractions and keep whittling down Rashta’s health - the fight doesn’t evolve any from when Rashta’s at half health to when she’s defeated.
After vanquishing Rashta, exit the Lair of the Witch and, back in Alcarnus, search near the entrance to the passage that leads back to the Lair of the Witch to find the Wanderer’s Shrine. Interact with it to conquer this Stronghold, earning 100 Renown and little else.
No Comments