
The Sacred Hunt is the class quest for the Spiritborn class added with the Vessel of Hatred expansion of Diablo IV. This unlocks the Spirit Hall, where you can switch between spirits. This quest is automatically unlocked at level 15 and will send you to Gea Kul to speak to Tarka. Read on to find out how to complete the quest, including how to defeat the difficult The Beast boss.

Completing The Sacred Hunt will unlock the Spirit Hall for the Spiritborn class.
Table of Contents
If you want to jump to a specific objective, click on the links below.
Find Tarka the Emissary in Central Plateau
Once you reach level 15, The Sacred Hunt will be unlocked. Your first objective is to find the Emissary, Tarka in the Central Plateau. Exit Gea Kul via the northeastern exit and follow the path northeast. Here, you’ll find Tarka, who asks you to come over to him.
Inspect the Strange Ceramics
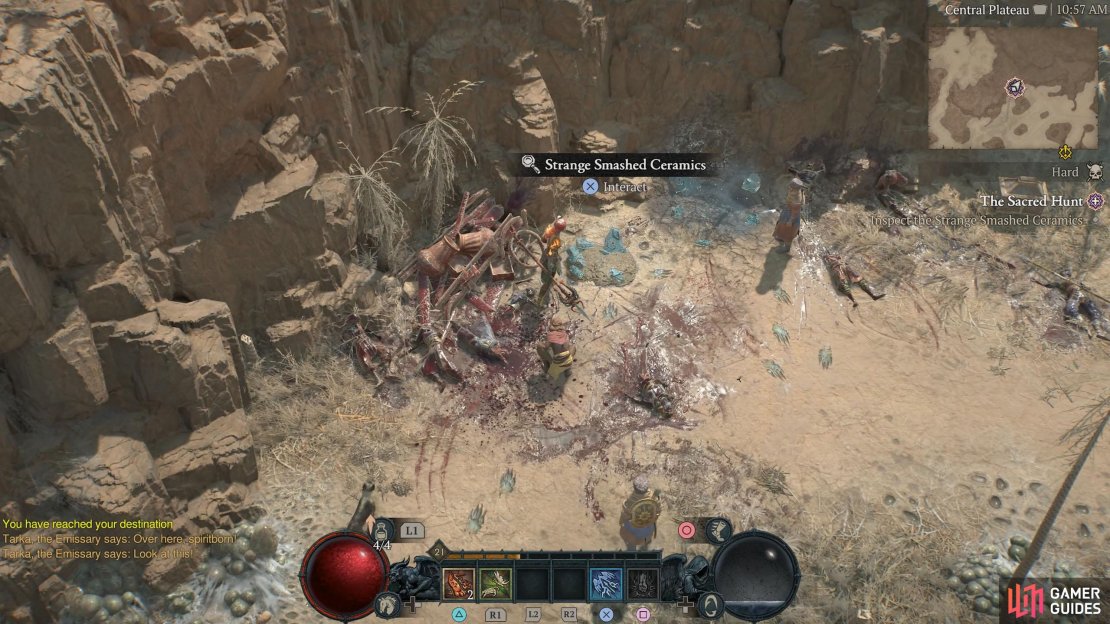
As you approach Tarka, you’ll need to inspect the nearby ceramics, which can be done by interacting with the dirt pile in front of Tarka. You’ll soon find out that these ceramic pots do not belong to this world, and you’ll need to speak to Tarka about it.

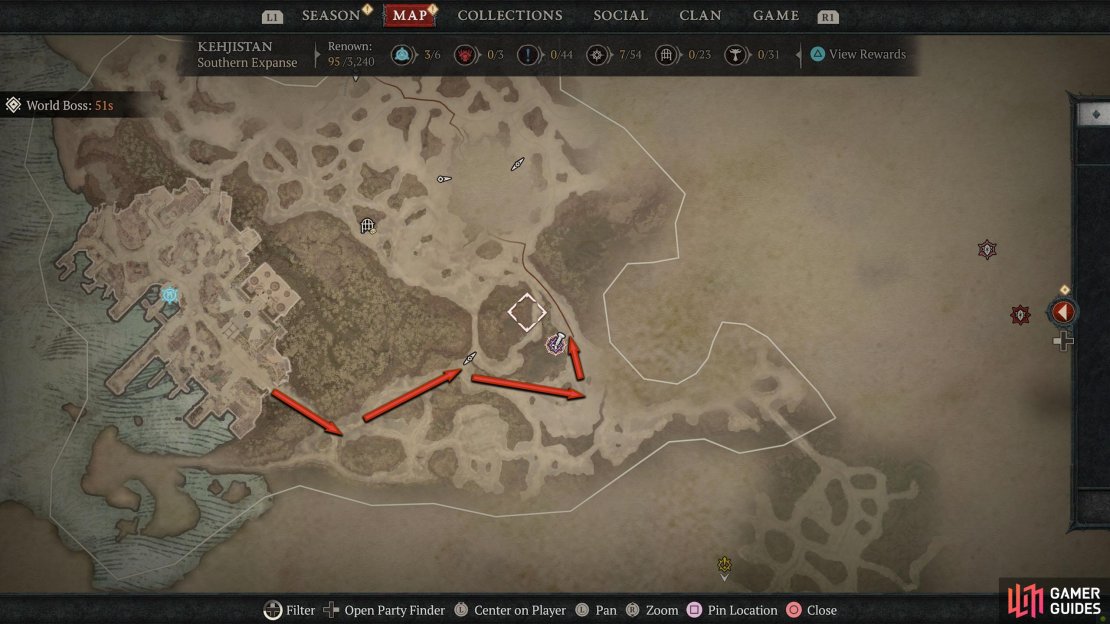

(1 of 3) Tarka can be found in the Central Plateau in Kehjistan.
Speak to Tarka the Emissary
Wait for Tarka while he slowly walks over to the pots, and then interact with him and select “Such carnage!”. Something came into the world and tore the people apart, which you can see from the nearby scorch mark left behind by a portal. Allegedly, it appears that a beast of some kind that can switch between realms has done this, and it’s up to you to hunt and destroy it.
However, before you can do that, you’ll need to find a way into the world, but the land here is too dry and lacks darkness, something that the jungle of Nahantu provides. As you’re about to leave, a nearby guard will mention a survivor of the attack who is currently in Hakan’s Oasis, and Tarka will suggest you go talk to her.
Meet Tarka at Hakan’s Oasis
You’ll find Hakan’s Oasis to the east of Gea Kul. Exit Gea Kul via the southeast exit and follow the path east. Alternatively, follow the path southeast to reach the Oasis. At Hakan’s Oasis, you’ll find the survivor, Ito by the water’s edge, clearly in some pain. As you approach her, she’ll mention that Tarka isn’t here. Talk to her and ask her where he’s gone, and she’ll tell you that she told Tarka where they were attacked, and he ran off to the location she mentioned.
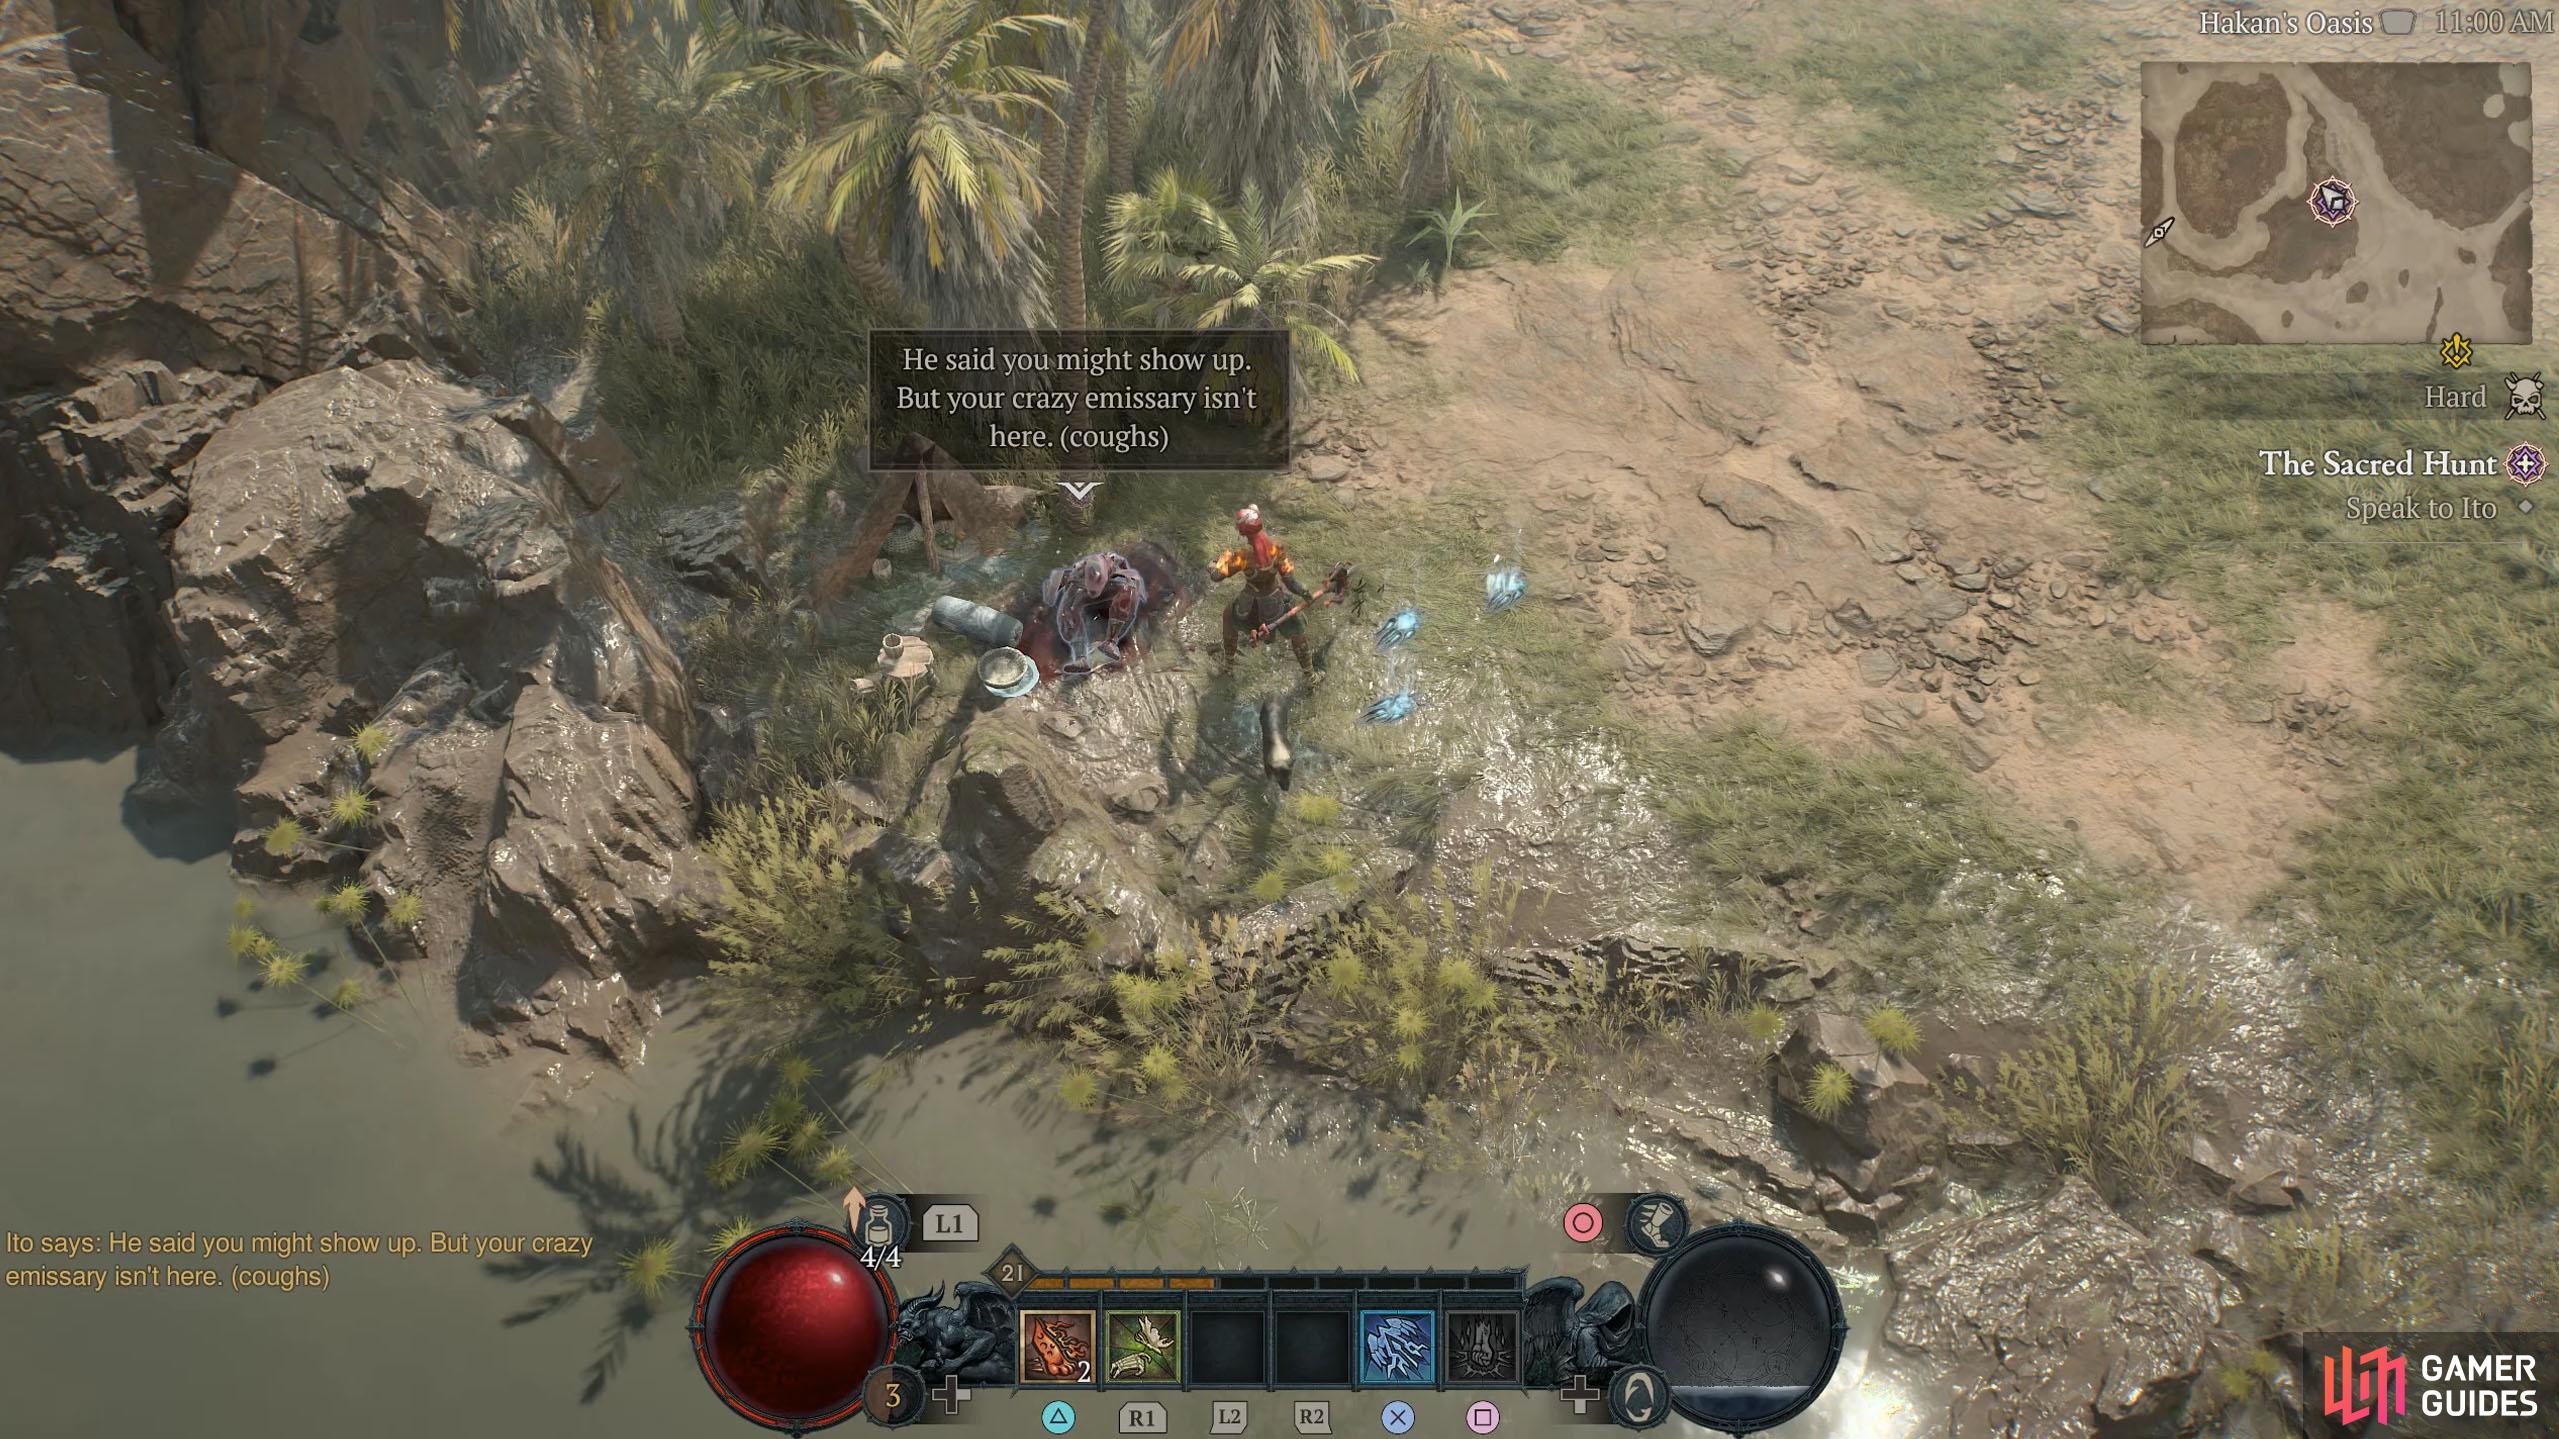
You can find the survivor Ito by the river in Hakan’s Oasis.
Find Tarka the Emissary
Head southwest and follow the path west as if you’re going to the southern entrance to Gea Kul. Along the way, you’ll find some strange tracks in the middle of the path.
Investigate the Strange Tracks
Interact with the tracks, and you’ll find out they came from a large creature.
Find Tarka the Emissary
Continue west along the path and the objective will be updated once again. If it doesn’t, interact with the second set of tracks, it should do it then.
Find Tarka on the Island
Stay on the path while heading west past the Healing Well into Shipwreck Cove. Continue following the path west before heading south at the first chance and then east. Now, jump across the platforms until you reach the eastern side of the area, and then speak to Tarka.
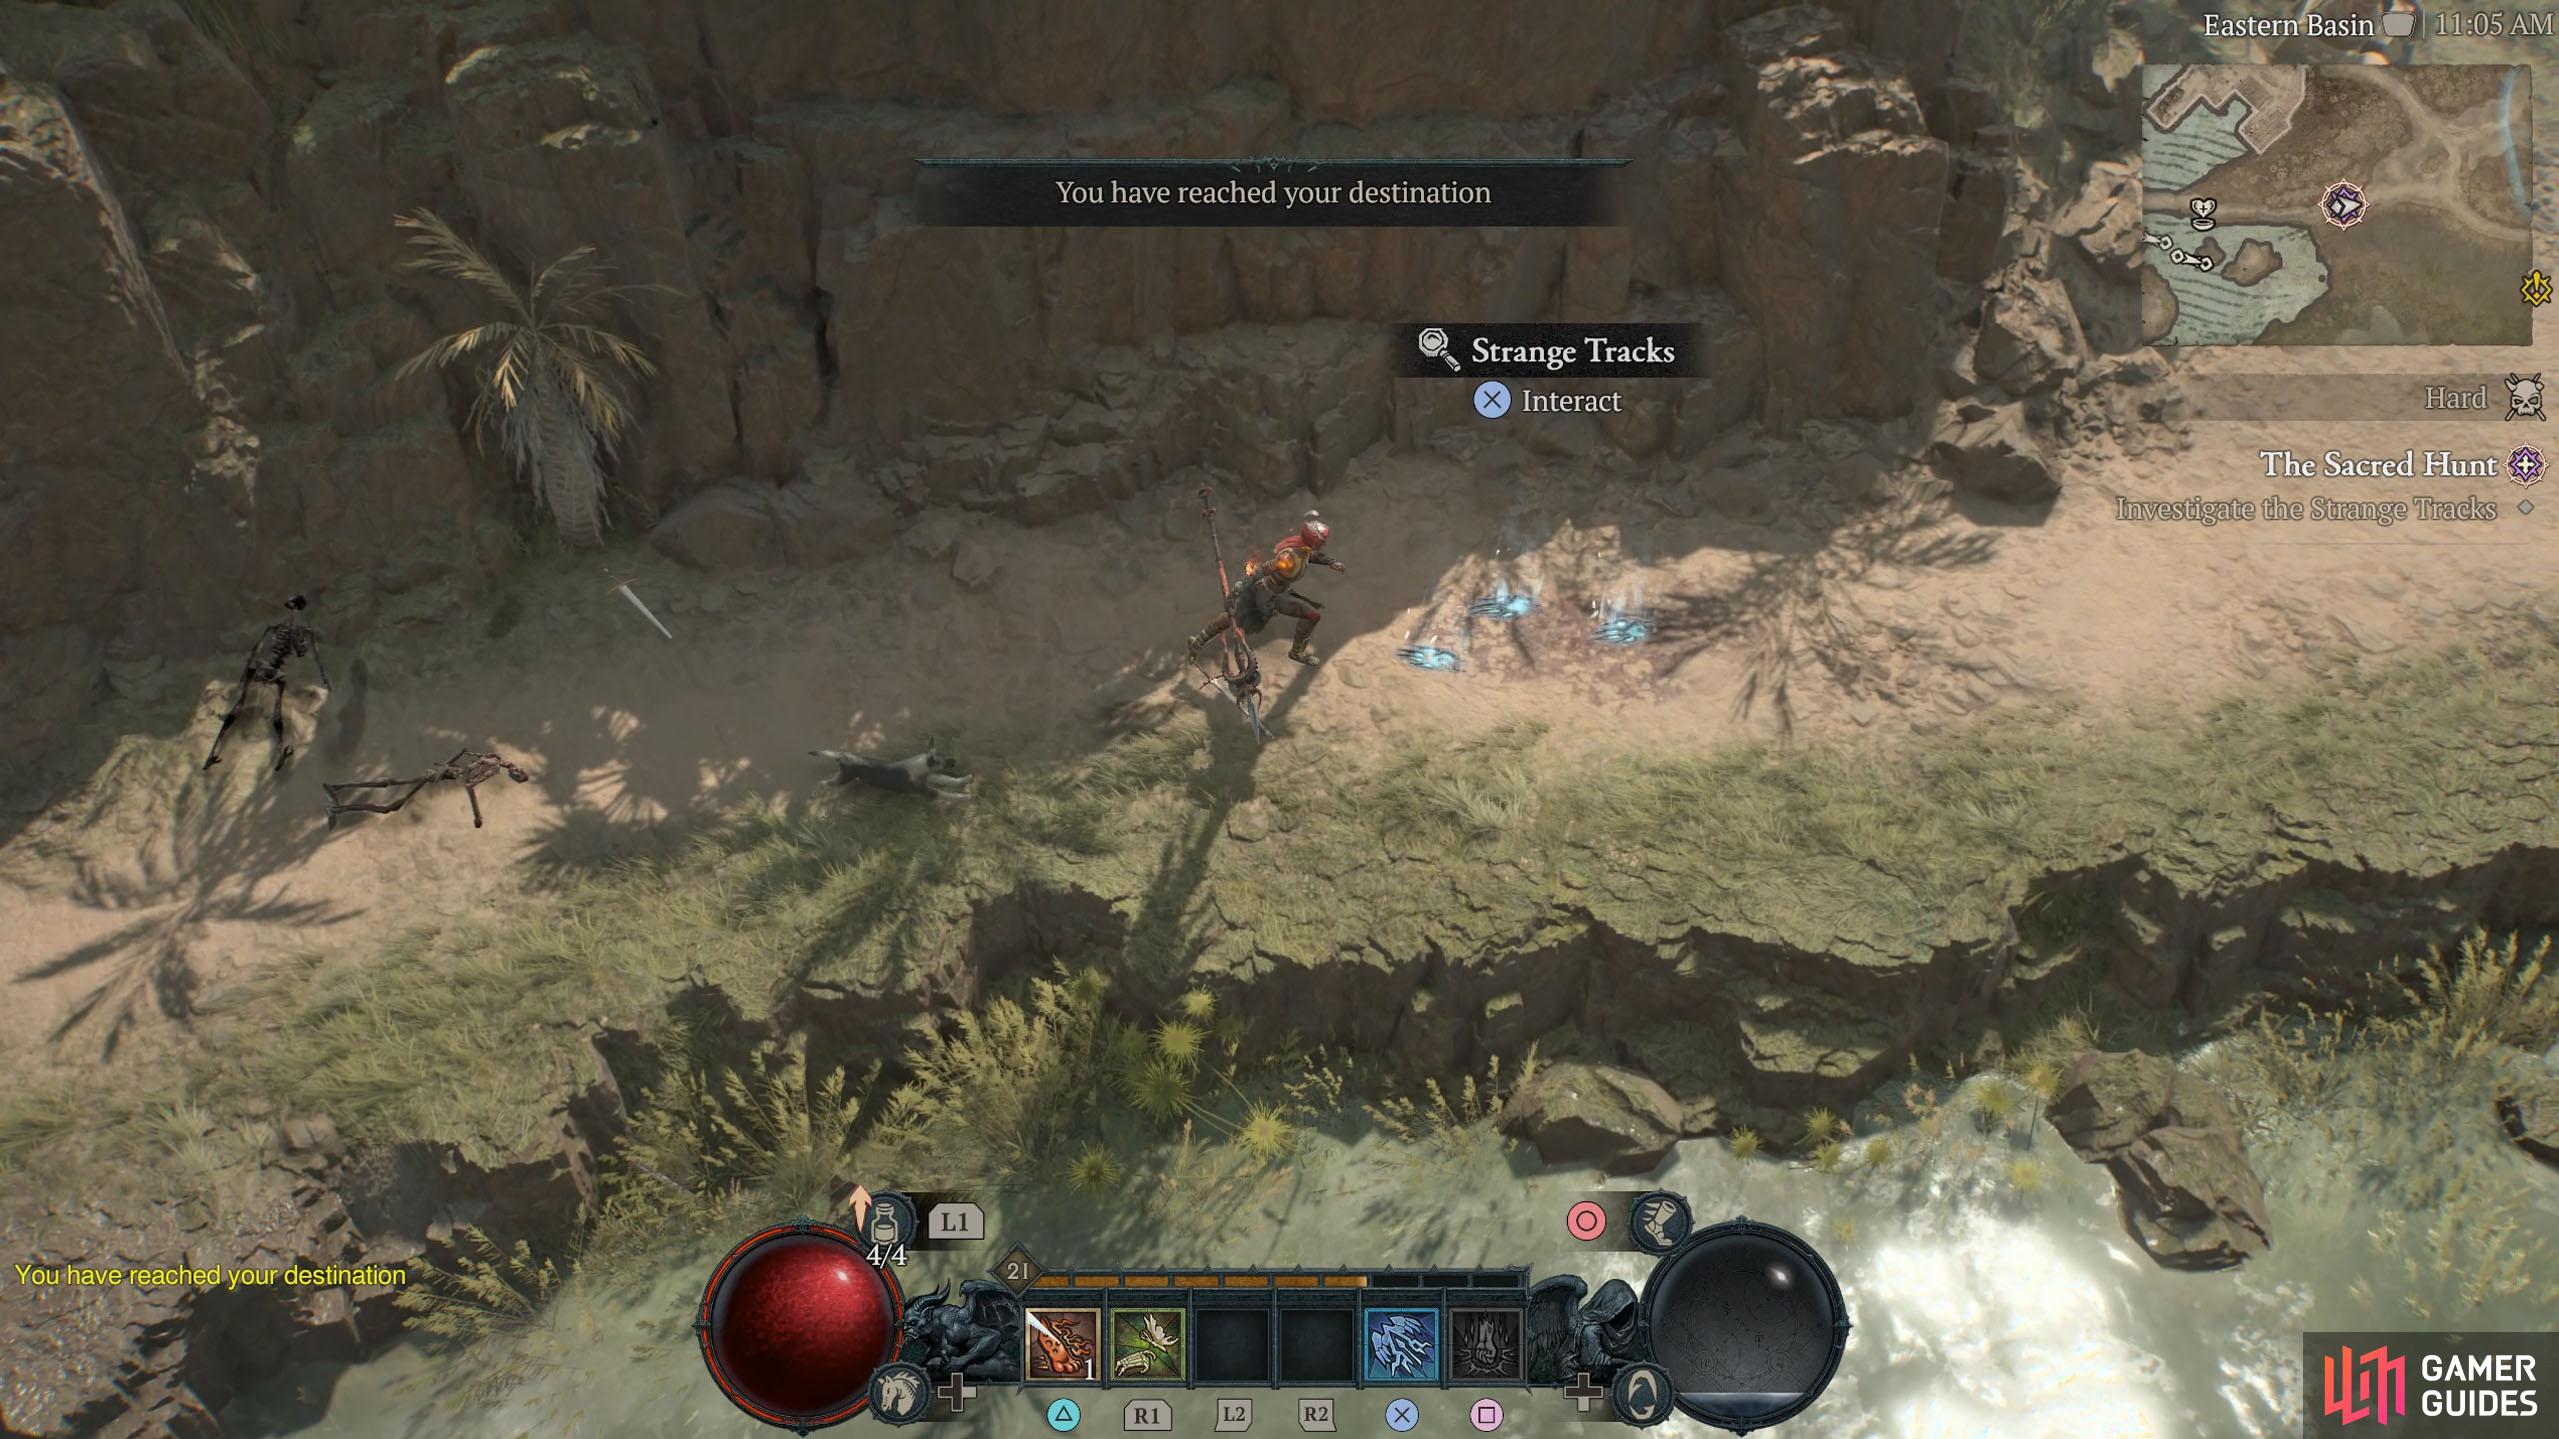


(1 of 2) Head west along the path and investigate the Strange Tracks.
Head west along the path and investigate the Strange Tracks. (left), Hop across the platforms to find Tarka waiting for you. (right)
Speak to Tarka the Emissary
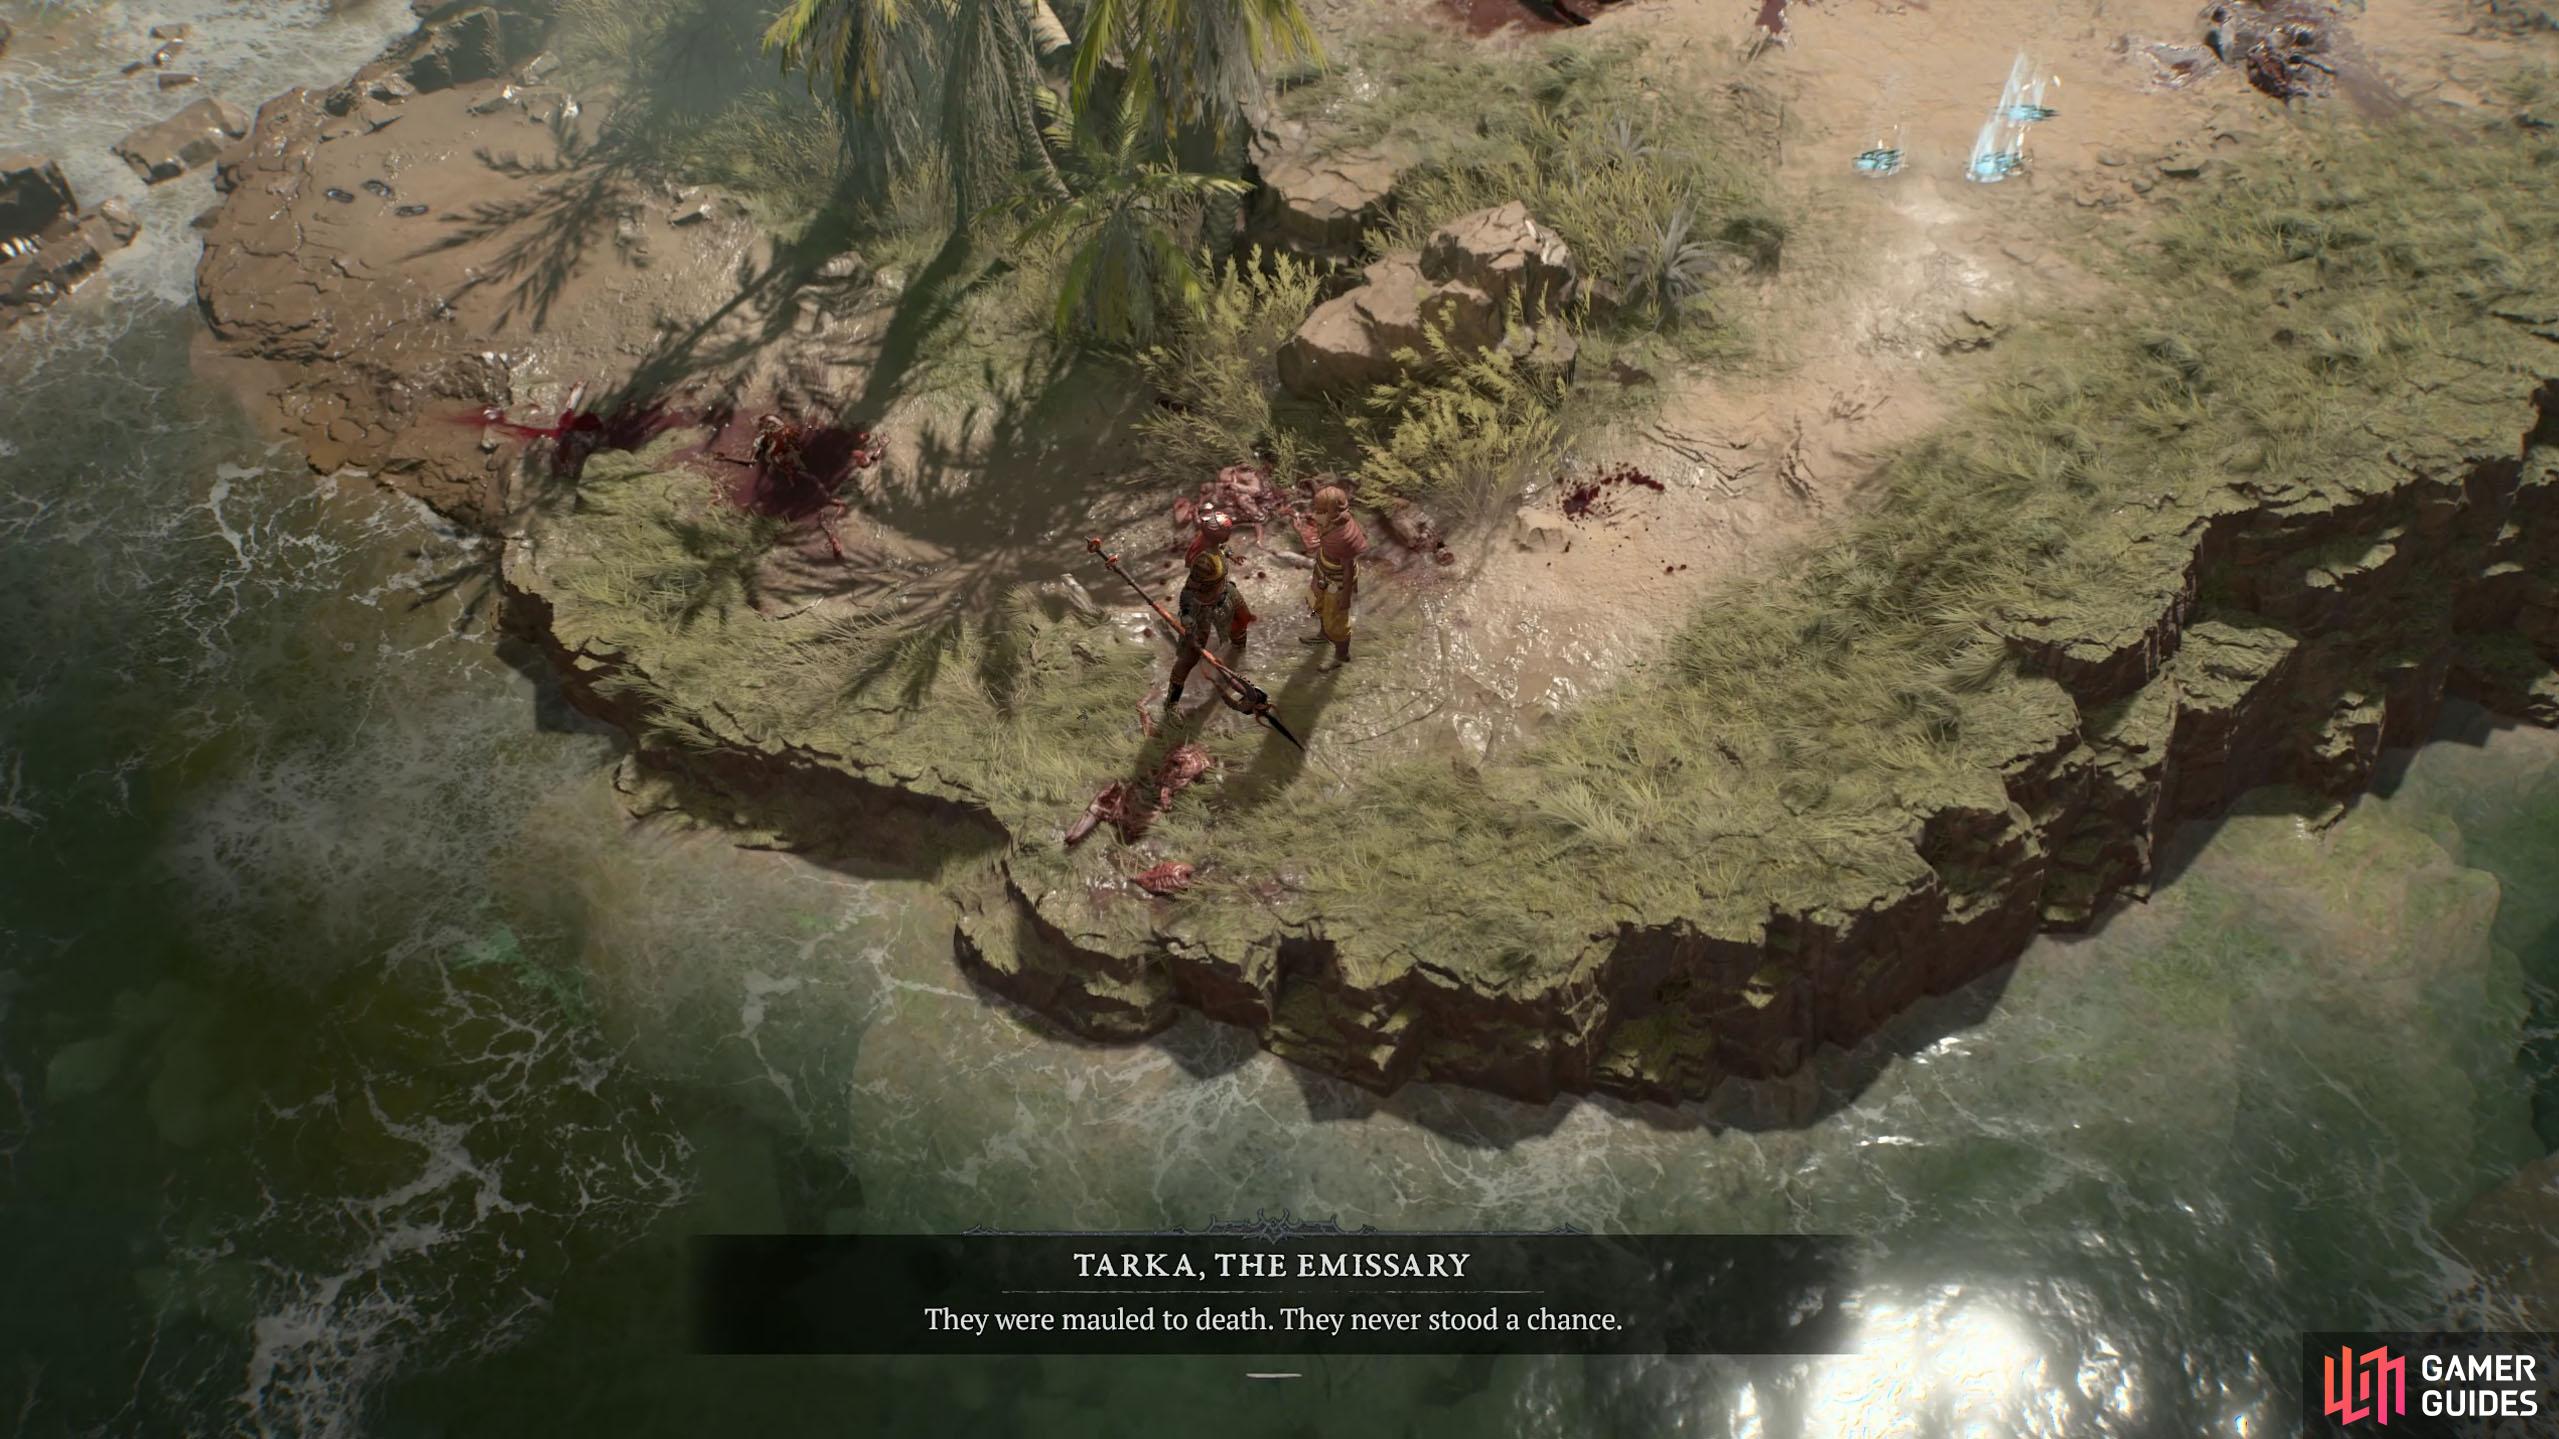
You’ll find Tarka among numerous corpses that have been mauled and when you ask Tarka what did this, he’ll tell you that whatever did it appears to have disappeared as the track marks just stop. Follow him until you reach the strange tracks nearby.
Inspect the Strange Creature Tracks
Interact with the Strange Creature Tracks, and you’ll find out that whatever did this appeared and disappeared at this exact location.
Speak with Tarka
Talk to Tarka and tell him that you don’t see a portal. Tarka will tell you that whatever did this is a beast that you must hunt and that the portal is still in the location, but it’s fading. He’ll tell you that he can use the spirits of the people who were slain here to pry open the portal, but he can’t be sure if anything will come through it as he opens it.
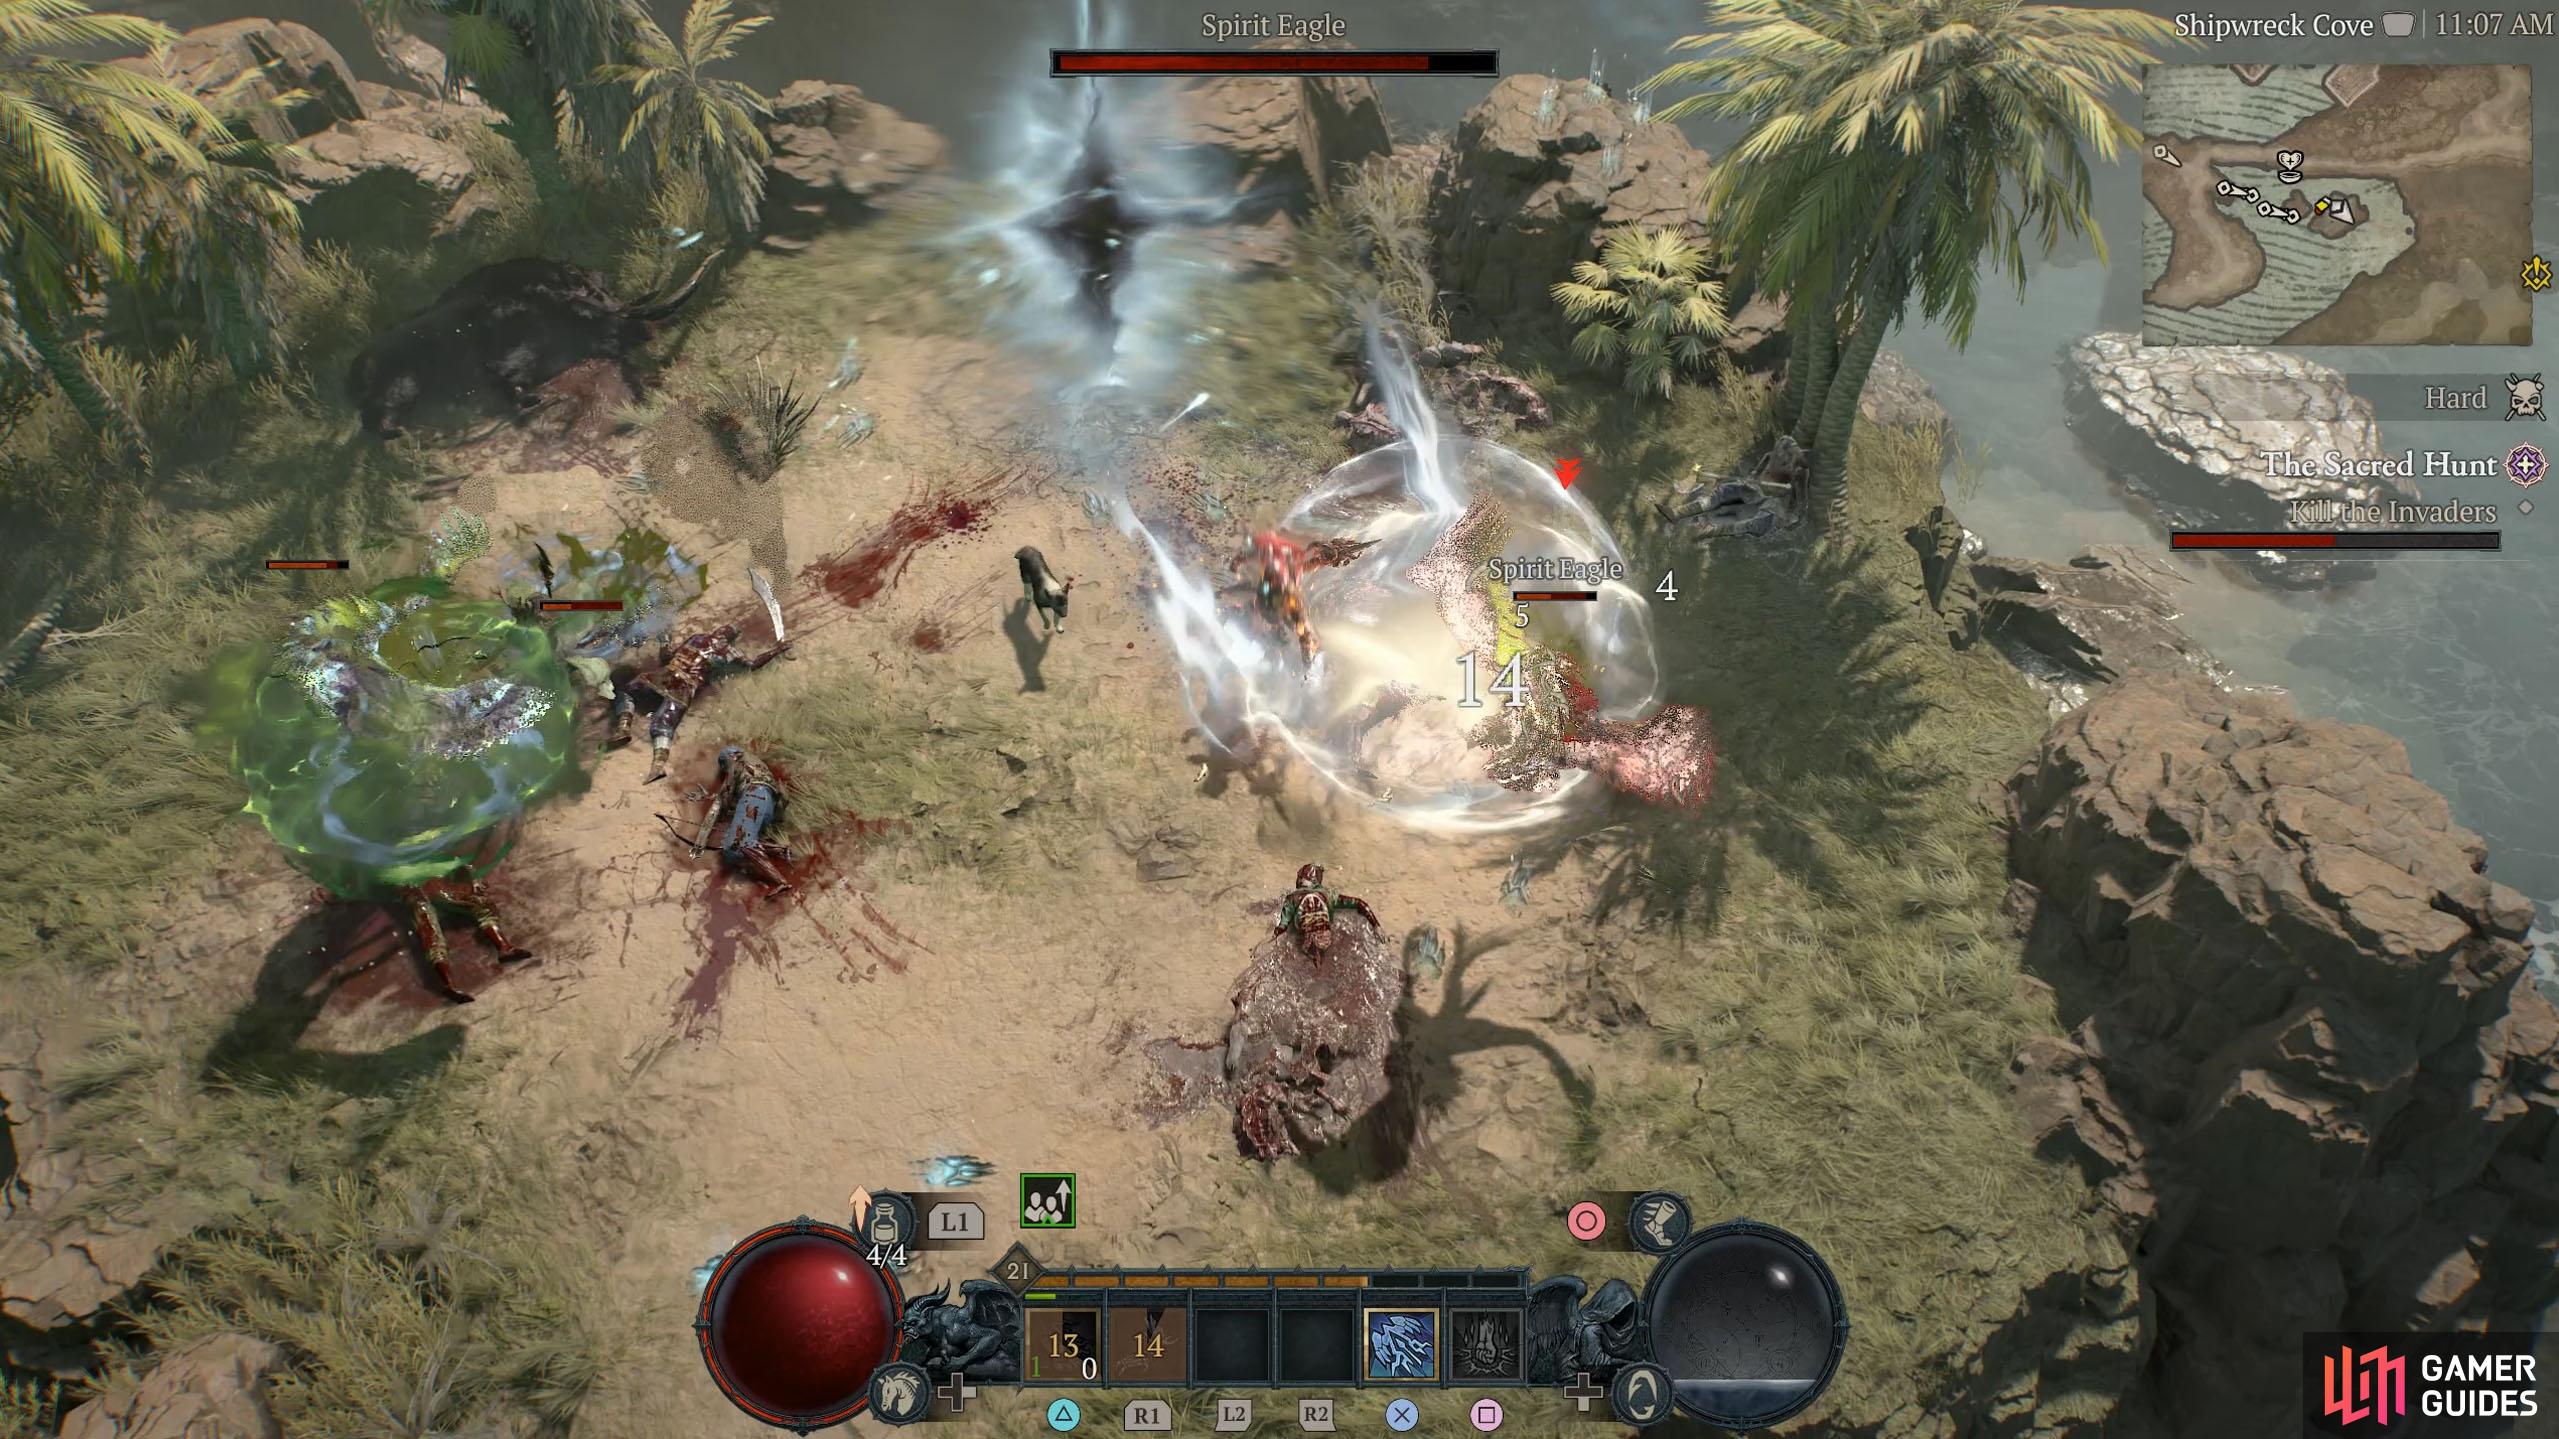
Kill the Invaders
Make sure you’re in fighting shape, as you’ll need to keep killing anything that comes out of the portal. These are nothing too difficult, just spirit versions of regular enemies, so keep defeating them until the portal opens. You will have to deal with the odd elite enemy, but once again, it’s not too difficult, especially if you’re using the Crushing Hand ability as it’ll keep putting a Barrier on you. Once the enemies are defeated, interact with the portal, and go through it.

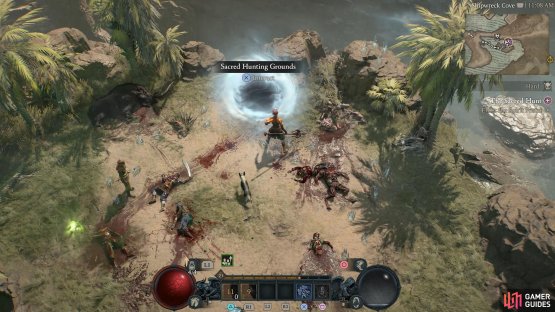
(1 of 2) Defeat the invaders that come from the portal until the bar fills up.

Defeat the invaders that come from the portal until the bar fills up. (left), Enter the portal to the Sacred Hunting Ground. (right)
Sacred Hunting Grounds
The portal will take you to the Sacred Hunting Ground, and your first order of business is to talk to Tarka.
Talk to Tarka the Emissary
Speak with Tarka who can be found to the right, and ask him about the place you find yourself in. He’ll tell you that this is your path to the spiritborn and that this area is the Sacred Hunting Grounds, a world between life and death. Follow Tarka northeast and you’ll find a dead end.
Speak to Tarka the Emissary and Approach the Brazier
Head toward the brazier, open up your emote wheel, and select “Help”, which will open the path forward.
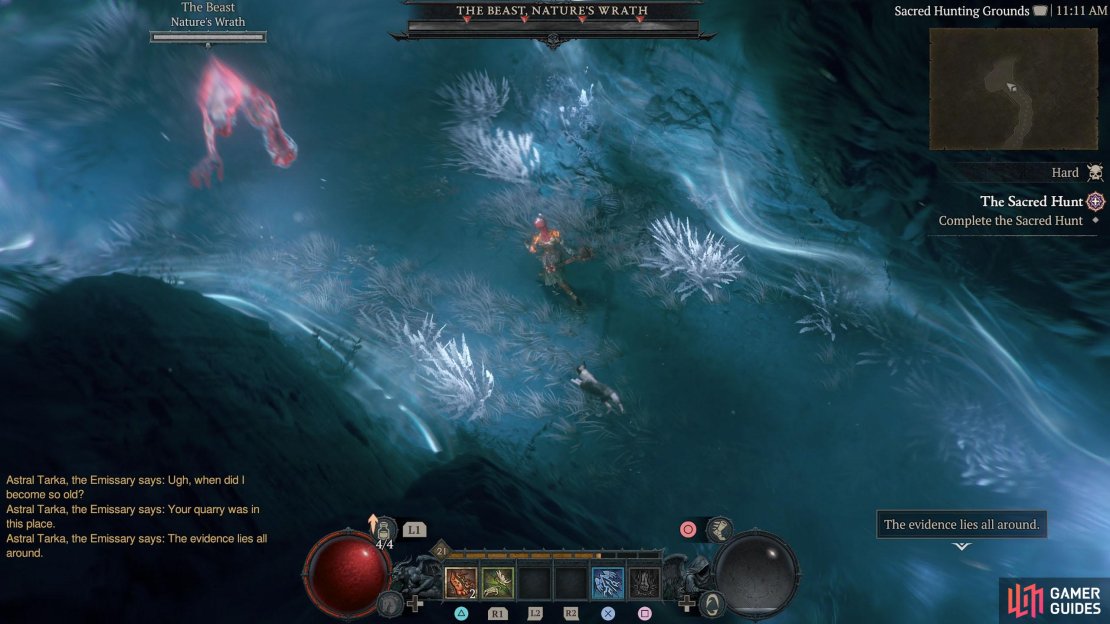
Complete the Sacred Hunt
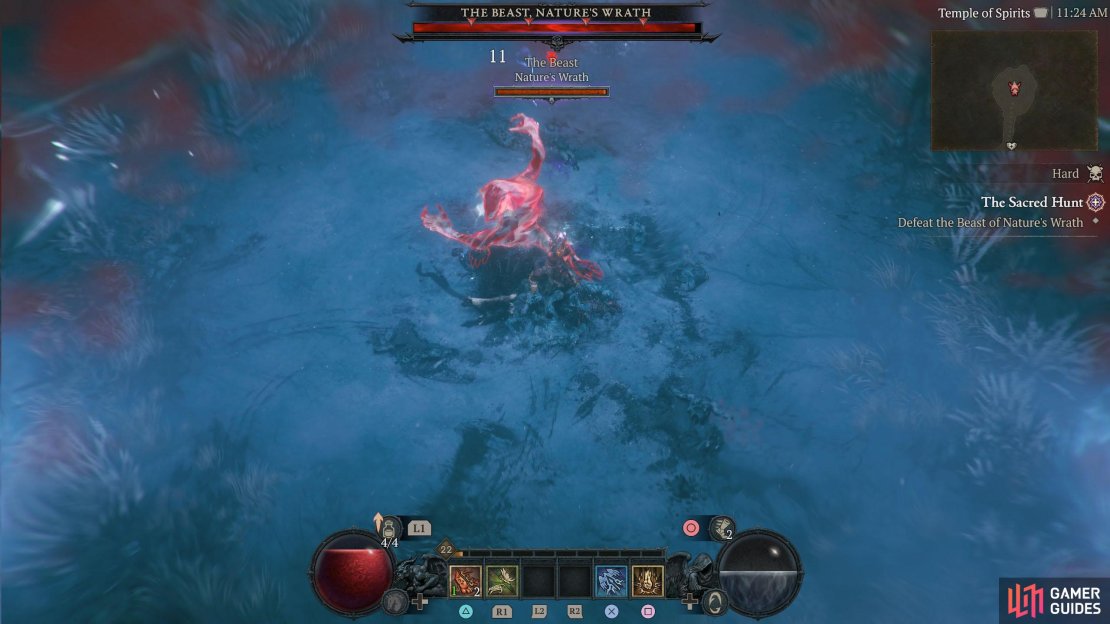
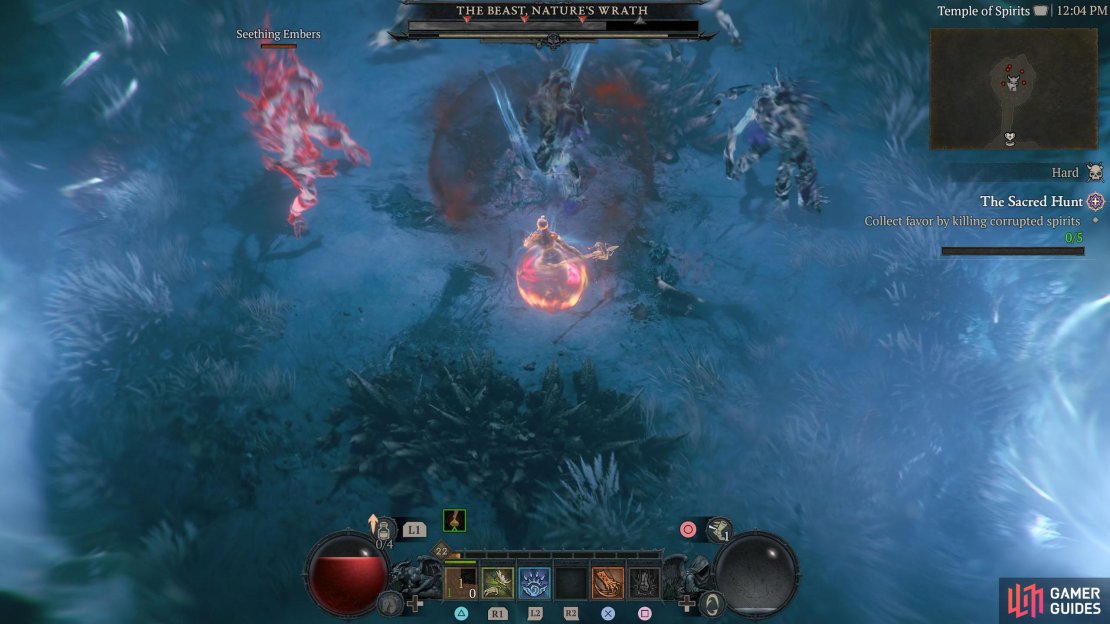
There’s not too much to do in this area other than defeat enemies while heading north. Other paths lead to the odd chest, but other than that, keep heading north. At times, you’ll be attacked by The Beast, Nature’s Wrath. Fortunately, you don’t have to defeat it fully, just do a little bit of damage, and it’ll run off. Continue through the area, defeating the hordes of spirits along the way, and The ![]() Beast will keep appearing throughout it. Keep dealing damage to it and it’ll go further in.
Beast will keep appearing throughout it. Keep dealing damage to it and it’ll go further in.
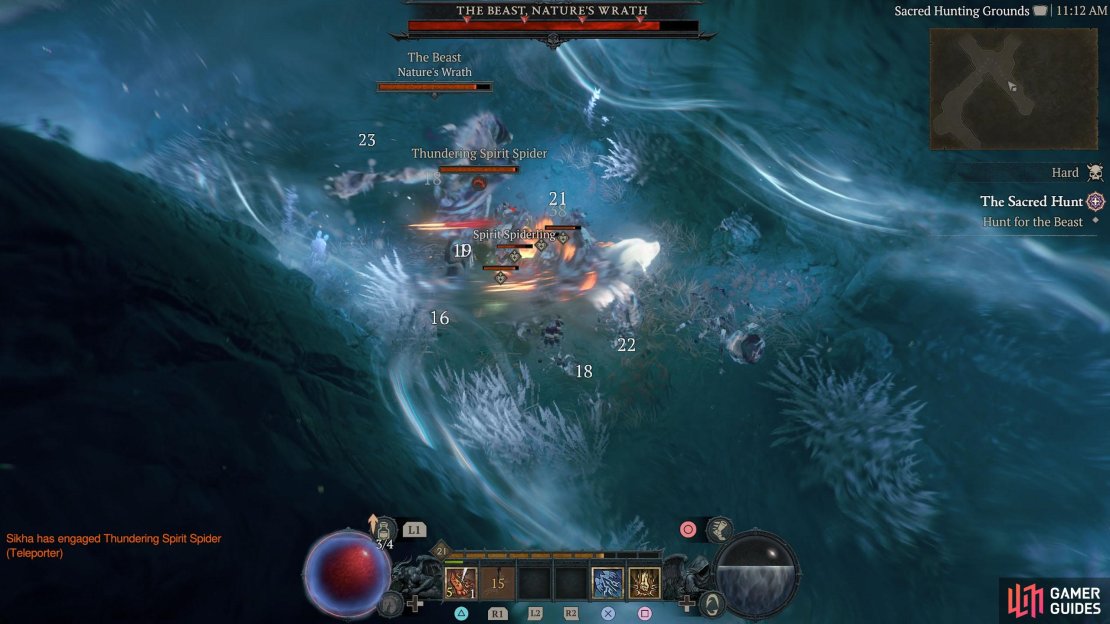
At the first intersection, head right to make The Beast appear. Deal damage to it until it disappears, continue north (left path leads to the same area), and you’ll find a path to your right. Taking this path leads to a chest, so you may as well follow this path, but it will join up with the northern path later on.
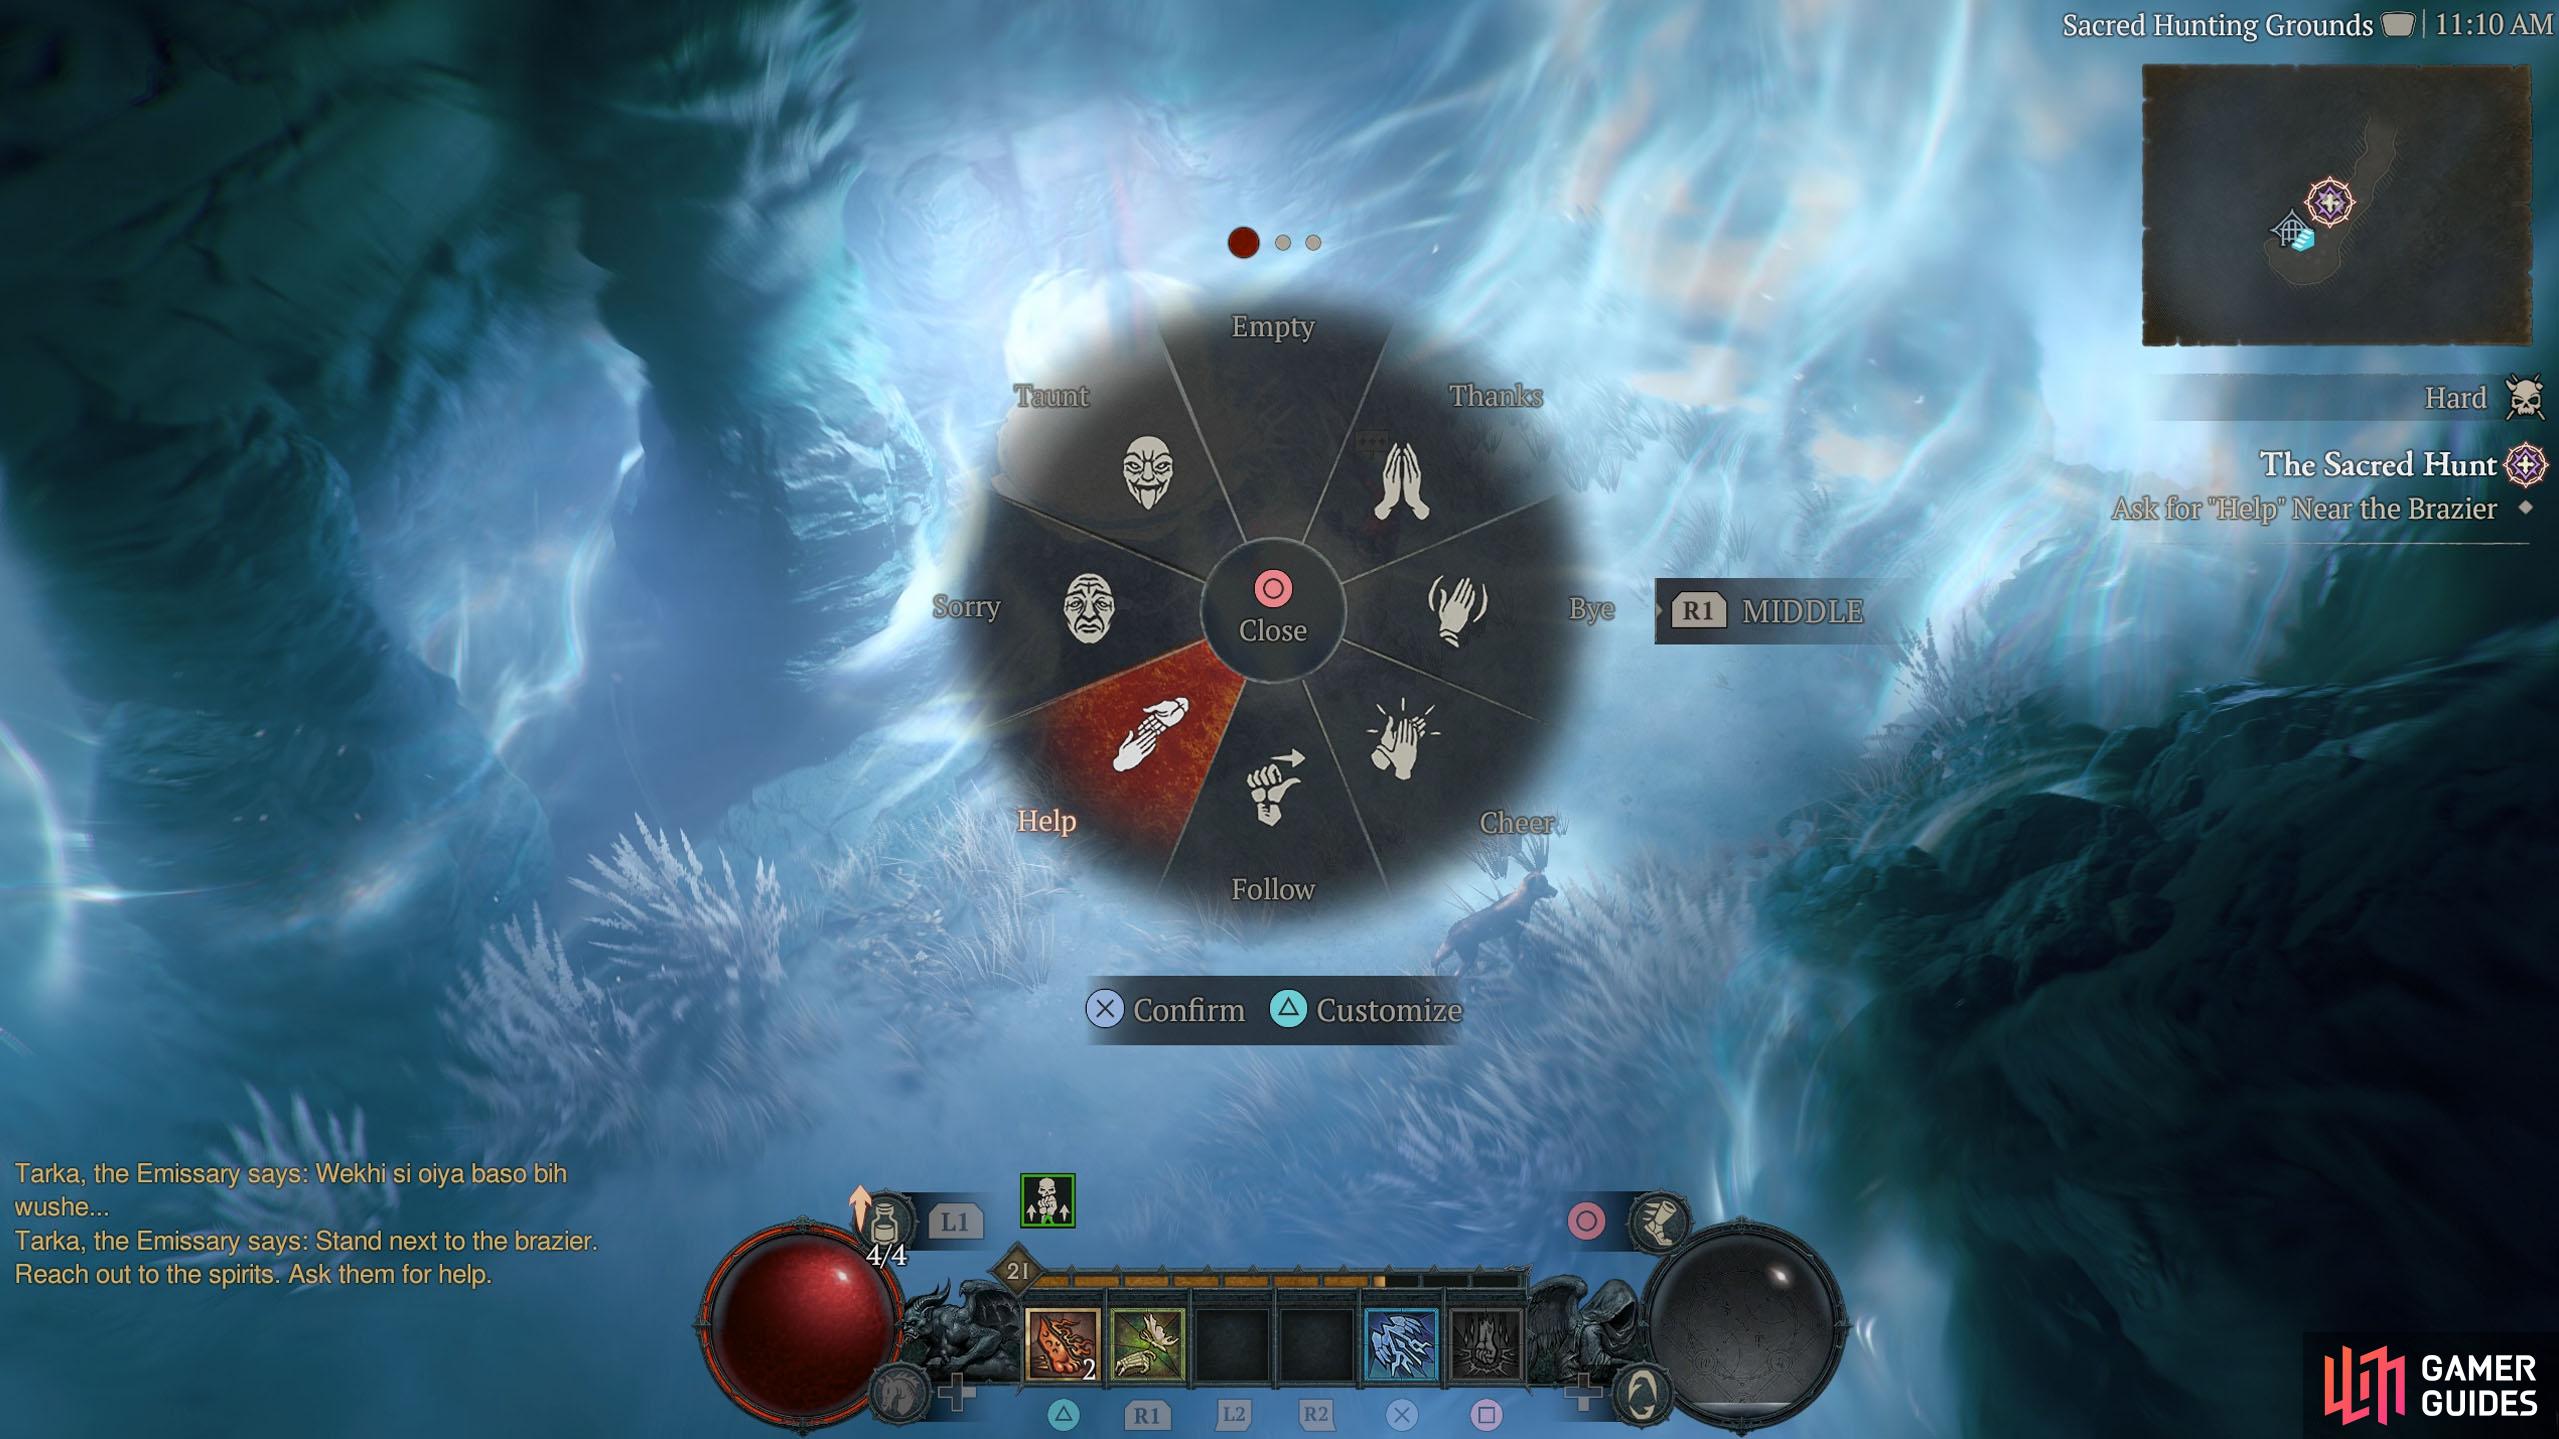

(1 of 4) At the first brazier, select the “Help” emote to continue on.
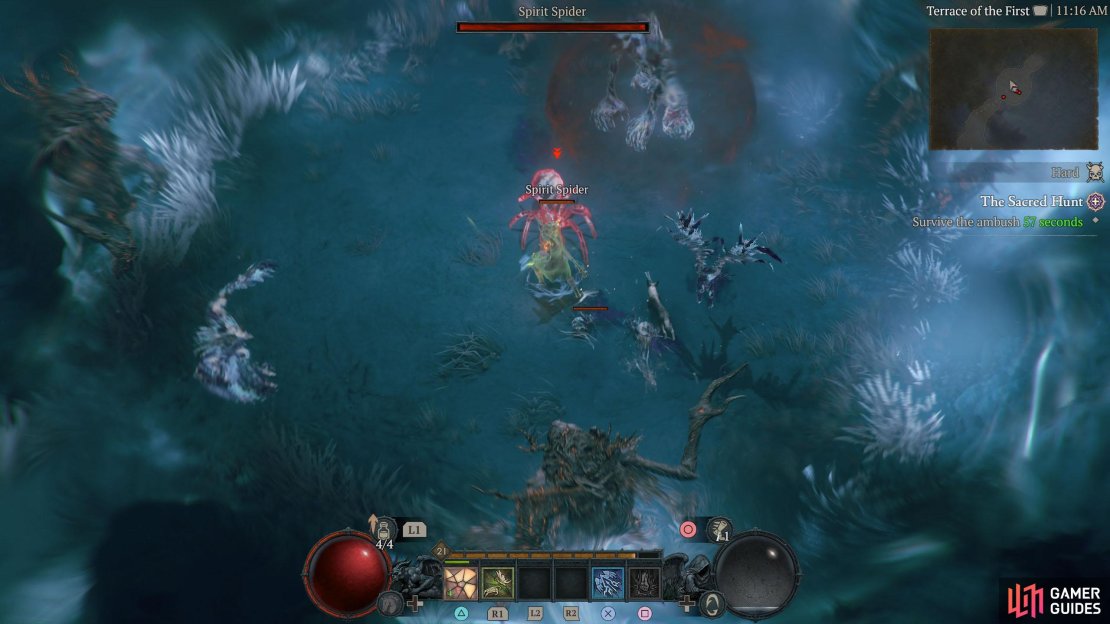
Proceed north and follow the path around, and you’ll get ambushed by The Beast and some minions, and you’ll need to survive the ambush for one minute. This is pretty much the same as all the other enemies you’ve fought so far in this place, so keep killing them until the timer is up. When the timer gets low, you’ll have to deal with four elite embers. This is the most difficult part of the ambush. Make sure you stay on the mover to avoid their area attacks, and once defeated, you’ll be blocked off again.
Once again, head to the brazier, open the emote wheel, but this time select the “Thanks” emote to pierce the way forward. Continue northeast and then head north. Although there are multiple paths, you won’t gain anything special for exploring them, however you can find elite enemies of the right path. Keep heading north while defeating the enemies until you reach the Healing Well. The next part of this quest is defeating The Beast for good, so make sure you come prepared.

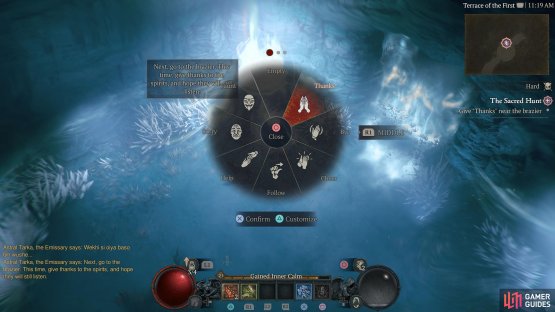

(1 of 2) At the second brazier, select the “Thanks” emote to continue on.

At the second brazier, select the “Thanks” emote to continue on. (left), Keep heading north until you reach the Healing Well and prepare for a difficult boss. (right)
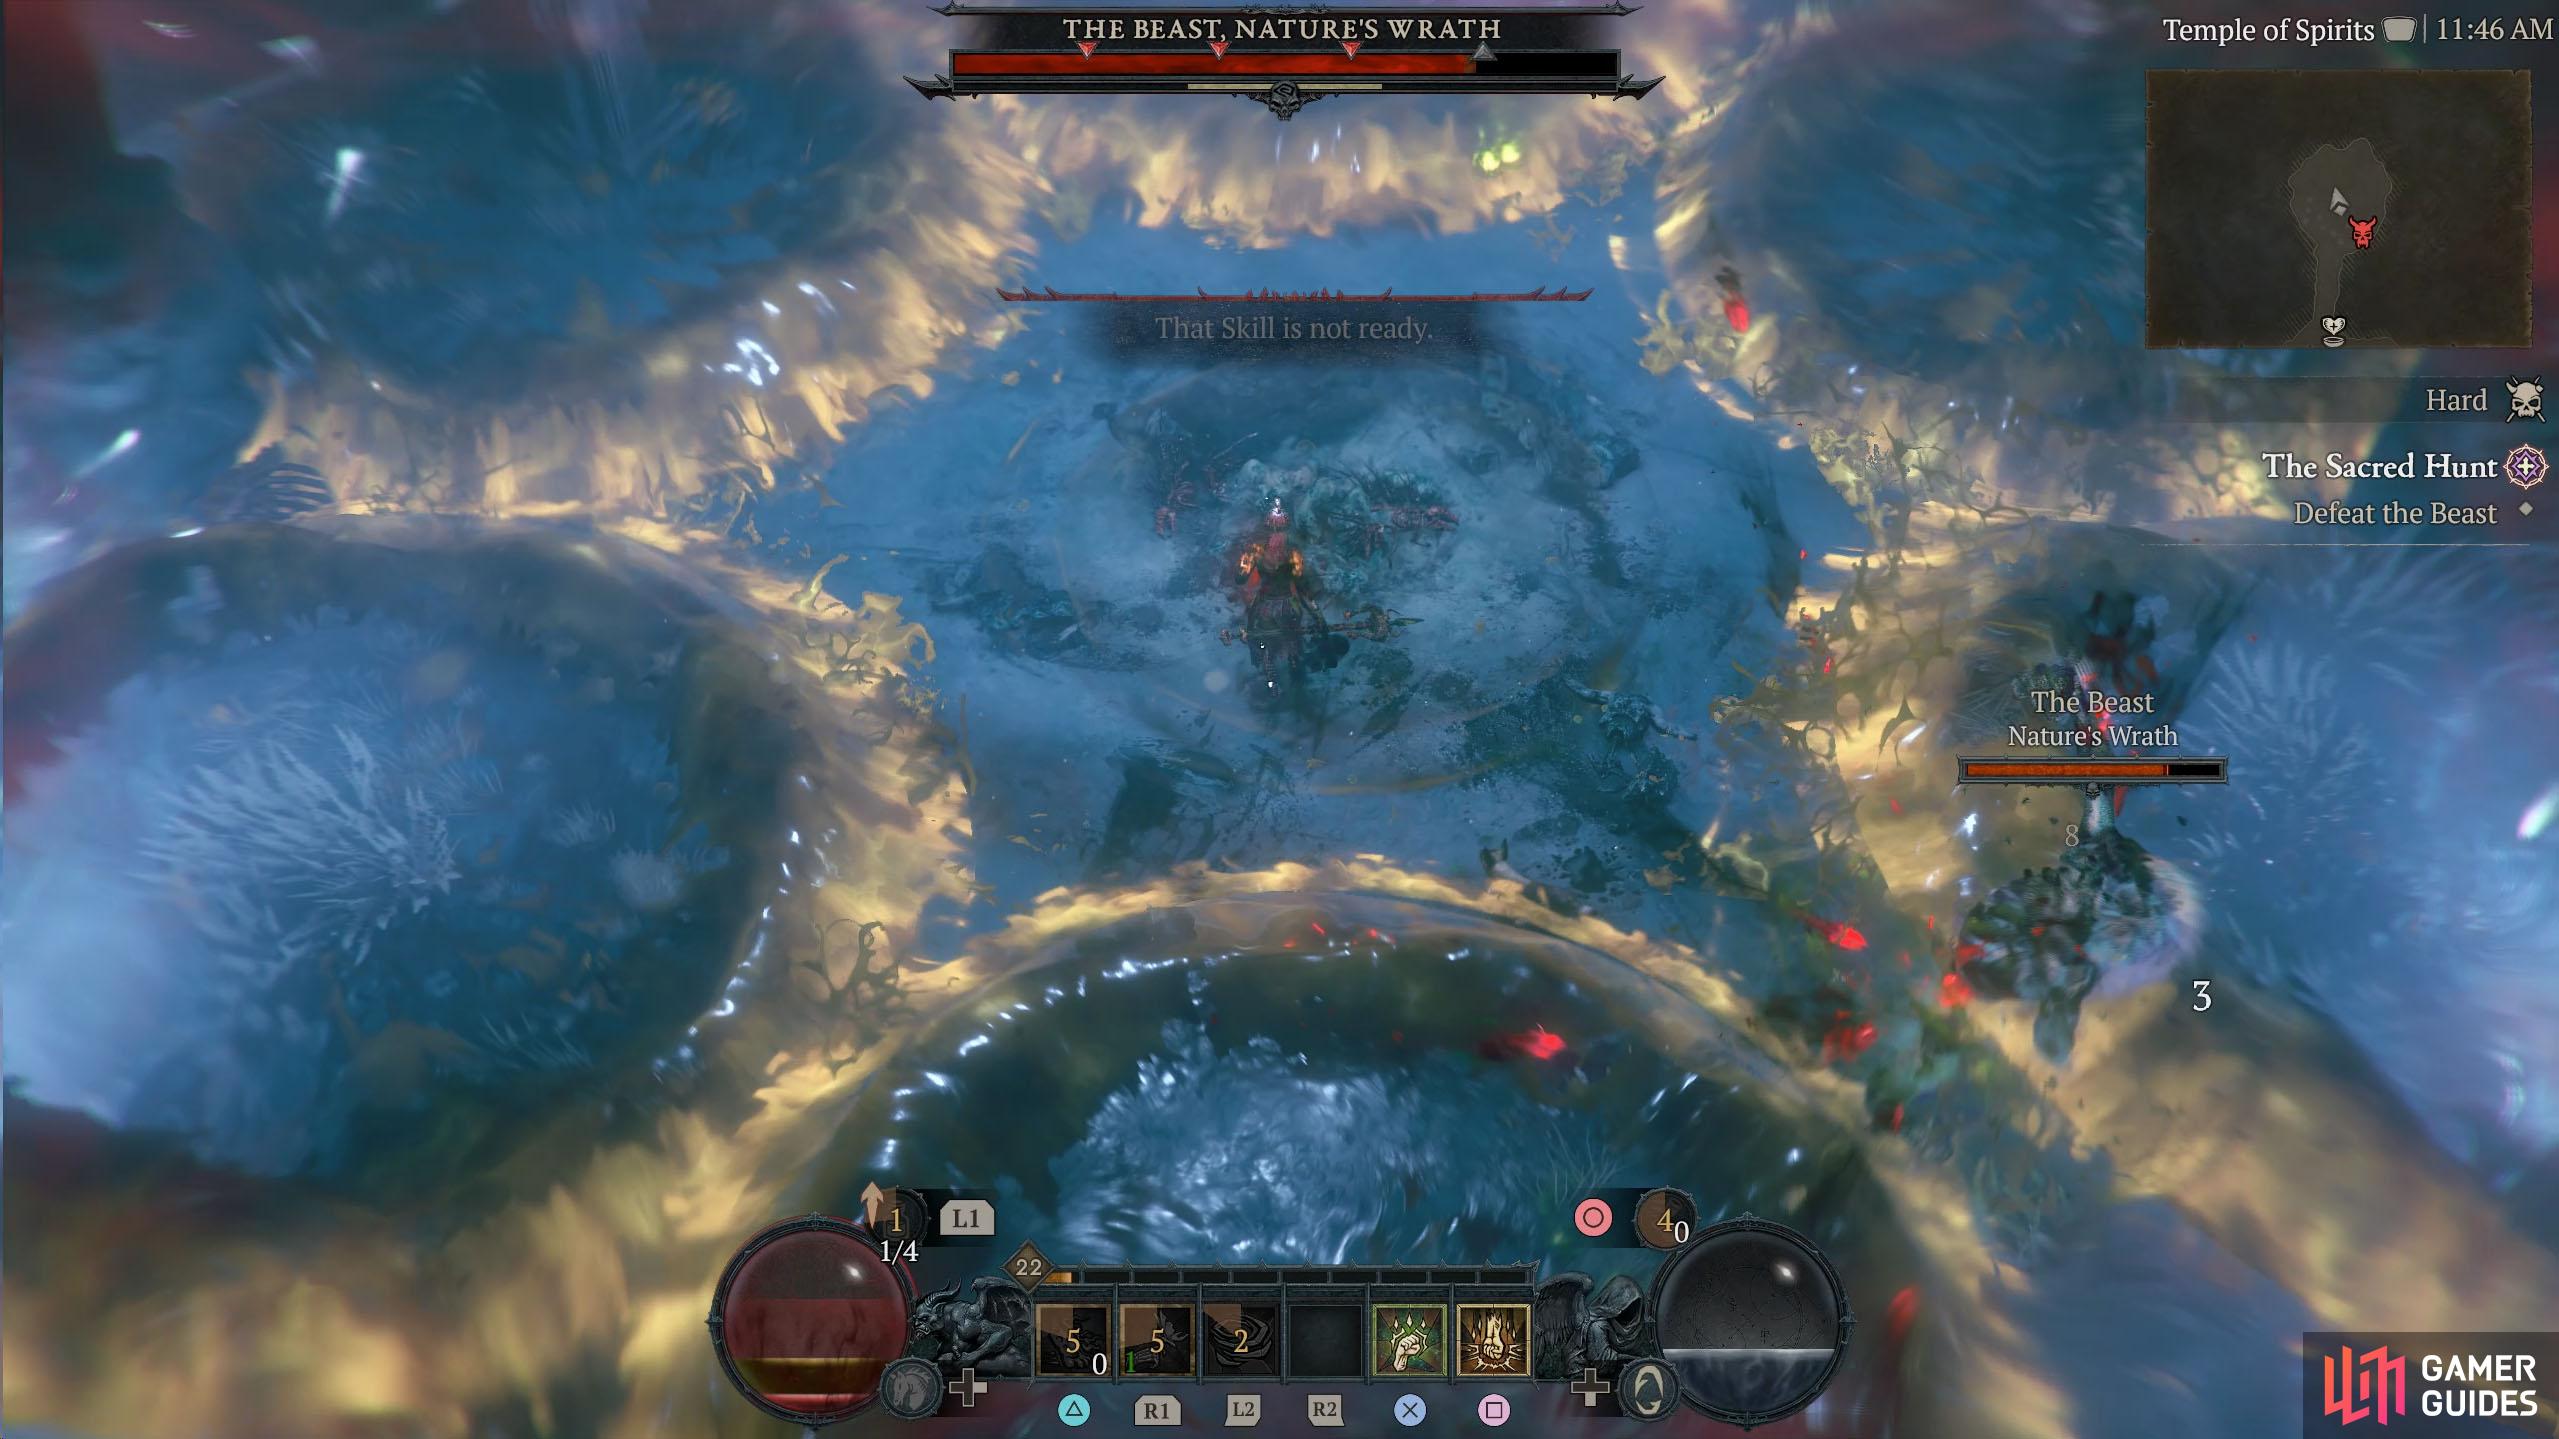
How to Defeat The Beast, Nature’s Wrath
This is a difficult battle, especially if you’re playing on a harder difficulty, or you’re starting from scratch with the Spiritborn class. Before you attempt the battle, make sure you have the current tier of healing potions available, and preferably an Elixir of Iron Barbs as The Beast attacks do a fair bit of damage. Next up is your ability setup. Firstly, play what you prefer, but if you’re having difficulty with the boss, you may want to change things up. Here’s what worked for us:
- Basic Skill: Thrash > Sharp Thrash
- Core Skill: Crushing Hand > Advantageous Crushing Hand
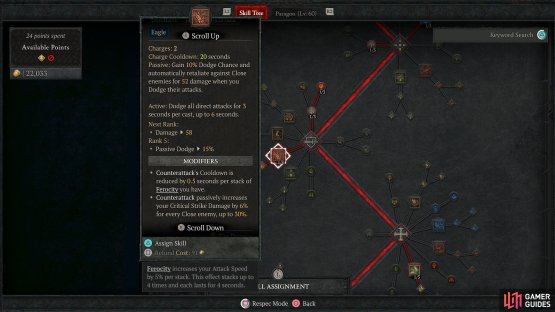
- Defensive Skill: Counterattack > Reinforced Counterattack
- Potency Skill: Touch of Death > Invasive Touch of Death
- Ultimate Skill: The Protector
- Key: Prodigy’s Tempo
Depending on what level you fight The Beast, you may not have the skill points for the Ultimate and Key skills. If that is the case, ignore them, and put the rest of your points in either upgrading your current skills or put them in the Core passive skill, Vigorous and Velocity for improved Vigor generation.


(1 of 2) Crushing Hand will give you a Barrier every time you use it.
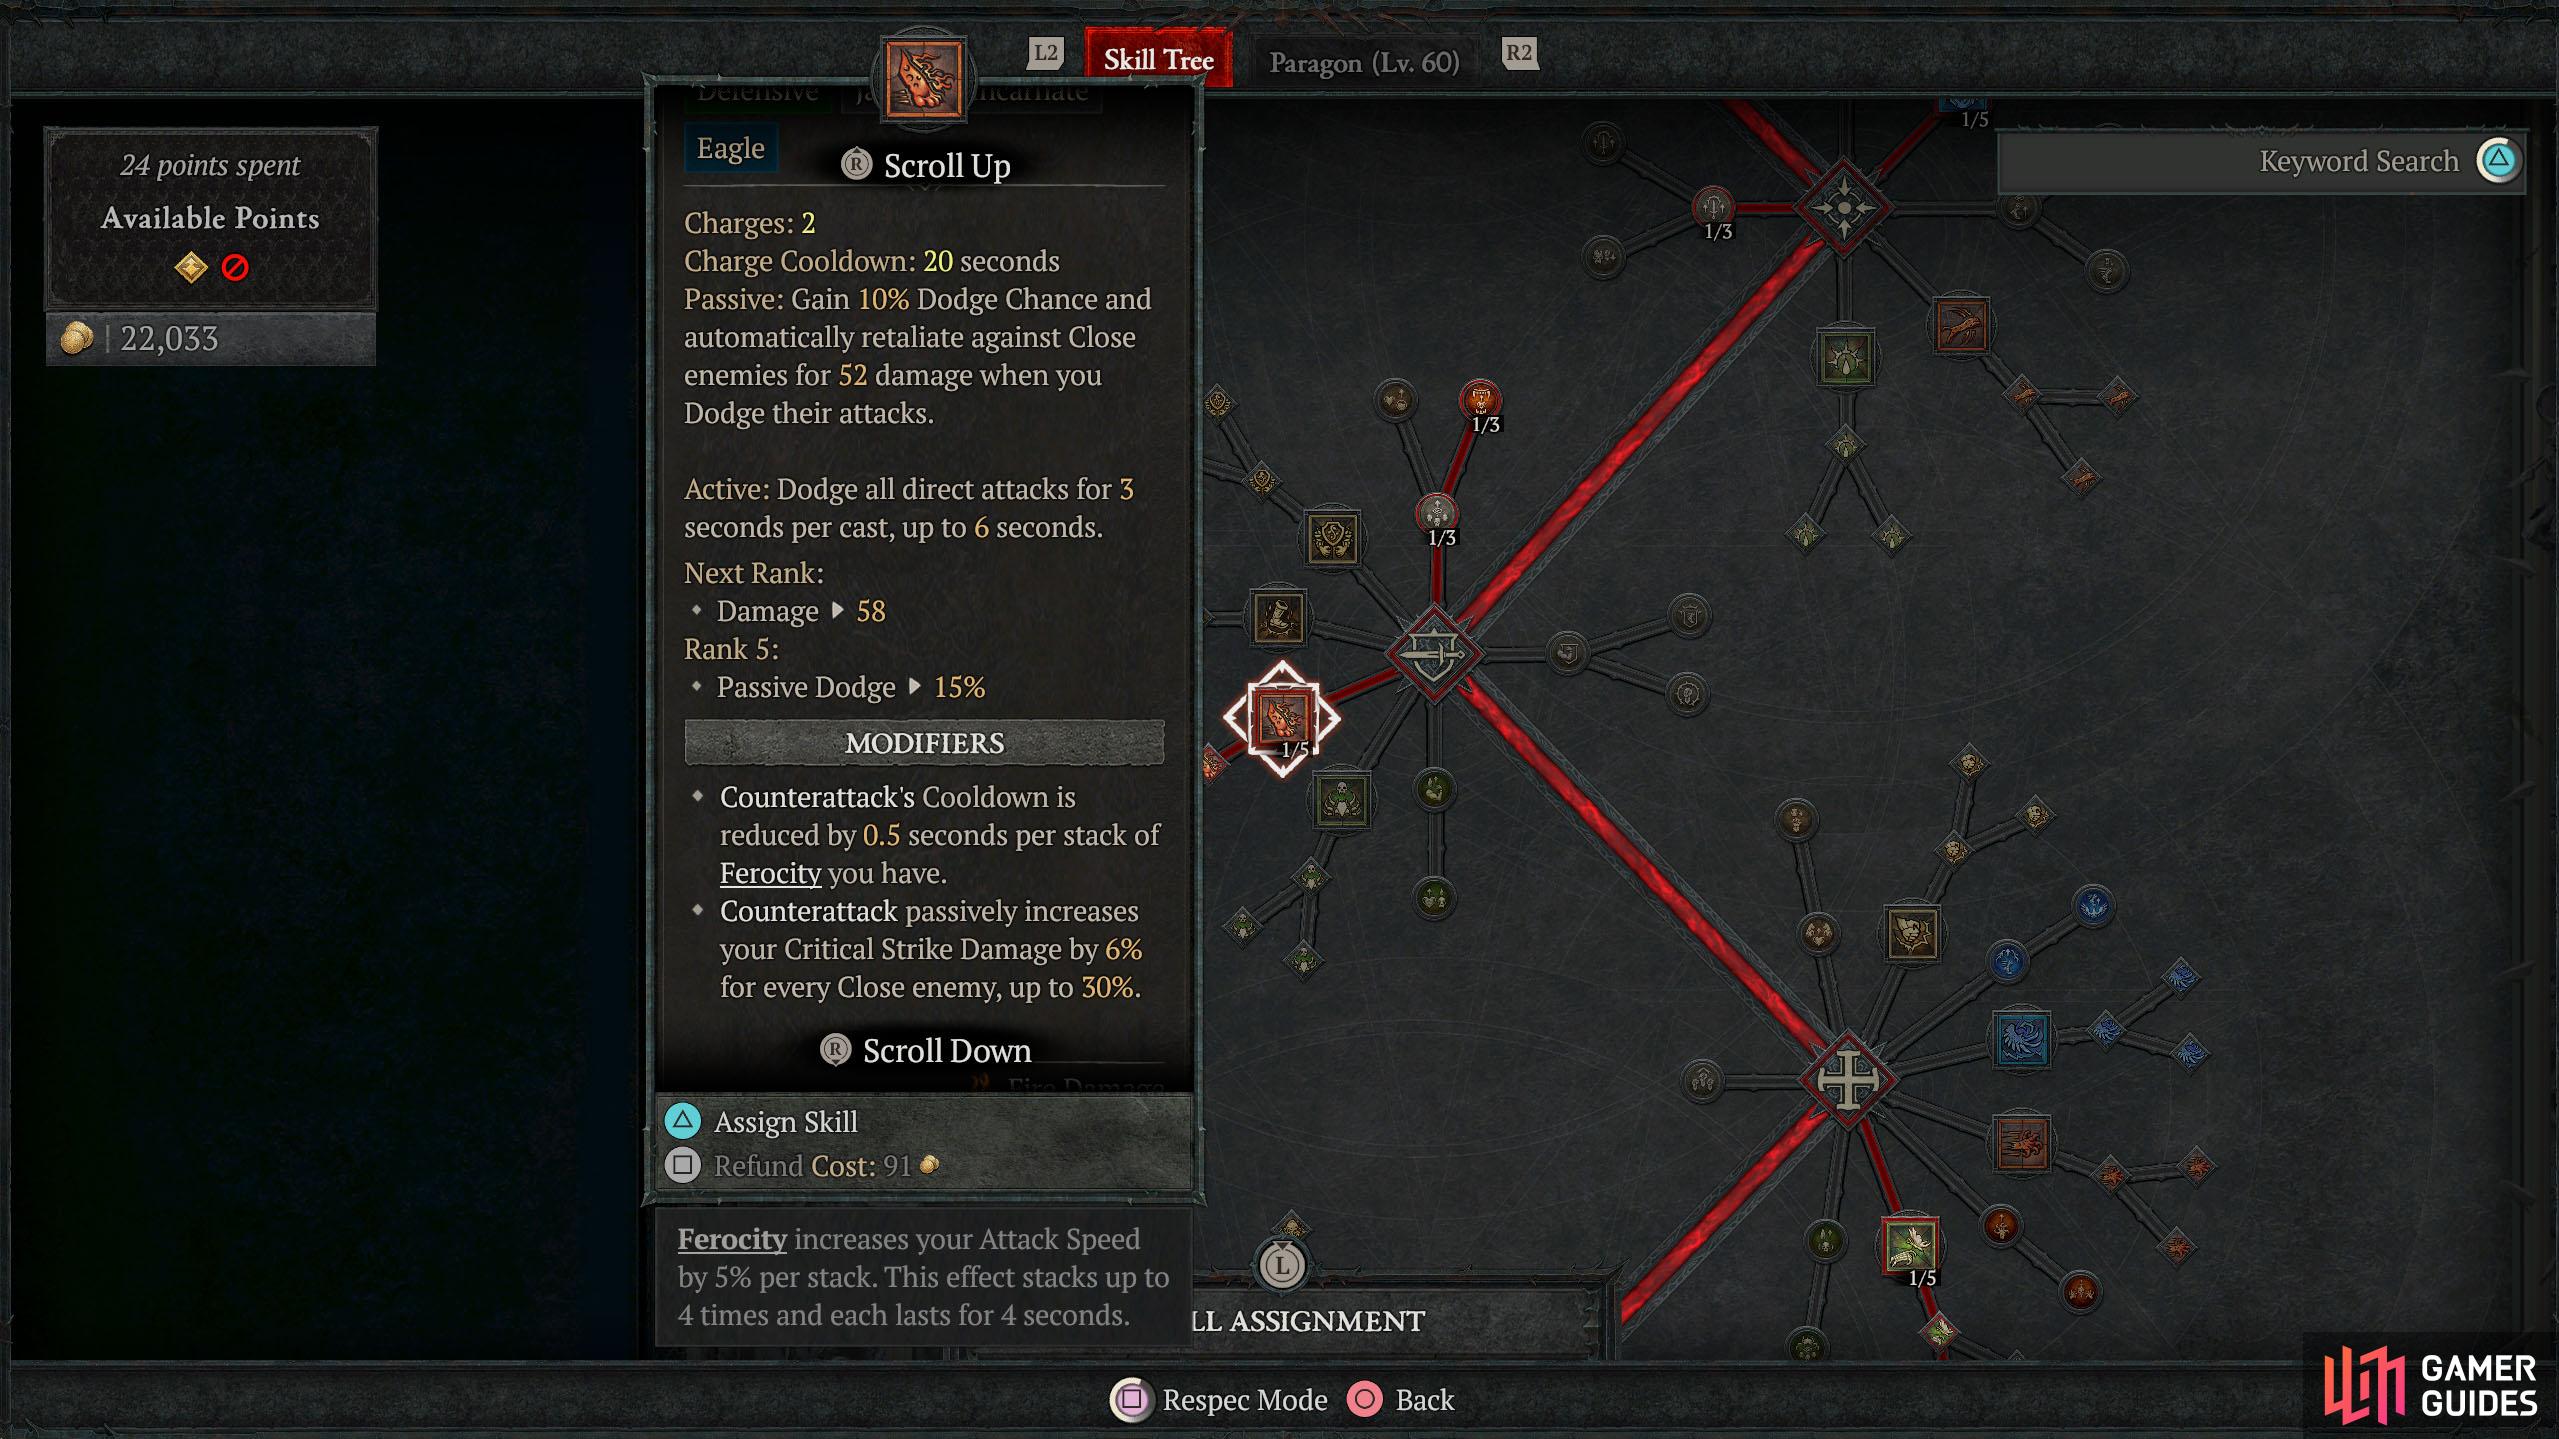
Crushing Hand will give you a Barrier every time you use it. (left), While Counterattack can help you avoid all damage for three seconds. (right)
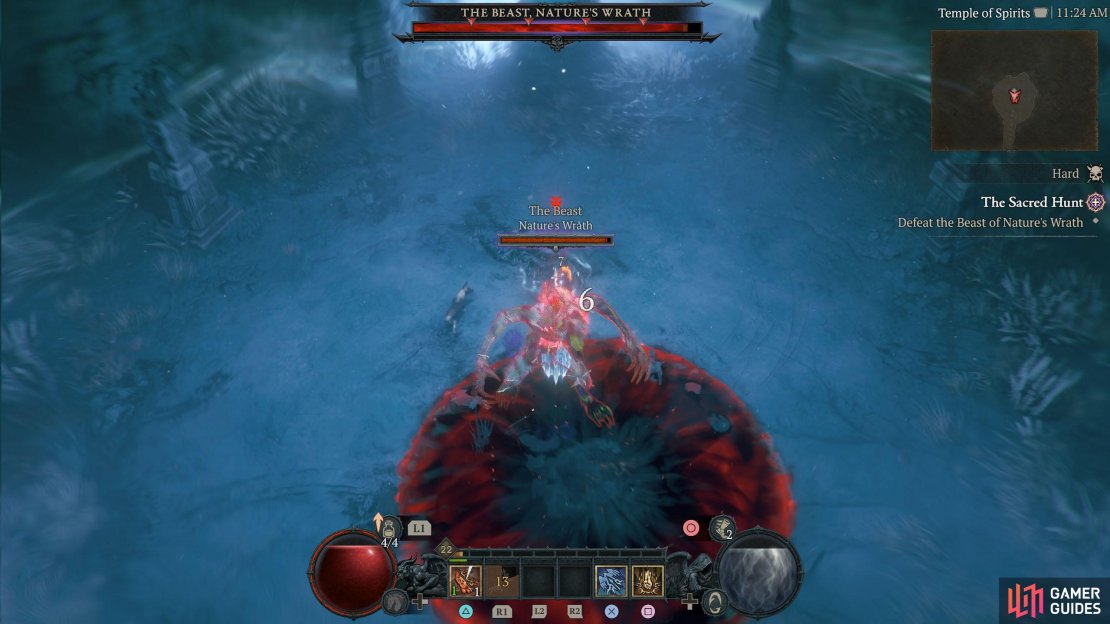
The Beast, Nature’s Wrath Attacks
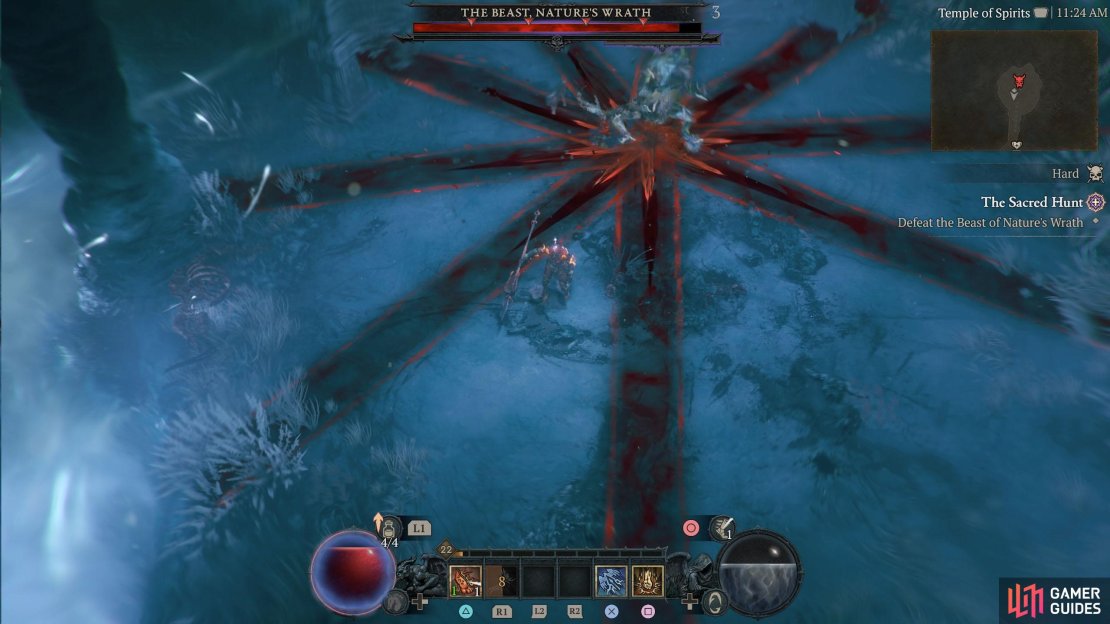
Outside the bosses’ main mechanics, The Beast only has three attacks. The first attack is a swipe that deals a decent amount of damage, then you have his ground pound which lets out a small shockwave that puts slow on you, and then you have his charge up attack that fires out in every cardinal direction.
For the most part, the fight will go like this, swipe attacks until it does the ground pound attack that slows you before using his charge up attack. If you get hit by the slow from the Ground Pound, it will make the Charge Up attack harder to avoid. Regarding the Charge Up attack, getting hit by this can nearly one-shot you, especially if you get hit by it twice (energy travels along the lines).
Throughout the battle, you’ll have to eat the swipe melee attacks, although you should try to move behind the boss to avoid them, but try to save your dodges for the other two attacks, as these are more punishing. When the boss uses Ground Pound (punching the floor multiple times), dodge behind the boss, and then run/dodge away from the following shockwave as it’ll put slow on you. For the Charge Up attack, dodge in between the lines and attack the boss (don’t get too close, though) while he charges it up. This is easy to avoid if you’re not slowed, but it’s a lot more difficult when you are.

(1 of 3) Swipe: The Beast will frequently swipe at you with melee attacks.
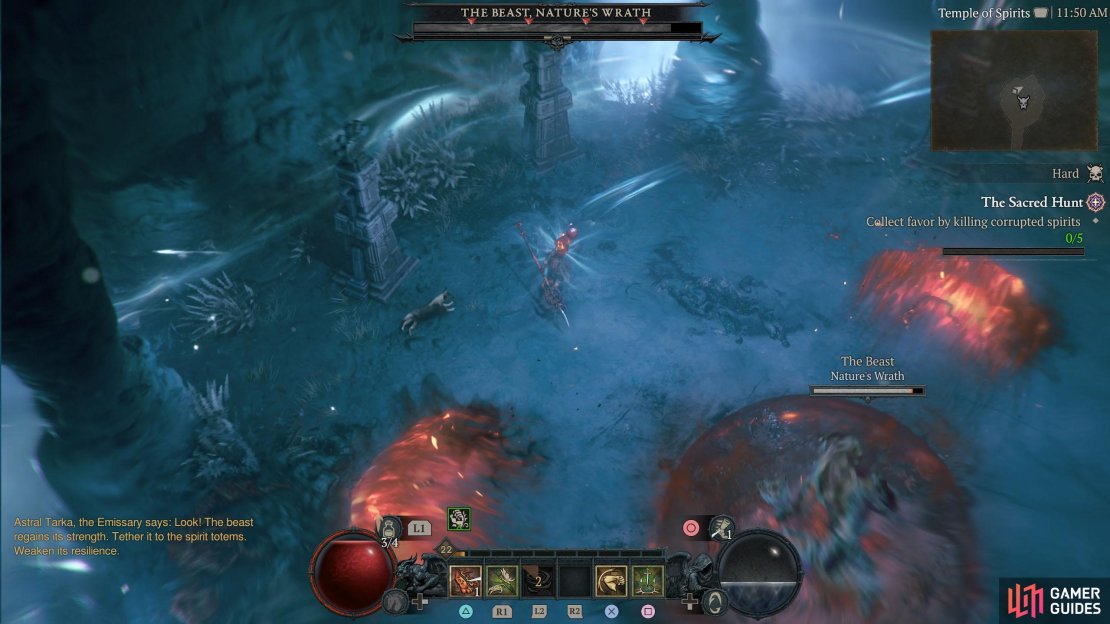
The Beast, Nature’s Wrath Spirit Totems
Each time you bring down the boss’s health, he’ll go invulnerable and slowly regenerate health. Your task is to tether one of the four spirit totems to the boss to stop it regenerating health. However, each totem has its own mechanic, with some being more difficult to deal with than the other. For this reason, we recommend taking the Totems in this order: Forest > Soil > Sky > Plains.
These are listed in what we found was hardest to avoid to the easiest. If you find one of the totems effects easier than another, then switch them to last. Ideally, you’ll do the harder ones first while you still have plenty of healing potions, and then take the easier ones when your healing supplies are running low. Let’s take a look at what each totem does.
-
Soil Guardian Totem: You’ll need to defeat at least five
 Spider and Spike Fiend spirits while pools of earth expand from the edge of the arena in each cardinal direction before a final one goes off in the center. You’ll want to stand in the center while they go off around the edge, and then run out before the center pool goes off.
 -
Plains Guardian Totem: You’ll need to defeat at least five
 Warg spirits while waves of fire shoot out from the center. It will shoot three at a time and they will change direction each wave. Stand in between the three waves while fighting the enemies, and then move either up or down to avoid the next three. Standing in the center will also damage you.
 -
Sky Guardian Totem: You’ll need to defeat at least five Eagle spirits while avoiding rotating lines of tornadoes. There are three lines, with two of them having a gap between the first and second tornado. The final line won’t have a gap, so you’ll need to keep moving clockwise while fighting the enemies.
-
Forest Guardian Totem: You’ll need to defeat at least five Seething Ember spirits while rock forms and travels along the ground. There will be two sets of these, one will travel clockwise around the edge of the arena, while the other will travel anti-clockwise around the boss. To avoid this, you need to move in and out while trying to avoid the spot they meet up.
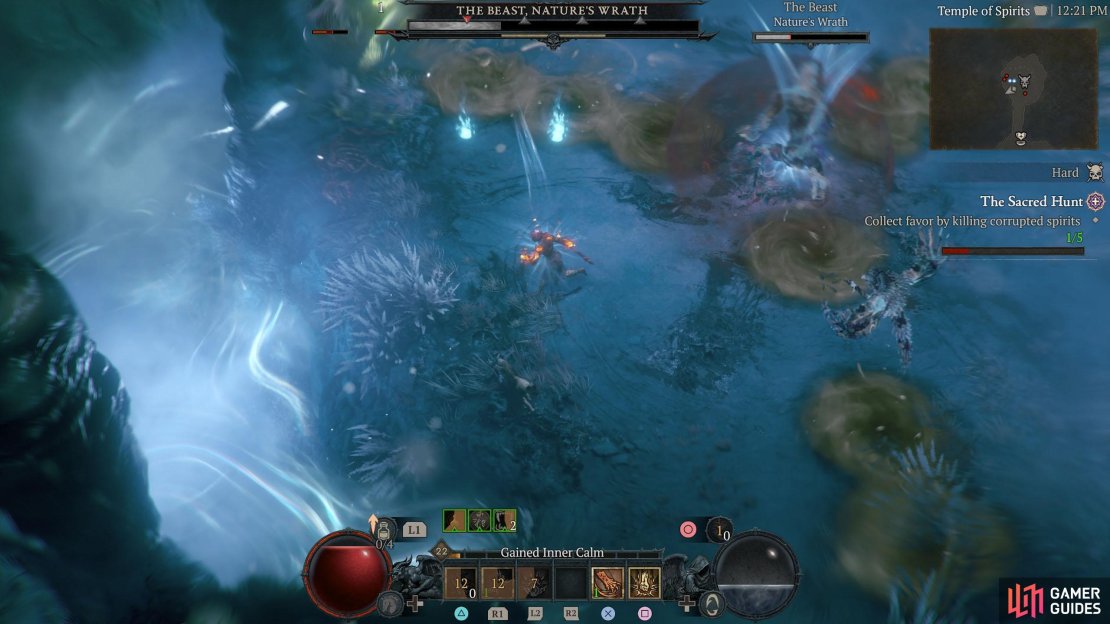
When you tether to a totem, you’ll need to defeat five enemies while avoiding the mechanic. Every time you defeat an enemy, they’ll drop an essence you can collect. Collect five of them, and your skills will change to that spirit. Run up to the boss, use any skill, and it’ll be available to attack again. Note that even once the boss is attackable again, the totem mechanic will prolong until you do the next totem. That’s why we suggest doing the harder totems first, as you will run low on healing, and you don’t want to deal with the more difficult totems then.

(1 of 4) Soil Guardian Totem: This totem will have pools of earth appear around the edge of the arena, expanding into the center, with a final one appearing in the center.
After you free the boss, it’ll will go around doing its normal attacks while the totem mechanic is going, and that’s what makes the boss difficult. In general, the boss fight goes like this: Fight the boss until it becomes invulnerable > tether with a totem > defeat spirits for essences > use skill on boss to break the invulnerability. This is generally repeated for each totem. In terms of dealing damage to the boss, there isn’t really a great time to attack it apart from when it does its Charge Up attack, as he’ll be open for a few attacks.
That’s why the Crushing Hand and the Counterattack skills are invaluable for this battle. The first will put a Barrier on you every time you use it, and the latter will dodge all damage for three seconds. Then you have Touch of Death that does poison damage over time with a passive heal from the modifiers. This allows you to alternate between Crushing Hand and Counterattack to lower the bosses damage output, while Touch of Death slowly deals damage to it while healing you.
That’s it for the Spiritborn quest. Once you defeat The Beast, speak to Tarka to complete the quest. Now you can go to the Spirit Hall, and select what spirit you want equipped.
No Comments