
When it comes to builds, a lot of focus is put on the endgame… and for good reason! That’s where the game’s greatest challenges and best loot can be found! That said, reaching the true endgame in Diablo IV is often a multistage process, and the best build for clearing uber bosses in Torment IV difficulty isn’t necessarily the best for reaching level 60, or collecting the transitional gear and resources in lower difficulties required to climb the ladder to the higher-end gear we ultimately want to end up with. So because of that, we’ve provided a starter build for the Spiritborn class, focused on using the Eagle skills to level up and grind for gear and resources up until Torment II difficulty in Diablo IV: Vessel of Hatred.
Page Breakdown
Sepanzontec Eagle Evade Spiritborn Build
All builds want a nice balance of kill rate and survivability, but starter builds arguably want a third trait, as well: ease of use. Simplicity. Being noob-friendly. And this Sepazontec Eagle Evade Spiritborn (SEES) build has all three in spades!… at least up until Torment II. Managing cooldowns, using the right skills at the right time, in the right sequence, and dodging damage spikes are all well and good, but not when you just want to turn off your brain and mass grind up Paragon Levels, gear and resources. When this build is fully online you will just mash the evade button to both avoid damage, move around, and attack - evade through enemies until they die, then pick up their drops, move on, and repeat. It might not be the most mentally stimulating build out there, but it kills fast, clears fast, and requires little of the player - the perfect build to use to grind up the resources you’ll need to transition to a build capable of handling higher difficulties.
The SEES build is all about simplicity, speed and survivability, and while. it can, with some effort, thrash Torment II difficulty, it’s best for farming resources in Torment i before respeccing.
SEES Build Pros and Cons
| Pros | Cons |
|---|---|
| Incredibly fast Torment I clear speeds | Damage output slows considerably in Torment II |
| High survivability | Evade spamming can land you in trouble |
| Easy playstyle | – |
Levels 1 - 14
Every build has to start somewhere, and even starter builds tend to undergo some growing pains, and levels and legendary mods must be accumulated before said build really takes off. The SEES build is no different, and the first few levels you’ll largely rotate between two attacks: Thunderspike and Quill Volley. The former will remain part of the build until you’re ready to transition to another build, while the latter waxes and wanes in importance - potentially becoming the centerpiece of a successful build!
Level 1 - 14 Skills
| Skill | Ranks | Upgrade 1 | Upgrade 2 |
|---|---|---|---|
| Thunderspike | 1 | Enhanced Thunderspike | Accelerated Thunderspike |
| Quill Volley | 5 | Enhanced Quill Volley | Rampant Quill Volley |
You can grab skills like Ravager in the Focus branch of the Spiritborn skill tree, as a useful damage boost, but you’ll typically only use it for elites. The passive skill Apex is more immediately useful to this build, however. Essentially you’re going to want to Evade through enemies to make them vulnerable, then spam Quill Volley to deal damage and recover Focus, then use Thunderspike to recover Evade charges and Focus, rinse, wash, repeat. Gear isn’t a huge deal at this point in the game, you may get some legendary drops when your level approaches the teens, but you likely won’t have the resources or need to really fixate on any stats at this point.
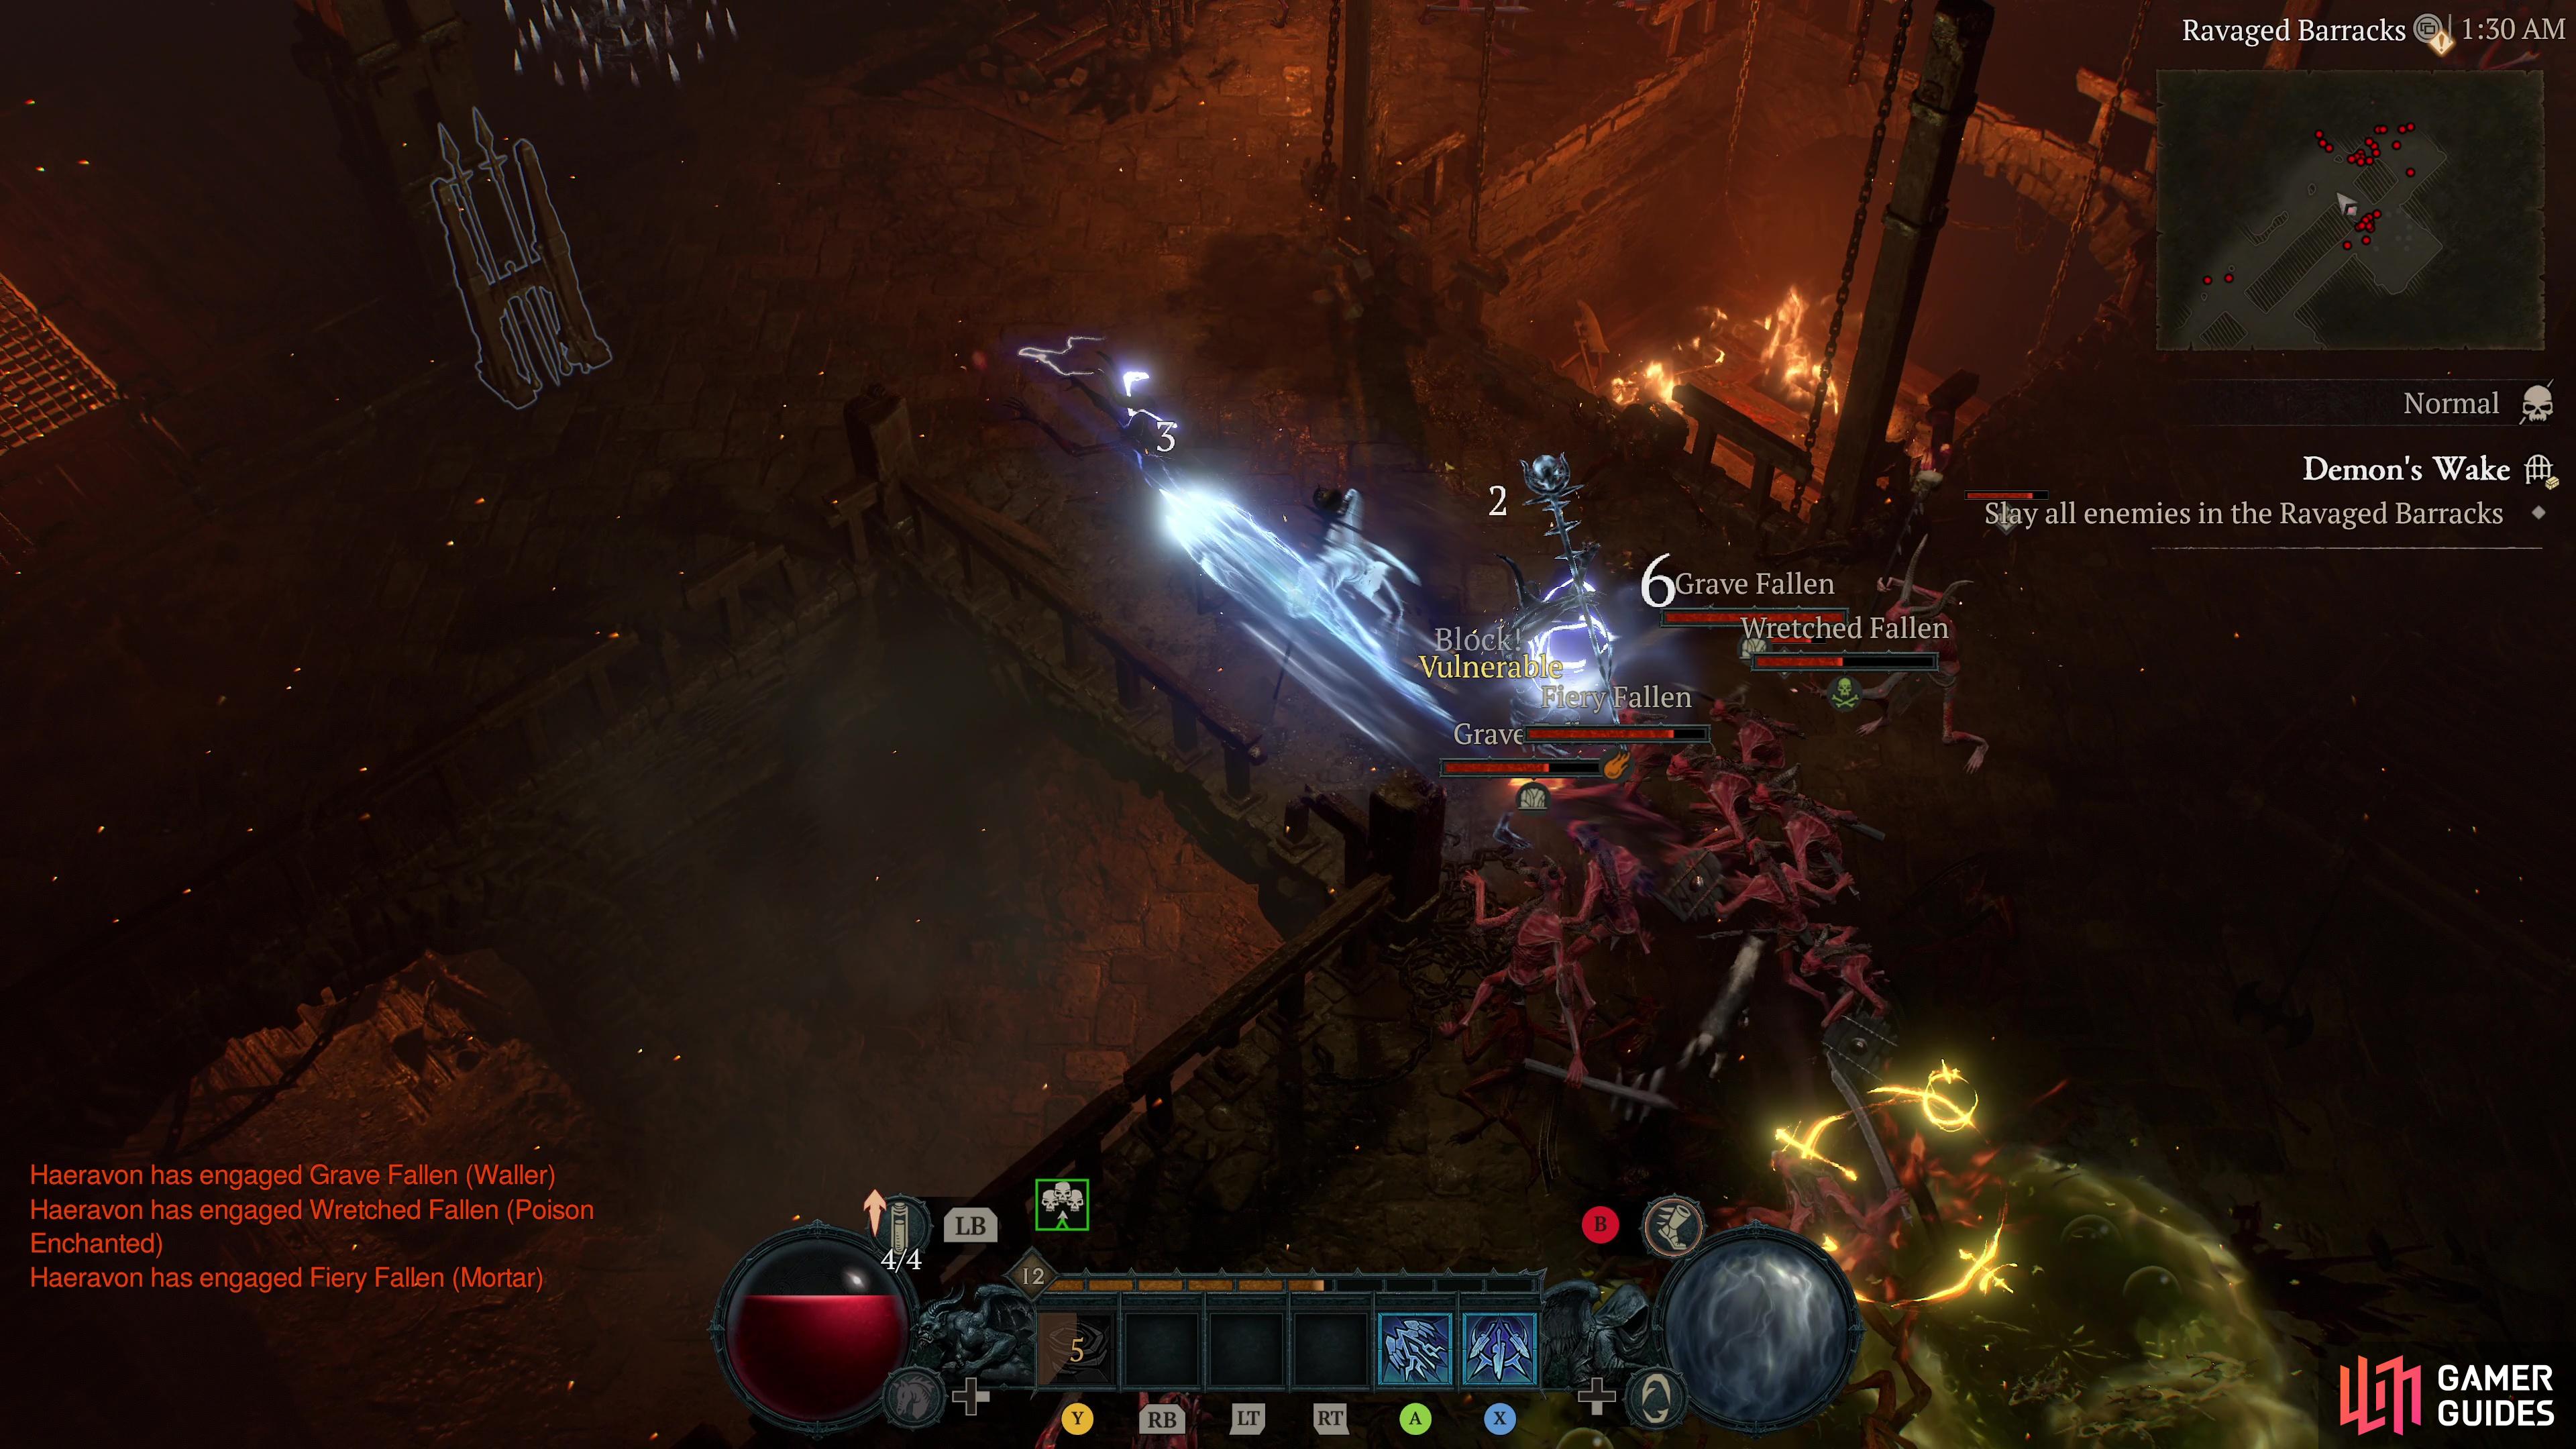
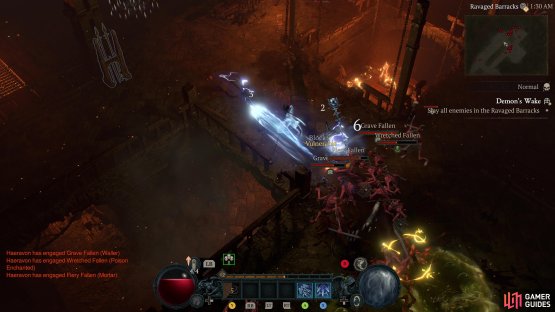
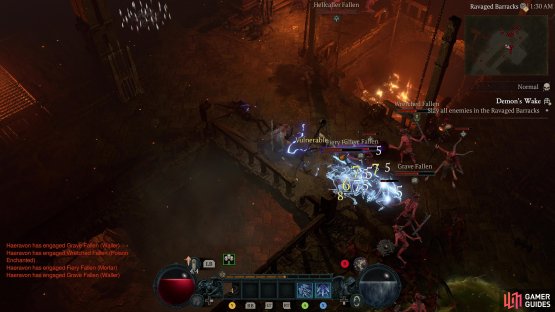
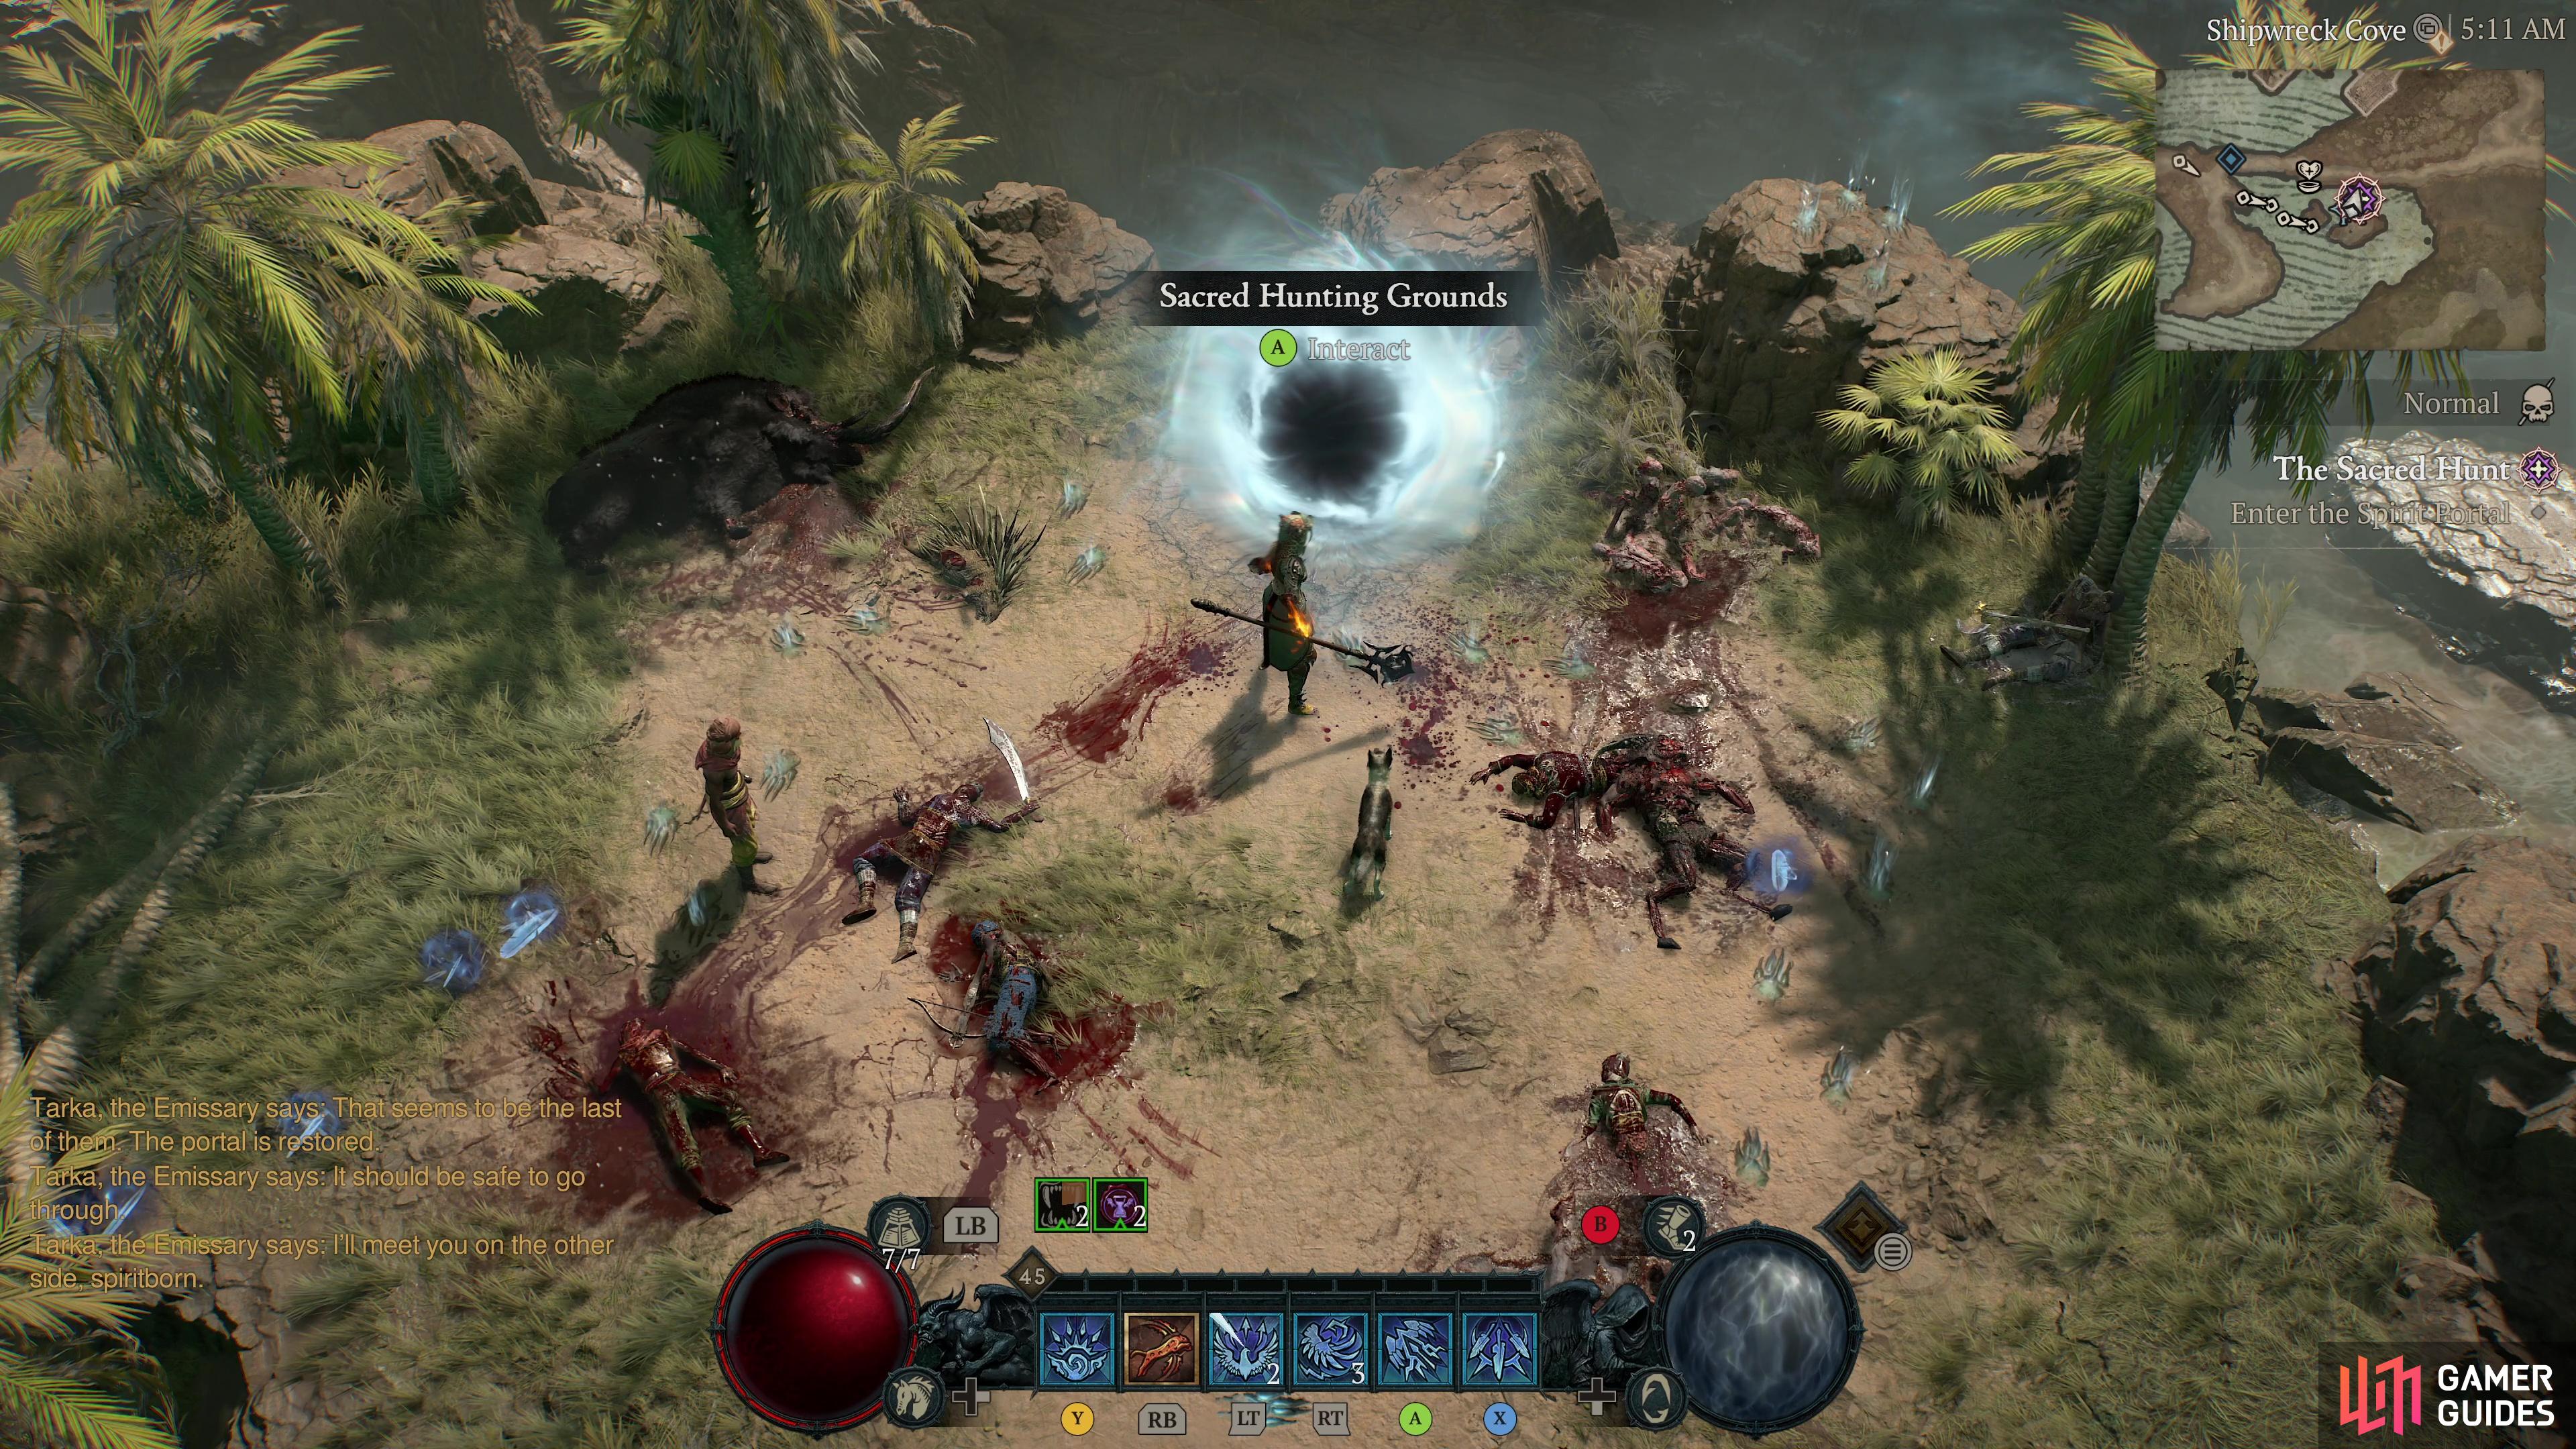
(1 of 2) Early on, you’ll fight by evading through enemies to make them Vulnerable,

Early on, you’ll fight by evading through enemies to make them Vulnerable, (left), then toss Quill Volleys at them to score big damage! (right)
Level 15 - 59
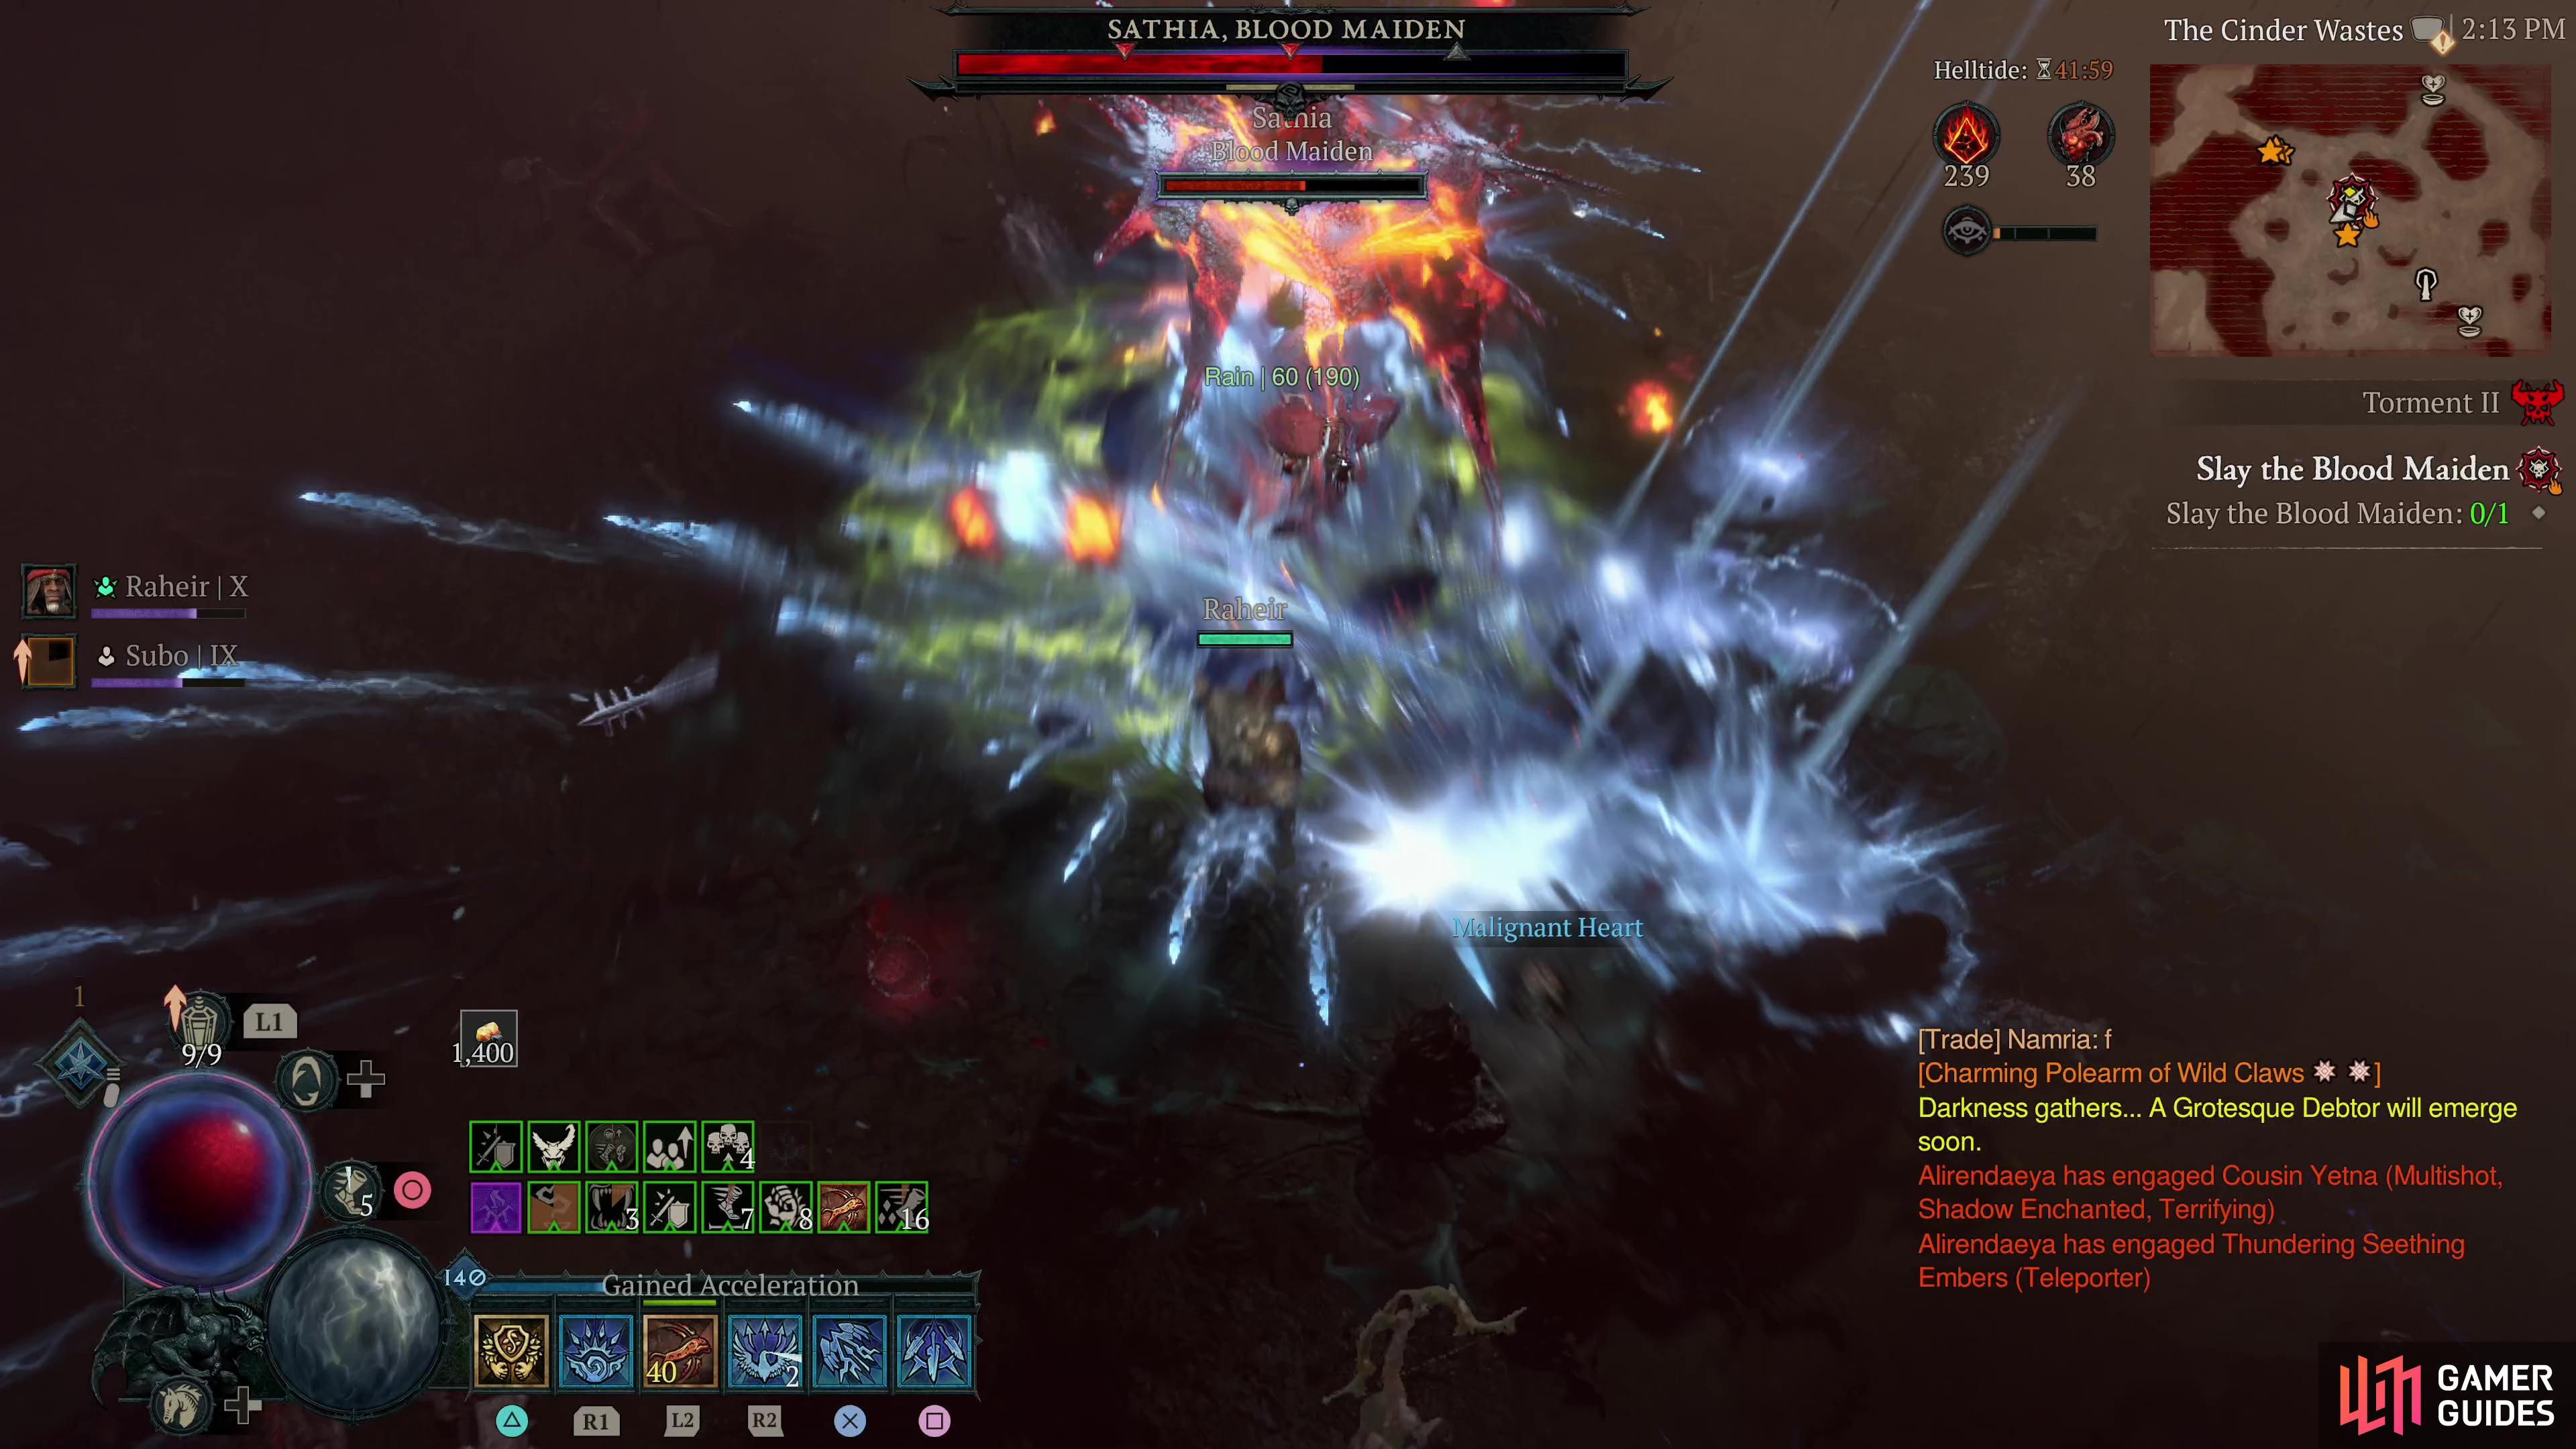
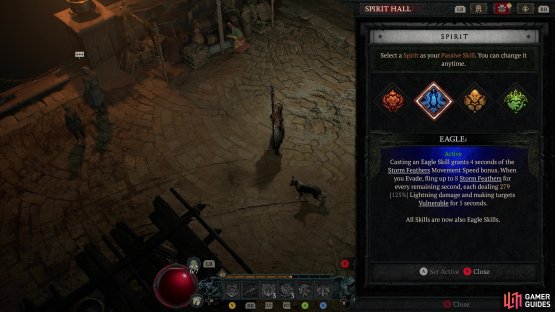
Once you hit level 15 you’ll unlock the Spiritborn’s unique class quest which unlocks their Spirit Hall passive skills. Complete this quest ASAP and once done select Eagle as your tribal passive. This has the following effect:
Casting and Eagle Skill grants 4 seconds of Storm Feathers Movement Speed bonus. When you Evade, fling up to 8 Storm Feathers for every remaining second, each dealing x[125%] Lightning damage and making targets Vulnerable for 5 seconds.
All Skills are now also Eagle Skills.
At a stroke, Evade will become your biggest source of damage. Quill Feathers will remain useful for a while - you don’t have infinite dodge… yet… but its damage will fall off as you level up. Your goal here is to level up and unlock skills that will supplement this build, mostly passives and skills with cooldowns that will boost your damage output, along with an ultimate skill to provide secondary damage. The top priority, however, is unlocking the ultimate key passive Vital Strikes, as this will provide many boons to this build, including:
You deal 45%[x] increased damage to Vulnerable enemies.
After making an enemy Vulnerable, your next Direct damage dealt to them:
- Heals you for 2% of your Maximum Life (x)
- Generates 5 Vigor
- Removes the Vulnerable effect
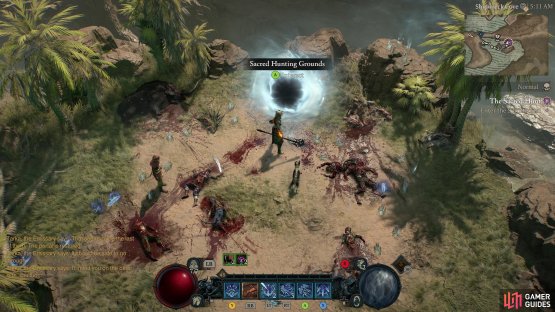
(1 of 2) Once you hit level 15 you’ll be able to complete the Spiritborn class quest “The Sacred Hunt”,

Once you hit level 15 you’ll be able to complete the Spiritborn class quest “The Sacred Hunt”, (left), and the end of which you’ll unlock tribal passives - the Eagle primary tribal passive is the cornerstone of this build. (right)
Now your Evade deals most of your damage, heals you and recovers your Focus. This also removes the Vulnerable debuffs, however, so the more ways you can consistently inflict it, the better… but sadly the best way for this build to do so relies on simply accumulating more Evade charges. You can do this by finding boots that grant Evade charges (boots can add up to +2 Evade charges and by purchasing ranks of the passive skill Acceleration. 4-6 Evade charges is a fine start, but in big fights you’ll run out of Evade charges before the enemy runs out of health, so you’ll still need to take breaks to poke enemies with Thunderstrike and perhaps chastise them with Quill Volley. An expanded list of skills you’ll want at this time include:
Level 15 - 59 Skills
| Skill | Ranks | Upgrade 1 | Upgrade 2 | Notes |
|---|---|---|---|---|
| Thunderspike | 1 | Enhanced Thunderspike | Accelerated Thunderspike | |
| Quill Volley | 5 | Enhanced Quill Volley | Rampant Quill Volley | |
| Soar | 1 | Enhance Soar | Replenishing Soar | Only if you find the Turbulence legendary mod |
| Vortex | 1 | Enhanced Vortex | – | Only if you find the Turbulence legendary mod. You do not need to equip this skill |
| Ravager | 5 | Enhanced Ravager | Replenishing Ravager | – |
| 3 | – | – | – | |
| Unrestrained Power | 3 | – | – | Only when you reach Lv30 and select the Gorilla secondary tribal passive |
| Focal Point | 1 | – | – | – |
| Apex | 3 | – | – | – |
| Armored Hide | 5 | Enhanced Armored Hide | – | – |
| Endurance | 1 | – | – | – |
| Perseverance | 3 | – | – | – |
| Antivenom | 3 | – | – | – |
| Brilliance | 3 | – | – | – |
| Acceleration | 3 | – | – | – |
| The Seeker | 5 | Harmonious Seeker | Exalted Seeker | – |
| Resolution | 3 | – | – | – |
| Spiritual Attunement | 1 | – | – | – |
| Supremacy | 3 | – | – | – |
| Vital Strikes | 1 | – | – | – |
You’ll end up with some extra skill points if you earn Renown in the game’s various regions, but the above list should be everything you need… with a few splurges to give us some extra damage and resistances. Generally you want to prioritize Vulnerable damage and Movement speed, but Crit Chance and Crit Damage aren’t bad secondaries, and on gear that can’t get those mods, look for Dexterity, Armor, Resistances and Maximum Life. The latter three are more important as you near Lv60, and you will need to get to or near 1,250 Armor and 95% in each resistance to survive Torment I difficulty. 1,000+ Life doesn’t hurt, either.
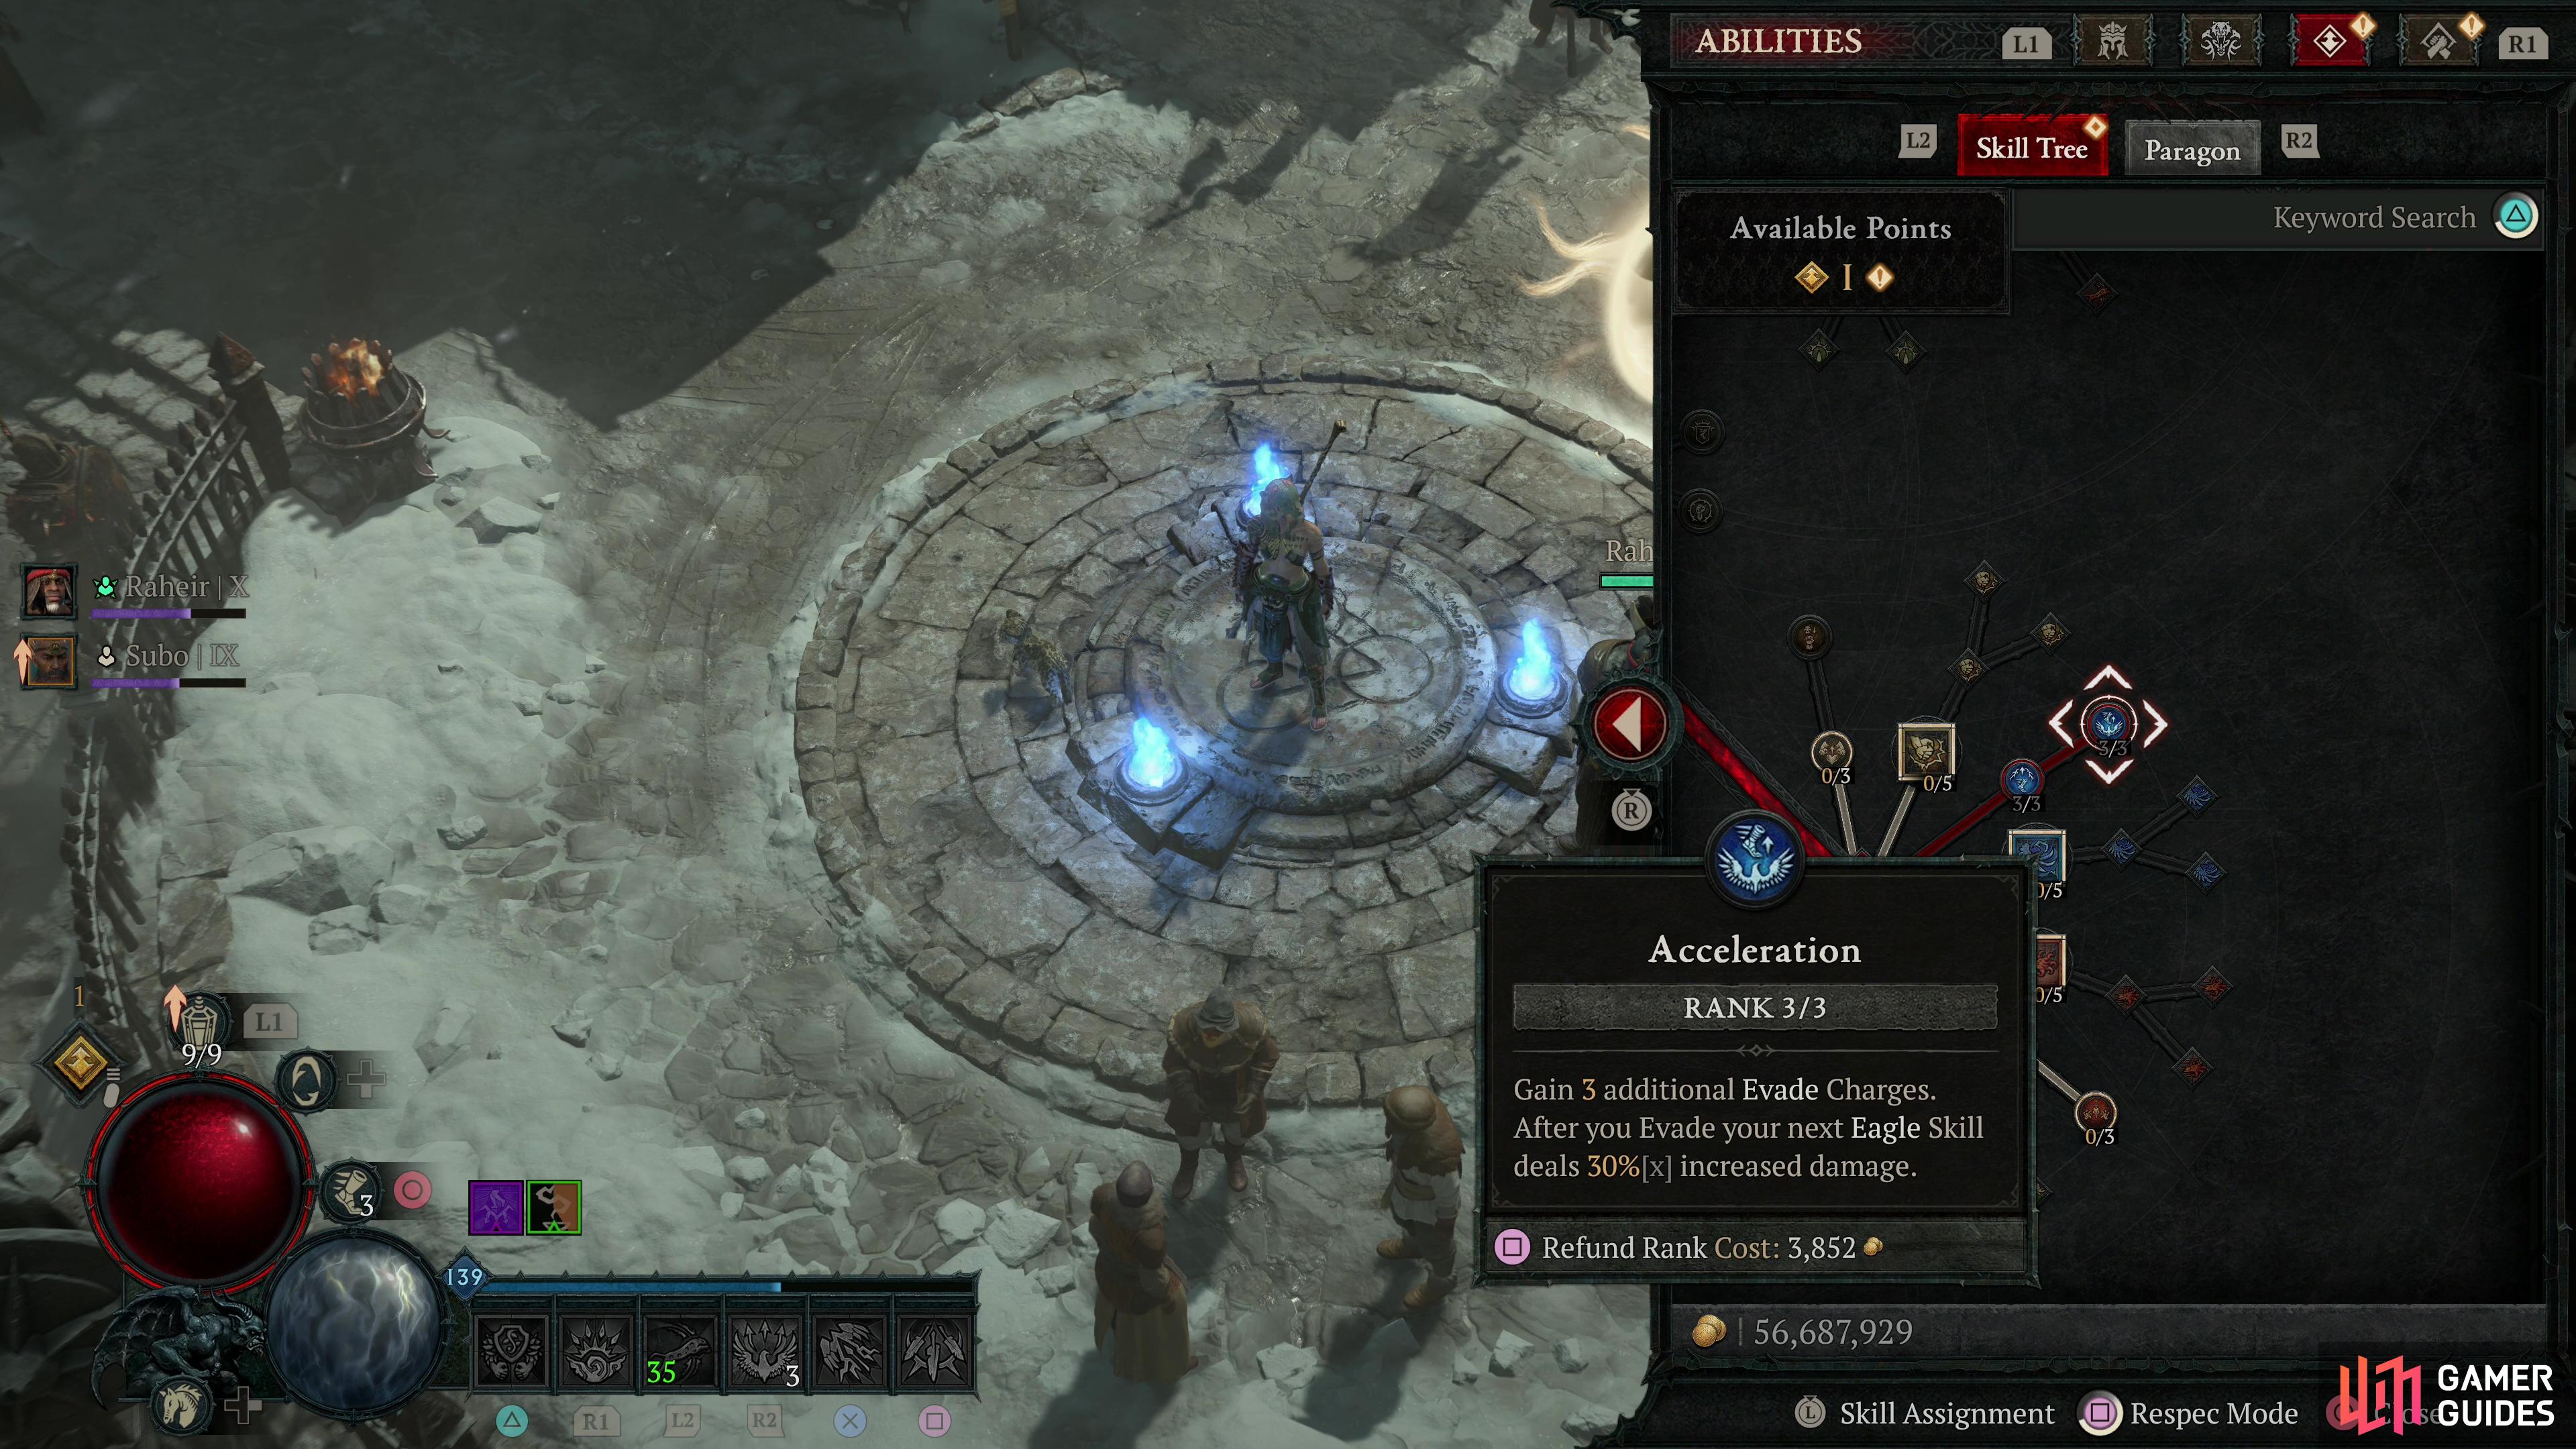
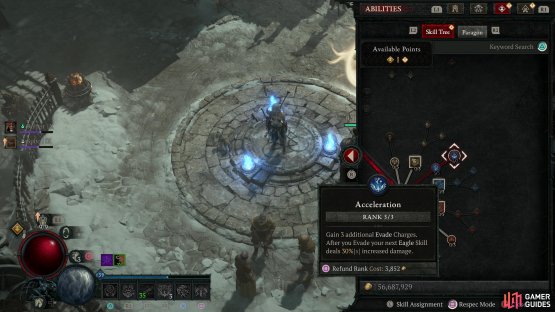

(1 of 2) Keep leveling up and supplement your build with passives like Acceleration, which gives you more Evade charges to play with,
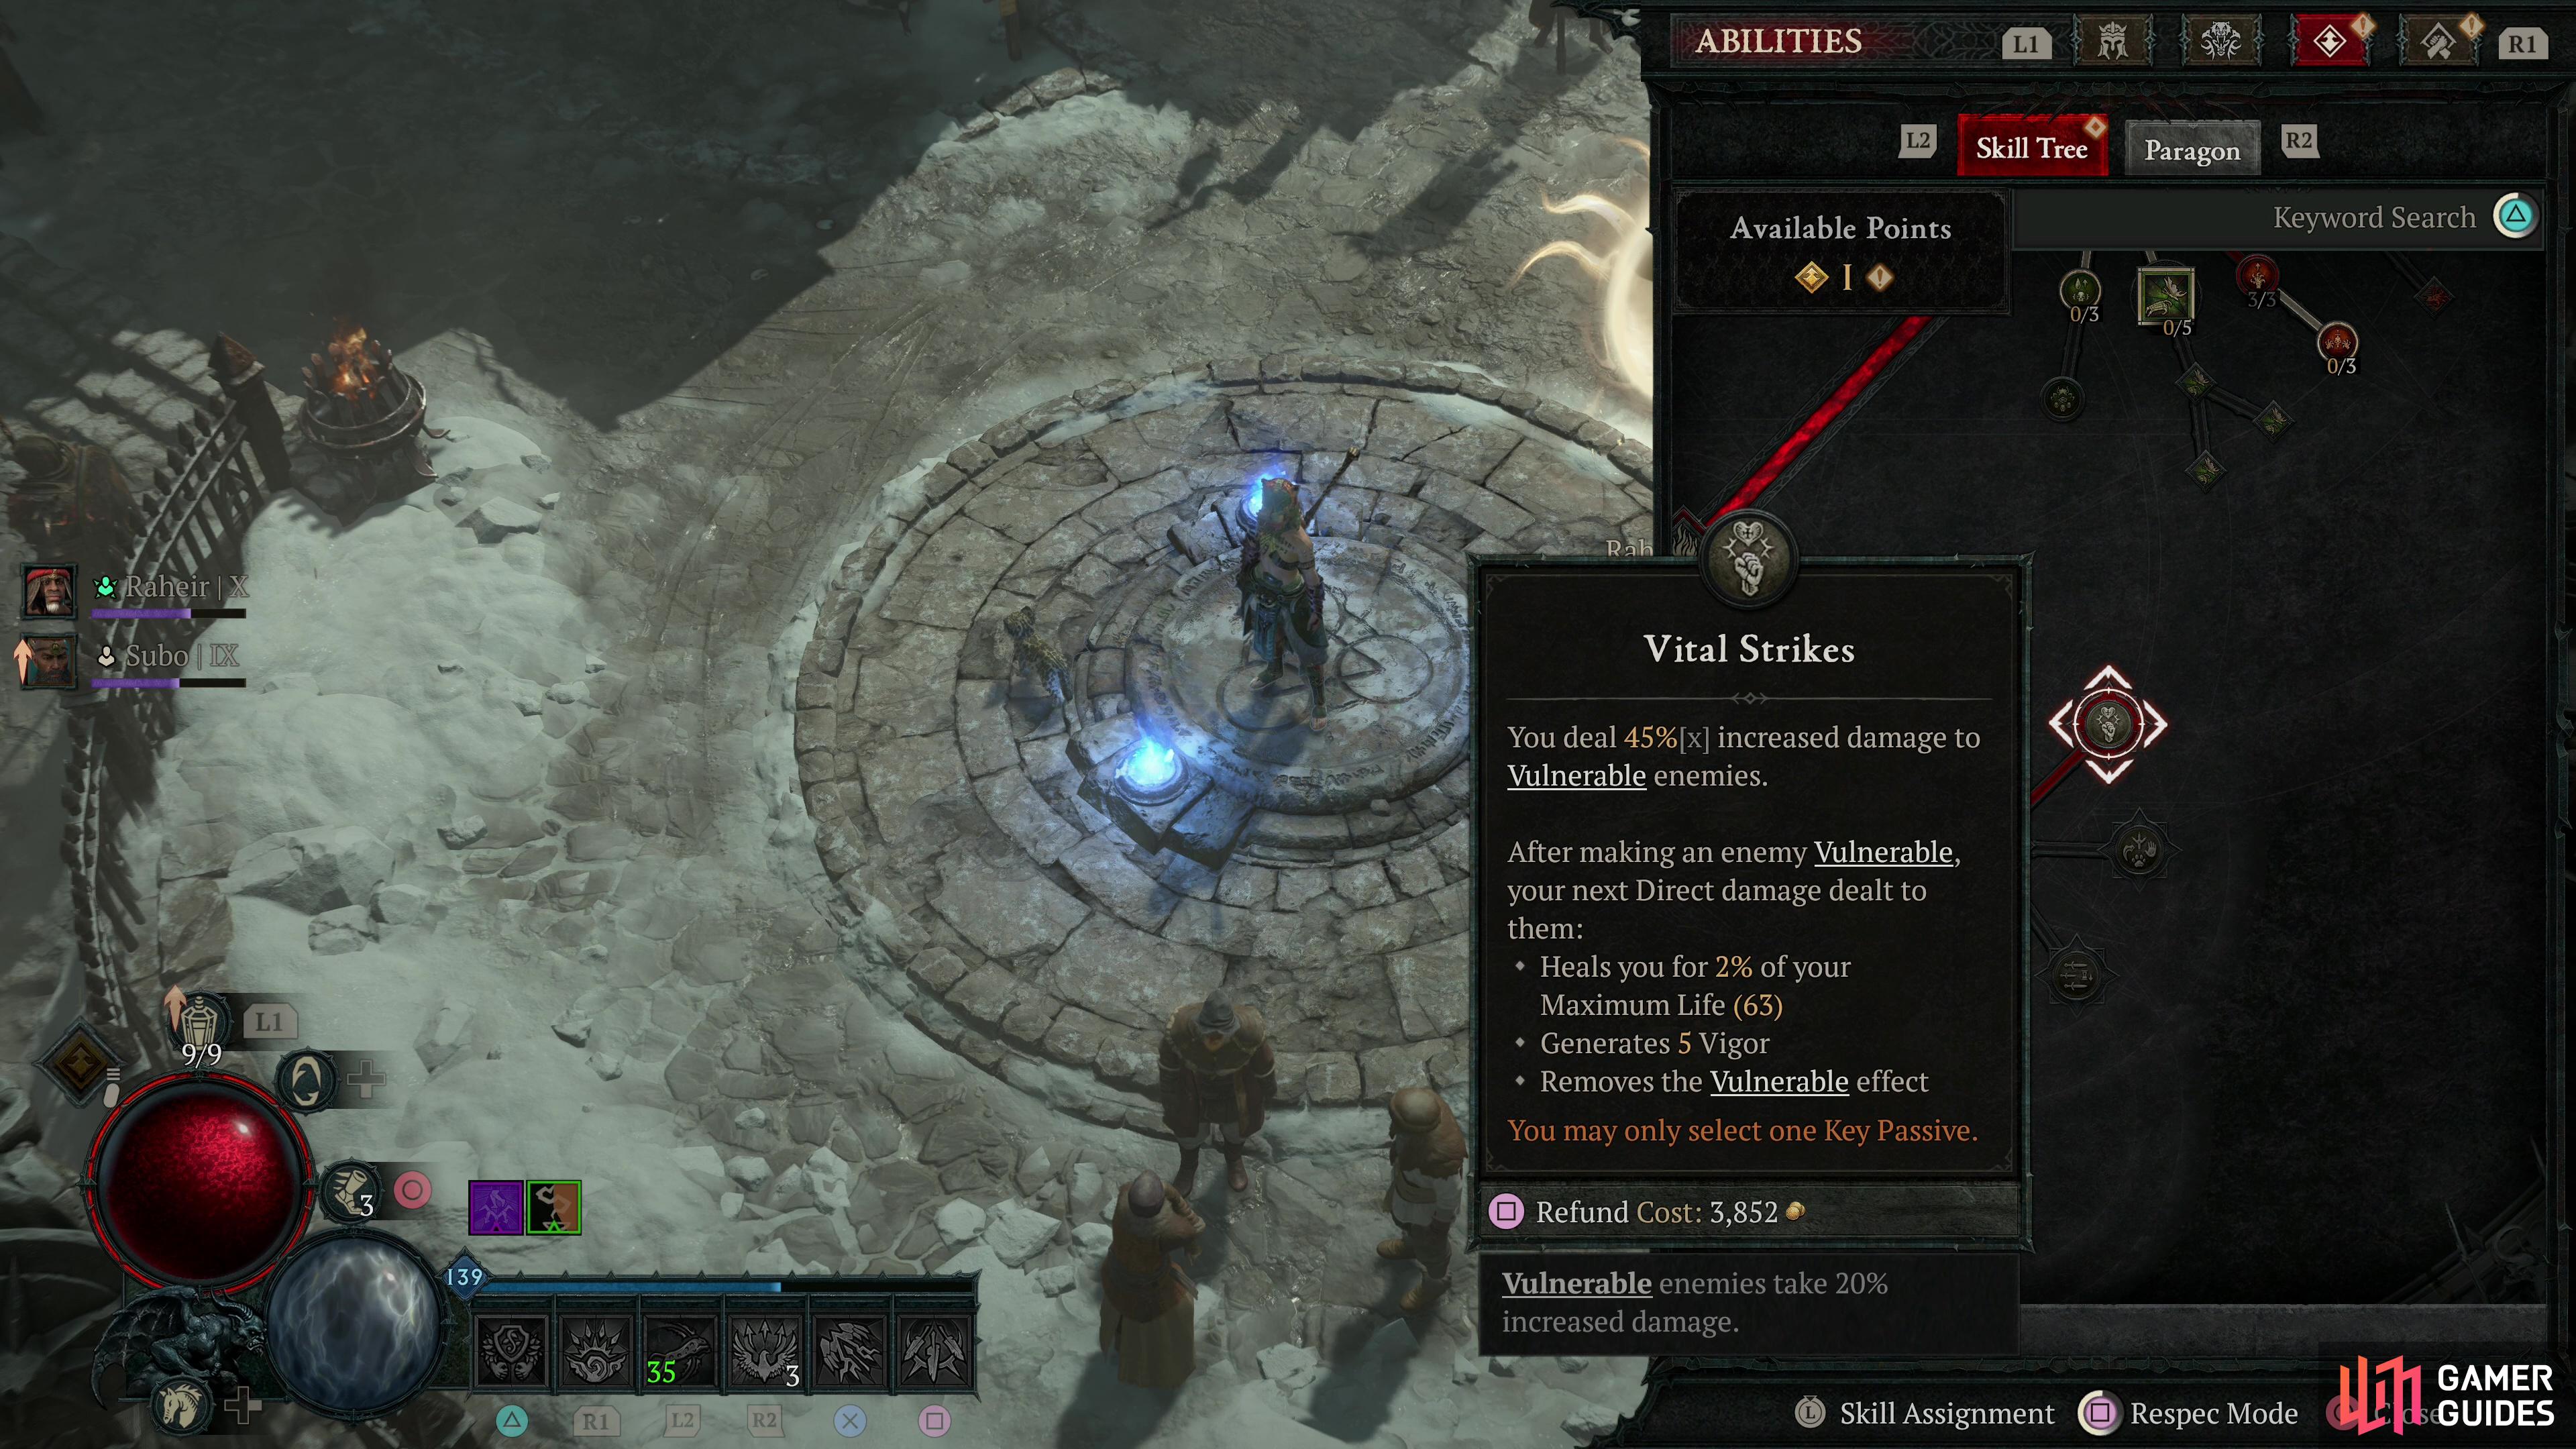
Keep leveling up and supplement your build with passives like Acceleration, which gives you more Evade charges to play with, (left), and Vital Strikes, which make your Vulnerable attacks more potent and provides a steady source of healing. (right)
Level 60 and Paragon Levels - Sepazontec Quarterstaff
At level 60 the accumulation of skill points will cease and you’ll begin earning Paragon Levels, which allows you to unlock nodes on various Paragon boards. We’ll add a few which we think are useful for starters, but this will largely be supplemental and you’ll probably be swapping most of these out when you’re ready to start the true endgame build. Gear, however, becomes a bigger focus - hopefully you’ve been breaking down legendaries and rares to bank resources and legendary mods, which you’ll need to start using to refine your loadout until you’re capable of making the leap to Torment I difficulty.
This means you will need 1,000+ Armor and 70%+ in all Resistances, and ideally 1,000+ Life. You will need to enchant gear to get your preferred stats and supplement them via Tempering and socketing gems (mostly ![]() Skulls and
Skulls and ![]() Diamonds in jewelry to hit the aforementioned Armor and Resistance maximums). This will take money and materials, and doing this requires grinding - completing Grim Favors for the Tree of Whispers and running Helltides will both help, among other activities.
Diamonds in jewelry to hit the aforementioned Armor and Resistance maximums). This will take money and materials, and doing this requires grinding - completing Grim Favors for the Tree of Whispers and running Helltides will both help, among other activities.
Once you crack Torment I difficulty, your next - and really last - goal with this build should be to obtain the namesake weapon that takes it to the next level - Sepazontec. This is a unique quarterstaff with the following unique properties:
- Your Basic Skills deal [50-100]% increased damage and always use their 3rd attack.
- Every 3rd cast of a Basic Skill strikes three times.
The 3rd strike of Thunderstrike reduces Evade cooldown by 5 seconds, which is basically the entire cooldown duration, and this procs whether the 3rd strike hits anything or not. Since all your basic attacks are now 3rd strikes, each one will functionally recover an Evade counter, and with the Accelerated Thunderstrike upgrade you automatically perform a Thunderstrike when you Evade… which is of course now always a 3rd strike, which resets your Evade cooldown. Functionally, you now have infinite Evades, and each Evade will shoot out potent Storm Feathers due to choosing the Eagle tribal passive as your primary. At this point you should be able to just Evade through enemies, inflicting Vulnerability on any foes you pass through or hit with your Storm Feathers and dishing out respectable damage while making yourself rather hard to hit.
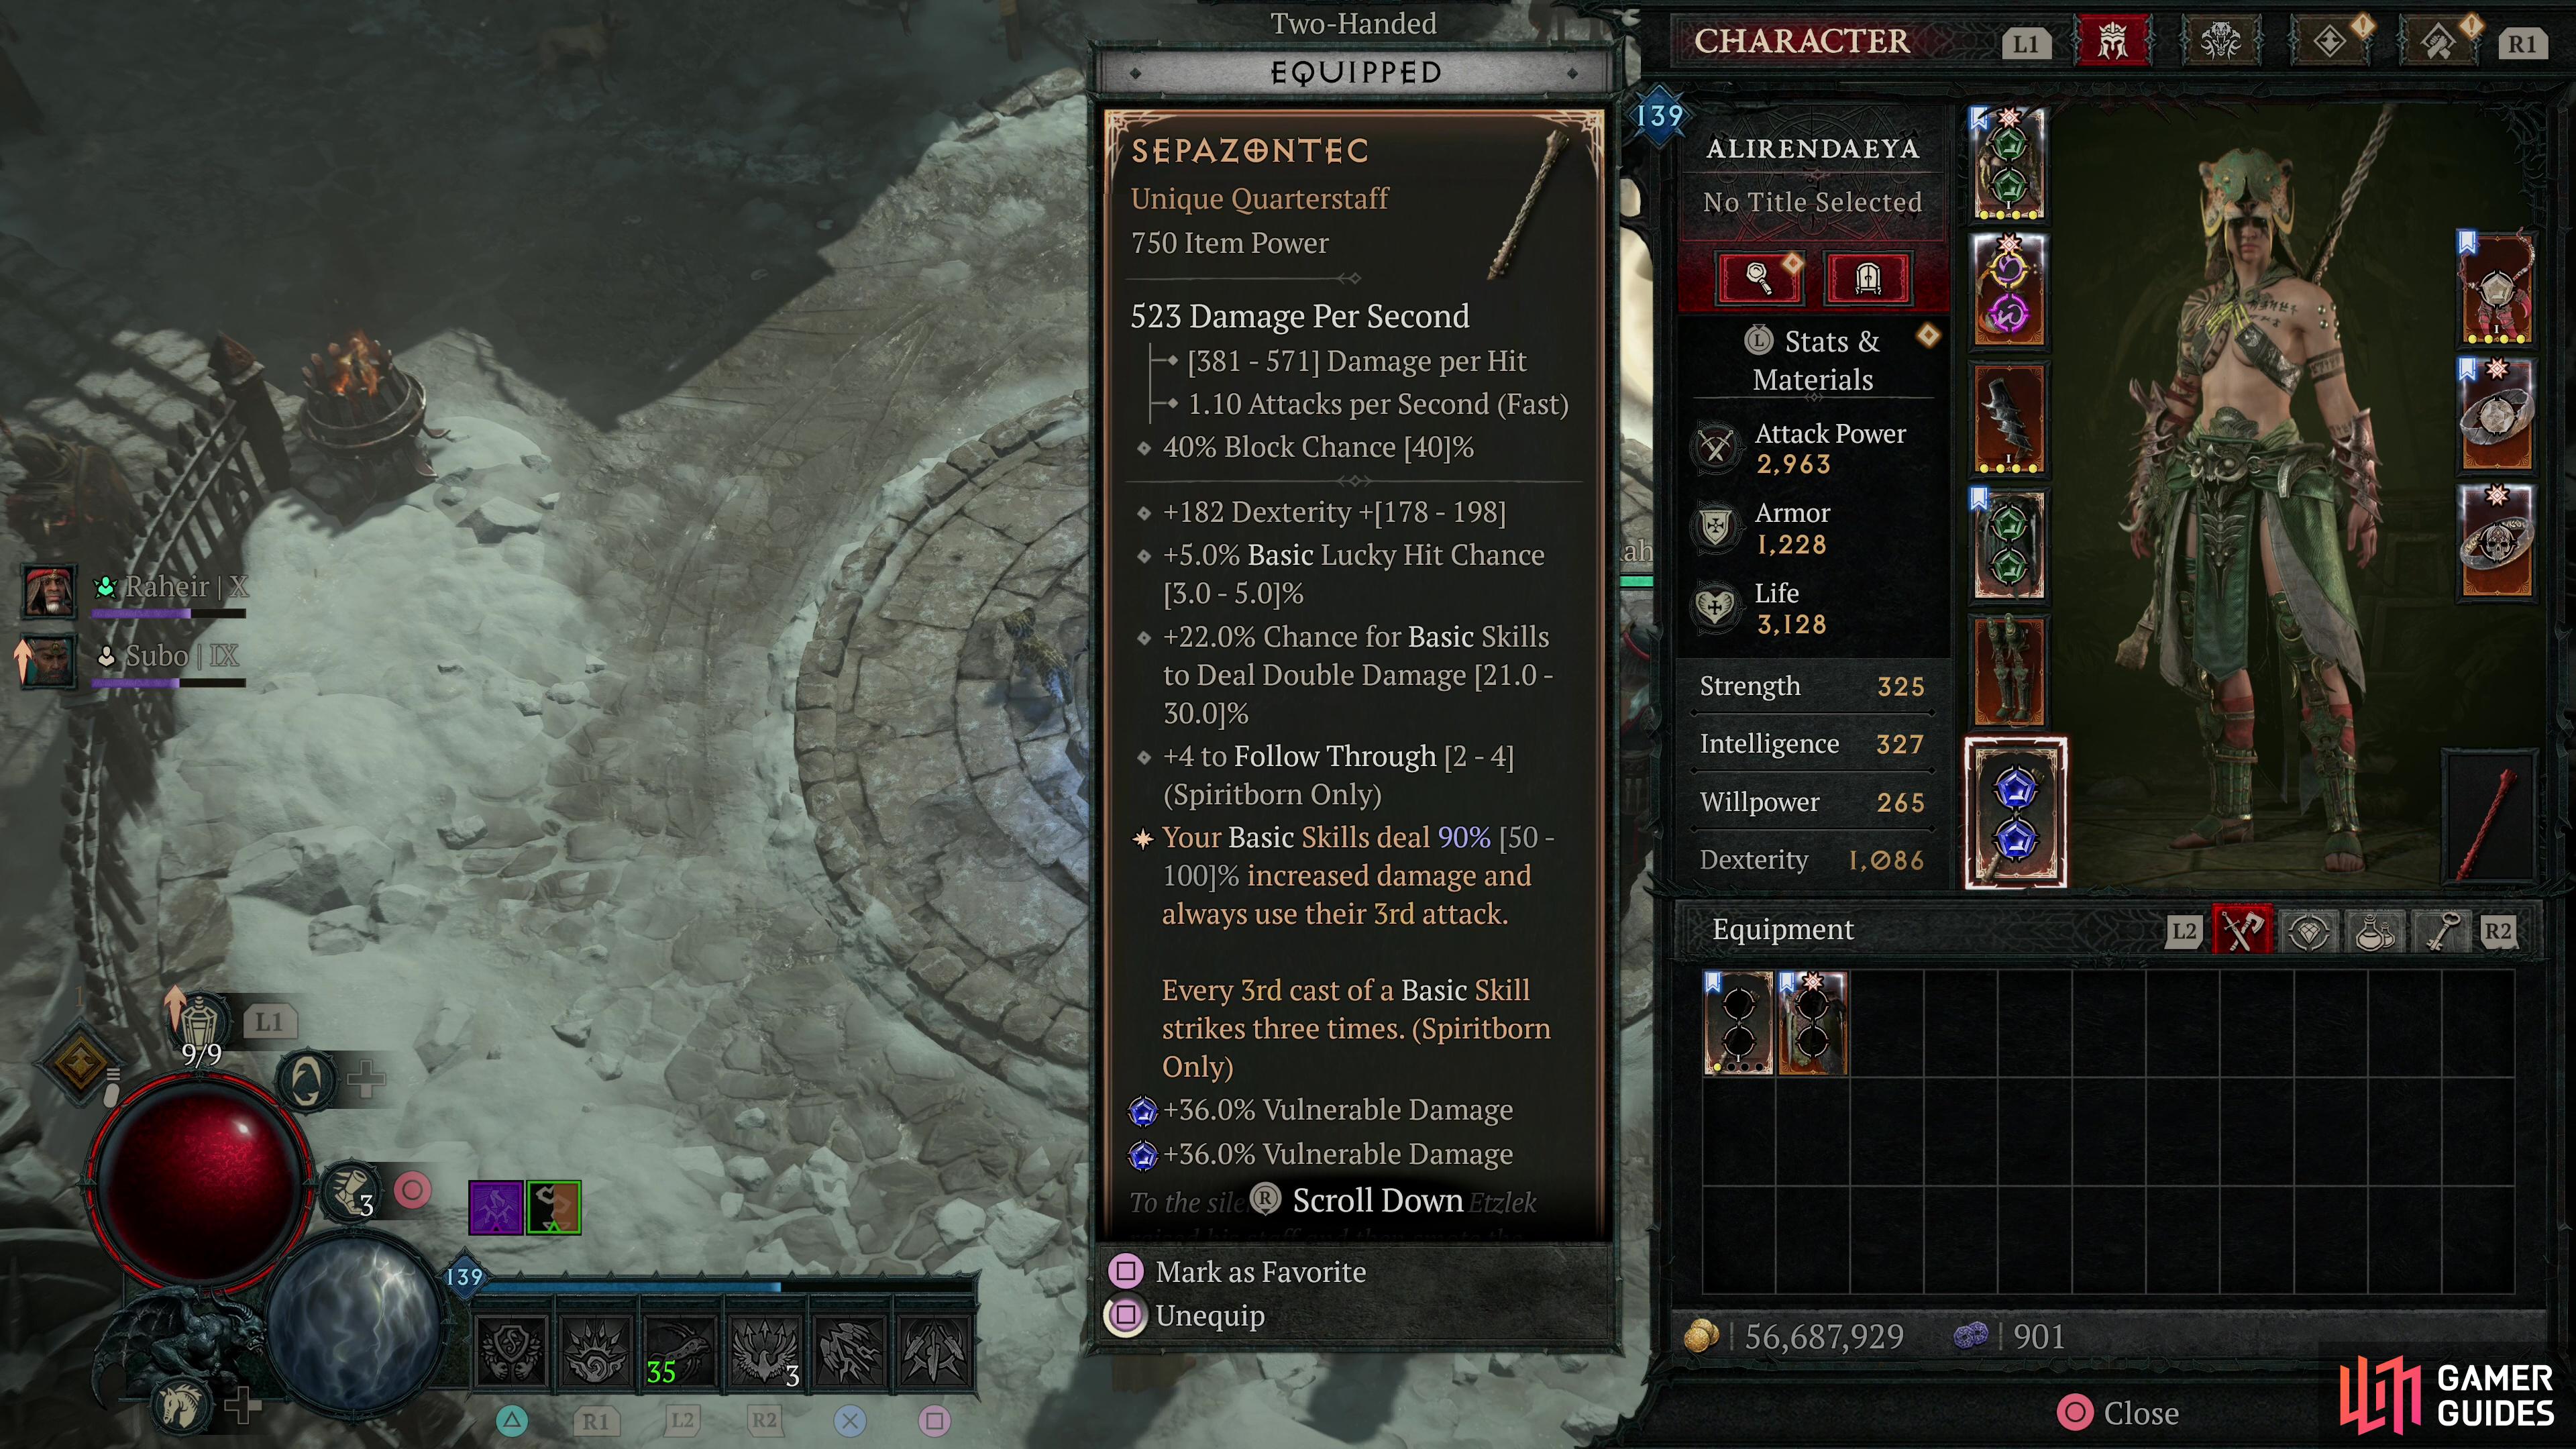
The build will finally be fully operational when you get your hands on a Sepazontec.
Pick the Gorilla tribal as your secondary tribal passive and you’ll also be Unstoppable as long as you have 5+ ranks of Resolve, and with five ranks in Armored Hide, that should be just about all the time, making you immune to most of the game’s worst control effects. If you get some ![]() Flickerstep unique boots, you can also bring ultimate skill spamming into play, as these combo well with Sepazontec by reducing your ultimate skill cooldowns every time you dodge through enemies - something you’ll already be doing.
Flickerstep unique boots, you can also bring ultimate skill spamming into play, as these combo well with Sepazontec by reducing your ultimate skill cooldowns every time you dodge through enemies - something you’ll already be doing.
This is all icing on the cake, however. Assuming your gear is fit for Torment I sans Sepazontec, then the addition of this unique quarterstaff will just boost your kill rate and survivability while turning most encounters into “spam Evade until cleared” affairs. Just add sockets to Sepazontec if necessary and toss in two ![]() Sapphires for the extra Vulnerable damage and you’re peaches.
Sapphires for the extra Vulnerable damage and you’re peaches.
Best Gear and Affixes
The SEES build is fairly simple to play - okay, it’s downright braindead - but it does take some gear to get going, especially on Torment I difficulty. Sepazontec is the most obvious bit of kit you’ll need, but some legendaries with choice affixes and legendary aspects are also necessary for optimal survivability and clear speeds:
List of Suggested Affixes and Stats
| Gear | Aspect / Unique | Stat Priority | Temper Affixes |
|---|---|---|---|
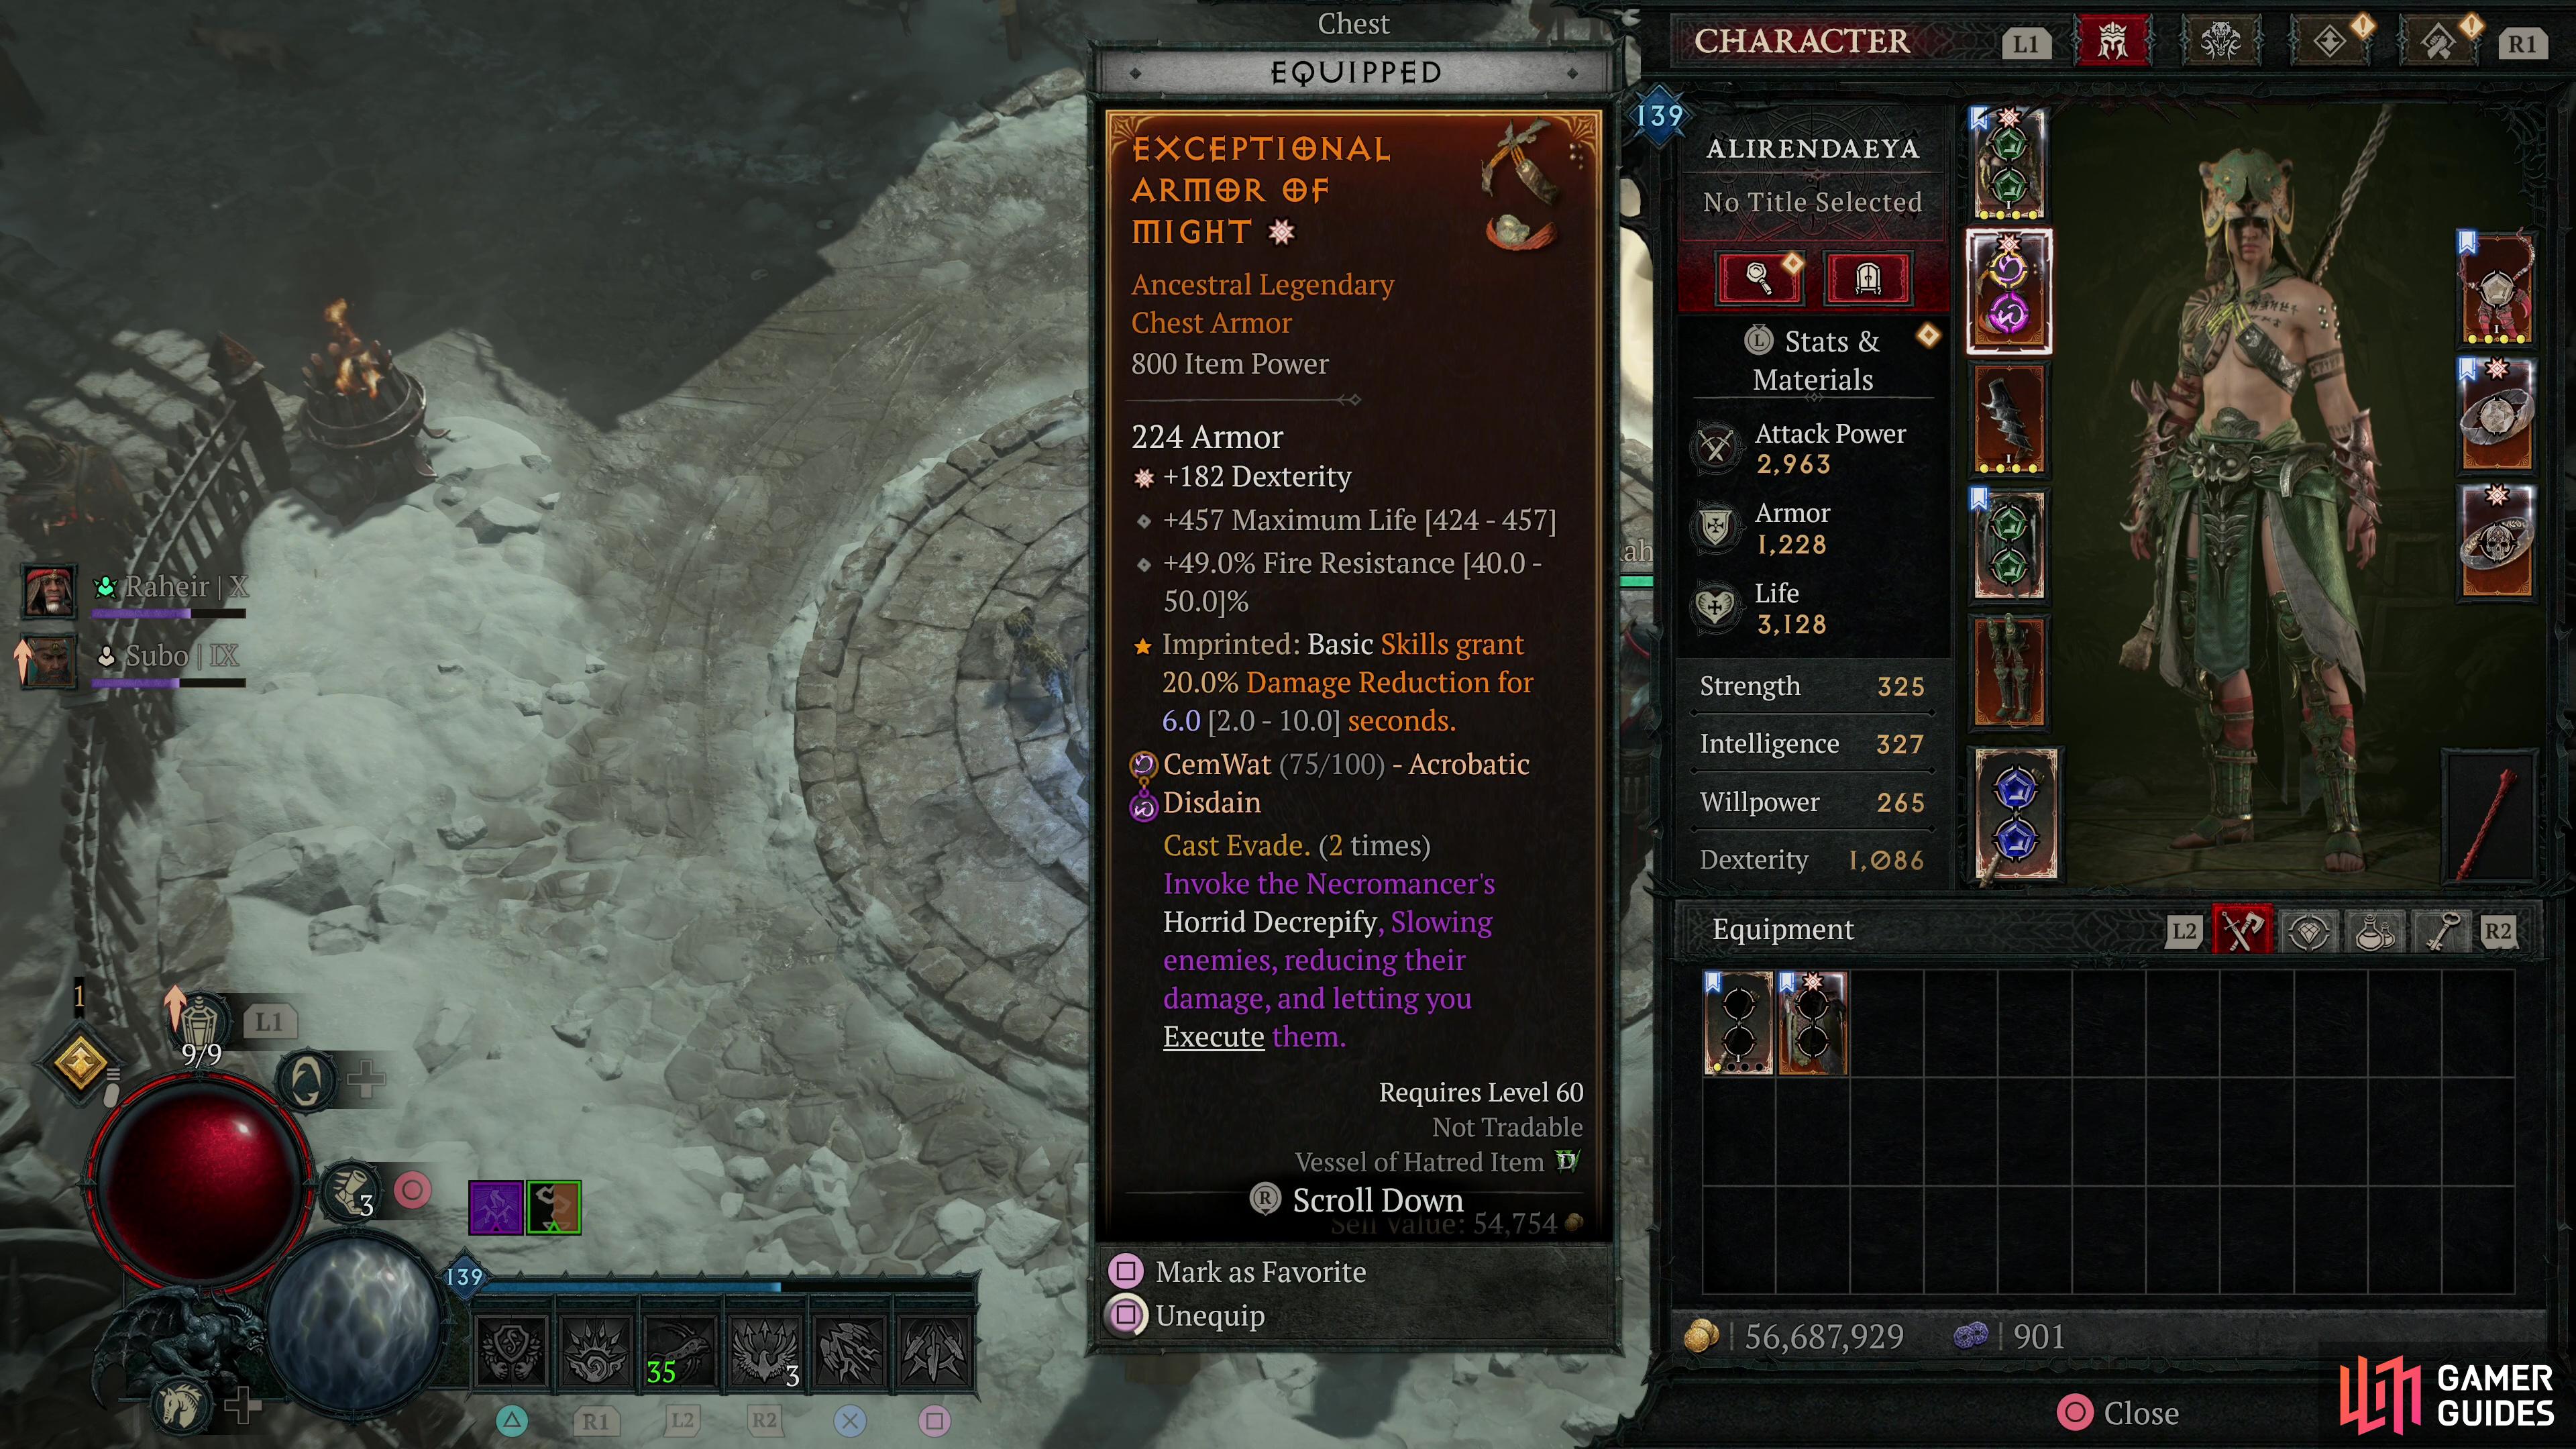
| Helm | Aspect of Tenacity | Armor, Resistance, Life, Dexterity | Resistances, Armor, Life |
| Chest Armor | Armor, Resistance, Life, Dexterity | Resistances, Armor, Life | |
| Gloves | Rebounding Aspect | Vulnerable Damage, Crit Chance, Crit Damage, Armor, Resistance, Life | Vulnerable Damage |
| Pants | Aspect of Turbulence | Armor, Resistance, Life, Dexterity | Resistances, Armor, Life |
| Boots | Aspect of Sky Power | Evade Charges, Movement Speed, Armor, Resistances, Life, Dexterity | Movement Speed |
| Weapon | Sepazontec (or |
– | – |
| Amulet | Aspect of Redirected Force | Total Armor, Dexterity, Movement Speed, Life, Resistances | Vulnerable Damage, Movement Speed |
| Ring 1 | Aspect of Falling Feathers | Vulnerable Damage, Crit Chance, Crit Damage, Life, Armor, Resistances | Vulnerable Damage |
| Ring 2 | Vulnerable Damage, Crit Chance, Crit Damage, Armor, Resistances, Life | Vulnerable Damage |
Note that in the list above, not all possible categories are listed. For example, most gear only has one temper affix filled. This is frankly due to the goal of this build - we’re not trying to hit Torment IV with it, we’re accumulating resources for potentially stronger builds, so there’s no sense in wasting them on relatively minor gains. Don’t go crazy rolling affixes on this gear! As long as you can get your Armor and Life above 1,000 and Resistances to 70% in Torment I, and your Vulnerable damage to +500%, you’re probably going to be wrecking things. It’s also worth noting that what stats you’ll want on various gear will vary - if you get some boots with +40% cold resistance, you probably won’t need to roll that as an affix on another bit of gear. Also keep in mind that you can socket your amulet and rings with Skulls and Diamonds to boost your Armor and Resistances, respectively. If you want to use the open sockets in your armor, your best bet is ![]() Emeralds for the Dexterity, but this is an extravagance this build doesn’t really need.
Emeralds for the Dexterity, but this is an extravagance this build doesn’t really need.
Finding a Sepazontec
You should find all the legendary aspects you need while leveling up to 60, or failing that, during the Torment I runes this build is designed to breeze through. Very few individual legendary aspects should hinder this build, if they’re missing, but getting your hands on a Sepazontec is fairly important. You can increase your odds of finding this weapon by:
- Open Tortured Gifts of Weaponry during Helltides
- Complete Grim Favors for the Tree of Whispers and pick Two-Handed Weapon Caches
- Gamble for quarterstaves via a Purveyor of Curiosities
Since getting such a weapon from a chest in a Helltide or a Tree of Whispers Cache is just slightly more targeted than dumb luck, gambling for quarterstaves is probably your best bet. You can earn Murmuring Obols from completing random events… which also appear during Helltides, by the way. Legendary gambles seem nerfed compared to previous versions of the game, but lower-tier uniques liek Sepazontec appear somewhat regularly, as a way of compensation. Just save up your Obols during your run to Lv60 and by the time you hit Torment I you should have some hope of gambling for this staff.
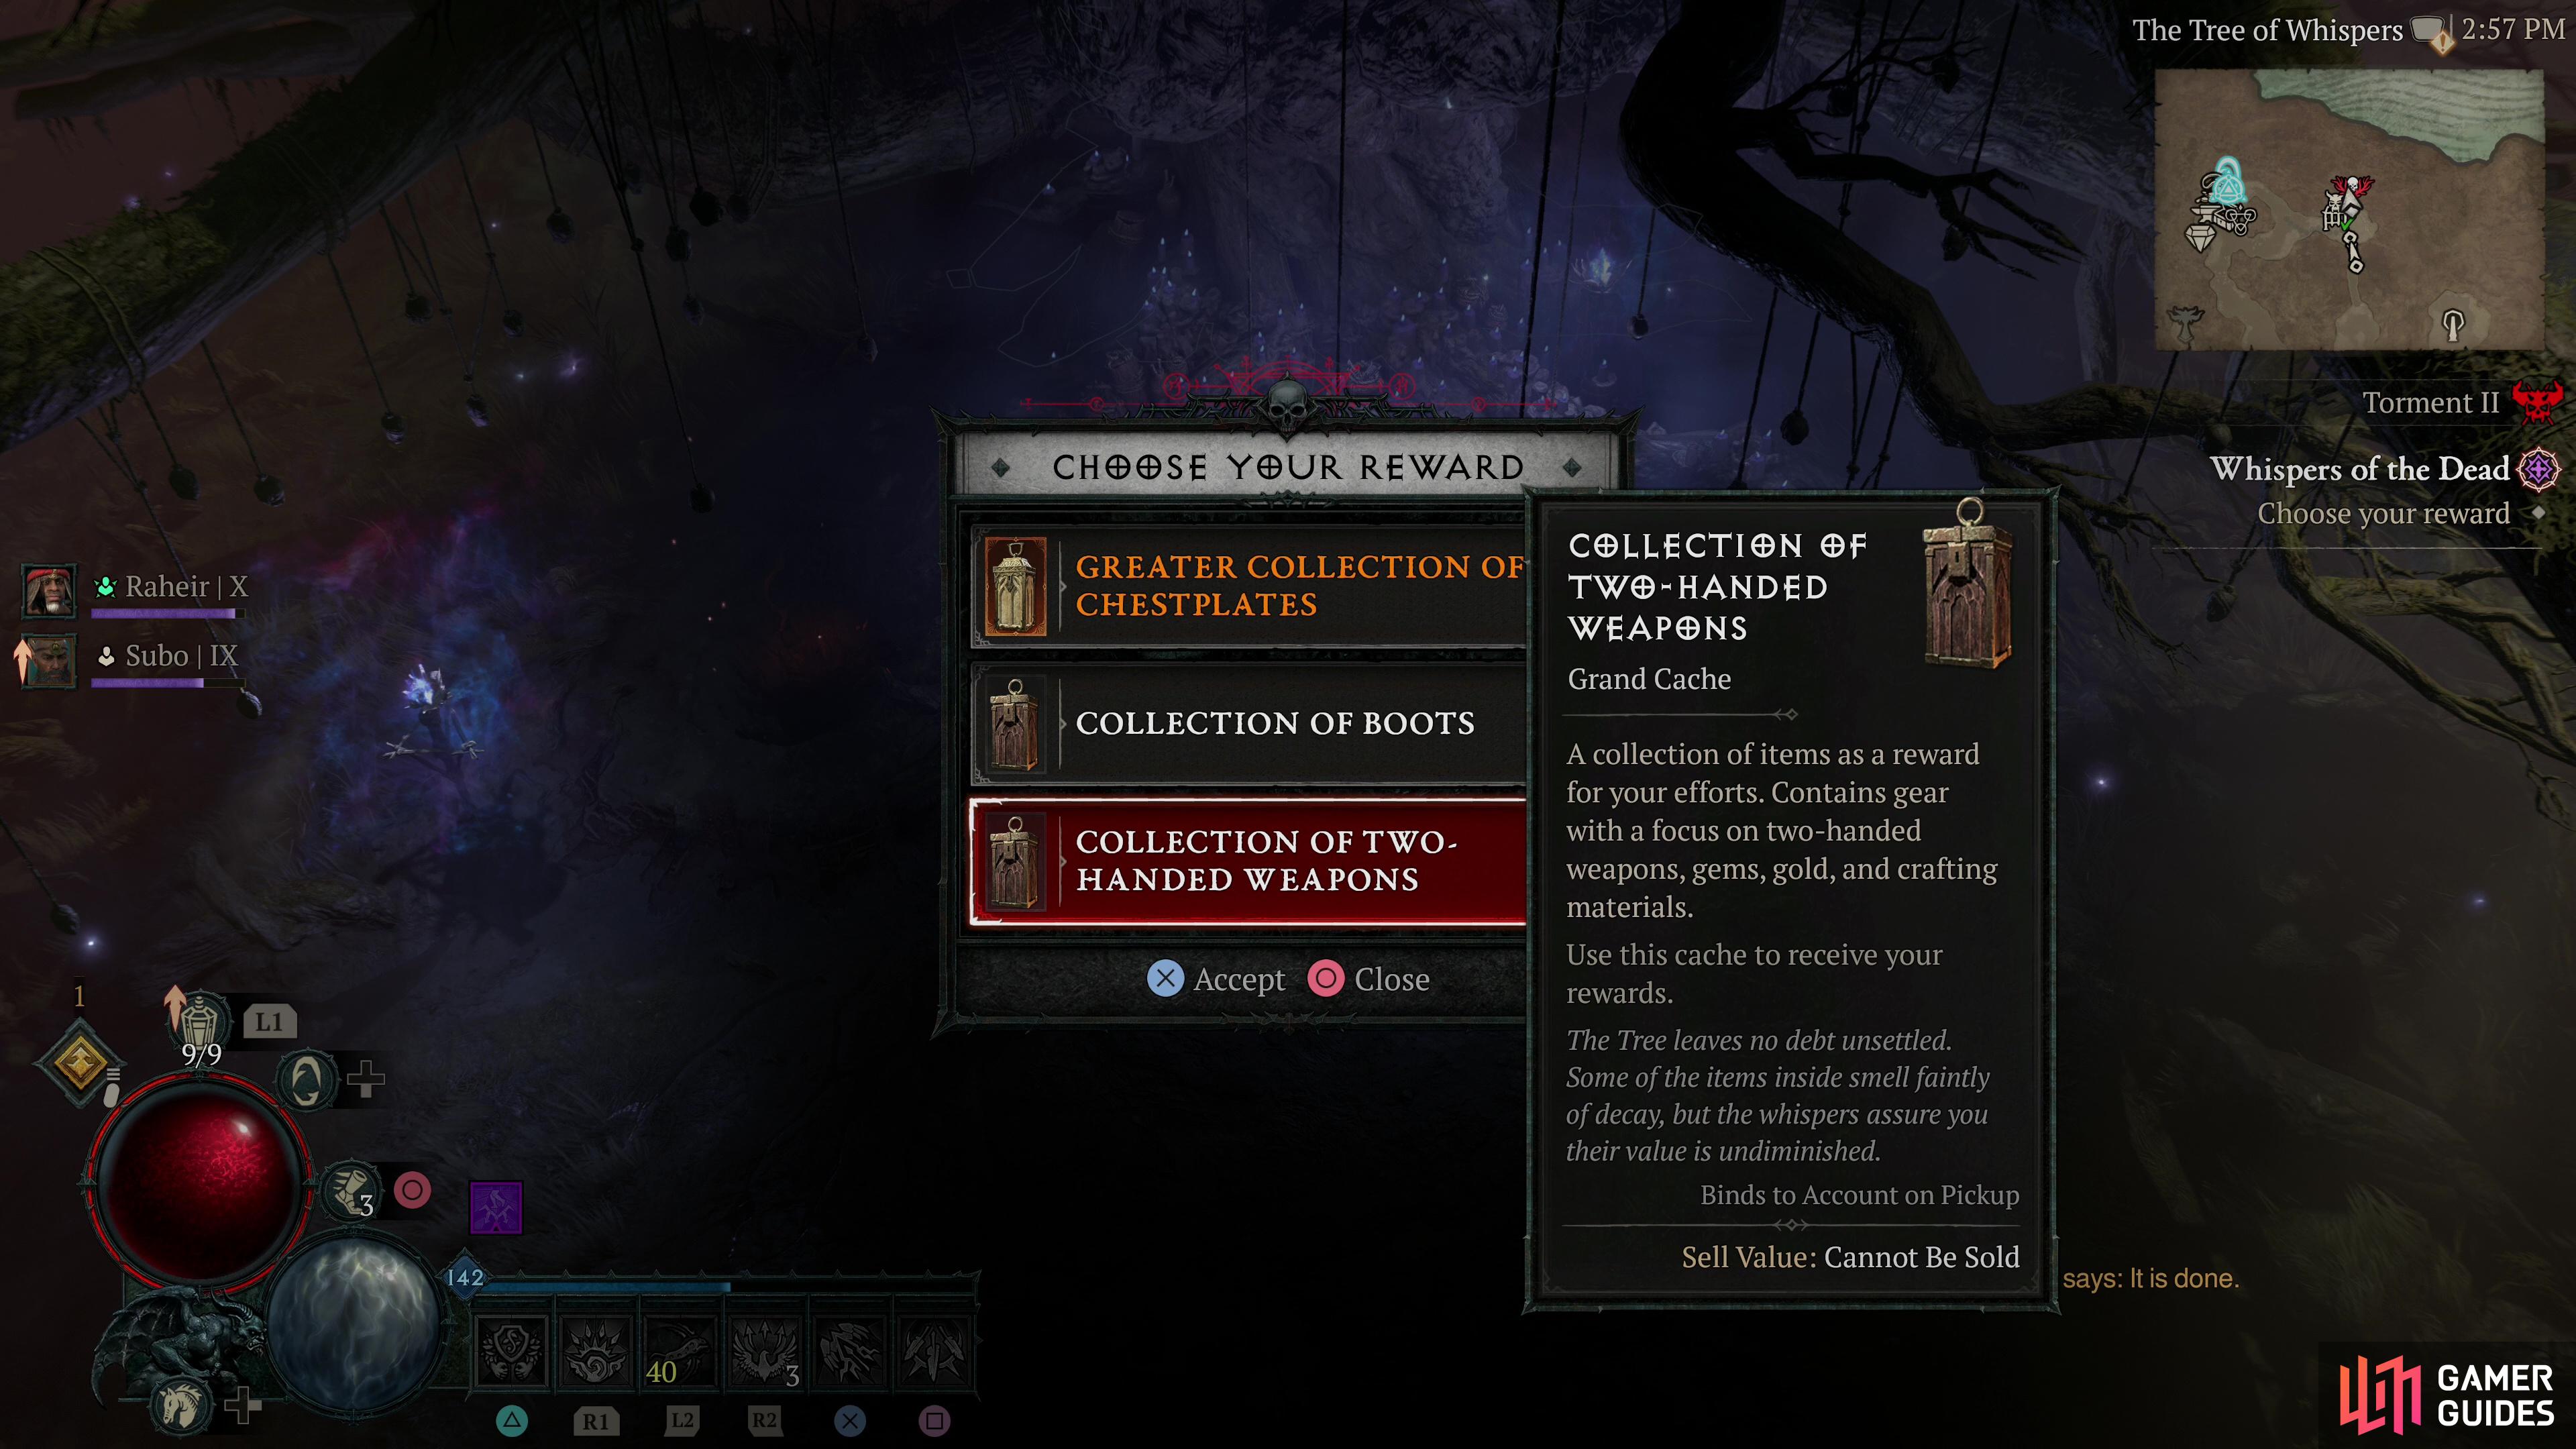


(1 of 2) The best place to get a Sepazontec is via gambling, but you can also get one from Tree of Whisper caches,

The best place to get a Sepazontec is via gambling, but you can also get one from Tree of Whisper caches, (left), or weapons chests during Helltides. (right)
Build Variants
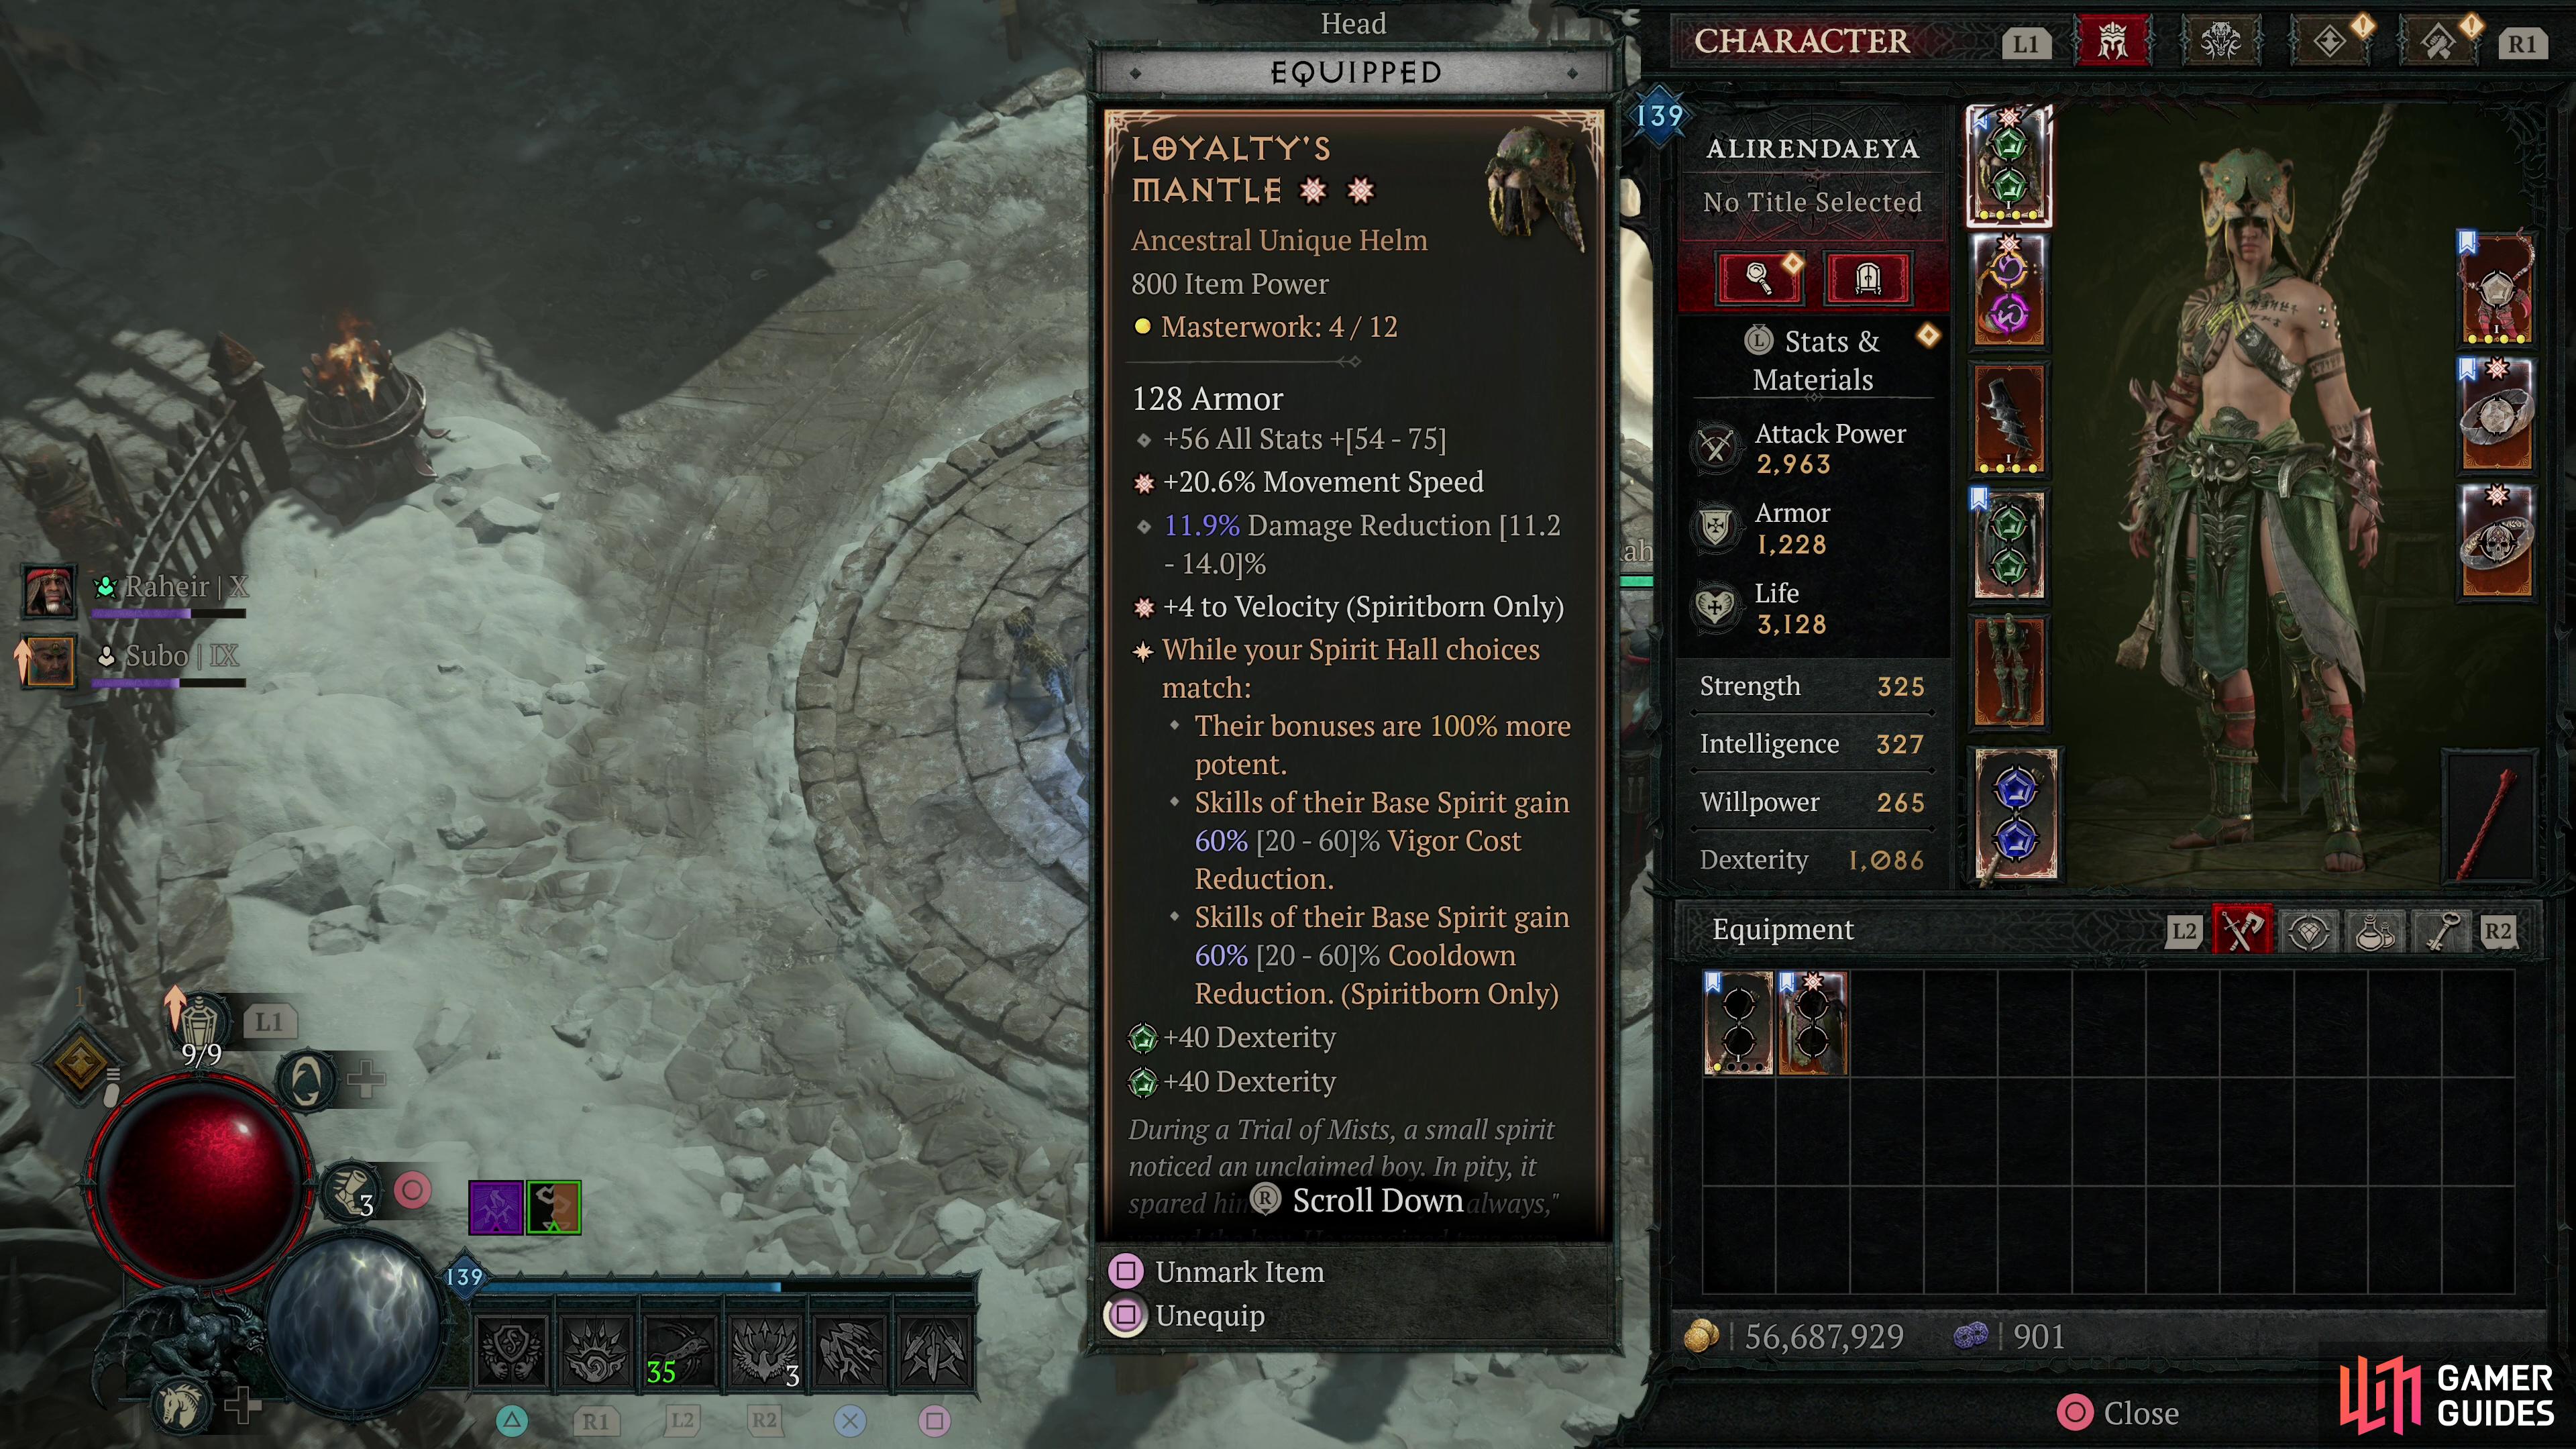
If you want to take this build a bit further, gear-wise, you can replace the generic legendary helm and pants with Loyalty’s Mane and ![]() Temerity, respectively. The former will boost the potency of your Spirit Hall choices if both match, and in this case this means swapping out Gorilla in the secondary slot for Eagle, sacrificing Unstoppable in the process. The damage boost more than makes up for this, but it does depend what you’re fighting - being Unstoppable is more mindless, but the increased damage means faster kill rates.
Temerity, respectively. The former will boost the potency of your Spirit Hall choices if both match, and in this case this means swapping out Gorilla in the secondary slot for Eagle, sacrificing Unstoppable in the process. The damage boost more than makes up for this, but it does depend what you’re fighting - being Unstoppable is more mindless, but the increased damage means faster kill rates.
Temerity, on the other hand, will convert excess healing into a Barrier, and since this build heals 2% of its Maximum Life every time it hits a Vulnerable targets (read, all the time) you’ll end up with a robust Barrier supplementing your Life. In this case you’ll want to find space for the Conceited Aspect in your build to further boost your damage. This also synergizes well with the Viscious Shield Paragon board.
While other builds eclipse this one in higher Torment tiers, you can push this build into Torment III with some gear substitutions.
Gems and Runewords
One of the biggest expenditures of this build will be the cost of creating gems… but they’re easy enough to recycle and you’ll find use for them in later builds, so it’s not the worst thing in the world. Generally you don’t want to get too lost in the weeds, but the odd Skull or Diamond in your amulets and rings and a pair of Sapphires in your weapon will go a long way towards keeping your toon alive. Other than that, you can consider putting Emeralds in your armor, but that isn’t really necessary.
While grinding Torment I you will find runes, and runewords are cheaper to create than gems, and cost nothing to unsocket. One obvious combo for this build is using the Ritual Rune “CEM”, which generates Offering every time you Evade, and pairing it with… anything you want to proc repeatedly. The gold standard for this build would probably be “THUL” to add Frost Nova to the build, autocasting six Evades or so, but this is a rare rune, and if you can’t find it there are plenty of options, like WAT (casts ![]() Horrid Decrepify) or QUE (Earthen Bulwark - acting as a poor man’s Temerity).
Horrid Decrepify) or QUE (Earthen Bulwark - acting as a poor man’s Temerity).


(1 of 2) Be sure to drop Skulls and Diamonds in your jewelry to boost your Armor and Resistances, respectively.
Be sure to drop Skulls and Diamonds in your jewelry to boost your Armor and Resistances, respectively. (left), Runewords can also be useful - it’s free to experiment with them so using them is preferrable to Emeralds. (right)
Paragon Boards
Finally, we come to the Paragon Boards. You should expect to earn a good number of Paragon Levels while grinding for the gear you’ll need to leave this build behind, and it’d be a shame not to put that to use. ![]() Below are some suggested Paragon Boards and the Legendary and Rare nodes we suggest you purchase:
Below are some suggested Paragon Boards and the Legendary and Rare nodes we suggest you purchase:
List of Suggested Affixes and Stats
| Paragon Board | Notable Nodes |
|---|---|
| Base | Tenacity, Spiritual |
| Drive | Drive, Piercing Gale, Tolerance |
| Sapping | Sapping, Resilience, Denial |
| Viscous Shield | Viscous Shield, Bristle, Slayer, Fearless, Raptor, Primal Ward |
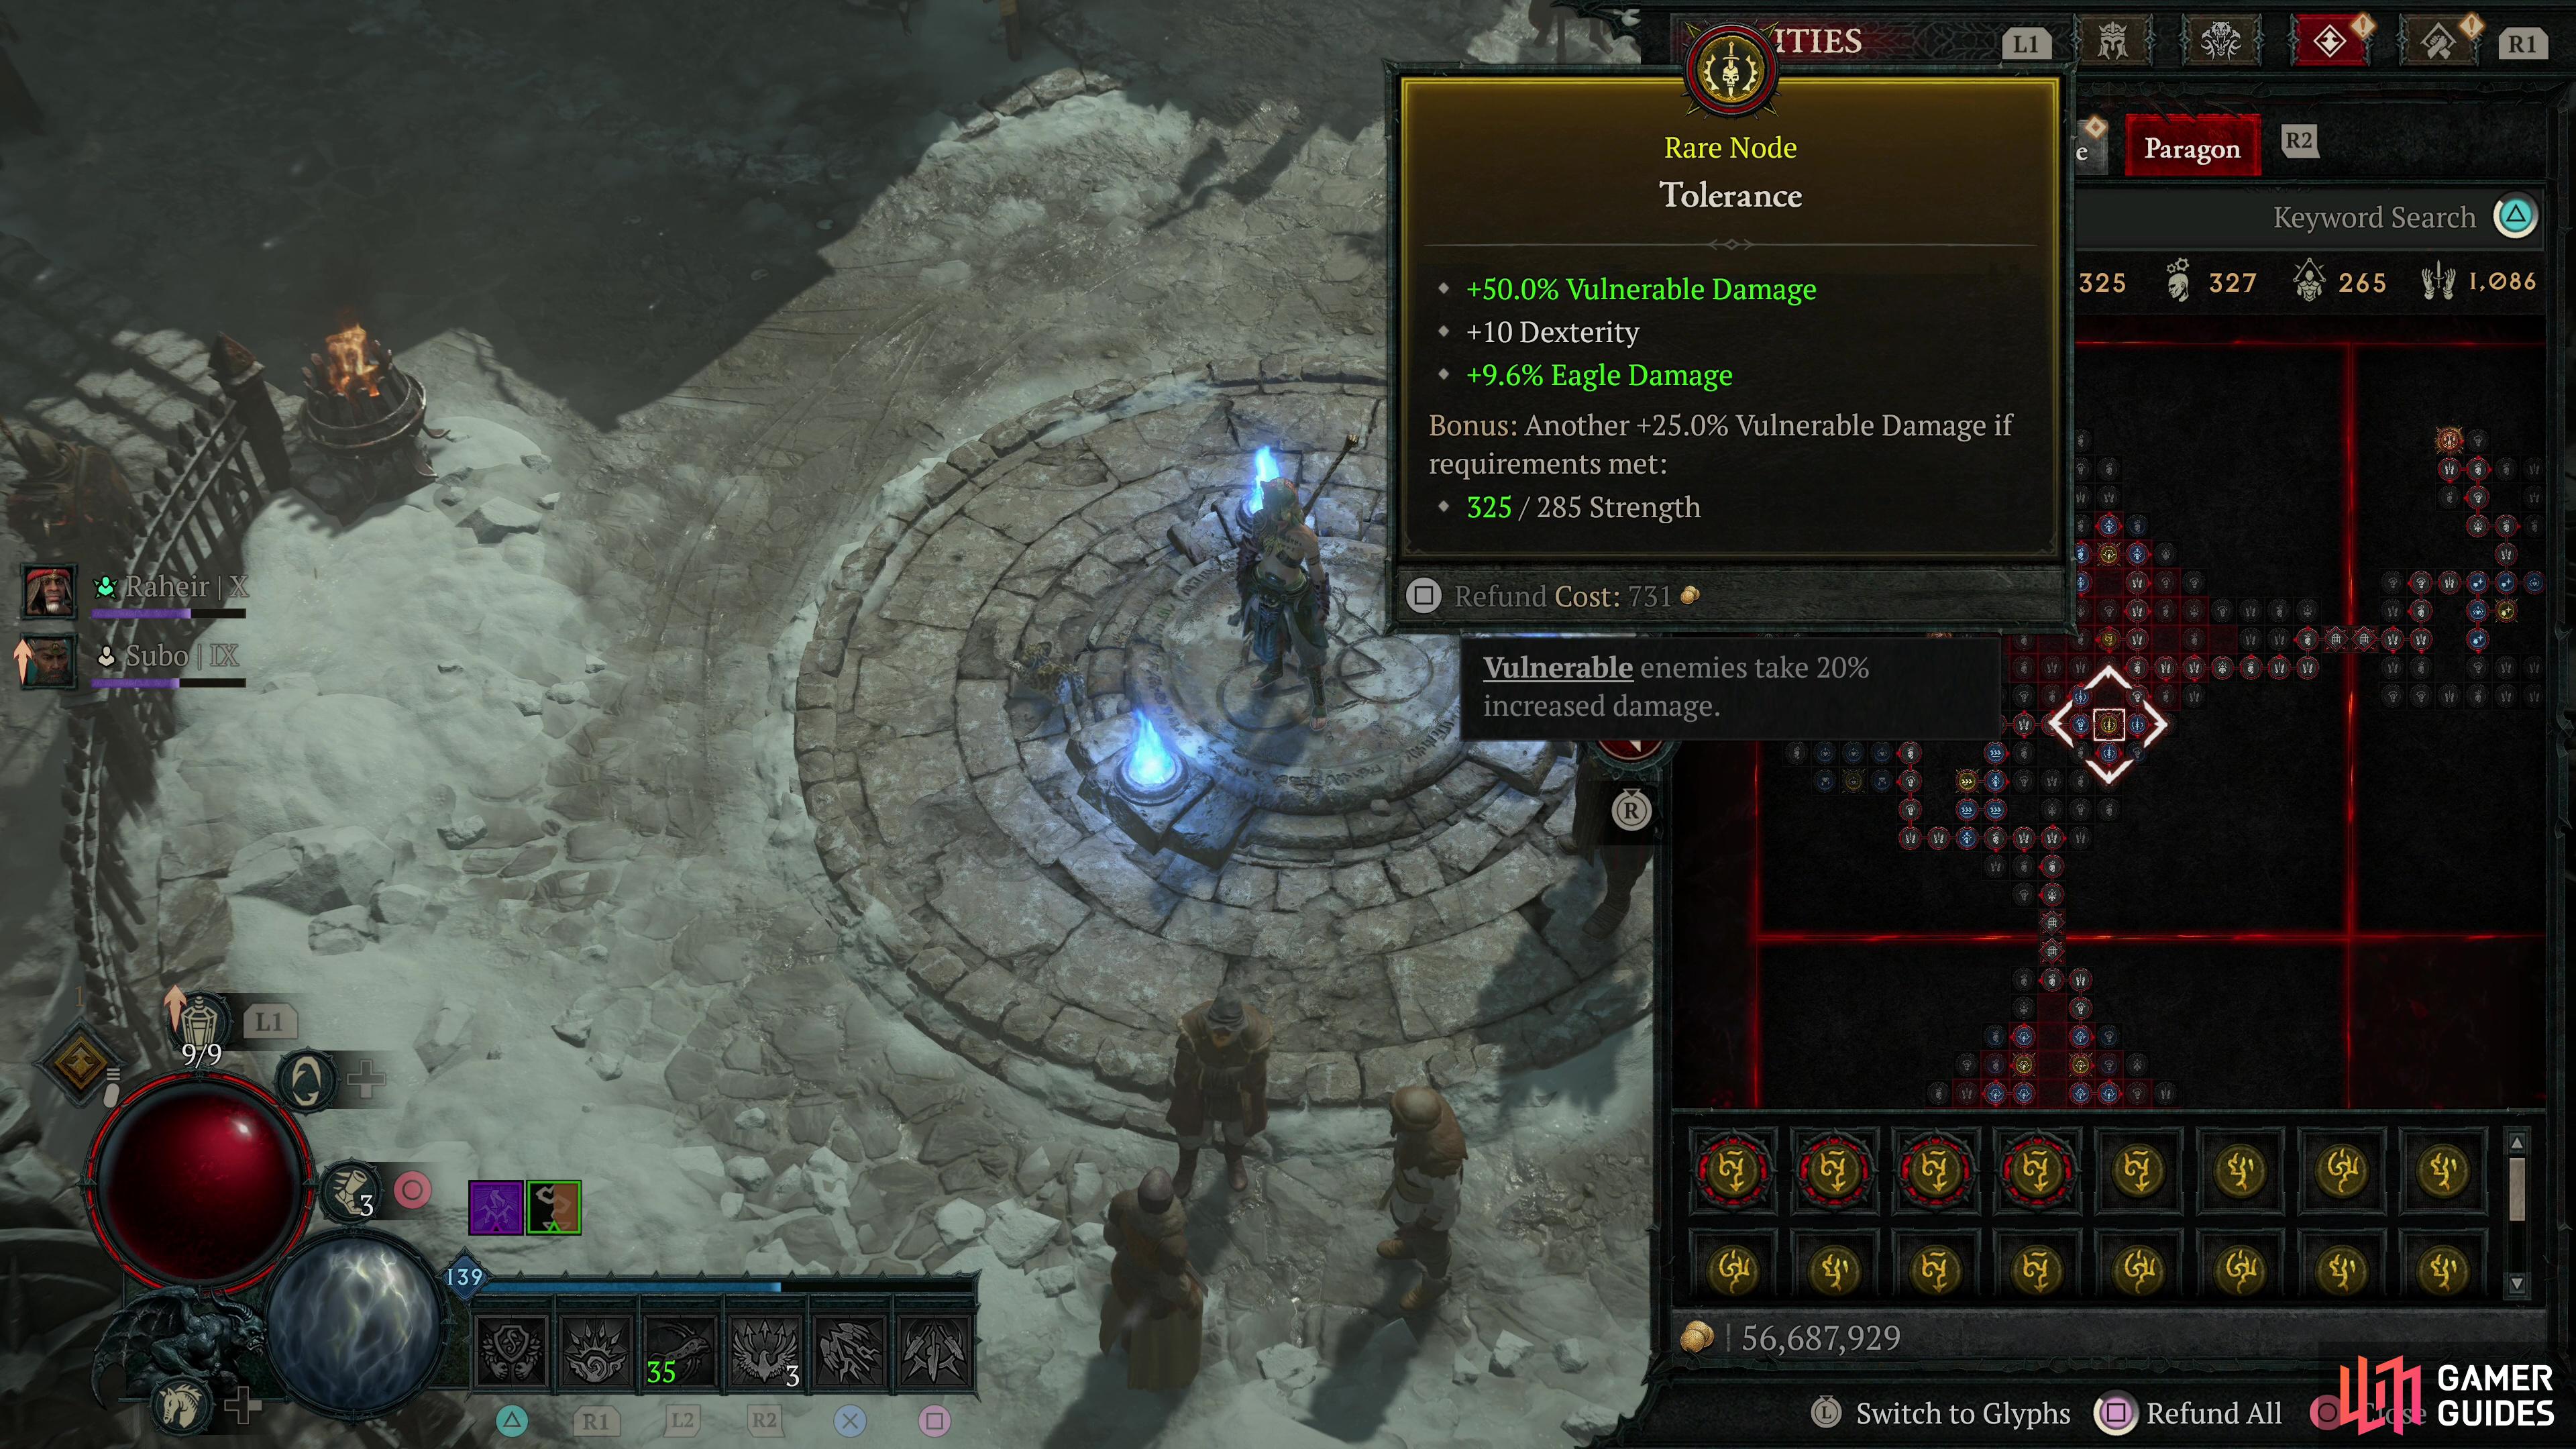
Seek out nodes that provide stat boosts useful to this build - Damage, Vulnerable Damage, Crit Chance, Crit Damage, Armor, Life, Resistances, etc.
Don’t worry about Glyphs too much - there’s not a lot of pointing in leveling them much for this build. Beeline your way between legendary and rare nodes, also grabbing magic nodes when they offer up Vulnerable Damage, Crit Damage, Life, Armor, Resistances or Movement Speed - all nice supplements to have. Viscous Ward is much more useful if you have a CEM + QUE runeword or Temerity to ensure you’ll almost always have a Barrier up. Just keep in mind, you’ll probably be resetting most of these purchases when you move onto your true endgame build, but the potency during the Torment I grind is worth the cold expense!
No Comments