
Now we have had a good scope around the southern areas of White Orchard it is time to trek a little further Northwards. Let’s see what is to be found in this part of the world shall we?
| Important Items in this Area |
|---|
| Temerian Lily Key |
| Blood-soaked Military Orders |
| Scribbled Document |
| Letter From Witcher Kolgrim of the Viper School |
| Diagram: Serpentine Silver Sword |
| Scrawled Notes |
| Spy’s Notes |
| Soaked Letter |
Return to White Orchard village, repair, sell, all that other fun stuff. When you’re ready, it’s time to set out again. This time you’re going to be exploring the broad stretch of land north of White Orchard, across the river. To start out, head to the river north of town and follow the shore north-west until you find a dock. At this point dive into the river and swim up to the north-west. Keep your Witcher Senses active as you swim, and you should spot treasure in the water - one treasure chest under a fisherman in his boat, and two more chests as you swim up river, all possibly containing quality loot.
A Frying Pan, Spick and Span Walkthrough
Once you score the third chest, surface and turn south-west to spot a house on the shore. Swim to shore, loot the sacks on the small dock nearby, then talk to the Old Woman standing outside. This was a mistake. The Old Woman goes off on a mighty tirade. Long story short, she needs you to break into the house and recover her pan.
Use Aard on the door then head inside. In the first room you’ll find a number of containers to loot (including a chest in the corner which main contain a diagram, formula, or piece of equipment). Head north-west into the second room to discover a corpse, likely belonging to one of the two men the Old Woman mentioned earlier. Loot the room - including a chest lying on its side that might also yield worthwhile gear - then activate your Witcher Senses and search the “Silver Monocle” on the floor, then the corpse. Head into the room to the south-west, activate your Witcher Senses, then search the stove to discover some “Burned Papers” near an oven. Finally, loot a shelf then grab the pan the old lady keeps whining about. Geralt will notice that the pan, initially described as old and sooty, has been scraped clean by her guests, and the soot was used to make a crude ink. Leave the house and given the Old Woman her pan and some advice. She’ll decide one good turn deserves another, and give you a reward… such as she can afford.
| Objective | Reward |
|---|---|
| For returning the Old Woman’s pan | 10 XP / Bread x5 / Apple Juice x5 / Baked Apple x5 |
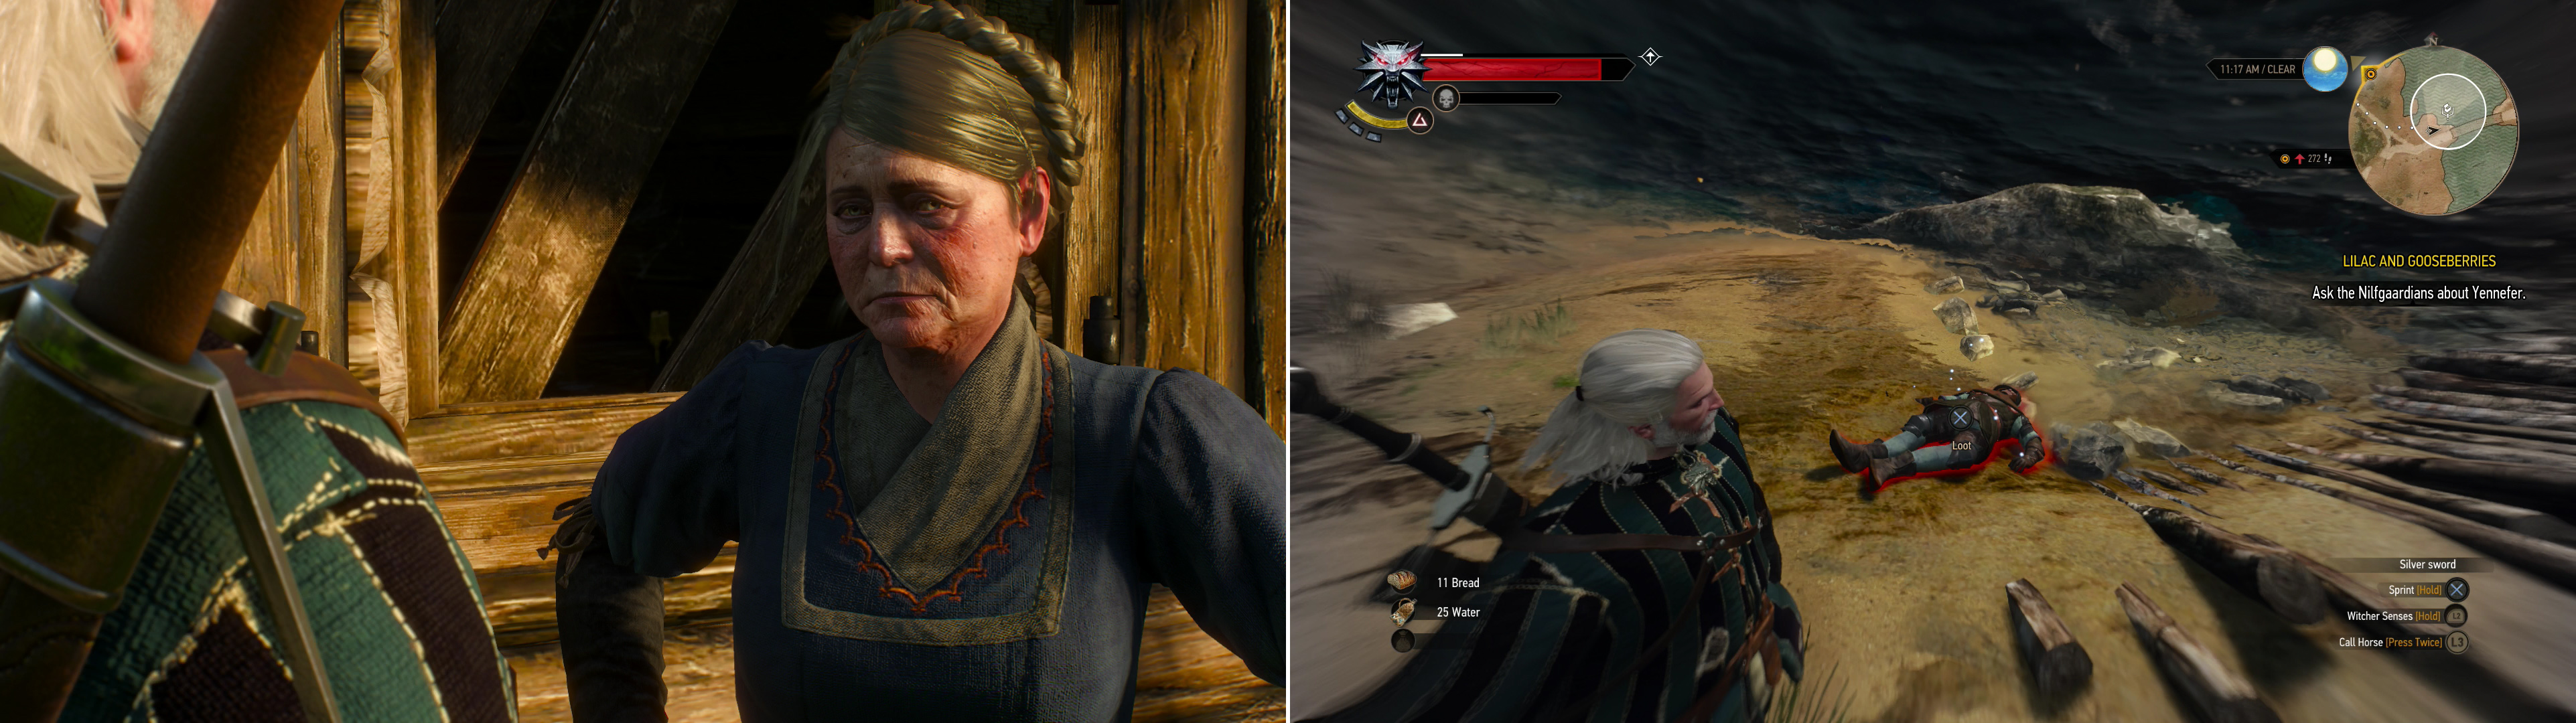
Talk to the Old Woman and agree to help her recover her… pan? (left) Loot the corpse to score the Temerian Lily Key (right).
Hidden Treasure (level 4)
From the Old Woman’s house follow the road running along the river to the north-west until you find a bridge leading north-east across the river. Be wary along this road, as Wolves prowl the wilderness west of the road, perhaps led by the odd Warg. Wolves are fast, like to attack in packs, and can present a somewhat difficult target. The best way to fight them is to keep your guard up, and when you block an attack, instantly counter with some Fast Attacks. Using Igni whenever you have the Stamina for it will also help shorten fights, and it provides some crowd control. The same tactics also work for Wild Dogs, and it makes fights with these critters trivial.
The situation isn’t much better when you reach the bridge, which is likely crawling with Drowners. North of the bridge, on the western shore, you’ll find the body of a soldier. Search it to obtain the “Temerian Lily Key” . Once this is in your possession, head into the water north of the bridge and dive to discover a chest, inside of which you’ll find, amongst other loot, some “Blood-soaked Military Orders” . Grabbing the Military Orders starts the quest “Temerian Valuables” , and reading them in your inventory will update the quest. You can also swim up the river a bit and nab some Buckthorn from the river bottom. You’ll need this stuff later, but it doesn’t hurt to grab it now. As if that’s not enough, if you swim south of the bridge you can find more Buckthorn and another generous treasure chest. This chest isn’t part of any quest, however, just a reward for being diligent… and willing to get your feet (and everything else, for that matter) wet.
Temerian Valuables (level 4)
Cross the Bridge to the north-east, then follow the road until it branches off into many paths at the “Mills” signpost. Follow the road to the north-east, up a hill and under a wooden structure decorated with a deer skull. East of the road are some buildings worth exploring. The southern-most one - the mill - has a variety of containers around it that can be looted, at least, along the eastern and southern sides of the structure. Under a more modest, straw-roofed structure to the north-east you’ll find a chest which may contain some exceptional loot.
The building further north-east is, at a glance, empty, but inside, along the south-eastern end of the house, you’ll find some poorly concealed stairs leading down into a cellar. Head down the stairs and use your Aard Sign to coax a door open, then proceed beyond the debris to find no fewer than four chests waiting for some certain Witcher to loot them. Looting the chest furthest from the door (it glows red when using your Witcher Senses) requires the Temerian Lily Key you found earlier, and doing so will complete the quest “Temerian Valuables “.
Place of Power (level 7)
There’s another, less interesting farm house built upon (and into, really) a hill to the north, but it has a door that’s determined to keep you out, Aard be damned. There are a few sacks that can be looted out front, however. Return to the Mill signpost and follow a smaller road north to reach the White Orchard Cemetery. Pass a statue (probably of the goddess Melitele) to find a Place of Power in front of a modest chapel. As you approach you’ll be attacked by a Wraith. This incorporeal critter likes to teleport around and attempts to score cheap shots while doing so, usually attacking several times in succession, so wait for it to finish its combo before countering with a few fast attacks. Once its health is reduced to around 50% it’ll vanish. Jerk. Draw from the Place of Power to gain another ability point, then head over to the chapel.
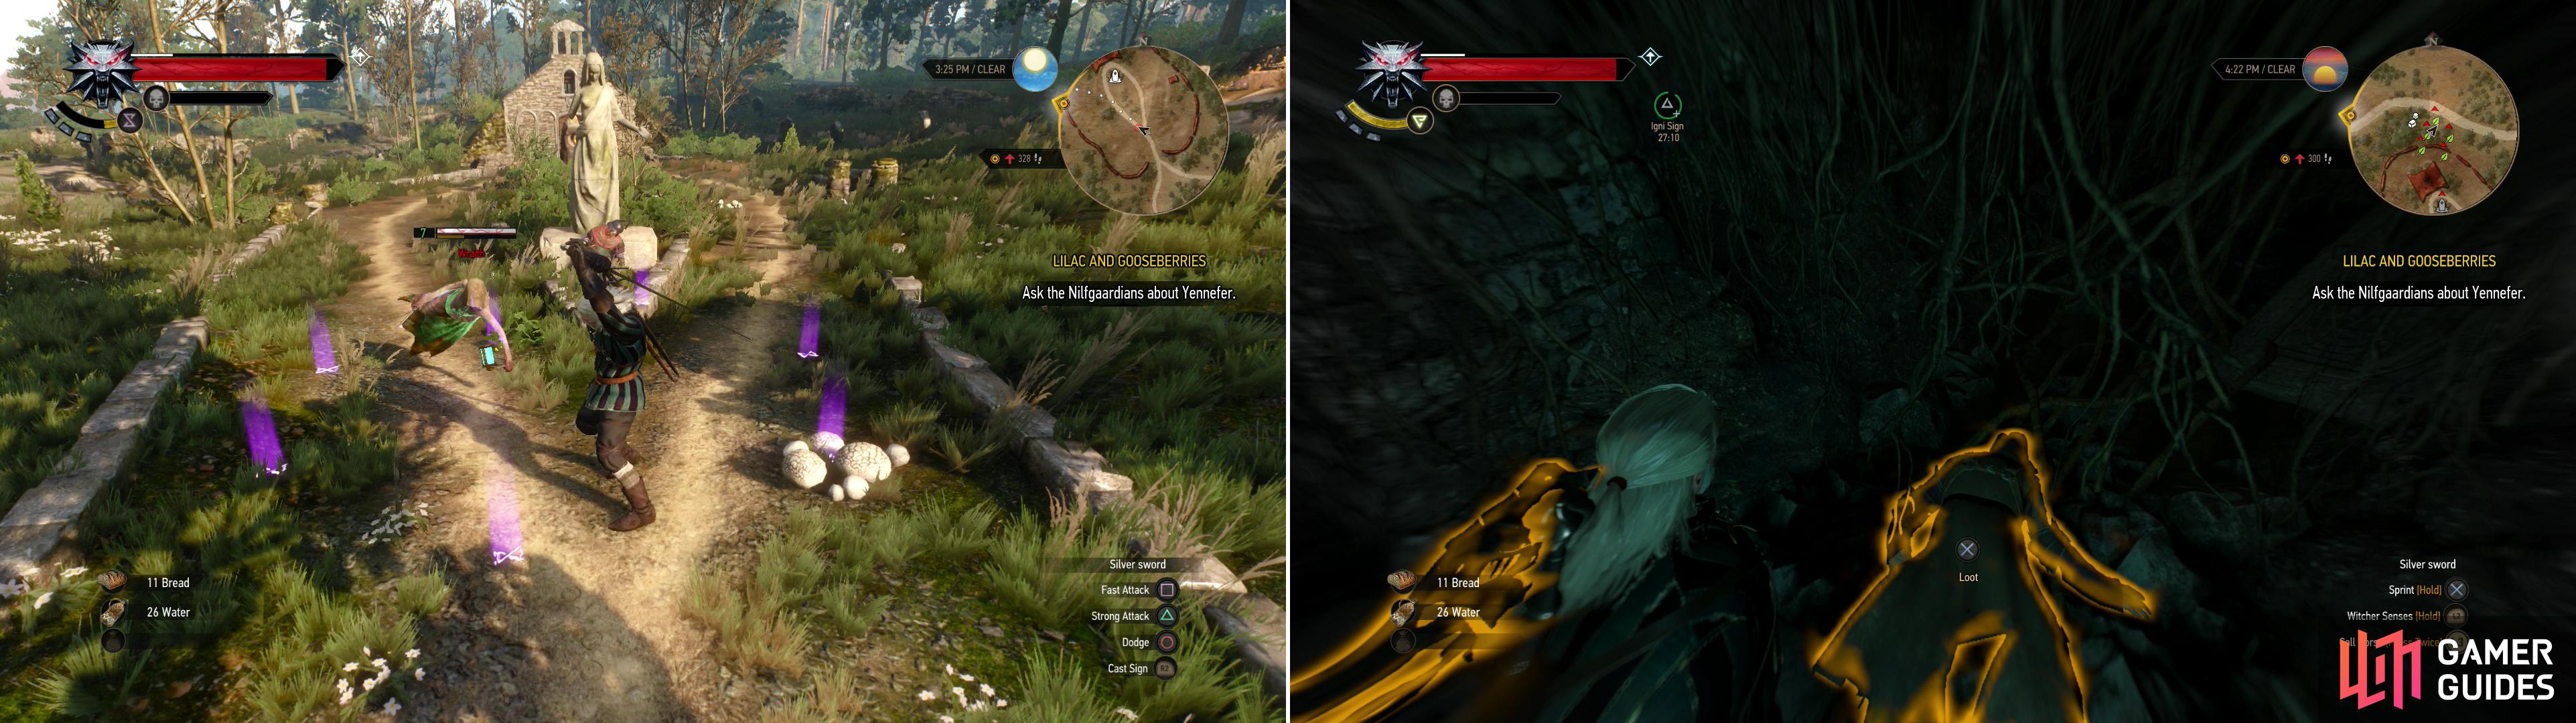
Defeat the Wraith and it’ll flee into the chapel (left) chase it, defeat it, and loot some corpses to find the Diagram: Serpentine Silver Sword (right).
Guarded Treasure (level 7)
Search near the door with your Witcher Senses to spot some odd hand prints. Hmm… Strange. Blast the door open with Aard and head inside. So much for subtlety. Go down some stairs and through an open gate door and your friendly Wraith from earlier will appear, still wounded. Same thing as before, except in an enclosed space, it might be somewhat more difficult to dodge. Once the Wraith is dead, let the sweet, sweet looting begin. To the east you’ll find two corpses to loot, one of which presumably belongs to the Witcher you read about in the “Interrogation Report” who was falsely accused and chose a trial by combat. Seems he didn’t fare so well against the Wraith. To your gain, though, he had on him a “Letter From Witcher Kolgrim of the Viper School” and the “Diagram: Serpentine Silver Sword” . Like the Serpentine Steel Sword, this Silver Sword is likely a nice upgrade over what you’re currently using. Alas, it too requires Emerald Dust, which is quite expensive, but it can be purchased from Willis. To the north, against a wall, you’ll find a chest containing some nice loot, and nearby another corpse is resting against a pillar.
Leave the crypt, the chapel, then the cemetery entirely, heading north until you find a road running… more or less east-west. Travel west until you spot some hanged corpses north of the road, which mark the edge of a Nilfgaardian camp further north. More of that Nilfgaardian “civilization” it seems. The camp is occupied by a few soldiers, but more importantly, it’s got some loot. Of course, this stuff doesn’t belong to you, and unlike peasants, the soldiers will get angry if they see you molesting their goods. Most of the stuff isn’t worth bothering with, but behind one of the tents is a chest full of quality loot. Just wait until there aren’t any soldiers who can see you, and loot the chest (you’ll get a warning if you’re spotted, which gives you a chance to back out.) Before you get cute, these guards will always be leveled so as to be significantly stronger than Geralt. Yes, that means any common Nilfgaardian Soldier is more than a match for a century-old legendary Witcher. It makes no sense, but… well, the developers have to curb bad behavior somehow, right?
Monster Nest/Place of Power (level 2)
From the Nilgaardian camp head north-east into the woods. Eventually you should come across a number of out-of-place standing stones, in the midst of which is a Place of Power… and as near the battlefield, a Ghoul’s Nest is nearby. Maybe Ghouls like nesting near Places of Power? Or maybe Places of Power like springing up near Ghoul Nests? No, that’s stupid… Anyways, kill the Ghouls, plant a bomb, blow it up, loot the nest, and gain your Ability Point by drawing from the Place of Power.
| Objective | Reward |
|---|---|
| For destroying yet another Ghoul Nest | 20 XP |
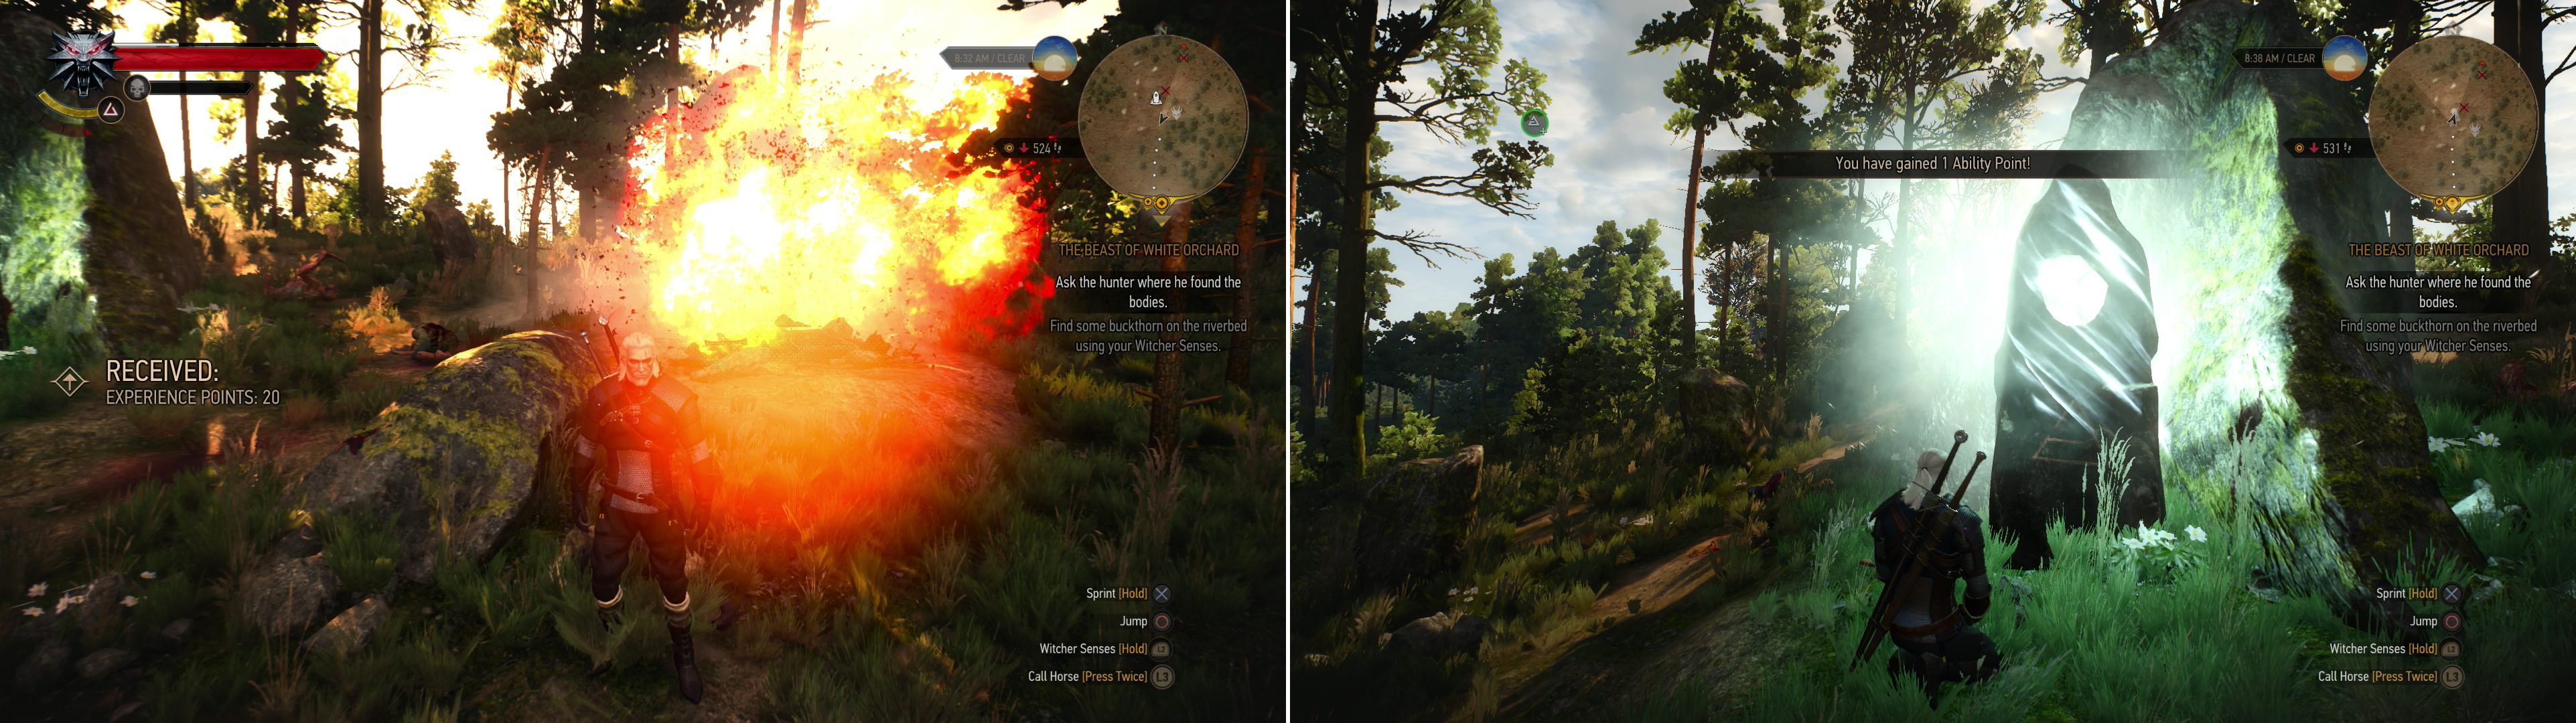
Destroy the Ghoul nest (left) then draw from the Place of Power (right).
Hidden Treasure (level 5)
Return back south to the house near the mill (the one where the treasure from the quest “Temerian Valuables” was located) and from this house head north-east into the wilderness. Eventually you should come across a campsite… Nilfgaardian, by the look of the shields lying around. Now, however, all you’ll find here are a pack of Wolves and maybe some Wild Dogs. Try to avoid fighting them all at once, and when they’re slain, loot the camp. There are plenty of sacks and barrels to loot, but the real prize is the chest in the tent. Inside, amongst loot of various quality, you’ll find some “Scrawled Notes” . Picking them up starts the quest “Dirty Funds” , and reading them updates it. Just so happens the Bandit Camp mentioned in these notes are east of here. Well, it would be a shame not to follow up on this information…
Hidden Treasure (level 5)
First, however, head north-east from this camp to find… another camp with Hidden Treasure! Along the way you might encounter more Wolves and other doggies, and the camp itself is likely crawling with even more of them. When the mutts have been chased off, search the campsite. Seems like somebody came out for a little star-gazing, but was overwhelmed by the local wild-life. Loot the sacks outside of the tent, then turn your attention to the goodies inside. In a crate you’ll find the letter “Spy’s Notes” which will complete the quest “Deserter Gold” if you pick it up and read it, the quest which involved picking up the Temerian Lily Key and looting the mill.
Dirty Funds Walkthrough (level 2)
Head south-east until you find some towering cliffs, upon which your destination lies. Make your way south to reach the western end of the cliffs to find a navigable way up to the top. Deserters, however, might object to you simply walking in and ransacking their hideout. Dispatch the first two you meet, then continue uphill to find another four, including a higher-level deserter who has a shield. Save him for last and exterminate his support. When only the shield-bearer remains, you’ll have to find a way to get around his shield. You can either blast him with Aard to stun him, then get around him for a few quick hits, or just parry hit attacks. Once they’re dead, let the looting begin!
Near the beginning of the hideout you’ll find a tent near a campfire, near which you’ll find assorted sacks, parcels, and barrels to loot. Further uphill under another tent are even more sacks and parcels. North-east of here, near where the shield-bearer and his buddies where, you’ll find a somewhat sturdier, more lavish tent, outside of which are some crates, a barrel, and another package. Inside the tent you’ll find three chests - two large chests near a bed, and a smaller chest in a corner. When the smaller chest is looted, the quest “Dirty Funds” will be completed. On a cabinet to the north-west you’ll find a “Soaked Letter” addressed to Velerad, the mayor of Vizima back when Vizima had a king.

 Sign up
No Comments