
| Important Items in this Area |
|---|
| Highwayman’s Notes |
| Sodden Note |
| Water-Damaged Letter |
| Letter |
| Cage Key |
Fists of Fury: Velen (Level 11)
Fast travel to Blackbough and, while you’re there, consider indulging in some fist-fighting by talking to the Bookie, who will, if you’re brave enough, put you against Jonah. Careful, he bites! You already beat a stronger (or at least, more lucrative) foe in Fishgulper back in Lindenvale, so put up your bet, then your dukes. While you’re at it, we might as well finish up this quest, since it just requires a bit of fast travel.
Return to the Inn at the Crossroads and head inside the inn, where you’ll find some fine, upstanding patrons boxing. In this appropriate venue you’ll find another Bookie. Make your best and lay the smackdown on Smithy. Next stop-Crow’s Peak. In front of the stables by the keep you’ll find some more boxers. Talk to the Sergeant, then engage in some fisticuffs. Why does he get to keep his armor on when Geralt doesn’t? Oh well, it doesn’t help him any. Win and you’ll be proclaimed the champion of Velen, then directed to continue your violent ways in Novigrad and Skellige. All in good time…
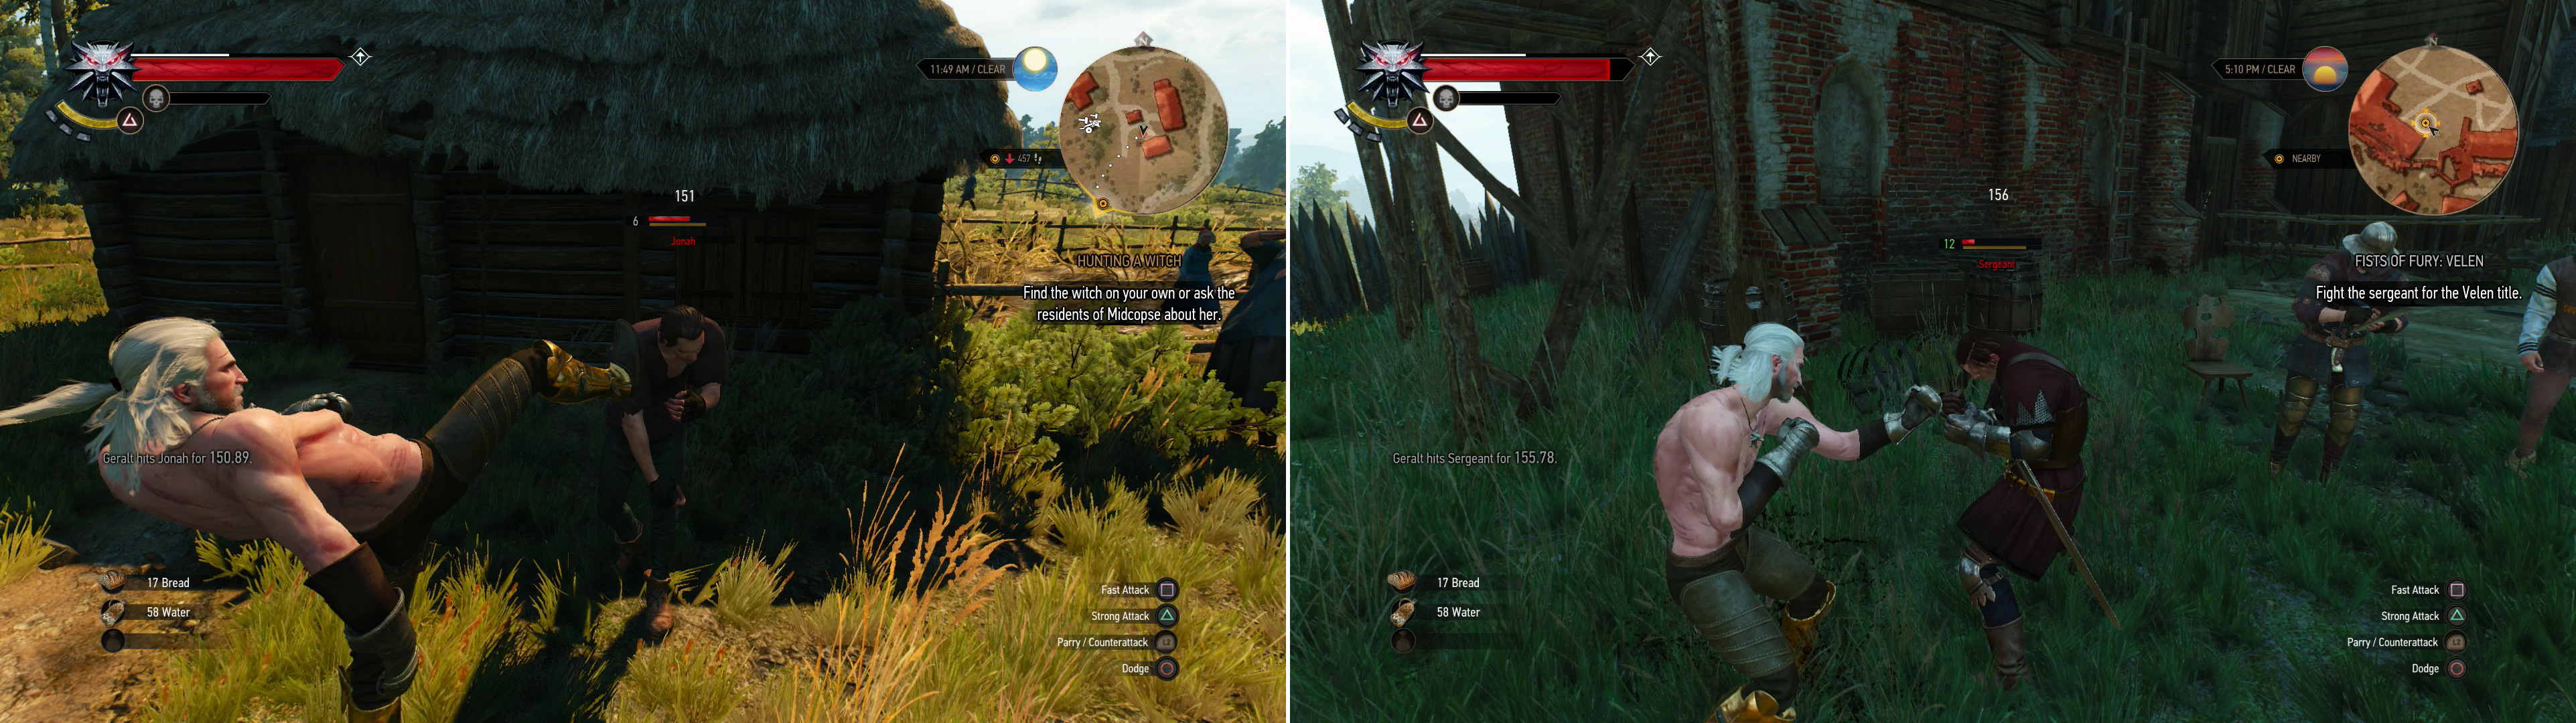
Jonah (left) and the Baron’s Sergeant (right) are two of the foes you can challenge to fisticuffs in Velen.
Return to the Inn at the Crossroads and head inside the inn, where you’ll find some fine, upstanding patrons boxing. In this appropriate venue you’ll find another Bookie. Make your best and lay the smackdown on Smithy. Next stop - Crow’s Perch. In front of the stables by the keep you’ll find some more boxers. Talk to the Sergeant, then engage in some fisticuffs. Why does he get to keep his armor on when Geralt doesn’t? Oh well, it doesn’t help him any. Win and you’ll be proclaimed the champion of Velen, then directed to continue your violent ways in Novigrad and Skellige. All in good time…
| Objective | Reward |
|---|---|
| For defeating Jonah | 25 XP / 2-100 Crowns |
| For defeating Smithy | 25 XP / 2-140 Crowns |
| For becoming the champion of Velen | 75 XP / 2-160 Crowns |
Guarded Treasure (Level 4)
Return to Blackbough and head west to find a beached boat guarded by several Drowners (level four). Kill them and a stronger, purple Drowner (level four) will rise from the water and attack. Once that beast is put down, loot the corpses near the shore, one of which possesses some “Highwayman’s Notes” and another has a “Sodden Note” .
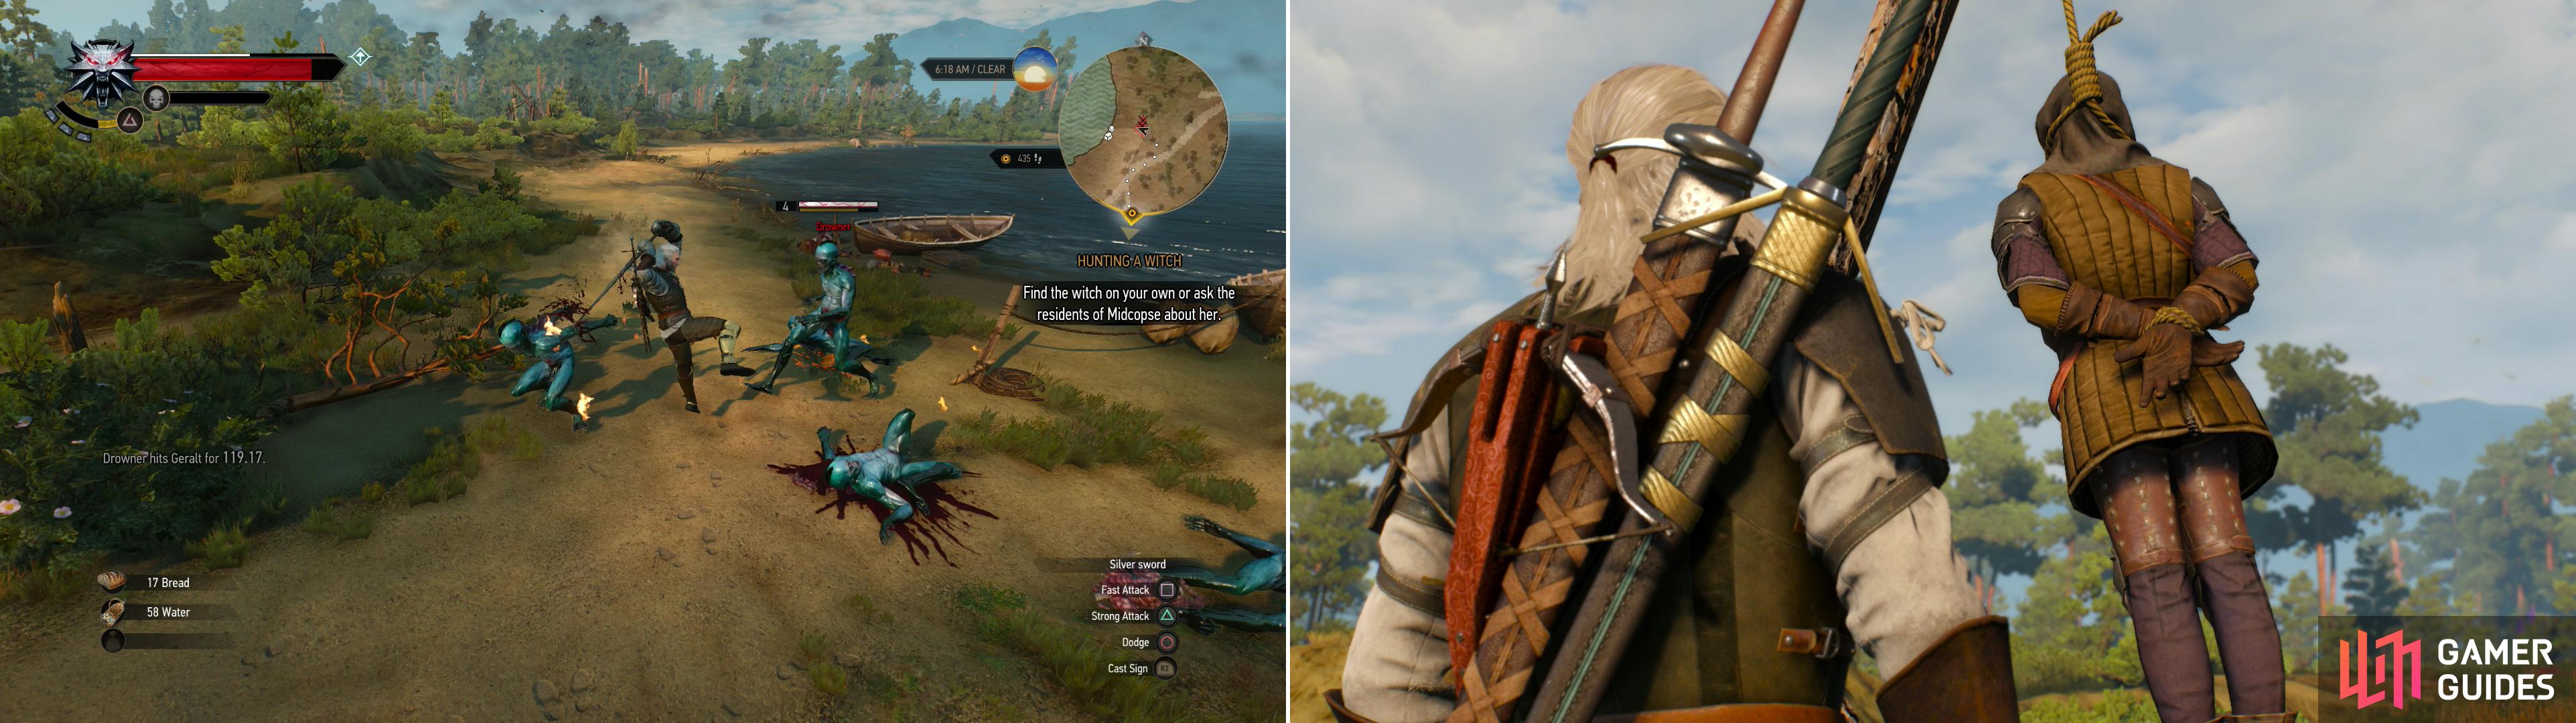
Kill some Drowners by the shore so you can loot some corpses (left). You’ll find that Hangman’s Alley lives up to its namesake… moreso if you decide not to interfere (right).
Lynch Mob (Level 7)
Head south-west along the nearby road until you discover the Hangman’s Alley signpost. West of here you’ll find a group of Nordlings about to hang a Nilfgaardian deserter… for reasons of pure vengeance. If you leave the event without doing anything, the Nordlings will go about their bloody business, so be sure to deal with it now. Talk to one of the Peasants and decide whether you want to help stop the violence by perpetrating more violence, or if you want to maintain your Witcher neutrality and let things proceed. If you take the former approach the Nilfgaardian will thank you, and head off to his wife and newborn daughter, although Geralt is rather pessimistic about the whole affair. If you take the latter approach… well, you can loot the strung-up Nilfgaardian for a letter that confirms his motivations.
| Objective | Reward |
|---|---|
| For saving the Nilfgaardian from the lynch mob | 25 XP |
Hidden Treasure: Sunken Treasure (Level 4)
North-west of the “Hangman’s Alley” signpost, along the shore, you’ll find a “Hidden Treasure” event. Search a decomposed corpse for a “Water-Damaged Letter” to start the quest “Sunken Treasure”. Read the letter, then, from the corpse, swim north to find a sunken ship guarded by two Drowners (level ten). Near the ship you’ll find an odd shell and a chest, which if you loot for its surprisingly meager contents, will complete this quest.
Abandoned Site (Level 7)
Continue west along the shore until you find an “Abandoned Site” occupied by several Bandits (level seven). Smite them and Peasants will move in, including an Herbalist. Inside the house you’ll find some containers worth looting, and a “Letter” on the bed.
| Objective | Reward |
|---|---|
| For liberating the Abandoned Site | 150 XP / 50 Crowns |
Person(s) In Distress (level 6)
Leave the no-longer-Abandoned Site and follow the road south until you reach a four-way fork, at which point continue on the southern road until you find a rather well-supplied campsite occupied by Renegades (levels five and six). Kill them and loot their leader for a “Cage Key” which can be used on a nearby cage to free a Barber, who invites you to peruse his services if you ever stop by Claywich. Fair enough.
Loot the camp for loot of varying quality, the best of which will probably be found in a chest near a tent along the eastern edge of camp. This signature loot will be diluted by a collection low-quality weapons, which conspire to fill your inventory. Near a tent along the western end of the camp you’ll find some “Bandit’s Notes” . Oh well… Refugees will take control of this site after you leave.
Bandit Camp (Level 7)
Continue south from the campsite you just raided to find some roads, one of which you should follow to the south-west to find another, more humble Bandit Camp. Kill the Bandits (level seven) then loot a chest near a campfire for some quality loot. Another chest can be found by a wagon along the road to the east, with somewhat less valuable loot inside.
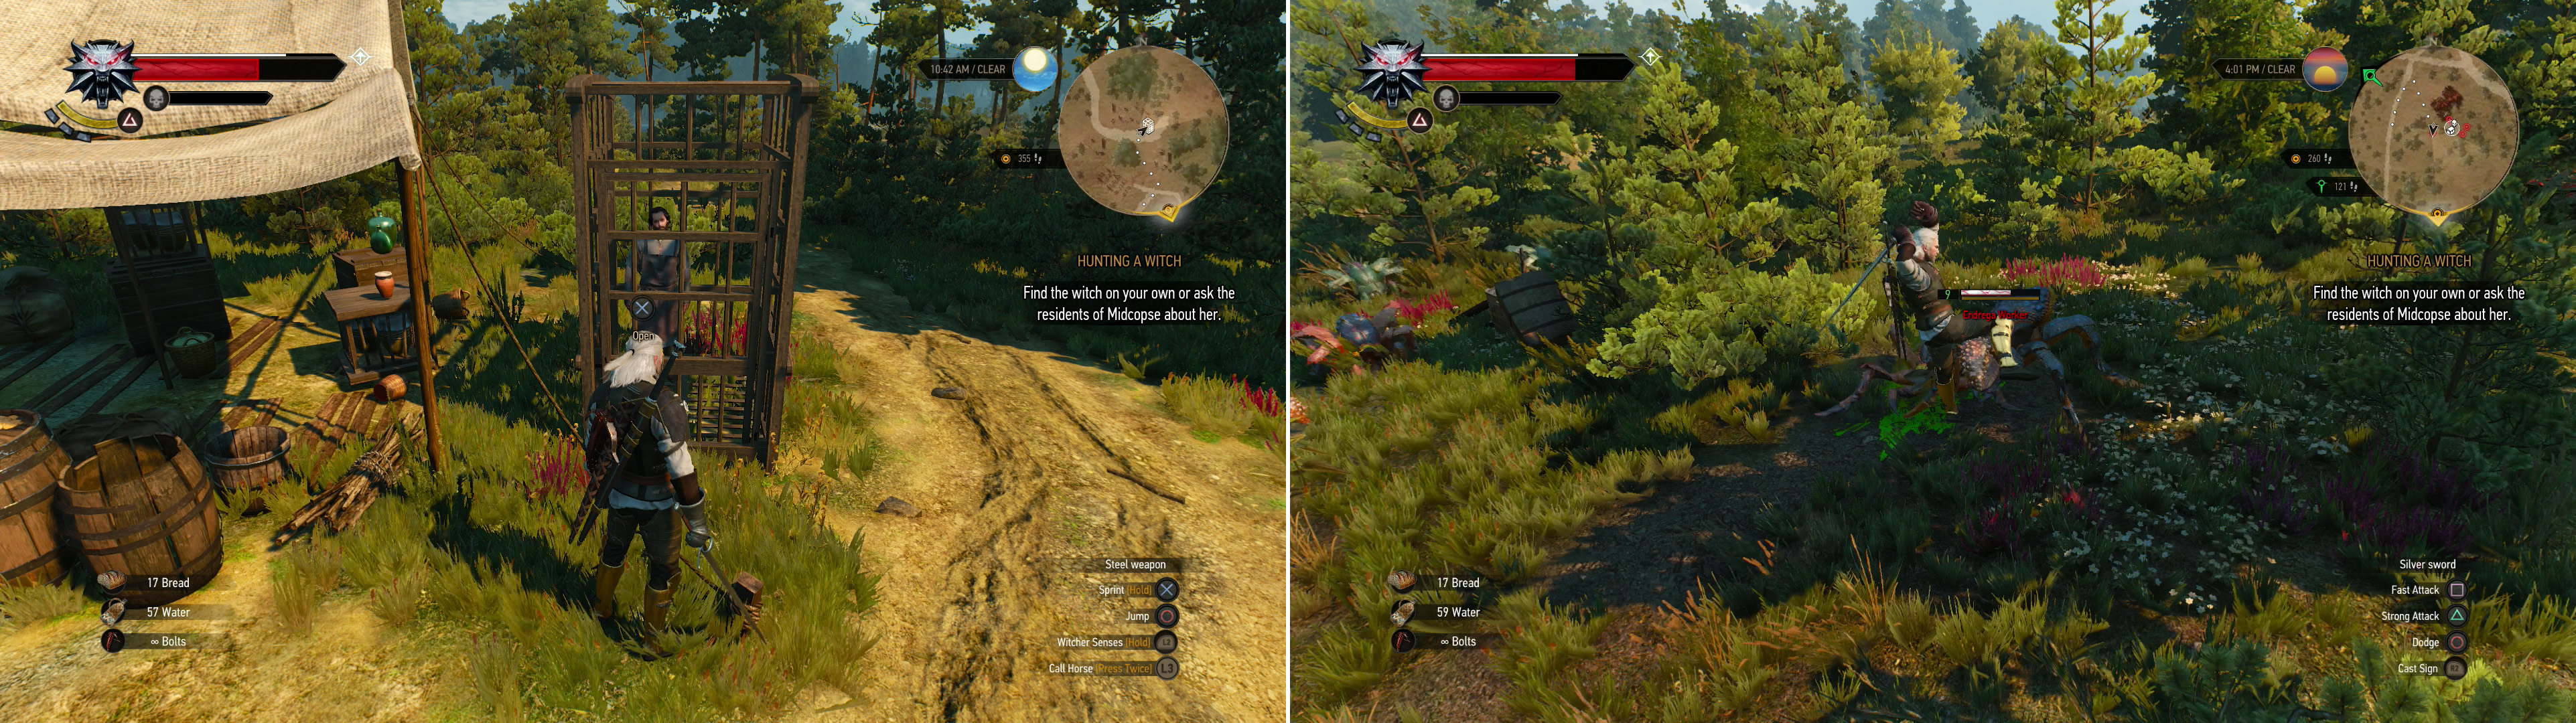
Kill the Renegades and free a captive Barber, who will return home to Claywich (left). Smash some Edrega near a burned-down house so you can safely loot the treasure they guard (right).
Guarded Treasure (Level 9)
Backtrack up the path to where the road split (just south of the slaver camp where you liberated the barber), and this time follow a trail to the south-east, then east. When you reach a crossroads, head south-east to find a burnt-down house, now a gathering spot for Endrega (level nine), mostly easily-smote Workers. Crush the bugs, then loot two chests, one of which has a selection of quality goodies.
Bandit Camp (level 9)
From the burnt-down house follow a trail south to reach a modest Bandit Camp. Kill a trio of Bandits (level nine) then loot a chest near a tree. Continue south from the camp and you might be attacked by a host of Endrega (level nine) led by an Arachasae (level eleven). Kill the lesser bugs, then focus on the Arachasae. This big critter can spit streams of poison in a cone, and it can hold you in place temporarily with webbing, so be prepared to dodge if you see it acting strange. Sounds tricky, but protecting yourself with Quen, closing while dodging and smacking her with up to three heavy attacks at a time before dodging away again works fine. Just be wary of being too close to her poison spit - at close ranges it can work like a shotgun blast, and on Death March mode, even Quen won’t save you. This encounter usually only occurs at night, so you can avoid it entirely if you travel during the day time. Continue south until you reach a crossroads, at which point briefly follow a road to the east to find a “Forest Hut” which can be looted. It comes complete with a signpost, too.
Bandit Camp (level 9)
Return west to the crossroads and from here follow the road south to find another Bandit Camp. Kill three more Bandits (level nine) then search a pair of containers near a tree.
Bandit Camp (level 10)
One more Bandit Camp to clear, and it’s more or less on the way. From the last camp you cleared head west along the road until it splits, at which point follow the sad wagon tracks that pass for a road to the south-east, whereupon you’ll find yet another Bandit Camp. Kill the Deserters (level ten) here - there are usually five of them about - then loot a chest near a tree.
With that, you’ve done pretty much everything that can be even remotely considered “en-route” from Blackbough to Midcopse. Some areas along the coast were left untouched, but you’re probably better off returning to them later, when you’re a bit stronger. From the last Bandit Camp you explore you can reach Midcopse by heading south-east.. just… follow the road.

 Sign up
No Comments