
Wither 3’s Now or Never is one of the pivotal points of this section of the side-story. The reason why is because it cuts off the Witch Hunter Raids side story, thanks to its part to play by following from the “A Matter of Life and Death” quest with Triss. Moreso, this quest also removes the Zoltan Stealth Option in the Great Escape mission. Lastly, this mission may result in the innkeeper Olivier dying. If you’re on a Gwent loving playthrough, make sure you browse her wears and get what you need for your deck before proceeding, just in case. We figured these are important statements to declare before reading on any further into our Witcher 3 Now or Never walkthrough. Make sure you do what you need to do before finishing this, and be aware of what your decisions mean for future quests. Happy? Lets go!
Witcher 3: Now or Never Walkthrough
| Important Items in this Area |
|---|
| Eternal Fire Letter of Safe Conduct |
| Key (Walter’s) |
| Warrant |
| Key (Lissu’s) |
| Letter About Treasure |
| Key (Fritz’s) |
| Gwestog |
| Crumpled Note |
Head back to Novigrad and - if you go through one of the gates to reach the city - you’ll be accosted by a guard, who’ll demand your papers. Seems the witch hunt has intensified. Before things can get messy, another guard will come and cover for you, giving you an “Eternal Fire Letter of Safe Conduct” and whispering his allegiance to Dijkstra as he leaves. Yeah… Triss’ll probably be wanting to get those mages out of the city soon-like.
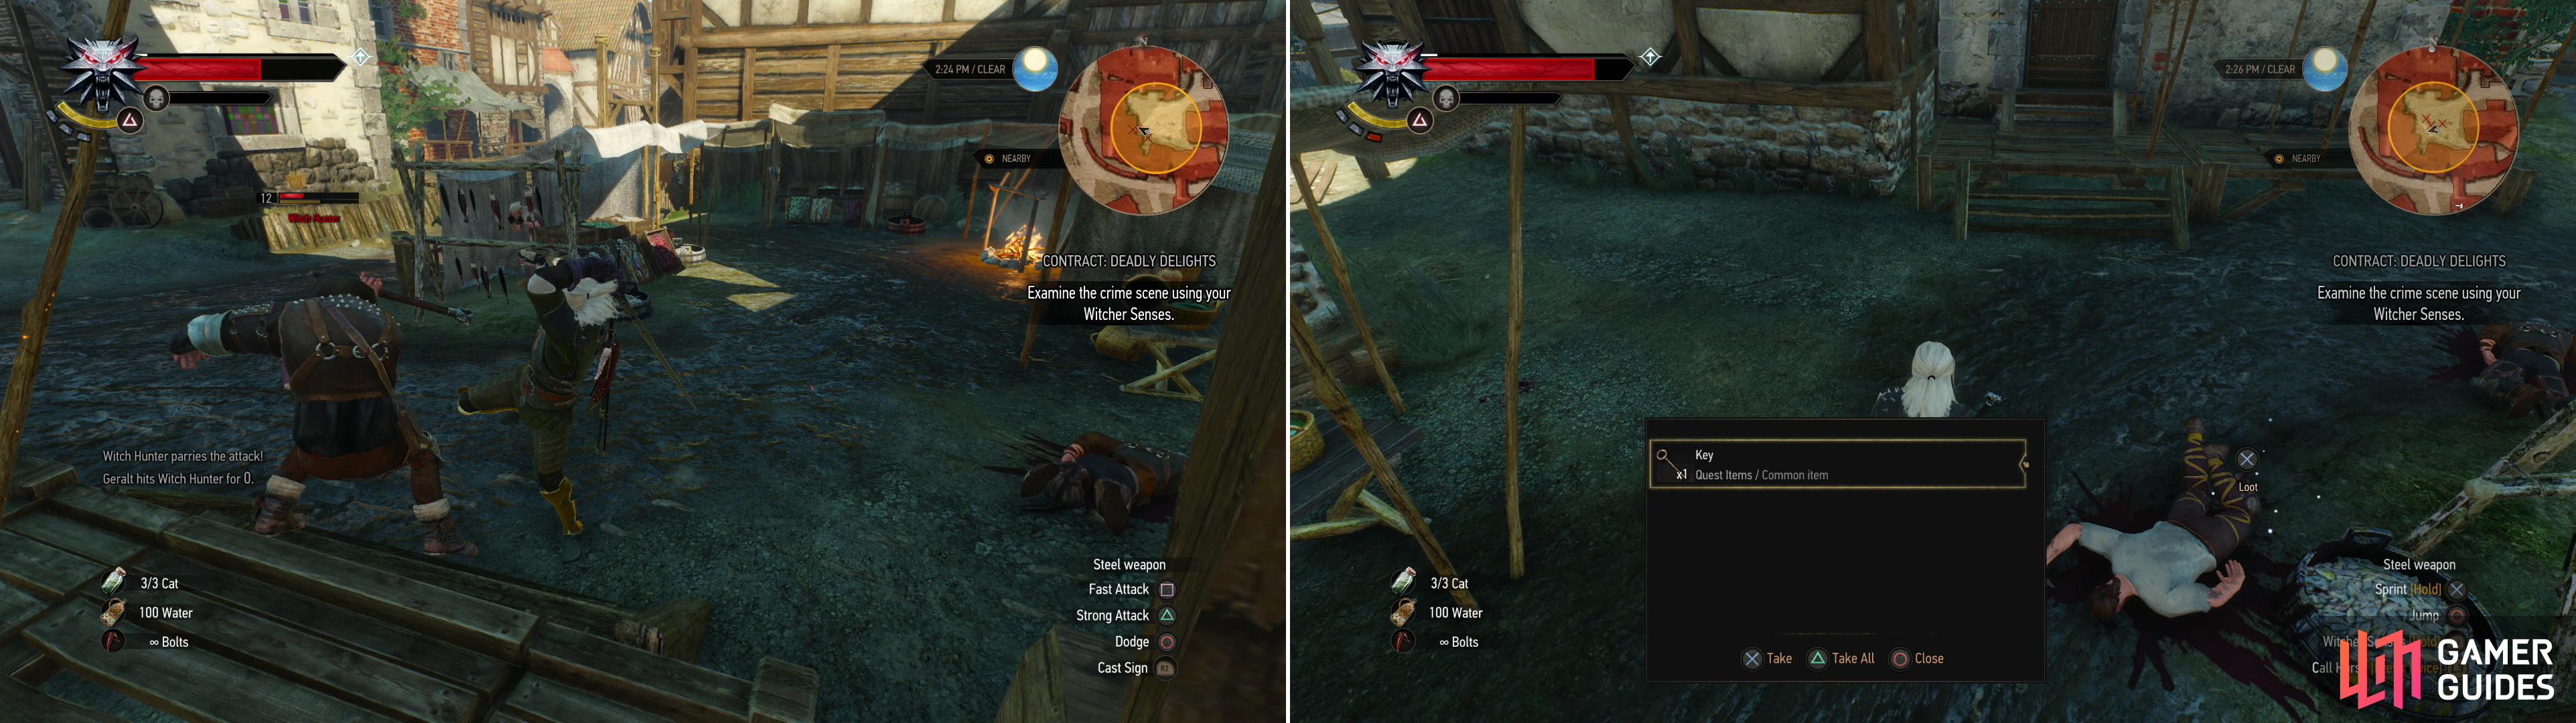
Kill the Witch Hunters (left) then search their victim for a key (right).
Novigrad, Closed City (Level 11)
Players partaking in the Closed City questline will return to the square south of Crippled Kate’s brothel (the brothel in the docks district, where you searched for Succubus tracks during the quest “Contract: Deadly Delight” ). There you’ll find a man named Walter raising a commotion and banging on a door. Watch and some Witch Hunters will show up and kill him, then search his body to obtain a “Key”. Avenge poor Walter by picking a fight with the Witch Hunters, then loot one of their bodies to obtain a “Warrant” . Reading the Warrant will start the quest “Novigrad, Closed City” .
Well, that’s one key down, time to hunt for the other two. Head to - and cross - St. Gregory’s Bridge. Along the way a woman called Lussi will call out to you, asking you to help her, claiming her house is haunted. Agree to help and follow her to the house, where two Witch Hunters (level eleven) will be waiting for you. Kill them and Lussi will give you another “Key” . Looks like “Lussi”, also known as “the Fox” used you to get rid of the Witch Hunters. Oh well, two down, only Fritz remains unaccounted for.
Now make your way to the final search area, which is east of Hierarch Square. Enter the north-easternmost house in the search area, inside of which you’ll find a corpse. Investigate it, then head upstairs and light a torch on a support pillar and go into the secret room that opens up to the west, where you’ll find a “Letter About Treasure” and a “Key” on the desk. Looks like you need to find all three keys to unlock the treasure here. Hey, look! You already have them! Open the dresser and collect your reward, and even better, end this quest.
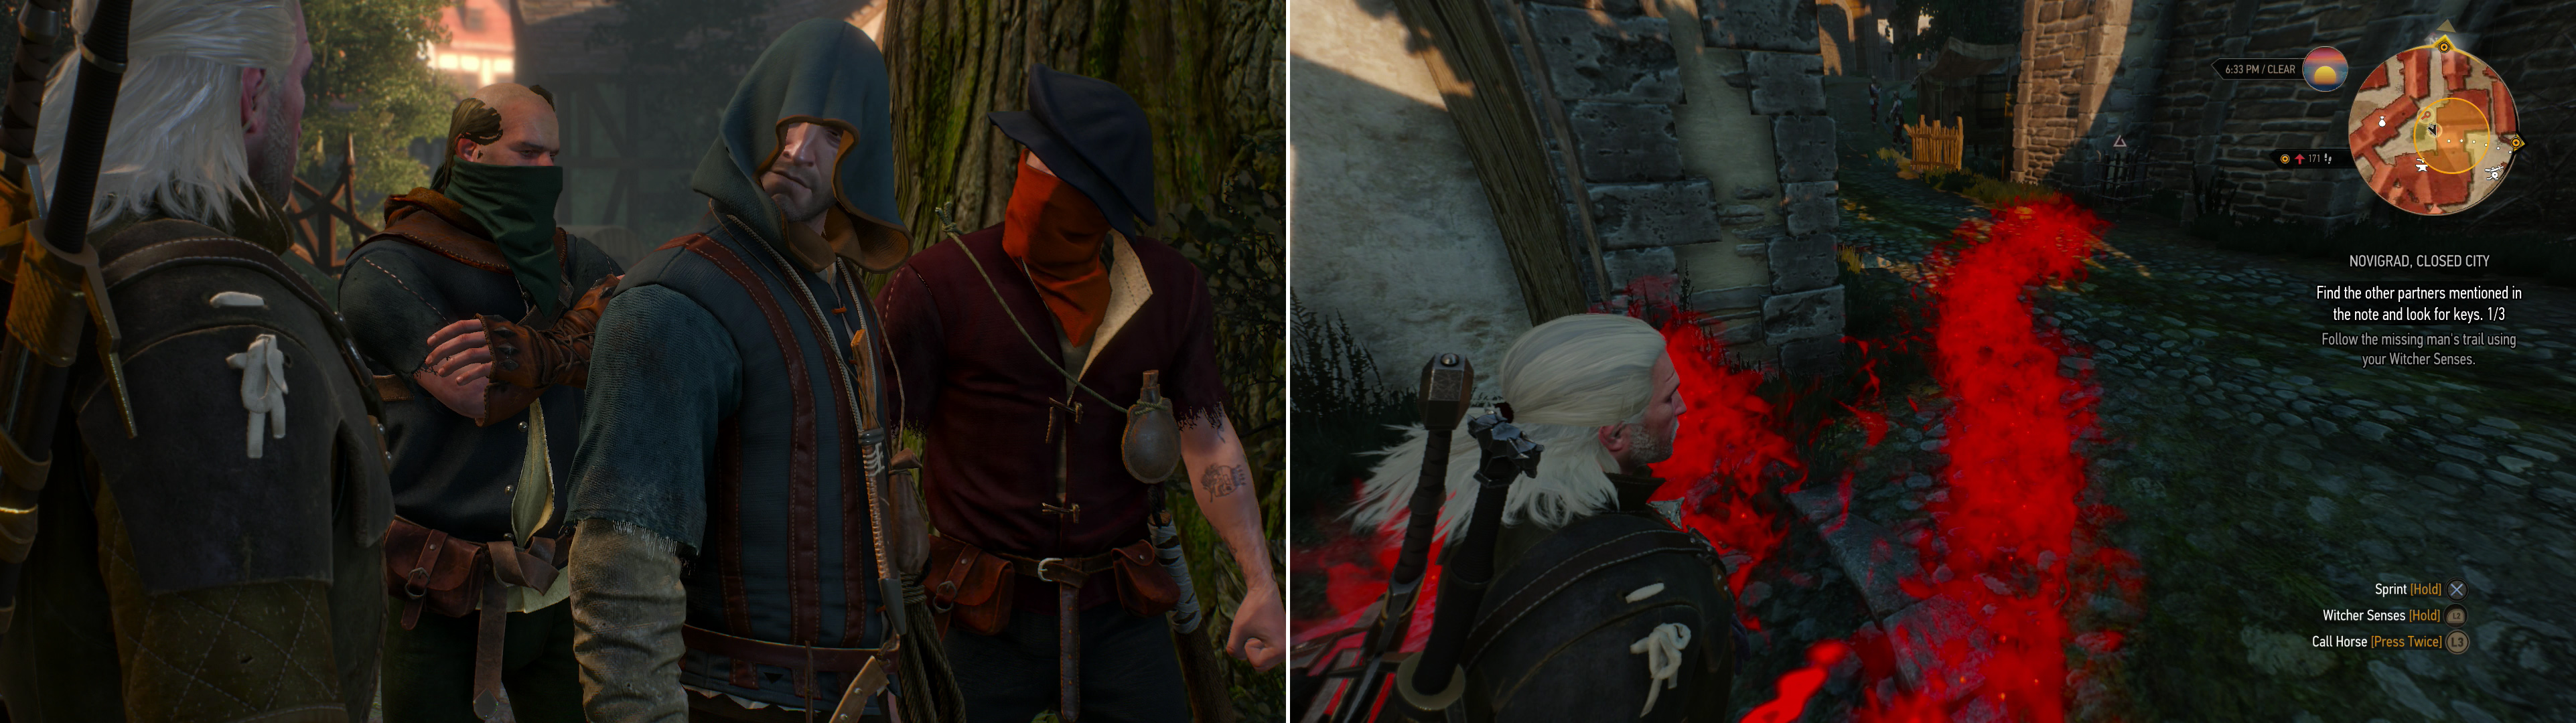
A group of Bandits asks you to help them find their “friend” (left). Follow the scent trial (right) and blood until you find who they seek (right).
Novigrad, Closed City II
There’s one more quest you can do, bearing the same name as the last, although altogether more trivial. Return to the Golden Sturgeon tavern to the north (where you met Corinne after the quest “Novigrad Dreaming” ) and head north-west up the road that runs along the eastern side of the establishment… the same route you took from when you got the quest “Black Pearl” from Nidas to where you met Ronvid for the third - and final - time. Along the road you should run into a Bandit, who will call you out.
Talk to him and he’ll ask you to help him hunt down a friend of his who is in trouble. Agree, then head north-east up a road to find some footprints, and beyond them, a scent trail. Follow the trail until you find some blood on a wall to the east, then continue east a bit, then north to find more blood and a continuation of the scent trail. Keep following the mixed trail up some stairs, through a market, and to a gate, where the Bandits will discover their “friend”.
Either help the injured Witch Hunter (putting down the Bandits in the process) or leave the Witch Hunter to the Bandits. If you choose the former, after defeating the Bandits (level fourteen) you’ll get to make the choice to either leave the Witch Hunter to bleed to death, or to help him reach a medic, in which case you’ll take him to a hospital along the north-eastern edge of the central district of Novigrad. What was the point of this? Eh… it was a thing to do? Anyways, enough of that nonsense, time to help out Triss.
Now or Never (Level 14) Quest in Witcher 3
Go visit Triss in her apartment, near which you’ll notice that some guards are outside, which Geralt recognizes as yet another bad sign. Inside the house Triss is arguing with her landlords; make a timed decision to stand by, or interfere on Triss’ behalf. Afterwards Triss will tell you her problems… both the obvious “they’re trying to kill us!” problems and the finer complications in her plans. Speaking of which, decide whether you should try to save Berthold and Anisse or not. You will get bonus rewards for helping her two allies out, but its not entirely necessary. Once you’ve decided, follow Triss outside to find out that it’s now suitably night time (just how long were you in there talking, anyways?!) and kill the two Temple Guards (level fourteen) and a Witch Hunter (level fourteen) outside the house.
Before making a decision, you’re making a choice that has very little overall impact. Saving Triss’ friends can reward you with bonus XP, and a special Steel Sword. On the other hand, the inkeeper mentioned at the start of the walkthrough dies. So measure what it is you want to do first. then chose the option most relevant to you.
Saving Berthold and Anisse
If you decided to help Berthold and Anisse, you’ll need to follow Triss and she’ll spot a patrol of Witch Hunters, which she implores you to avoid. Either stand in place until they pass, or go pick a fight with three more Witch Hunters (level thirteen), after which Triss will lead you to Berthold and Anisse’s house. Head upstairs and kill two Witch Hunters (level ten), making sure to put yourself in danger to get their attention before they can kill Berthold and Anisse (blasting them with Igni before charging in melee usually works)
Once the Witch Hunters are dead, talk to the two (if either are alive - they die comically easily! - You may want to save and reload before fighting the guards just in case) and convince Berthold to leave with the Axii Sign. As you leave, loot the house to find the steel sword “Gwestog” from one of the dead Witch Hunters - your reward for choosing this course - then follow Triss to the Kingfisher. If, on the other hand, you decided to abandon Berthold and Anisse you’ll head right to the Kingfisher.
| Objective | Reward |
|---|---|
| For using the Axii Sign on Berthold | 40 XP |
| For rescing Berthold and Annise | 10 XP |
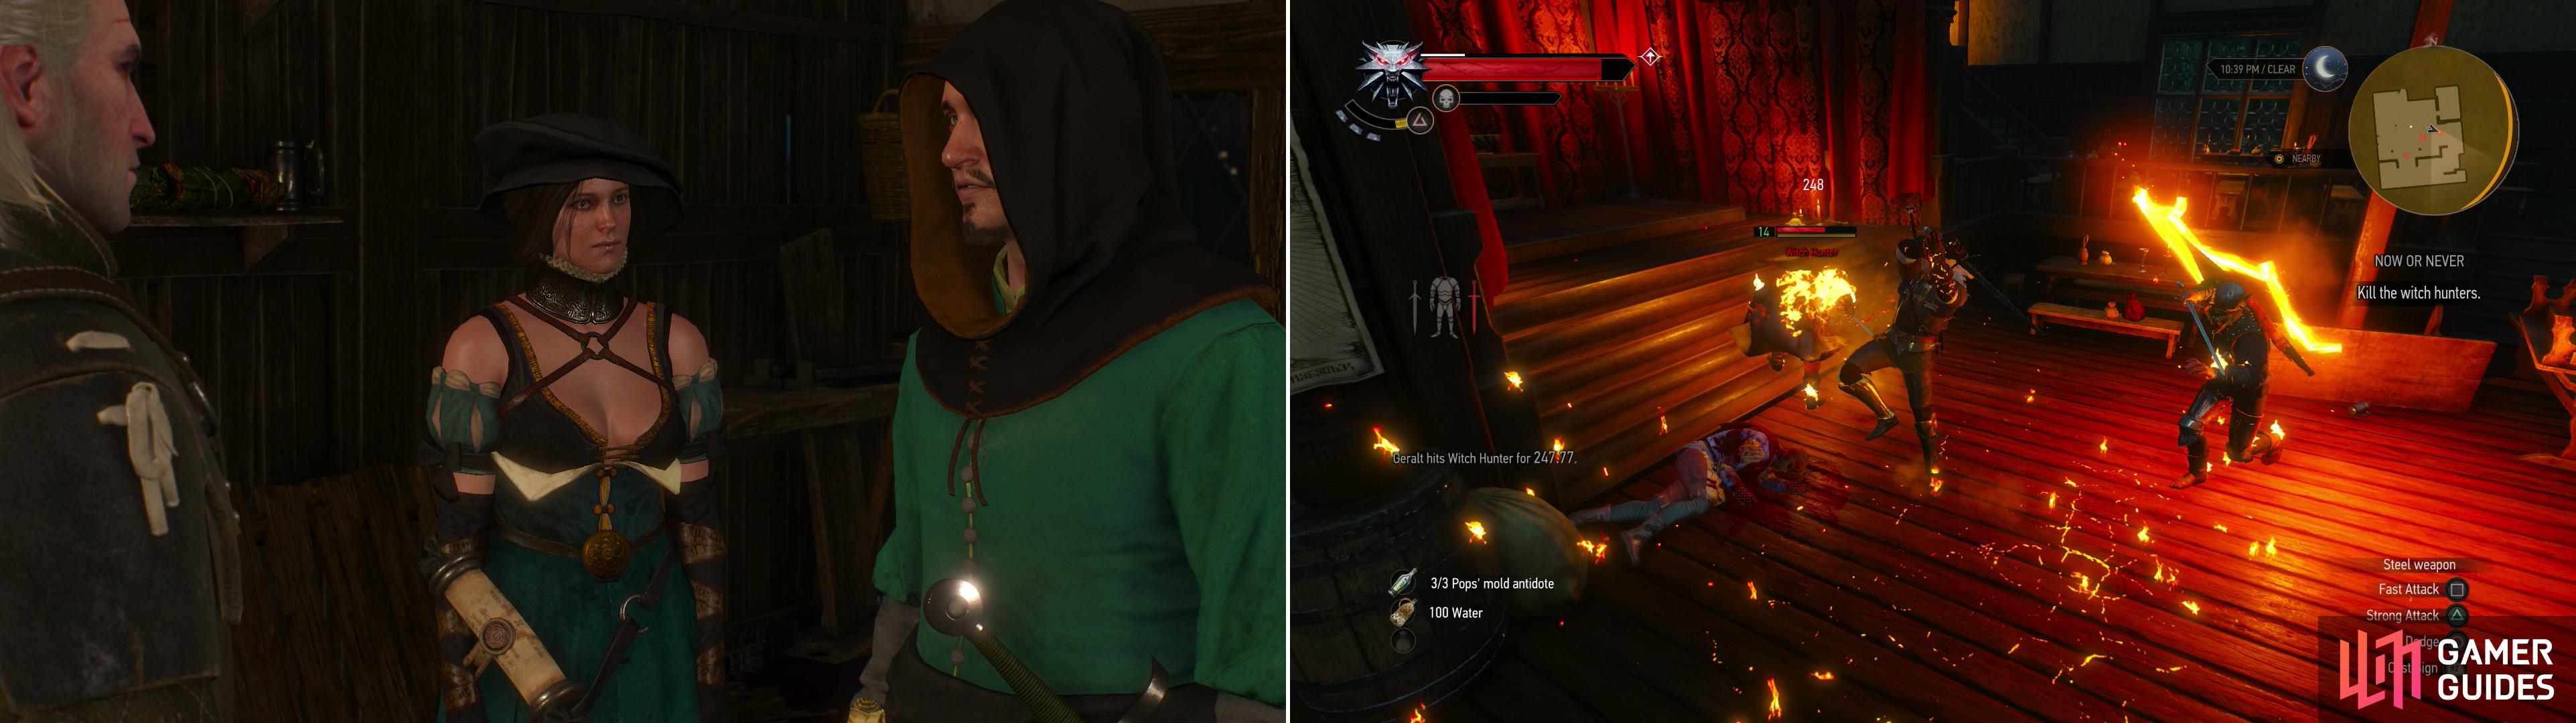
Decide whether you want to risk the safety of others to rescue Berthold and Anisse (left). If you do, Witch Hunters will beat you to the Kingfisher (right).
Once at the Kingfisher you’ll find Olivier, the Innkeep and apparent collaborator… at least, you’ll find him if you abandoned Berthold and Anisse. If not, you’ll discover that Witch Hunters have reached him before you and have killed Olivier. Kill the Witch Hunters (levels thirteen and fourteen) if they’re here and Triss will either talk to Olivier, or complain about his demise. Either way head through a door to the east to find the hiding mages. Chat with Dijkstra, who is playing the role of the altruist - or rather, opportunist - for now. Either way, Dijkstra’s machinations put him on your side in this endeavor, and he’s got a way of making things like this work out. After Dijkstra is done talking Triss will give a speech, then it’ll be your turn to do what Witchers do best; kill monsters to ensure the safety of others.
| Objective | Reward |
|---|---|
| For reaching the Kingfisher | 10 XP |
Now for the rest of the Now or Never Quest
Head past Triss in the north-eastern corner of the cellar and go down several flights of stairs to reach the sewers. Once in the sewers continue south, then west, where you’ll encounter some Drowners (level fifteen). Kill them (Triss will offer magical support) then loot a chest along the southern wall, an top of a wooden structure. Continue north and kill another Drowner or two as necessary. Turn to face the eastern wall, which you’ll find is susceptible to Aard. Blast the weak bricks aside and loot a chest in the chamber beyond.
Continue west into a chamber and loot the parcels and barrels along the western wall, then head down a passage to the south, where Triss will whine. Isn’t scouting something she should have done before luring all the mages here? Or at least talk to Dijkstra about escaping through the sewers? Guy has to know the sewer system pretty well… Except for that whole little bomb incident where he got robbed through the sewers. Actually, nevermind. They’re both incompetent.
Backtrack to the north and continue on in that direction into a new room where you can blast the wall to the west with Aard to reach a hidden library. Loot the books - you can always sell them later - then continue to the west to find another Aardable wall to the south. Blast the wall and head through the hole, turn east to find a chest, then continue west and kill three Drowners (level fifteen) before looting some crates.
Go through a gate to the west and down some stairs where Triss will comment on rats being nearby. Unlike Keira, Triss is more than eager to toast the buggers. Head down some wooden stairs and dispatch the rats, then loot some corpses and crates before continuing to the south. If this is Cleaver’s dumping ground for debtors, why do the skeletons have coins on them? Just bad business practice, that. Loot a “Crumpled Letter” from a corpse along the eastern wall and read it to confirm that these are, indeed, Cleaver’s dumping grounds. Head south up some wooden stairs then turn east through a gate and go up some stairs to reach a chamber where the path splits.
Loot the barrels in the fork room before you run off, as they can be quite lucrative. Like Drahim Castle earlier, you might be lucky enough to find several Diagrams, Formula and Manuscript Pages and other useful bits of loot in this place, often in unconventional containers. If you continue up some stairs to the east you can kill a trio of Drowners (level fifteen) and loot the room to find some containers with a few useful crafting components in them, and a lot of junk. Backtrack to the west and go down some stairs to the south and loot the room you find yourself a nice haul of crafting components. Activate your Witcher Senses and investigate a corpse, then head down some stairs to the west into another room, where more loot and another pair of corpses await.
Continue west, then follow the tunnel north and investigate the western wall to identify some claw marks. Loot the room to the north, then continue through a gate to the west, stopping to search a small room to the south where more corpses await, which will allow Geralt to identify the beast lurking these parts of the sewers. Now would be a good time to get your Vampire Oil and Tawny Owl potions ready. Not to give anything away, but… yeah… should be pretty obvious at this point.
Loot the chamber to the west, then head down a tunnel to the north and through a gate to reach a chamber occupied by a Katakan (level fourteen). You’ve already fought a Katakan before if you did the quest “Carnal Sins”, but this one (despite not being a higher vampire or having a long, involved questline around it) is more dangerous due to the fact that it’s got crazy regeneration. The whole Quen-and-counter routine probably won’t get you anyways this time, unless you like both Geralt AND the vampire to remain at full health. You’ll need to buff up with a Tawny Owl potion, and aggressively apply Igni every chance you get to mitigate its regeneration with fire damage-over-time. Fortunately the critter is vulnerable to fire, and Triss will also help out with her magic, keeping the beastie off guard. When it falls, loot it, and the room, then head through a gate and up some stairs to the east.
Now or Never Quest Rewards in the Witcher 3
| Objective | Reward |
|---|---|
| For killing the Katakan | 25 XP |
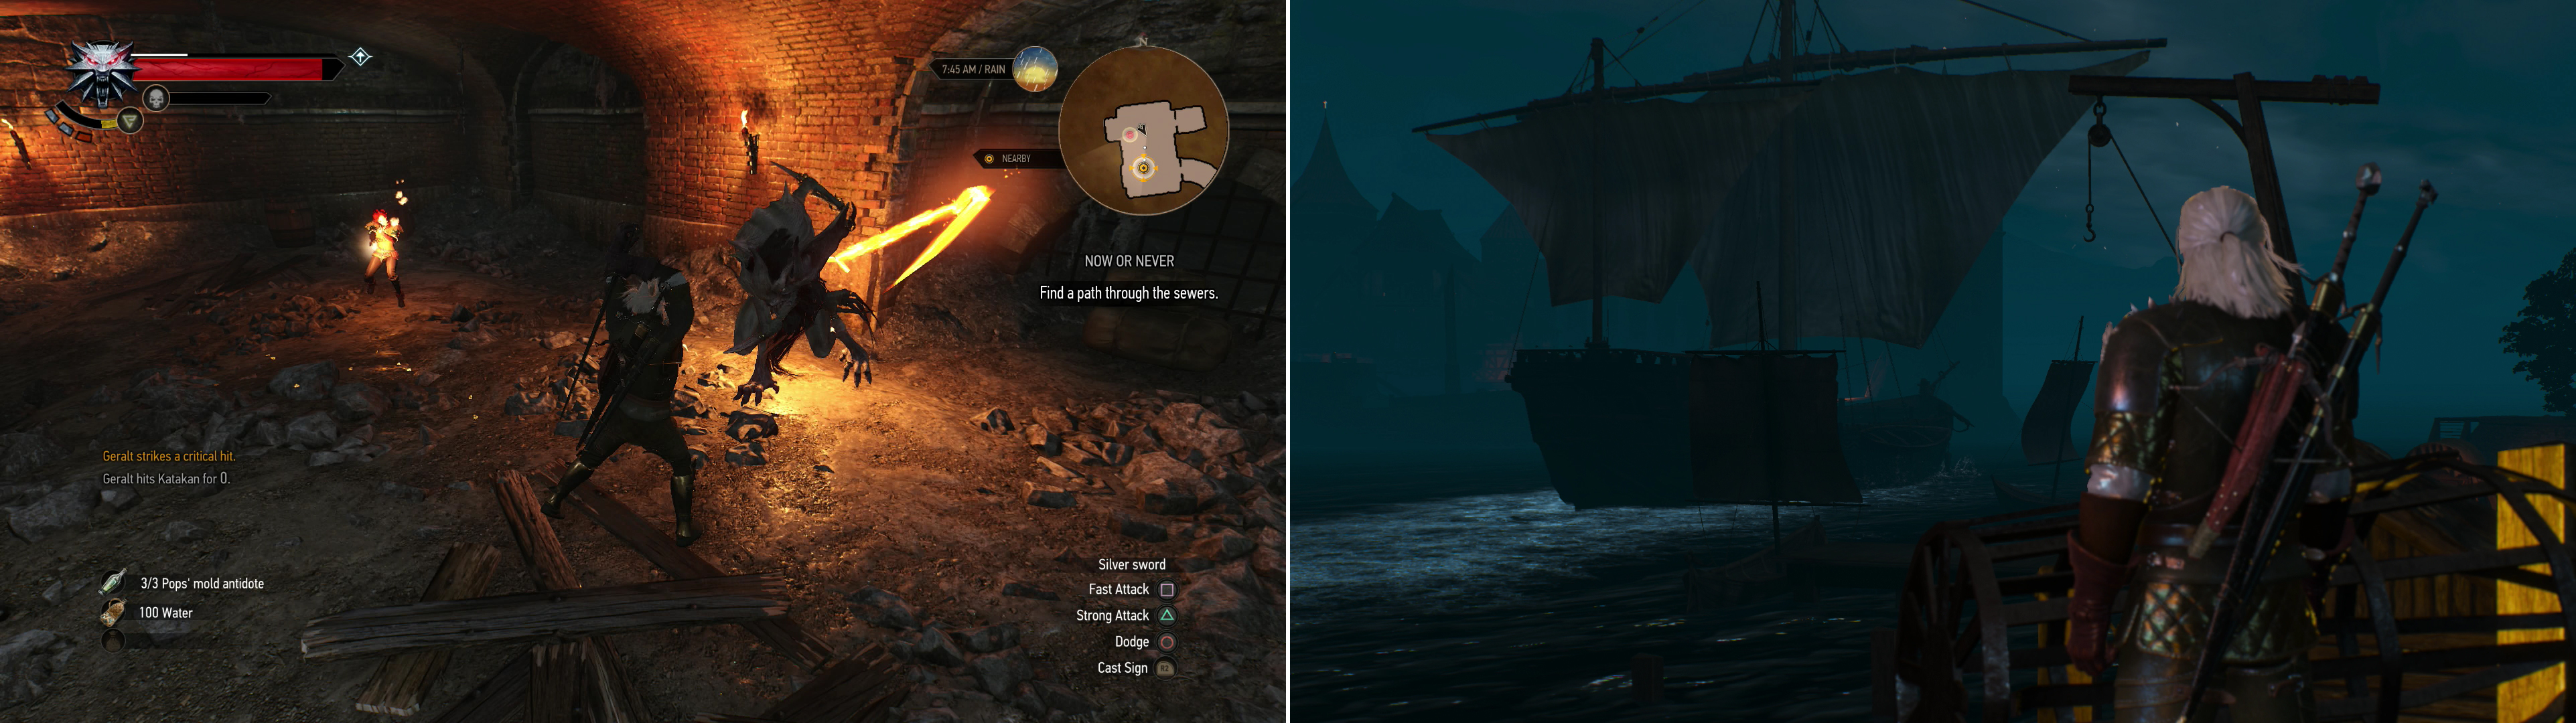
Kill the Katakan in the sewers (left) then watch the mages depart Novigrad (right).
Follow the linear tunnels beyond, looting as you go to reach the harbor, where you’ll reunite with Dijkstra, who is pessimistic about the ship. Afterwards Dijkstra will tease you about Triss before being interrupted by some Witch Hunters (level thirteen). Make quick work of them with Dijkstra, his goons, and Triss, afterwards Triss’ll go to say farewell to Geralt. If you’ve got a thing for Triss, try to convince her to stay. If you pull out the heavy artillery and use the “l-word” and if you kissed her during the masquerade… well… Dijkstra will try to cheer you up with a story about his own ill-fated attempt to love a sorceress.
| Objective | Reward |
|---|---|
| For reaching the harbor | 10 XP |
After parting ways with Triss, Dijkstra will speak to you again and tell you about a more permanent plan to deal with the scourge that plagues the mages of the north. Listen to Dijkstra rant about Radovid after which Geralt will proclaim his fabled Witcher neutrality, and Dijkstra leaves the offer on the table, starting the quest “A Deadly Plot” .
| Objective | Reward |
|---|---|
| For rekindling your romance with Triss | 300 XP |
The Deadly Plot is an absolute massive quest chain, one that has some of the biggest side content story content in the game, and does have major affects on outcomes. This is certainly one worth doing, so if you want a read ahead of what outcomes youy may expect, then feel free to read our A Deadly Plot walkthrough too! But with all that said and done, you have now completed our Witcher 3 Now or Never Walktrough!

 Sign up
No Comments