
Upon arriving in Commorragh, you and your Companions will get split up as the denizens of the city drag you all away from each other. Upon waking up, you find yourself alone with no memory of what happened, or of where your retinue are. As you explore the city, you’ll be able to find the companion locations and bring them back into the fold. Here’s a guide on how to find all of your companions with this Reunion Walkthrough in Rogue Trader.
A guide to the Reunion questline in Rogue Trader, helping you find all companion locations in Chapter 3.
Rogue Trader Reunion - Companion Locations
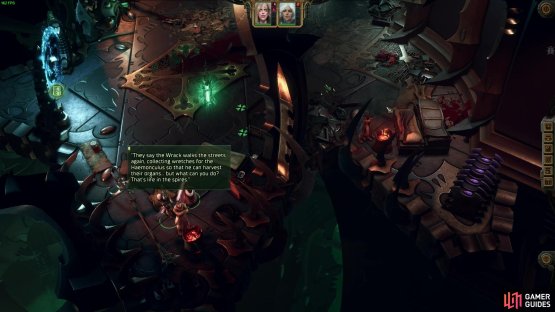
Before we delve a little deeper into each companion, there are a few things you need to know about the locations of your companions in the Rogue Trader Reunion quest. Each one will need to pass a dialogue check to keep them on side. Others will also spawn after you meet certain trigger points in the main storyline of the act. So, don’t be too worried if you cannot find certain companions where we say they are, as you likely need to complete the first segment of the Chasm Questline before they show up. There are also three companions in the Anatomical Opera, which you only access after completing the first Arena battle. However, some of those are locked until after the second arena battle sequence. These are all the important event triggers you need to know about for companions to start spawning.
With that said, you can find the locations for each companion in alphabetical order below. Feel free to jump to the companions you brought into the mission with you. Remember that you can only find the locations of the companions that you brought onto the vessel at the start of the Chapter. Any companion you left on the Voidship will remain on the voidship who you will meet again after escaping Commorragh.
Abelard’s Location - Reunion
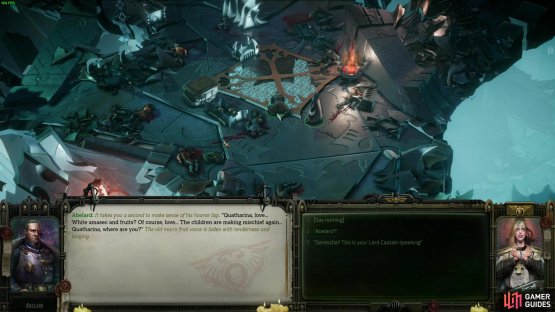
(1 of 2) Abelard is located on the left side of the Mangled Chasm.


Abelard is located on the left side of the Mangled Chasm. (left), The Ugly Beggar is located near the Mangled Lift. Kill it for an achievement, to get your boots back, and to get some Stimms to revive Abelard if your roll checks fail you. (right)
![]() Abelard is found in a dreamlike state near the Athletics check jump on the left side of the Mangled Sector. Players can find the Mangled Sector by going to the Mangled Lift on the bottom right side of the Chasm map. Go down the Mangled Lift, turn left and move towards the floating platform. You’ll find an Athletics check to cross it.
Abelard is found in a dreamlike state near the Athletics check jump on the left side of the Mangled Sector. Players can find the Mangled Sector by going to the Mangled Lift on the bottom right side of the Chasm map. Go down the Mangled Lift, turn left and move towards the floating platform. You’ll find an Athletics check to cross it.
When you’re there, speak to Abelard and you’ll find him in a trance, talking about his long-dead wife. To bring him to his feet, you must pass either a Coercion or Persuasion test. If you pass the test, you can re-recruit him then and there. However, if you fail those tests, you must acquire a ![]() Stimm by eliminating the Ugly Beggar, an NPC that spawns near other Beggars before the Mangled Sector Lift behind the debris. Check the second image above for his location.
Stimm by eliminating the Ugly Beggar, an NPC that spawns near other Beggars before the Mangled Sector Lift behind the debris. Check the second image above for his location.
Alternatively, you can wait for Tervantias to return your loot and use your own Stimm stockpile on Abelard later, provided you still have some left. You’ll get your gear back after the first Arena fight as part of the Chasm storyline and unlock the Anatomical Opera entry.
- Read More: Full Commorrragh Walkthrough
Argenta’s Location - Reunion
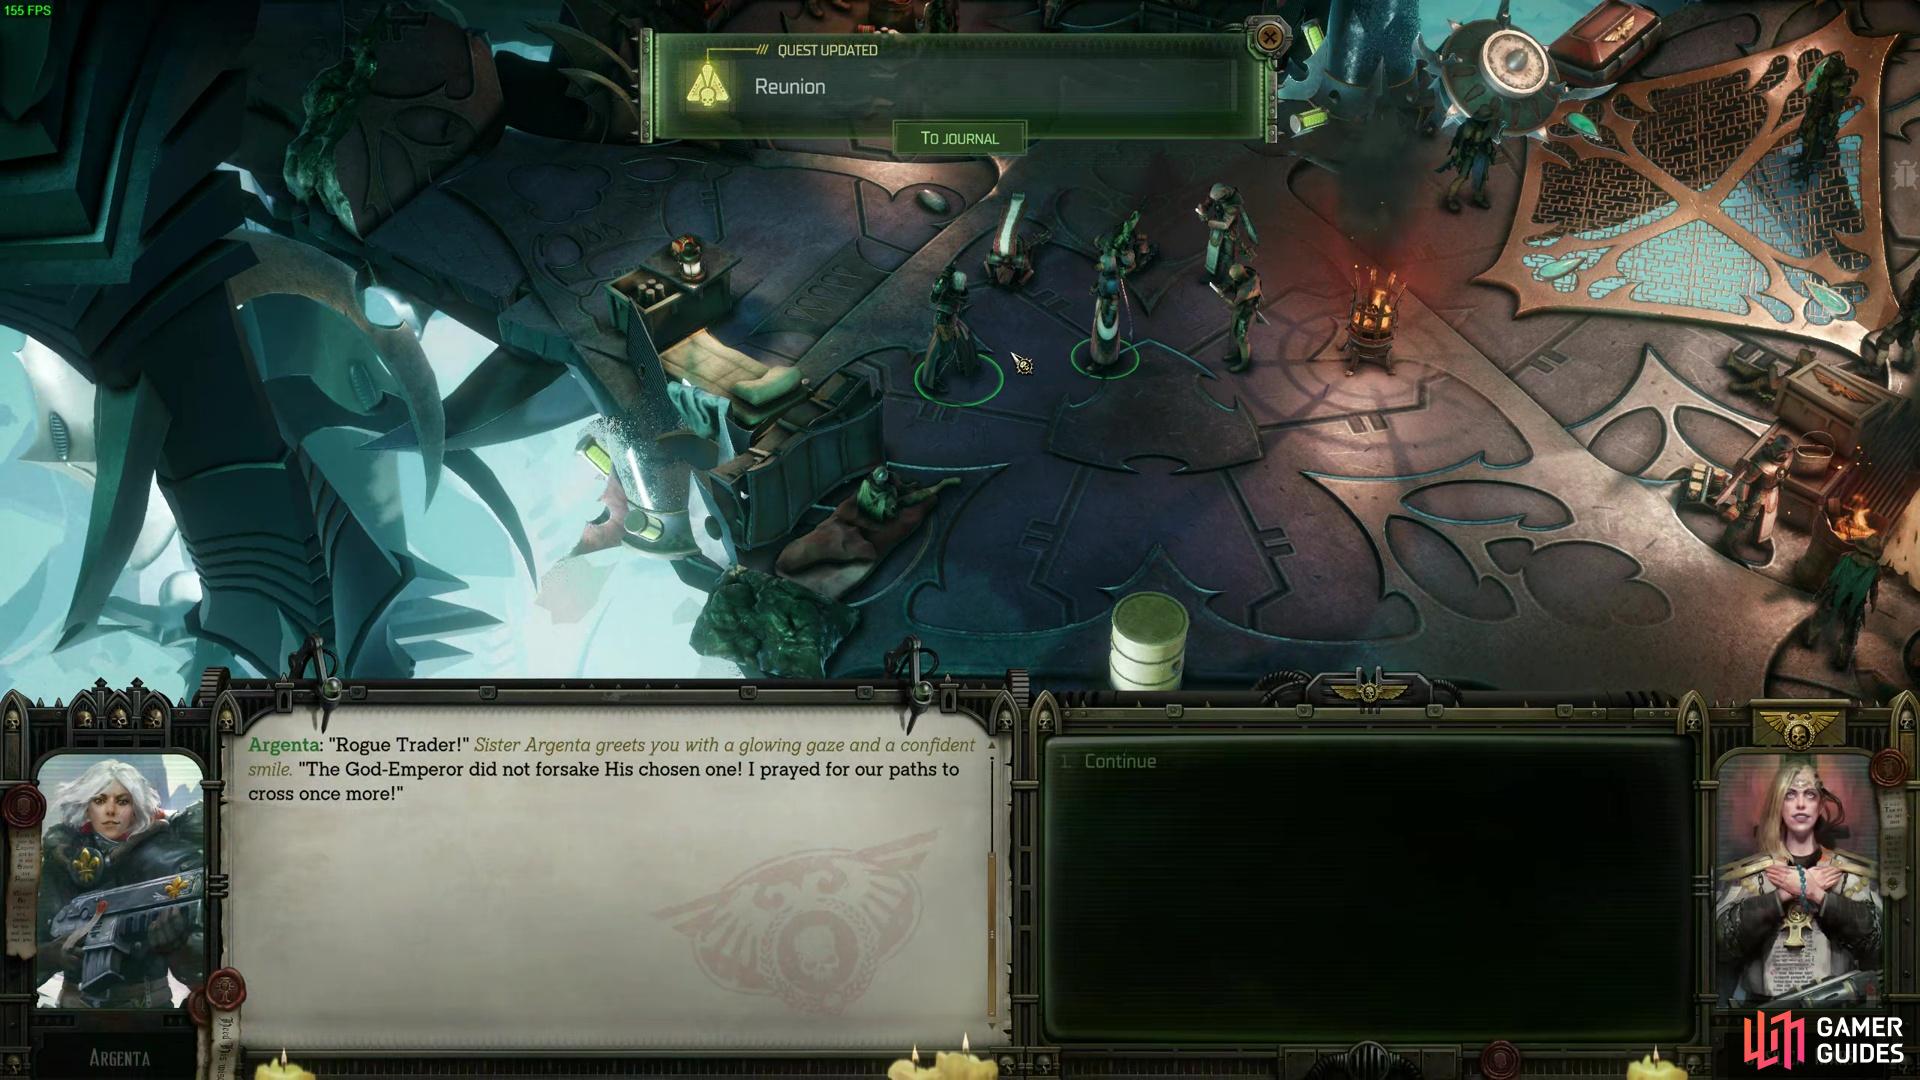
You can find Argenta with the Commissar to tick off that objective of the Reunion quest.
![]() Argenta is normally the second companion you will find in the Reunion questline. You will find her with the
Argenta is normally the second companion you will find in the Reunion questline. You will find her with the ![]() Commissar, located on the right side of the Mangled Sector Map. Again, you can visit this location by going to the bottom right side of the Chasm map and taking the Lift down. At the bottom of the Lift, you will want to turn and move towards the central right edge of the map.
Commissar, located on the right side of the Mangled Sector Map. Again, you can visit this location by going to the bottom right side of the Chasm map and taking the Lift down. At the bottom of the Lift, you will want to turn and move towards the central right edge of the map.
Here, you’ll find the Commissar as part of The Chasm quest, which Malice sends you to kill. However, be aware that if you intend to kill the Commissar, you need to tell Argenta he has no hope anyway, and she will be like ‘yeah, fair one’ and join you. If you select everyone is a liar, or I guess I have to kill you, then she calls you a deranged heretic, and you get Argenta as an enemy for the fight, and thus need to kill her. Chances are she kills you since you have little gear and you’re against his entire crew.
On the other hand, if you side with the Commissar, Argenta will join you again, no matter what.
Cassia, Heinrix and Idira Locations - Reunion
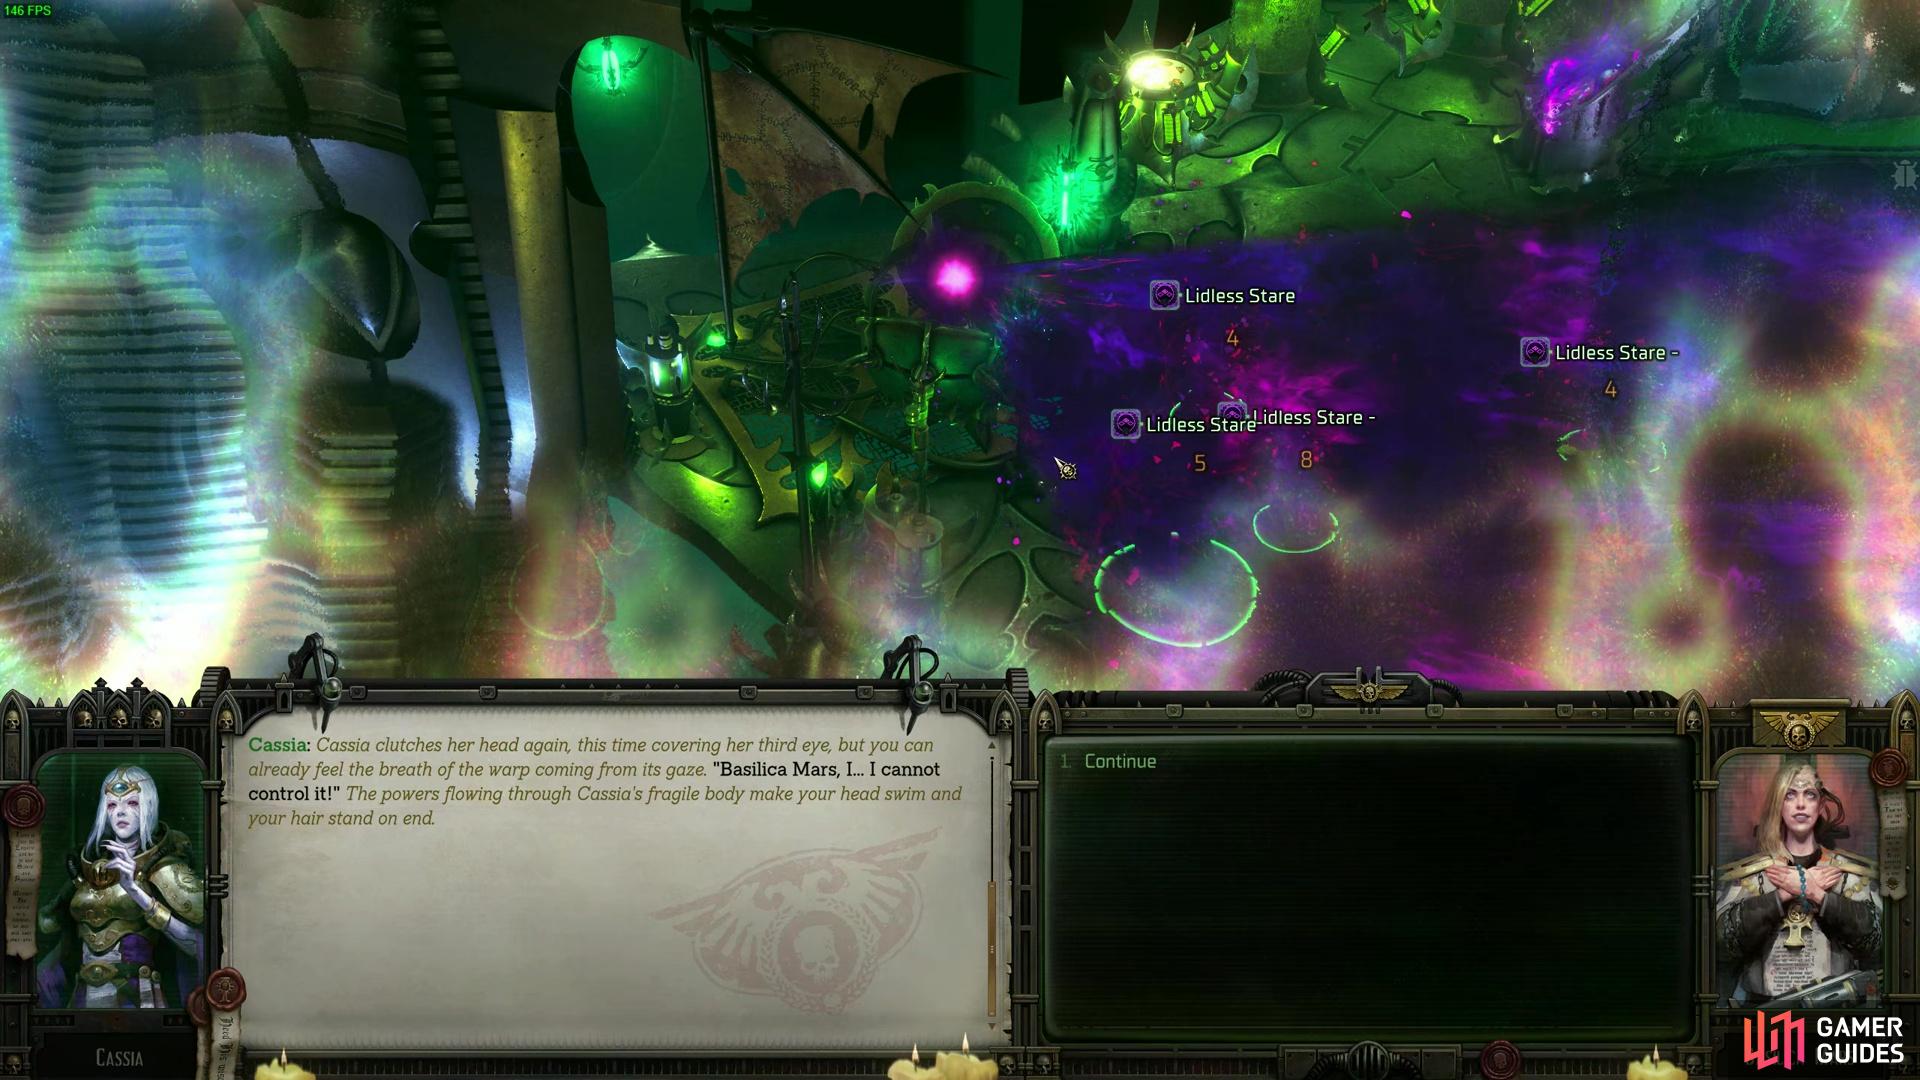
Cassia and the other Psykers are locked away in the Anatomical Opera, thanks to their powers being too powerful for Commorragh to handle.
The Psyker trio of ![]() Cassia, Heinrix Van Calox and
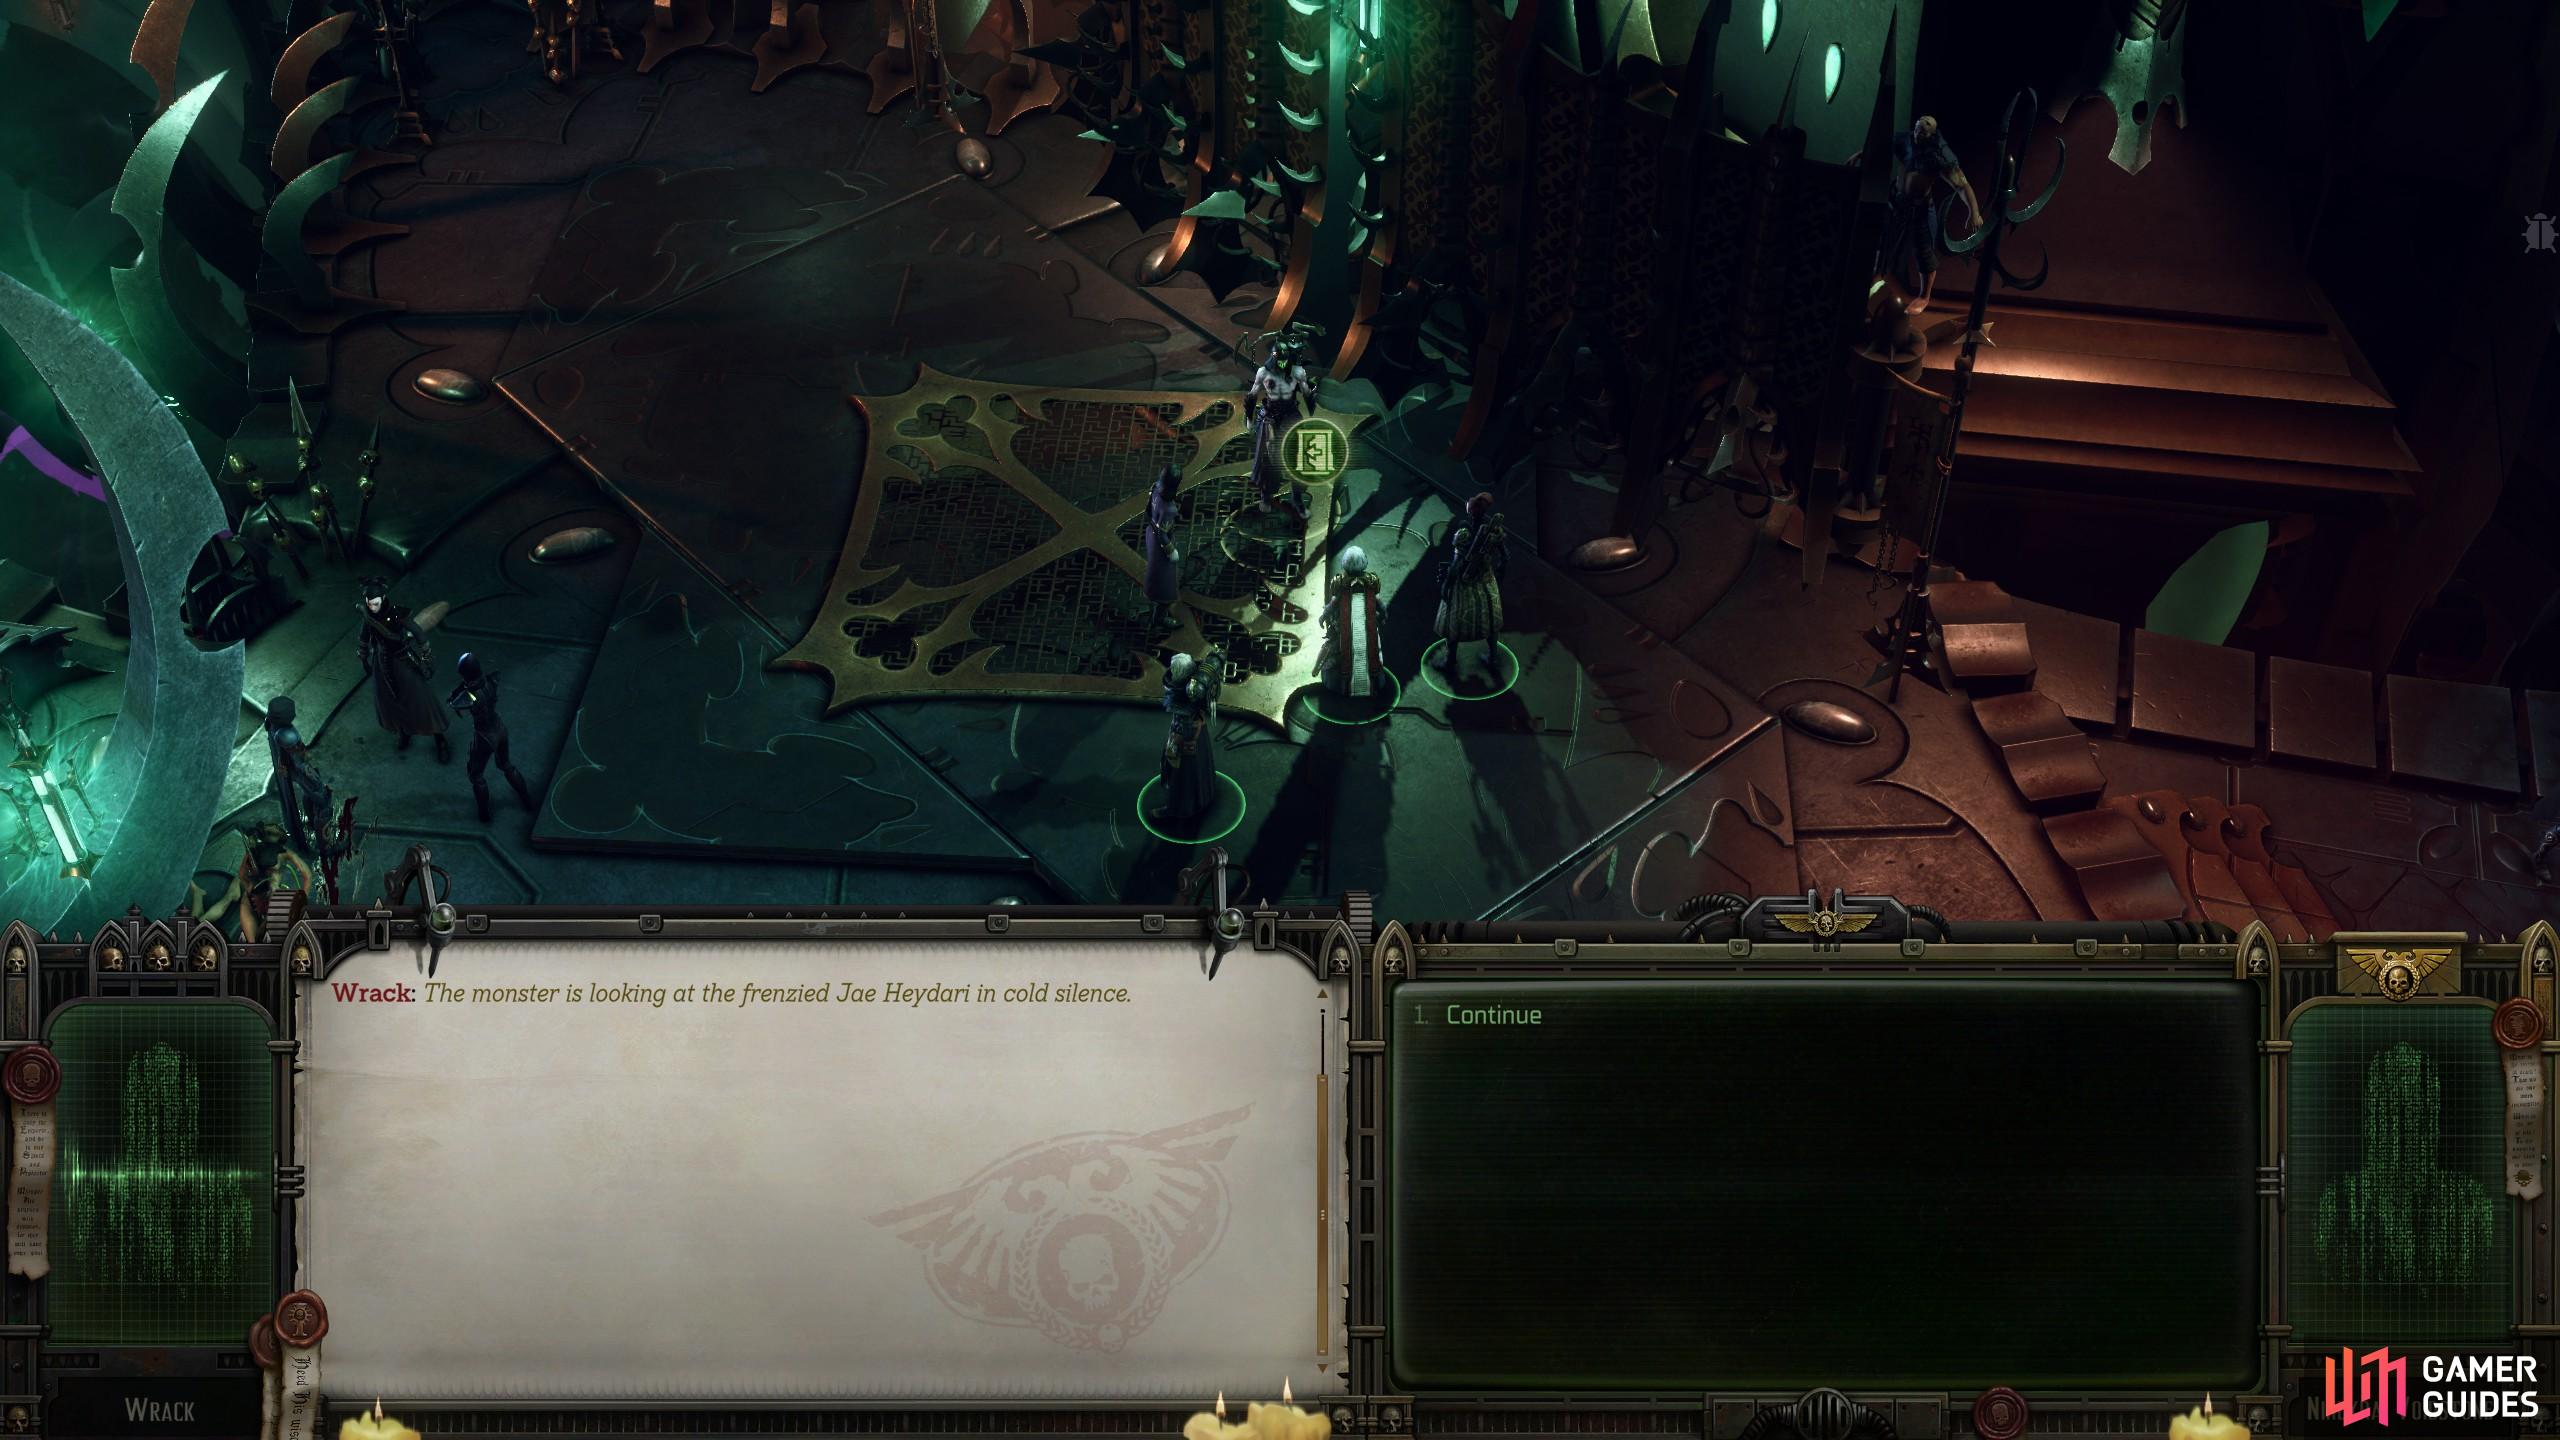
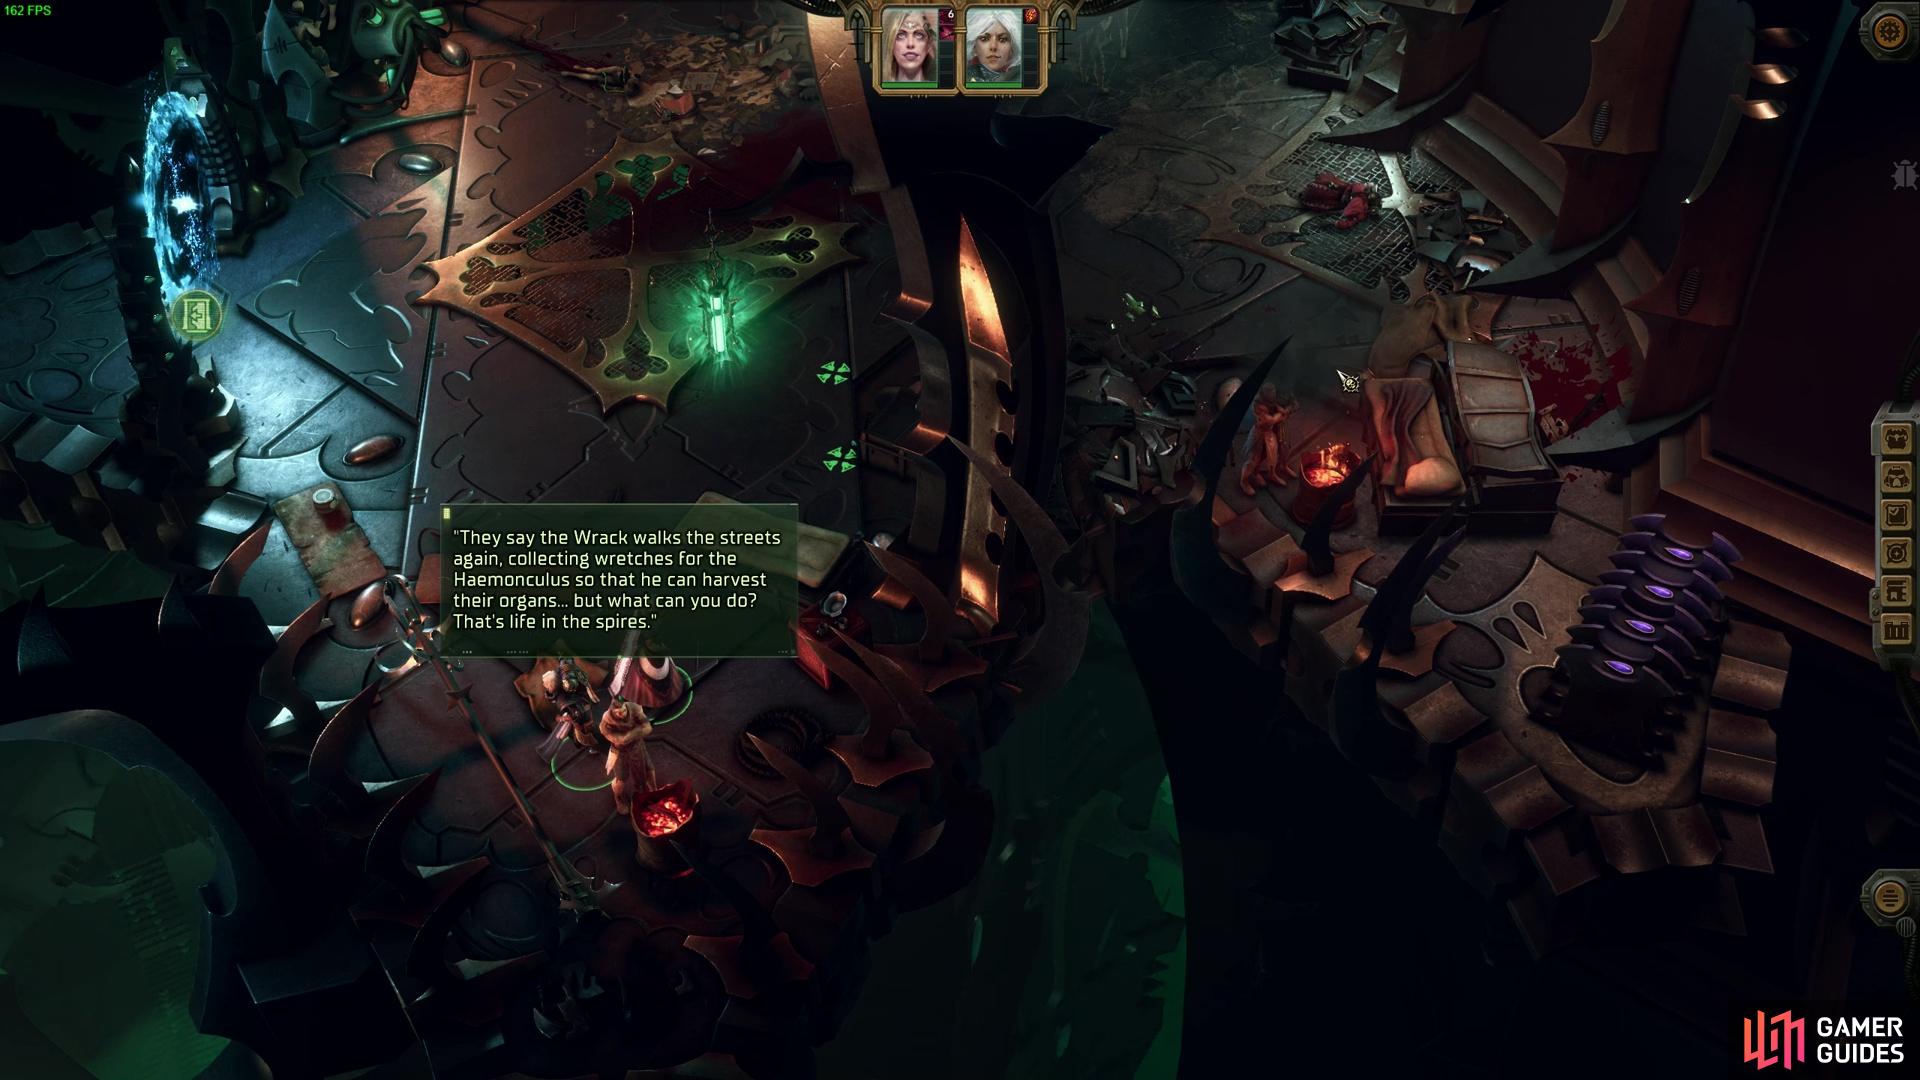
Cassia, Heinrix Van Calox and ![]() Idira Tlass are all present within the Anatomical Opera, which you can only access after the first arena fight. Upon your return from the Arena, the Stranger will tell you to go and see a man who tinkers with flesh. Simply follow the pathway to the top right corner of The Chasm, and you’ll find a man guarding a door that leads to the Anatomical Opera. Speak to him, and he’ll eventually open the gate and let you in to speak to Tervatias,
Idira Tlass are all present within the Anatomical Opera, which you can only access after the first arena fight. Upon your return from the Arena, the Stranger will tell you to go and see a man who tinkers with flesh. Simply follow the pathway to the top right corner of The Chasm, and you’ll find a man guarding a door that leads to the Anatomical Opera. Speak to him, and he’ll eventually open the gate and let you in to speak to Tervatias,
Go through the dialogue as normal and get to the stage where you get your next quest objective to speak to the arena winners, aka ![]() Marazhai. From here, you can try and speak to Idira, and break her free from her subjected passiveness by forcing the headband off her.
Marazhai. From here, you can try and speak to Idira, and break her free from her subjected passiveness by forcing the headband off her.
As for Heinrix and Cassia, their locations for the Reunion quest are only available after the second arena fight. They are both stowed away in their respective cells on the upper ledges of the Opera, where you can see the Assistants tinkering away at their experiments. They’ll both be stowed away in special anti-warp boxes. So, continue speaking with Marazhai and complete the next stage of arena fights before trying to get these two back in your retinue.
When you do get to them both, note you’ll need to do some dialogue checks since they’ll be tripping out with the powers of the warp. These will largely be to pass Persuasion and Coercion and Logic tests again. If you do fail them, there is always another dialogue at the end to get them to come to their senses. Cassia’s, for example, is: ‘You will overcome this, Cassia. You are stronger than you think you are.’
Save scumming Heinrix and Cassia is totally valid since losing your companions because of dumb luck is not a fun experience. Make sure to save after speaking to the Terv in the Opera so you can get quick access to your companions again and re-run the skill checks.
Jae’s Location - Reunion
Jae is probably the easiest to find outside of Yrliet and Argenta.
Jae is an easy enough companion to find. Simply complete the first Arena battle and walk along to the Anatomical Opera. You’ll find her kicking off with the guard, demanding attention with Tervanias. When you arrive, you get a dialogue option. You can say she’s with you, and then get her back in the party. Or you say nah, she doesn’t deserve entry. If you select the latter, you’ll lose her, but pick the former, and you recruit her back.
Pascal Location - Reunion

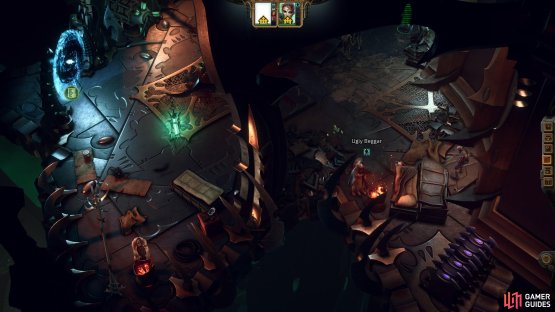
(1 of 2) You can find Pasqal near the Mangled Lift after the first Arena battle, tucked to the right side of this image.

You can find Pasqal near the Mangled Lift after the first Arena battle, tucked to the right side of this image. (left), Convince Pasqal to get up and stop being a crying cyborg. (right)
You can find ![]() Pasqal lying on the floor near the beggars beside the Mangled Sector lift after completing the first Arena fight. If you locate the Ugly Beggar as mapped in the Abelard section, Pasqal is nearby. Speak to the barely conscious cyborg to get him to stand up.
Pasqal lying on the floor near the beggars beside the Mangled Sector lift after completing the first Arena fight. If you locate the Ugly Beggar as mapped in the Abelard section, Pasqal is nearby. Speak to the barely conscious cyborg to get him to stand up.
You’ll need to pass a few dialogue options to get him to stand up and join you since he has been heretically tinkered by the Drukhari (in his words).
Ask him:
- What happened to you?
- Is there a way to help you?
- Coerce option
- If you fail it, then select the ‘Then Come with me. We will tackle this another time’.
There are other options, such as Dogmatic options, but we could not test them. We know for certain that these options get him on his feet and back into your squad.
- It is worth noting that you can kill Pasqal with one of the options, but I’m not sure why you’d want to. He is a good boy.
Yrliet Location - Reunion

After starting the Chasm questline, Yrliet is found across the bridge from the Pit.
![]() Yrliet Lanavyss is often found at the crossroads of the Chasm level, located directly in the center of the map, after crossing the bridge from the Pit to the main Chasm street level. In the review build, she appeared after we had completed the Arena, but in the live build, she appeared straight away after we spoke to and accepted the Chasm quest from Malice. Either way, she was in the exact same spot no matter the patch we were on.
Yrliet Lanavyss is often found at the crossroads of the Chasm level, located directly in the center of the map, after crossing the bridge from the Pit to the main Chasm street level. In the review build, she appeared after we had completed the Arena, but in the live build, she appeared straight away after we spoke to and accepted the Chasm quest from Malice. Either way, she was in the exact same spot no matter the patch we were on.
When you do find her, you have two choices to make. You can either get her to rejoin your party, using any of the dialogue boxes with forgiveness, or say we’ll deal with you later, or I need help escaping. Whichever one you prefer. Alternatively, you can kill her for betraying you and leading you into Marazhai’s trap that brought you here to begin with.
With that said, you now know how to find all companions for the Reunion Quest. There is reference to a Bodyguard objective, which are hints that you can recruit ![]() Ulfar and Marazhai on this Chapter. However, you don’t need to recruit them to tick off the bodyguard objective. Good luck getting your companions and completing this Chapter.
Ulfar and Marazhai on this Chapter. However, you don’t need to recruit them to tick off the bodyguard objective. Good luck getting your companions and completing this Chapter.

I think the "bodyguard" objective is supposed to be if you have a custom hireling in your party, since it doesn't tick off when you recruit both u & m. Thanks good guide.
Good point. I completely forgot about that feature. And thank you for the nice words :)
Yrilet still isn't there for me until after the first arena fight (release version)