
Quetza Temer is the location of one of the objectives in the early stages of Chapter 4. It is one of those locations that players will need to go and visit as part of their journey to other Rogue Traders in the system and deal with the rivalry building through the chapters. Here, you’ll find a xenocidal Winterscale, who is hellbent on ridding his world of all Aeldari who land on it. Once you track the madman down, you can either join in with him, convince him to stand down, or assist him with his pest problem. Either way, the decisions you make on this planet will affect the storyline moving forward. In addition, the planet is a pain to navigate, which leads us to the very purpose for which we are creating this Quetza Temer Choices and Walkthrough guide for Rogue Trader.
Quetza Temer Walkthrough - Rogue Trader
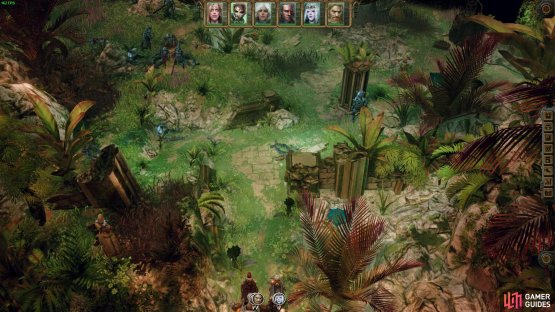
Upon landing on the Quetza Temer world, you’ll get lost in a sea of random forest maps. These maps will take you around the bend, hunting for Calligos’ mysteriously missing party. The first few don’t matter, as you’ll get some maps before circling around to a map with Aeldari on it. You’ll learn their devices are what is causing confusion and changing the landscape.
Be warned that there’s very little cover on this map. Do be careful where you position your troops to deal with the first few Aeldari melee units, and the Ranger up on the left hill as you load in. You’ll also find a few Rangers at the far and right of the map. Getting your melee units into Attack of Opportunity range is a valid strategy, while you use ranged burst fire and AoE (Area-of-Effect) on the melee units on the hill.
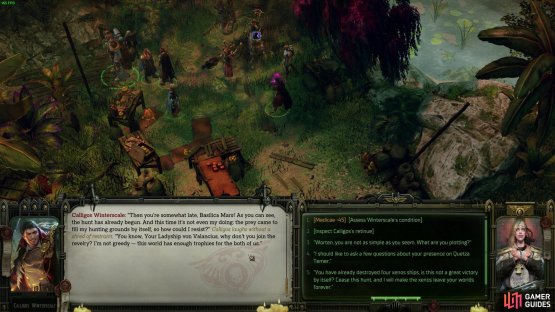
(1 of 2) You’ll discover why it is easy to get lost, thanks to some Aeldari and their conversation about manipulating nature to disguise tracks.


You’ll discover why it is easy to get lost, thanks to some Aeldari and their conversation about manipulating nature to disguise tracks. (left), Continue through the forests of Quetz Temer in Rogue Trader and you’ll stumble upon Calligos. (right)
From there, take the right exit on the map and load into another ruin. This ruin will be filled with people living in the forest, who will hint they know of Winterscale and are being led by a powerful Diviner from the tribe. Go through the camp grabbing what loot you can find, and then look for an exit on the left side of the map. It will bring you to another small ruin by a river. You’ll find a turret peering left that you should attempt to disable. Follow the path leftward, and it will take you to a barracks in the forest. You’ll find the remains of one of Calligos’ crew there, and some items to loot. Continue moving forward, and you can get to a new map where you will find Wintescale and the boys chasing an Aeldari down before stopping to talk to you. Calligos will think you’re an Aeldari lost in his madness, and you’ll talk to him to chill him out. From there, convince him to return to the forest camp with you.
Navigating the Quetza Temer Forests


(1 of 2) There is a map with a few clumped up routes. Go through each of the four options at least once, and it should bring you to the route to get back to camp.
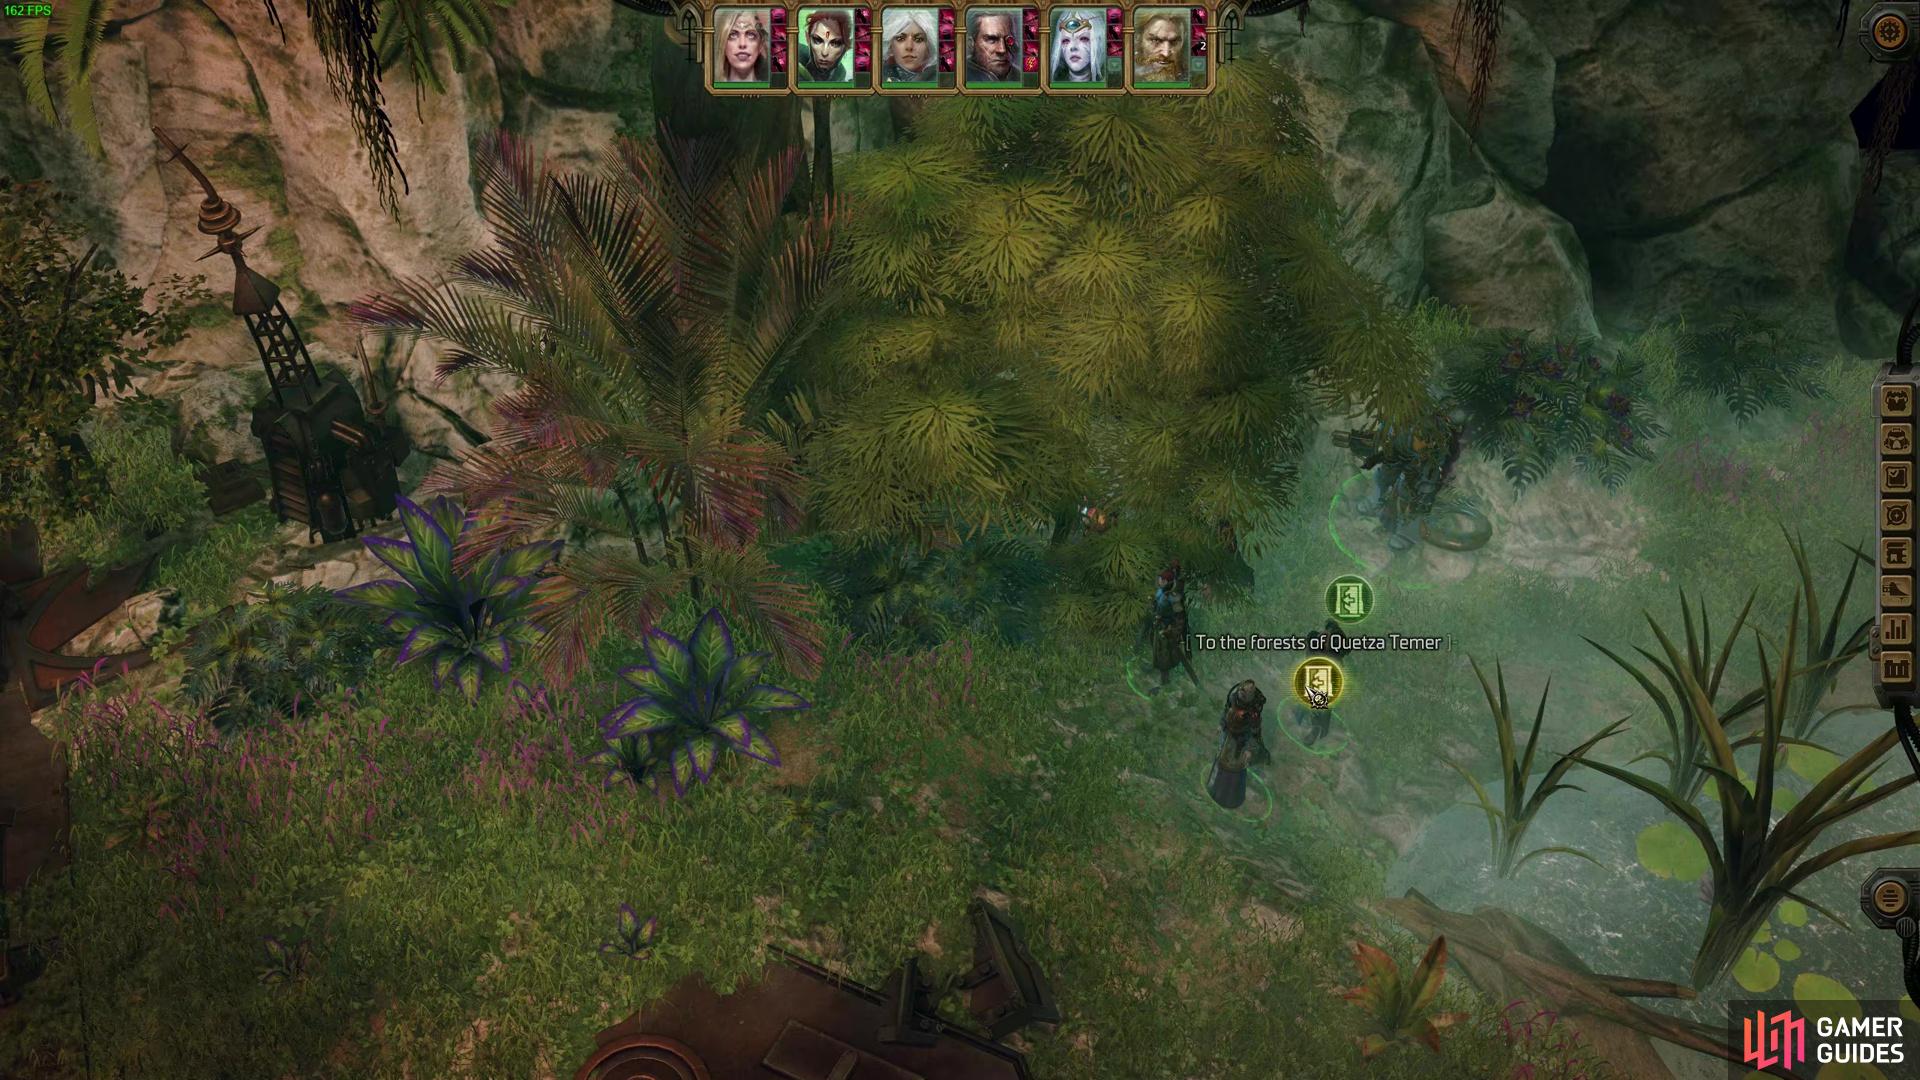
There is a map with a few clumped up routes. Go through each of the four options at least once, and it should bring you to the route to get back to camp. (left), When you arrive at Camp, you can attempt to persuade him once to be peaceful about the hunt. But you can only do this once! (right)
Now it is time for the tricky part. To return back to the village in the forest, you will need to get lucky. The map will start changing the levels constantly to the point you’ll go through the same few maps a few times, albeit entering from slightly different positions. We recommend going back through the map you came from, going back towards the turret, and then follow the stream to a new level. You should eventually get a large map, with a bunker on the lower left you can enter, and a stream on the right. The very top left and top right of the map should have two different map entrances each.
It seems like by finding this map four times and going through each map option at least once triggers the final missing map to walk through and get back to the village. So, keep going through the pathways and click on all unique options at least once, and it should eventually bring you back to the camp. the reddit user Kooky Flower4847 also has a few suggestions you can try by going left from the map with the bunker, and then taking the bottom left exit on the next map. From there, go to the Stone Bridge exit after the Aeldari fight map to return to the village.
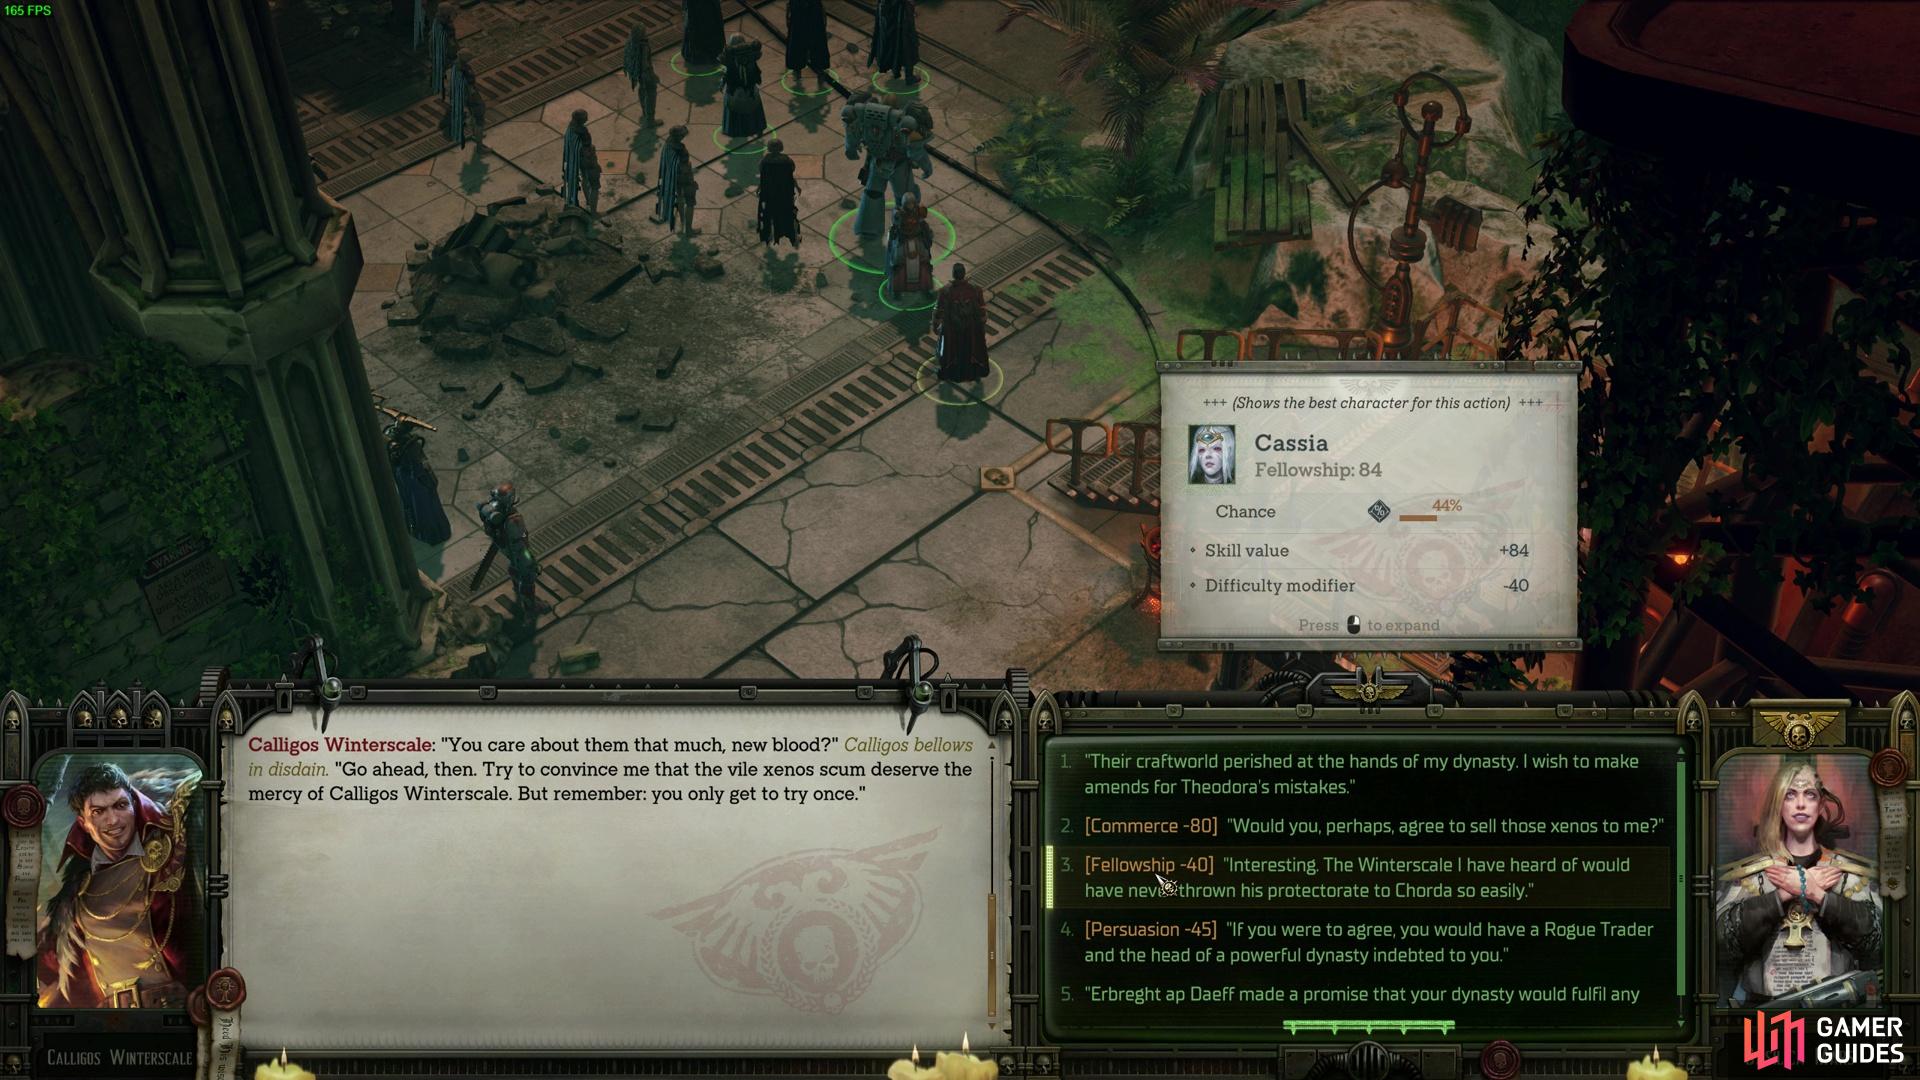
Upon returning to camp, you will learn more about the mysterious Psyker of the village and get to know more about a sober-minded Winterscale. You can also attempt to persuade Winterscale about what to do with the Aeldari and potential alliances you can forge, depending on your preferences. You’ll only get one shot to convince him though, so prepare to save scum if that’s your intention. Once you’re ready to go, tell Calligos and you’ll find the map where the main Aeldari Farseer is and thus bring you to the meat and bones of the quest.
Winterscale or the Aeldari Choice & Consequences
When you finally reach the main location of the Aeldari in Rogue Trader you will get into a big conversation with them. Your old friend, The Stranger Harlequin is leading the flock. He’ll essentially reveal that they are here because Tervantias and his band of mad scientists have a laboratory on the Quetza Temer. So, full-on glassing the planet was somewhat reasonable, considering what you dealt with in Chapter 3. He’ll also state that they didn’t want to fire at the planet, but Calligos opened fire first.
So, now you have a choice, do you understand the Aeldari’s intentions and then go from there? Or do you side with Winterscale? There are a few things to note about the choice here, and there are a few things you are going to need to consider.
Aeldari Choices
Siding with the Aeldari grants an immediate location update of the approximate coordinates of Tervantias’ base on the planet. Additionally, if you intend to romance Yrliet, then helping her with saving the Aeldari lives is something you must consider. You can either do this by convincing Calligos to lay down his arms or fight him. Fighting the Aeldari is also much harder, so there is that going for the Aeldari since the Stranger goes full beast mode.

Be careful about what you say, as you will likely lose Yrliet as a Companion.
In addition, there are a few ways for Yrliet to join the enemy team if you’re not careful. Avoid telling the Aeldari about the fragments of Crudanrach that are in your ship. Yrliet will join the Aeldari side and fight against you because she knows there’s no coming back from that. If you go straight into combat with Calligos using Dogmatic options, then she will join your side too. However, if you discuss everything and then decide to attack, Yrliet will be upset. No option seems to bring her back to your cause, so you will need to fight her.
Another reason to side with the Aeldari is if you intend to side with Calcazar and Chorda, as they are at war with Calligos. So, dealing with Calligos here and now is one way to progress the main story with allies. You will only really know of this if you sided with Chorda by visiting Footfall first, rather than going to see Winterscale when you go back to exploring the stars at the start of Chapter 4. But it’s something to note if you’re in that position.
There’s also some nice loot from this area you can get, which are the following items if it does descend into a fight:
 Harbinger of Carnage - Drops from Winterscale’s party during the fight on Quetza Temer.
 Hot Shot Las Pistol - Drops from Winterscale’s party during the fight on Quetza Temer.
 Tarvana’s Last Stand - Drops from Winterscale’s party during the fight on Quetza Temer.
 Suin Kaelean - Looted from a cargo from the Winterscale vs Aeldari fight on Quetza Temer.
 Upgraded Shuriken Pistol - Dropped by Aeldari during the Winterscale vs Aeldari fight on Quetza Temer.
- The Stranger of Oblivion doesn’t drop loot either, as he walks off when you lower his wounds to force him from the fight.
If you do side with the Aeldari, they’ll reveal they aren’t finding Tervantias anymore, and that they’ll escape the planet. They’ve been in touch with a Craftworld who intends to make the Koronus Expanse their home. So, you won’t be seeing much of them for the rest of the campaigns. All in all, the storyline pretty much ends there. When you flee the planet, you can tell Winterscale’s ship to blast them out of orbit or let them go. It doesn’t seem to matter from what we can tell.
Winterscale Choices and Consequences
Fight Winterscale and he will reveal the secret source of his bloodthirsty ways.
Meanwhile, if you side with Winterscale, then you get an ally for the upcoming fights. The conflict with Chordia and Calcazar is on the horizon, so Iconoclasts and Heretics can get an ally for that playthrough. In addition, Calligos is a secret Companion you can get in the game, so that’s a factor to think about. Heretic players will likely need all the help they can get in Chapter 4. We will put the reason in a spoiler box in the paragraph below. In other words, don’t press the heretical options and fight both sides. It’s a bit too chaotic for everyone’s liking. In addition, the strange Psyker man will tell you of Tervantias’ location, so you can get to the next stage of the quest too.
Heretic playthroughs who got the cutscene where ![]() Argenta,
Argenta, ![]() Yrliet Lanavyss,
Yrliet Lanavyss, ![]() Heinrix van Calox, and
Heinrix van Calox, and ![]() Ulfar tell you that you need to change your ways and will abandon you when you are partway through the Invitation from Calcazar quest. Yeah, it means you’re left with a Warrior, two Officers, and two Operatives. Not exactly a solid lineup for dealing damage with, especially on harder modes. This is all the more reason to grab Winterscale as a secret companion.
Ulfar tell you that you need to change your ways and will abandon you when you are partway through the Invitation from Calcazar quest. Yeah, it means you’re left with a Warrior, two Officers, and two Operatives. Not exactly a solid lineup for dealing damage with, especially on harder modes. This is all the more reason to grab Winterscale as a secret companion.
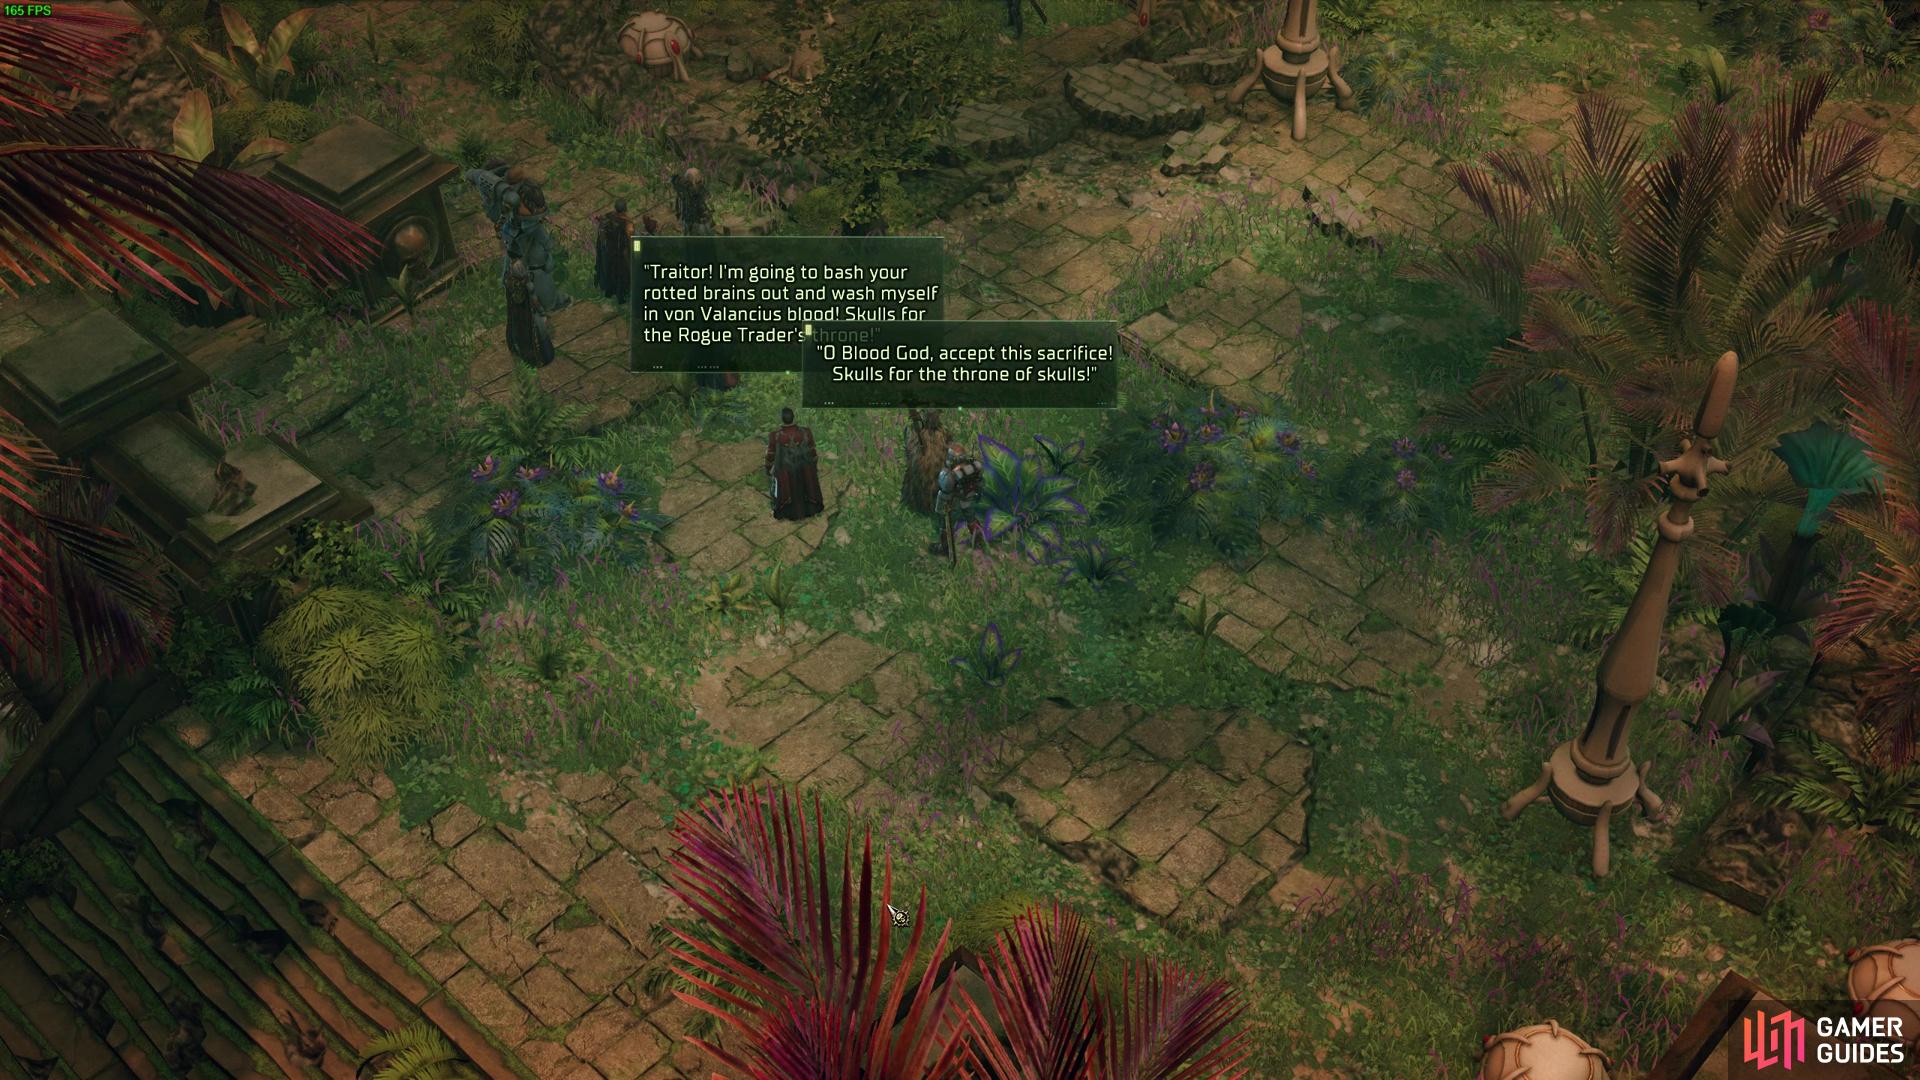
If you fail to resolve the fight diplomatically, you’ll get into a battle. Fighting the Aeldari is likely the hardest option. The Aeldari have a few shooters with high dodge and cover at the back of the ruin, and the Stranger is a very high-movement assassin who will triple-stab your party before they get to play - sounds very 40k tabletop now, doesn’t it? Meanwhile, Calligos is merely a wound sponge, while his pet psycho is like ![]() Abelard or Heinrix on steroids casting Daring Breach and slapping the life out of your frontline. You also get a few Bloodletters in the fight on Winterscale’s side, so you can see why Calcazar is not impressed with Winterscale. They are not really threats and will typically get dropped in the first turn by your DPS and the Aeldari melee units. That’s something to consider when deciding who to fight.
Abelard or Heinrix on steroids casting Daring Breach and slapping the life out of your frontline. You also get a few Bloodletters in the fight on Winterscale’s side, so you can see why Calcazar is not impressed with Winterscale. They are not really threats and will typically get dropped in the first turn by your DPS and the Aeldari melee units. That’s something to consider when deciding who to fight.
There’s no real best choice here, as you’ll be trading a few potential strengths and weaknesses. It all depends on the type of challenge and run you’re having. Once you’ve made your decision, you’ll get a fast travel point back to your shuttle to leave the planet, and then you can speak to the regent of Calligos’ vessel. You can tell him what happened, bring up any deal you mentioned to him, or restore Calligos back on his ship for your rewards or other benefits you get for the fight. If you went with the Winterscale heir option, the game doesn’t seem to flag that you saved his son during Chapter 1 back in the Chosen Ones questline either, which feels like a missed opportunity.
With that out of the way, it is time to hunt Tervantias down in his bunker. If you do fight Tertvantias, you’ll need to beat a few Pain Engines and some Drukhari lab scientists. Nothing too fancy at this point. Tervantias himself is the same old Tervantias bullet sponge with a shield and some bleed effects. This lab will also respawn low-wound threats, which you can put an end to by destroying the facilities. Other than that, Tervantias is surprisingly an easy boss on harder difficulties.
Read More:
No Comments