
Warhammer 40,000 is an odd setting - while technically science fiction, most of its “technology” is as much superstition and sorcery as it is science, giving it a distinct fantasy vibe and sidelining most technobabble that typifies the genre. This is especially apparent when it comes to faster-than-light travel, which in Warhammer 40,000 isn’t a matter of fancy physics - however fantastical - as much as… well, traveling through what’s essentially the Warhammer 40,000 version of hell in order to bypass the normal laws of time and space. Needless to say, traveling through the warp is a perilous endeavor, but with a stable and skilled Navigator and by the light of the Astronomicon, the warp can be traversed. In order to govern their interstellar fiefdom in the Koronus Expanse the Rogue Trader has no alternative but to risk the dangers of warp travel, and this page will discuss how to navigate between systems, how to chart new routes between said systems, how to earn Navigator’s Insight and when to spend it, and what dangers you’ll encounter when you take risky warp jumps.

(1 of 4) At the system scale, you’ll just click on points of interest to navigate to them - usually other ships, stations, planets or debris.
Exploring Systems in Rogue Trader
There are two degrees of space exploration in Rogue Trader - the system map and the galaxy map. As soon as Chapter 1 begins you’ll find yourself in the Rykad system, and while there are many, many more systems to explore starting Chapter 2, Rykad is representative of the core gameplay loop. At the system scale things are pretty simple; you click around to move your voidship, ideally selecting planets, stations, debris, or other points of interest to sail over to and interact with them. No rush, though, you can’t run out of fuel, time is no issue, and the horrors of the warp aren’t a factor while traveling within a system… presumably because travel over such relatively short distances doesn’t require the use of a warp drive.
While you’re primarily just clicking on points of interest, you will often have to scan objects when you approach them to get more information. This really just requires you to press another button to make more icons pop up, however. Some points of interest will bring up dialog, which may yield rewards (or impose penalties) depending on your choices. If you find resources you can choose to deploy Extractum to harvest them, and yet other points of interest will require you to select a party to deploy, which almost certainly means there’s combat ahead. If you spot red circles in a system, be wary, as this indicates hostile forces - sailing into these zones will start a space combat encounter. There’s a great deal of variety to the content you’ll find while exploring systems, but as far as engaging with all this content goes, it’s a pretty simple affair.

You’ll want to chart new routes when you visit a system,
as this will reveal nearby systems and routes, as well as earning you Navigator’s Insight.
Warp Routes, Warp Travel, and Warp Encounters in Rogue Trader
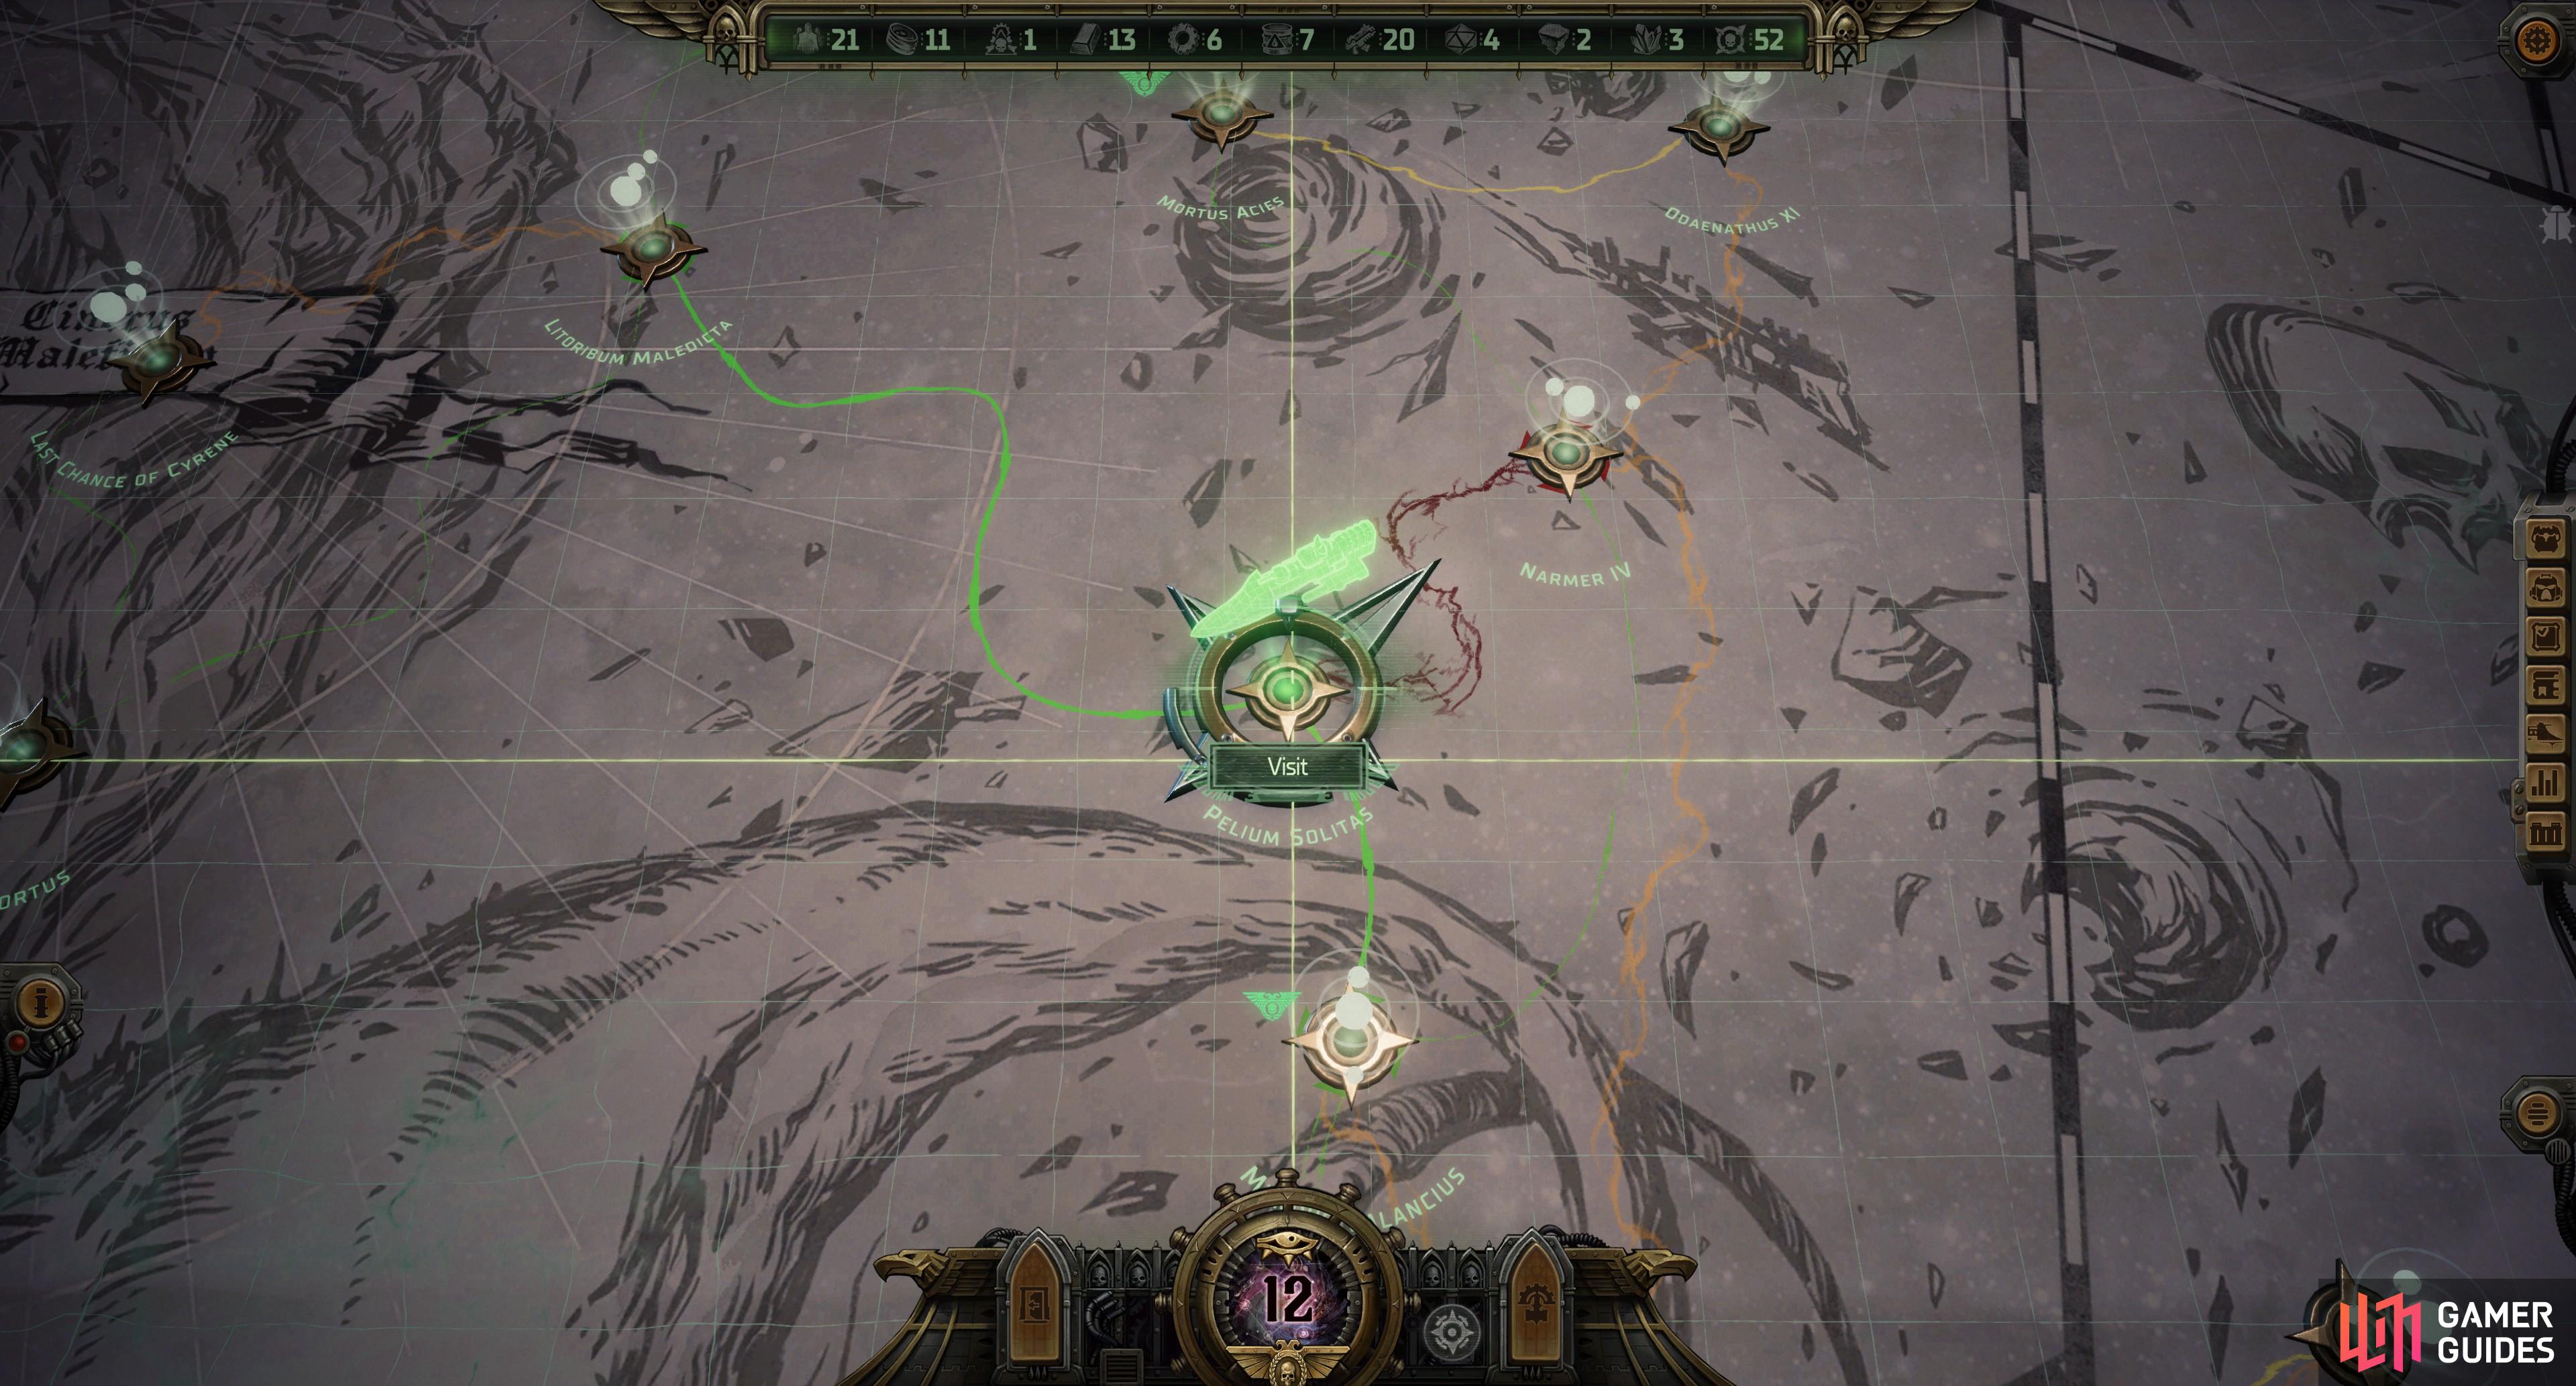
Travel between systems via the galaxy map of the Koronus Expanse is a bit more involved, as the distances between systems require you to travel through the warp - not something to be done blindly or without consideration. Systems in the Koronus Expanse are marked by starburst icons when discovered, but traveling between systems isn’t quite as straightforward as sailing from planet to planet was. Instead, there are preset routes between systems with varying levels of danger associated with warping between them.
You’ll first encounter this after leaving Footfall at the start of Chapter 2, where you’ll be stranded in the Furibundus system with no other systems charted. To discover new systems and/or new routes to existing systems, you’ll have to select the “Chart New Routes” button on the bottom center of the screen. Doing this will reveal nearby systems and, ideally, routes between them, as well as earn you a point of Navigator’s Insight. These points are important, as you can use them to chart custom routes between systems and make warp travel between systems a little less suicidal.
Once you’ve scanned Furibundus you’ll see several new systems pop up with colored lines connecting them, as follows: Sotto’s Tomb (green line), Aviorus (yellow line), Trinnitos (orange line) and “To the imperium” (red line). In the case of “To the Imperium”, this just gives you the option to attempt to leave the Koronus Expanse, and while we may have thrown the word “suicidal” around on this page in reference to the perils of Warp travel, attempting to leave the setting for Rogue Trader will legit result in a game over. That being said, there are other routes with red lines connecting them that aren’t actually guaranteed to give you game overs, so don’t be fooled by this one-off; it’s just a little bit of flavor explaining why you’re stuck in the Koronus Expanse for the duration of the game.

Routes come in four danger ratings, which can be reduced by spending Navigator’s Insight.
The more perilous the route the more likely you are to suffer warp encounters when you travel down them.
Regardless of their color, these lines between systems represent navigable Warp routes from system to system, and these are all one-to-one connections. You must travel along these lines, warping between each system along the way. For example, Furibundus connects to Trinnitos, and Trinnitos connects to Telikos Epsilon, but to reach Telikos Epsilon from Furibundus you must travel to Trinnitos, then warp from there to arrive at Telikos Epsilon. This can make traveling across the Koronus Expanse a bit tedious, but there’s a gameplay reason why this is the case. Namely, it’s time to get back to the significance of those colored lines connecting the systems…
The lines representing Warp routes between systems come in four colors, indicating the danger level of each route, as follows:
| Route Color | Danger Level |
|---|---|
| Green | Safe |
| Yellow | Unsafe |
| Orange | Dangerous |
| Red | Deadly |
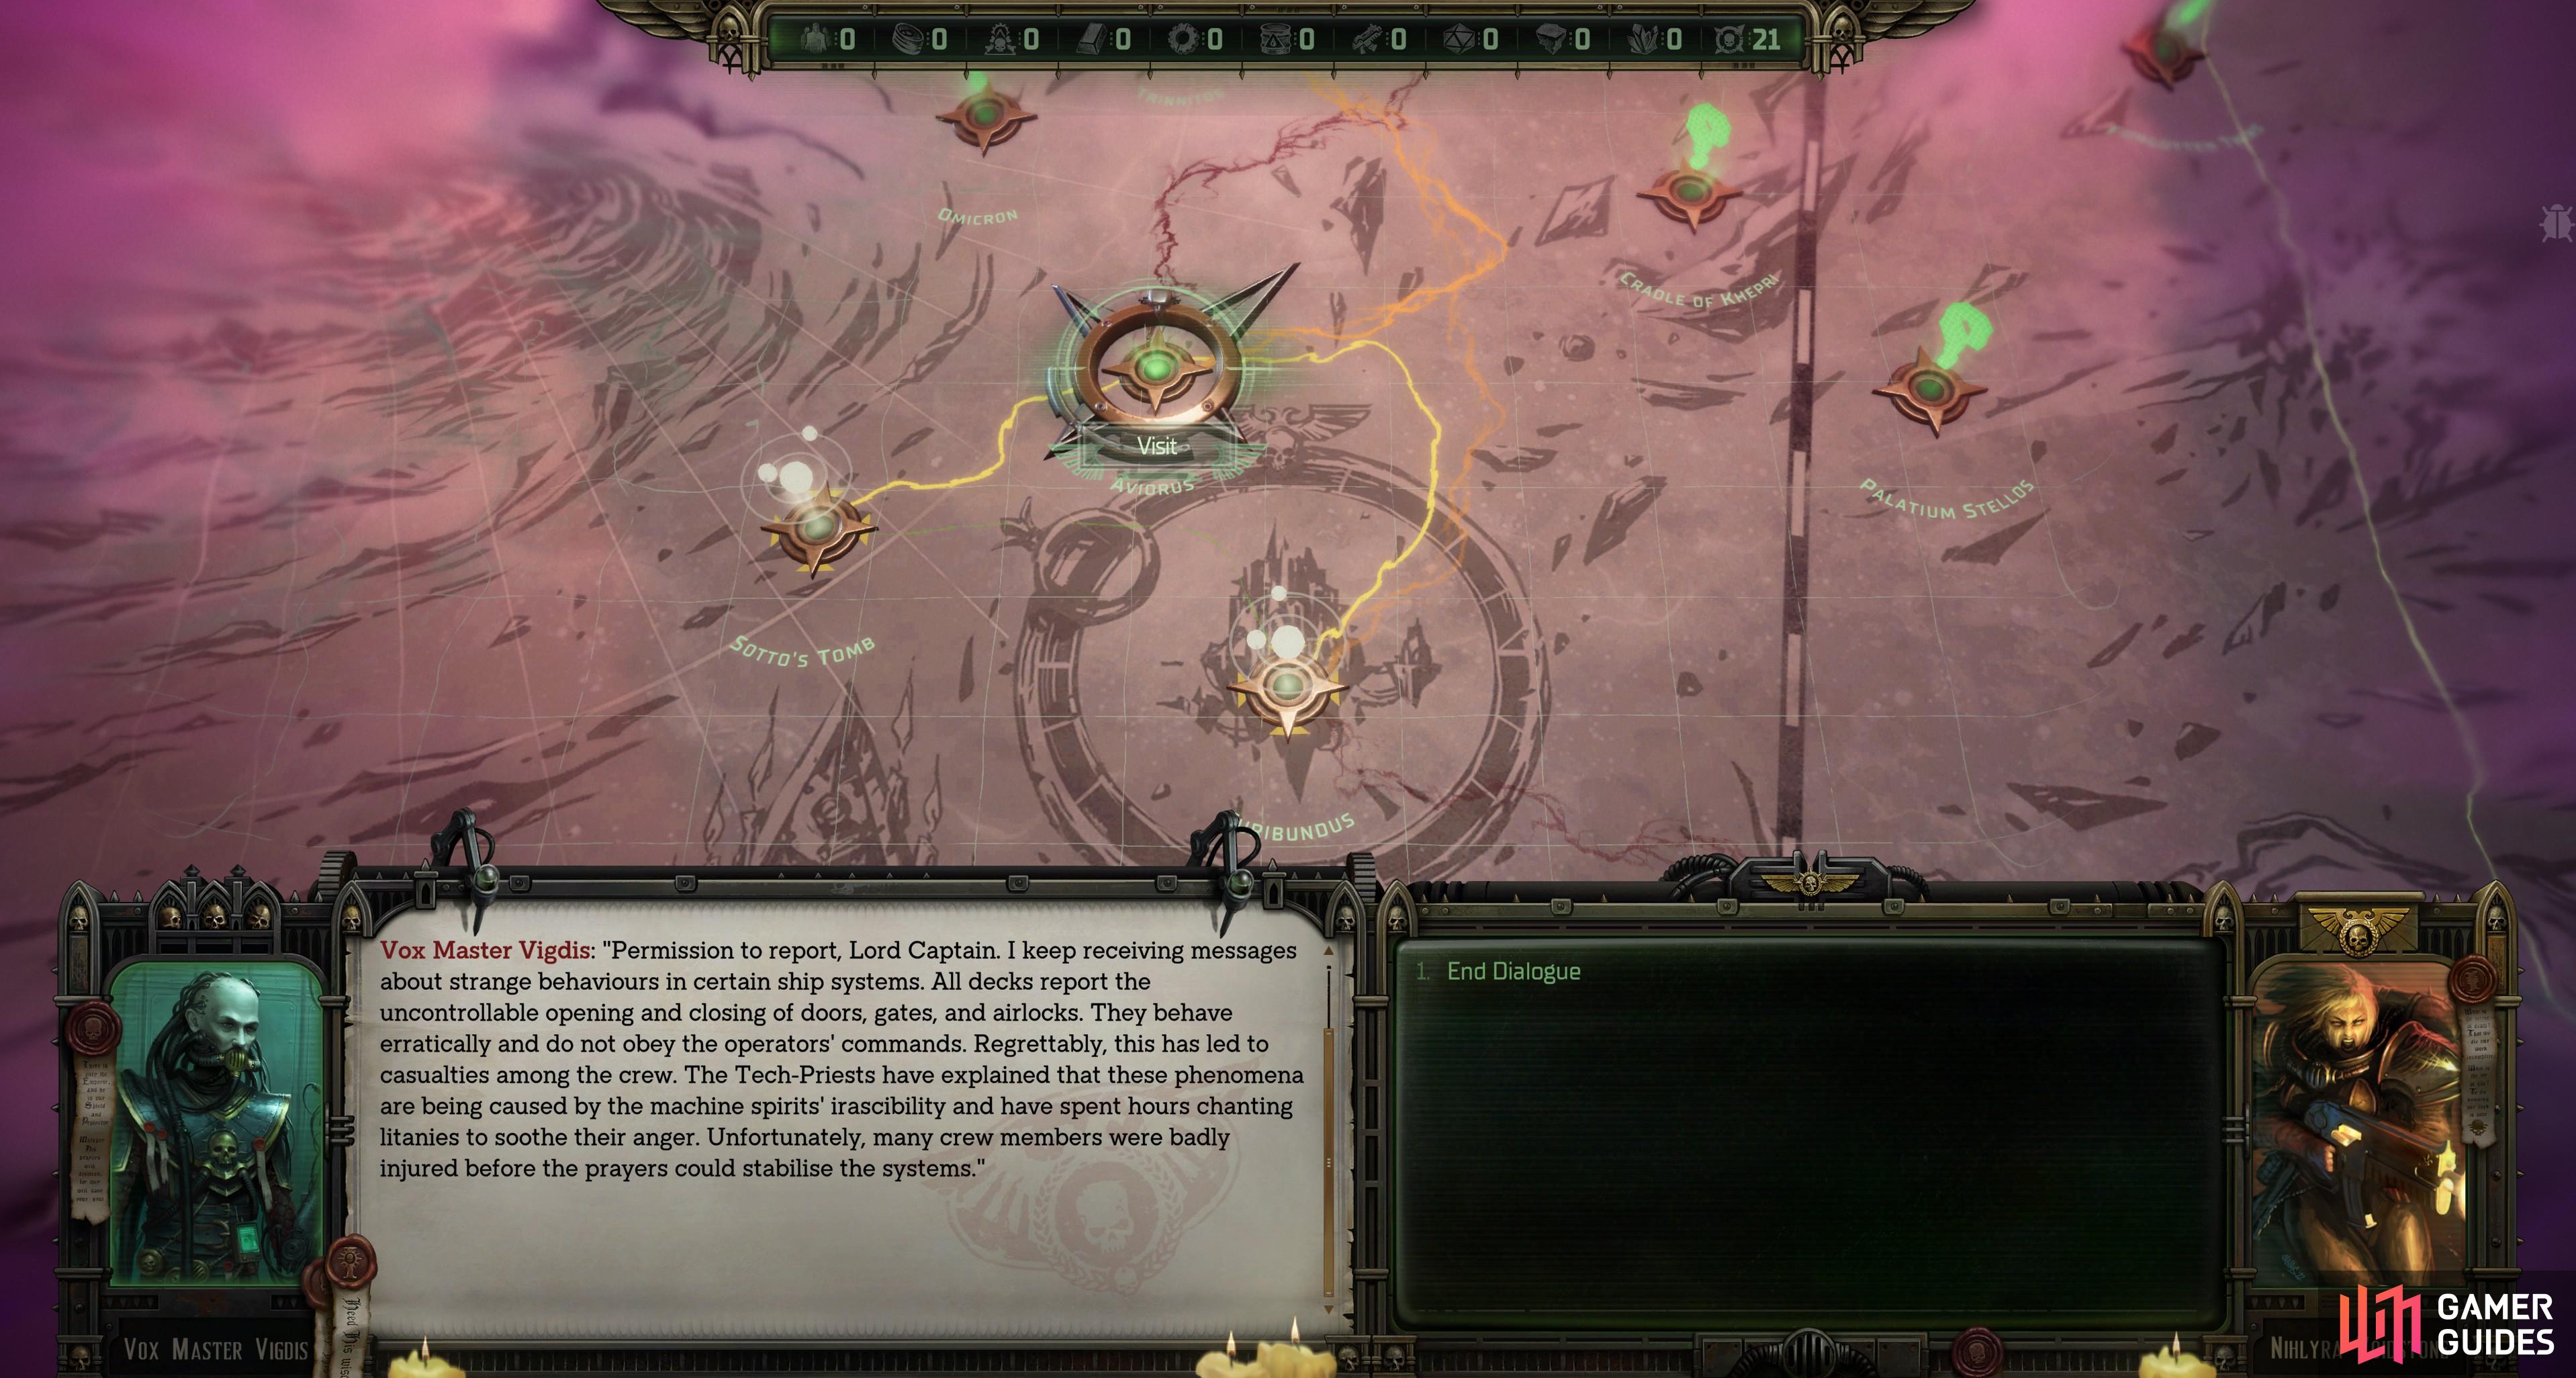
As stated ad nauseam on this page, Warp travel is hazardous. The more you Warp travel and the more dangerous the routes, the more likely you are to trigger various Warp encounters on your voidship. These serve as the game’s random encounters, and they generally range from near misses where nothing impactful happens (losing unnamed crewmembers or having a section of your ship sealed up due to some great evil haunting the place has no functional gameplay impact, short term or long term), you’re forced to make some dialog choices that may cost you cargo or deal damage to your ship’s hull, or you end up in some random combat encounter. These repeat and in the latter case it might not be the worst thing in the world to have them pop up from time to time, as you can earn cargo and XP by fighting whatever demons or mutants end up plaguing your voidship following a dangerous jaunt through the Warp. That said, combat is slow in this game, and unnecessary Warp travel will inflate your playtime significantly.
Traveling on safe (green) routes will usually not lead to Warp encounters, although Warp travel does seem to increment various in-game counters, serving as one of the game’s few ways of measuring the progression of time, meaning events may trigger as you travel regardless of the route’s danger level. However, traveling along unsafe (yellow), dangerous (orange) or deadly (red) routes are increasingly likely to lead to a Warp encounter. These Warp encounters seem to be cumulative inasmuch as traveling along several unsafe routes is functionally similar to taking one deadly route.
(1 of 3) Some systems won’t have set routes to them and you’ll need to chart a custom route - you can also do this to create shortcuts between systems with established routes.
Navigator’s Insight, Custom Routes, and Reducing Route Danger
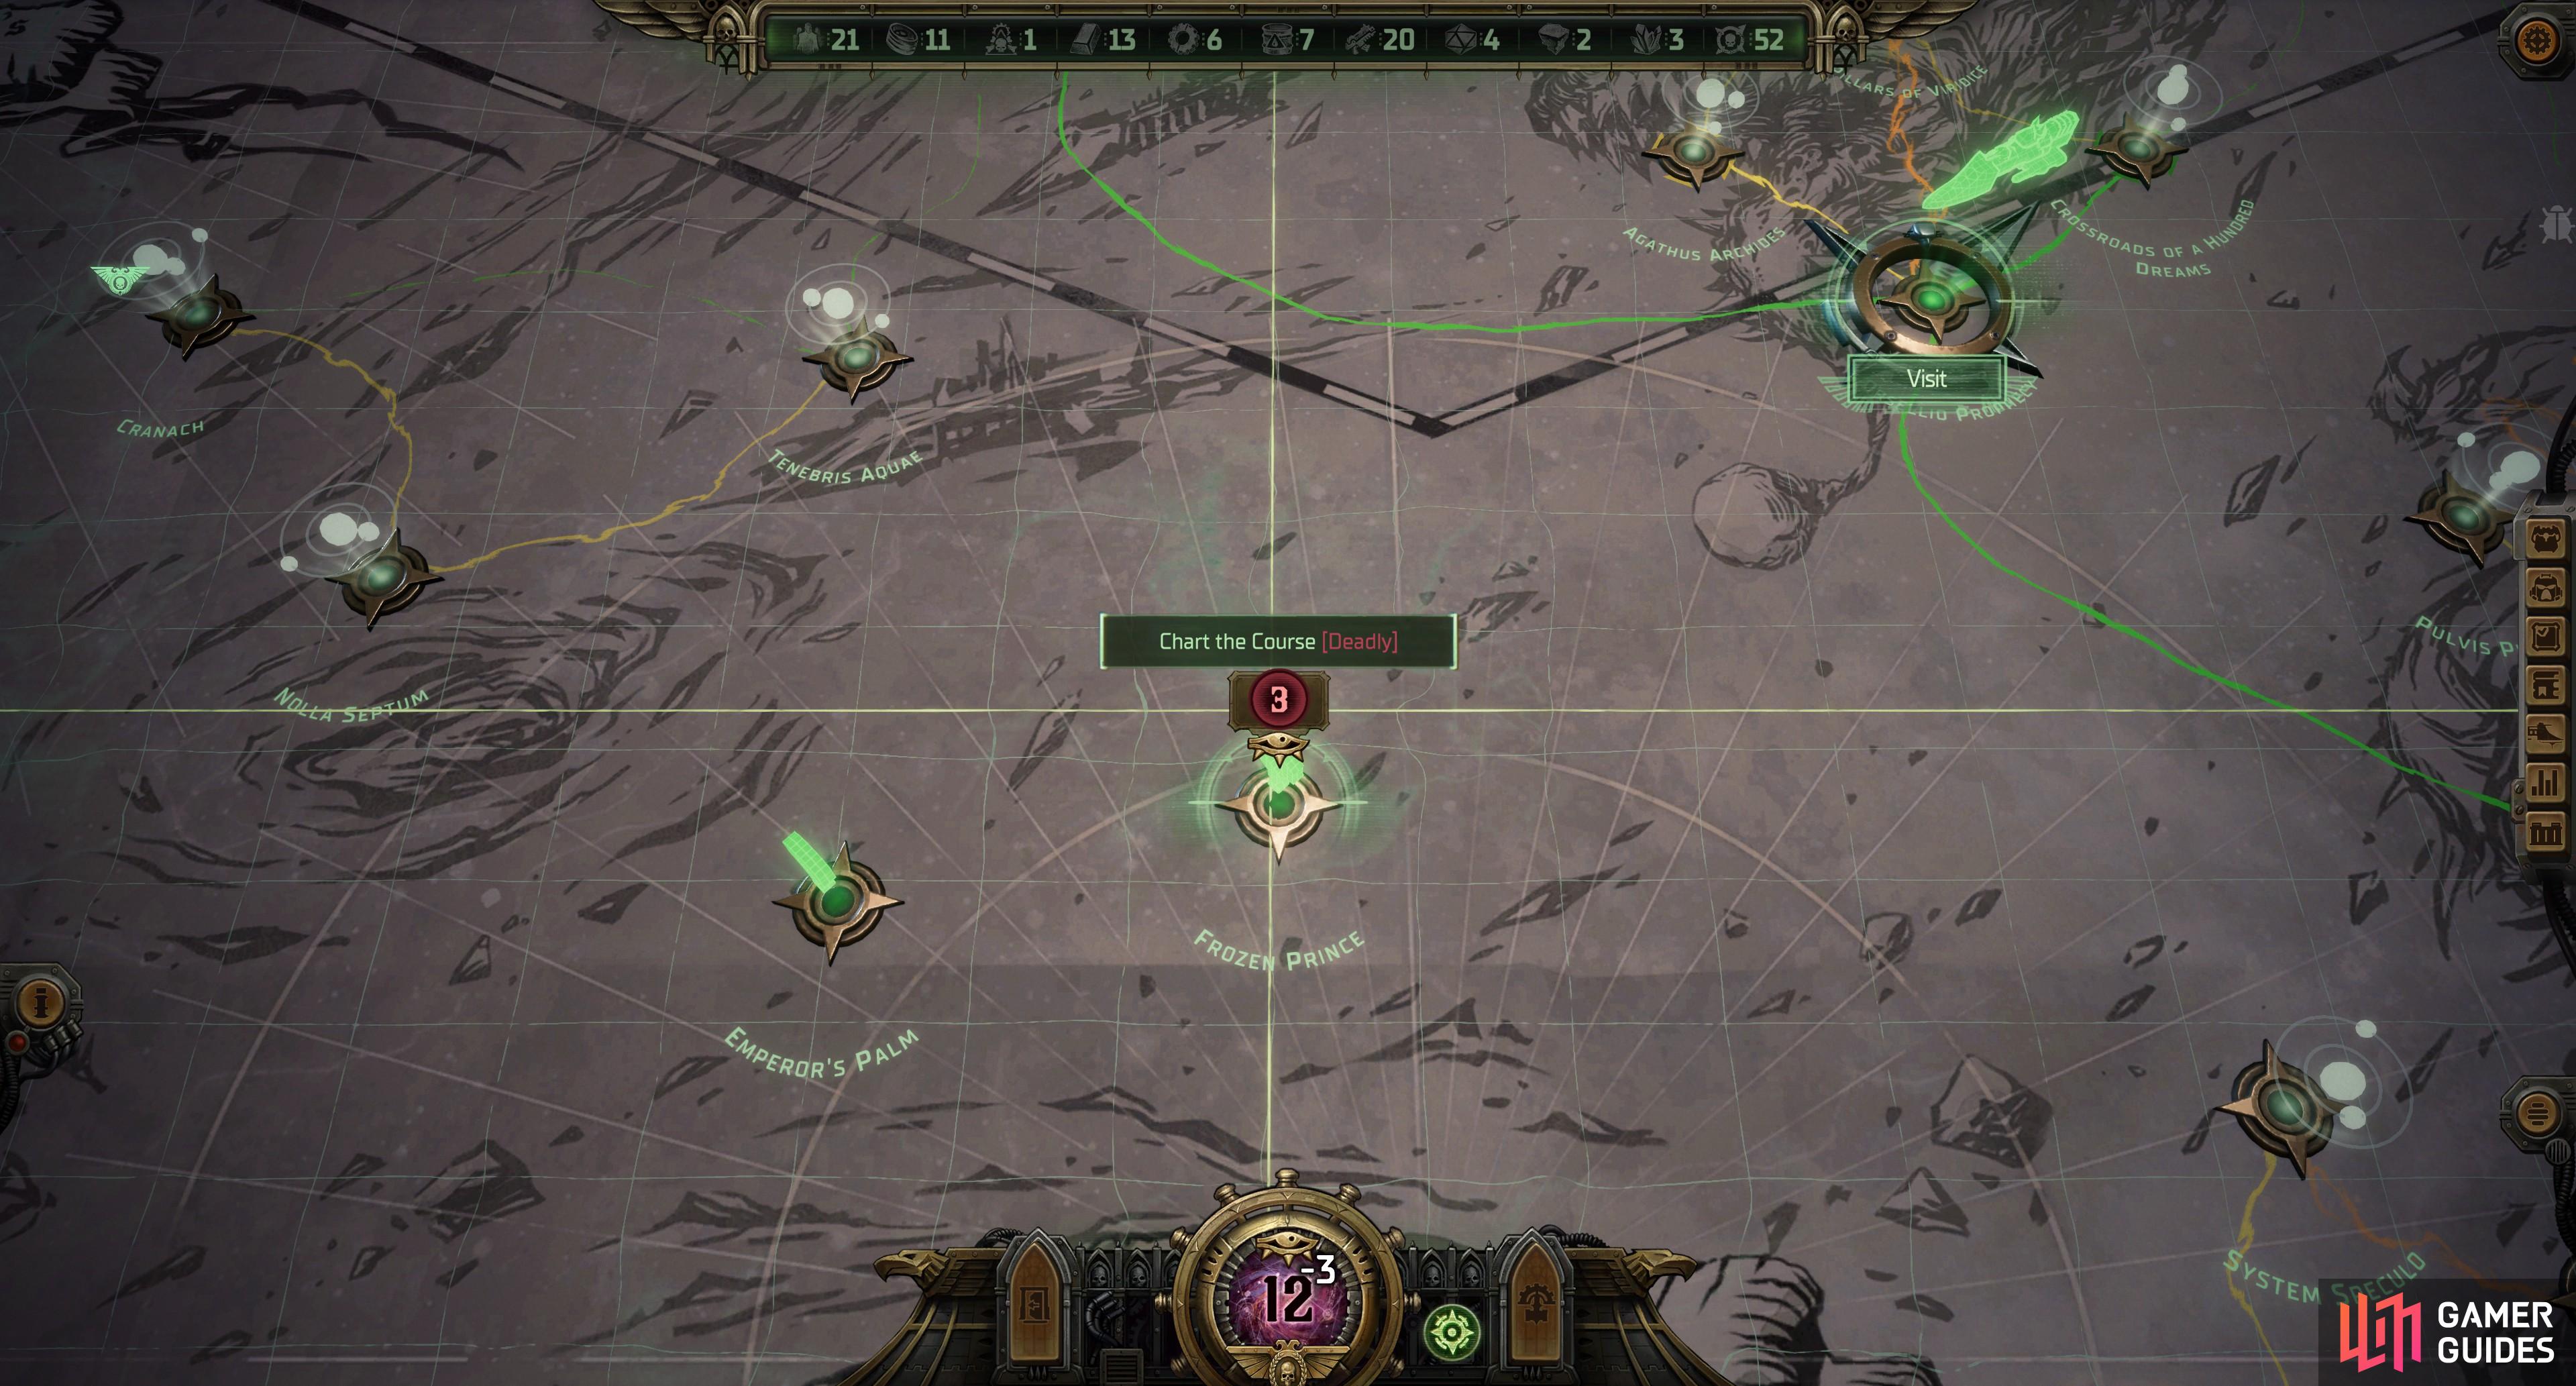
While you could simply suck it up and take the dangers of Warp travel as an unfortunate but unavoidable side effect of doing business, you do have options when it comes to both creating your own custom routes and reducing the danger level of routes (custom or otherwise). When you reach a new system, you’ll be able to select the “Chart new Routes” button at the bottom of the screen, which, as mentioned earlier, will reveal nearby systems and the routes to them. Charting routes this way will also earn you one point of Navigator’s Insight, which you can spend in a variety of ways to make traveling the Koronus Expanse safer, faster, and easier.
When you select an adjacent system with a route that is unsafe (yellow), dangerous (orange) or deadly (red) an eye icon will appear above said system, along with some numbers. These encircled numbers represent the amount of Navigator’s Insight points you can spend to reduce the danger rating of the selected route, and each point of Navigator’s Insight spent will reduce said danger rating by one degree, so deadly to dangerous, dangerous to unsafe, and unsafe to safe. This change is permanent and can make it much easier to travel between two systems.
You can also select any system while in any other system (as long as both have been scanned via the “Chart New Routes” button), at which point you’ll be prompted to “Chart the Course” at the expense of 3 points of Navigator’s Insight. This will create a permanent route between the two selected systems, even if they’re on opposite sides of Koronus Expanse! Placed wisely, these custom routes can vastly speed up travel, and it can even save you Navigator’s Insight in the long run, as creating a custom route can end up more efficient than making multiple smaller routes safe. Keep in mind that creating a custom route will always result in a deadly route, so it’ll cost a whopping 6 points of Navigator’s Insight to chart a custom route and make that route safe.
Remember that Navigator’s Insight is a finite currency, and you may want to save a significant stock of it up in case you need to chart routes to systems where no conventional routes exist. You’ll also be able to make more efficient choices after traveling and charting the Koronus Expanse thoroughly, so you can chart routes between points of interest - ideally colonies and especially Mundus Valancius - the heart of your interstellar fiefdom.
No Comments