
Rogue Trader’s second chapter significantly expands the scope of the game, making good on numerous promises: space combat, voidship customization, interstellar exploration, colony development, and access to the game’s five major factions… it all begins here. Needless to say, there’s a lot to see and do in this chapter, even if you beeline the main questline. This page will provide a full overview of Chapter 2’s main questline, letting you know where to go, when to go there, and what you need to do to complete each main quest.
Chapter 2 - Koronus Expanse Walkthrough in Rogue Trader
- Tattered Spirit
- Reclaim What Was Lost
- World Shapers
- Flame in the Dark
- Spiders in a Jar
- Blades in the Void
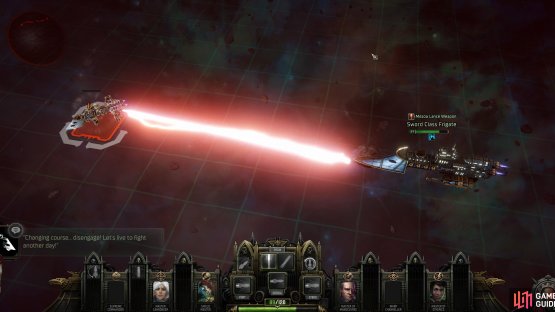
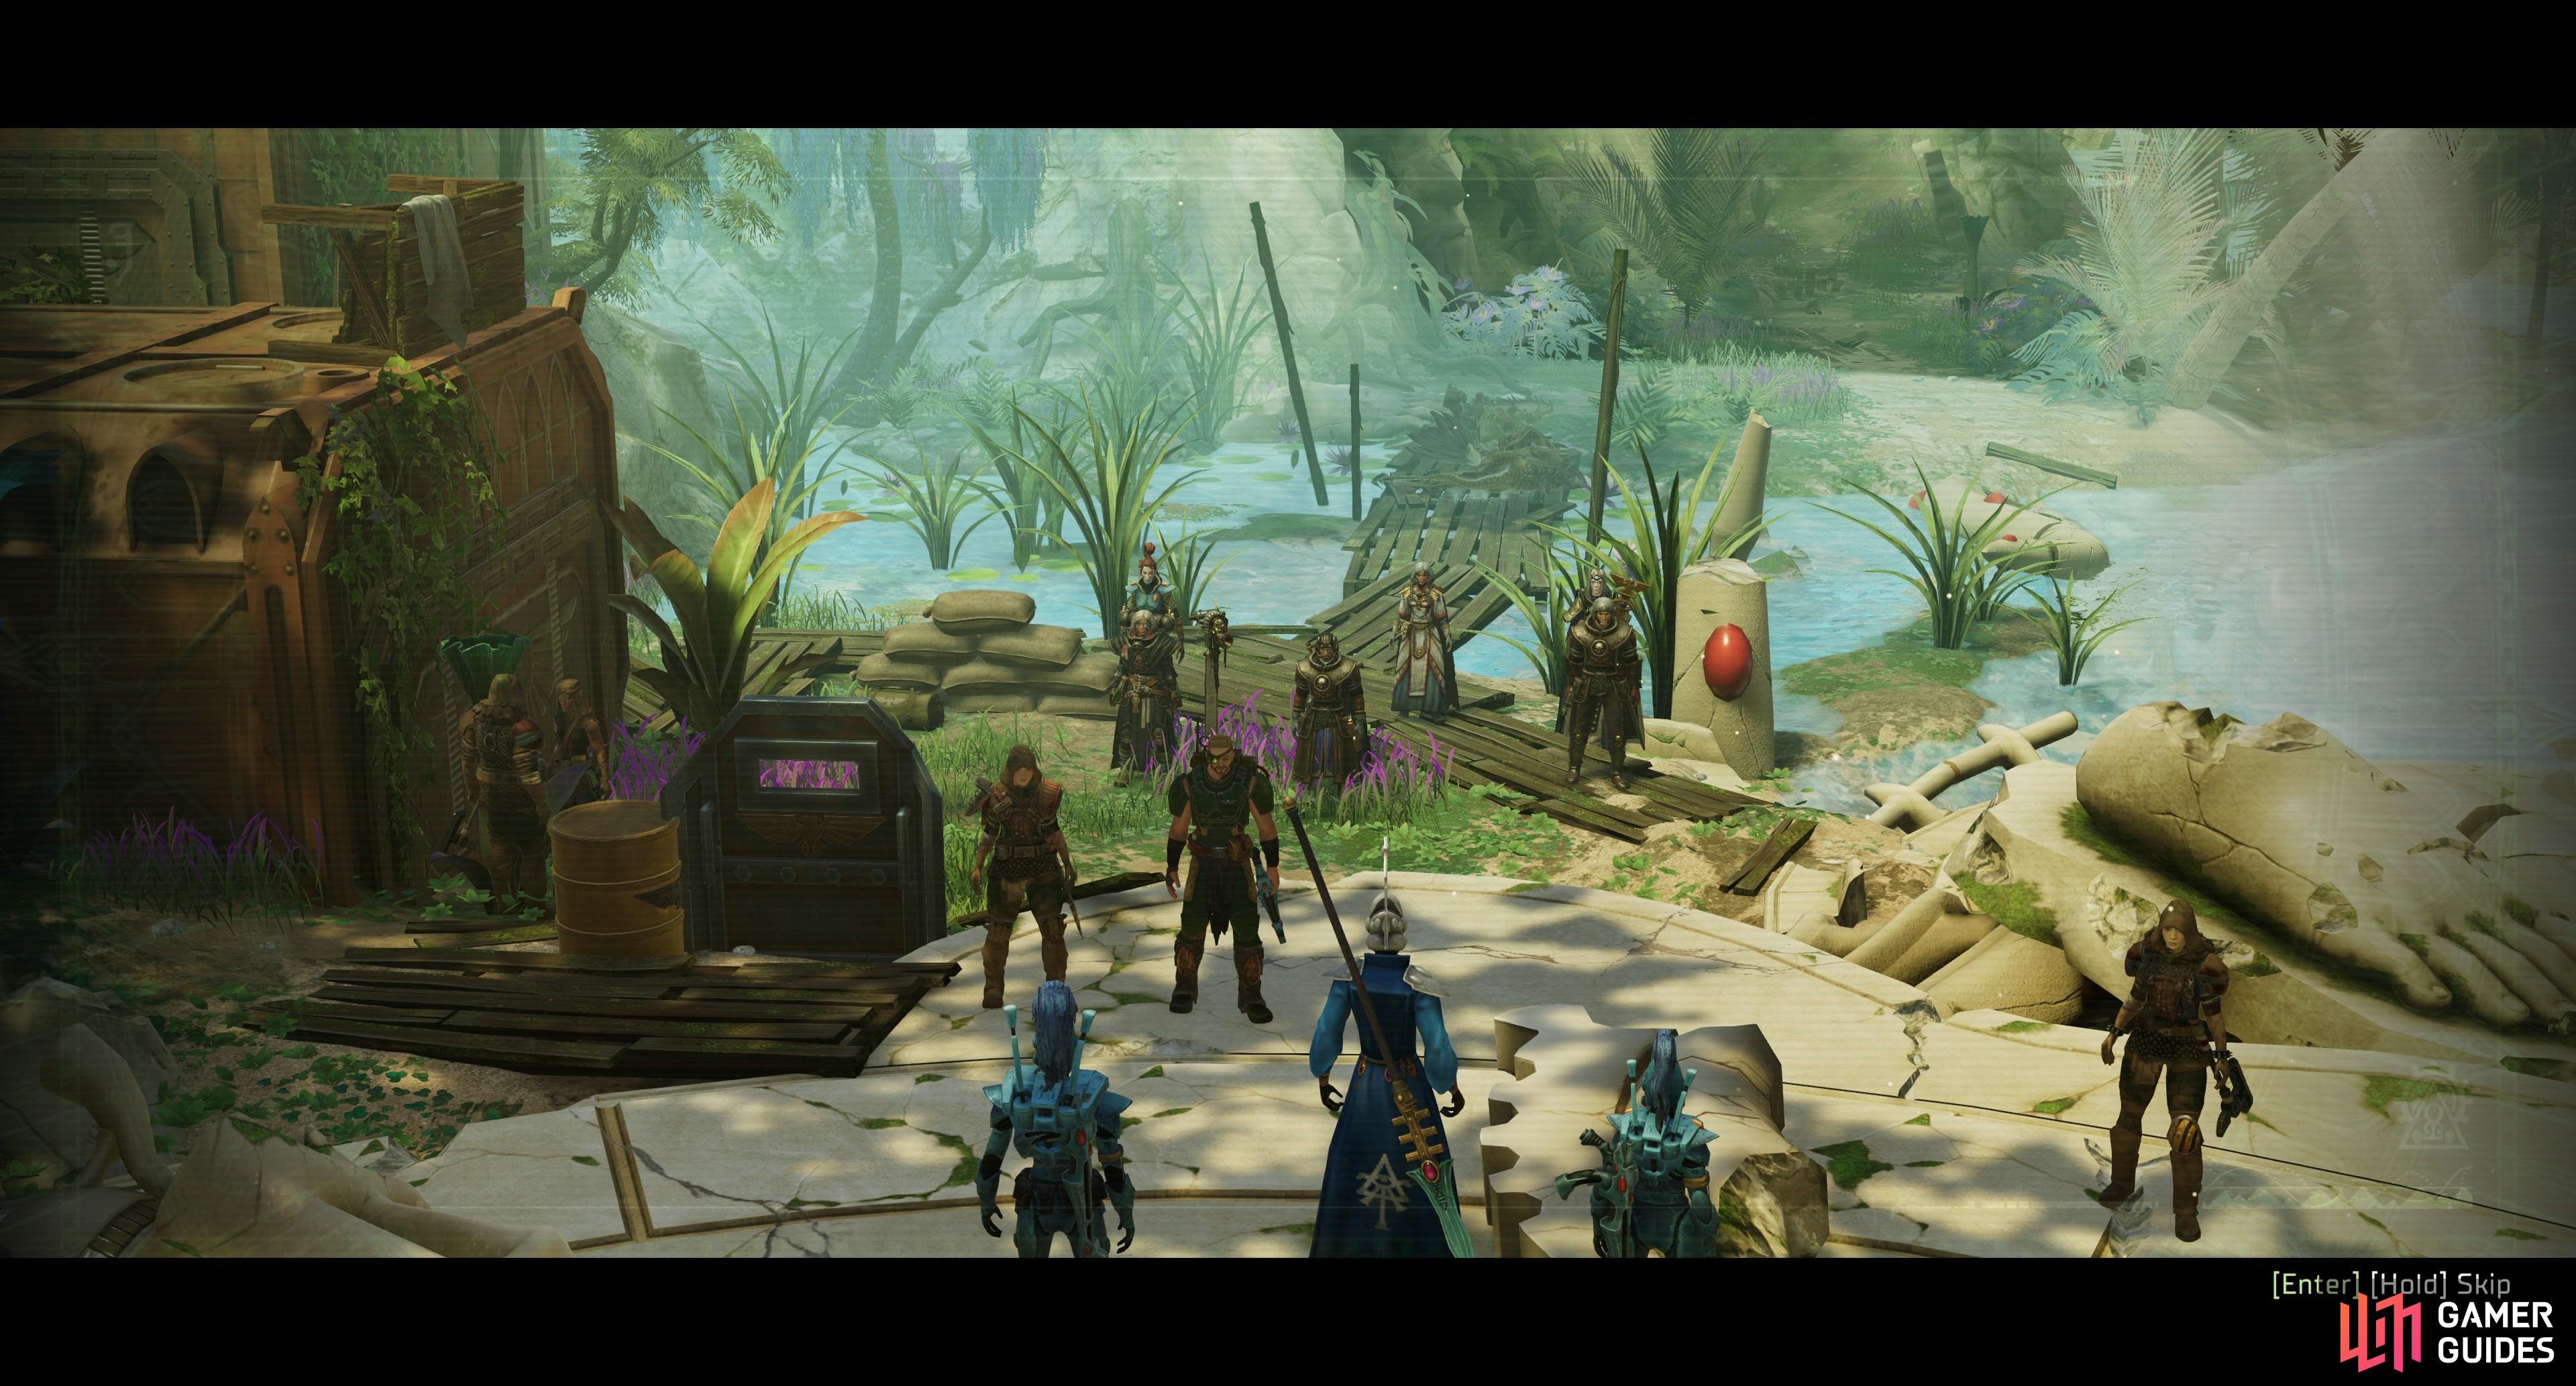
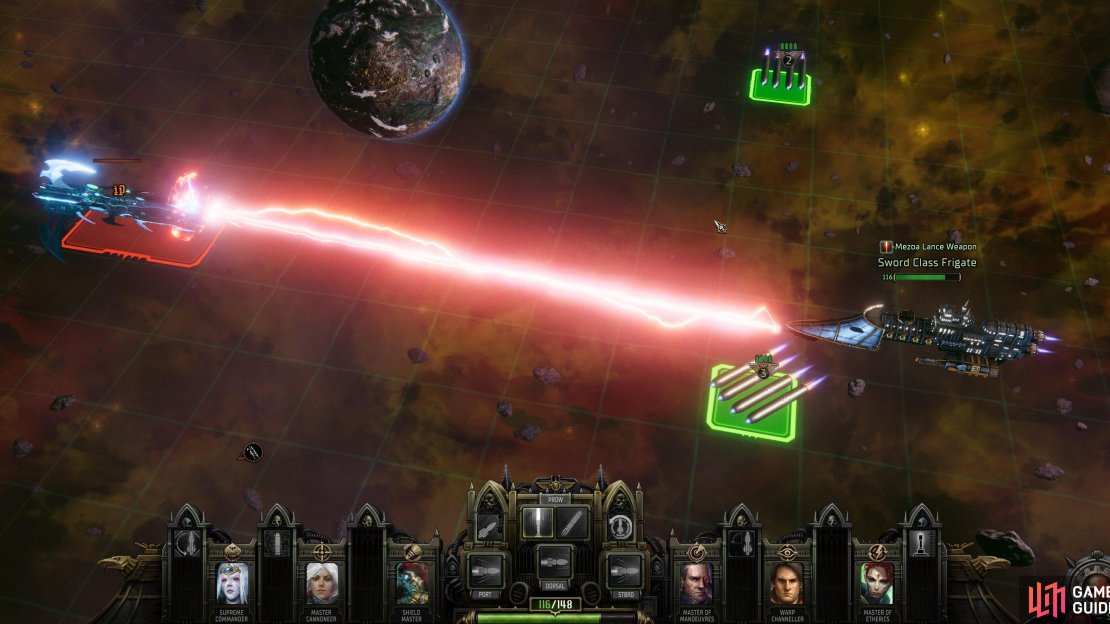
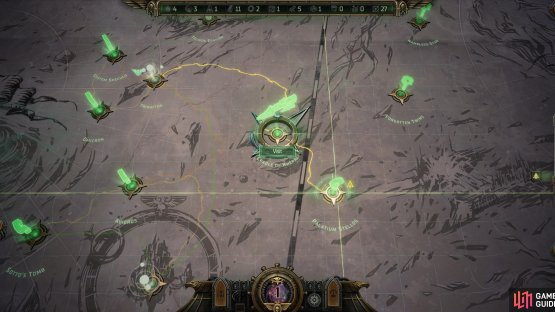
(1 of 2) Chapter 2 begins with an introduction to space combat - you’ll be doing a lot of this going forward.

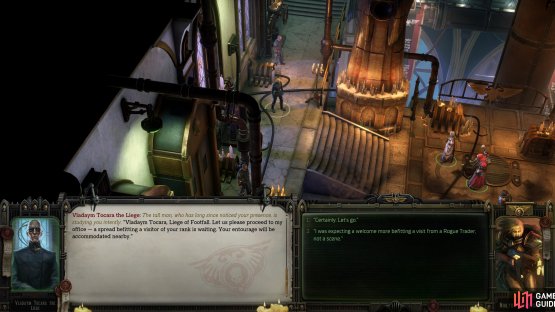
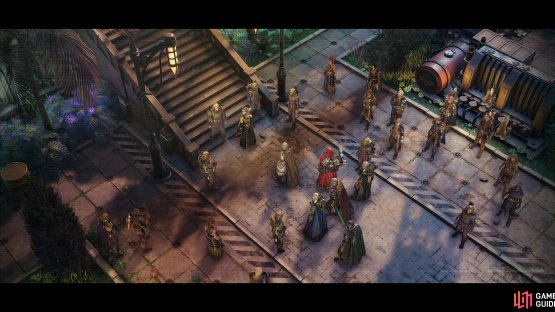
Chapter 2 begins with an introduction to space combat - you’ll be doing a lot of this going forward. (left), After reaching Footfall, you need to meet with the Liege and establish diplomatic relations. (right)
Tattered Spirit
Chapter 2 begins (or Chapter 1 ends - the lines are blurry) with chatter on the voidship regarding the fallout from Rykad. While Rykad may be lost, you managed to get everything you needed out of the system in order to continue your travels, subsequently arriving in the Furibundus system just in time for a tutorial on space battles. Defeat the hostile ships and you’ll be in the system map, where you’ll want to set a course for Footfall.
After escaping the novel dangers of space combat you’ll be greeted by a more familiar threat - insurgents. Your original greeting party will be supplanted by a mob of Anver thugs, which you’ll need to gun down before you can continue. Once you’ve put the Anver thugs down, note that you can head just south from where the fighting took place to find Opticon-22, your new trade representative for the Explorators. To continue with this quest, make your way to the eastern edge of this area and exit to the Atrium.
When you arrive at the Atrium you’ll be at the southeastern corner of the area. Make your way west and you’ll trigger a scene with some overzealous ruffians accosting some mutant refugees, prompting Reverend Hieronymus Doloroso to get involved. You can intervene and potentially save the mutants or ignore them and let the mob cut them down. Either way, after the event you can make your way to the southwest to find Hieronymus Doloroso, who is the representative for the Drusian faction. Talking to Hieronymus Doloroso will also advance ![]() Argenta’s companion quest Astray.
Argenta’s companion quest Astray.
From Hieronymus Doloroso make your way north through the Atrium to reach the Liege’s palace, where you’ll encounter Vladaym Tocara the Liege tossing out an upstart named Jae. This starts the errand Persona Non Grata, which, if pursued, will lead to you recruiting Jae. She comes with some pretty potent xenos gear, so it’s well worth your while. Vladaym will ask you to resolve Footfall’s food shortage, starting the quest Hunger’s Hand, which will run parallel to the main questline for a while until you have affairs fully under your control again, at which point you’ll need to make a decision… but this is a ways down the line, and you need not pay any attention to it right now. Vladaym is also the trade representative of the Kasballica Mission faction - three new contacts in a short span!
Now that you’ve met with the Liege you can return to your ship, picking up Heinrix - who had previously left on his own business - when you’re back at the shuttle. On the bridge there will be much chatter with your ship’s officers, putting a close to this first main quest in Chapter 2 and setting up the next, Reclaim What Was Lost.
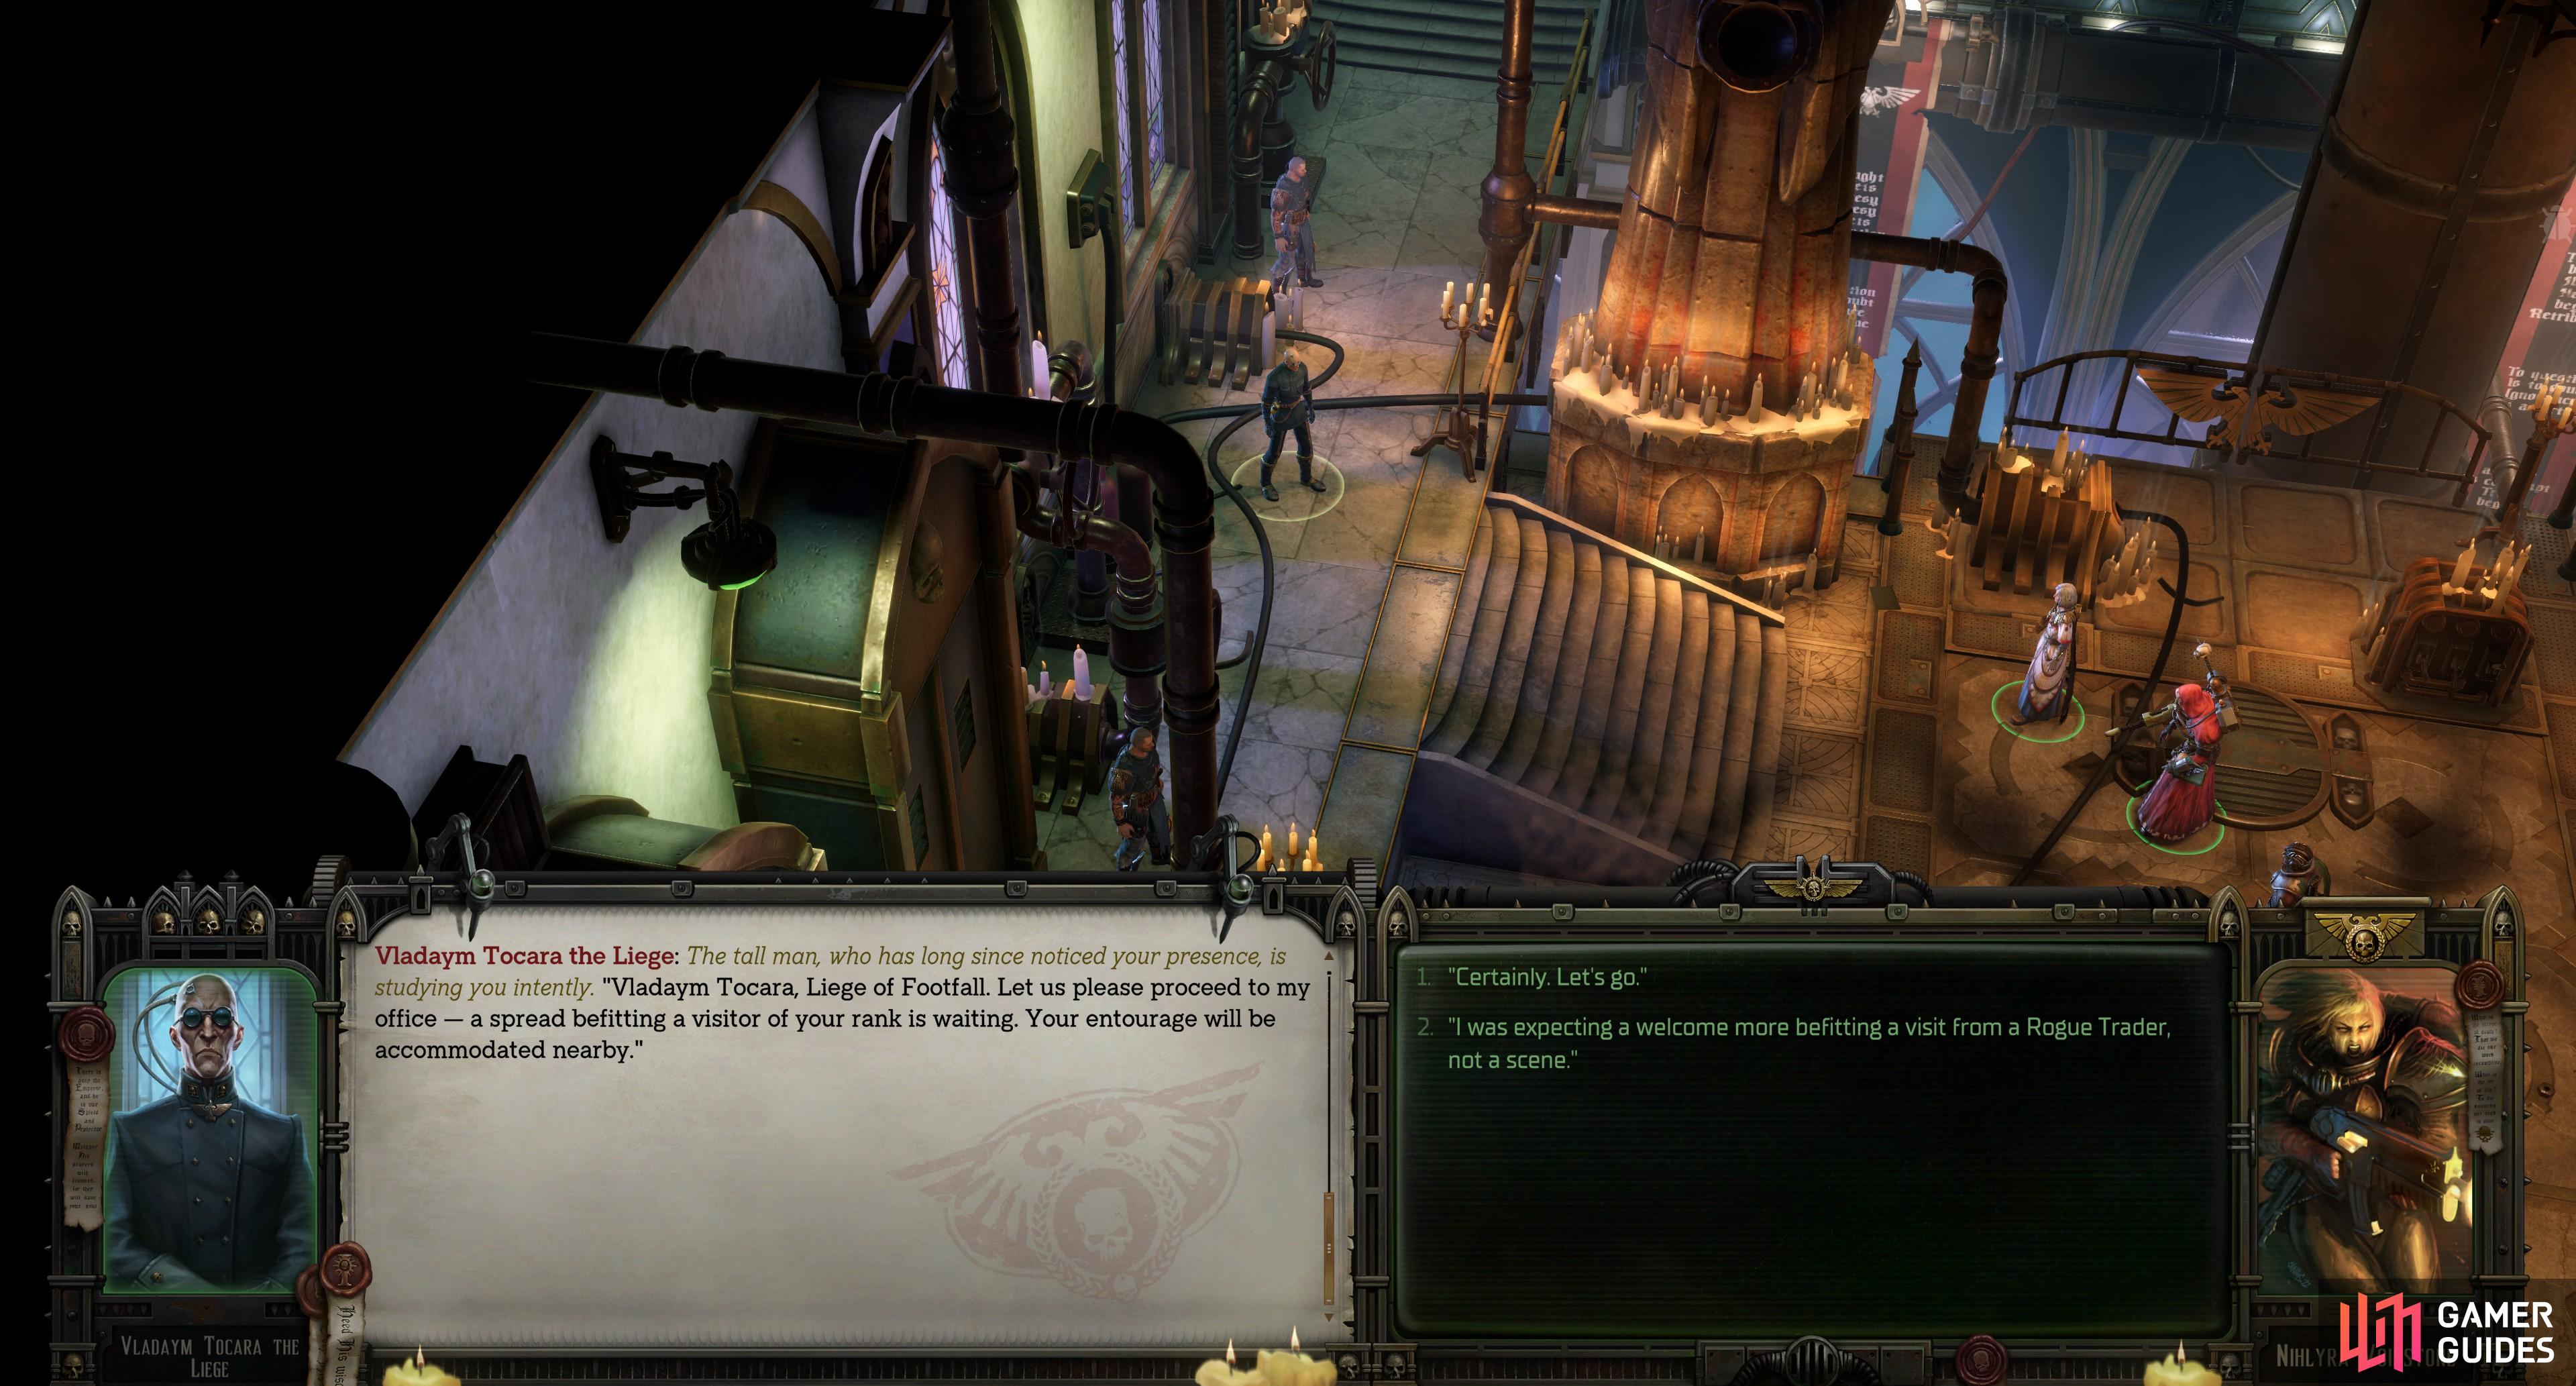
(1 of 3) The meat of Chapter 2 revolves around restoring order in the Von Valancius fiefdom, including resolving issues at the agri-world, Janus,
Reclaim What Was Lost
This one is a doozy, as it covers three different main quests on three different planets which all have problems that must be resolved in order to restore stability to the von Valancius fiefdom. The three planets you need to seek out are named in your journal, but the systems they’re in aren’t immediately revealed on the galaxy map. When you discover the system they’re in, it will be marked by a yellow triangle/exclamation point, but you’ll have to spend time exploring the Koronus Expanse blindly, scanning systems, charting routes and potentially getting caught up in various random warp encounters and side quests as you go. To learn more about Exploring the Koronus Expanse and Charting Routes check out the linked page. To find more in-depth details about navigating to each main quest system, check out the page Reclaiming What Was Lost Planet Locations page.
| Planet | System |
|---|---|
| Janus | Telikos Epsilon |
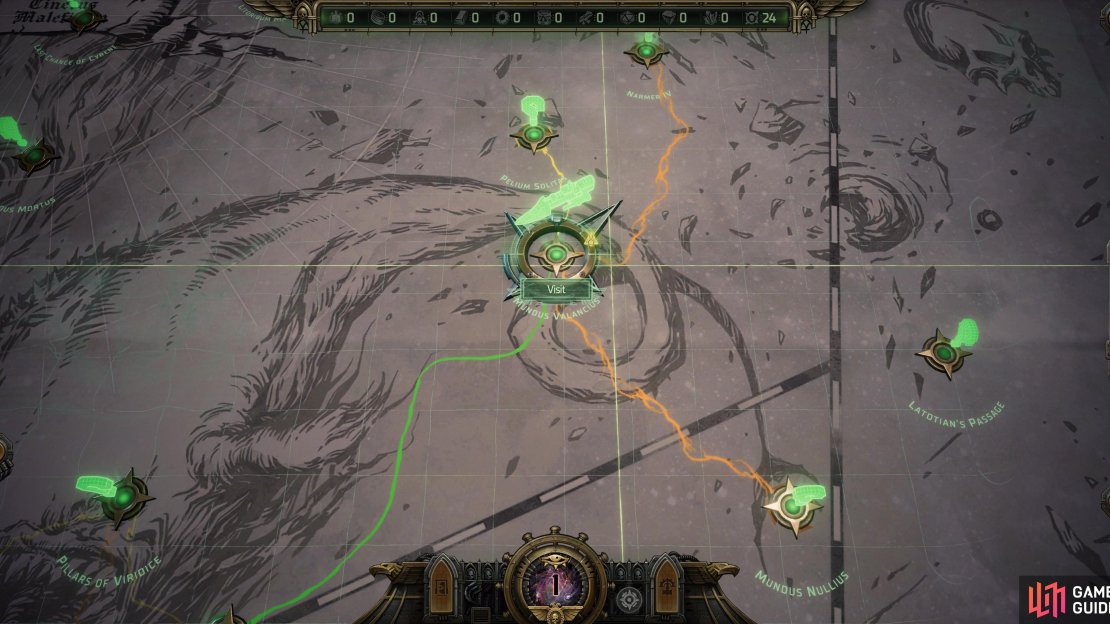
| Dargonus | Mundus Valancius |
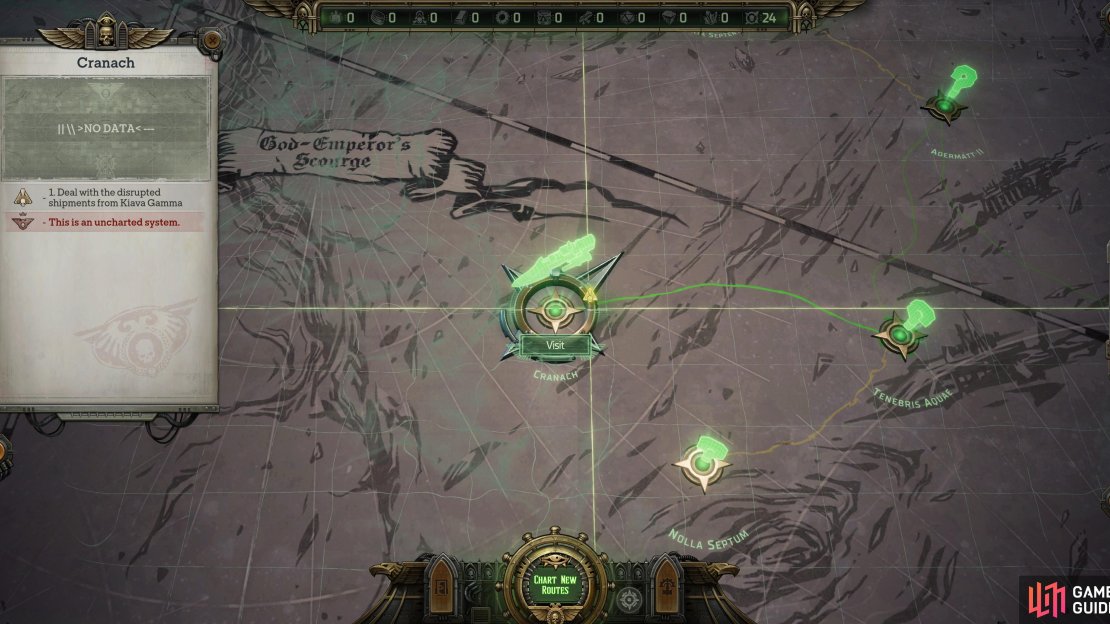
| Kiava Gamma | Cranach |
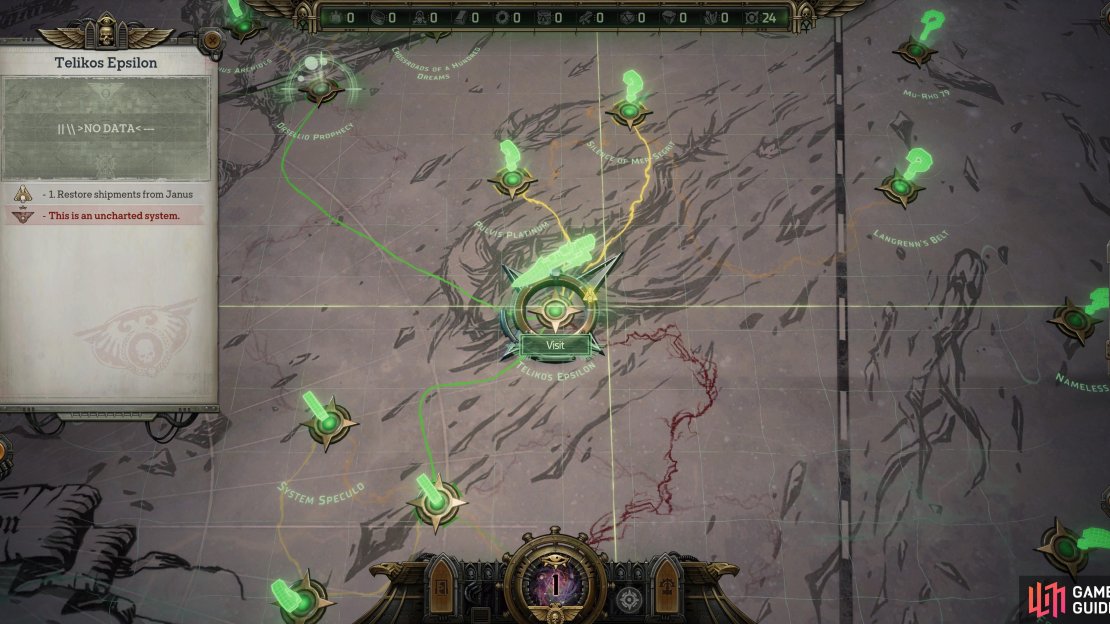
The first main quest planet you’ll reach - if you’re just heading straight up the galaxy map - is almost certainly going to be Janus, which is located in Telikos Epsilon. En route, you’ll probably trigger Idira’s companion quest Echo of the Past, which helps illustrate the perils of warp travel - something you’ll be dealing with fairly regularly as you advance through the galaxy. After you reach Telikos Epsilon you can continue on to Orsellio Prophecy, then Crossroads of a Hundred Dreams, and finally to Mundus Valancius, where you’ll find Dargonus, the capital world of the von Valancius dynasty. The third and final planet of interest, Kiava Gamma, can be found orbiting the Cranach system, which is far to the left of Telikos Epsilon. To get there from Telikos Epsilon you’ll need to head up to Orsellio Prophecy, then go up and left to Adermatt II. From here head down to Tenebris Aquae and left one more time to reach Cranach.
Again, you can complete these story planets in any order. The quests for each planet are as follows:
| Planet | System |
|---|---|
| Janus | World Shapers |
| Dargonus | Spiders in a Jar |
| Kiava Gamma | Flame in the Dark |
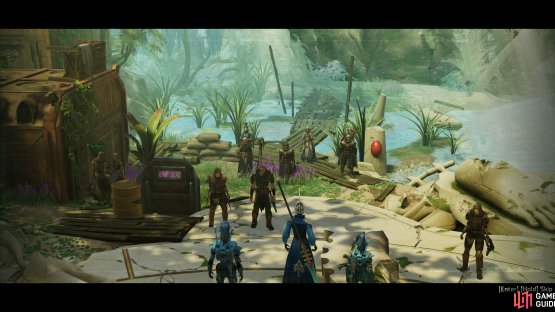
(1 of 2) At first glance, Janus seems like a well-maintained agri-world. A rebel ambush puts an end to the facade.

At first glance, Janus seems like a well-maintained agri-world. A rebel ambush puts an end to the facade. (left), You’ll ultimately need to head to the Forests of Janus and find out the truth behind the rebellion. (right)
World Shapers - Janus
While you can complete these story planets in any order you wish, Janus is the first planet you’ll come across, as it’s just north of Furibundus, in the Telikos Epsilon system. When you land you’ll get a brief meeting with the governor, Vistenza, before that’s broken up by some attacking rebels. Kill them, then enter the governor’s mansion and talk to her to find out what’s going on, afterwards, you’ll need to find clues as to the whereabouts of the rebel base.
Exit the mansion, talk to Yrliet, and recruit her if you wish, then head north of your shuttle to find that some guards have cornered a rebel. Let them gas the rebel or intervene, either way you’ll end up with a Rebel Vox that points you in the right direction. Return to your shuttle and if you recruit Yrliet she’ll tell you she knows where the rebels are. If not, you’ll have to pass some checks during an illustrated book episode to sniff them out. Regardless, you’ll be able to land at the rebel base, aka the Forests of Janus.
Progress through the forests until you reach a fork, at which turn west and climb down a cliff [Athletics] to find yourself just outside of a rebel base. Pick a fight and defeat the rebels, including the two Aeldari Guardians who show up later, then progress towards the xenos ruins where the leaders are - you’ll be ambushed by two Lacerax along the way, but they should pose no problem. At the ruins you’ll talk to the rebel leaders, an Aeldari Farseer named Muaran, where you can pick a fight, turn the rebels against the Aeldari, or ally with the Aeldari against the governor. Fight or no, return to the shuttle, then land back at the governor’s mansion.
Talk to the governor and you can either convince her to repent or try to attack/arrest her. In the former case she’ll be killed by her Maid of Honour, in the latter case she’ll retreat before you can put your authority into action. Either way, raise a barrier [Tech-Use] then follow your target into the back rooms, disarming some traps along the way. Defeat the chaos cultists (if you allied with them and didn’t convince Vistenza to repent, Aeldari Guardians will show up to help), after which leave the planet and decide whether or not to send provisions to Footfall or let the station suffer whatever terms Incendia Chorda gave them.
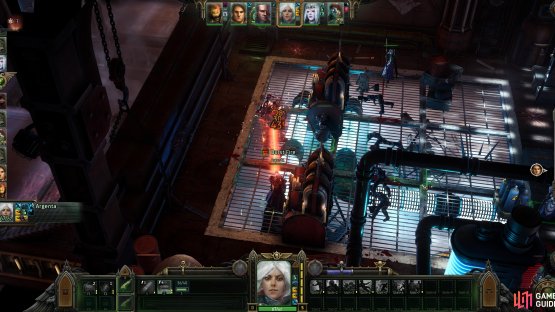
(1 of 2) Explore the forge world of Kiava Gamma to find that its leader, Fabricator-Censor Cubis Delphim has fallen to Chaos.
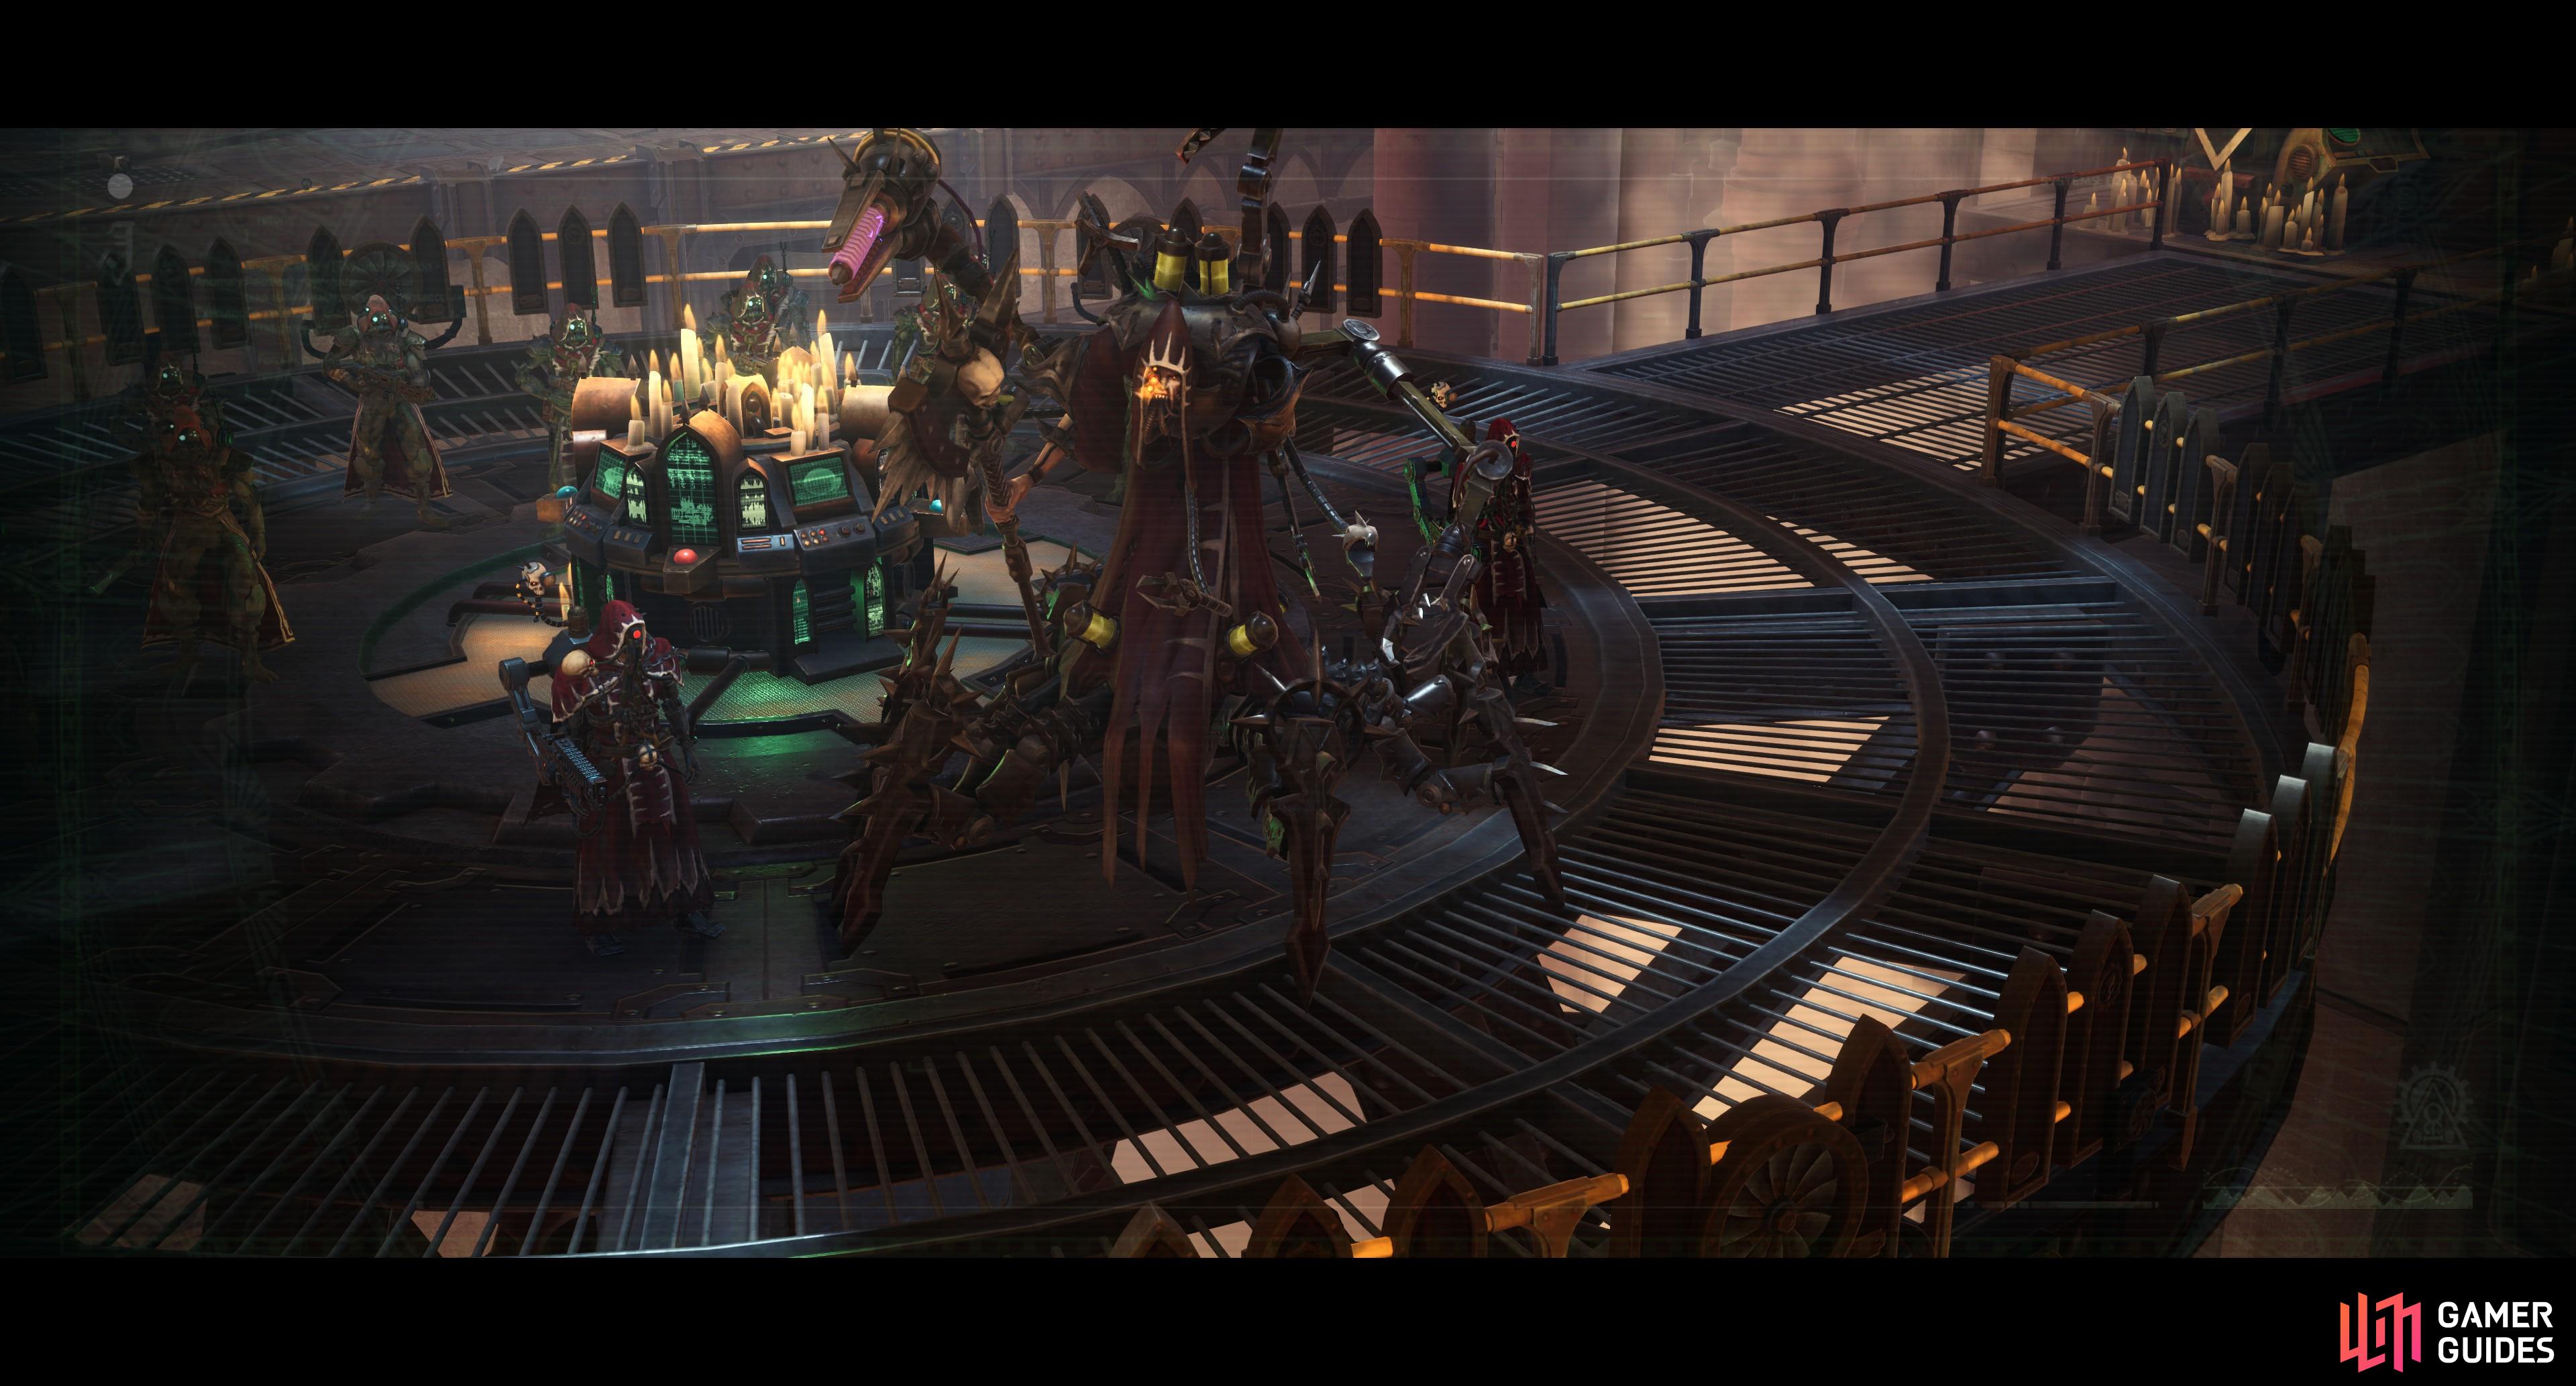

Explore the forge world of Kiava Gamma to find that its leader, Fabricator-Censor Cubis Delphim has fallen to Chaos. (left), You’ll have to fight your way through the factory, dispatching a Chaos Marine before you’re able to engage with the corrupted Tech-Priest and cleanse Kiava Gamma. (right)
Flame in the Dark - Kiava Gamma
Head to the Cranach system, which is fairly out of the way compared to Janus (Telikos Epsilon) and Dragonus (Mundus Valancius). To get there from Telikos Epsilon head up and to the left to reach Orsellio Prophecy, then up and left again to reach Adermatt II, then down to Tenebris Aquae, and finally left to Cranach. When you arrive in the system, you’ll have to deal with an illustrated book event covering a hostile signal coming from Kiava Gamma, after which you’ll need to defeat some hostile ships orbiting the planet. With all that done you can land on Kiava Gamma.
When you reach the Kiava Gamma Manufactorum, head west and talk to a Servitor, then pass an [![]() Agility] and [Medicae] check, then pick the option ”Um… follow your default programming?” to get them on your side. This is worth a good chunk of EXP and having these rust buckets shambling at your foes can help soak damage. Speaking of which, make your way north to reach a lift, then talk to a Tech-Priest to end up in a fight. Defeat the two Tech-Priests and their Servitors, then head up the eastern lift one of the Tech-Priests rode down. Interact with a terminal to the north, then ride the lift back down and ride the other lift to the north. Keep working your way north and you’ll meet with Fabricator-Censor Cubis Delphim, the leader of these fallen Tech-Priests and the festering cancer that must be excised from Kiava Gamma. You’re not going to find common ground with this corrupted mechanical freak, and when that becomes abundantly clear to all sides, he’ll sic some goons on you and retreat. Advance north and eradicate his minions.
Agility] and [Medicae] check, then pick the option ”Um… follow your default programming?” to get them on your side. This is worth a good chunk of EXP and having these rust buckets shambling at your foes can help soak damage. Speaking of which, make your way north to reach a lift, then talk to a Tech-Priest to end up in a fight. Defeat the two Tech-Priests and their Servitors, then head up the eastern lift one of the Tech-Priests rode down. Interact with a terminal to the north, then ride the lift back down and ride the other lift to the north. Keep working your way north and you’ll meet with Fabricator-Censor Cubis Delphim, the leader of these fallen Tech-Priests and the festering cancer that must be excised from Kiava Gamma. You’re not going to find common ground with this corrupted mechanical freak, and when that becomes abundantly clear to all sides, he’ll sic some goons on you and retreat. Advance north and eradicate his minions.
After you defeat the numerous squads of Skitarii and Tech-Priests thrown in your way, turn west to spot two large metal doors. Go through the southernmost of these two doors, disarm a trap, interact with a terminal, and pick the [Activate the emergency bridge lowering protocol] to lower a bridge to the east. Before you leave, head north and blast a hole in the wall [Demolition] to reach another chamber where you can find a container that houses both the Melta Ultima and the ![]() Staff of Blood - both fine weapons that should make your life a bit easier.
Staff of Blood - both fine weapons that should make your life a bit easier.
New weapons or not, leave these rooms and cross the bridge you just lowered, then work your way east and south (disarming traps along the way) to reach the circular platform that Fabricator-Censor Cubis Delphim occupied earlier. If you want to advance Heinrix’s companion quest, keep going south and exit to a lower level - you’ll need to take care of this before leaving Kiava Gamma, but it’s not strictly part of this quest. Check out the page Secrets of the Cult: Kiava Gamma Heinrix Room for more details. In order to keep pursuing Fabricator-Censor Cubis Delphim, interact with the terminals in the middle of the circular platform to rotate the bridges, then exit to the east and keep working your way east, south, then east again and ascend some stairs to find a sealed door. Head north from here to find a Chaos Marine and some cultists, the former of which serves as an oddly placed midboss of sorts. Defeat them, use a terminal to the east to raise a gate, then head down the stairs beyond to encounter Fabricator-Censor Cubis Delphim and his retinue. Defeat them and your business in Kiava Gamma is done… pending the completion of Heinrix’s companion quest, anyway.
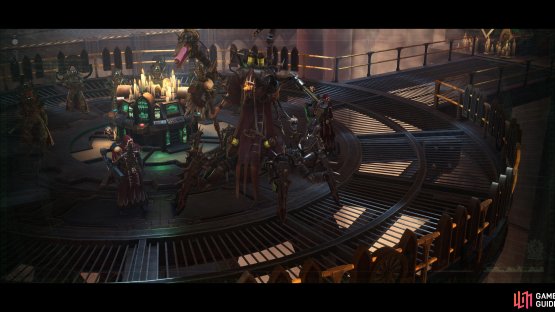
Your arrival at Dargonus is met with much fanfare, but aside from learning about xenos activity in your territory and rubbing elbows with the aristocratic snakes that infest your fiefdom’s bureaucracy, it’s a fairly uneventful stop.
Spiders in a Jar - Dargonus
Travel to the Mundus Valancius system and head on over to Dargonus, only to be intercepted by some Adeptus Mechanicus goons, including your pal Opticon 22. This ultimately results in a fight against Tarzus and his gang, but surprisingly it doesn’t kick off a companion quest for ![]() Pasqal.
Pasqal.
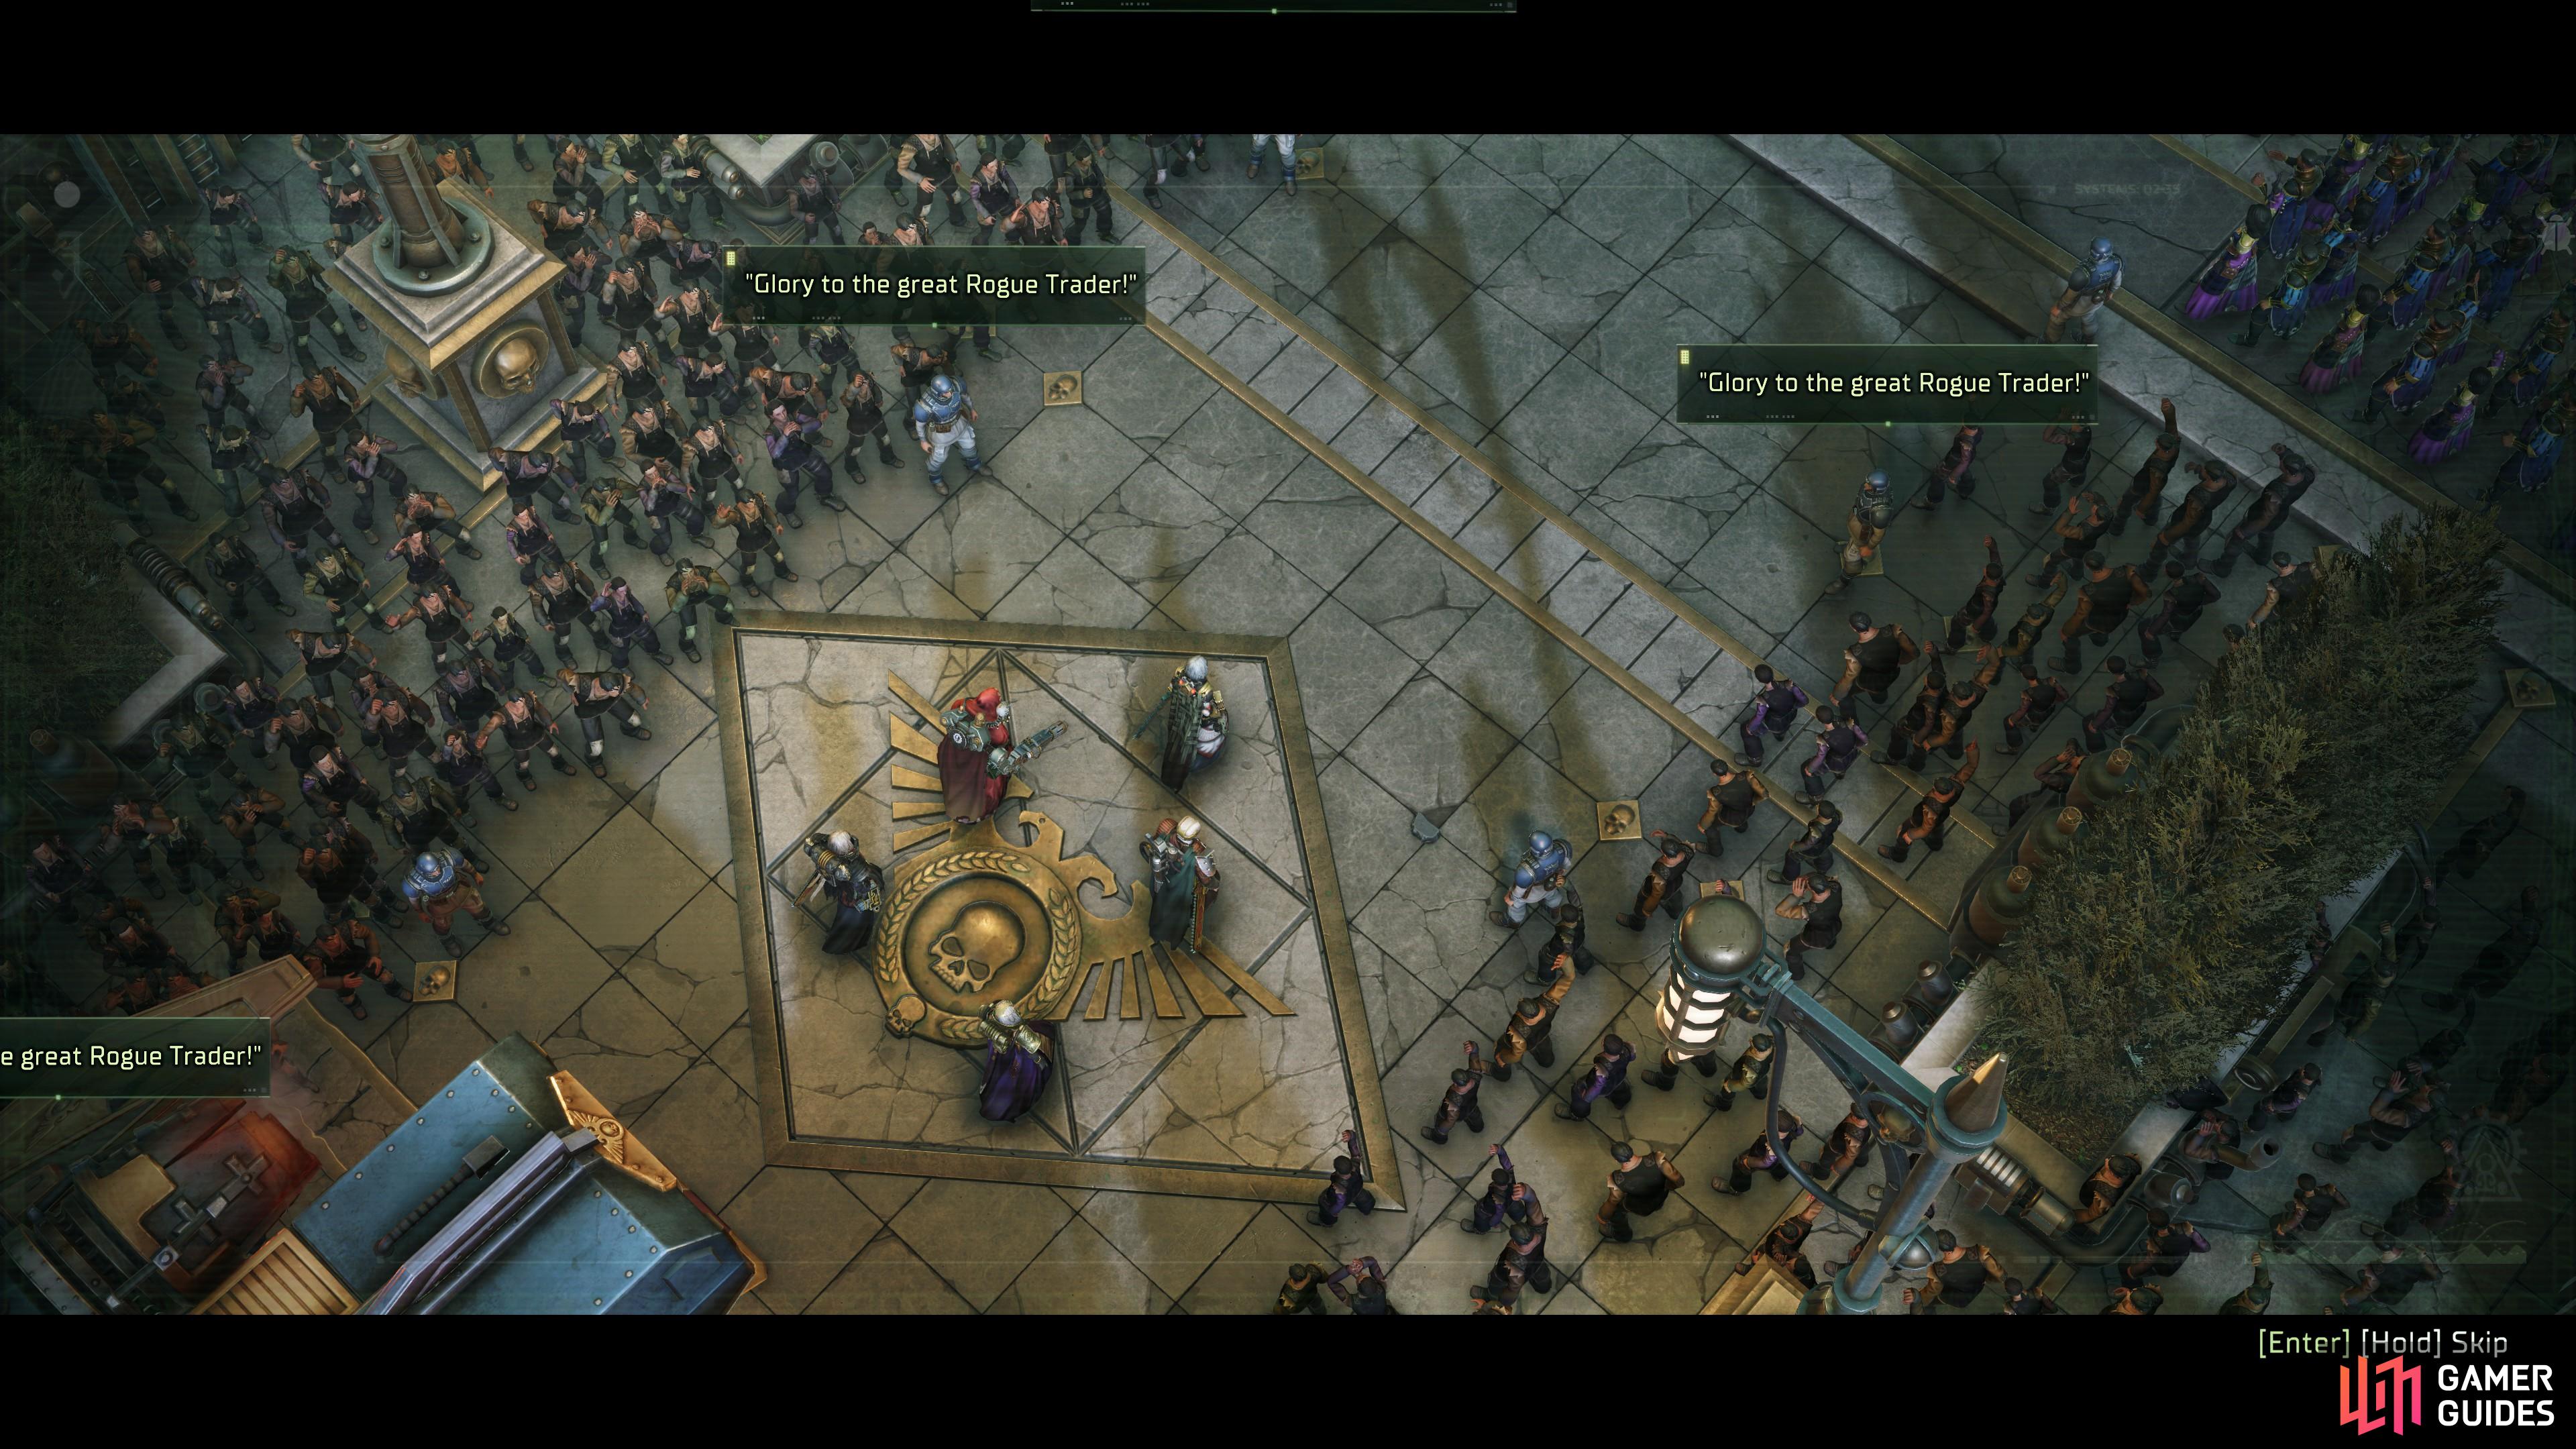
Once this encounter is over you can scan and land on Dargonus, where you’ll be welcomed with some pomp. After chatting with ![]() Abelard’s spawn, enter the von Valancius Palace and meet with Achilleas Scalander, then inform Clementia Werserian that you’re ready to receive Governor Urbend Drivestem. There’s a lot of chatter here, and aside from introducing new characters who are deeply involved in von Valancius politics to you, this quest serves little purpose but to prompt you to complete World Shapers and Flame in the Dark, as well as a new quest that’ll pop up, Blades in the Void.
Abelard’s spawn, enter the von Valancius Palace and meet with Achilleas Scalander, then inform Clementia Werserian that you’re ready to receive Governor Urbend Drivestem. There’s a lot of chatter here, and aside from introducing new characters who are deeply involved in von Valancius politics to you, this quest serves little purpose but to prompt you to complete World Shapers and Flame in the Dark, as well as a new quest that’ll pop up, Blades in the Void.
In order to move on with your official coronation, you’ll need to complete those three aforementioned quests. Exit back out to the voidship and when you arrive, you’ll be contacted by High Factotum Janris Darnok, who informs you that one of your hive cities has collapsed, giving you options to deal with the displaced populace. These have a very minor impact on how things play out later in the chapter, but it’s mostly flavor.
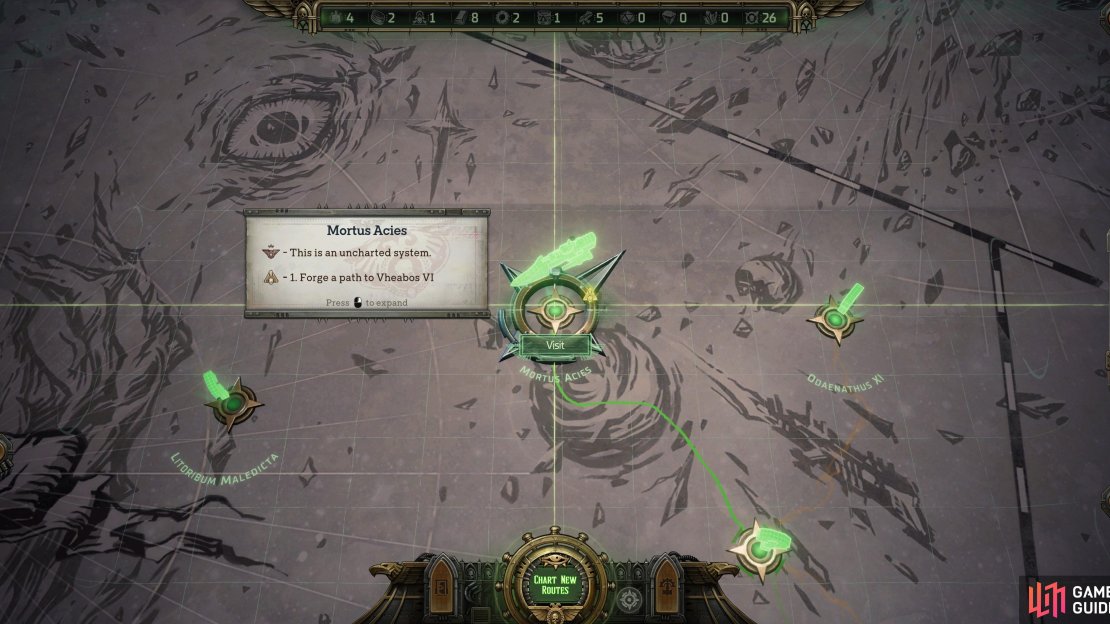
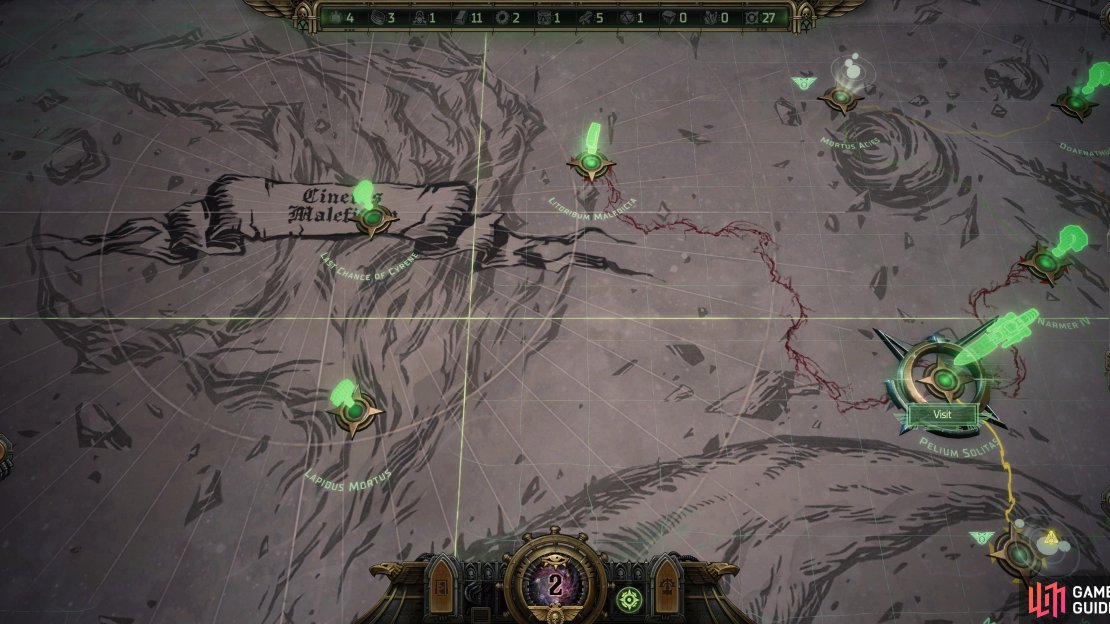
(1 of 3) Travel to Mortus Acies, where you can find the planet of Vheabos VI.
Blades in the Void - Part 1
During your visit to Dargonus you’ll have learned about some xenos activity, particularly in the Vheabos VI system, starting this quest. Like World Shapers and Flame in the Dark, you must complete this quest before you can continue with your coronation and advance the main questline. From Mundus Valancius, travel up to the Narmer IV system, then to the Mortus Acies system, where you can find Vheabos VI.
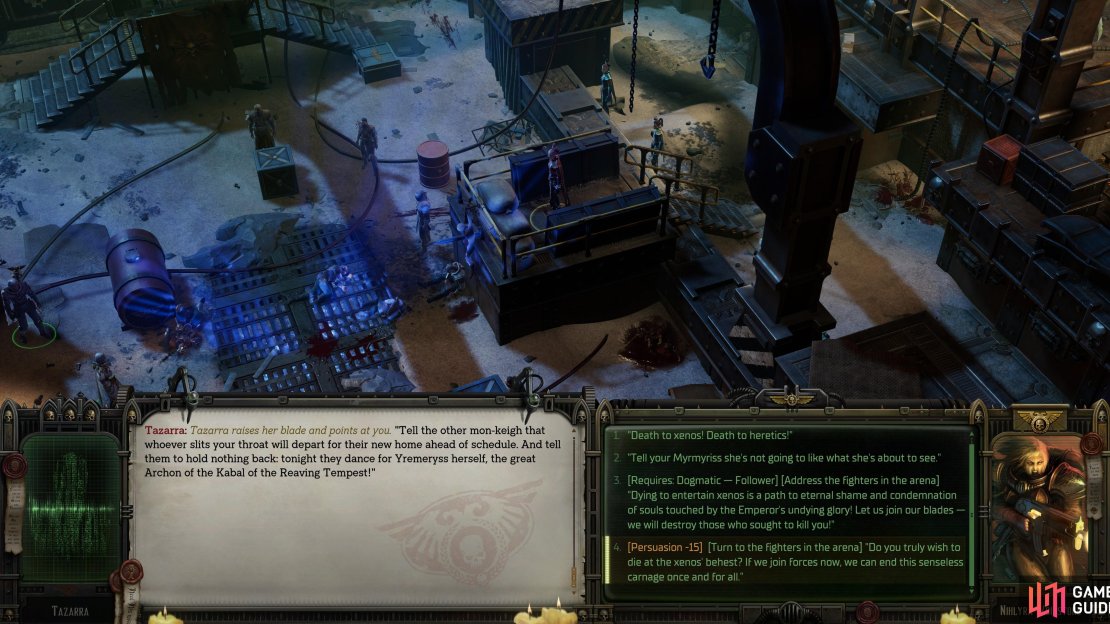
When you arrive, you’ll be told you’re on the right track and not everything on Vheabos VI is peachy. The red hostile ship circle makes this abundantly clear, even without the warning, and to land on Vheabos VI you’ll need to defeat the Drukhari Voidships in orbit. Do so, then scan and land on the planet. Make your way through the wrecked colony until you’re confronted by some Drukhari, led by one Tazarra. If you exchange banter with her a bit, you’ll get a [Persuasion] option to choose some of the Drukhari’s unwilling gladiators to join you in the upcoming fight, but they’re mostly just cannon fodder… but still, cannon fodder has its uses. Plus, they won’t be fighting against you this way, which makes the fight easier. Defeat the half-dozen or so Drukhari (and their thralls, if necessary) then return to your voidship, whereupon Vheabos VI will become a colony.
Start colony projects here if you wish, but the next phase of this quest won’t continue until time passes, as you’re “waiting for a response from Dargonus”. To facilitate this, just warp from system to system until Vox master Vigdis updates you, which… just results in you having to spend more time warping between systems until the Drukhari make a move on your territory. Eventually, you’ll be told that a raid is under way in the Silence of Mer-Segrit system. This is just up from Telikos Epsilon (Janus), so it shouldn’t be hard to reach. At this point Blades in the Void goes dormant (or rather, becomes a superquest) and the quest Attack in the Silence of Mer-Segrit begins.
Attack in the Silence of Mer-Segrit
Travel to the Silence of Mer-Segrit system and engage the Drukhari Voidships there, then you’ll be informed that one of the xenos leaders is planning to sack the planet of Grantis. While not technically your territory, if your desire to punish the xenos just happens to cause your voidship to be in the area when the inevitable distress call goes up, it’s doubtful anybody would protest all that much… Anyways, this ends Attack in the Silence of Mer-Segrit and the quest Blades in the Void becomes active again.
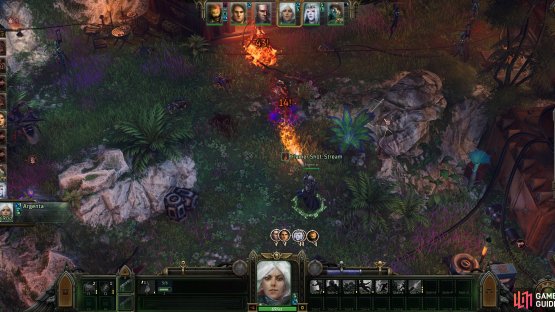
(1 of 2) Travel to the Palatum Stellos system,
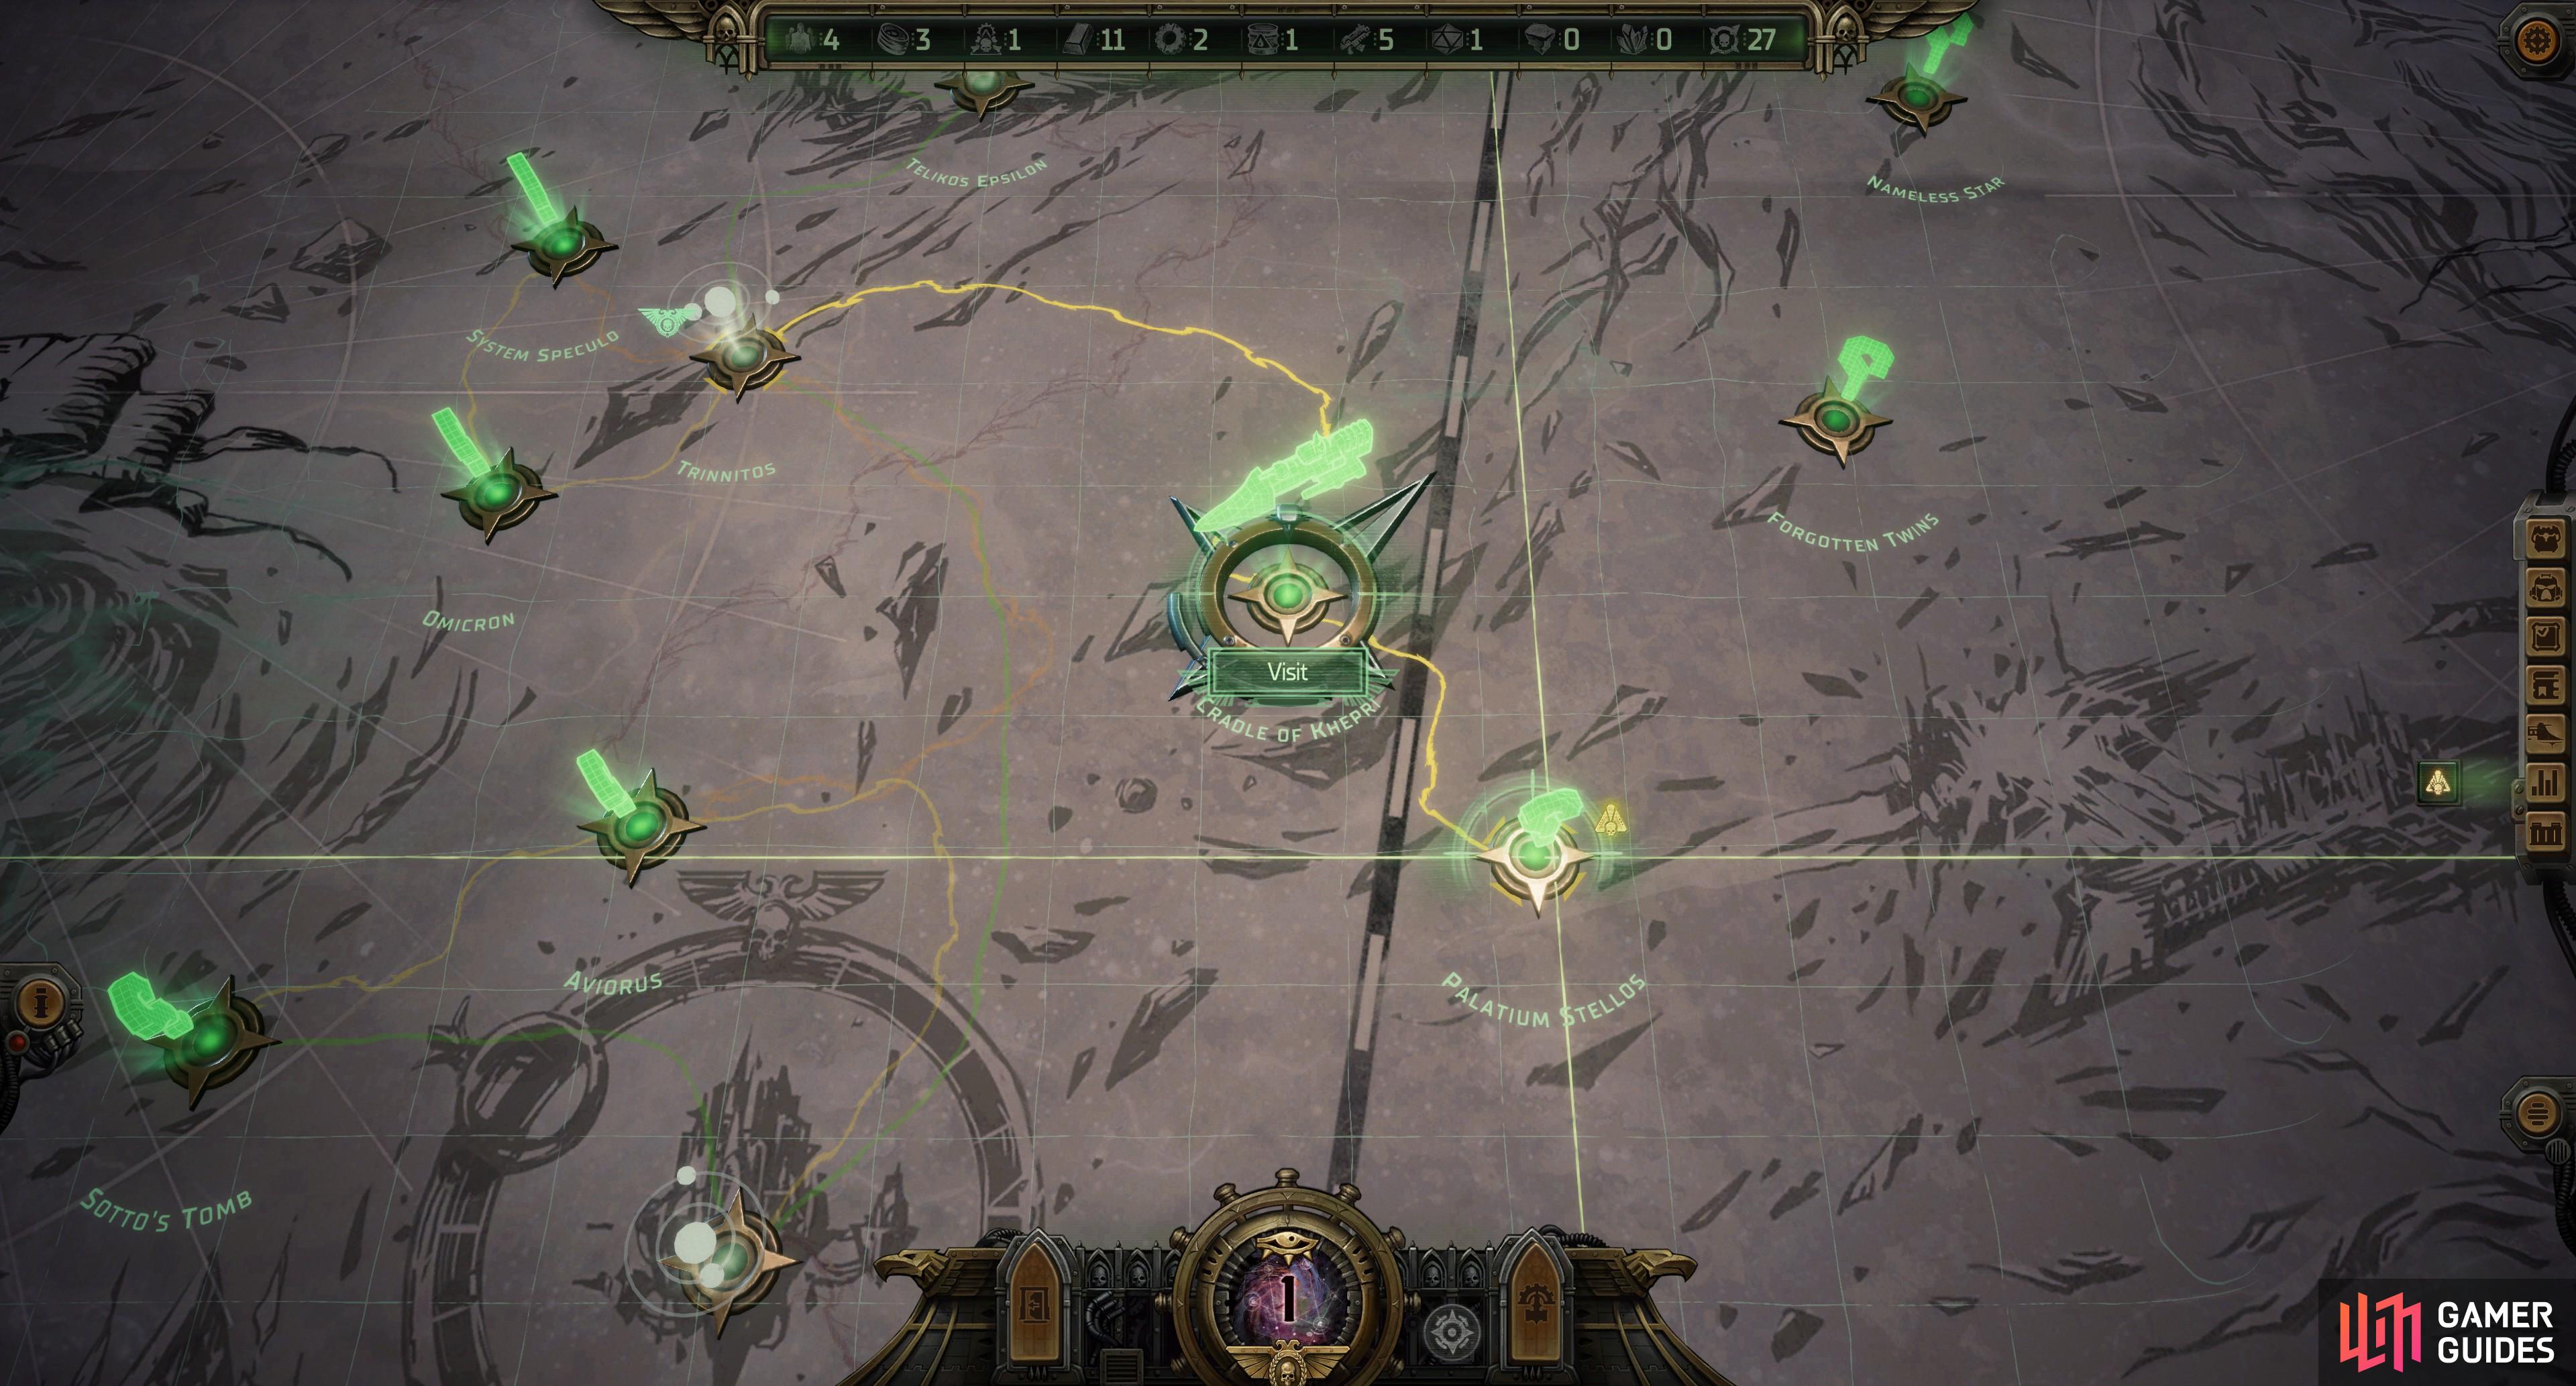
Travel to the Palatum Stellos system, (left), and defeat the Drukhari on planet Grantis. (right)
Blades in the Void - Part 2
You now need to head to the Palatium Stellos system, which is to the right of Footfall. To get there, head to Trinnitos (Foulstone) and take the deadly warp route to the Cradle of Khepri system (use Navigators Insight to lower the danger rating of this route if you want to get there without warp encounters) then continue to Palatiums Stellos. When you arrive, fly to and scan Grantis, then land at the Governor’s Camp point of interest.
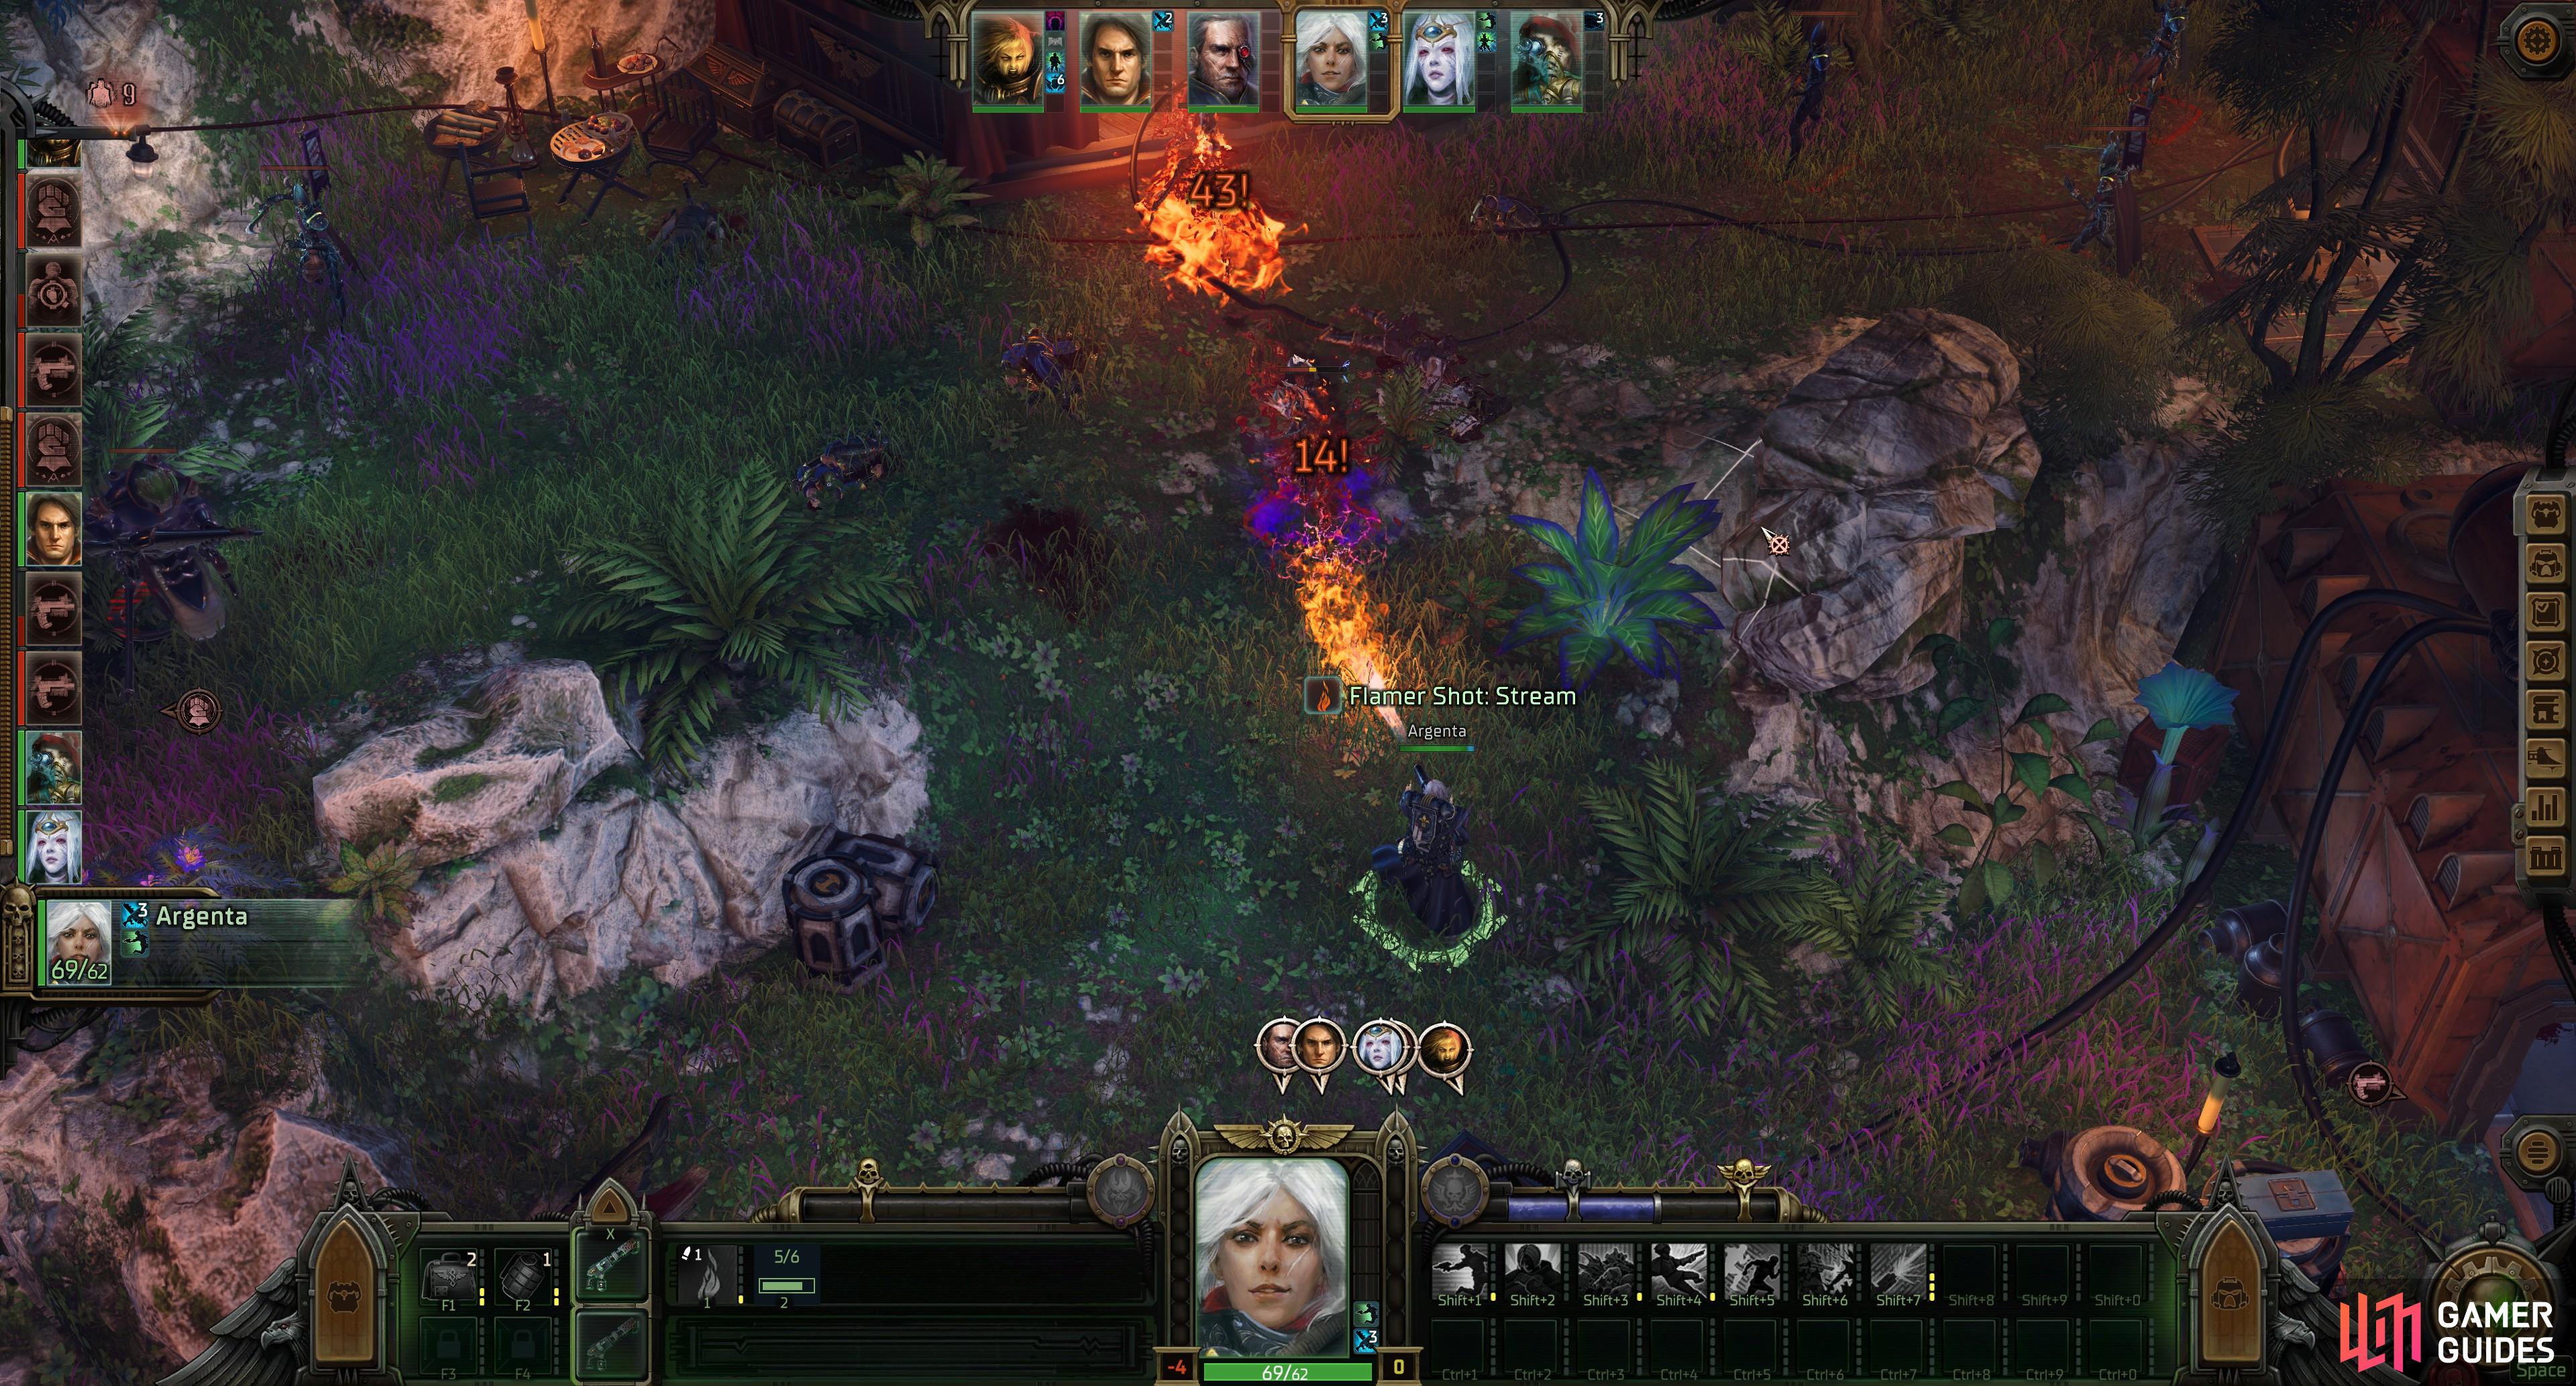
From your shuttle head south, west, then north to find the Drukhari, although you’ll pass plenty of signs of their presence before you find the xenos themselves. Their leader will, at length, challenge you to a fight in the Cinerus Maleficum nebula, but he’ll kindly leave behind some of his retinue to keep you entertained - the least he could do for the bother of traveling out here. Defeat this diverse bunch of enemies and be sure to loot the Sybarite for their ![]() Elite Blast Pistol - it’s quite a potent pistol if you can use Drukhari weaponry. You can also find a corpse along the eastern edge of this area (overlooking your shuttle) which can be looted for the Armor of the Undaunted and Deadly Precision, a unique
Elite Blast Pistol - it’s quite a potent pistol if you can use Drukhari weaponry. You can also find a corpse along the eastern edge of this area (overlooking your shuttle) which can be looted for the Armor of the Undaunted and Deadly Precision, a unique ![]() Bolt Pistol.
Bolt Pistol.
Slide down a nearby cliff [Athletics] and board your shuttle, and once back on your voidship it’s time to explore the Cinerus Maleficum nebula, which consists of three systems (Litoribum Maledicta, Lapidus Mortus, and Last Chance of Cyrene), all of which are up and to the left of Mundus Valancius (Dargonus). Head to Mundus Valancius, then travel up to the Pelium Solitas system, from which you’ll need to make a deadly warp jump (again, reduce its difficulty if you have the Navigators Insight to burn) to Litoribum Maledicta. From here, travel to the Last Chance of Cyrene system, travel to and scan a mysterious xenos object, and investigate the xeno-artefact to start an illustrated book episode. This ends in a space battle with many enemies appearing in waves - fight until the next phase of the quest begins.
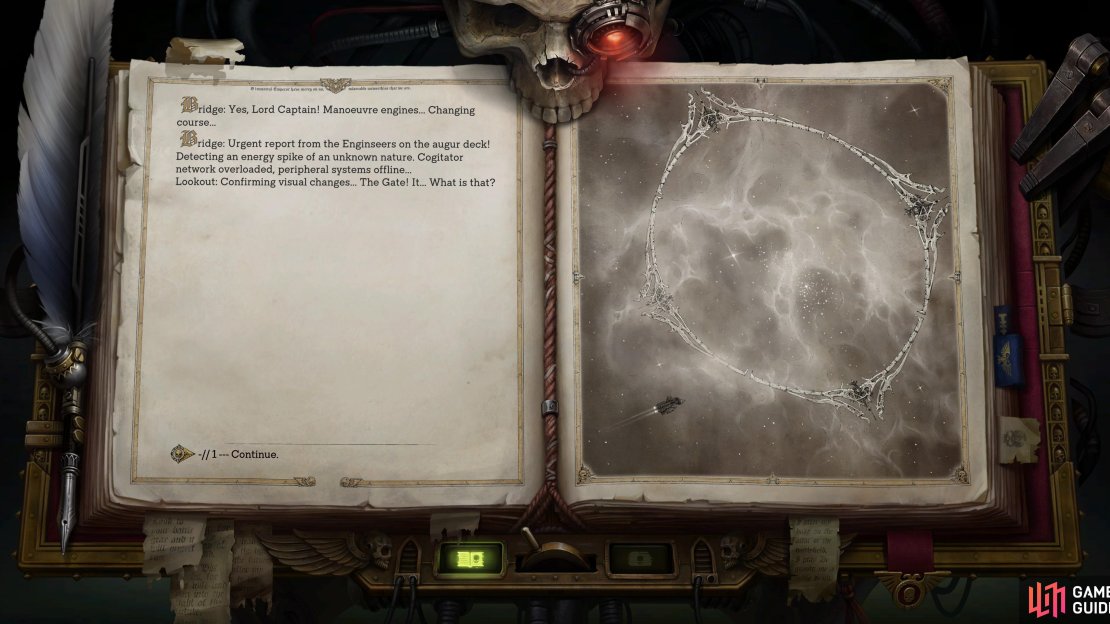
(1 of 3) Head to the Cinerus Maleficum nebula to meet with Marazhai.
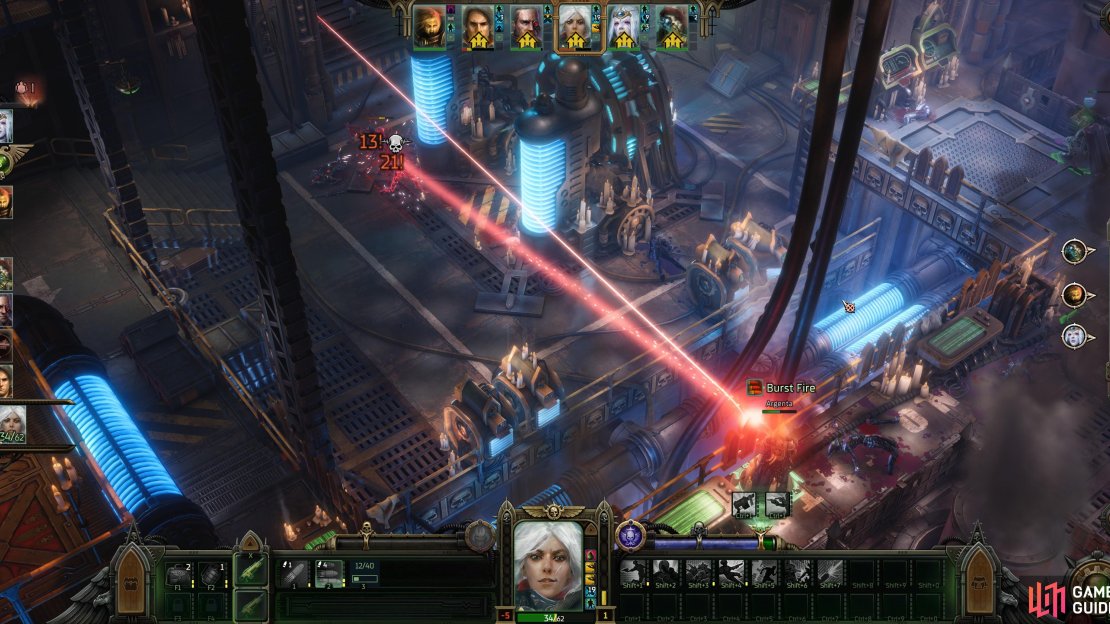
After fighting off enemy voidships for a while, your own ship will be boarded and you’ll have to assemble your party and head to the Plasma Drive Chambers, where the invading Drukhari have planted bombs. Make your way north until you find some stairs leading down, then promptly ignore them, continue north a bit to find a side passage with a gap you can jump over [Athletics]. This puts you in a better position for the upcoming fight against the Drukhari, just be sure you use the nearby terminal after the jump to cut off the power so you’re not running through electrified water. Defeat the Drukhari infesting your engine room, deal with an afflicted crewman, then disable the Xenos bomb (you need to pass a [Lore (Xenos)] check, then a [Demolition] check to do this successfully). Once done, leave the area to return to the bridge, then return to Dargonus.
If you were hoping for a relaxing and rewarding reception for pacifying the Von Valancius realm… well, you’ll be sorely mistaken, as when you enter the bridge, you’ll be told that Dargonus is being attacked by Xenos. Seems your Drukhari friend led you here as a diversion to get you away from Dargonus. Once you’re back in Mundus Valancius, defeat the Drukhari Voidships around Dargonus, then land - the rest of this quest, and hence, the chapter, is spent fighting Drukhari in and around the Von Valancius Palace. Defeat them and all you need to do is chat your way through your coronation to finally complete Chapter 2.
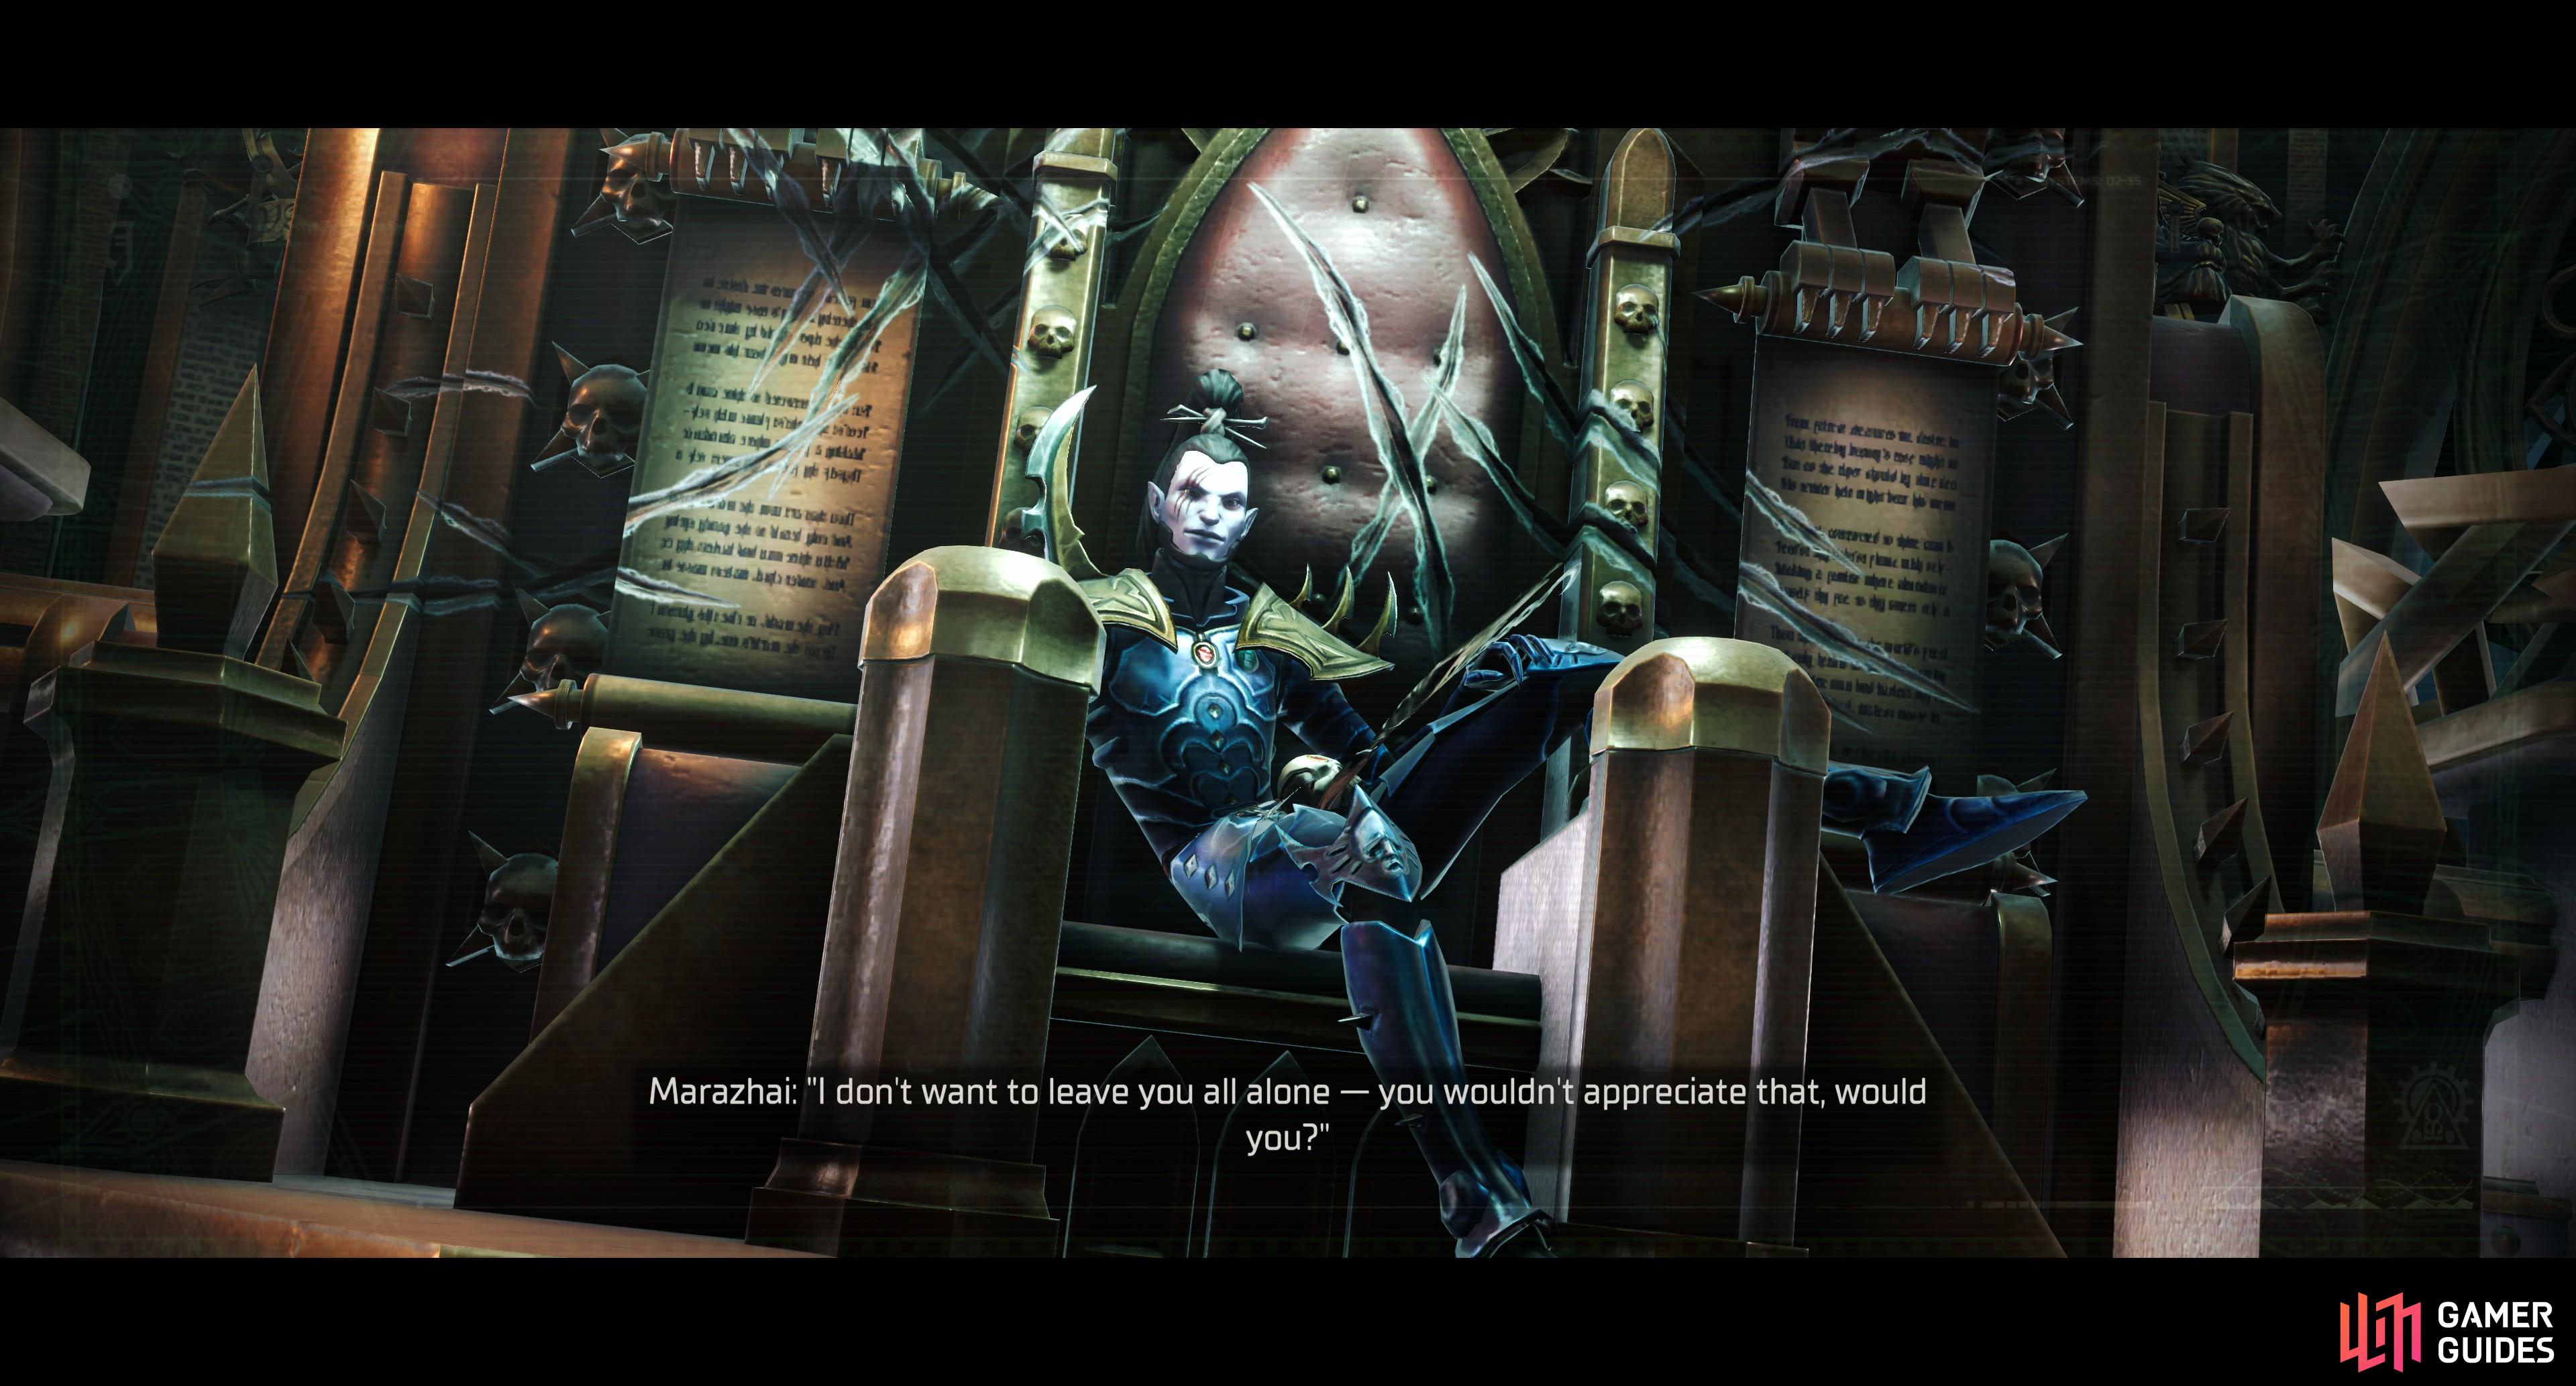
To end the chapter you’ll need to return to Dargonus in another attempt to confront Marazhai.
Now that you’ve completed Chapter 2, check out the following Chapter 3 pages:
No Comments