
In Chapter 4, players will have a conversation with Idira, the diviner on your ship, who tells you all about a great door. Apparently, this door is tempting her, with something mysterious she must investigate regarding her psyker powers. However, Idira is not exactly illuminating the location of this fabled door, and as a result, you’re somewhat on a goose chase. But, don’t worry, we are here to tell you how to progress the Idira Door Quest in Rogue Trader, with details on how to complete the quest.
Here is a guide on how to find and complete Idira’s The Door Quest in Rogue Trader.
Where is Idira’s Door Quest in Rogue Trader?
To find the location of Idira’s Door Quest:
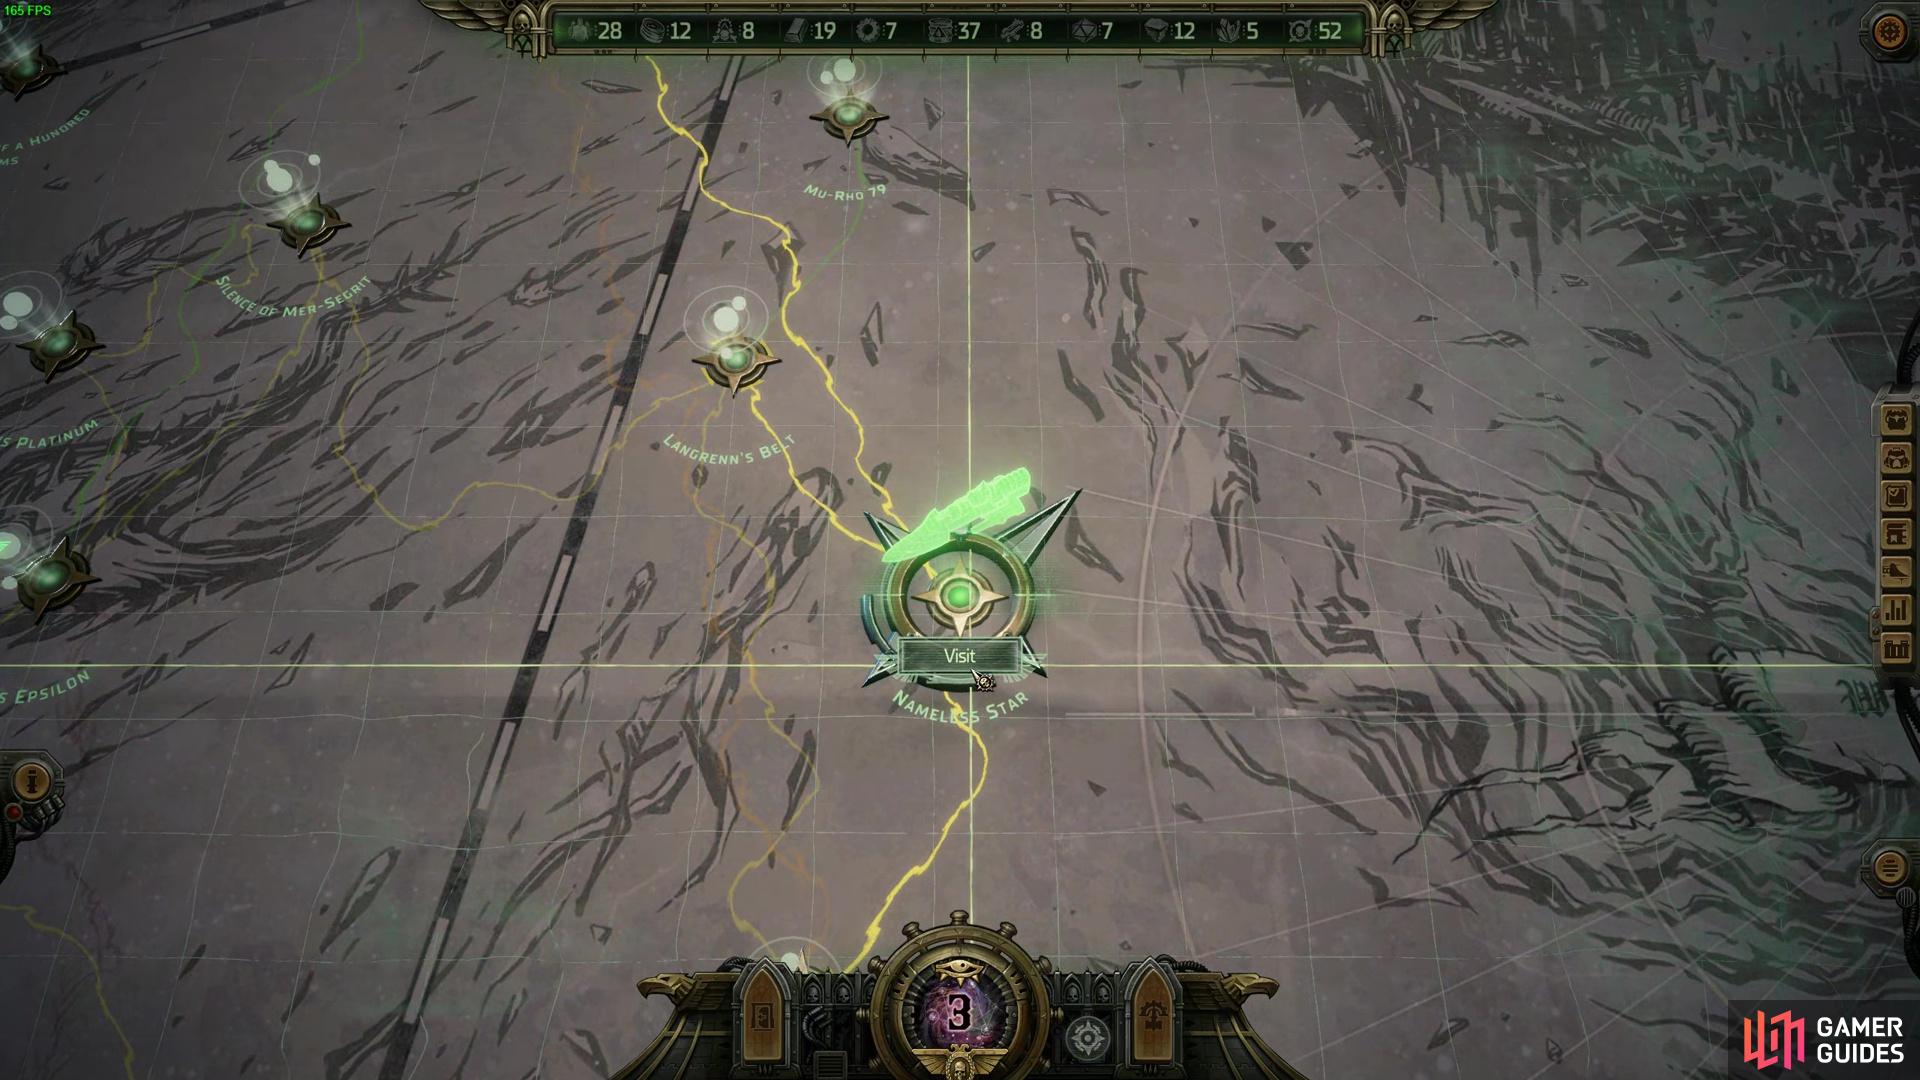
- You will need to visit the Nameless Twins star system in Calligos systems.
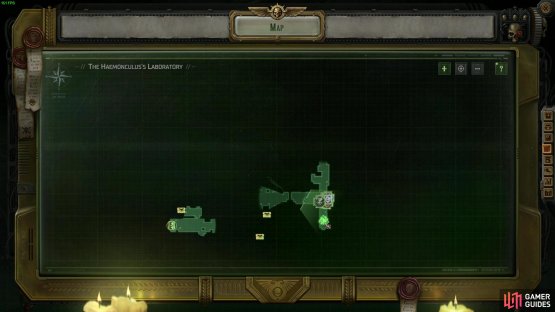
- You’ll then need to unlock The Haemonculus’ Laboratory level, which unlocks at the end of the Calligos Quetza Temer quest.

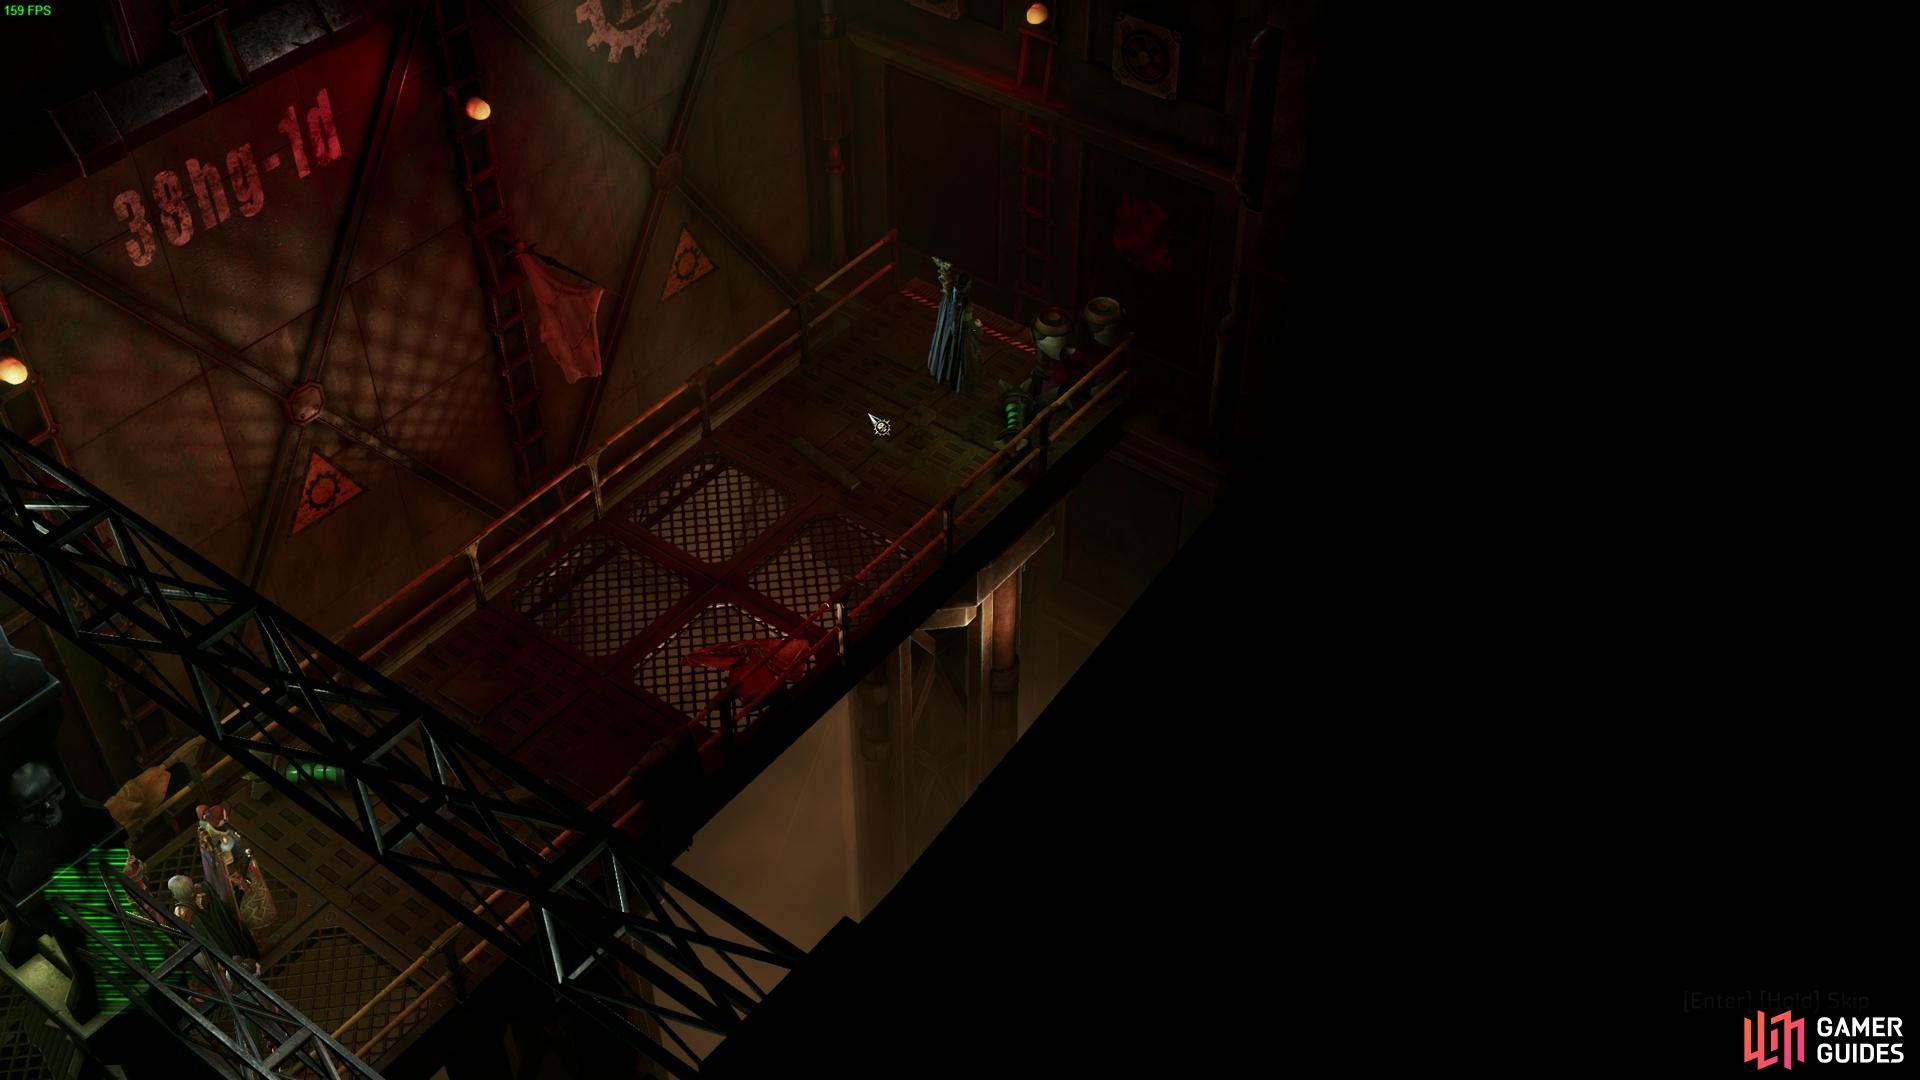
(1 of 2) The Door Quest is located on Quetza Temer, situated in the Nameless Twins start system.

The Door Quest is located on Quetza Temer, situated in the Nameless Twins start system. (left), Once you complete the Quetze Temer quest, you’ll find Tervantias’ secret base, with the southern door being there for Idira’s The Door quest. (right)
You can find the Nameless Twins Star System on the lower right side of the star map. From there, you need to go to Quetza Temer, the location where you’ll find ![]() Calligos Winterscale for the main storyline in Chapter 4. Speak to the pilot of Calligos’ ship, go and look for Calligos and finish the Quetza Temer questline however you like. There are a few different endings to that quest, depending on if you hate Calligos, want to side with him, or are dealing with Yrliet’s romance, so make sure to check out the walkthrough if that is something that interests you.
Calligos Winterscale for the main storyline in Chapter 4. Speak to the pilot of Calligos’ ship, go and look for Calligos and finish the Quetza Temer questline however you like. There are a few different endings to that quest, depending on if you hate Calligos, want to side with him, or are dealing with Yrliet’s romance, so make sure to check out the walkthrough if that is something that interests you.
At the end of the Quetza Temer quest with Calligos, you will learn that Tervantias, the mad doctor scientist dude in the Anatomical Opera in Chapter 3, is somewhere in the world. It is the reason why the Aeldari are on the planet in the first place. No matter which ending you get from the Quetza Temer storyline, you will learn of the location of Tervantias’ secret base. When you’re ready to enter, go back to the voidship, click back on the planet after speaking to Calligos’ voidship, and then select the Laboratory level.
Once there, proceed through the lab, taking out mad Drukhari scientists and pain mutant creatures, then jump over the Athletics check door. You can easily ranged attack and kill most of the scientists and mutants by blocking the ladder and raining hell on the enemies, while your melee characters defend the main stairway from those fleeing the deathtrap. After the combat is done, go down the stairs, and look for the Athletics check jump spot and cross into a new corridor. Go through the corridor as normal, and you’ll see a left and right turn. If you turn right, you’ll come across a blast door, and get a cutscene with Idira where she mentions it is a door. If you turn left, you’ll encounter Tervantias as part of the main storyline and enact your revenge.
The Door Walkthrough - Rogue Trader
Now that you are at the door, proceed through the dialogue there. It doesn’t really matter what options you pick; to be honest, it is all flavor. When you enter, navigate the secret part of the lab, and proceed carefully with a character with decent Awareness, as there are lots of traps around you for you to disarm.
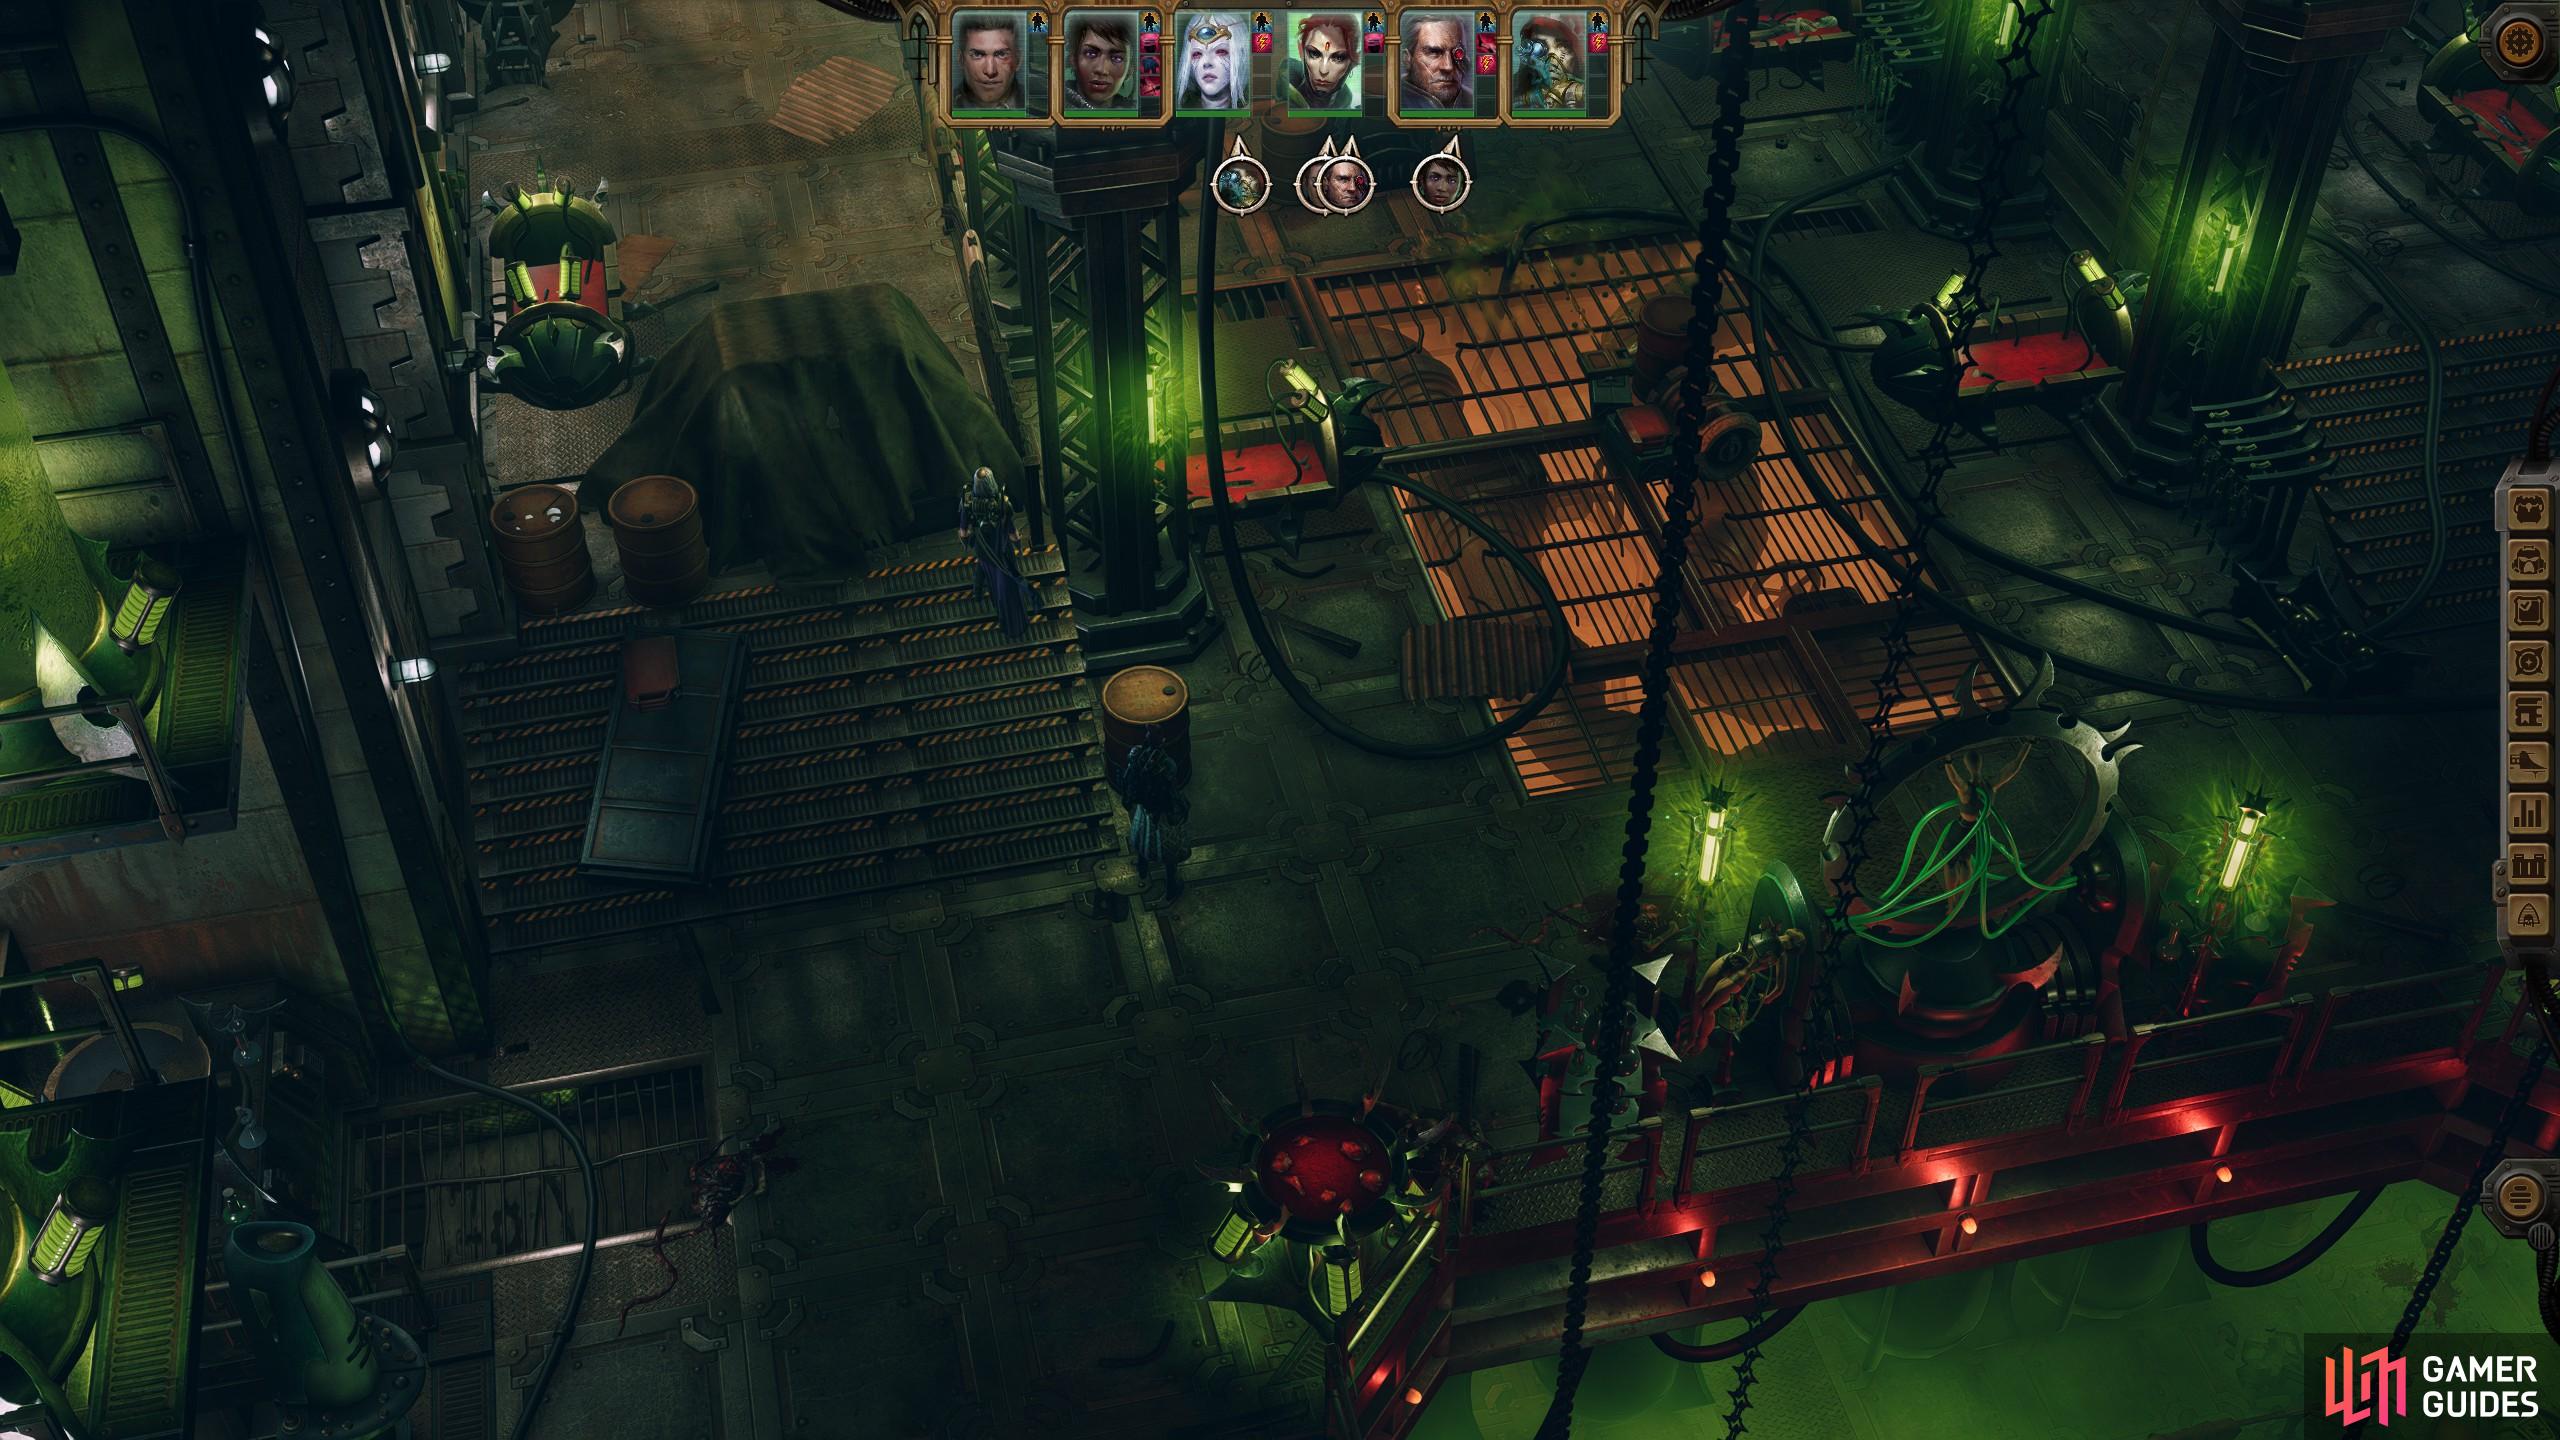
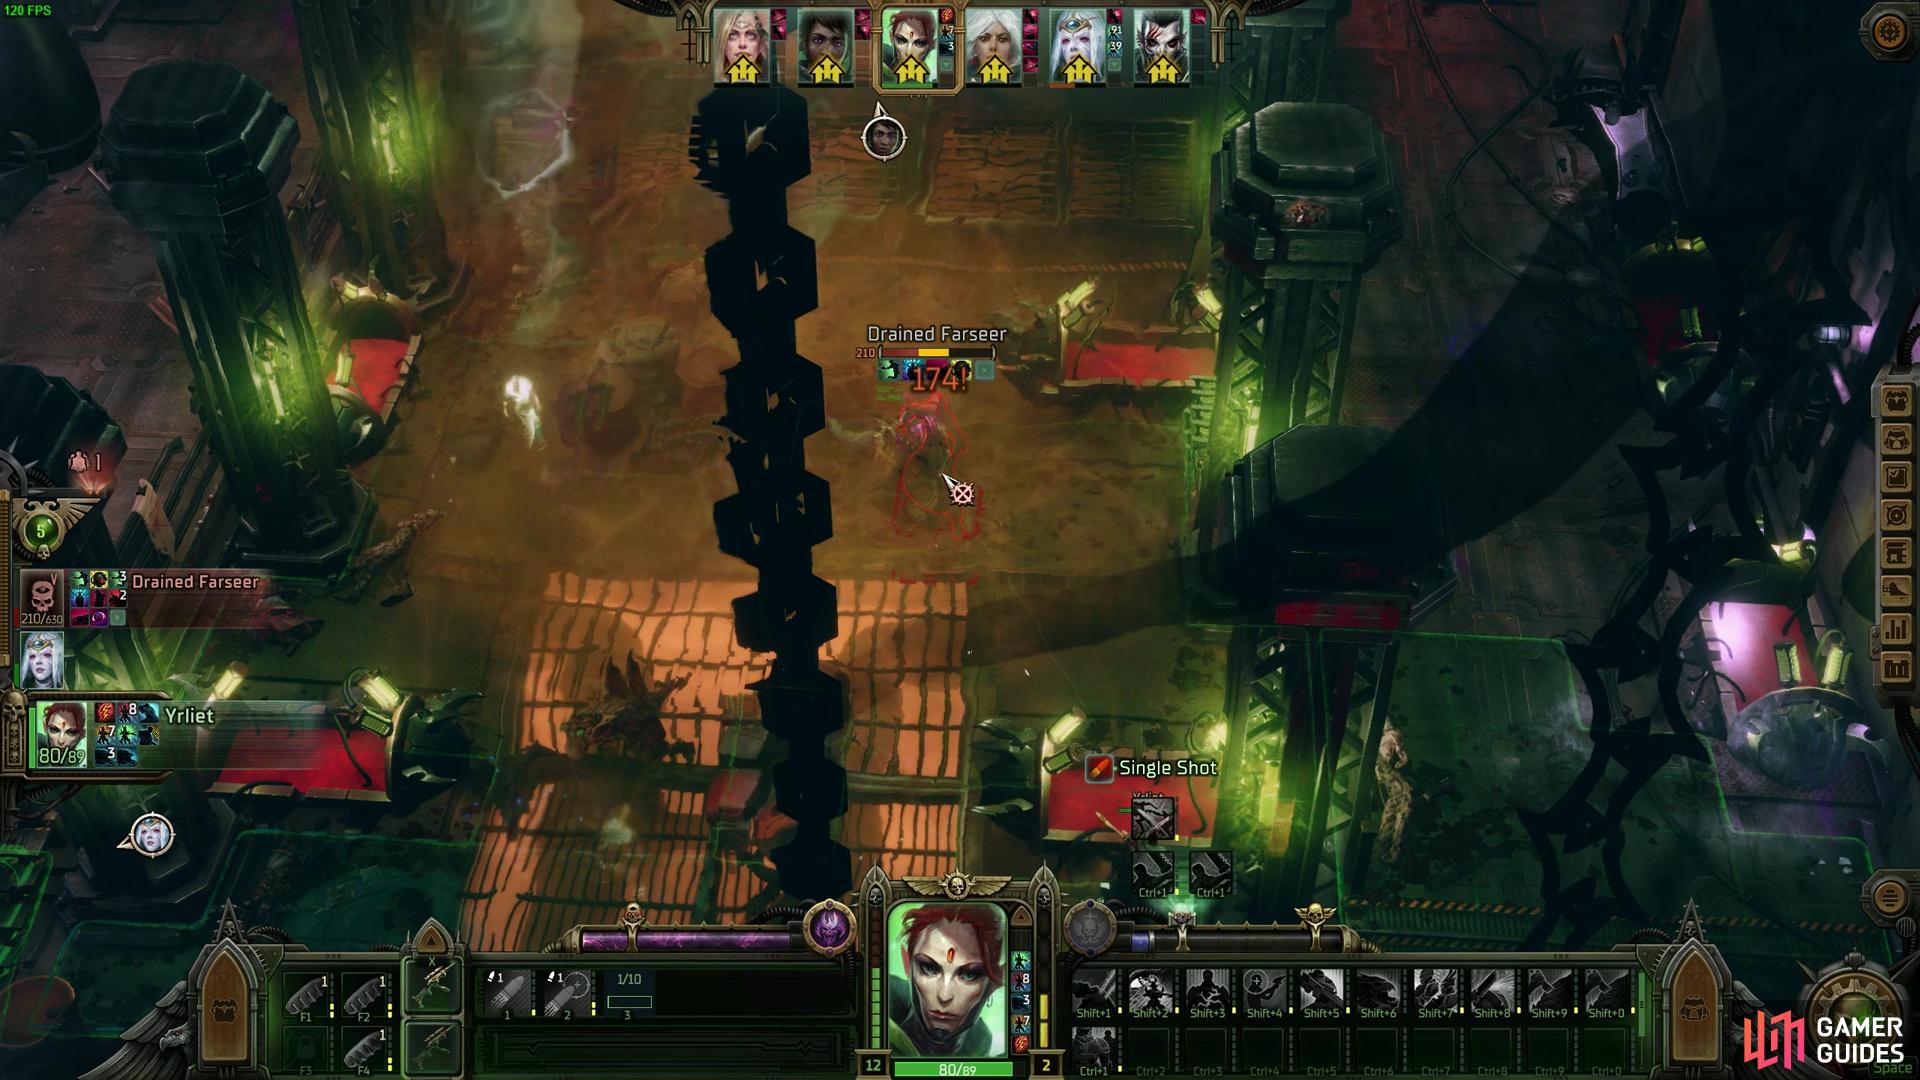
After following some of the metallic paths around, you’ll come across a large room area filled with lab pods, and at the far back of the room a Farseer. Speak to the Drained Farseer, and you’ll discover the Farseer is attached to a strange device that has been calling to Idira. He wants you to put him out of his misery. You can agree or disagree for whatever reason, but you’re going to get into a fight, and all the containers are going to open up and spawn adds.
We recommend having a Sniper pop shot multiple times and turn at the boss to kill while having your other party members split up to avoid Burst Fire collateral rounds and chain lightning attacks.
The main mechanics for the fight are the adds swarming your position, likely killing you if you’re not in position. The other main mechanic is that the Farseer gets extra turns when each of the clones reach certain HP thresholds. In other words, the boss will have lots of turns to throw magic at you, buff its allies, and use ![]() Metabolic Overcharge on them.
Metabolic Overcharge on them.
Ideally, there are two major strategies you need to implement against this boss:
-
Before going into the fight, make sure to position your main damage dealers at appropriate spots. Your main melee DPS should get as close to the Farseer as possible before the fight starts. But you should also avoid clumping your allies together, thanks to the boss’s chain lightning spell attack, and the ranged clones that spawn near him casting Burst Fire several times before you can have a turn. You’ll likely have one or two go down if you don’t set up your characters properly before speaking to the Farseer. We’d advise sticking a Vanguard somewhere in the middle to absorb the round, while your other closer-range allies separate themselves between the pods near the Drained Farseer before starting the conversation.
-
Meanwhile, your key ranged DPS that will nuke the boss should be in relevant Burst Fire range or sniping distances. Make sure to avoid clumping your front line units to prevent them from getting hit with Overpenetrating sniper rounds or getting hit by the Burst Fire. We recommend having an officer with your strongest character grant them extra turns to do damage and nuke the boss. Our Yrliet sniper build is the perfect character to funnel attacks into for this fight. You can even use
 Expose Weakness on Idira to allow your melee units better hit chances, since your sniper and gunner are likely hitting their shots.
After that, we recommend ignoring the ads completely, unless you have ![]() Cassia CC enemies into positions, throw some of those
Cassia CC enemies into positions, throw some of those ![]() Zone of Fear grenades or a Vanguard taunt and protect your allies from the swarming hostiles. Hurting the adds and bringing them to certain HP thresholds will again cause the boss to perform extra turns. This means more spell casts that chain hit your allies, more perils of the warp, and an overall worse experience. Deal with the boss, ideally one where the Vanguard is tanking it, then deal with the ranged mobs. As those are the next most dangerous threats. The lower HP clones are your standard melee with low HP, but moderate damage, nothing a parry, immobilize, or stun can’t fix, so deal with them last.
Zone of Fear grenades or a Vanguard taunt and protect your allies from the swarming hostiles. Hurting the adds and bringing them to certain HP thresholds will again cause the boss to perform extra turns. This means more spell casts that chain hit your allies, more perils of the warp, and an overall worse experience. Deal with the boss, ideally one where the Vanguard is tanking it, then deal with the ranged mobs. As those are the next most dangerous threats. The lower HP clones are your standard melee with low HP, but moderate damage, nothing a parry, immobilize, or stun can’t fix, so deal with them last.
Alternatively, split your party up at the bottom of the map, picking off the ranged Clones first, then the melee, and leaving the boss to last if you can’t manage the swarming Clones.
If your party is struggling to burst the boss down, you can try placing all of your units in the corner of the map. Create a split between the cover in the bottom left for key support and melee units, with your Snipers and other ranged and melee characters on the right where they can take advantage of the more wide open spaces and less cover. Feel free to chuck an Officer over there so your main DPS ranged character can free hit some of the oncoming clones and burst them down before they reach either party. It is ideal for an Assassin and sniper, who can abuse the range, and then the assassin, who can make itself the lowest priority hit to avoid being targeted. This should help eliminate and funnel the Clones more appropriately. It is also handy for splitting your party so that when the boss gets close to you, its damage per turn is limited.
Idira’s Choice
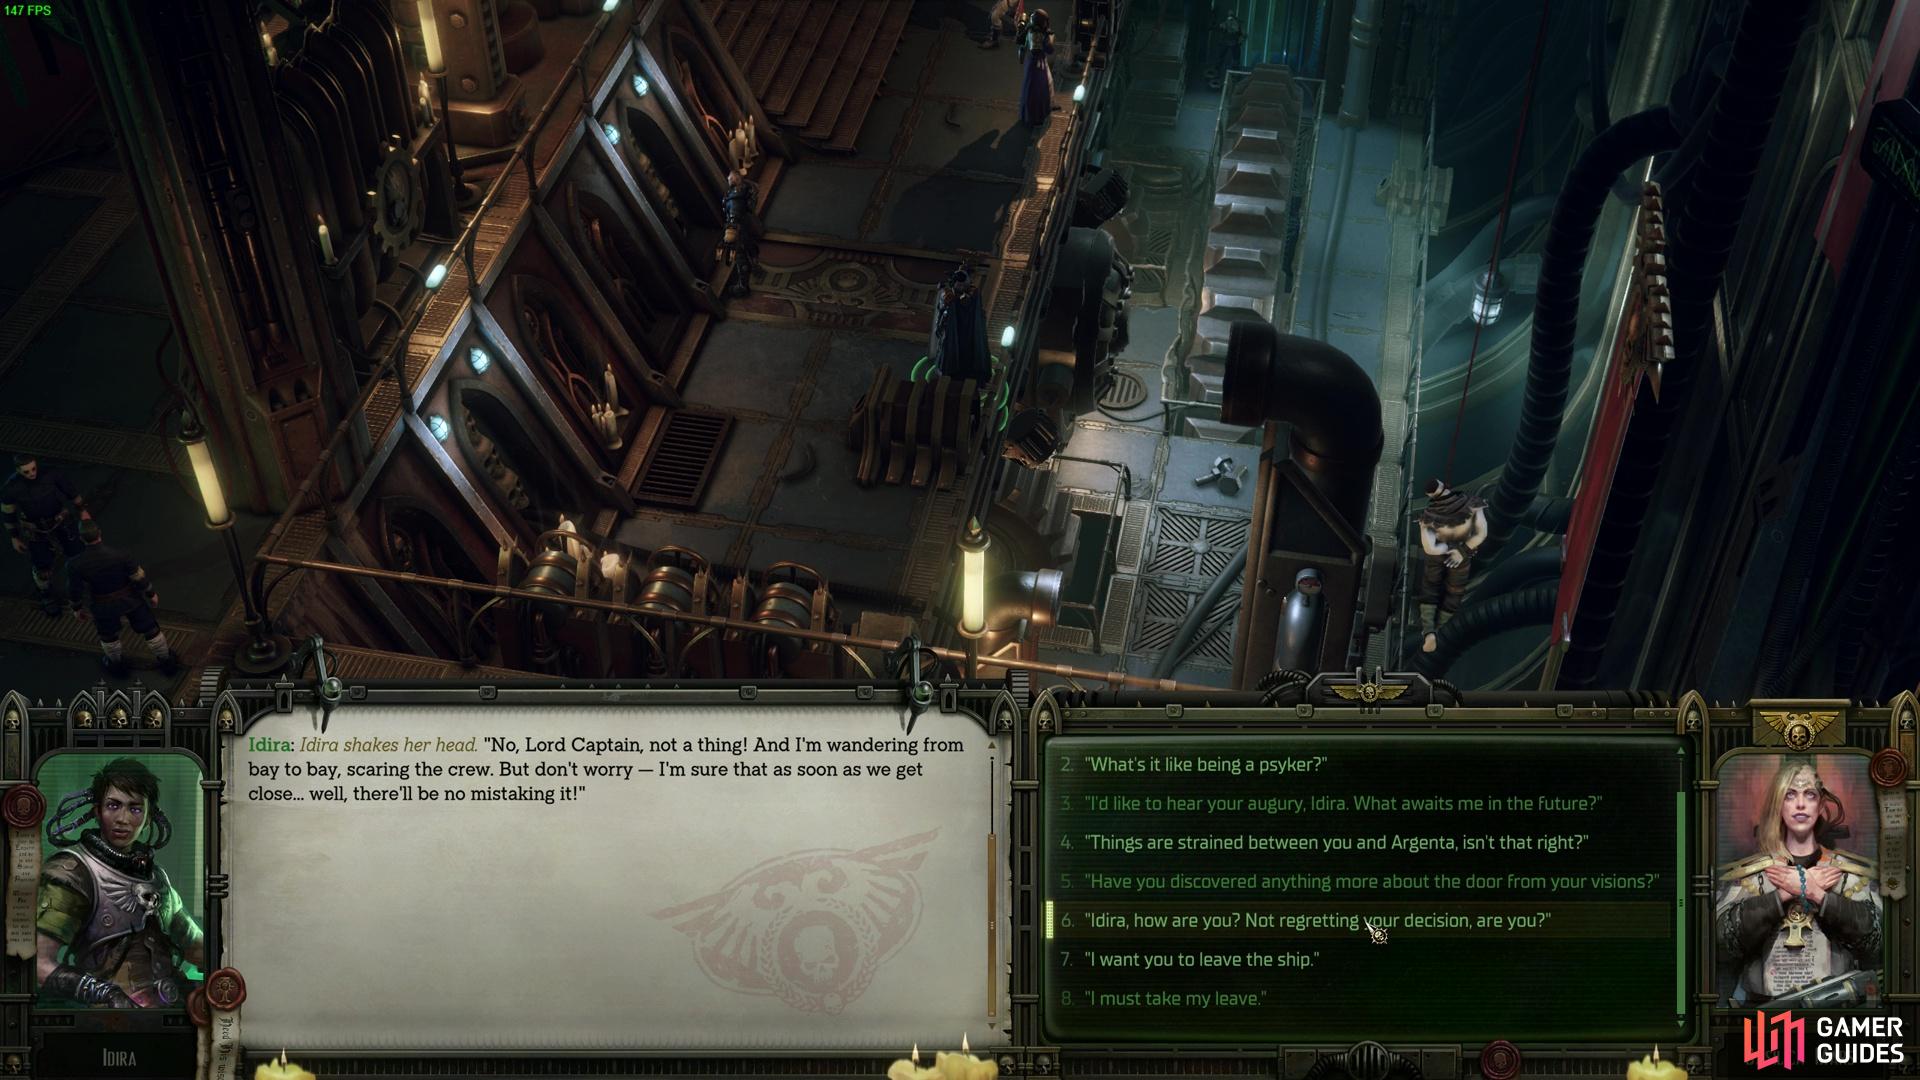
Depending on what Idira did with the Crown from the Drained Farseer, Idira will have unique dialogue when you get back to your ship.
Once the fight concludes, you can now complete the Door Quest. However, before doing so, you have a choice to tell Idira to put the crown on or not. There’s also a heretical option where you can tell Idira to open the door in her mind and let things from the other side in. You can also kill Idira - Owlcat seems to want you to kill Idira at least once a playthrough, I swear. Select the option you want, and then return to the Voidship and speak to Idira to complete the quest.
Depending on what you select, the dialogue on the Voidship will be slightly different. As far as we can tell, if you make Idira wear the crown the Drained Farseer was wearing, it somewhat role-play pacifies the whispers that Idira heard. On the other hand, Idira doesn’t want to wear the crown after seeing what happened to the Farseer, so she prefers not to wear it. It’s not a major choice, but some companion role-play stuff from what we can tell from our pre-release save. If you tell her to open the door in her mind, she will talk to you using several different voices, letting you know that the war is well and truly in her head, and speaking to her now. So, it largely depends on how much you want Idira to experience the voices in her ears, whether you’re kind to let the warp stay out of her life, pacify it slightly, or fully make her embrace it.
There doesn’t seem to be any gameplay changes with Idira from this point onwards. It largely seems to be a here and now role-play type thing for the character’s progression. So, select the option you prefer. With that done, you’ll have completed the Idira’s The Door quest in Rogue Trader.
No Comments