
After the events of Chapter 4, you will arrive in a new sect of space, revealing a few local clusters of stars, all of which are inhabited by Tomb Worlds of the Necron race. These slumbering skeletons await the Rogue Trader, alongside all of the citizens of the Imperium, to broadcast the final moments of the game’s storyline. As you explore Chapter 5, you’re on the hunt for your dastardly rival, while also interacting and evading the now-reawakening Necrons. In this full and complete Chapter 5 Walkthrough for Rogue Trader, we’ll show you the key points of interest you want to visit, alongside general steps to complete the campaign, with some additional boss tips, since you’re due a gauntlet of bosses.

You start Chapter 5 in this space system, and are tasked with exploring planets and stars until you find traces of Calcazhar.
Chapter 5 Campaign Guide - Rogue Trader
At the start of Chapter 5, you’ll arrive at a star system known as Debris of Battiada. Your goal here is to essentially track where Calcazar went, which is on a star system you cannot currently see. The main objective here is to travel through the star systems around you and reach one called Sanctum of Tepheetus. However, along the way, you can do some final space exploration if you want to, with some nice POIs to get some incredibly strong accessories, weapons and armor if you so wish to grab them. We are talking about some very big-ticket items like the ![]() Inevitable Demise,
Inevitable Demise, ![]() They Shall Weep, Fury Incarnate, and more. Not to mention some last-minute levels which cannot be undervalued, so, we shall be taking a look at the optional content in this guide. There are also some final few space battles and systems to explore if you’re hunting for some achievements too.
They Shall Weep, Fury Incarnate, and more. Not to mention some last-minute levels which cannot be undervalued, so, we shall be taking a look at the optional content in this guide. There are also some final few space battles and systems to explore if you’re hunting for some achievements too.
In the first star system you emerge from, you’ll come across an Ice World, which contains a Necron POI called Signal from a Planet. If you go to it, you’ll find a bunch of Tech-Priests had arrived and tried to interact with the machine spirits that lay inside, only to activate its defences and succumb to the great fate the Omnissiah had for them. This is an entirely optional POI, but it is worth doing it if you fancy getting some low-risk tutorial fights for what to expect later in the chapter.
The Ice World contains an optional fight with some Necron Destroyers, Swarms and Warriors to get used to the new thematic enemy of the Chapter.
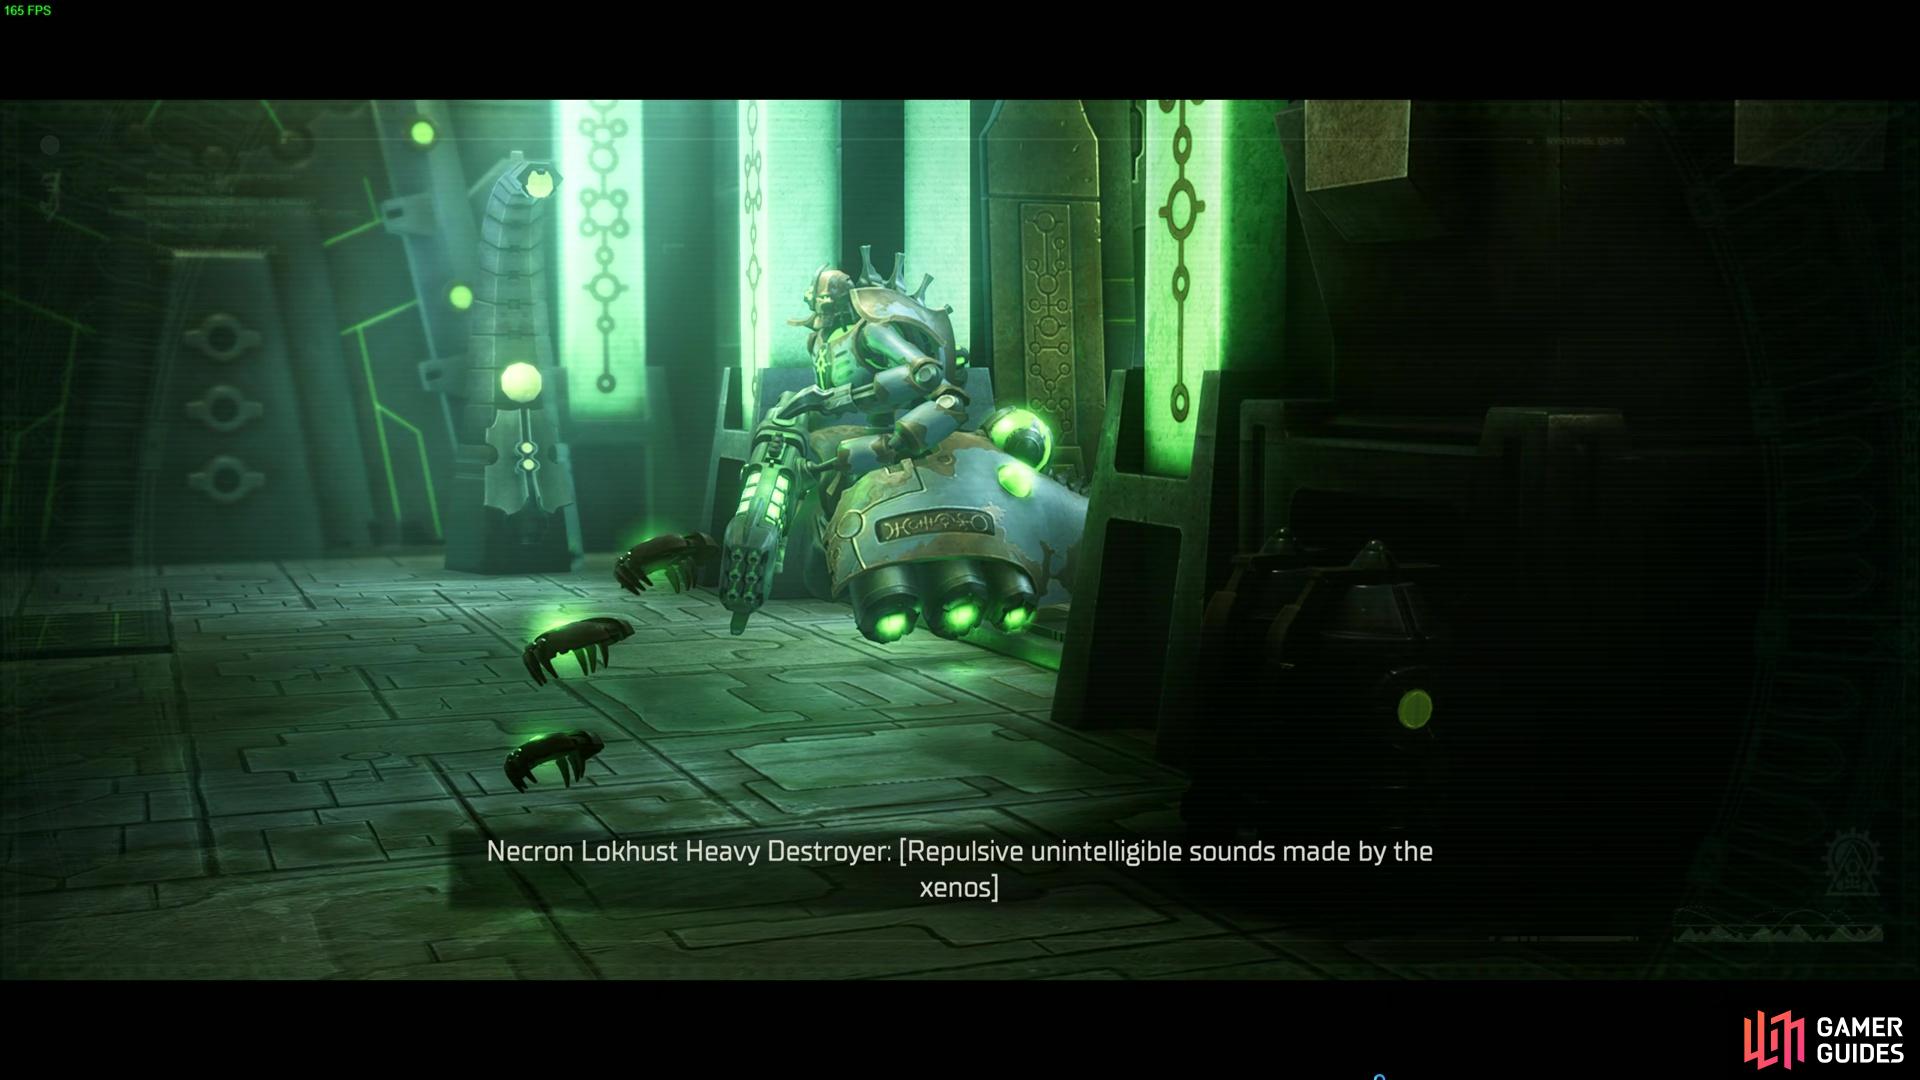
When you visit the planet, you will find a Cogitator in the center of the main room and activating it will cause a fight. You’ll fight a few Necron Warriors, Scarab Swarms, and two Heavy ![]() Destroyers. It’s essentially a tutorial of what you can expect for the rest of the chapter, and there doesn’t appear to be any major loot bar from some cargo on a dead frozen-over explorer.
Destroyers. It’s essentially a tutorial of what you can expect for the rest of the chapter, and there doesn’t appear to be any major loot bar from some cargo on a dead frozen-over explorer.
If you do decide to take on this fight, be aware that the Heavy Destroyers burst fire four large damaging attacks, while the Necron Warriors are your standard distant shooters fodder. You’ll also get a tutorial on how the Living Metal feature works alongside Reanimation Protocols. Living Metal is essentially wound restoration, while Reanimation Protocol gives them a window to return to life, similar to ![]() Ulfar’s mechanic, except they can be killed during the reanimation procedure. You’ll also learn that Scarab Swarms can attack you and repair their allies with around 100 HP heals on hard mode, so you get used to dealing with it.
Ulfar’s mechanic, except they can be killed during the reanimation procedure. You’ll also learn that Scarab Swarms can attack you and repair their allies with around 100 HP heals on hard mode, so you get used to dealing with it.
As for the rewards, there are a few things you can get. The first is that it is decent XP. If you’re on the hunt for achievements, then you will need to beat this planet, as it will spawn a space combat battle after you defeat the creatures and return to the Voidship. You’ll get a little tutorial on how the sickle fighters work in space combat. Aka more Living Metal as their cheesy space mechanic, and some big hit attacks. Other than that, they have fairly average HP for spaceships and don’t have many evasive manoeuvres to handle.
The Tomb
When you’re done on that star system, feel free to travel to the other nearby star systems. You’ll find some more planets, events, and things to loot among the Drukhari or Necron planets, ships or events.
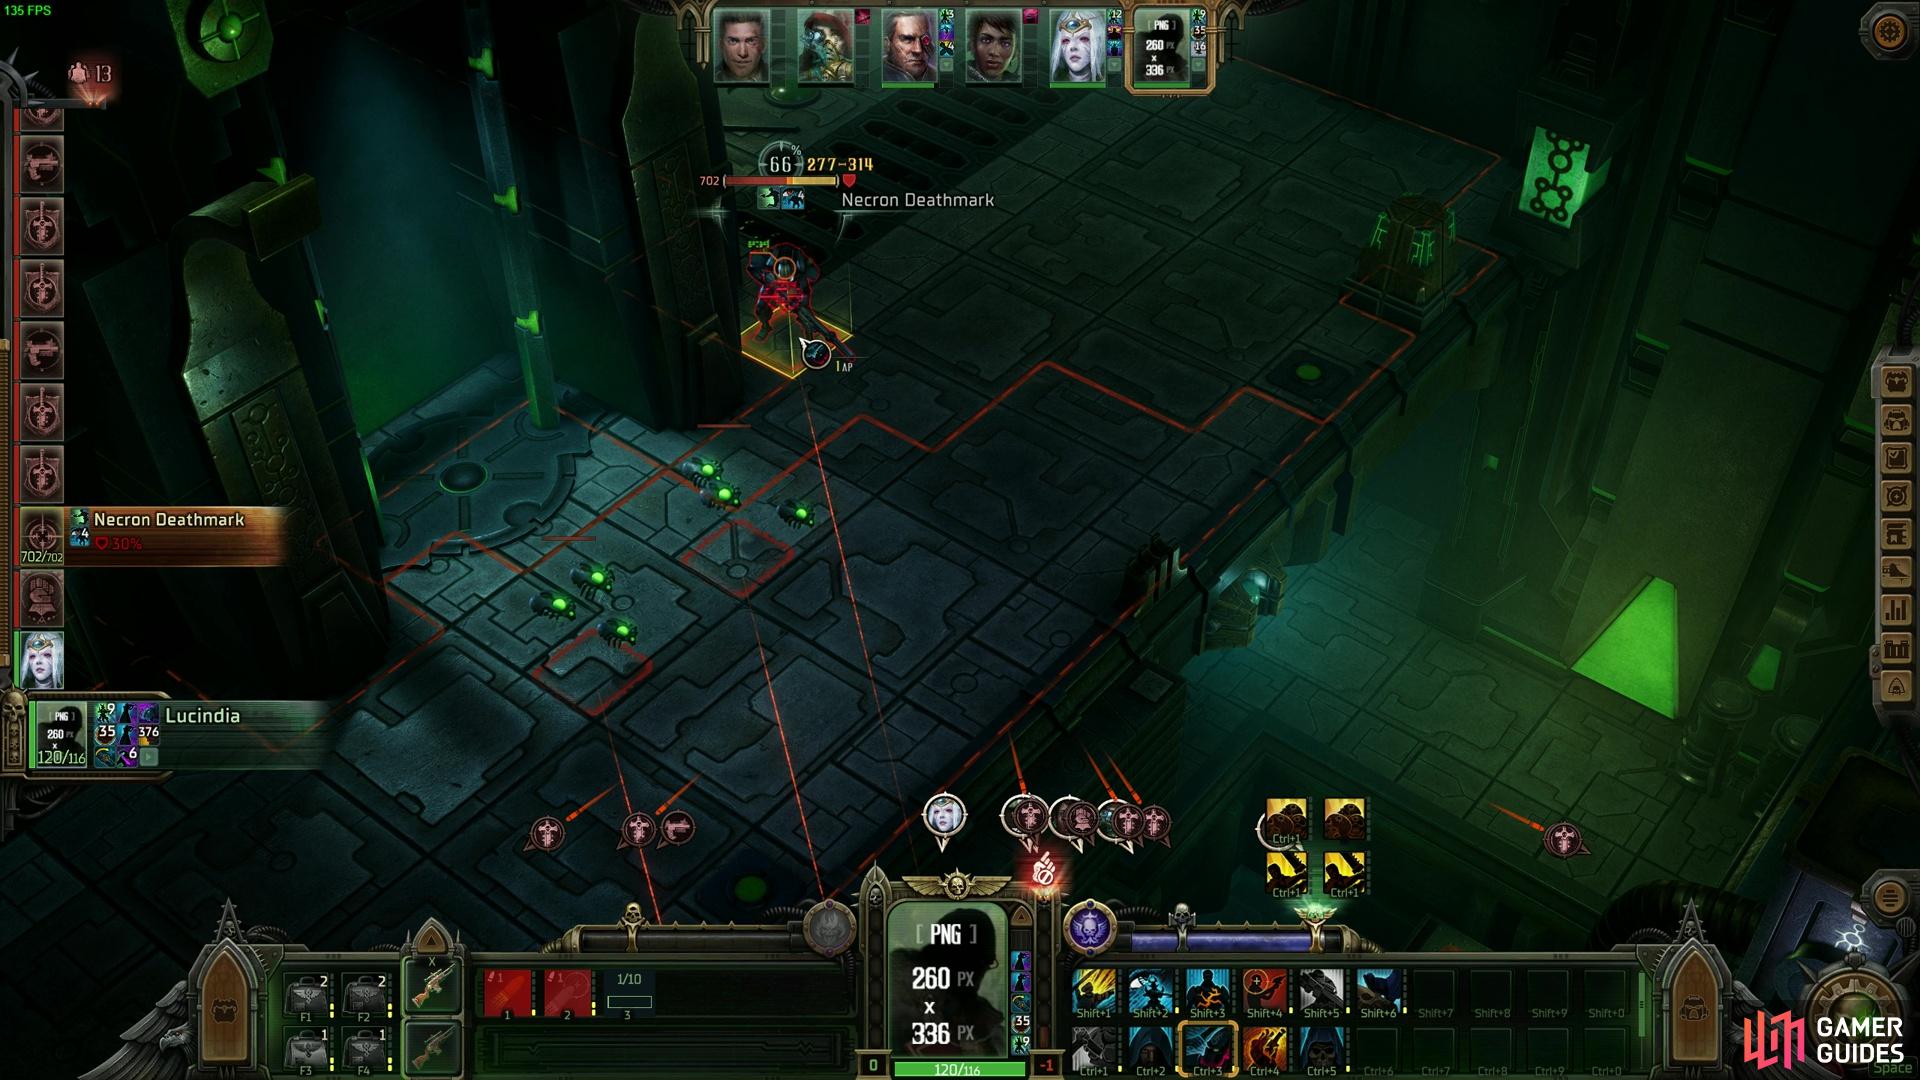
After Round 2, Deathmarks with Scarab guards will spawn, and you must deal with them the best you can or risk dying.
Around the Cogitator are several Necron Immortals and Warriors that wake up as they fight foes.
When you get to the third star system named Neos Charoitus, you’ll find a planet guarded by Necron Fighters at the top of the system. Defeat the ships, and you can interact with the planet. It’s another optional planet, but there’s some decent loot, such as getting your hands on the ![]() Gaze of the Void Drukhari weapon alongside the
Gaze of the Void Drukhari weapon alongside the ![]() Cloaking Field Emitter. Here you’ll find the first clue to your predecessor’s action, in that Von Valancius seems to have a base on this planet, strangely. In the planet’s ruins, you’ll find some Immortals slumbering around a terminal, which will re-awaken when you decide to interact with it.
Cloaking Field Emitter. Here you’ll find the first clue to your predecessor’s action, in that Von Valancius seems to have a base on this planet, strangely. In the planet’s ruins, you’ll find some Immortals slumbering around a terminal, which will re-awaken when you decide to interact with it.
At first, you will find some of the Immortals and Necron Warriors reawaken, with more coming alive the more some units die. You’ll also get reinforcements on the platforms to the left and right. You’ll get some snipers and some more warriors, each with two units of scrab swarm to repair. We advise having long-range characters nuke the Snipers the best you can, as those are the real threat. Meanwhile, your main forces should deal with the Immortals. It is also worth mentioning that the two pillars near the terminal with the circles in them spawn scarabs to repair the Immortals, which is something you may have to account for with a Vanguard taunting them.
We also only recommend raising the bridges at the terminal to reach the platforms if you desperately need to, such as if you have a melee comp. The risk of doing so means that you’ll potentially flood more repair scabs to either platform to make the 600-wound Necron Warrior borderline unkillable if you don’t have the burst damage.
Once you have the strategy down, defeat the enemies, and only then raise the stairs and reach the lootable on the map. This will contain the Gaze of the Void if you turned ![]() Marazhai into a ranged assassin with a gun and the Cloaking Field Emitter for Grand Strategists.
Marazhai into a ranged assassin with a gun and the Cloaking Field Emitter for Grand Strategists.
The Necron Monolith
Proceeding on with the content, you’ll move to a star system called Sanctum. This is where you need to be for the main storyline. However, there’s one more optional POI that we highly recommend going to. This is the big ticket of all big tickets, the Inevitable Demise, allowing you to turn whoever your crit monster is in your party into a 2-3k crit damaging demon, depending on their build. To get this item among the other goodies, you will need to visit a Tomb World just below the star in the system. When you drive to the planet you’ll get a few options. We recommend you send in a scouting vessel, then go and check it out for yourself to make sure you get the event the way we got it. Bring your retinue and go forth.
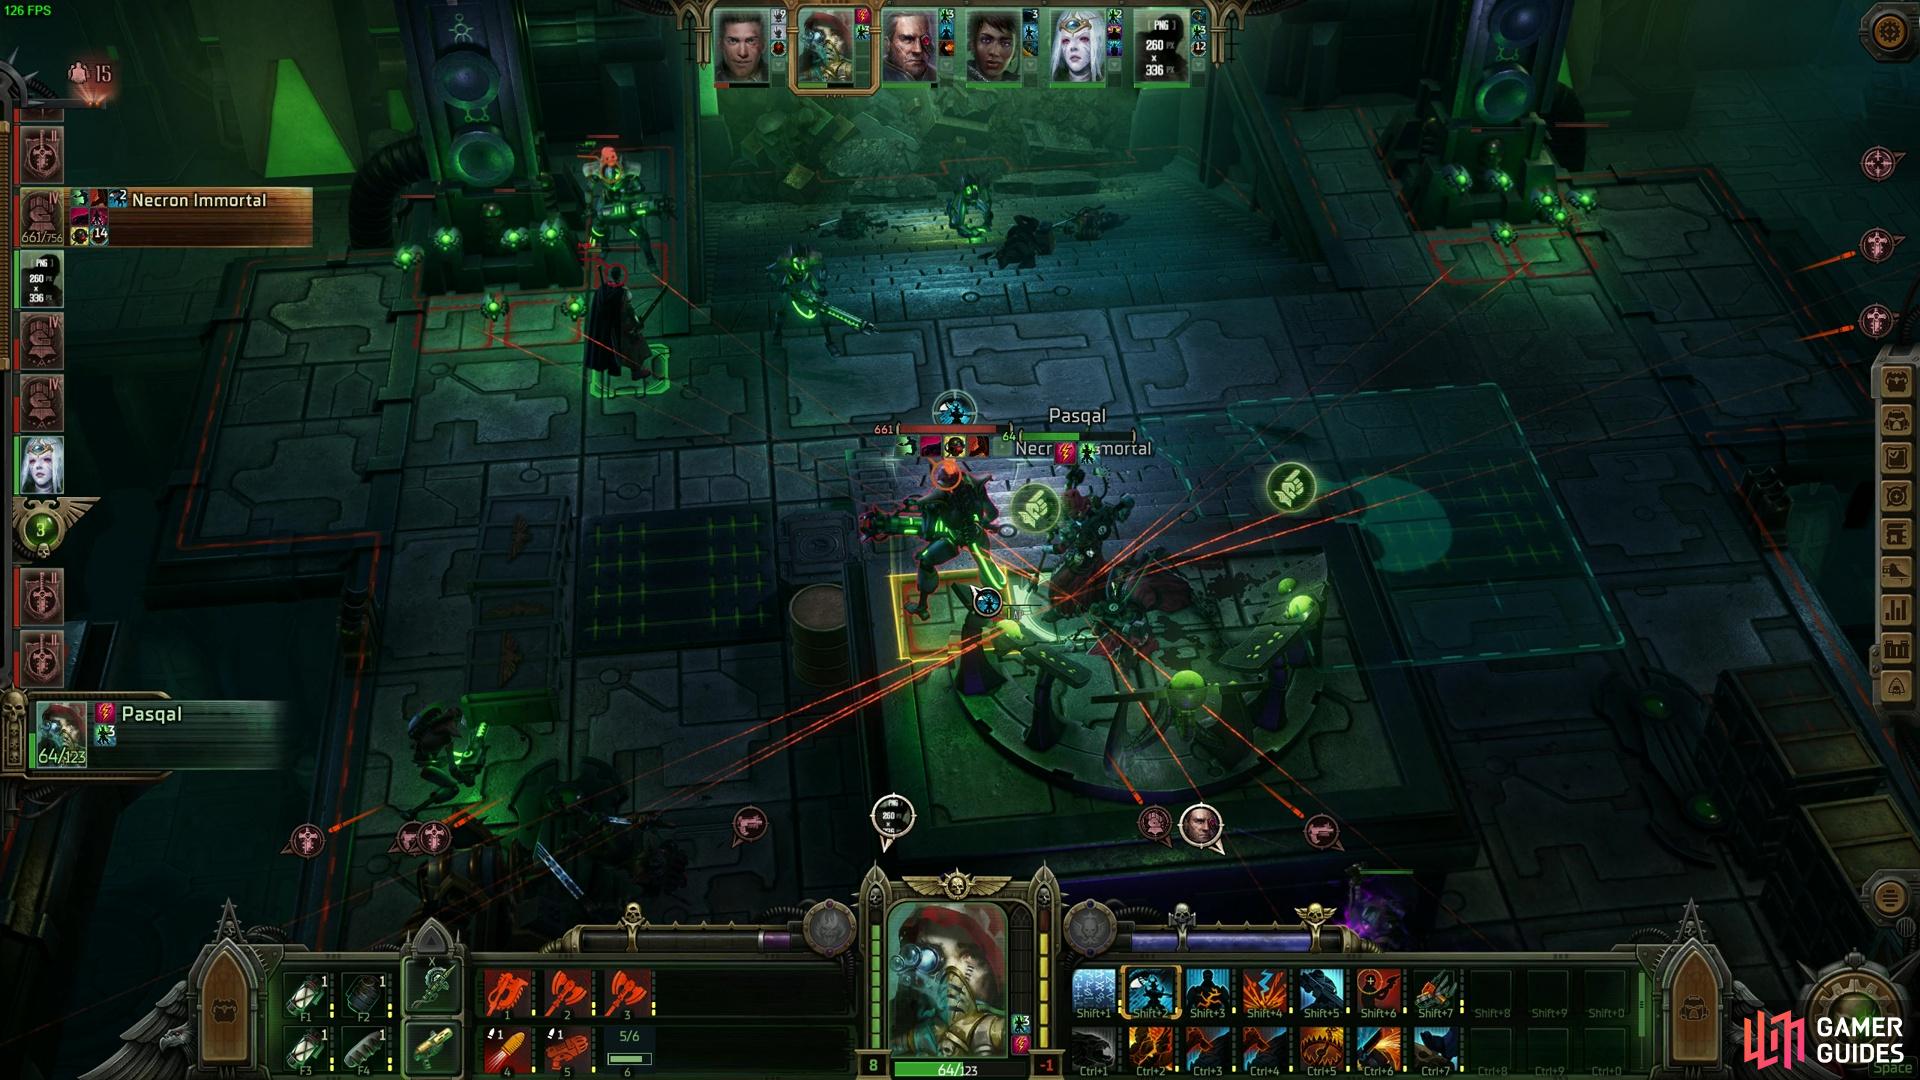
Immortals to the front of me, Warriors to the side. Here I am, stuck in the middle with beep boops.
When you arrive on the planet, you’ll find a Monolith emerging from the hills. Around it are a few guards on the surface, featuring an Immortal and a couple of Warriors at the far sides. There are a few Scarabs, too, so be careful of them restoring the Immortal. You’ll also only have half cover for the most part, so you shall need to be dropping those dodge and cover efficiency improvements, using skills such as the Grand Strategies Rear buffs, or ![]() Forewarning and
Forewarning and ![]() Foreboding as other examples that you can use here.
Foreboding as other examples that you can use here.
The other major tactic you must know is that doors to the Monoliths on either side of the battle map will spawn Scarab Swarms to aid them each turn. Once again, these will make it harder to kill the main Necron forces and swarm melee superiority against your characters, so it is something to consider if you struggle to deal with the five main Necron units.
When you defeat the enemies, it is time to take a look at the loot in the area. You’ll grab the following items:
- Rampage x3
- Gloomrifle - The best solid sniper rifle in the game.
- Inevitable Demise - The best gloves in the game for characters that can reliably crit.
- Officer’s Medikit x2
- They Shall Weep - Probably the best
 Bolter in the game for those taking single shots multiple times a turn and the occasional Burst Fire here or there.
  Heavy Void Suit - 65% damage reduction in this chapter - pretty good, plus bonus against humans, which is nice on a Vangaurd for some fights coming up later (eyeball emoji)
See, I told you this loot was worth grabbing!
Chapter 5 Walkthrough: The Rogue Trader’s Story
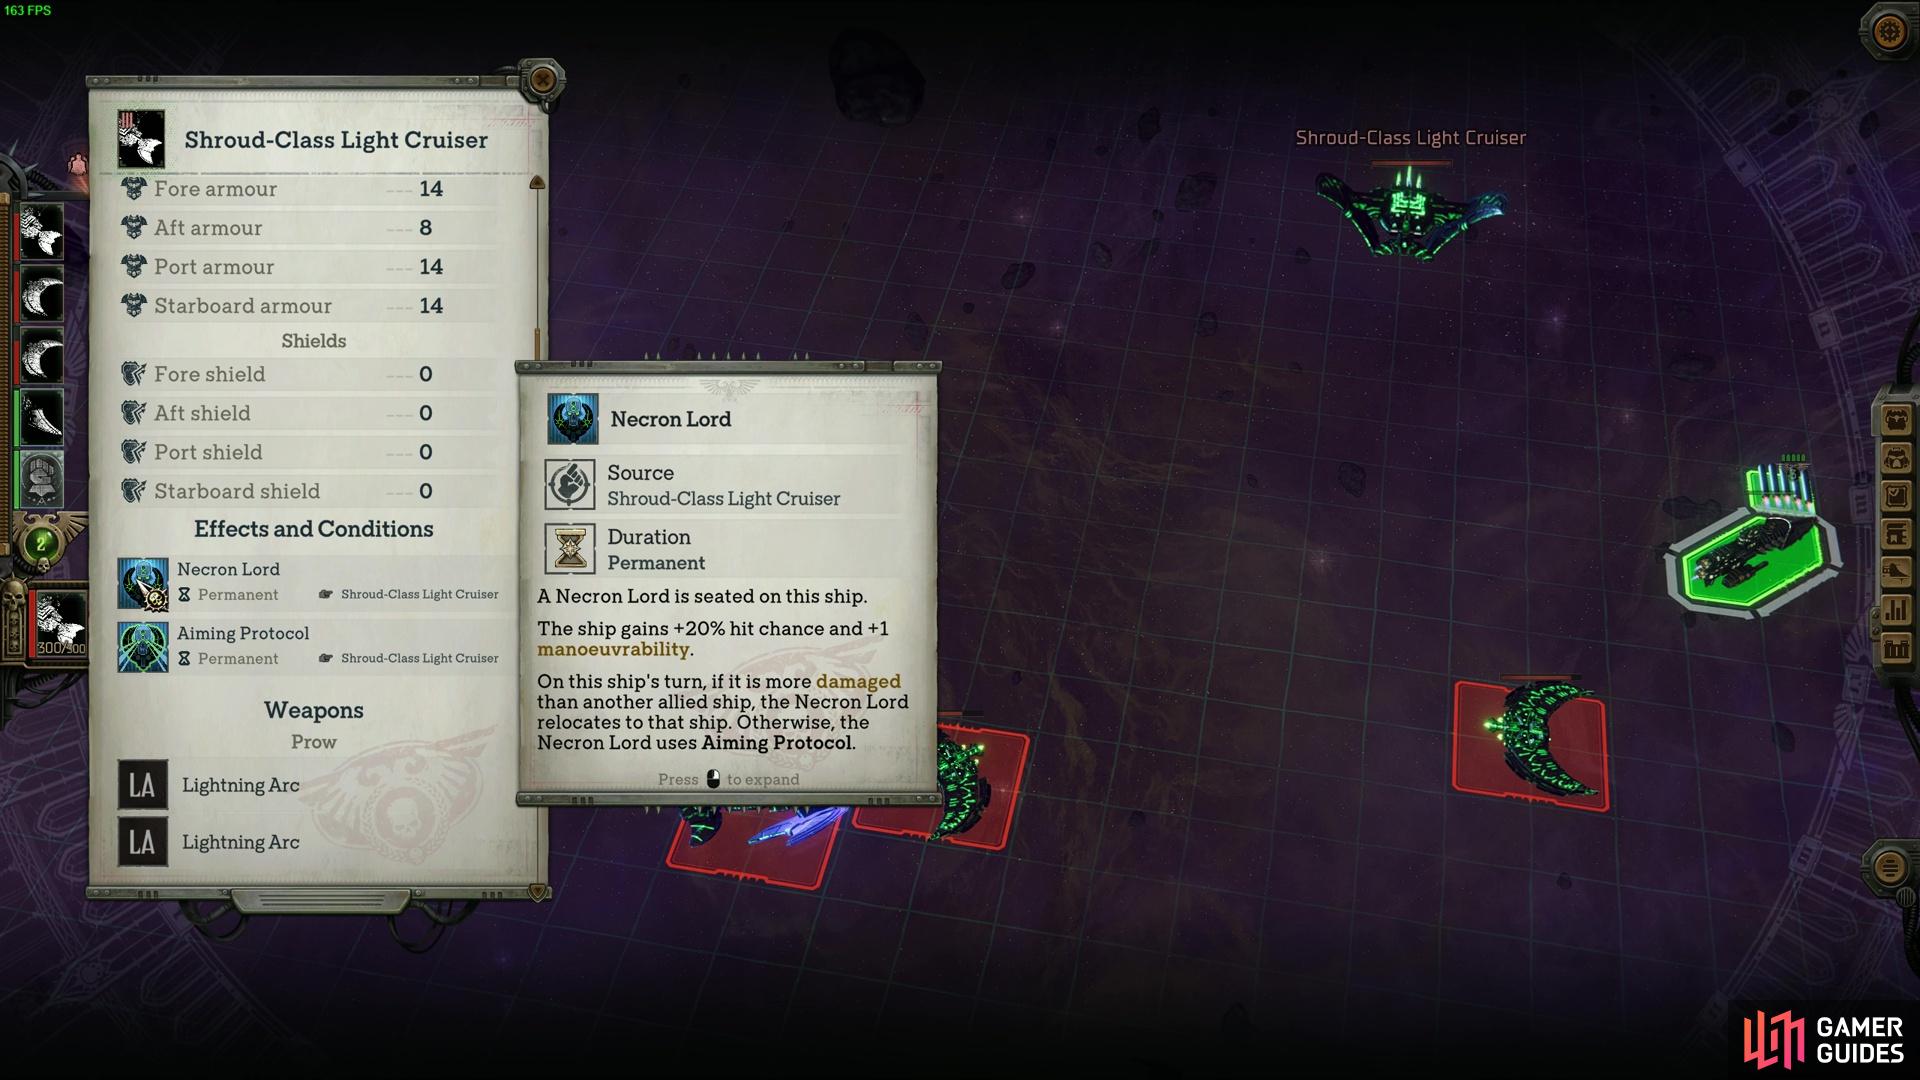
Now we are done getting some very good items, you want to be in a spot where you are heading to that fabled fleet in the bottom right corner of the star system. Here, you’ll need to battle a Necron lord fleet on a ship with about 300 wounds. It can attack twice and seems to crit more than it suggests on its character sheet. This Necron Lord will buff the ship with the highest remaining wounds. Alongside, be guarded by your two standard ships.
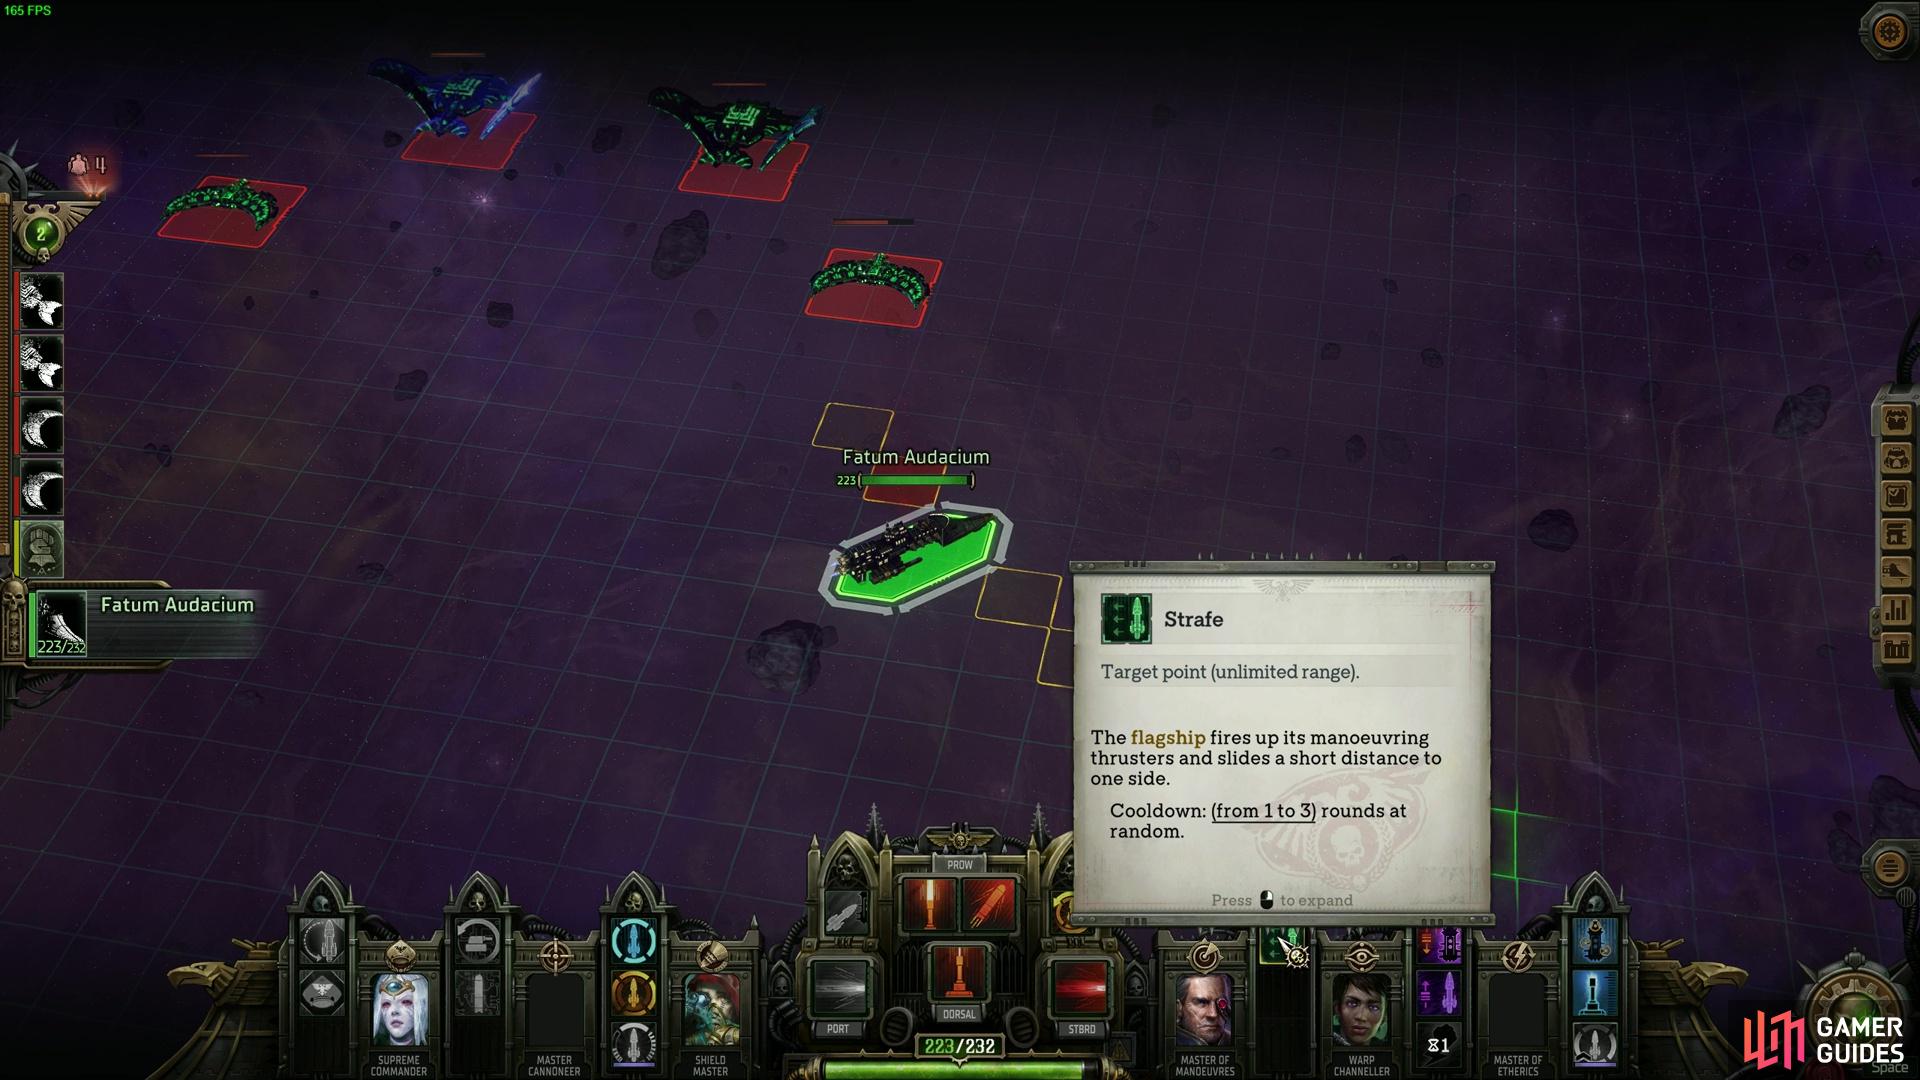
Get as close to the ships as you can, and use your special warp ship damaging powers to deal as much burst damage as possible.
This is perhaps the most important mechanic to be mindful of during this ship battle to get to Epitaph.
The best course of action here is to dump as many warp damage spells onto the main vessels as possible and nuke them down. The longer they stay alive, the more that Necron Lord buff will ruin you. Plus, these ships’ double attacks and crits can hit in the 90s, so you really don’t want those firing on your shield and then your hull. Don’t expect your Escort Ship if you’ve been doing Colony projects like ![]() Filth of the Expanse or
Filth of the Expanse or ![]() Shield of the Emperor (Project) to survive. Chances are it will get beamed by two of the ships, including one of the Lordships, and get crit and deleted in turn 1. But if it pumps out damage, even a slight amount is a bonus.
Shield of the Emperor (Project) to survive. Chances are it will get beamed by two of the ships, including one of the Lordships, and get crit and deleted in turn 1. But if it pumps out damage, even a slight amount is a bonus.
Oh, and Necron ships also reanimate and have Living Metal healing talents too. There’s no shame in lowering ship battle difficulty as it is very tedious.
Nomos Choice - Rogue Trader
With the ship battle done, you should end up getting a choice about what to do with Nomos too. Nomos will essentially follow you into the Epitaph and assist you with the main storyline. The choice is which body you want to put it into. If you allowed the Tech Priest that arrived on your ship and wanted to learn about Nomos in Chapter 4, that would be an option. You should also have a Chaos Demon engine to put the body into.
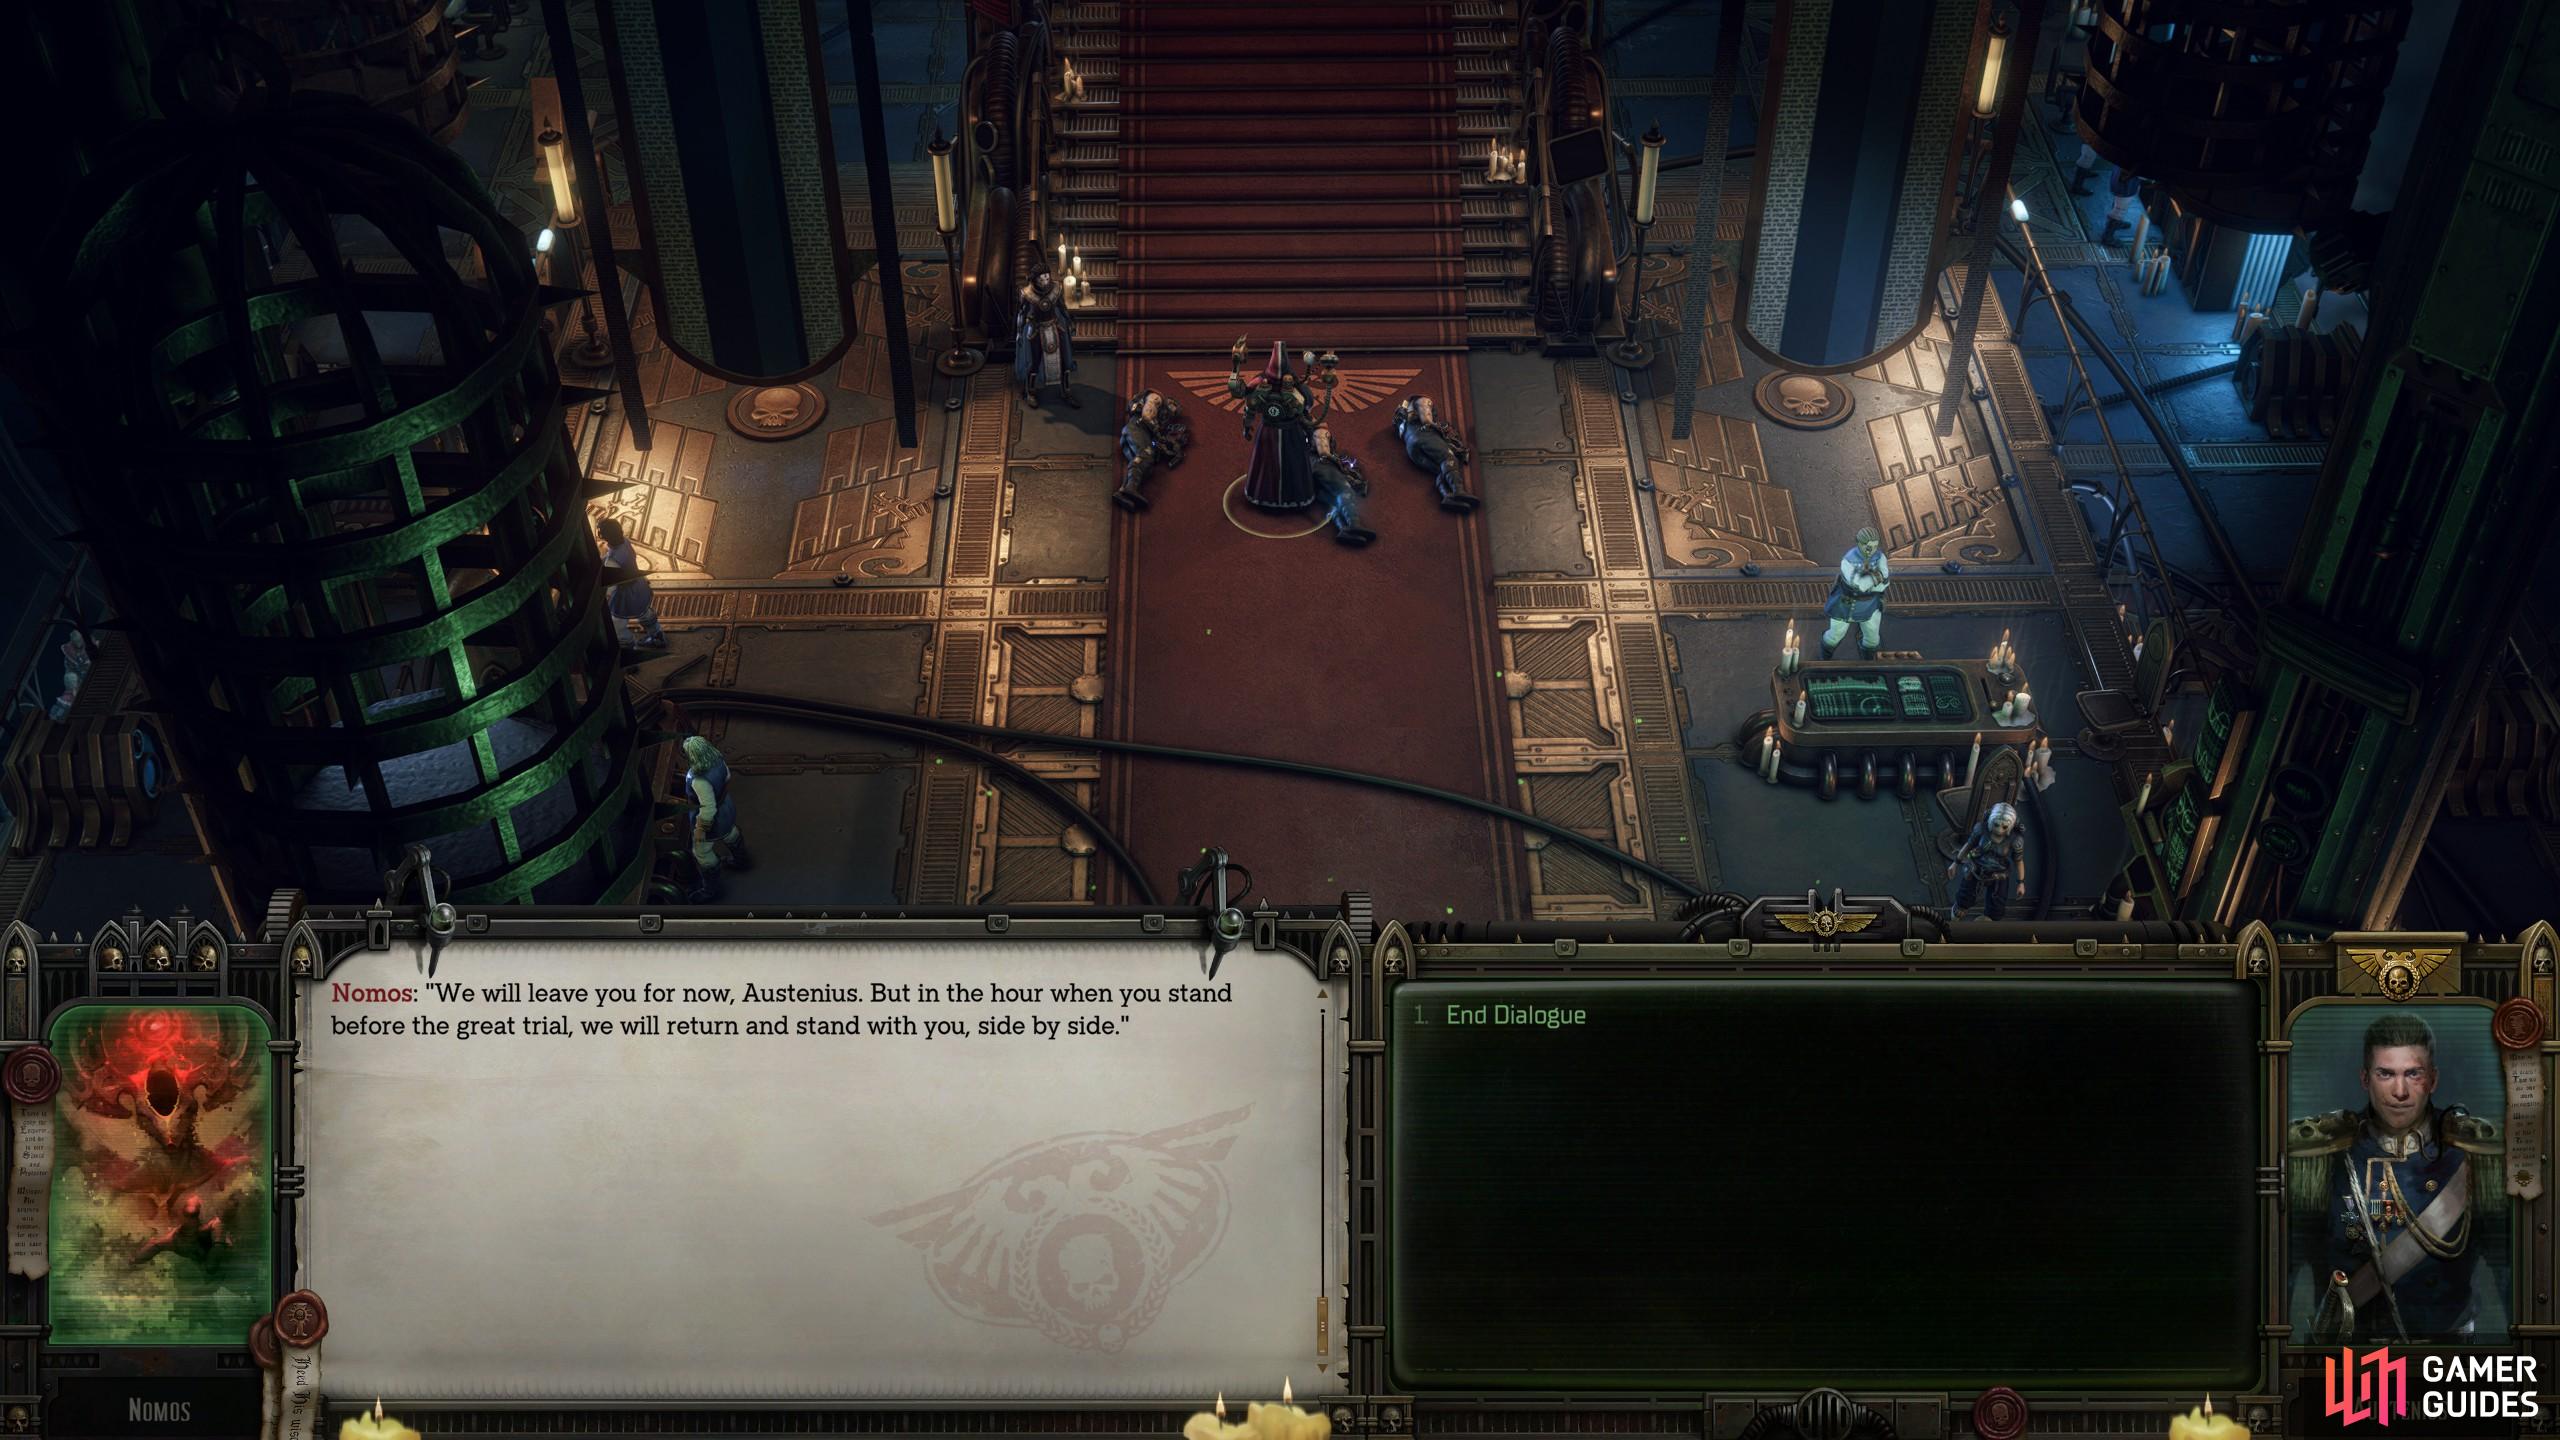
It doesn’t matter which version of Nomos you pick during this choice dialogue check as you prepare to disembark on Epitaph.
These options will largely depend on your playthrough, though, so keep that in mind. In terms of the difference, it is mostly a dialogue change and a visual difference when you reach the final boss of the game. You’ll still get the same buff from Nomos. However, the tool-tip is unintelligible, so we can’t really tell you what it does :).
Boss 1 - Elegy of Sorrow
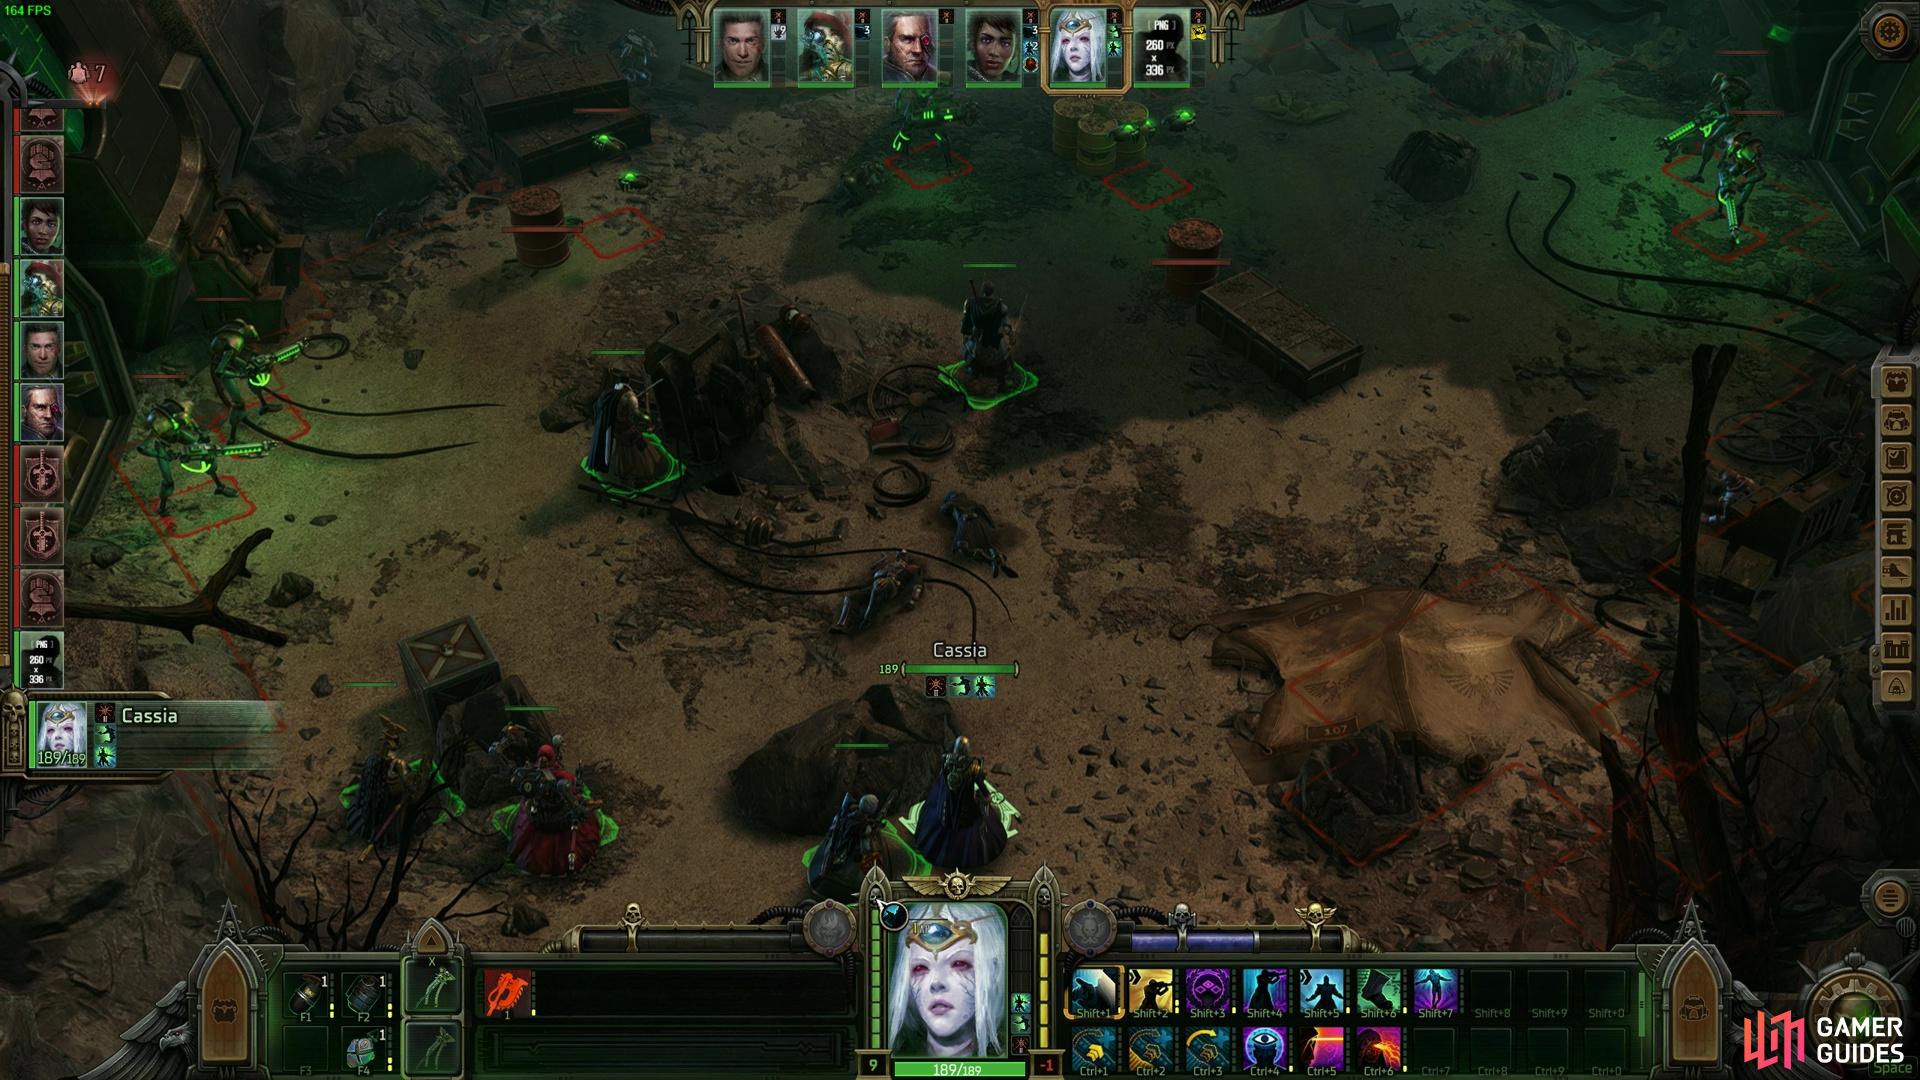
Once you arrive on the planet, you’re straight into a boss battle. You’ll land on the planetoid with a strange sense the Necrons are under the control of something else. When you do some exploring, you’ll find one big boy of a Heavy Destroyer, along with some Deathmark snipers, some really low HP Warriors and some Immortals around it.
Place your core damage dealers on this ramp, buff up your defensive, and pick off key targets while hitting the boss when possible. Have your Vanguard cover the Blighted Necron Warriors, too.

Avoid putting melee in the boss’ immediate vicinity unless they are an Assassin with Elusive Shadow.
The main tactics you need to know are as follows:
- The Deathmarks will melt you, as expected.
- The boss also has a passive where if any enemy is in a 3-tile radius around it and the boss targets it, then it is a guaranteed crit strike.
The best way to get melee into the boss is if they are an Assassin. Assassins can cast Elusive Threat and become the lowest priority target at the end of their damage combo. The boss will then have no choice but to burst fire its big cannons at your allies either on the platform above in cover, or further down the main level where you came from.
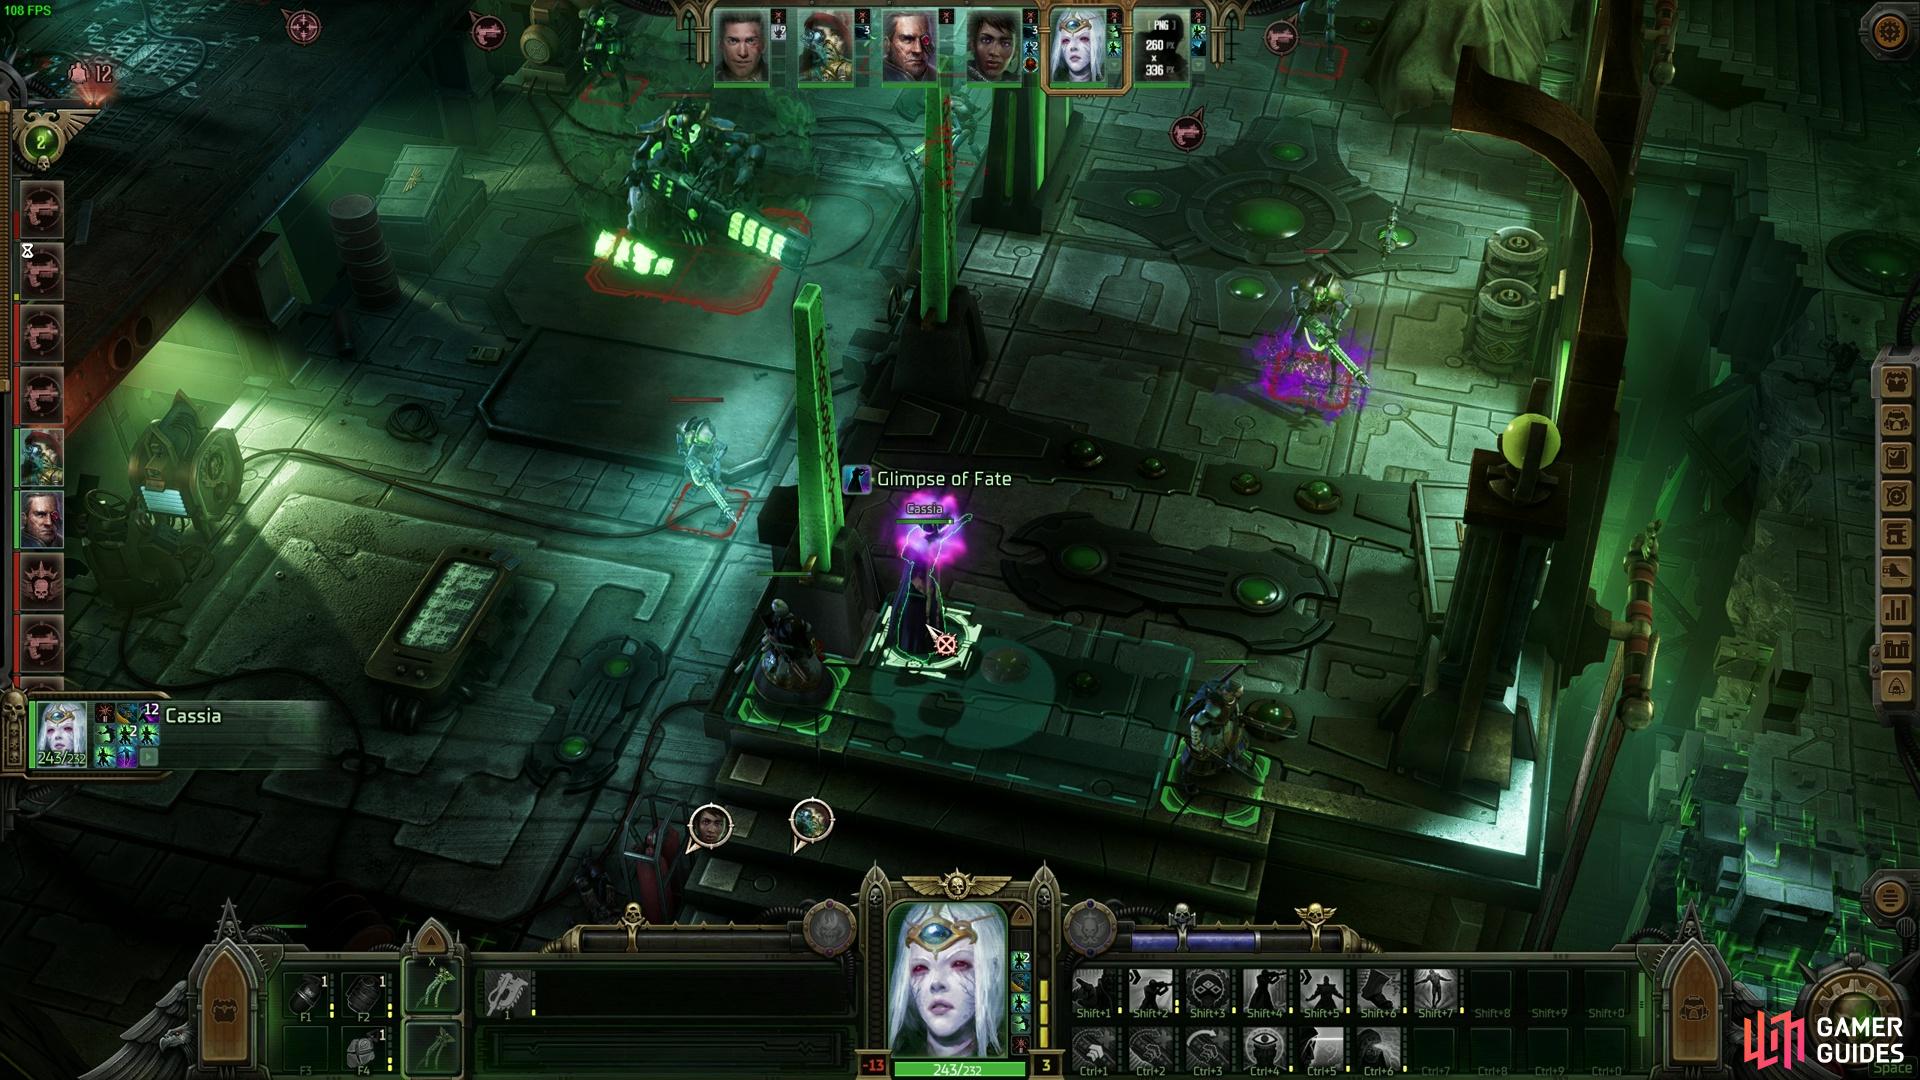
Be warned the Burst Fire on its weapon is incredibly strong, so make sure you have as much dodge and cover efficiency as possible. Once again, spells like Forewarning, Foreboding, ![]() Entrench and
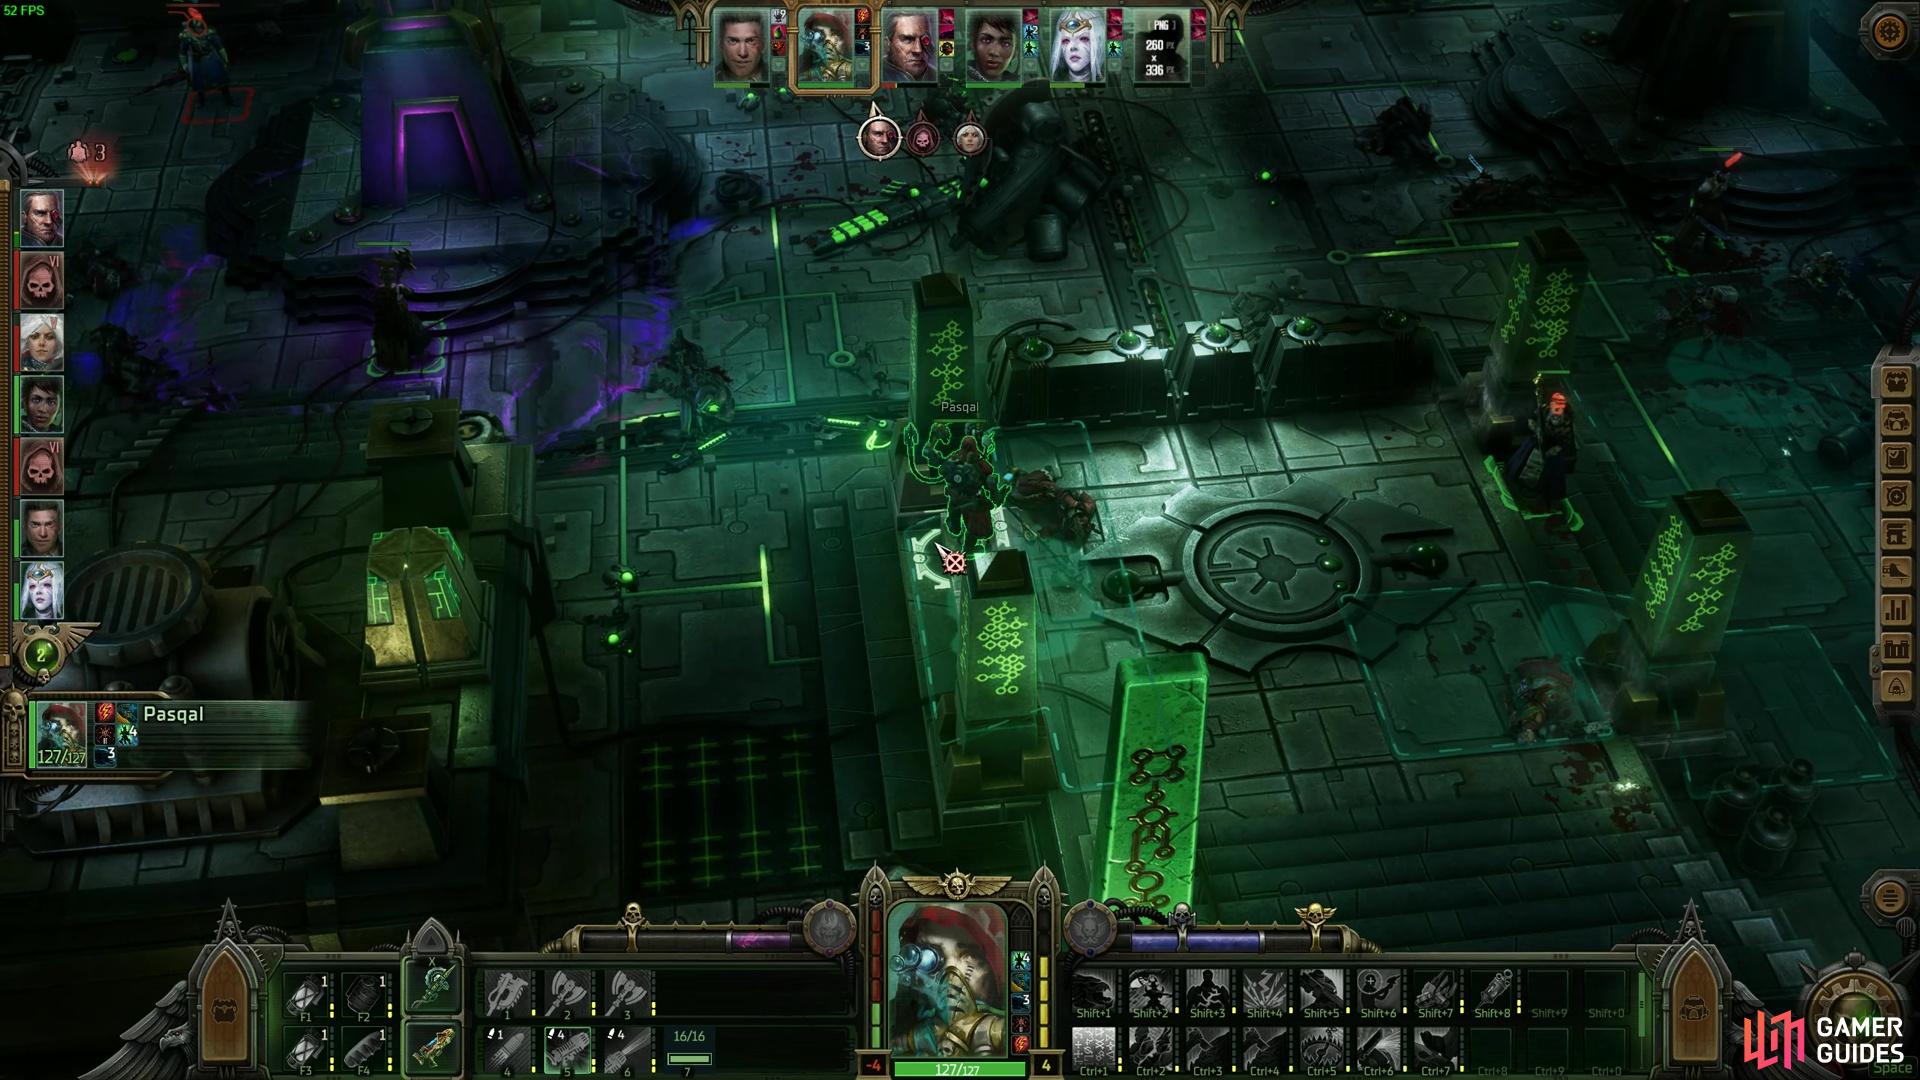
Entrench and ![]() Glimpse of Fate are great tools to be the bait against this boss and dodge most of the creature’s burst attacks. Pascal should be in your party for this too, since his
Glimpse of Fate are great tools to be the bait against this boss and dodge most of the creature’s burst attacks. Pascal should be in your party for this too, since his ![]() Machine Spirit Communion will worsen the recoil on the boss’ attacks, making it even harder to land the consecutive heavy-hitting blasts.
Machine Spirit Communion will worsen the recoil on the boss’ attacks, making it even harder to land the consecutive heavy-hitting blasts. ![]() Pasqal’s
Pasqal’s ![]() Machine Spirit Banishment is also a good skill here.
Machine Spirit Banishment is also a good skill here.
If you have Vanguard in your party, have them follow the path on the right and taunt the Necron warriors. Vanguards can easily taunt and tank them with no issues if you keep Rockcrete up, ![]() Endure, and then parry their attack to send them into Reanimation Protocols easily. Chances are the Deathmarks will target your tank, too, or any Immortal who happens to escape the zone. This is the exact target you want that enemy to attack if they do ever get to fire, so your sniper or other mobile damage threat can catch the Deathmarks and kill them.
Endure, and then parry their attack to send them into Reanimation Protocols easily. Chances are the Deathmarks will target your tank, too, or any Immortal who happens to escape the zone. This is the exact target you want that enemy to attack if they do ever get to fire, so your sniper or other mobile damage threat can catch the Deathmarks and kill them.
When you defeat the boss, you will now get the chance to loot the area. You’ll also find some loot that will give a bit more back story to Theodora’s activities. You’ll also learn more about Calcazar’s Inquisitors, as you’ll find a half-dead human a little further down the path that will tell you more about Theodora. This is all optional, FYI, but it is nice to know.
Boss 2 - Cryptogeometric Sentinel
Now you’re done with the first guard, you need to move your way further into the map. In the distance, you should start seeing and hearing the sound of Gauss blasters kicking off, followed by a big dome protecting Inquisitorial troops.

(1 of 3) Get control of the balcony, take cover and buff your defensiveness, and no Necron will be able to fight you effectively.
Before you go any further, be aware that once you step in range of the arena, you’ll enter combat. The main thing you need to know about the battle is that there are two Deathmark Snipers on the left and right side of the map, standard Necron troops in the middle of the map, alongside the boss. We strongly advise starting left or right and dealing with the Necron Deathmarks first, as it will serve you with cover on the balcony they are on, take out a high-damage flanking threat, and keep you out of range of the other Deathmark. You’ll also easily control the Necrons on the ground as they either have to walk a long way around or go towards the single ladder leading up to the platform.
The other added benefit is that if you have a Sniper character, you will be able to use these platforms to snipe at the boss. Ramp up those chances to hit, such as those Penetrating Shots on someone like Yrilet, or go for an Assassin with a sniper and use ![]() Killing Edge with
Killing Edge with ![]() Aim for the Opening, and you’ll likely nuke the boss. Since you’re likely critting, feel free to put the Inevitable Demise gloves on that sniper, and if you’re like us, hit the boss for 1800 damage and actually one-shot it. Your Burst Fire Character should also be able to hit from here, depending on how fat the boss has moved, so they won’t be entirely outclassed here because of the battlefield size and encounter start boundaries.
Aim for the Opening, and you’ll likely nuke the boss. Since you’re likely critting, feel free to put the Inevitable Demise gloves on that sniper, and if you’re like us, hit the boss for 1800 damage and actually one-shot it. Your Burst Fire Character should also be able to hit from here, depending on how fat the boss has moved, so they won’t be entirely outclassed here because of the battlefield size and encounter start boundaries.
If you’re unable to do that, remember that the boss has a special talent that will ramp its damage per turn up as long as there are more than 4 other Necrons alive. Necrons will port in every other turn, so you need to be mindful of that. Manage the adds and chip away at the boss the best you can, or burst the boss down and have your least important DPS character deal with the Necron Warriors.
Boss Fight 3 - The Copies
With the boss dead, you can now go through the Inquisitor dome and check on the first boss on the next map. The next map will have three copies of you, one Dogmatic, one Iconoclastic, and another Heretical. Two of the copies are supported by a prefab version of ![]() Argenta and
Argenta and ![]() Abelard too.
Abelard too.
The starting cover situation is not ideal. Buff your defensive properly, and give your VIP troops the full cover bonuses when possible. You may need to sacrifice one or two in worse spots until you can advance further.
Be warned; there’s a lot of accurate Burst Fire coming your way, so feel free to nuke them down before you get caught with little cover and mowed down.
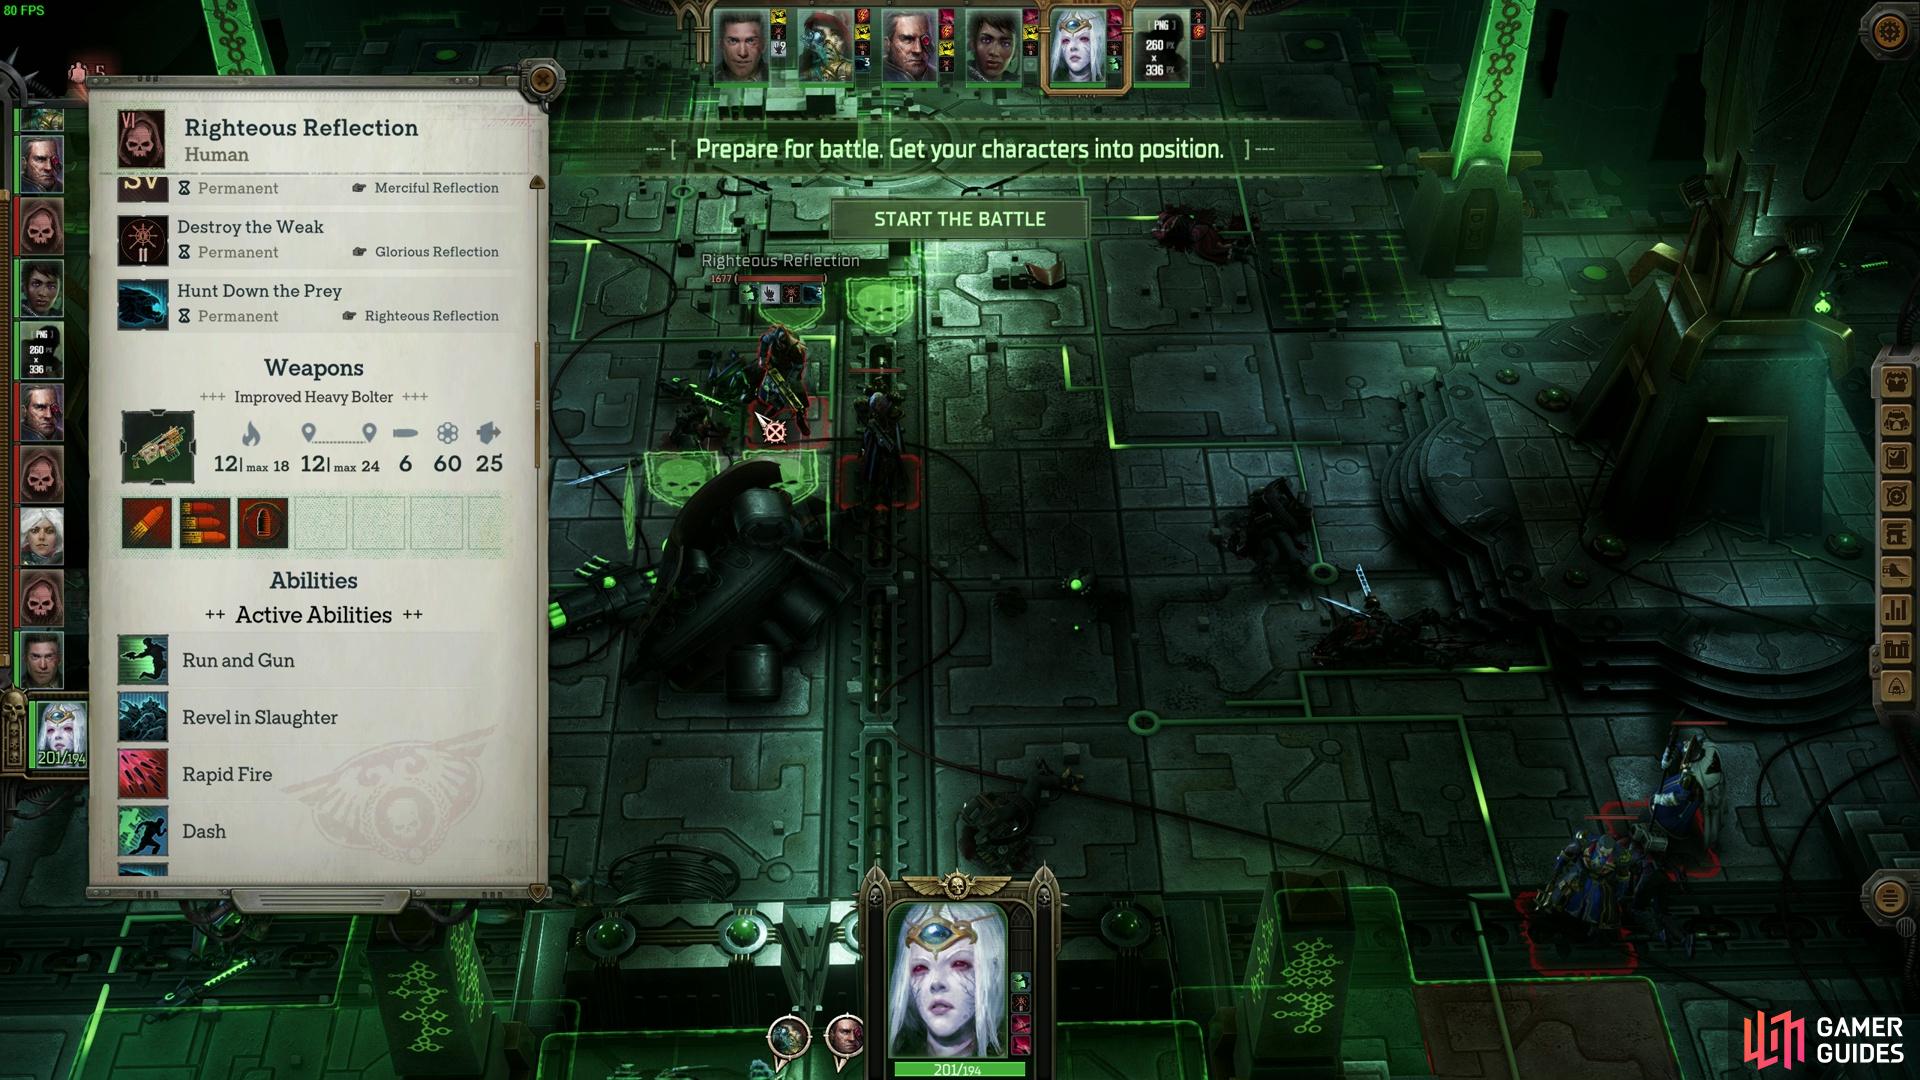
For the most part, the most dangerous enemies are the clones with the Anti-vehicle Revolver and the ![]() Improved Heavy Bolter, aka the solo copy and the Argenta paired copy. These are both capable of unleashing hell with a Burst Fire round, followed by Argenta’s
Improved Heavy Bolter, aka the solo copy and the Argenta paired copy. These are both capable of unleashing hell with a Burst Fire round, followed by Argenta’s ![]() Run and Gun for another round of fun. If they can get their turns off, then expect someone to go down since your troops are clumped up in little cover in the first round or 2. Once again, make sure to nuke their
Run and Gun for another round of fun. If they can get their turns off, then expect someone to go down since your troops are clumped up in little cover in the first round or 2. Once again, make sure to nuke their ![]() Ballistic Skill and Recoil using Machine Spirit Communion, alongside increasing your dodge chance and cover efficiency with the tips we’ve already stated in this Rogue Trader Chapter 5 Walkthrough.
Ballistic Skill and Recoil using Machine Spirit Communion, alongside increasing your dodge chance and cover efficiency with the tips we’ve already stated in this Rogue Trader Chapter 5 Walkthrough.
Deal with them as soon as possible with your damage dealers. You’ll also notice there are two more to the right, the Psyker version of you and Abelard. You’re likely best sending a Vanguard to taunt these two, or one other DPS character and slicing them up. But, be warned that these two have high initiative, so if you ignore them, then they’ll likely push into your starting spot and reap havoc. We strongly advise getting a Vanguard there as soon as you can, granting them an extra turn, and taunting them on turn 1 to control how much chaos they cause.
Once the clones are defeated, feel free to continue around the map. You’ll find some access points that bring you to a new area, guarded by turrets. You’ll also need to pass a Demolition Check to get through the barriers too. You should find some Melta charges by looting cargo around the map. You’ll also find the best Plasma Rifle in the game, the ![]() Incandescent Storm, perfect for any Plasma Rifle build, such as Pasqal’s
Incandescent Storm, perfect for any Plasma Rifle build, such as Pasqal’s ![]() Fortress World synergy. You can also find the Rosary of Defense among the Melta
Fortress World synergy. You can also find the Rosary of Defense among the Melta ![]() Charges for a final and decent Vanguard accessory. Once you’re through the area, you will be led to the final map of the game, with the final two bosses.
Charges for a final and decent Vanguard accessory. Once you’re through the area, you will be led to the final map of the game, with the final two bosses.
Calcazhar Boss Battle
Before walking up to Calcazhar and speaking to this righteous nause, we highly suggest setting up your party in battle-ready positions. If you’re a Heretic player, then you’ll have a few more enemies in the form of Heinrix, Argenta and Ulfar, on top of the Ad-Mech plasma fodder and the Inquisitor Diviner and Biomancer Psyker. There’s also an Arch-Militant Inquisitor Veteran, who has a very strong Inferno pistol and Plasma Rifle. You’ll find these three Inquisitors around Calcazhar to his left, his right, and immediately next to him. Ulfar, Heinrix and Argenta are also in his immediate vicinity.

Melee parties should look to start their party near Calcazhar at the top of this image.
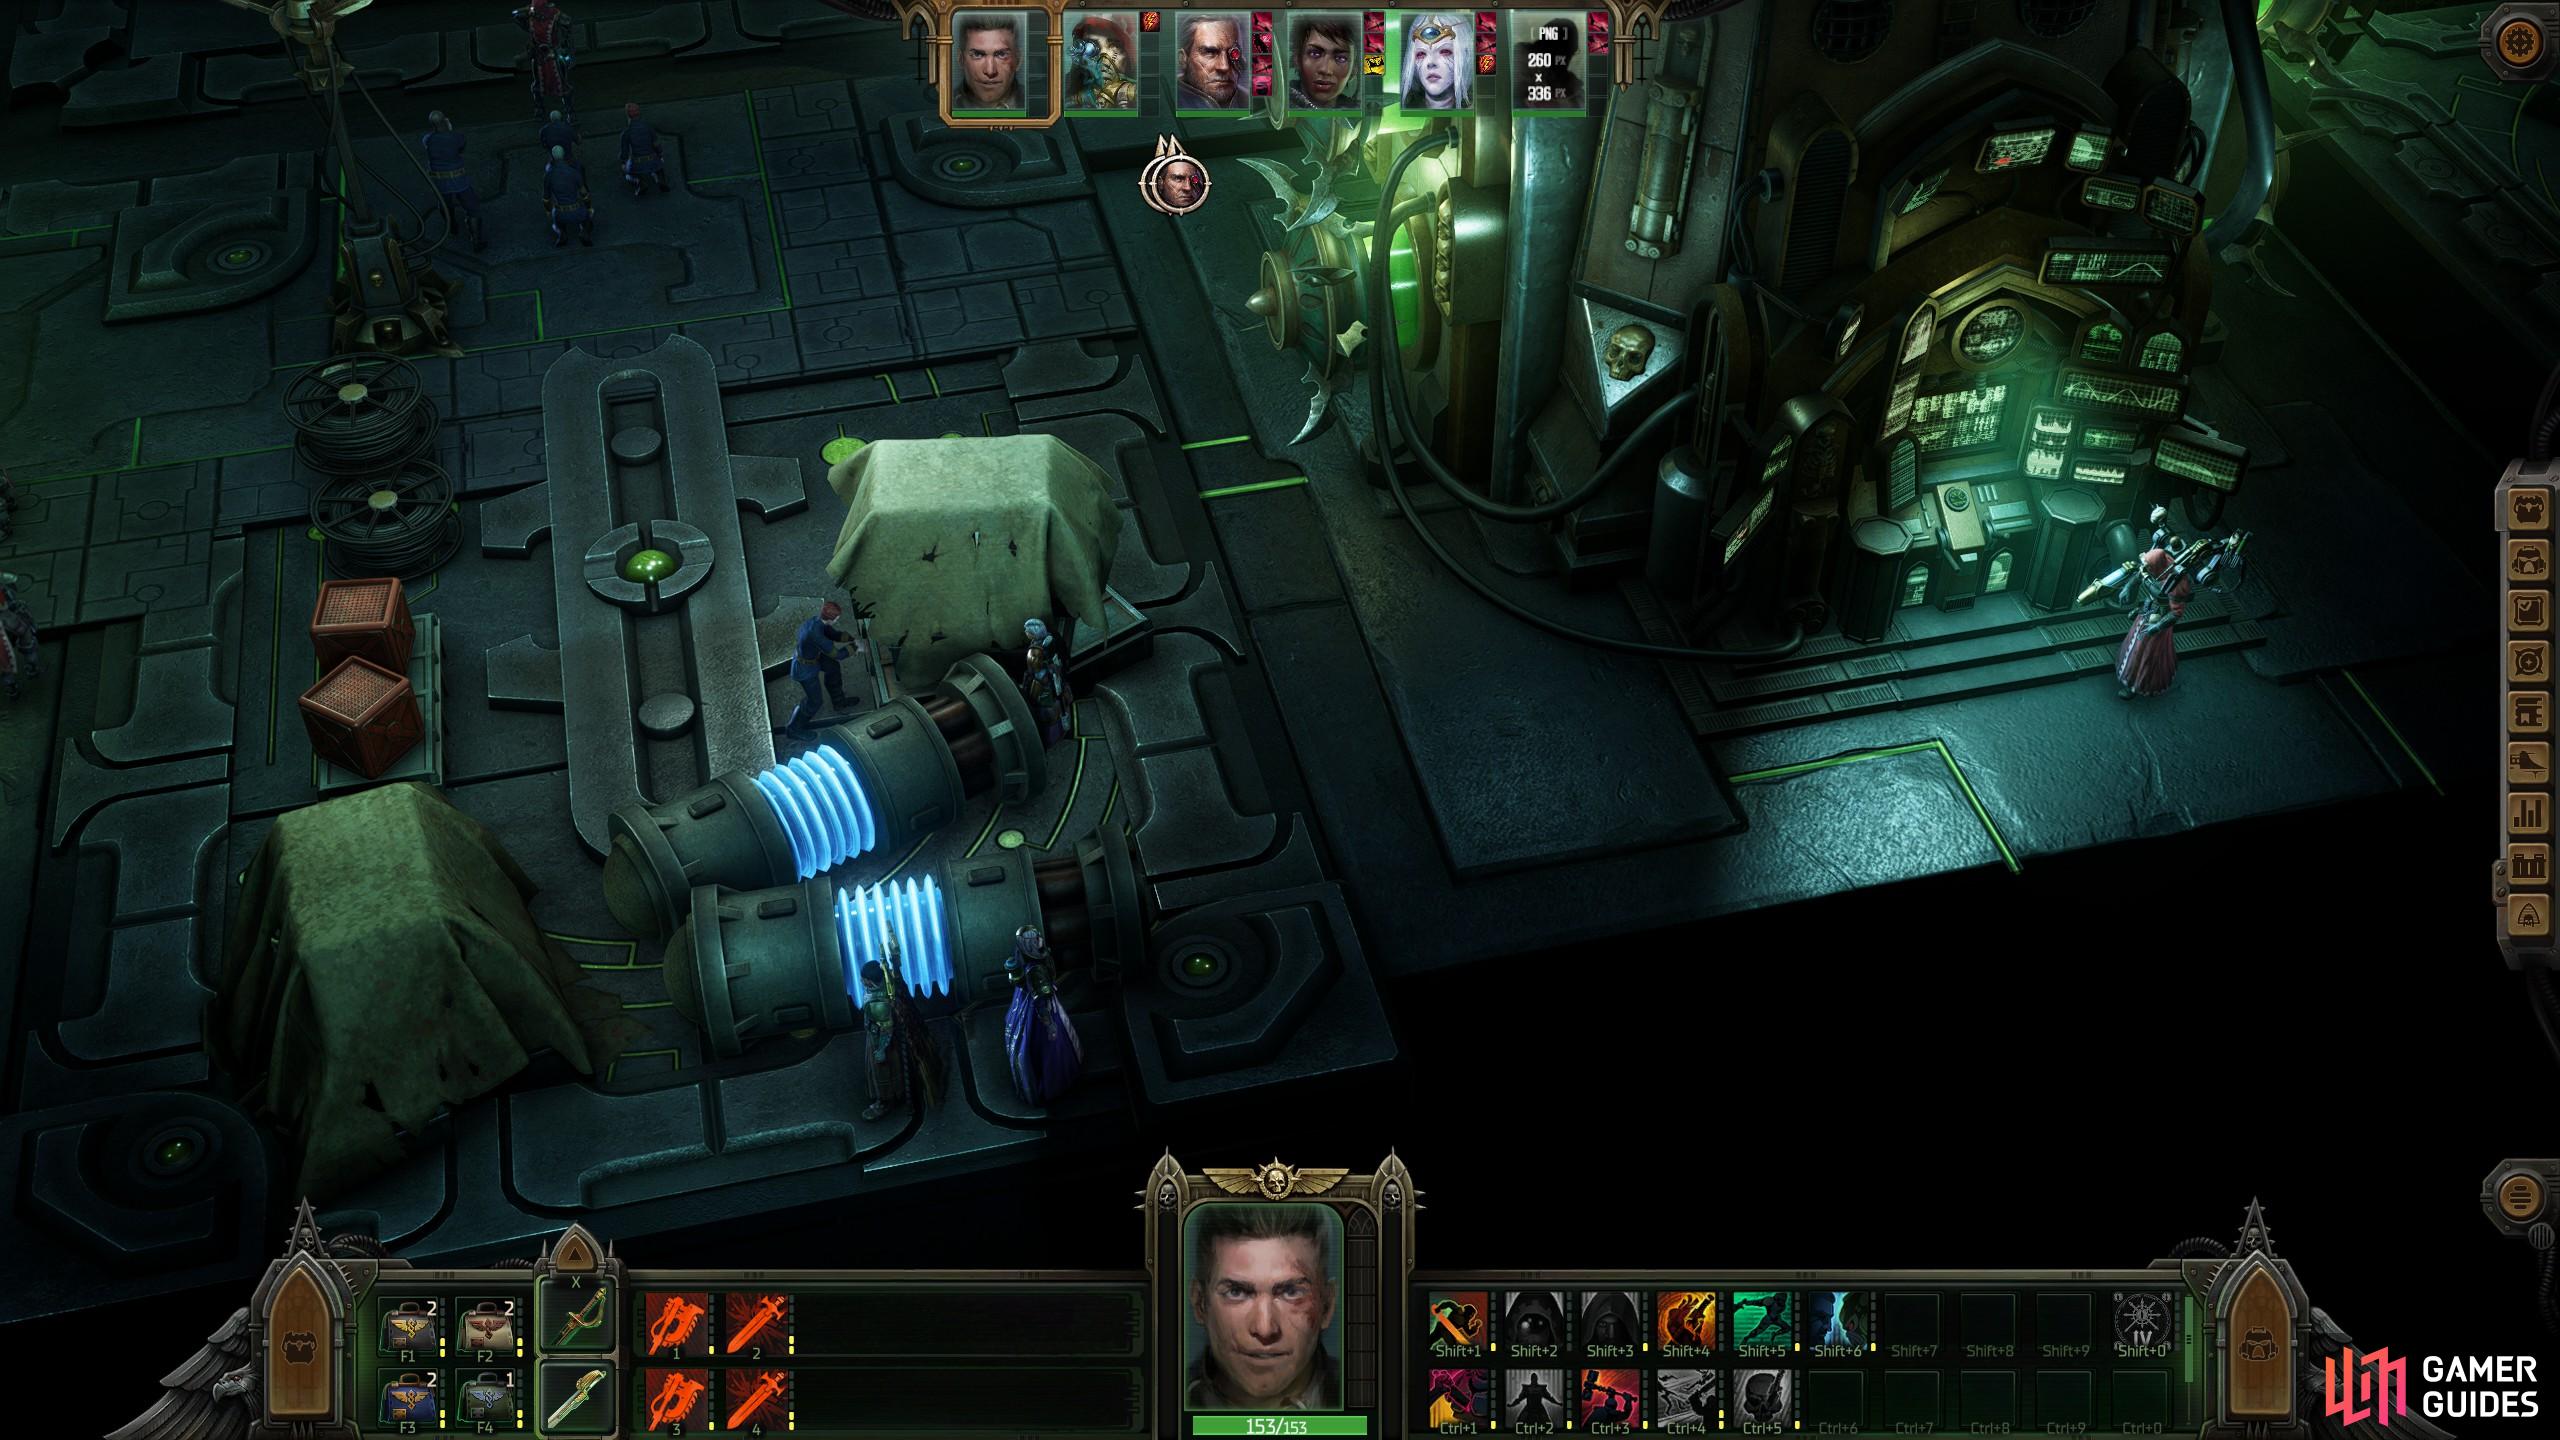
Ranged heavy parties will find much more cover around the plasma batteries on the far left side of the map, allowing you to control range advantage and funnel spots for your units.
With those positions in mind, we strongly suggest you have your melee near Calcazhar at the start of the fight, with your squishier ranged characters on the far left side of Calcazhar (if your camera is facing the side of the Tesseract Vault that Calcazhar is on.) This area grants you a lot of cover, and you’re guaranteed to be out of line of sight against the other Inquisitors and the Techomats who flank the areas. There are one or two Technomats in the immediate area, but they’ll die before round 1 combat is done from your weaker ranged allies as they have 100~ wounds, depending on difficulty. It also means your sniper should be in the range of the Inquisitor Veteran to assassinate that fool before he can get in range and start area attacking, casting ![]() Wildfire and nuking your team down. We also advise taking care of the Diviner Inquisitor, who should be on the same side we recommend starting your ranged on.
Wildfire and nuking your team down. We also advise taking care of the Diviner Inquisitor, who should be on the same side we recommend starting your ranged on.
After that, take combat as it comes and goes, hitting wherever you can, granting extra turns to your main damage dealers, and letting your Assassin use ![]() Elusive Shadow to beat up key threats in
Elusive Shadow to beat up key threats in ![]() Melee, while the Vanguard taunts Calcazhar and the Biomancer to minimize how annoying those two can be. They are largely bullet sponges, so you don’t really need to worry about their damage all too much. Once you have them locked down, feel free to throw a Grand Strategist Front line zone down. They’ll likely stay in the area unless Ulfar decides it is
Melee, while the Vanguard taunts Calcazhar and the Biomancer to minimize how annoying those two can be. They are largely bullet sponges, so you don’t really need to worry about their damage all too much. Once you have them locked down, feel free to throw a Grand Strategist Front line zone down. They’ll likely stay in the area unless Ulfar decides it is ![]() Kick time on your tank.
Kick time on your tank.
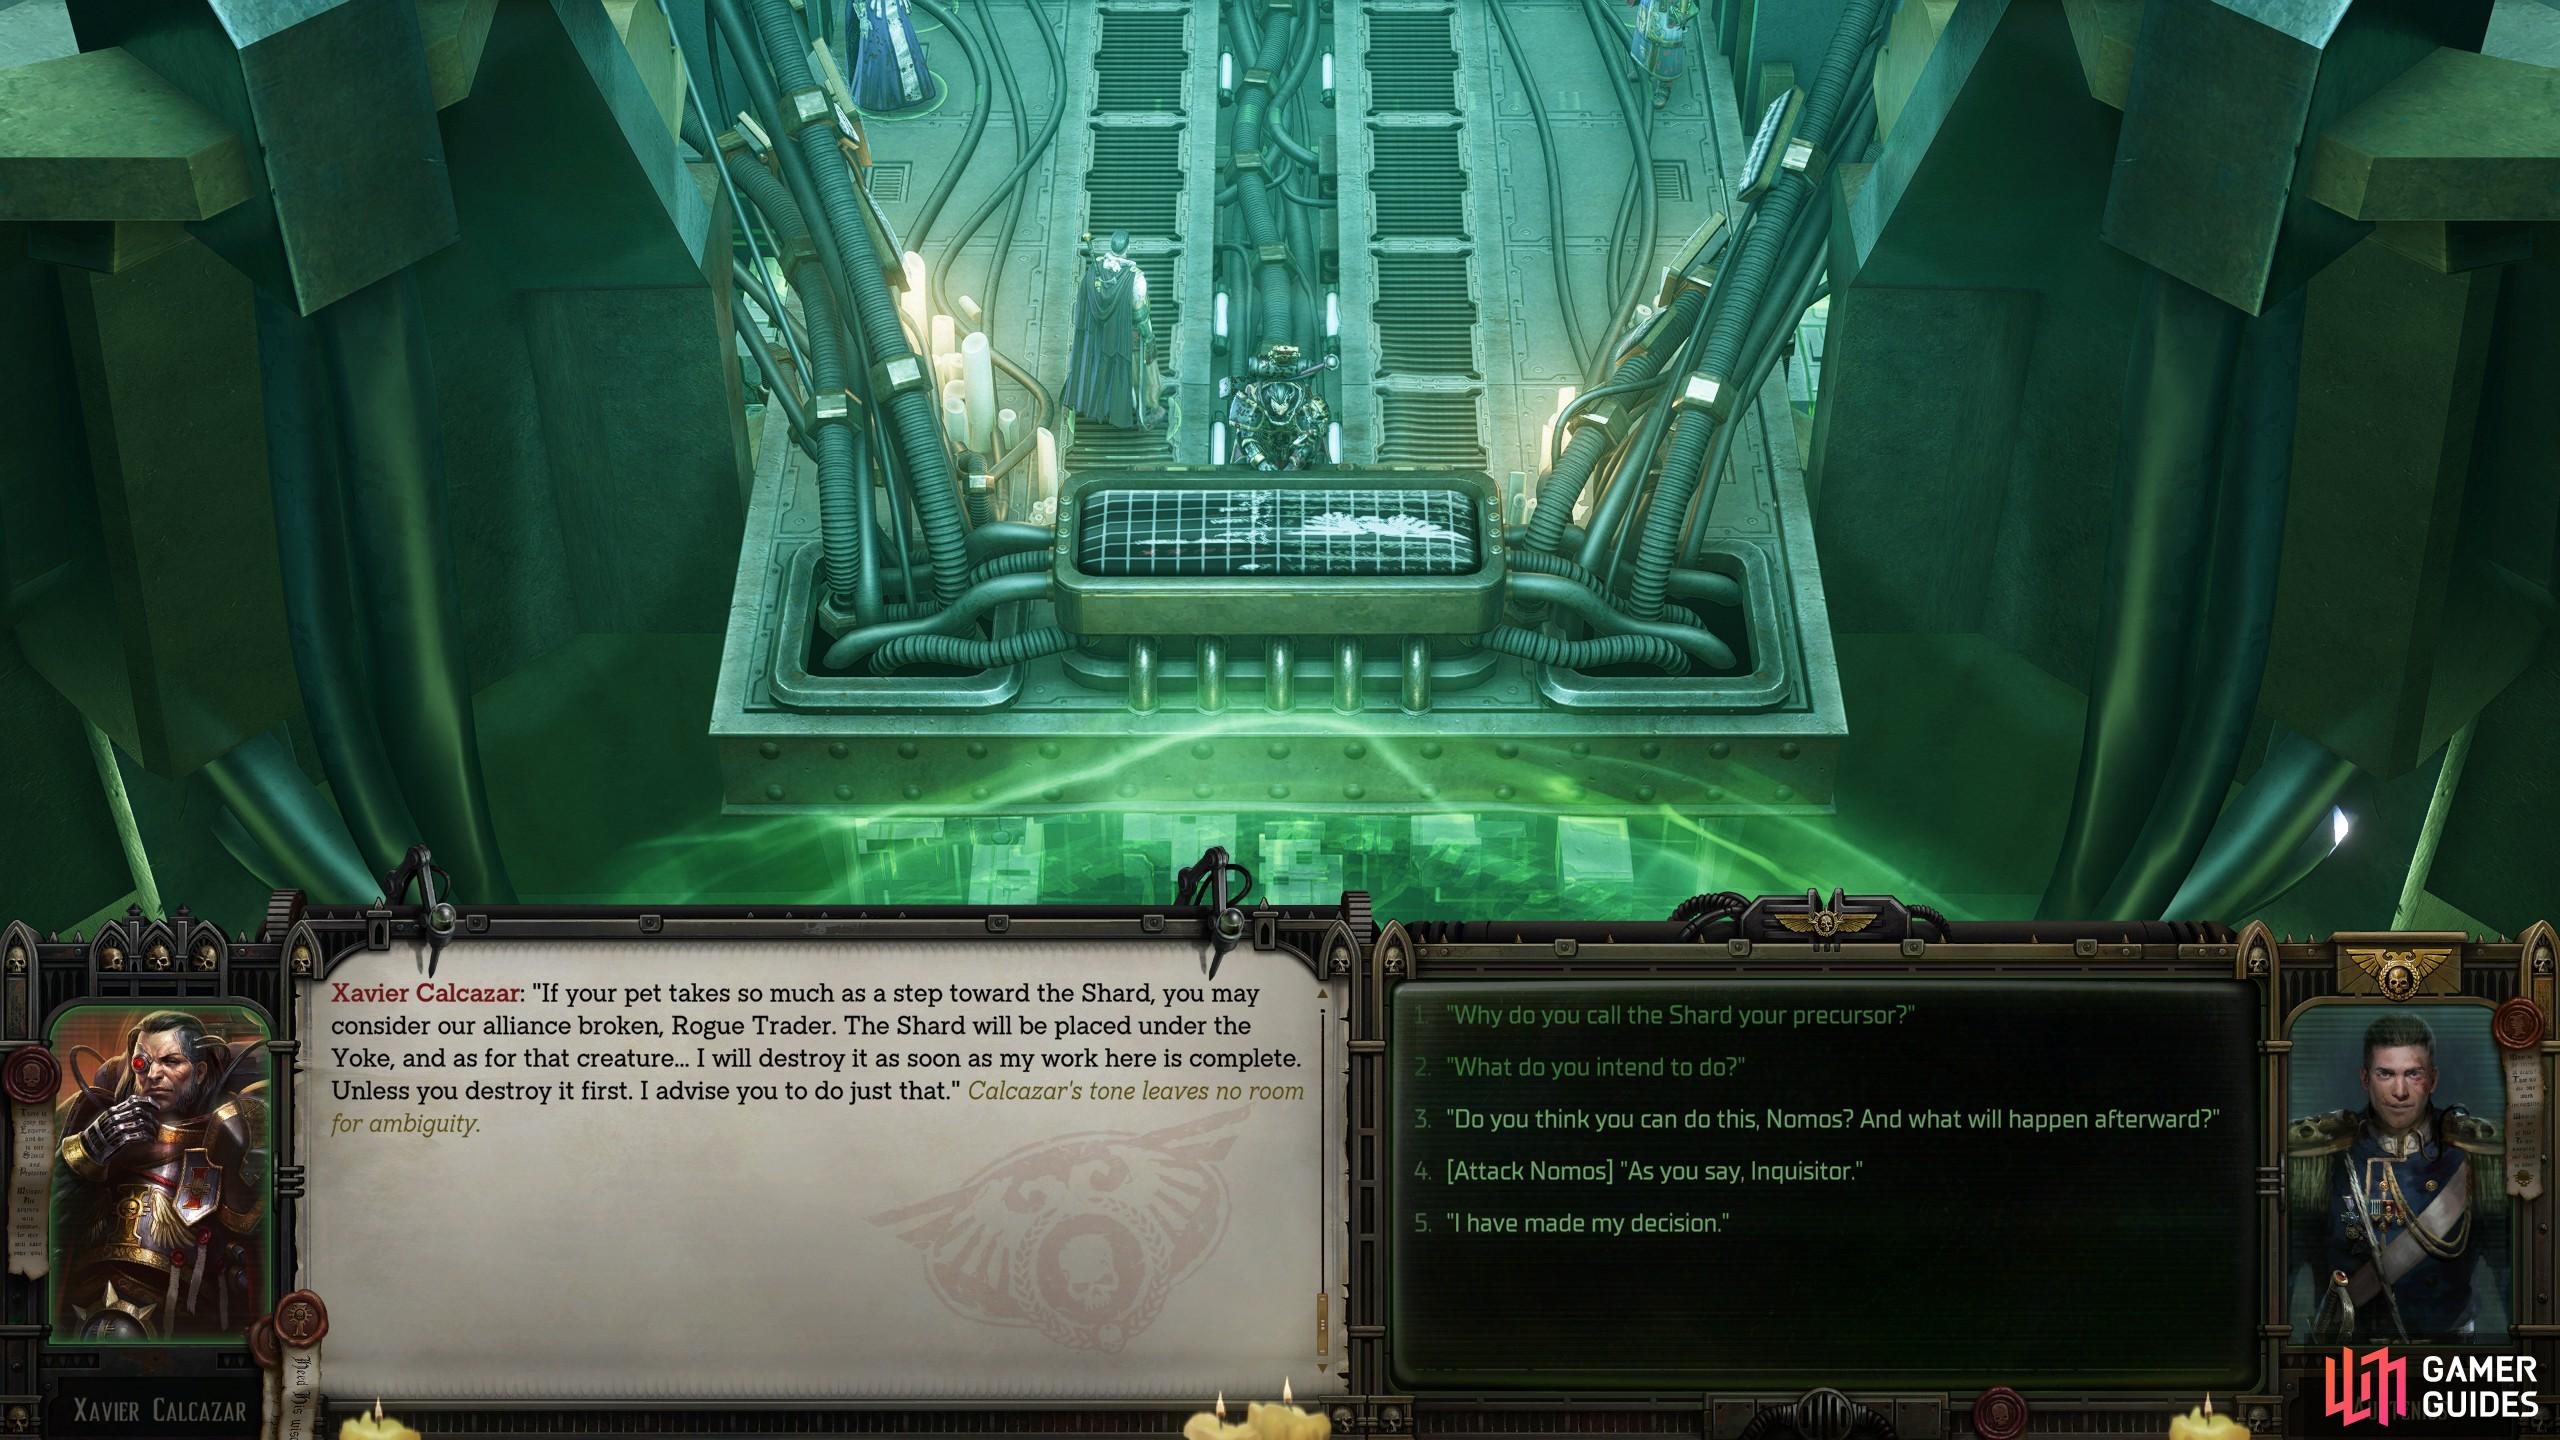
With the battle plan understood, you now need to speak to Calcazhar and engage the fight. During the conversation, you’ll find the levels of treachery Calazhar employed, which involves Von Valancius, the Space Wolves, deceiving Heinrix, the Drukhari and everything in between. Yeah, he’s a baddie. Ulfar even hates him but is willing to side with him for some reason - yeah, I’m salty about that. No matter how you try to change the outcome, you’re always going to fight whoever is there, so that should about cover the differences between Heretical and every other playthrough.
The Final Boss
Behold the final boss. As soon as every enemy is defeated, Calcazhar will run off to enact the grand plan. The Tesseract Vault will open up, and there stands the C’tan Shard. There are a few main tactics you need to know about the final boss, and our recommendations to counter it.

Calcazhar makes a big mistake letting the C’tan out of the Tesseract Vault, unleashing a God among the Rogue Trader.
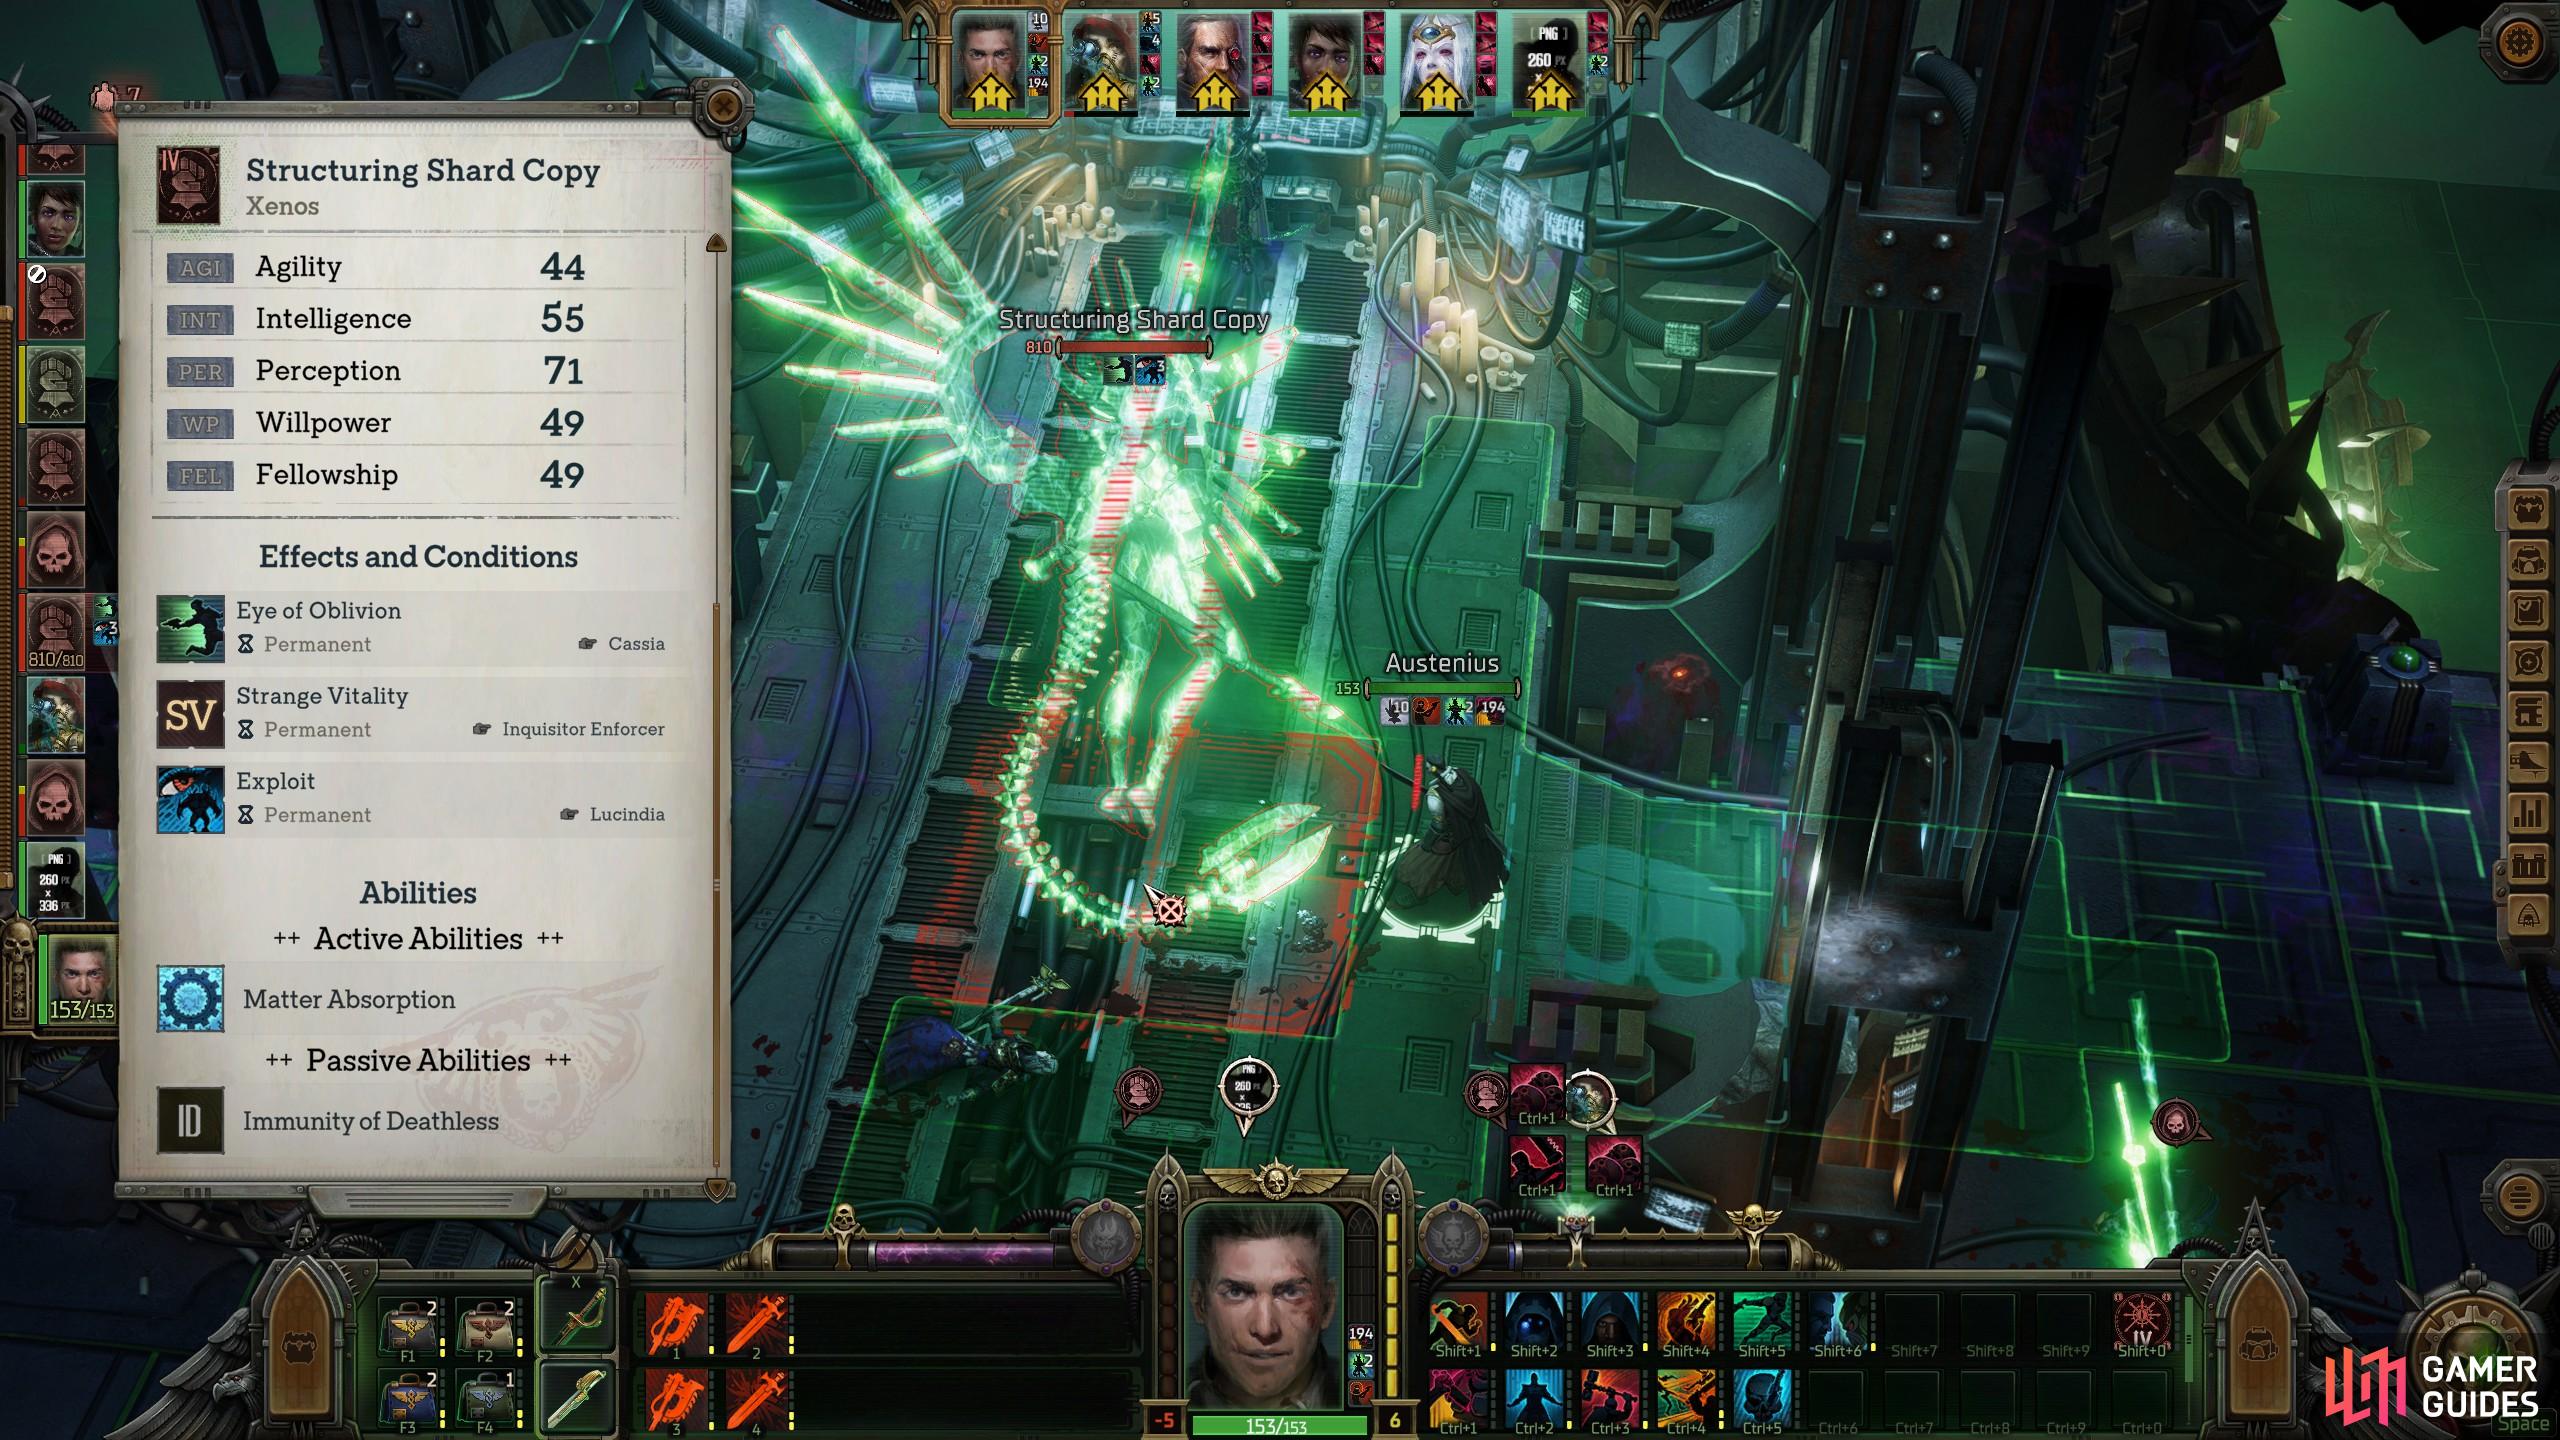
The Structuring Shard Copy needs to die. Otherwise, the boss is going to keep getting several thousands of Temp wounds back each turn.
-
Clones: The boss will summon three clones early on. The first set has about 400 wounds on Hard, and they’ll do around a 5-tile cone of damage when they get to cast.
-
The second round of Clones: The boss will spawn a new set of clones, one named the Structuring Shard Copy. This mob needs to die as soon as possible, as its only skill is Matter Absorption. It will cast this skill every turn, which can restore several thousand wounds of Temp HP to the boss. This mob needs to die at all costs. You can ignore the rest if you want to, and pick off with your weaker DPS, while your main DPS always stick on the boss.
-
Energy Bomb: When the boss gets to around 60% of its total Wounds, it will occasionally deploy an Energy bomb near to where the boss first spawns at the start of the fight. This bomb will go off the turn later, and it will kill everyone automatically. This needs to die, so whoever can hit around 400 damage a turn should kill this as soon as possible for better DPR turn efficiency. You do have a 15k Wound boss to beat after all.
-
Imprison: When the boss gets to around 20% HP, it has a final trick up its sleeve. The boss and its clones will teleport to the ally who knocked the boss that low and then trap them. A special interaction will allow you to swap which of your allies is trapped. If an ally is trapped they are stunned and take damage, while the clones can free-cast and hit them with their conal attacks.
-
The Star Cannon: The boss has a weapon with stars in its name. Its single attacks do about 90 damage, but it doesn’t have great accuracy if targeting an enemy in cover or who has high dodge. However, its burst forte when it lands will likely one shot. Make sure to reduce the Ballistic skill of the boss, or cast machine spirit communication to ruin the boss’s recoil accuracy. Machine Spirit Banishment will also help you lower the creature’s damage for this turn.
-
Teleportation: The boss will occasionally cast a spell that randomly moves your party around to different spots. Try to set up your main ranged damage around the middle when you can, and keep your Vanguard near the boss and taunt its clones. Your melee DPS will run around a lot, but it’s fine. The boss will always tend to roam back to the middle of the map through, so it’s something to keep in mind for your Grand Strategist to place the Tactical Zones around.
In our humble opinion, your main DPS should hit the boss in many ways. Any Momentum you get should be spent on an Officer to grant your Main DPS an extra turn and spend all their AP attacking the boss. If you have an Assassin or Bounty Hunter Sniper, you’ll be doing a lot of damage, especially if you have those crit gloves we recommend. Burst Fire multiple turns will also be a good shout. Melee Assassins have some issues with armor deflection this fight, but their opening main-hand attack will still do decent damage. Again, have these characters ignore the Clones and nuke the boss down. The amount of damage you can put out on the boss versus the amount of damage the clones do is dramatically different. As long as you can manage the damage the clones do and keep your party in defensive angles away from the boss burst or single attacks, you’ll likely be fine.
Ending Choices
With the C’tan defeated, you get a few final dialogue options. Essentially, you’re deciding whether or not the C’tan should die. Whether you want Nomos to take the power of the C’tan and use it for Von Valancius, or let Calcazhar do what he wanted to from the start.
You can side with Calcazhar, Nomos, or kill the C’tan to get a distinct ending, with your other choices through the game telling you its own storyline later on.
For the sake of Heretical Dogmatic, and Iconoclastic, Heretical is to let Nomos do what he wants, Dogmatic is to let Calcazhar finish what mess he started, and Iconoclastic is to kill the C’tan so there’s no more of this madness. At least, that’s our interpretation. Once you decide what to do with the Imperium-made Tesseract Vault, aka the Yolk, then you end the game. After this, you’ll get a run down of endings for each character you met in the game; both companions and side characters like the Liege, Ryzza, Calligos and Chorda dynasties etc.
Congratulations, you’ll have beaten the game and completed the Chapter 5 Walkthrough in Rogue Trader, and get a spree of cheevos for completing the game, along with the endings you selected.
Slight addendum - the three copies you face during Boss fight 3 will depend on what you are yourself. The Righteous one is always there, the other two are determined by your alignment. Besides the two mentioned above (supported by Abelard and Argenta) you can also face off against a Heretical version supported by Idira. Who has chain lightning, but is otherwise even more of a pushover than the other two.
Slight addendum - the three copies you face during Boss fight 3 will depend on what you are yourself. The Righteous one is always there, the other two are determined by your alignment. Besides the two mentioned above (supported by Abelard and Argenta) you can also face off against a Heretical version supported by Idira. Who has chain lightning, but is otherwise even more of a pushover than the other two.
Slight addendum - the three copies you face during Boss fight 3 will depend on what you are yourself. The Righteous one is always there, the other two are determined by your alignment. Besides the two mentioned above (supported by Abelard and Argenta) you can also face off against a Heretical version supported by Idira. Who has chain lightning, but is otherwise even more of a pushover than the other two.
Slight addendum - the three copies you face during Boss fight 3 will depend on what you are yourself. The Righteous one is always there, the other two are determined by your alignment. Besides the two mentioned above (supported by Abelard and Argenta) you can also face off against a Heretical version supported by Idira. Who has chain lightning, but is otherwise even more of a pushover than the other two.