
The Worm Churns is a secret heretical quest in Rogue Trader, which is only accessible to those of you who took the Blade Fragments in chapter 1, and then used them at the altar in chapter 2. If you do those things, then you can activate the secret quest by interacting with the machine near the entrance to the Anatomical Opening. Upon doing so, you’ll start letting the warp in ever so slowly, and thus start the Worm Churns quests. This is a taste of what to expect, with various crystals dotted around the place that need activating to complete this quest that spans the entire chapter. Here’s a closer look at what to expect with our Worm Churns walkthrough in Rogue Trader.
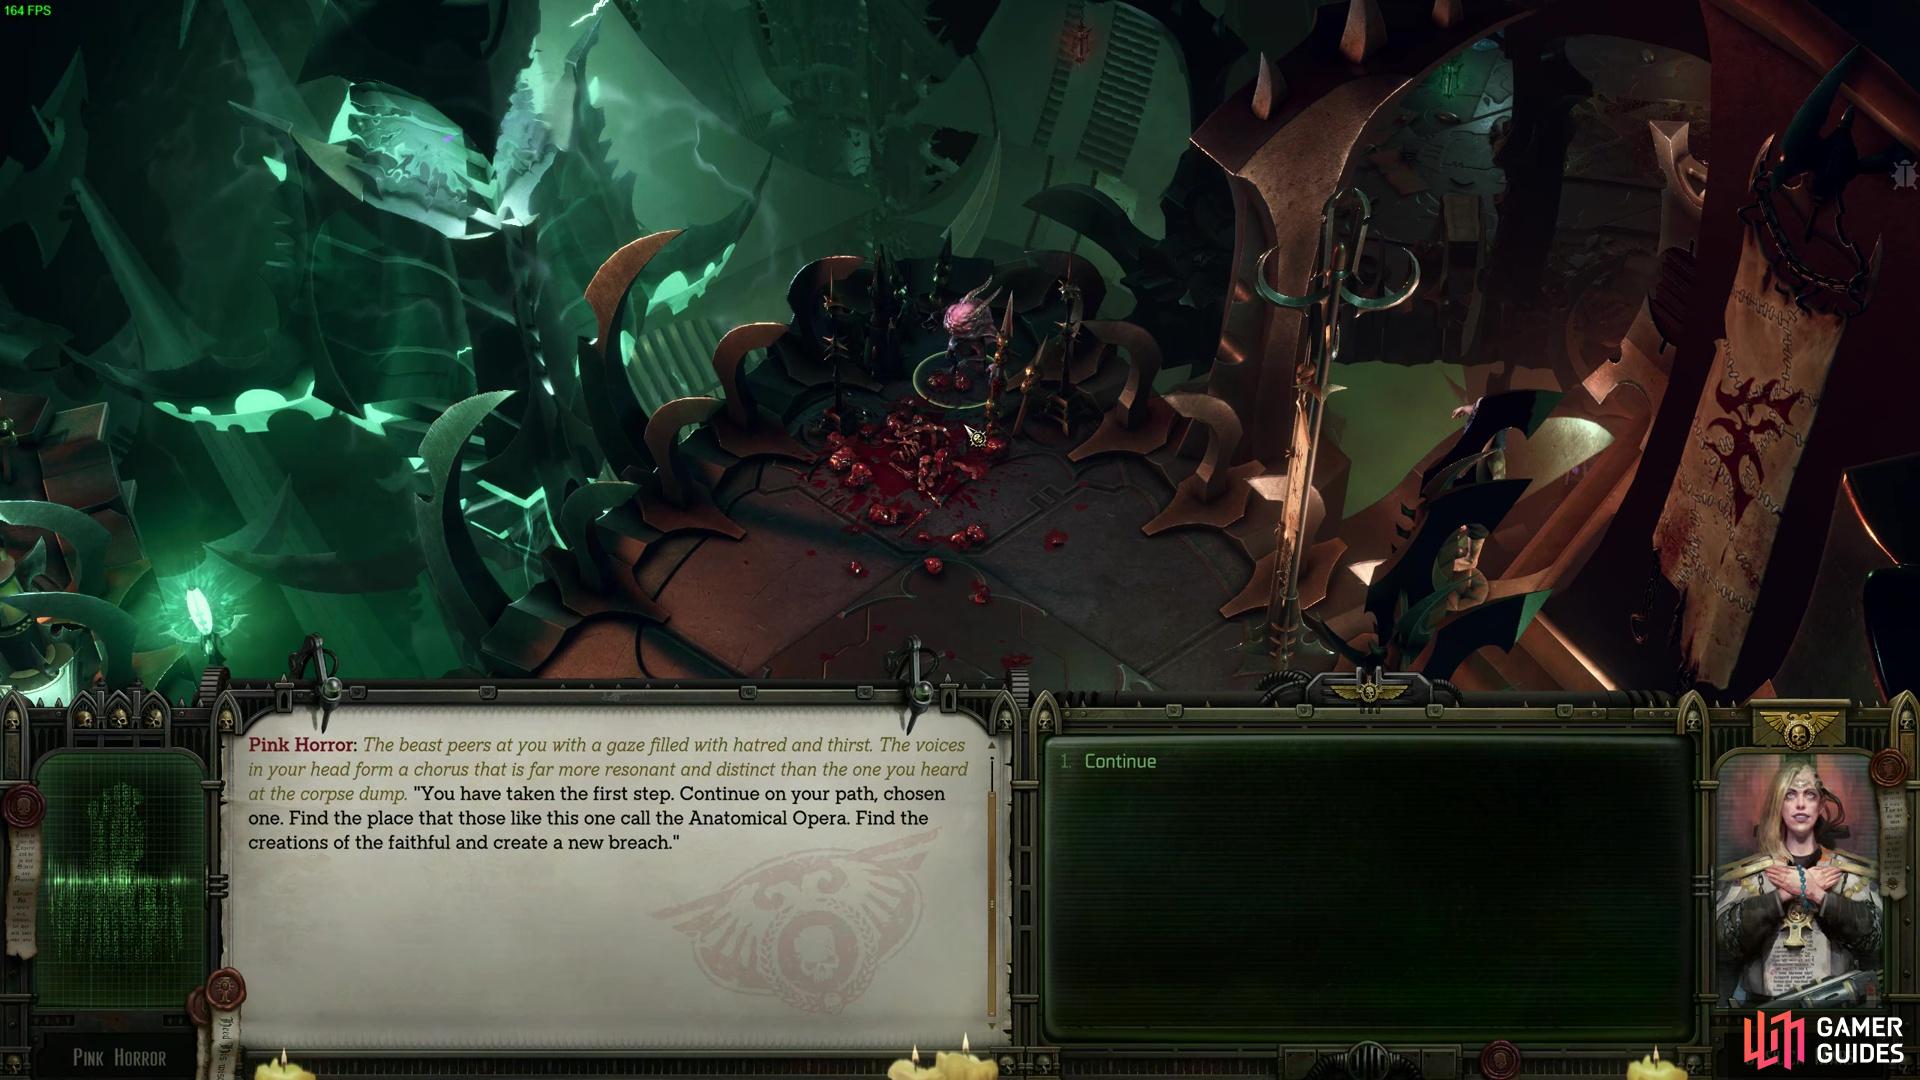
Break the Striffler near the Anatomical Opera, and you’ll summon a Pink Horror, who gives you the Worm Churns quest.
The Worm Churns Walkthrough - Rogue Trader
As mentioned, to start the quest, players need to interact with the first device just outside and to the right if you are facing away from the Anatomical Opera. Upon doing so, agree with the chaos demon on the other side that you’re willing to do its bidding. From here, you’ll need to sabotage the Anatomical Opera.
Sabotage the Anatomical Opera
Depending on when you started this quest, you can either enter the Anatomical Opera straight away, or you will need to complete the first arena. Complete the first part of the Chasm questline, and you’ll enter the arena naturally. From there, you will need to beat the arena, and then you will be told by the Stranger to go and visit the Anatomical Opera in strange Harlequin ways. If you have already done this, then you can enter the Anatomical Opera by speaking to the guard outside of the entrance.
Once you enter the Anatomical Opera, you’ll have a chat with Tervantias. Go through the dialogue options and accept your task, and then speak to ![]() Marazhai on the ledge above Tervantias. Now you need to return to the arena and complete it to gain access to the platforms where the devices in the Opera are located. Go through the arena fighter however you like, and then return to Tervantias when it’s done. Now, he will be in a state of panic, as Tervantias wasn’t expecting to win. Go through the dialogue as required and then you are free to roam the Opera at its fullest, including the once inaccessible wings and platforms.
Marazhai on the ledge above Tervantias. Now you need to return to the arena and complete it to gain access to the platforms where the devices in the Opera are located. Go through the arena fighter however you like, and then return to Tervantias when it’s done. Now, he will be in a state of panic, as Tervantias wasn’t expecting to win. Go through the dialogue as required and then you are free to roam the Opera at its fullest, including the once inaccessible wings and platforms.
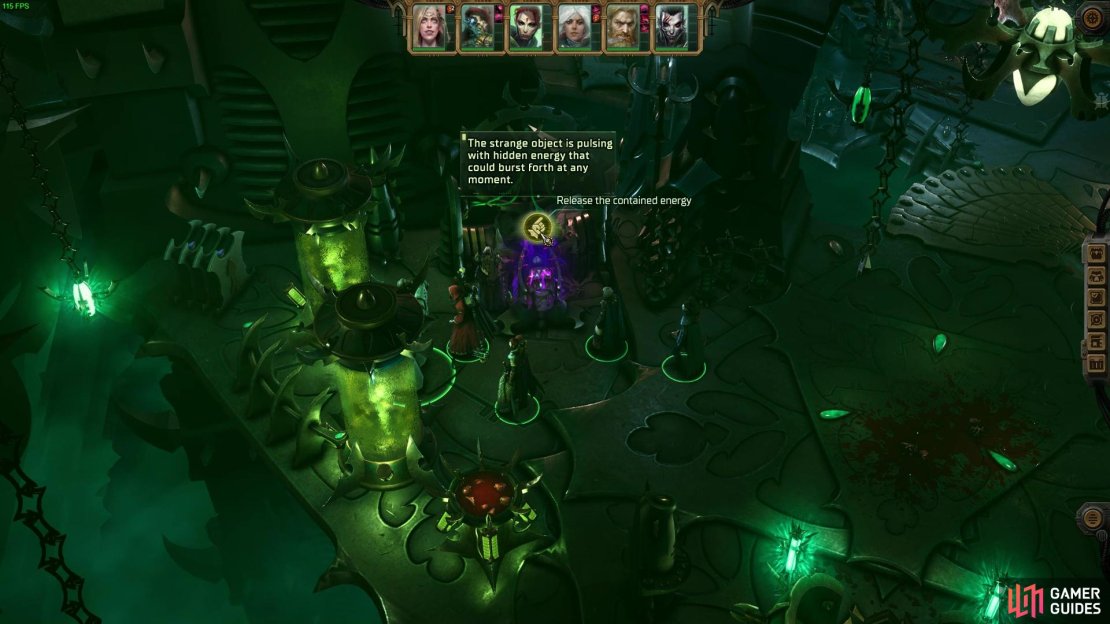


(1 of 3) Go to the left platform and interact with this terminal to sabotage it for the Worm Churns quest in Rogue Trader.
Once the dialogue is over, you will now have access to the entire Anatomical Opera. You’ll need to look for some devices with a strange purple miasma around their controls. Click the cog to reveal the prompt, and then you’ll get a finger icon that says release the strange energy. You need to do this for each terminal, and the locations of the devices you need to sabotage are as follows:
- Far left-wing - towards the topmost tip of the platform.
- Far right-wing - located next to the large cage.
- Bottom left-wing - Requires completing a level puzzle to complete the task.
To complete the Lever puzzle, have one character move toward the cages on the bridge, with another character by the levers near ![]() Ulfar’s cage. From there, you need to do the following.
Ulfar’s cage. From there, you need to do the following.
- Press the middle lever option.
- Move your character over through the leveled cage platforms.
- Press the right lever.
- Move your character over to the bottom right wing and grab the loot.
- Once they are back in position, press the right lever again.
- Reunite your character with your squad.
We have a quick video reference on solving the puzzle if you’d prefer that instead.
With all three terminals messed around, you should get the sabotage part of the quest done. The next up is the Sacrifice.
Sacrifice to the Warp Gods
The next stage of the quest will require players to visit the Pit. If you’ve not already been back to the Pit since the first Arena, you will have a scrap ahead of you. No matter if you sided with Malice or with the Commissar, you will need to go back to the pit. While in the pit, you have an opportunity to take over the Pit and become its leader. Once you’re the leader of the Pit, then you can sacrifice the Shriekers that side with you as a final act. You’ll need them to swear loyalty to you as part of the heretical option to be willing to sacrifice them.

Now it is time to sacrifice your servants in the Pit for the Worm Churns Quest in Rogue Trader.
We specifically did it via siding with the Commissar, and then, after the arena fight, came back and said nothing. After the incident, we had the opportunity to announce that the Commissar was a traitor. This allowed all the Shriekers and his men to turn on him, and allowed us to assume control. Once we got the Sabotage the Anatomical Opera objective completed, we were able to go to the throne of the pit and then begin the sacrifice ritual. Go to the throne, select the Survey the Den option, and then press the sacrifice button. There are other ways to do this; this is just the option we know works.
Destroy the Warp Stiffler
The next stage of the quest will require you to go back into the Arena for the third and final time. You’ll need to fight a few back-to-back battles, and mini-bosses in the arena, which are largely a mix of snaky boys, Drukhari Assassins, and Kabalite Rangers. You’ll also come across a few Pain Engines and then the final boss, Kilkaross, her squad of Drukhari, and a defensive machine that shields her.


(1 of 2) Complete the third arena fight, then unleash the dust to destroy the Stiffler.
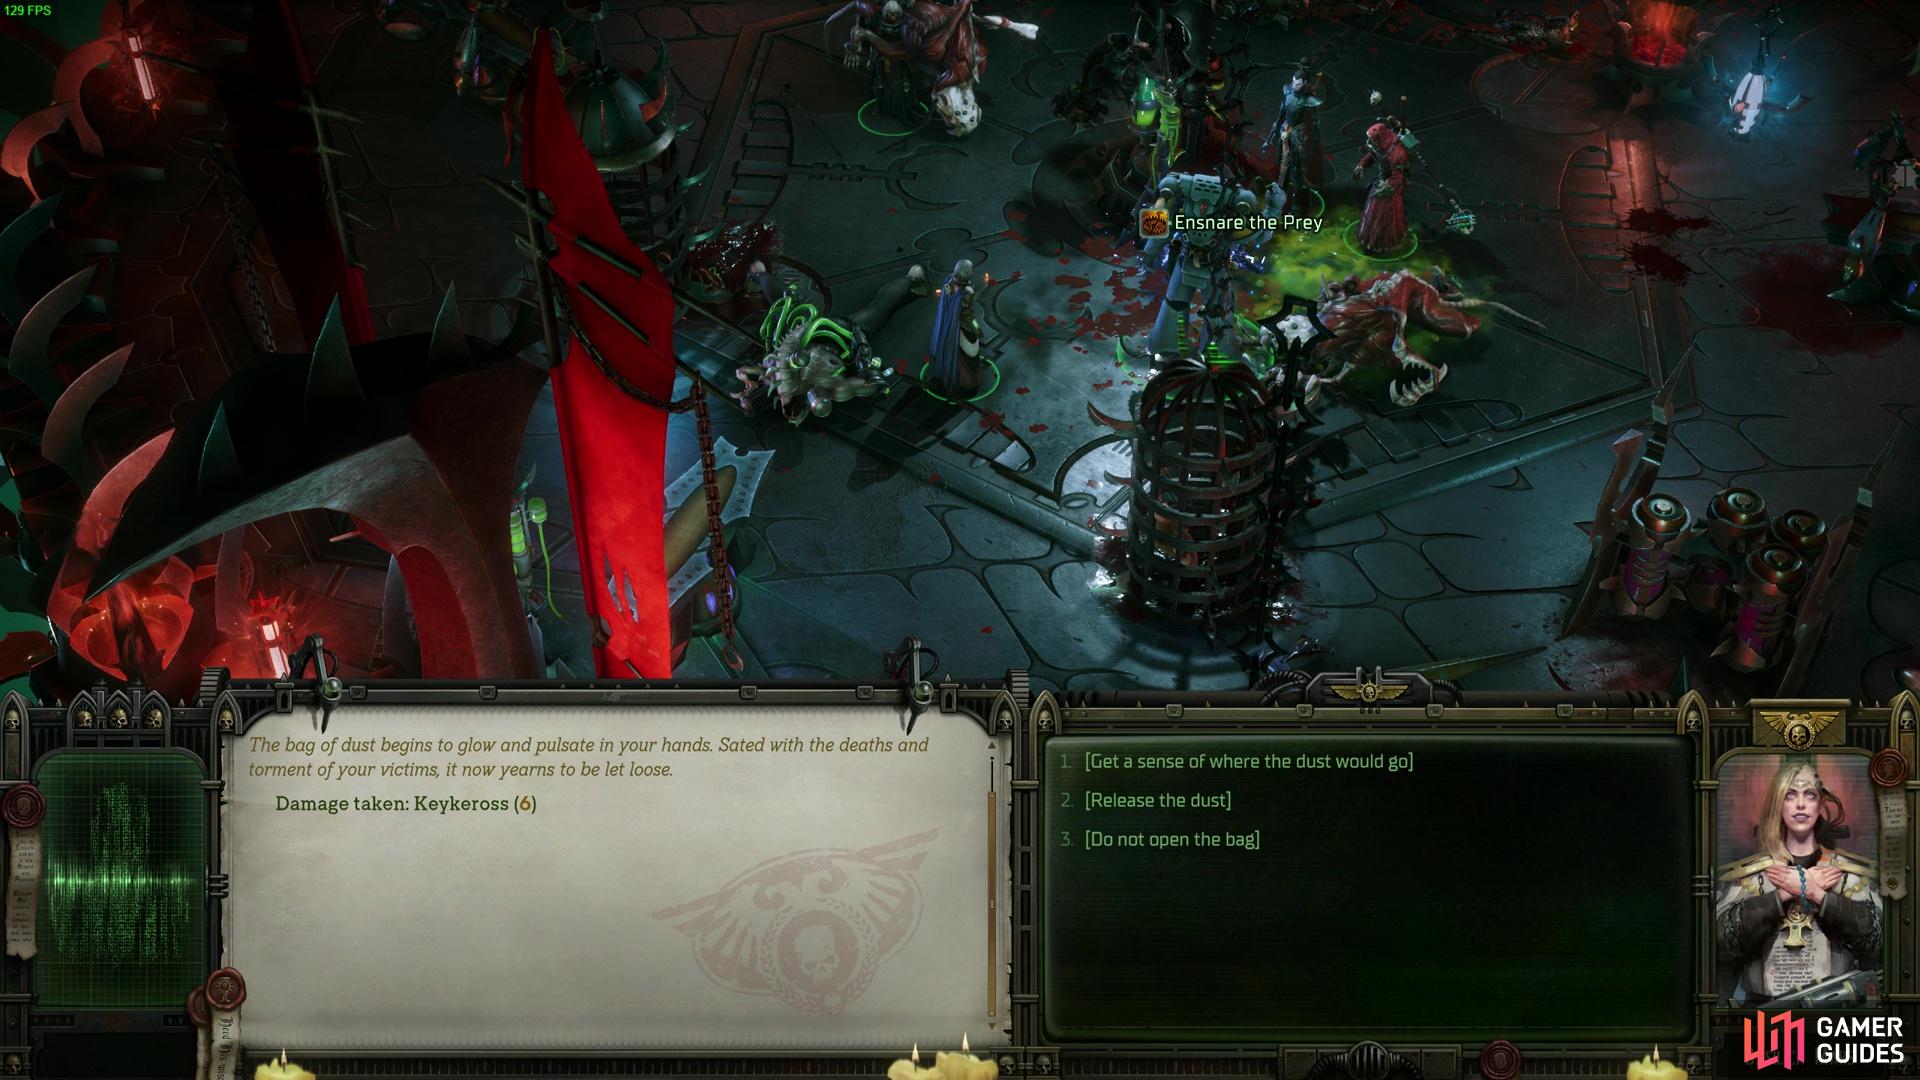
Complete the third arena fight, then unleash the dust to destroy the Stiffler. (left), Unleashing the dust will destabilize the Stiffler, the same way you sabotage the Anatomical Opera. (right)
Go through the fights as you do, setting up your squad, keeping their wounds healed the best you can, and being in cover and positions to deal with all the key threats of the fight. Also, make sure to read the biog wound enemy’s profiles and check their talents for strategies you may need to factor in, depending on your difficulty. It is only really an issue on hard and Unfair, so the majority of you may not need to worry about the difficulty of the fights.
Once the fights are done, you’ll get the option to destroy the Stifler right at the end of the gauntlet of foes. As soon as the last enemy dies, you get the choice of three options, release the dust, get a sense of where the dust goes, or do not open the bag. Select the Release the Dust option, and you’ll complete this objective of the quest. The final stage of the Worm Churns quest in Rogue Trader now takes you to the final moments of Chapter 3.
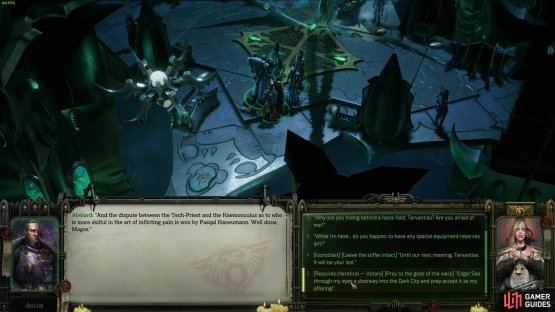
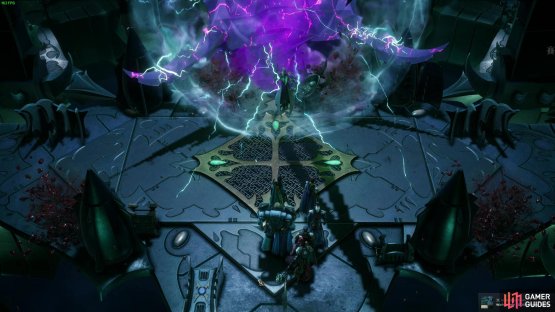
(1 of 2) When you reach the top of the Reaving Tempest Spire, you’ll reunite with Tervantias and be able to sing the praise of the Chaos gods when you talk to him about the Stiffler he is near.


When you reach the top of the Reaving Tempest Spire, you’ll reunite with Tervantias and be able to sing the praise of the Chaos gods when you talk to him about the Stiffler he is near. (left), Tervantias will be like wtf bro, and the warp shall possess him. You’ll be called a good boy, and then Tervantias shall become meat stew. (right)
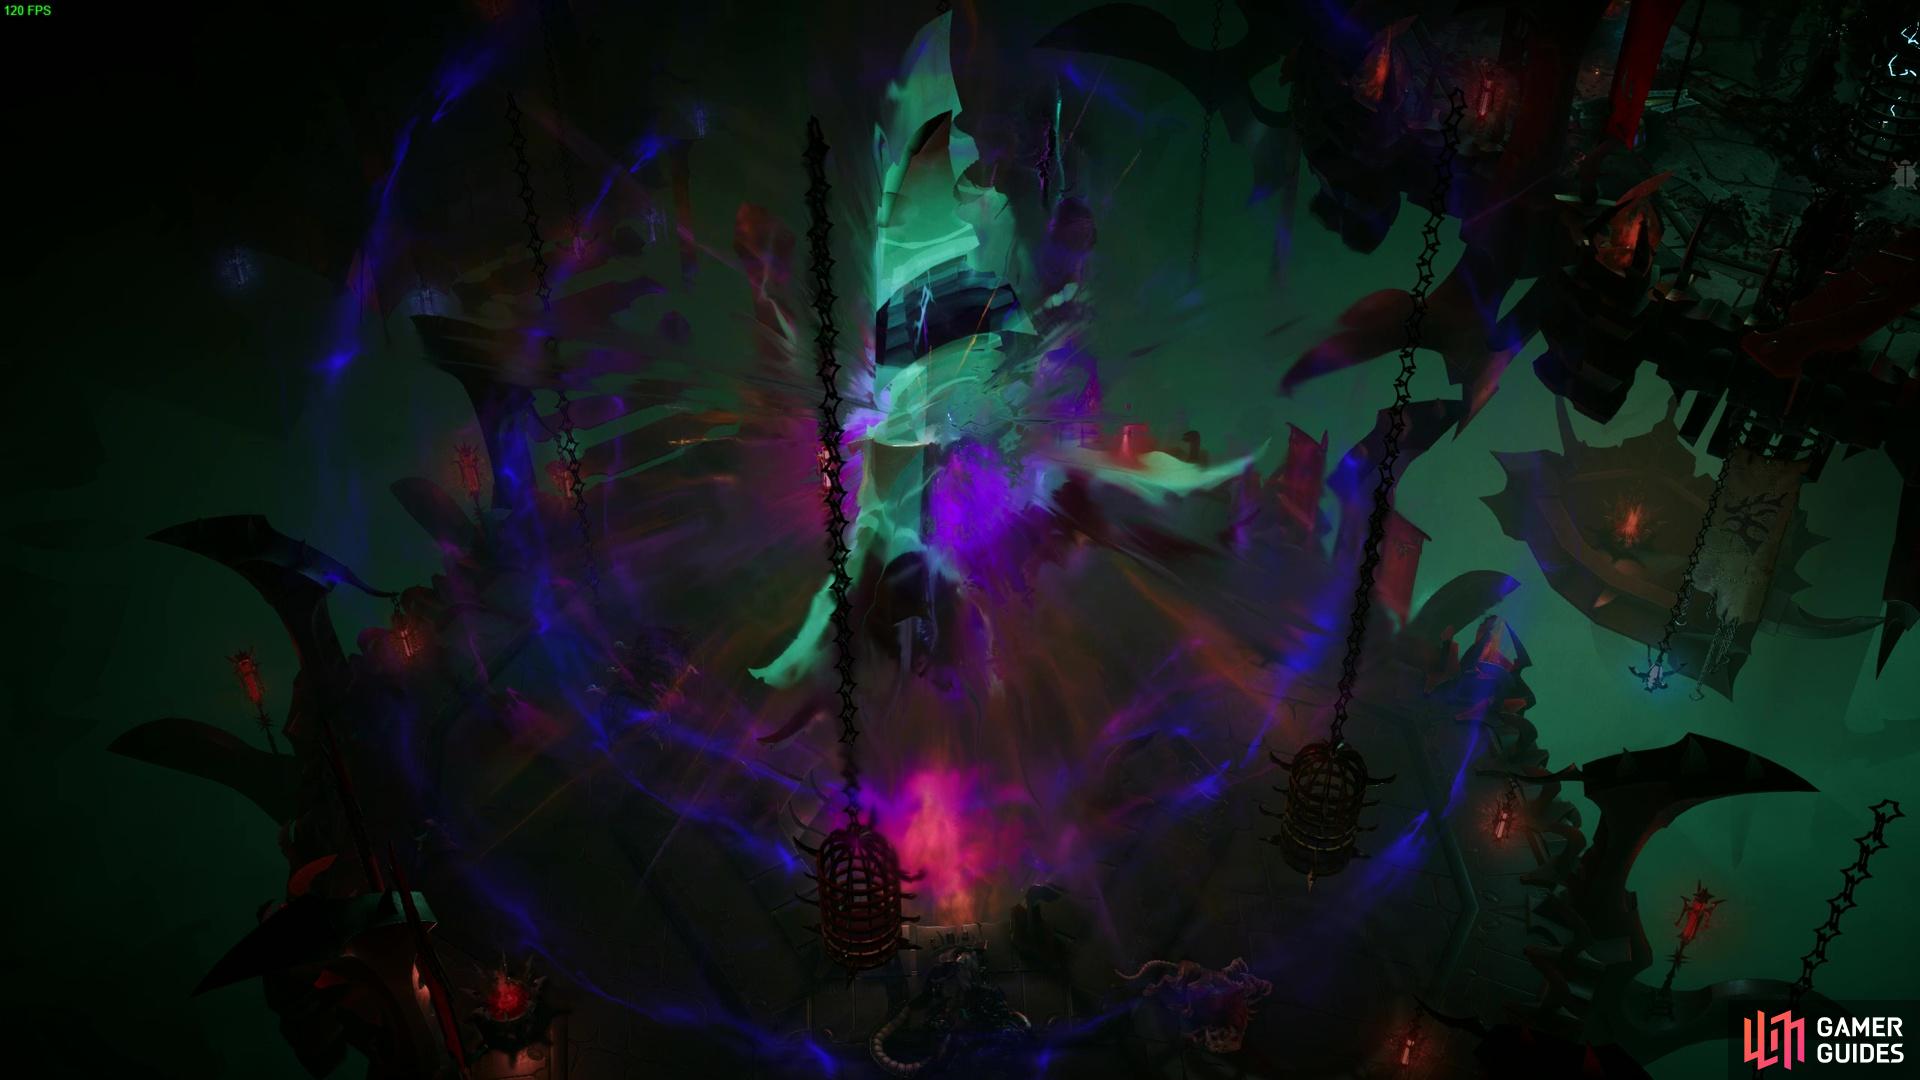
Proceed through the Reaving Tempest Spire levels as you can, and when you get to the second to last map, you will find Tervantias in the tower near some more lab equipment. Speak to Tervantias and ask him about the device he’s standing near to. You’ll get a dialogue option called the Heretical - Votary: [Pray to the Gods of the Warp]. This option will then channel the warp into the final Stiffler and then release the Warp into Commorragh, finally breaching the lands between the Immerterium and Real Space.
With that done, you’ll have completed the Worm Churns Quest in Rogue Trader. The forces of Chaos will be let in to Commorragh, and you’ll have done the bidding of the Warp and Chaos. However, completing this quest is a pretty surefire way to lock in that you’re on the Heretical pathway, and so, the consequences of your actions will be revealed in Chapter 4. If you still want to repent for your Heretical ways at this point, you can select the Iconoclastic option, which will deliberately fail the quest and give you a chance of redemption to come for the huge consequence and choice by the Invitation from Calcazar quest trigger that occurs in the first third of Chapter 4.
No Comments