
After claiming the title of Rogue Trader, one of your pressing concerns is finding a new Navigator. Warp travel is all but suicidal without one, and without warp travel you’re pretty much confined to the Rykad system. Not much of an overlord if your subjects are out of reach of your whip, eh? This objective is vaguely covered in the errand The Guide, and more comprehensively in the quest Secrets of the Navis Nobilite. This page will provide a walkthrough for Eurac V, including information on the binary data crypt puzzle in Rogue Trader.
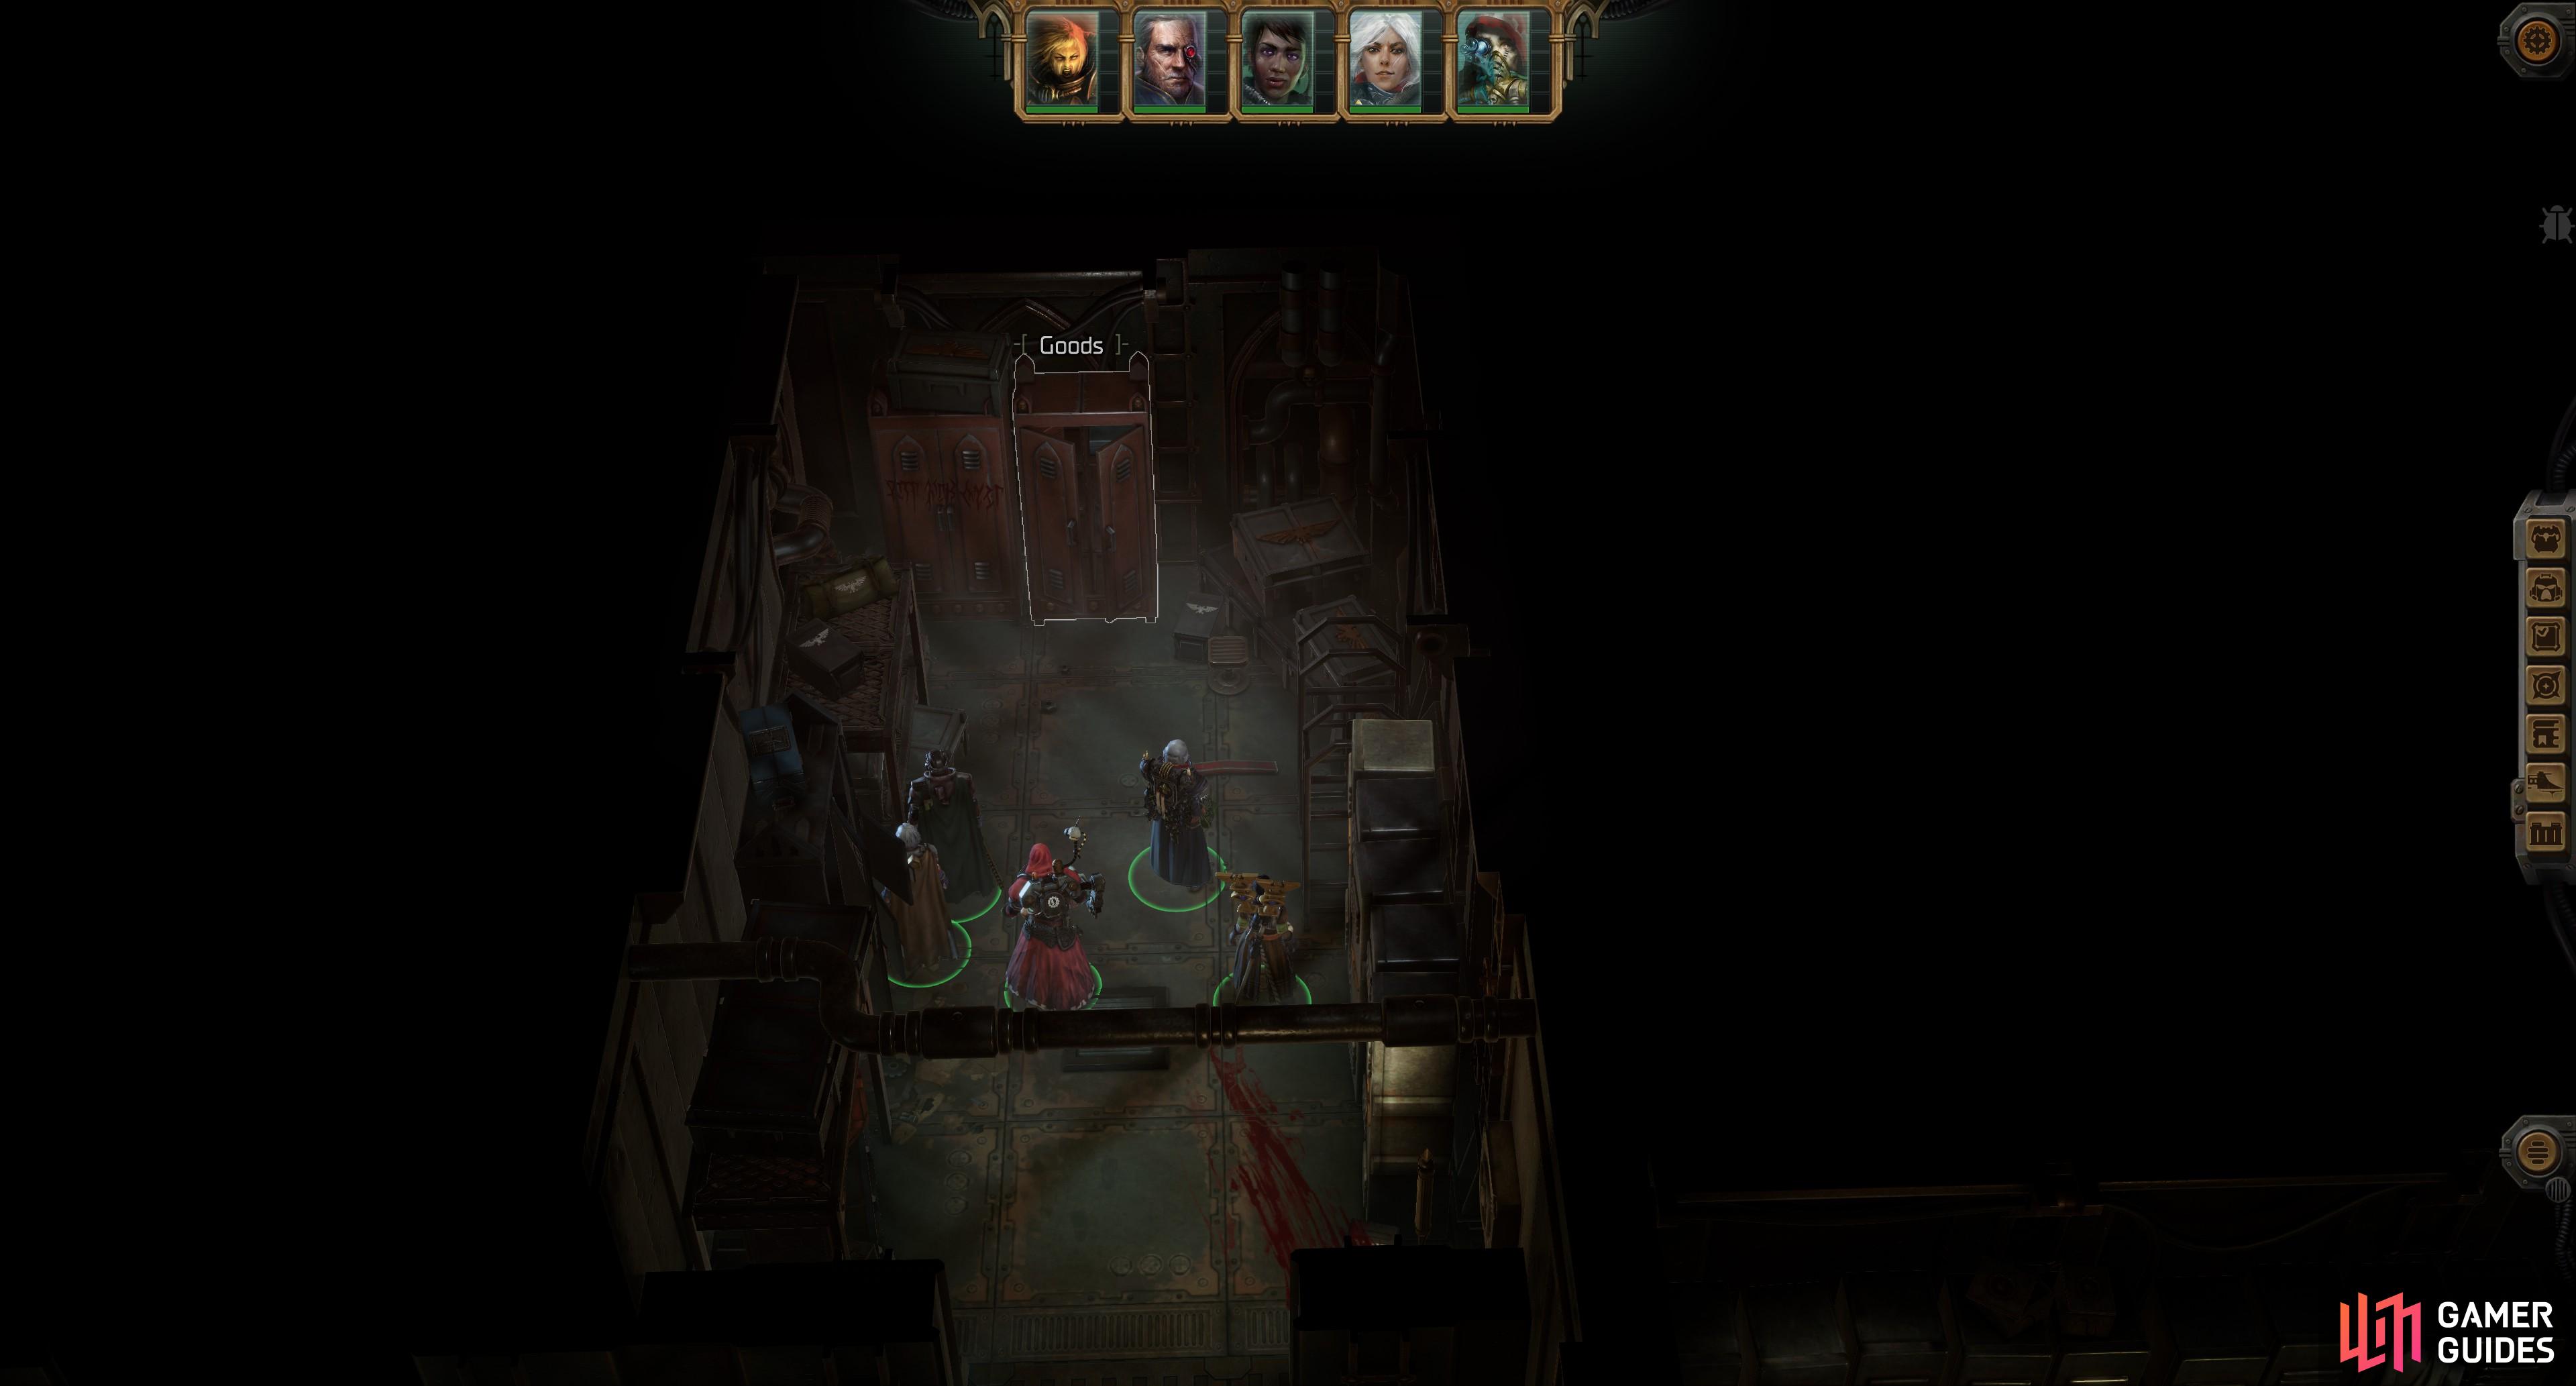
Sail over to Eurac V on the system map and dock with the station, despite it being unresponsive. When you arrive you’ll get a scene, after which you’ll find yourself chatting with one Felek Orsellio, who tells you an already familiar story - rebellion, madmen, rescue the pampered lady with too much power and authority. Long story short, you need to get the elevator operational, and to do that you’ll need to go on a MacGuffin hunt. You can pick a fight and be a hostile nuisance, but there’s no need for that sort of behavior. At least, not yet. Accept to help Felek and you’ll be able to explore the rest of this area.
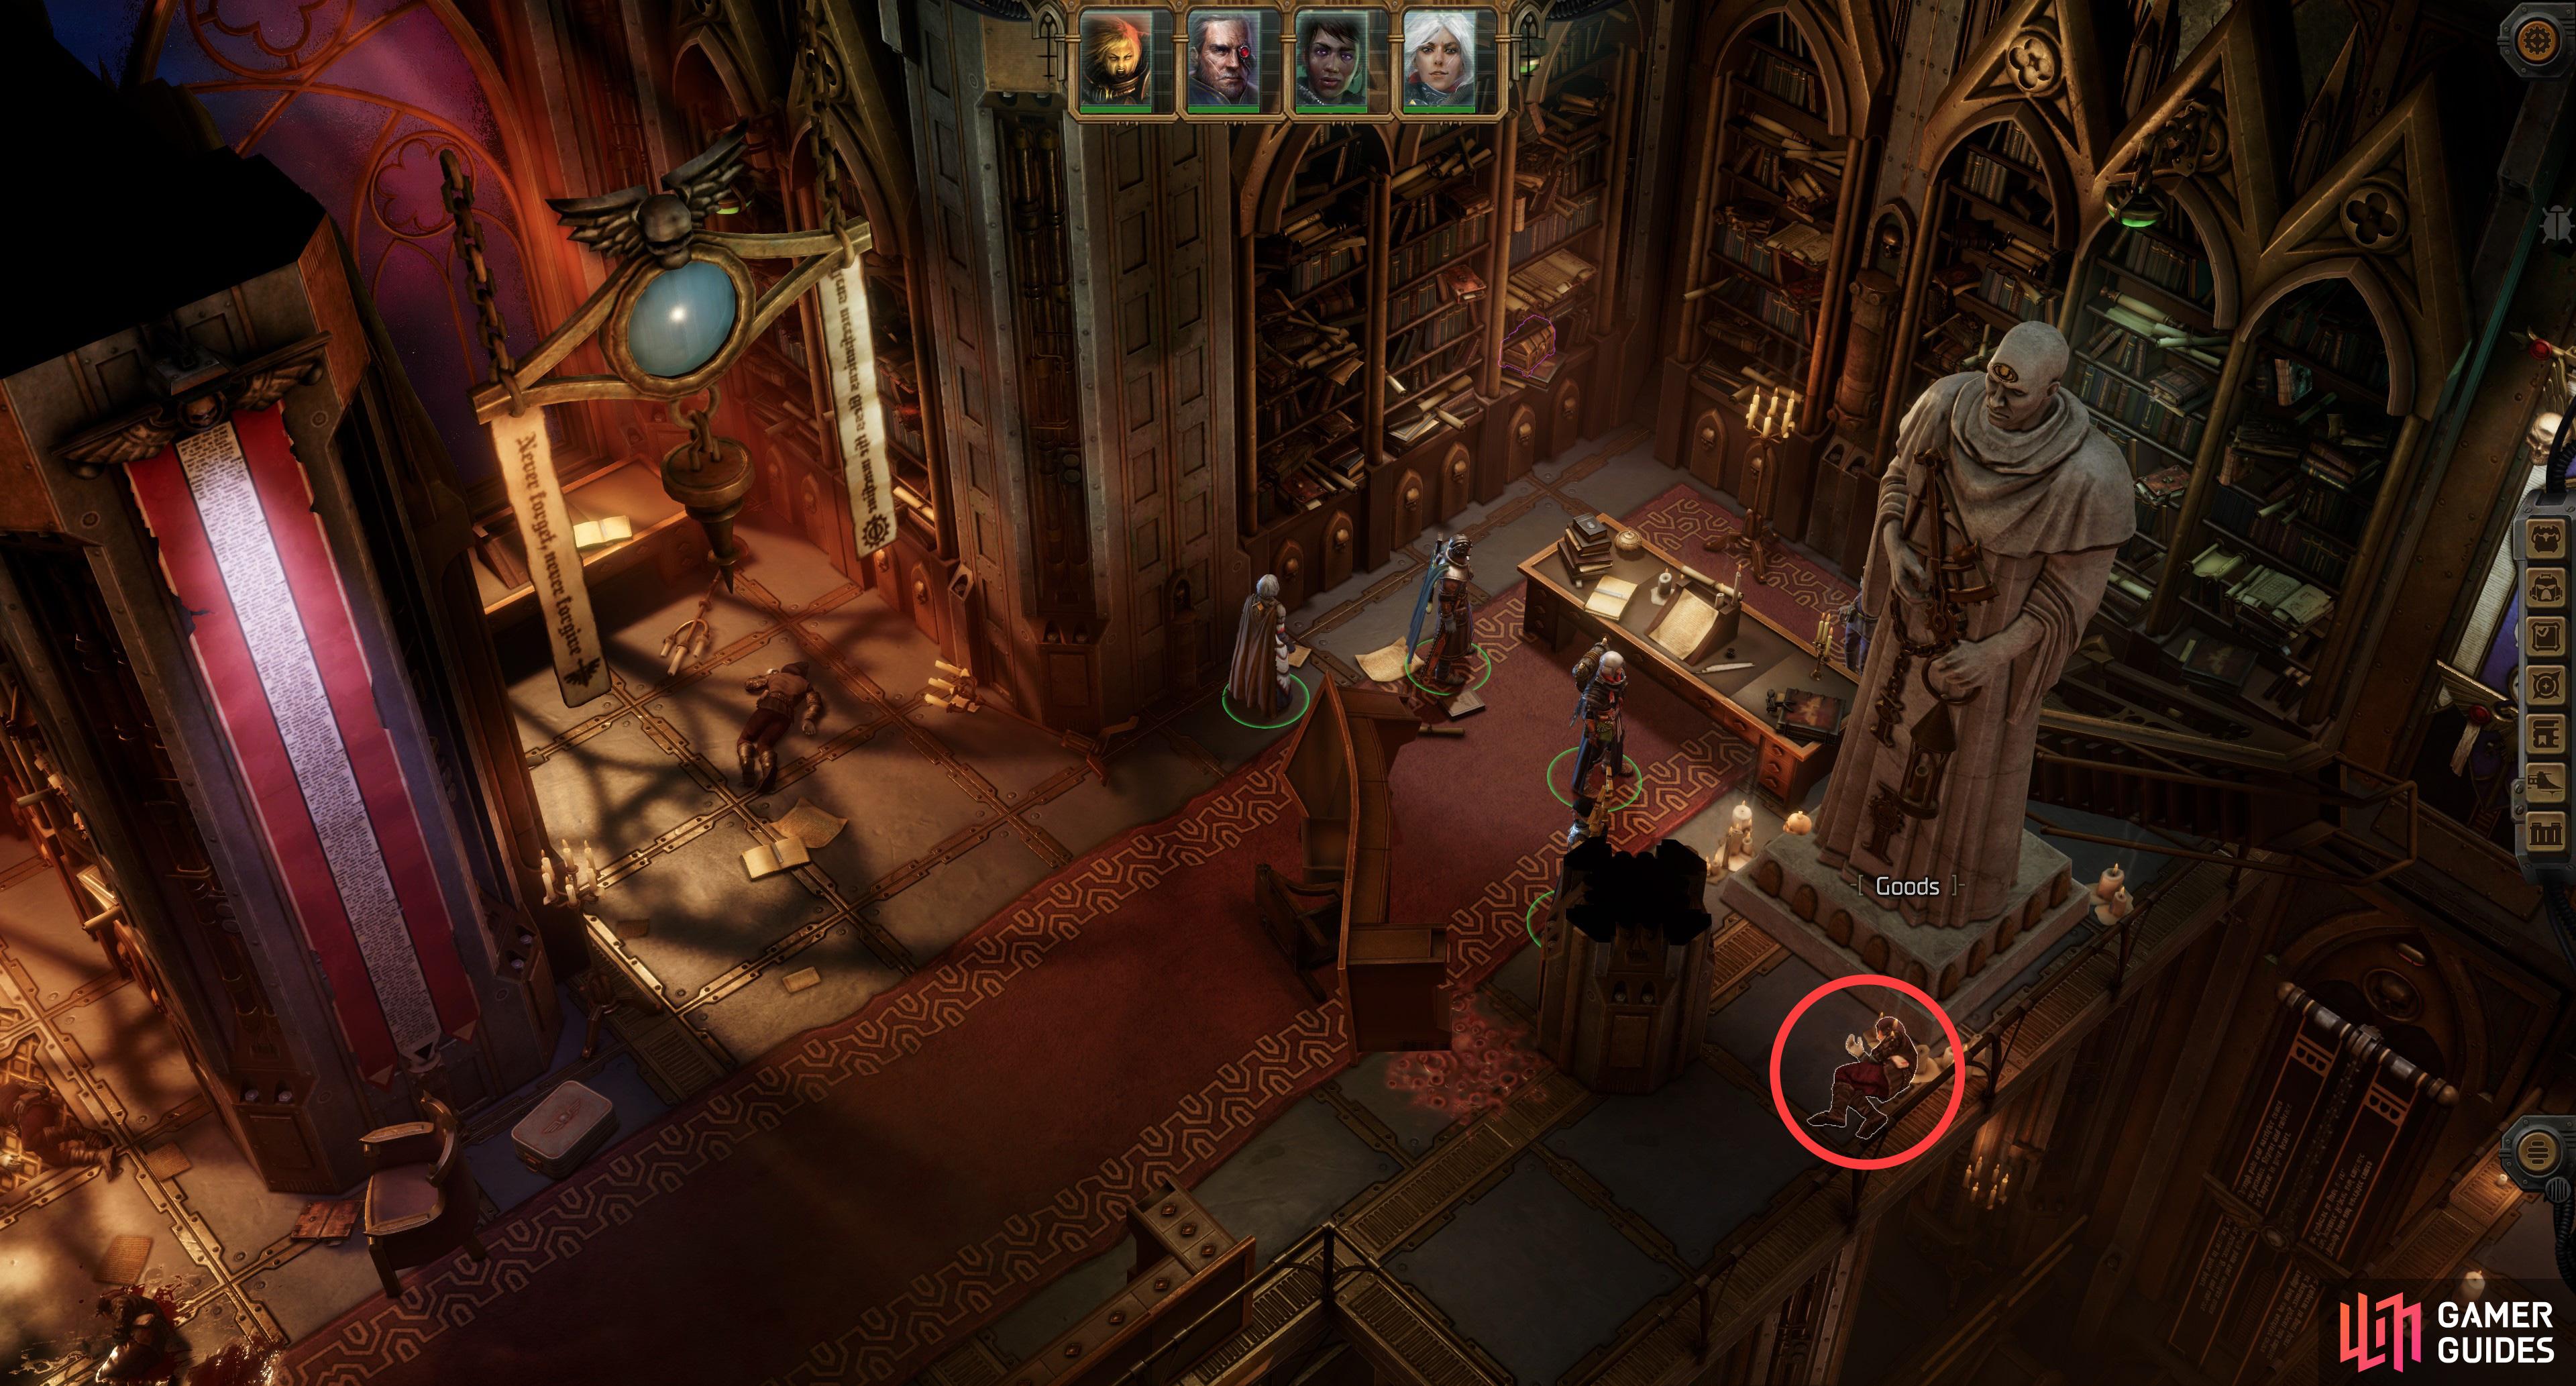
Head to the northwestern corner of the room and pass an [Athletics] check to vault over some rubble, then make your way east, then north to encounter some mutants. This is the first and only mandatory fight you have to win before you can explore the area fully, and while there are a lot of hostiles, few of them are any real threat. The ones that spawn in front of you are fodder for ![]() Argenta armed with a
Argenta armed with a ![]() Flamer or Idira and her Lightning Arc ability, just be wary of reinforcements that will appear to the east and west.
Flamer or Idira and her Lightning Arc ability, just be wary of reinforcements that will appear to the east and west.

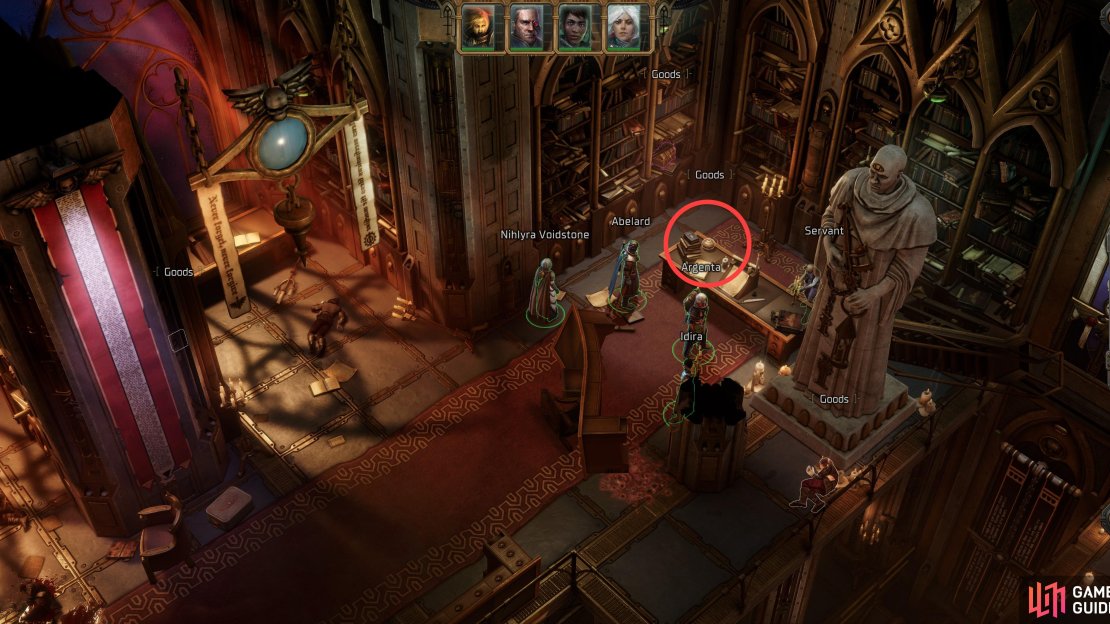
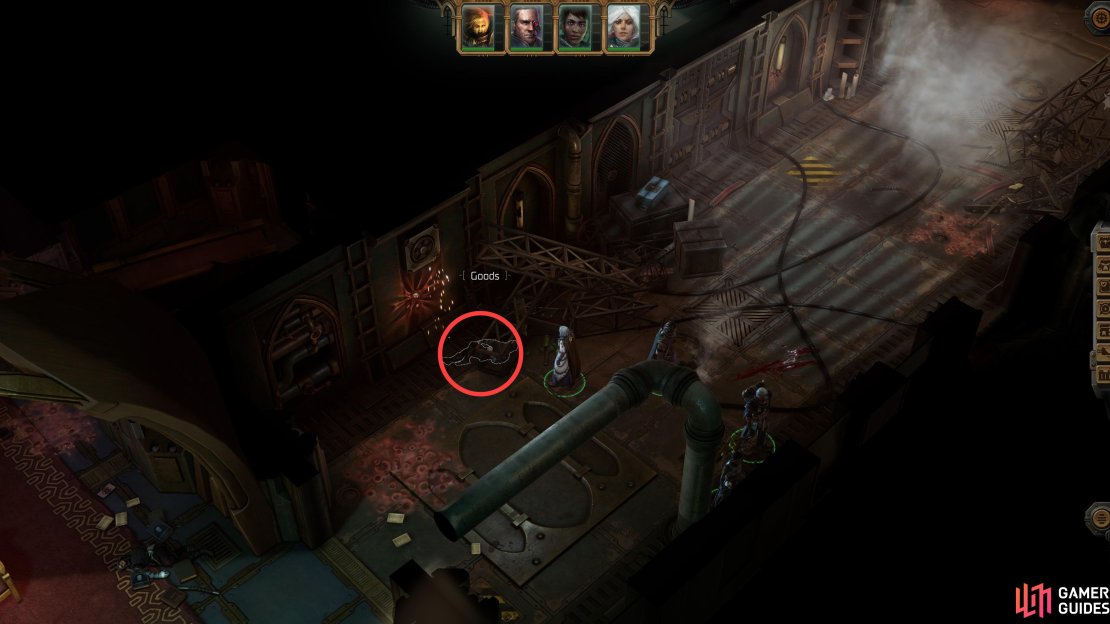
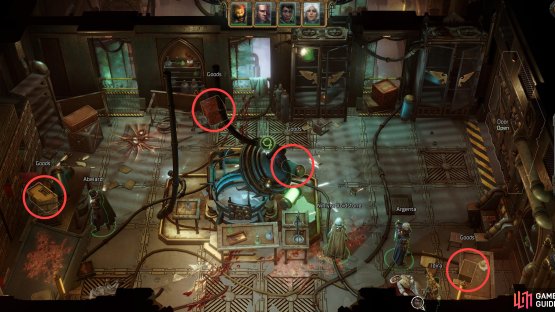
(1 of 4) You can find several bits of noteworthy loot in the library, including the Mutated Flesh Sample,
All Items in the Library - Eurac V
After you purge the muties, it’s time for the looting to begin! The mutants themselves have little of interest (it’ll still make good cargo to give somebody, somewhere), but there’s plenty of junk lying around in this area, much of it having to do with an optional Laboratory Puzzle you can engage with later on. We’ll focus on the noteworthy bits of loot, but first note the layout of this area. The large room you’re in right now is a library, and if you head downstairs and north across a bridge in the middle of the library, you’ll reach the aforementioned laboratory. The door to the laboratory is currently sealed, however, and to open it you’ll need to head east down a hallway where mutant reinforcements appeared during your earlier fight. This will take you to the guard room, where you’ll find the binary data crypt puzzle that’ll open up all the doors in this area. Now that we’ve defined our terms, here’s the standout loot in the library:
| Loot | Note | Location |
|---|---|---|
| Mutated Flesh Sample | Component for the Laboratory Puzzle | On a corpse near a statue along the northwestern edge of the library. |
| Meteorite Chunk | Component for the Laboratory Puzzle | Search a desk along the northwestern edge of the library. |
| Weapon | Found in a chest (must pass an [Awareness] check) on a bookshelf in the northwestern corner of the library. | |
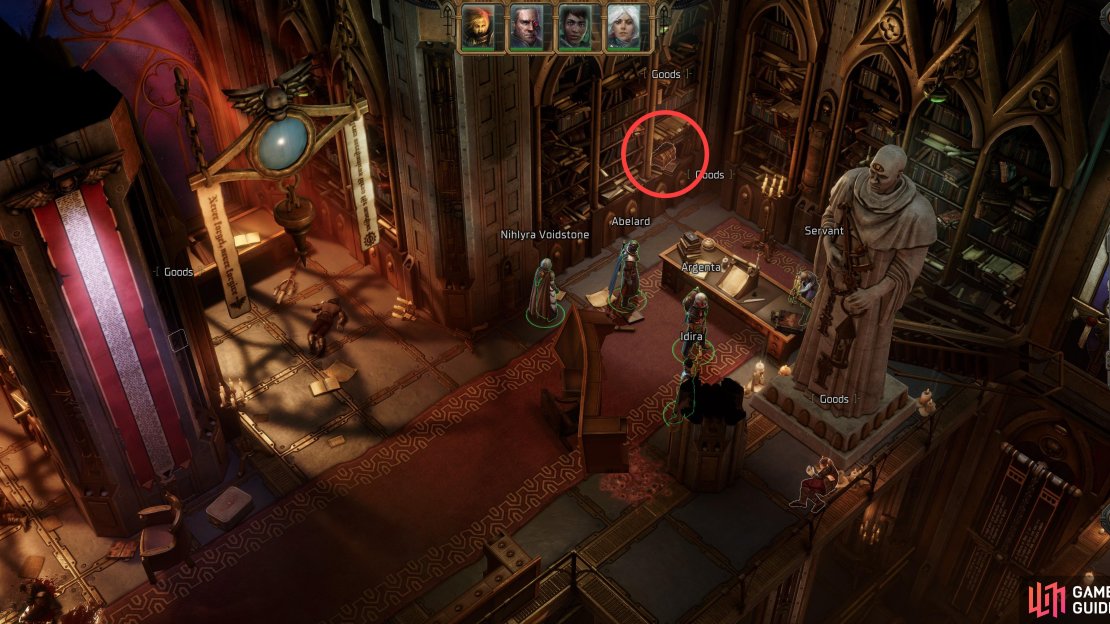
| Data-Crypt H-40-KO | Component for the Laboratory Puzzle | Found on a bookshelf in the northeastern corner of the library. |

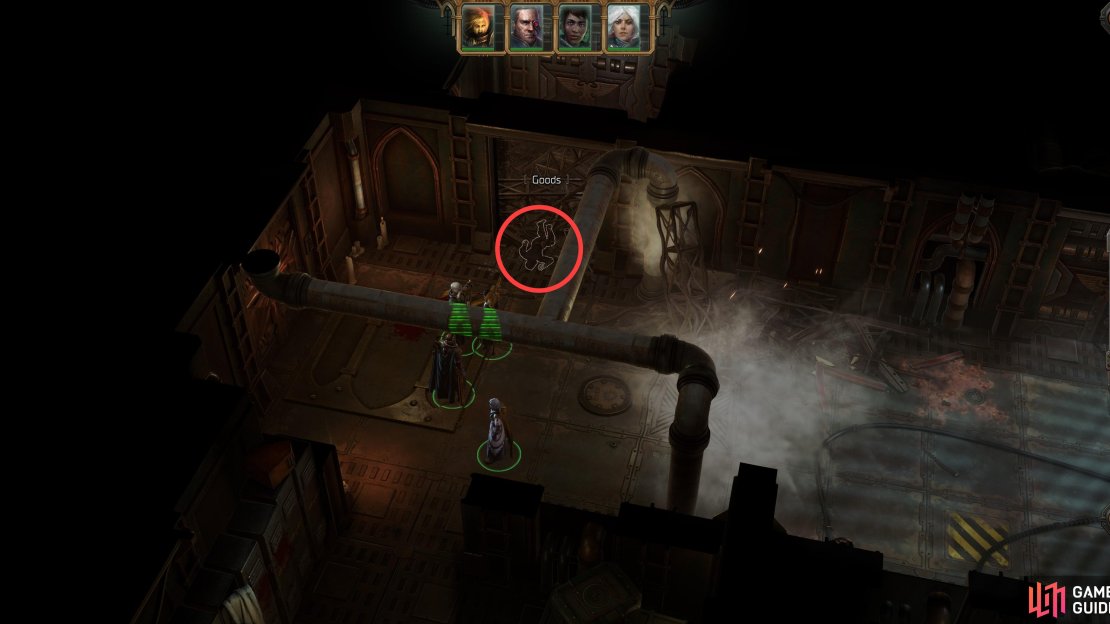
(1 of 4) Search a corpse to find a sample of Navigator’s Blood,
All Items in the Guard Room - Eurac V
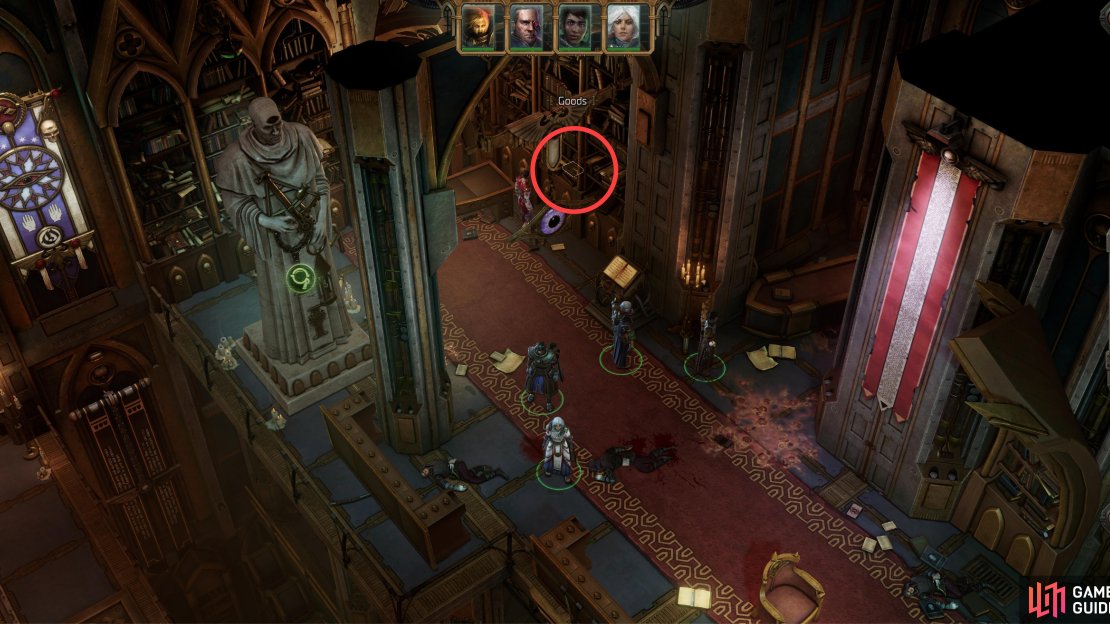
After you’ve looted the library, make your way back to where you fought the mutants earlier and go down the hallway to the east via which a squad of mutants arrived as reinforcements. As soon as you enter, search the hallway to the left (north) to find a corpse with a Navigator Flesh Sample on it, then continue east to the end of the hallway, noting two doors to the north as you go. At the end of the hallway turn south, then pass an [Athletics] check to clear some rubble, revealing another corpse in the process. Loot it for its ![]() Noble Silk Gloves. Ain’t gonna need those where you’re going, pal.
Noble Silk Gloves. Ain’t gonna need those where you’re going, pal.
Now, turn your attention to the two doors along the northern end of the hallway. The westernmost one is unlocked and the easternmost one is locked, so clearly the easternmost one has something cool behind it, right? Well… no. They both lead to the same place, a larger guard room to the north. When you enter, another mutie will get in your way, but the threat it poses is so trivial your characters execute it on their own, with no input from you. Neat. In this room, note two doors to the east and one to the north - we’ll get the eastern doors open by going north, first, but even that’s not necessary, as only the southernmost of these doors is locked. Before you go north, however, loot the southwestern corner of the room to find Data-Crypt-H-41-OK, then loot a corpse in the northeastern corner to find the Research Notes of Navis Laboratorum Custodian Fotunata Orsellio, Part 13. The Navigator’s Blood and Data-Crypt-H-41-OK are both components of the aforementioned Laboratory Puzzle, while the Notes gives you clues as to how you’ll use those components to make something useful, or avoid botching things up, as the case may be.
No time to fuss over that puzzle, you’ve got another “puzzle” nearby. Go through the door to the north to find the room housing the binary data crypt puzzle.
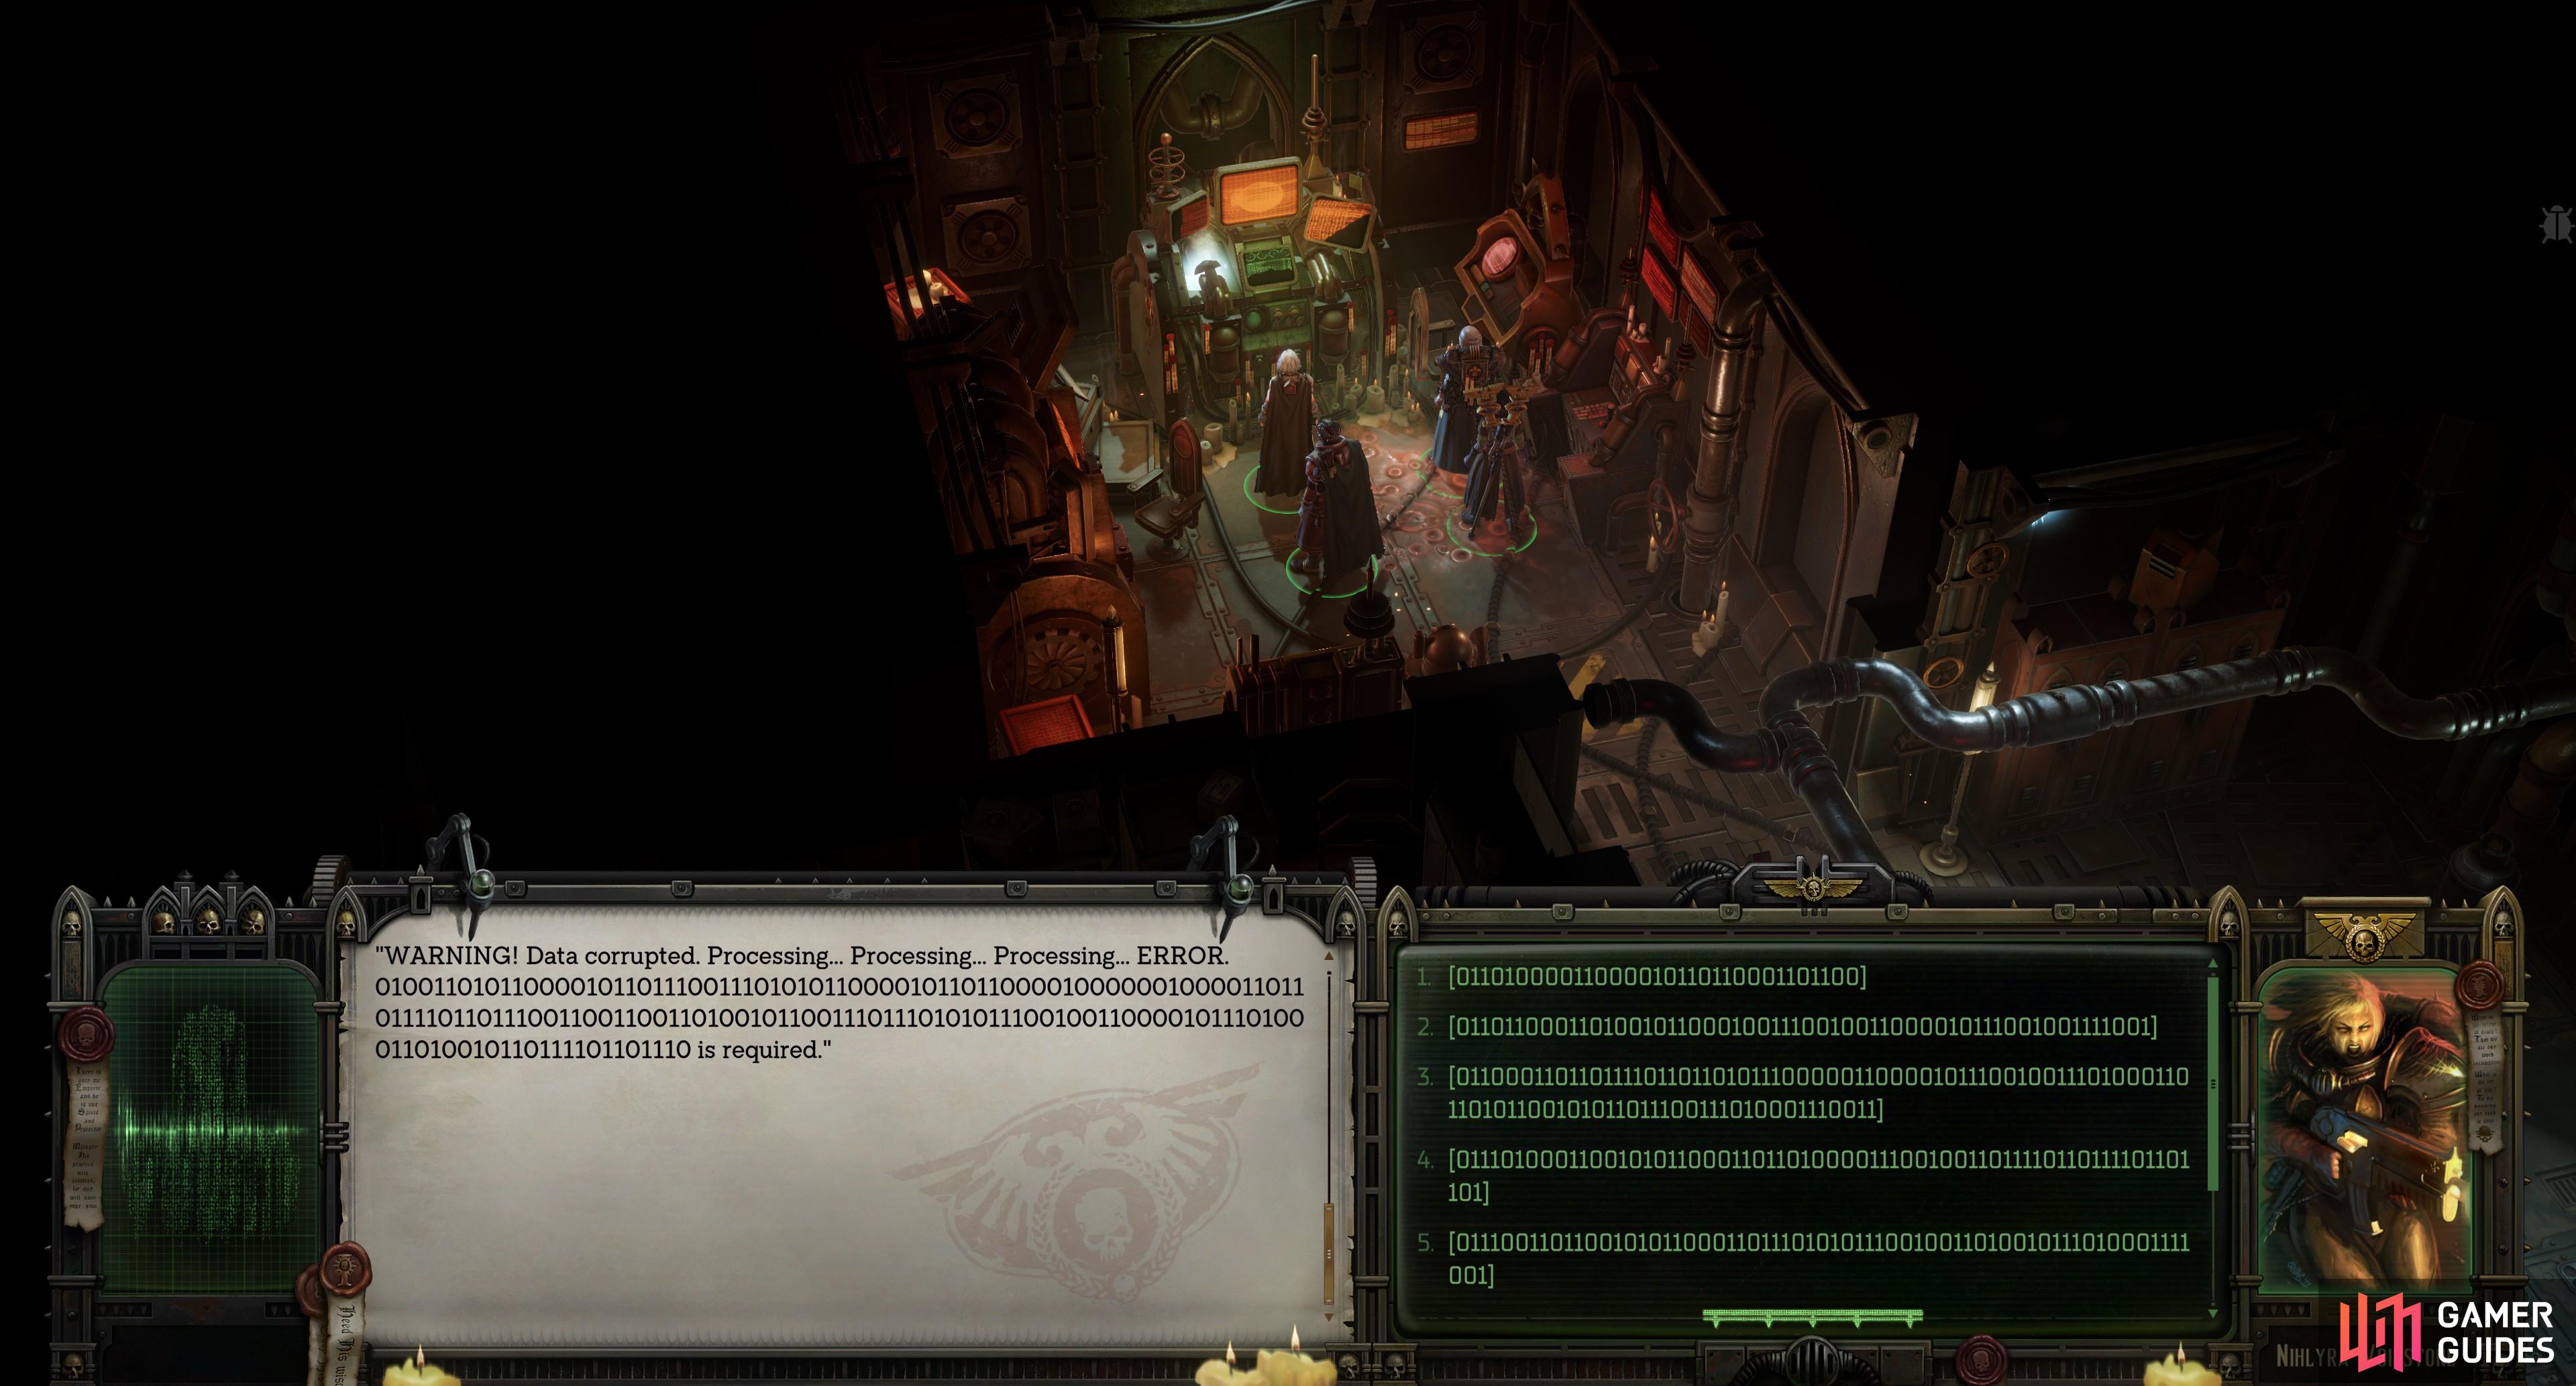
(1 of 2) The cogitator in the guard room can be mistaken for a puzzle due to its undecoded binary,
The cogitator in the guard room can be mistaken for a puzzle due to its undecoded binary, (left), but bring Pasqal along and he’ll set the machine spirit straight. (right)
How to Solve the Binary Data Crypt Puzzle on Eurac V
This room contains one sole object of interest - a cogitator. Interact with it and flick through the logs if you want to get more lore and backstory, but to access this “puzzle” you’ll need to select the [Switch to the main chamber controls] option, then [Open all doors on the level]. What you’ll get is a screen full of binary, and unless you speak computer, you won’t have any idea what you’re selecting. There are eight options, one of which requires a [Logic] check, and as a freebie, the last one just takes you to the previous dialog menu. So, how do you solve this puzzle?
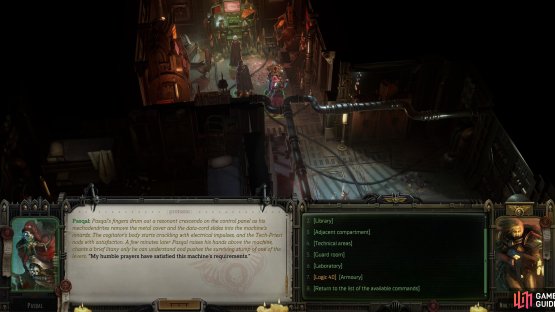
Well… you don’t. It’s not a puzzle at all. The options are just the names of the doors you’ll be opening, all of which are simple and benign. The one with the [Logic] check opens the armory, which is the locked door in the room just to the south - you can just open it with a [Tech-Use] check, if you wish. Another option, however, opens the sealed door to the laboratory, which you’ll need to do if you want to complete the Laboratory Puzzle. There’s no need to worry about anything, you can just press each option one after another to open all the doors (provided you can pass the [Logic] check). Even better, if you recruited Pasqal on Rykad Minoris, he’ll offer to translate this binary nonsense for you, in which case you’ll get a much more readable screen, as follows:
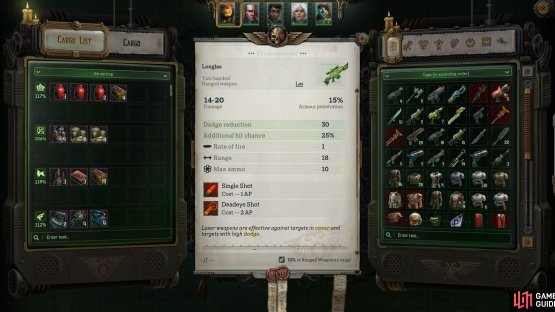
(1 of 2) Be sure to get the armory open, as there’s a locker that contains Longlas,
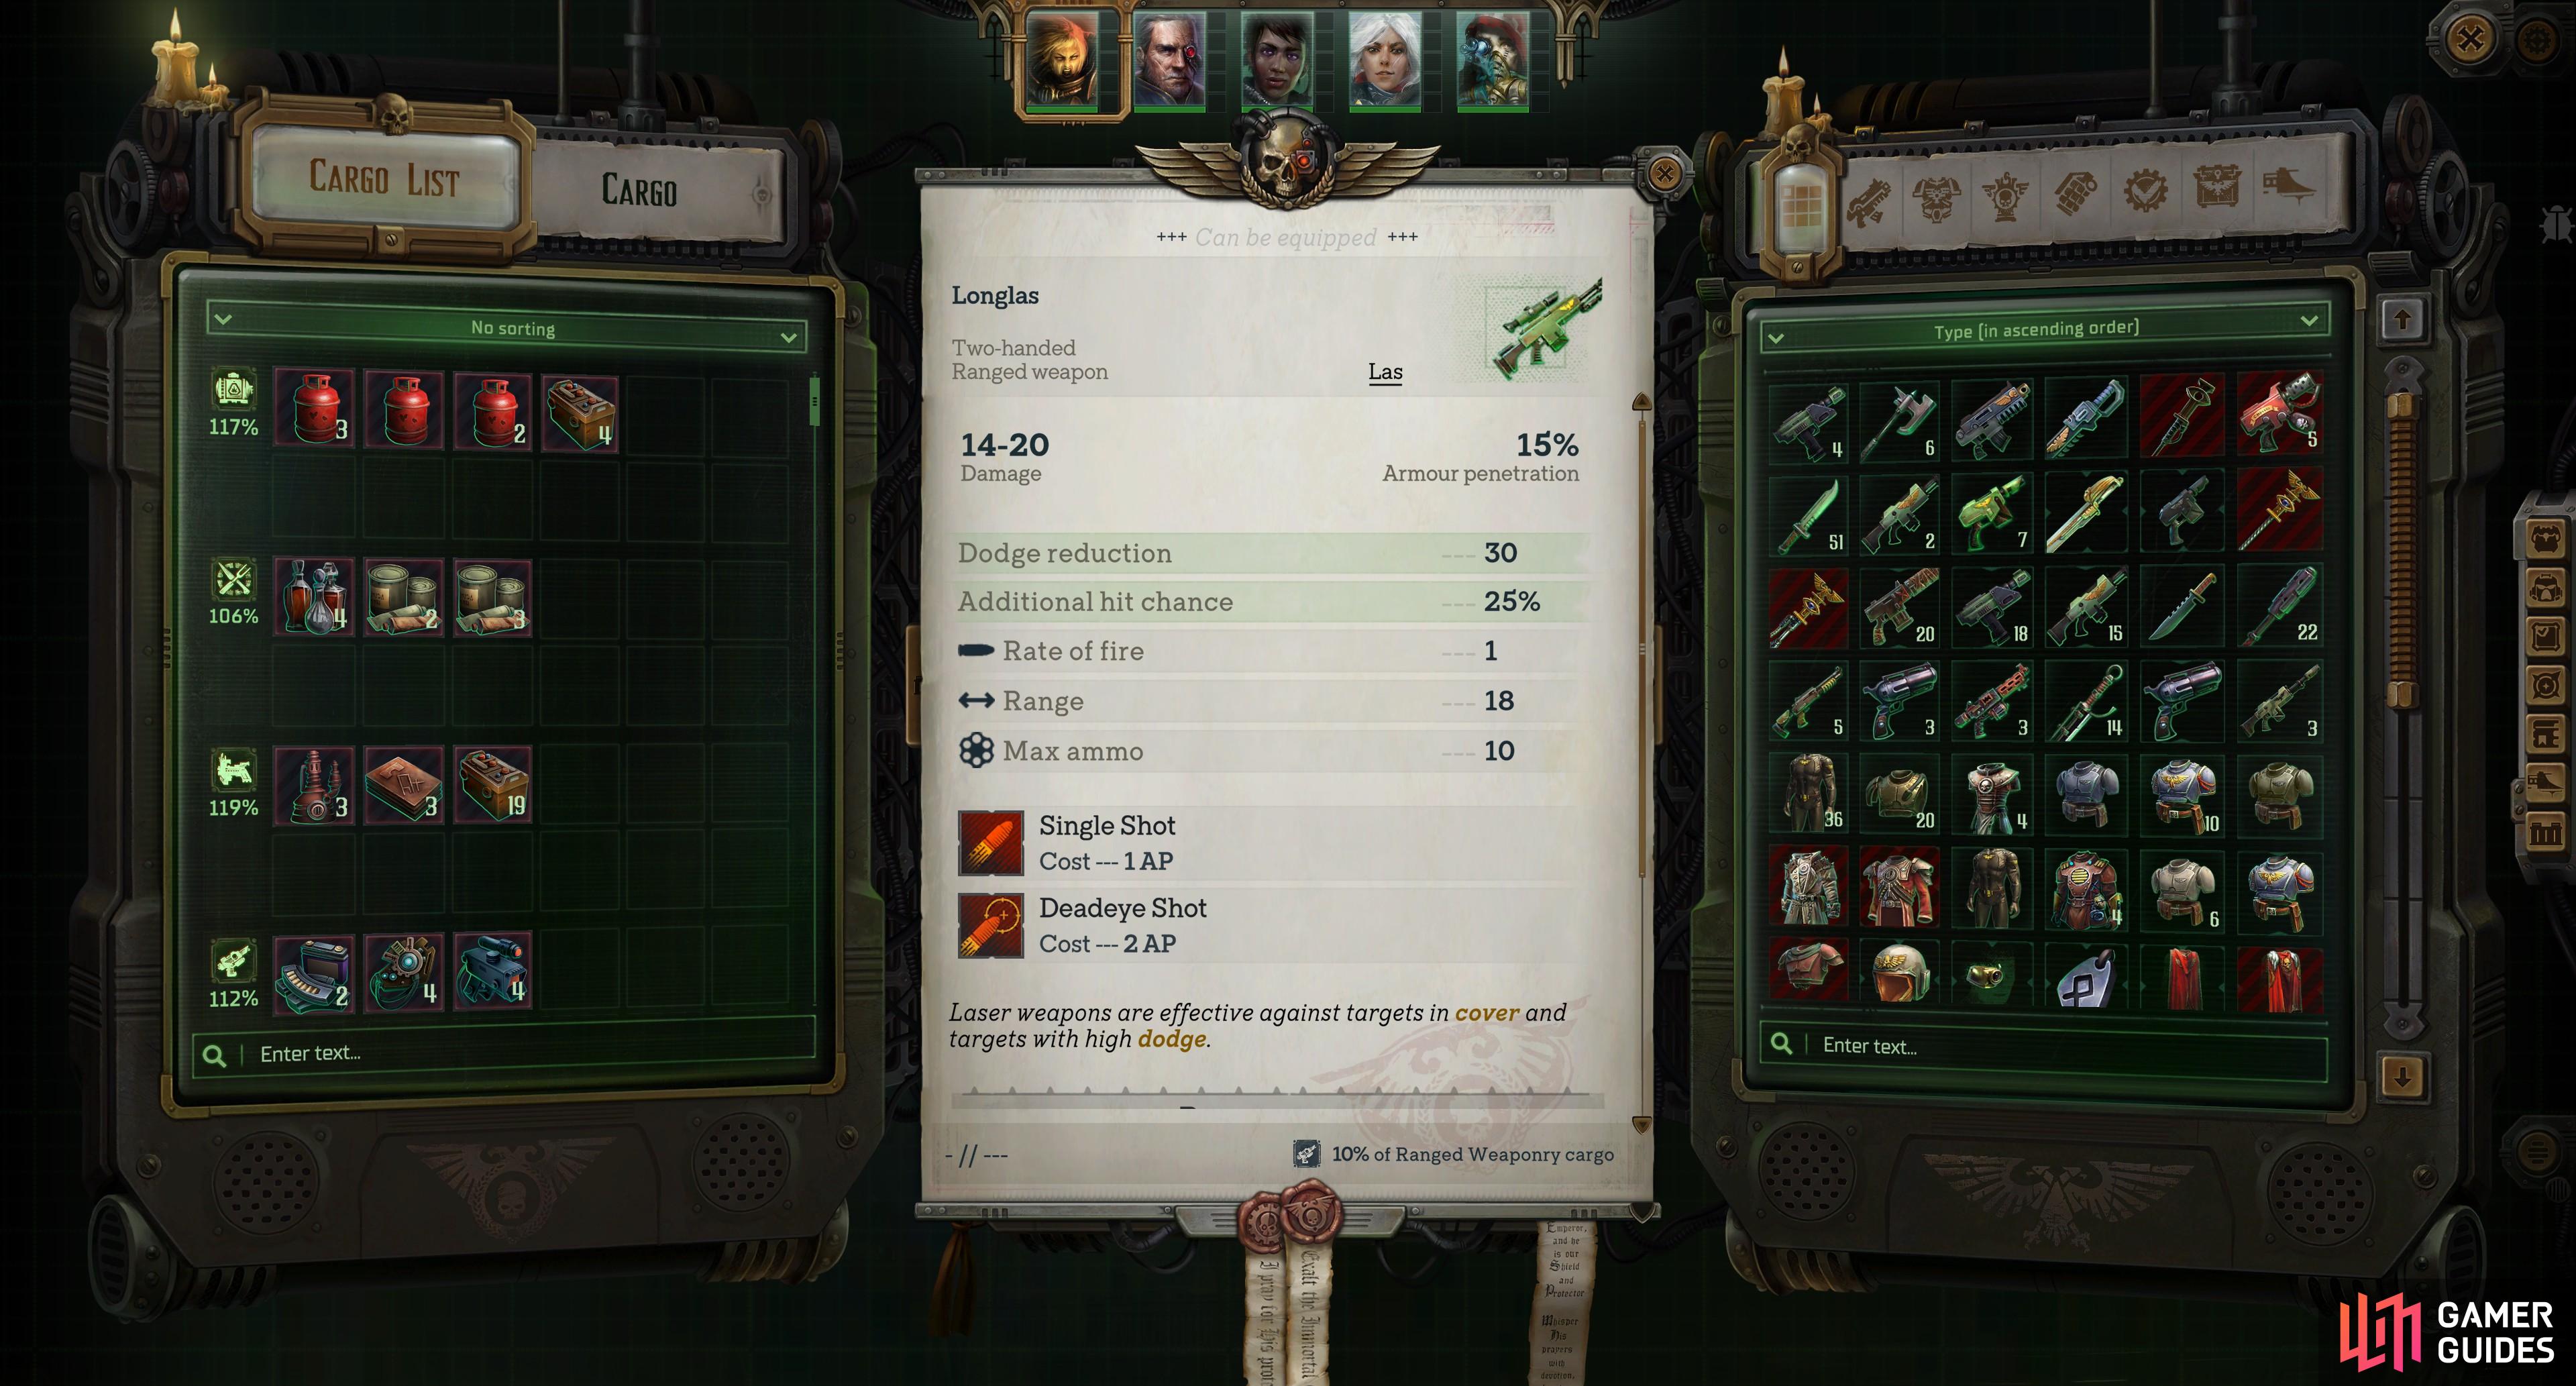
Be sure to get the armory open, as there’s a locker that contains Longlas, (left), which is the best sniper rifle you’re going to find for a while. (right)
So, the “binary data crypt puzzle” isn’t a puzzle at all, just a chance for ![]() Pasqal to show off his computer skills, but failing that, there’s no consequences for blindly opening doors. Go nuts! Before you leave this cogitator alone, however, be sure to pick the option [Main elevator controls] option then [Activate the elevator]. Now it’s time to head to the armory, which you just opened. Backtrack south into the previous room and head into the southernmost of the eastern two doors to find several containers you can loot. Most contain mere cargo, but the lockers to the east can be plundered to score
Pasqal to show off his computer skills, but failing that, there’s no consequences for blindly opening doors. Go nuts! Before you leave this cogitator alone, however, be sure to pick the option [Main elevator controls] option then [Activate the elevator]. Now it’s time to head to the armory, which you just opened. Backtrack south into the previous room and head into the southernmost of the eastern two doors to find several containers you can loot. Most contain mere cargo, but the lockers to the east can be plundered to score ![]() Longlas (likely the best sniper rifle you’re going to find for a while) and a Carapace Chestplate.
Longlas (likely the best sniper rifle you’re going to find for a while) and a Carapace Chestplate.


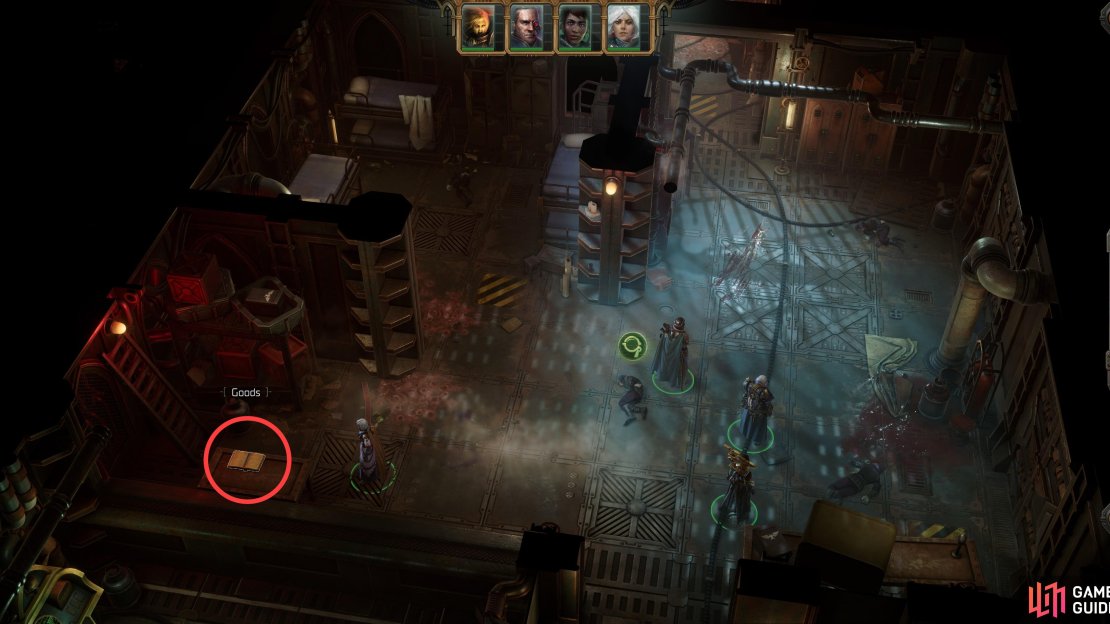
(1 of 2) The first room of the laboratory has numerous lootable objects, all containing components for the upcoming Laboratory Puzzle.
The first room of the laboratory has numerous lootable objects, all containing components for the upcoming Laboratory Puzzle. (left), The second laboratory room has the machinery needed to make a new control rod for the elevator, more components and notes for the Laboratory puzzle, and the devices with which you’ll need to interact for the Laboratory Puzzle itself. (right)
All Items in the Laboratory - Eurac V
Now it’s time to head to the laboratory. There was an ominous cutscene when you opened it, and you’ll experience some warp shenanigans when you cross the bridge in the library. Despite these ominous developments, nothing impedes your access to the laboratory, and in the first room past the sealed door you’ll find various things to loot, which contain numerous components you’ll need to use in the upcoming puzzle:
| Loot | Note | Location |
|---|---|---|
| Biogel | Component for the Laboratory Puzzle | In a yellow crate on the western end of the room. |
| Black Water | Component for the Laboratory Puzzle | In a yellow crate on the western end of the room. |
| Unidentified Acid | Component for the Laboratory Puzzle | In a yellow crate on the western end of the room. |
| Psy-Crystal | Component for the Laboratory Puzzle | In a red box. |
| Flesh Sample | Component for the Laboratory Puzzle | In a glass cylinder near the middle of the room. |
| Data-Crypt-K-04-OH | Component for the Laboratory Puzzle | In a box on a table in the southeastern corner of the room. |
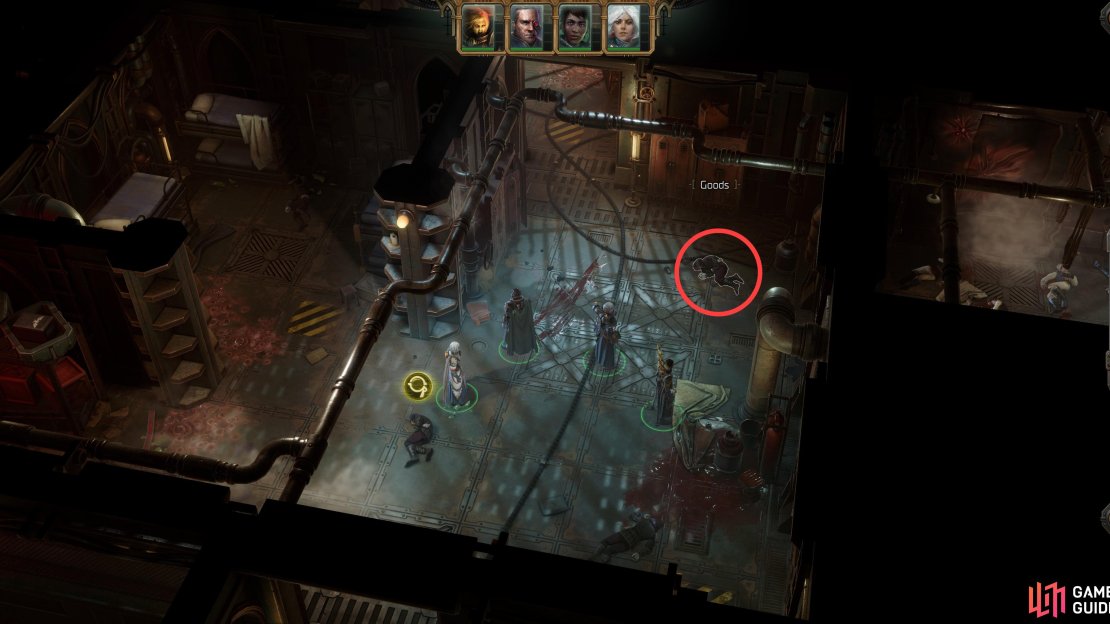
Grab all these components and go through a door to the east to reach another room crawling with loot, and more importantly, various gadgets to interact with. First the loot:
| Loot | Note | Location |
|---|---|---|
| Component for the Laboratory Puzzle | In the northeastern corner of the second laboratory room. | |
| Laboratory Journal H-4045LS | Hints about Laboratory Puzzle | On the floor in the center of the second laboratory room. |
| Research Notes, Part 12 | Hints about Laboratory Puzzle | In the southwestern corner of the second laboratory room. |
Now you should have all the components necessary to try to concoct something in this room. For valid formula, check out the Laboratory Puzzle page. Regardless of what, if anything, you do with the Laboratory Puzzle, you’ll need to interact with the machine on the northern end of the room - just click on the icon labeled “Remake the control rod”. This should be sufficient for you to get the elevator working, so you can return to Felek any time you want. For more information about how that all plays out and your choices, check out the Felek Choices page.
No Comments