
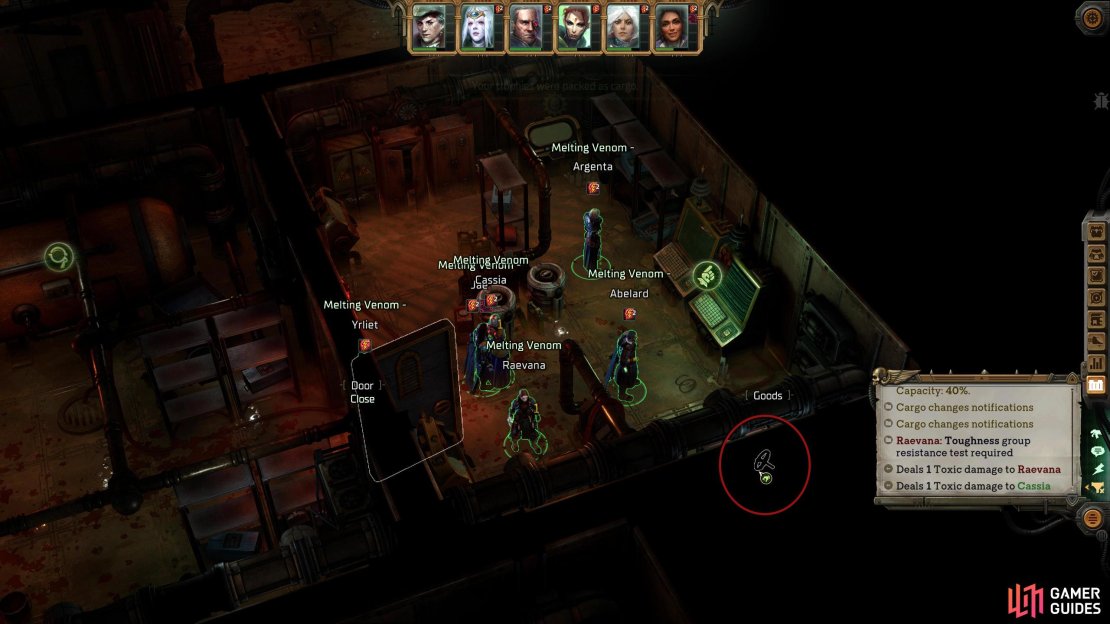
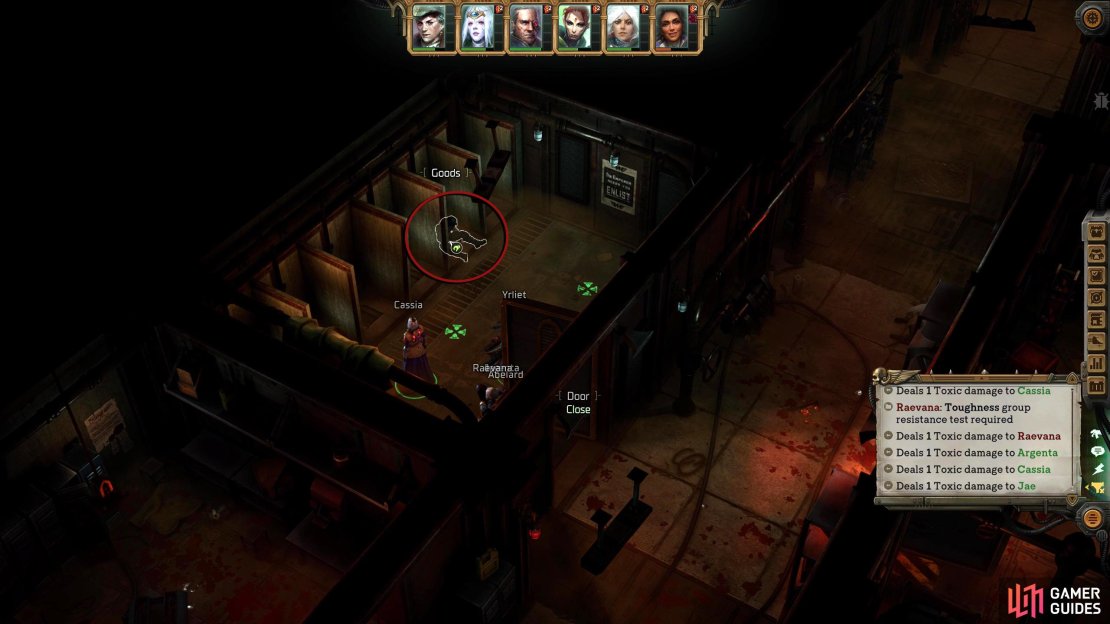
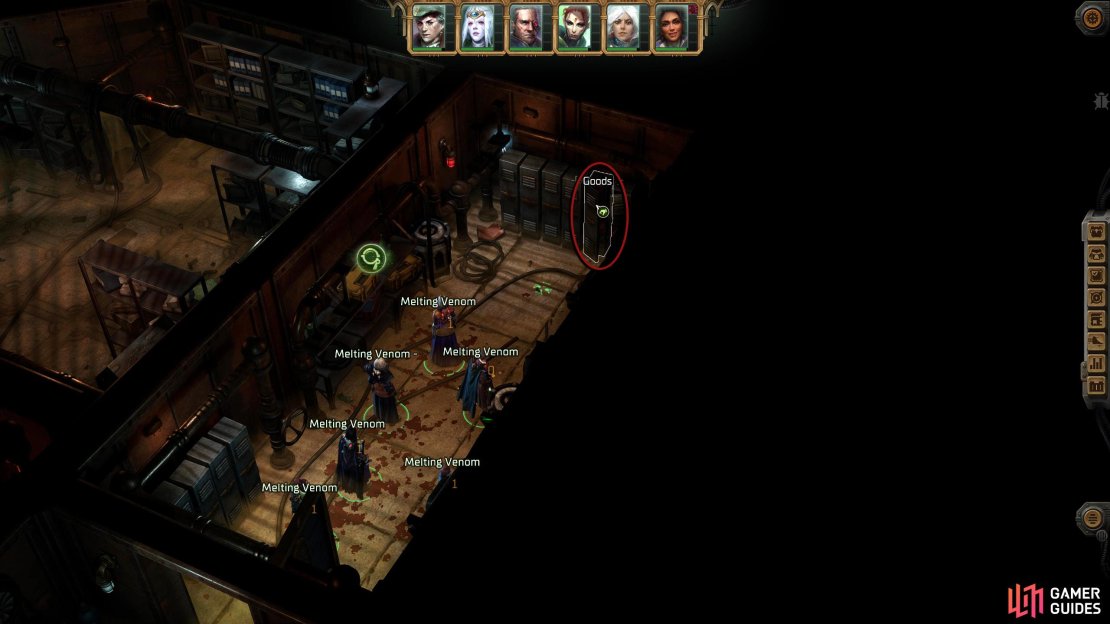
The Ancient Bunker in Rogue Trader is a side dungeon. Found in the Nameless Star system on Oasis V this bunker is home to loot and toxin…lots of toxins. When you step foot on the planet, the first thing you’ll notice is that you’ll take constant damage from a debuff called Melting Venom, which will deal approximately one damage to the party every second unless you pass the ![]() Toughness check. As long as you come prepared with lots of healing supplies, you can circumvent this until you can turn on the ventilation system inside the bunker. The bunker is a series of corridors, small rooms, traps, and locked doors, some of which can be opened via your various skills while others require a key. Read on to find out how to make it through Rogue Trader’s Ancient Bunker alive with your pockets full and grabbing Jae’s seal needed for the Mercatum Tabula quest.
Toughness check. As long as you come prepared with lots of healing supplies, you can circumvent this until you can turn on the ventilation system inside the bunker. The bunker is a series of corridors, small rooms, traps, and locked doors, some of which can be opened via your various skills while others require a key. Read on to find out how to make it through Rogue Trader’s Ancient Bunker alive with your pockets full and grabbing Jae’s seal needed for the Mercatum Tabula quest.

The Ancient Bunker is a mysterious place. What secrets does it hide?
Ancient Bunker Location and Guide
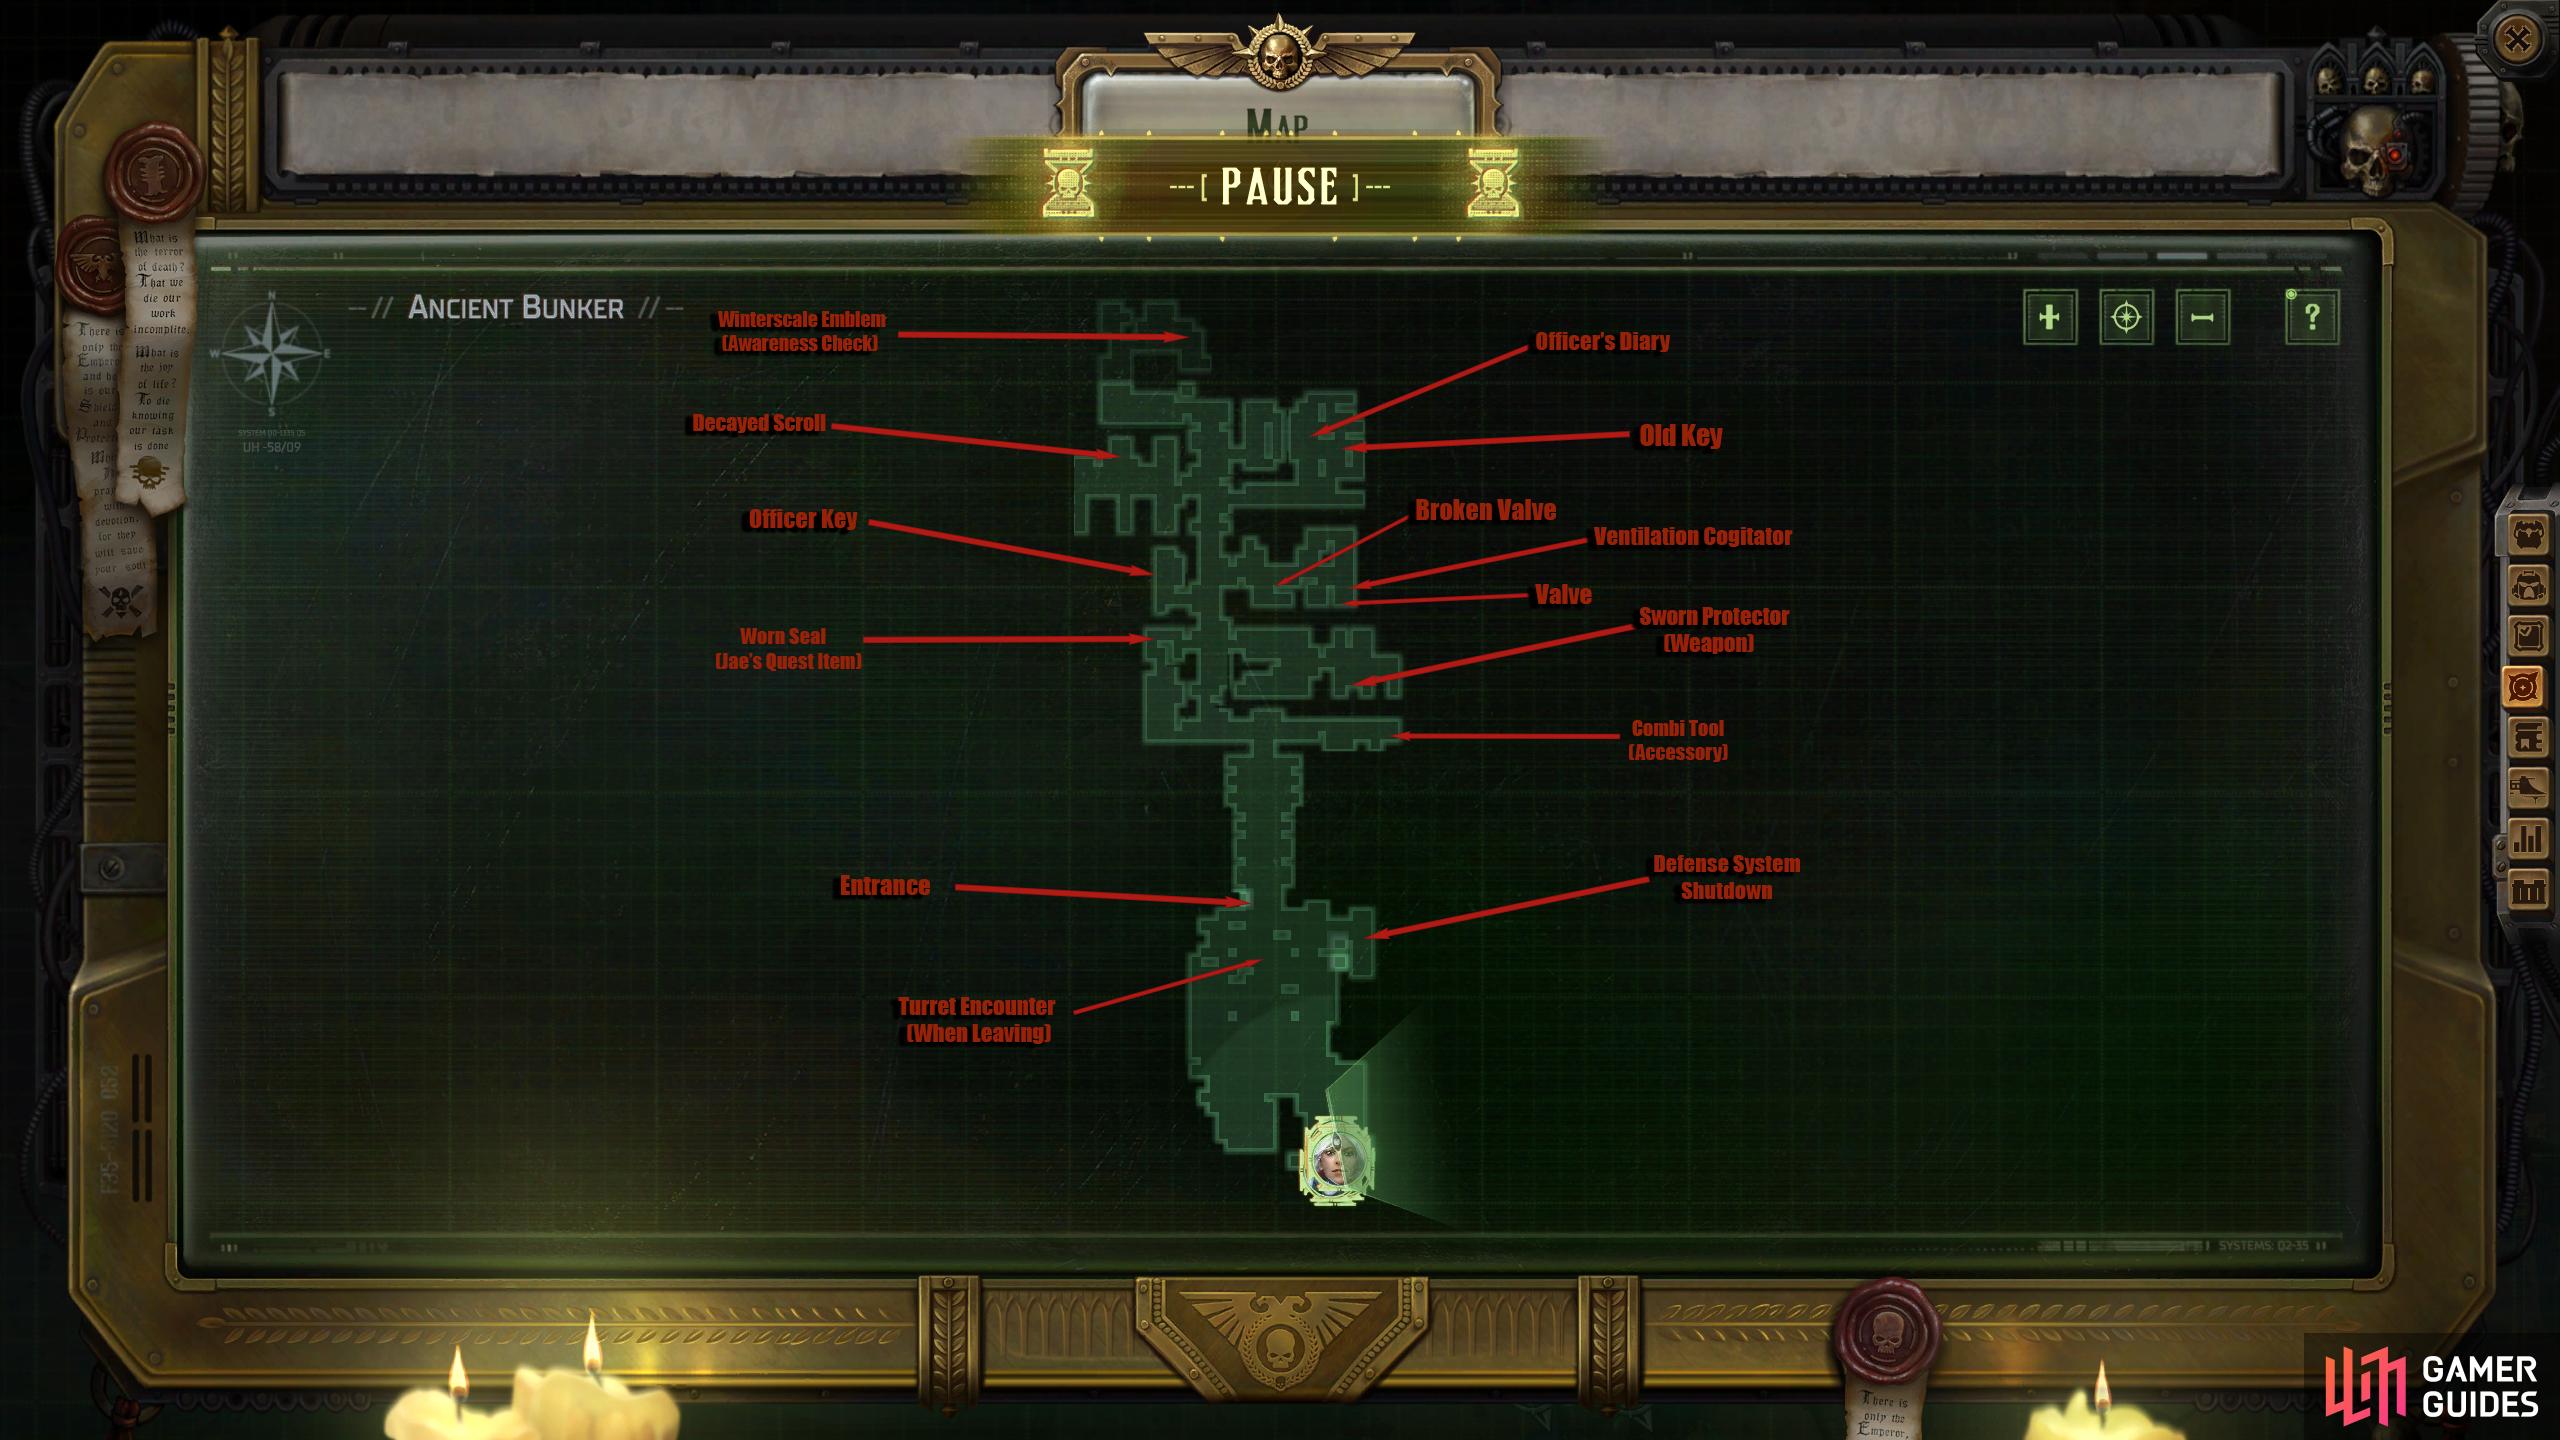
Use this map to help you navigate the bunker. Some of these rooms require checks, the power turned on, or one of the keys.
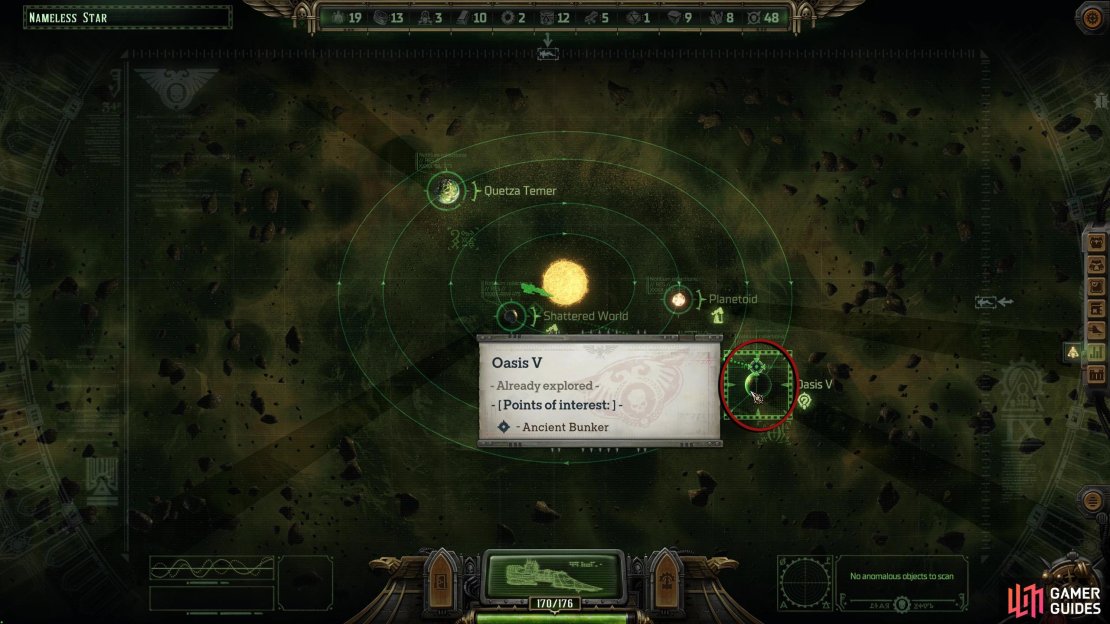
As briefly stated above, the Ancient Bunker can be found on the Nameless Star System on the east side of the Koronus Expanse, directly east of Telikos Epsilon. Inside the system is a world called Oasis V. Scan the world, and the Ancient Bunker will appear allowing you to select your party before you enter it. When you step foot on Oasis V, you’ll immediately be under the effect of Melting Venom which will reduce your health over time provided you don’t pass the Toughness check. You’ll park the ship right outside the bunker entrance, and there’s not a lot to do other than entering the bunker itself, although there is a console you can interact with to the right of the entrance, but it has no power right now.
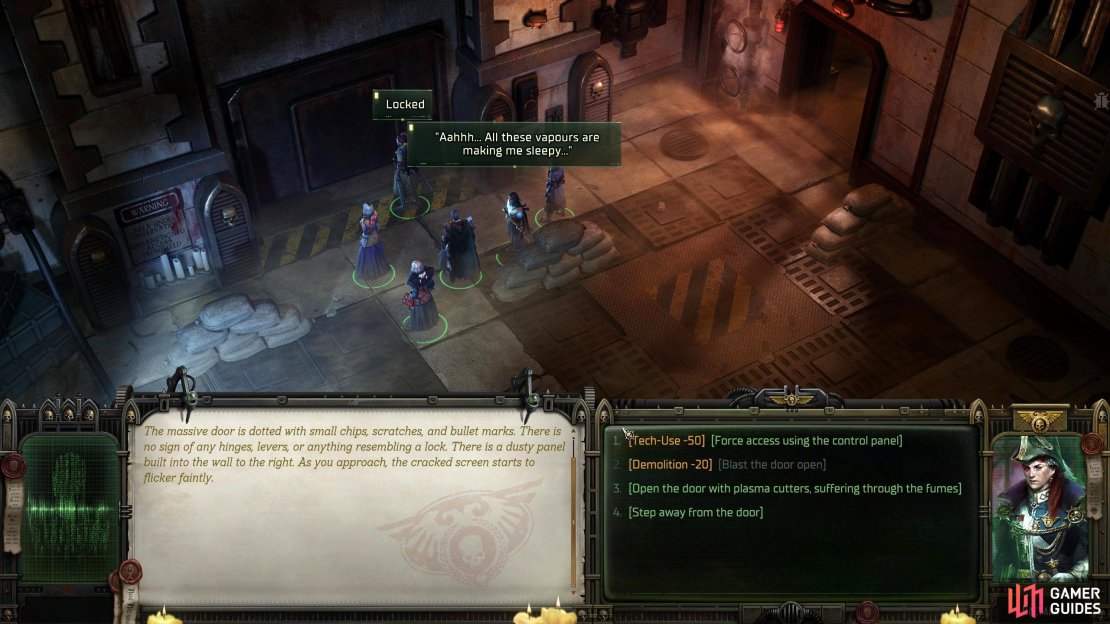
Interact with the bunker and you’ll get two checks to open the door that will be either a [Demolition] or [Tech-Use] check. Both of these require a high skill to succeed, so make a quick save before attempting this. Failing both attempts, you’ll have to opt for the plasma cutter route but this will give two fresh injuries to the entire party. If you’ve been diligent with your exploring thus far, you may have some accessories you’ve forgotten about that can bolster your skills.
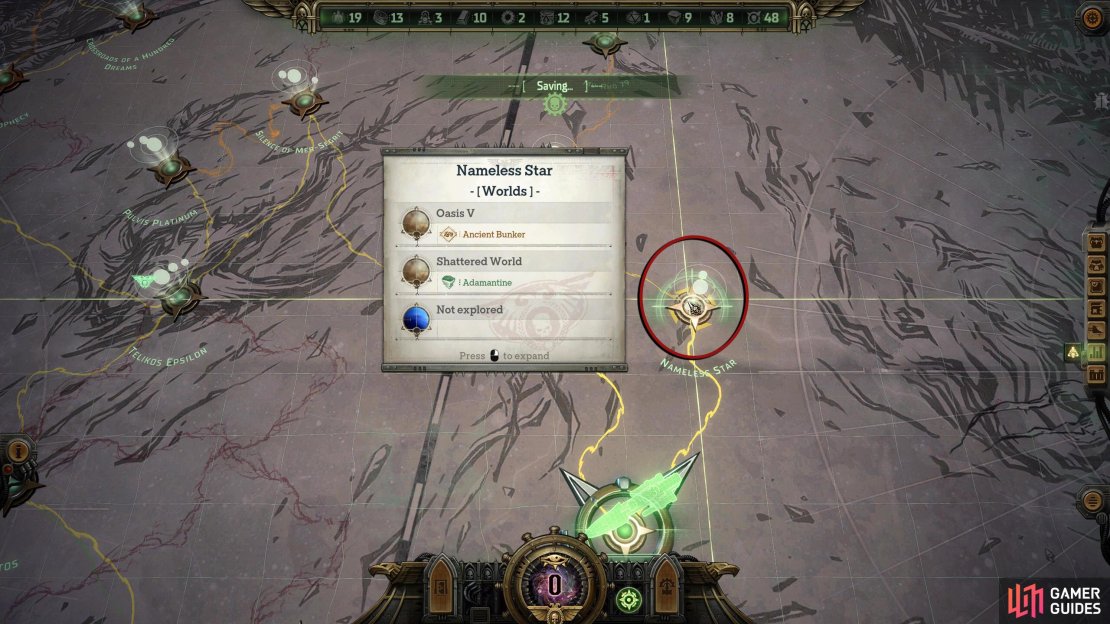
(1 of 3) To find the Ancient Bunker, head to the Nameless Star System.
Vent Puzzle and Jae’s Seal
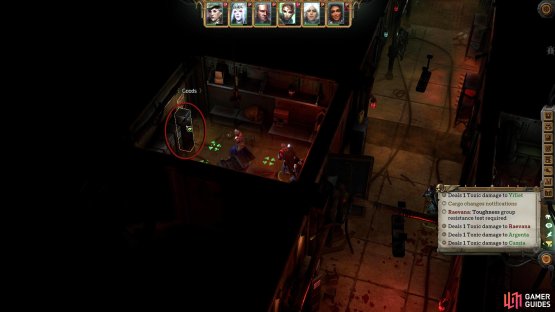
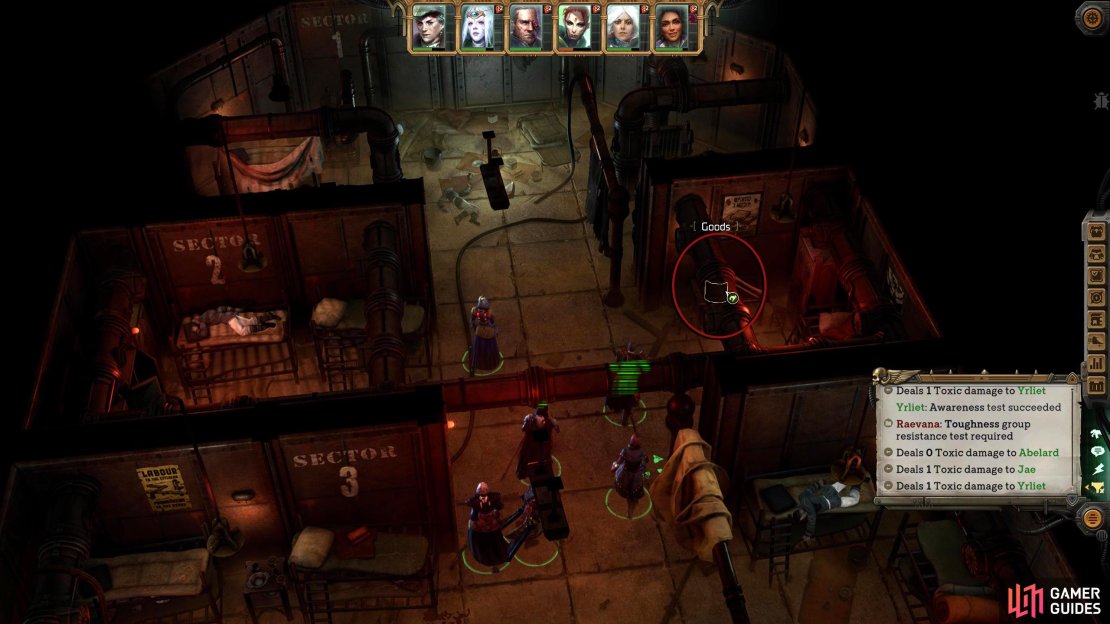
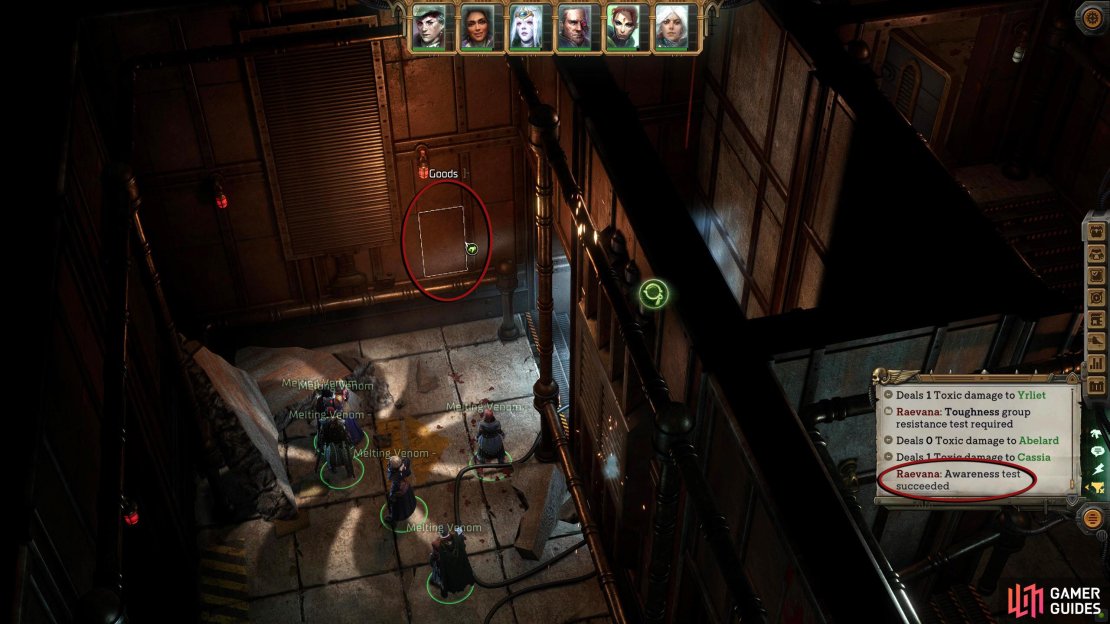
One way or another, you’ll find yourself inside the Ancient Bunker. Proceed through the corridor to the next room, and you’ll be met by three doors. While you’re in the room, check out the magnifying glass icon to find out that a yellowish liquid is seeping through the nearby vents; this is why you’re inhaling toxins. Keep an eye on your party’s health and when it gets to around half, heal up with a medikit. Back to the doors, the room to the right requires you to pass some checks but you’ll get the ![]() Sworn Protector weapon among some other loot. The door to the left leads you to a shower room where you can interact with the shower, however, it will spit out toxin should you fail the
Sworn Protector weapon among some other loot. The door to the left leads you to a shower room where you can interact with the shower, however, it will spit out toxin should you fail the ![]() Agility check.
Agility check.
(1 of 2) You can find the seal for Jae’s companion quest in a locker in the room above the shower room on the west side of the bunker.


You can find the seal for Jae’s companion quest in a locker in the room above the shower room on the west side of the bunker. (left), This is one of two seals (the other being on Janus) needed to complete Mercatum Tabula Officiale. (right)
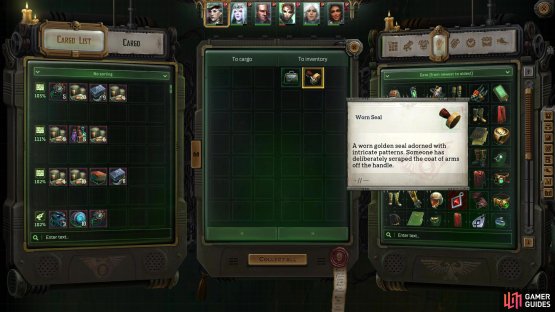
The first thing you want to do here is turn on the ventilation system, and to do that, you’ll need a valve. Head through the northern door or, failing the checks, the left door. If you took the north door, go into the door on your left and inspect the locker to find a Worn Seal, which is needed for Jae’s “Mercatum Tabula Officale” quest. This room can also be accessed from the shower room by heading north. Make your way back to the long corridor and enter the second door on your right. To the right of the door is where you’ll need to place the valve when you find it which is in the room adjacent to it. Head back to the corridor and enter the door opposite the valve room, and you’ll find an unfortunate victim slumped over in the shower; inspect them to find the !Officer Key, which allows you to enter the archives later.
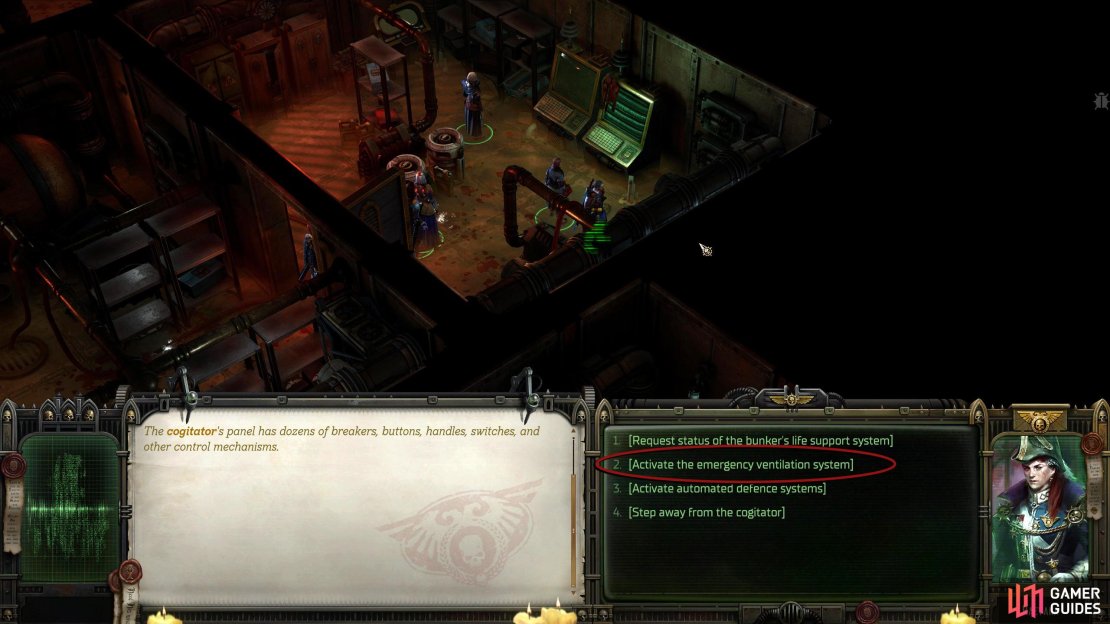
Go back to the corridor, head north, and make your way to the mess hall by taking the corridor to your east. Here, you’ll find two corpses, one will have cargo while the second will have the Old Key that allows you to enter the locked door in the valve room. Head back to the valve room and open up the locked door with the key. Inside, you’ll find a cogitator which you can’t do anything with right now, and a loose valve on the floor to the right of it. Pick up the valve and place it into the slot mentioned earlier, and then go back to the cogitator and select “Activate the emergency ventilation system”. This will purify the bunker of toxins, allowing you to breathe easier and stop losing health.
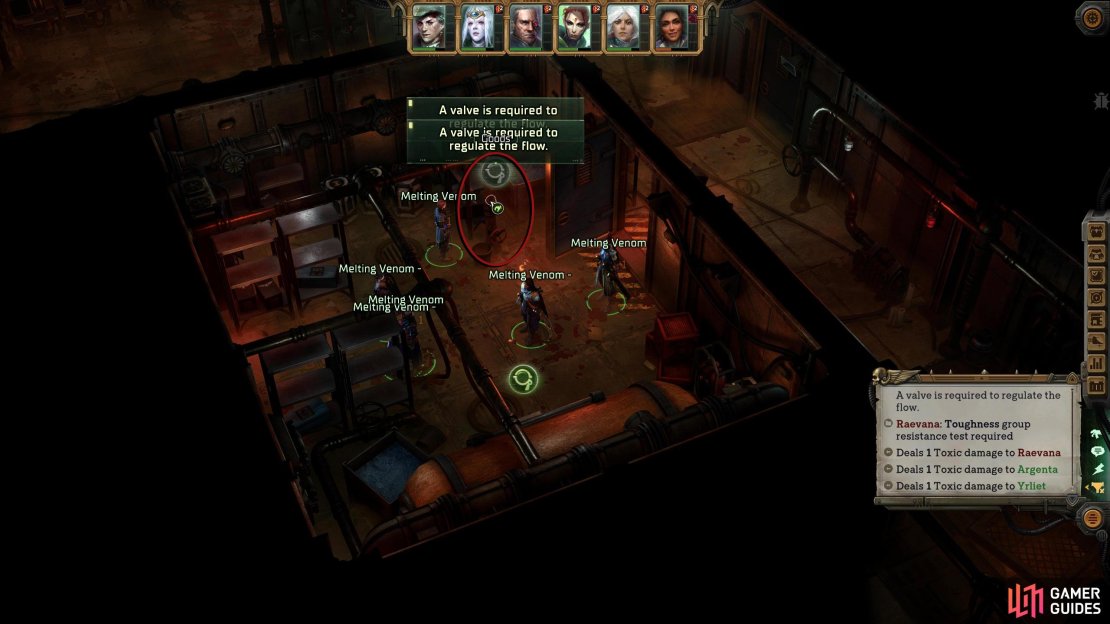

(1 of 4) When you try to interact with the valve, it will break, leaving you needing a replacement.
Notable Loot
Now that the ventilation system has been shut down, you can check out the rest of the bunker at your own pace. For the most part, you’ll mainly find cargo and a couple of diaries explaining what went on in the bunker. However, there is the Sworn Protector to loot from the archives, provided you picked up the !Officer’s Key earlier. Head back to the beginning of the long corridor and enter the first door on the right. Near the entrance, there is a trap, so get your explosives expert to disarm it before looting the locker at the back of the room. There is also a Vox Caster that you can repair to the right of the door.
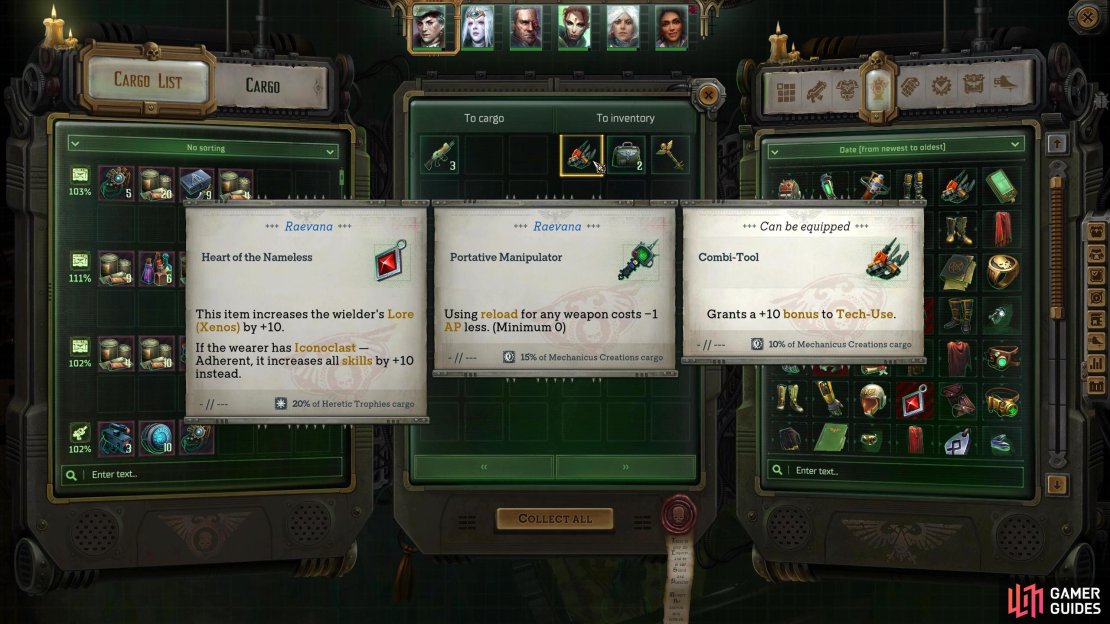
Now open up the door by interacting with the Door Control Panel to gain access to the archives. Before rushing in, there is a trap near the entrance, and you won’t be able to disarm it from there. Instead, select your explosives expert, and walk them around the trap, and disarm it at the back of the room. Head back to the entrance and search the bag on the shelf to find the Sworn Protector. On another shelf, to your left, you’ll find some cargo and a Melta Charge, and at the back, a lore interaction at the back, but it’ll offer you nothing other than a wasted Machine Rite Set. Finally, you can find the Combi Tool accessory in the storage room, which is the right door in the room with the three doors near the entrance. This is all the worthwhile loot in the bunker. The other stuff is either cargo or usable items, which you can predominantly find in the barracks near where you picked up the !Officer’s Key.


All Story Journals
The story of the bunker can be found by reading the various journals inside.
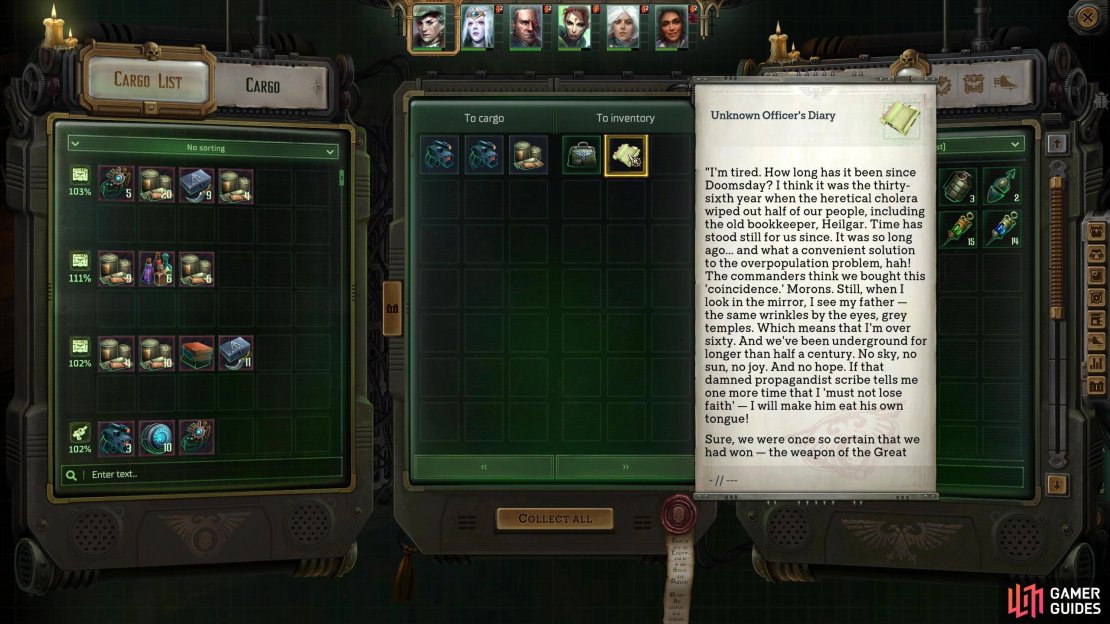
- Unknown !Officer’s Diary: On the left corpse in the Mess Hall.
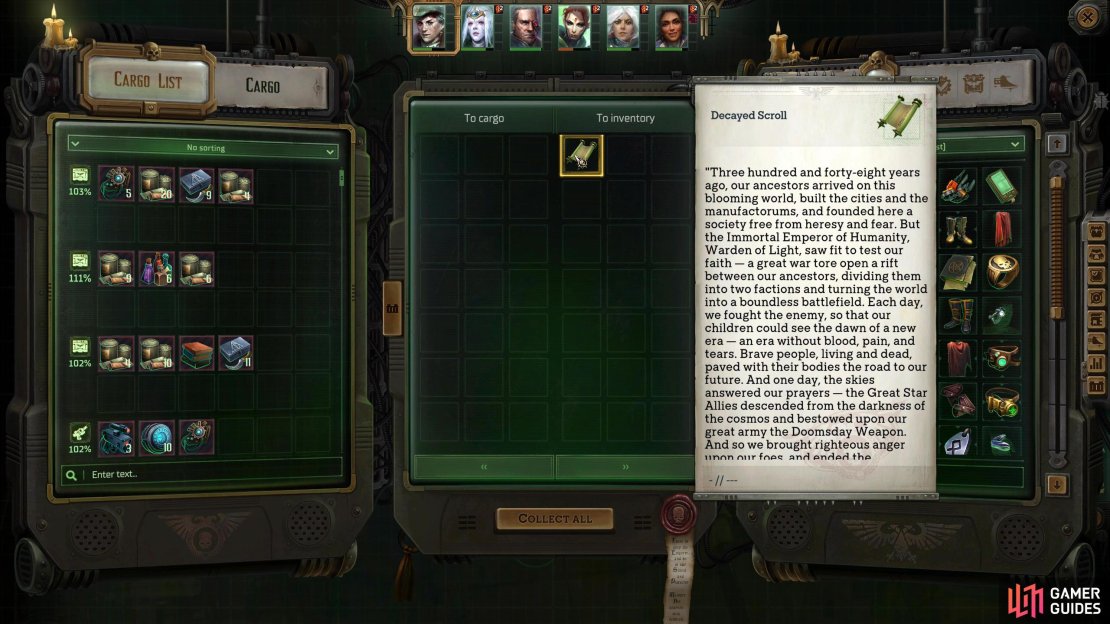
- Decayed Scroll: In the right room of sector 2 in the barracks.
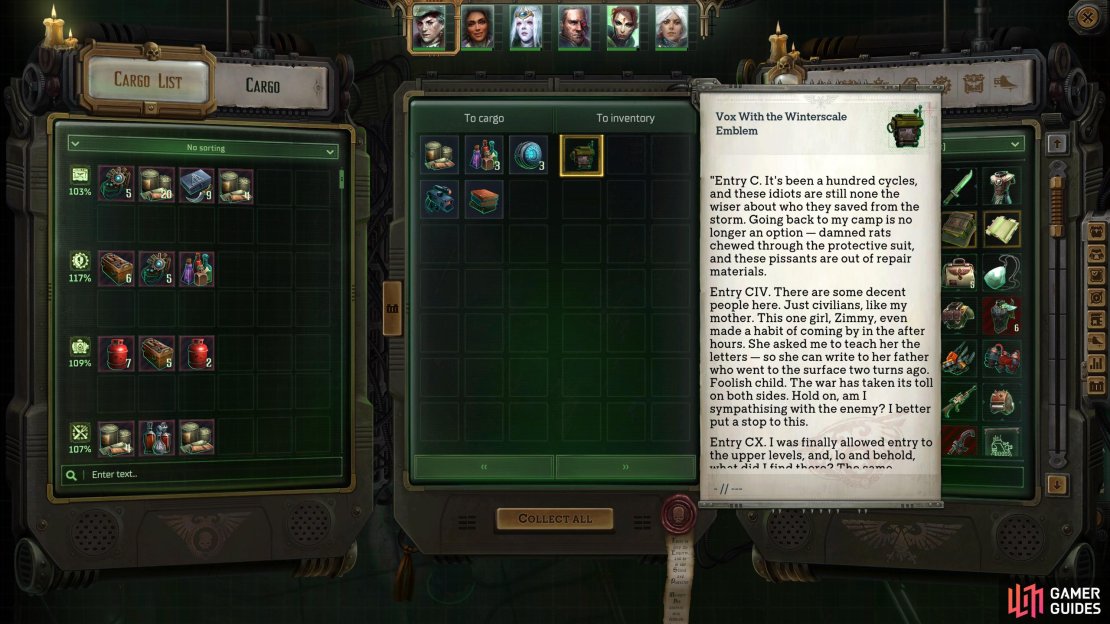
- Vox with the Winterscale Emblem: Requires high Awareness to find this. At the back of the long corridor is a door that can only be accessed after the power is on. Go down the stairs to where the rubble blocking the other set of stairs is and if your Awareness is high enough, you’ll find a loose panel on the wall next to it.

Turret Encounter Tips
After you’ve finished searching the bunker, it’s time to go. You may think that it’s weird that you have just finished a dungeon, and not one battle occurred. Well, that is about to change. As you head back to the voidship, the defense system will come online in the form of four turrets. These turrets hit hard and can shred down a party member in one turn. On top of stopping power, the turrets have high toughness and a lot of health, making this a relatively difficult battle. Here are some tips to help you take them down easier:
- You can completely bypass this encounter by using the cogitator in the side room to the left of the exit. It will require you to pass a [Tech-Use] check but when you do, you can deactivate the defense system.
- Stop the turrets having a turn: By now you should have picked up a fair few stun grenades. A well-placed grenade can hit all turrets and stun them for one turn. Alternatively,
 Cassia’s
  Lidless Stare can stun them too (and your party) provided they fail a
  Willpower check and the turret’s Willpower isn’t particularly high.
 - Taunt them: Believe it or not, taunting scream works on the turrets, provided they fail a Willpower check once again. Use this on your Vanguard and bolster them with various defense, dodge, and temporary health buffs; the Grand Strategists “Frontline” is good for this too.
- Strip the Turrets of their defense: Before attacking the turrets, start stripping away its defenses layer by layer. Use your Operative’s, Psyker’s, and Bounty Hunter’s abilities to make them susceptible to your attacks.
 Melee attacks while using
  Reckless Strike will deal a moderate amount of damage to them.
- Sniper Shots will deal minor to moderate damage to the turrets.
- Burst Fire with Laser weapons can deal reasonable damage.
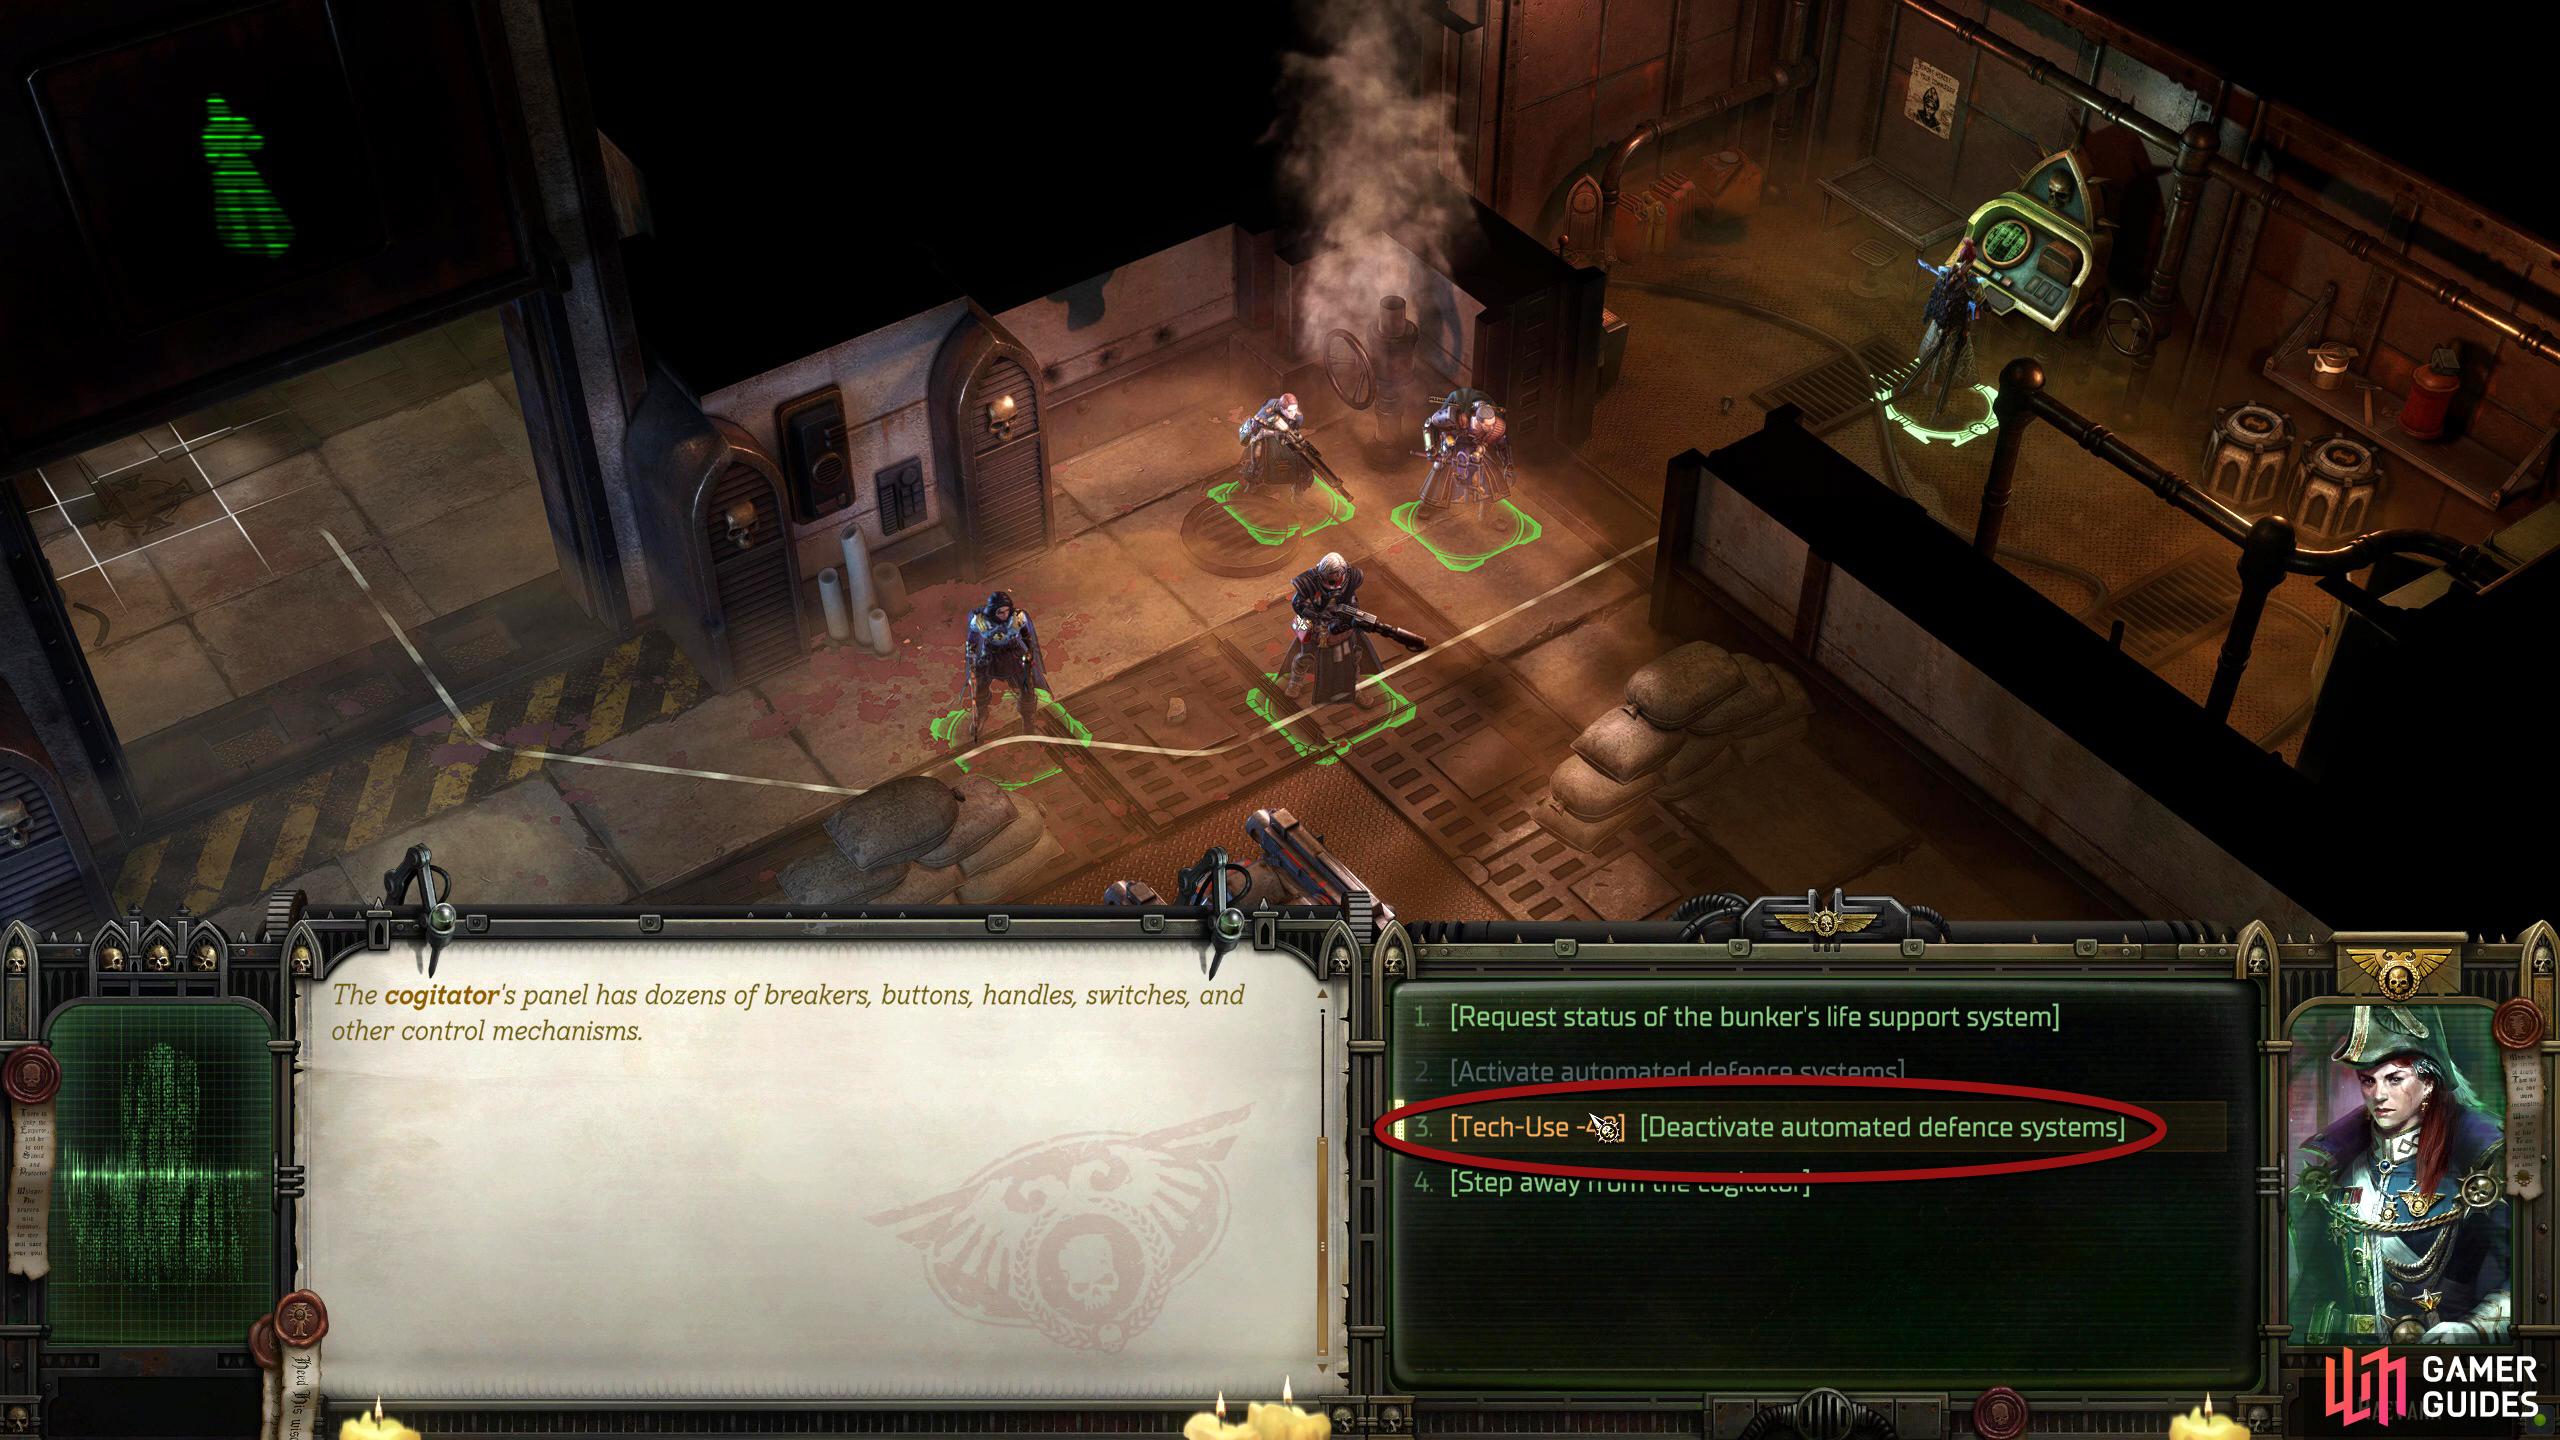
Enter the side room of the arena to deactivate the turrets. You will have to pass a Tech-Use check to do this though.
More Rogue Trader Guides
There you have it, the Ancient Bunker covered in its entirety. If you need more guides on various puzzles and locations in Rogue Trader, check out the pages below.
No Comments