
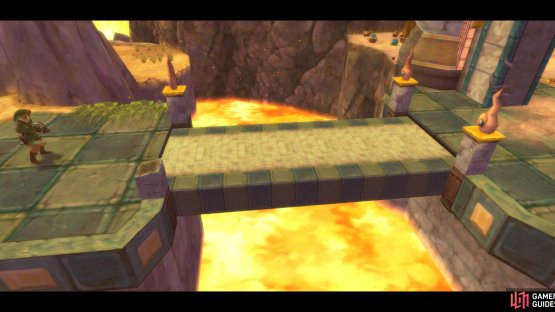
(1 of 2) Now, how do we cross this– Oh, somebody solved the puzzle for us.
Now, how do we cross this– Oh, somebody solved the puzzle for us. (left), We’re about halfway there now! (right)
Upon exiting the cavern, go along the path upwards and speak with the Mogma. He’ll point out a gap to you. Ignore it for the moment and use the nearby Bomb Flowers to destroy the rock blockade nearby; this creates a shortcut back towards the bone bridge from earlier. Afterwards, approach the aforementioned gap to create a bridge. An unknown person will speak with you shortly, then leave. Go across bridge and examine the nearby Bird Statue.
Afterwards, go westward, up the hill. You’ll need to slash at a few Fire Keese as you do. Further along, you’ll need to hop across some lava to a steep hill. Dash to the platform nearest the bottom and defeat the Bokoblin nearby.
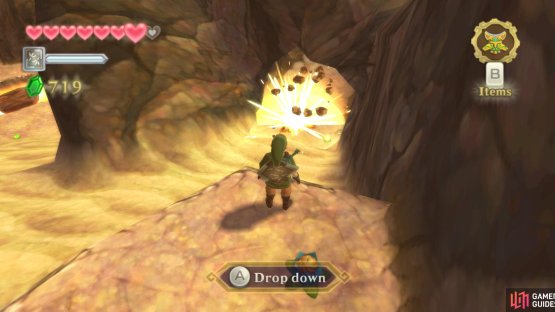
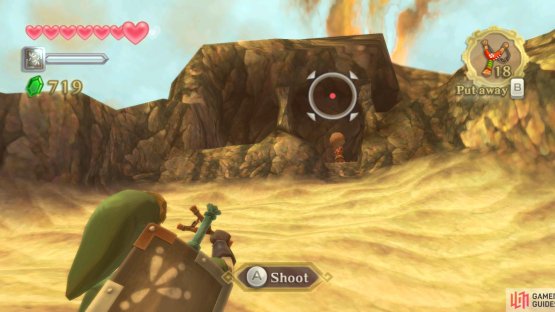
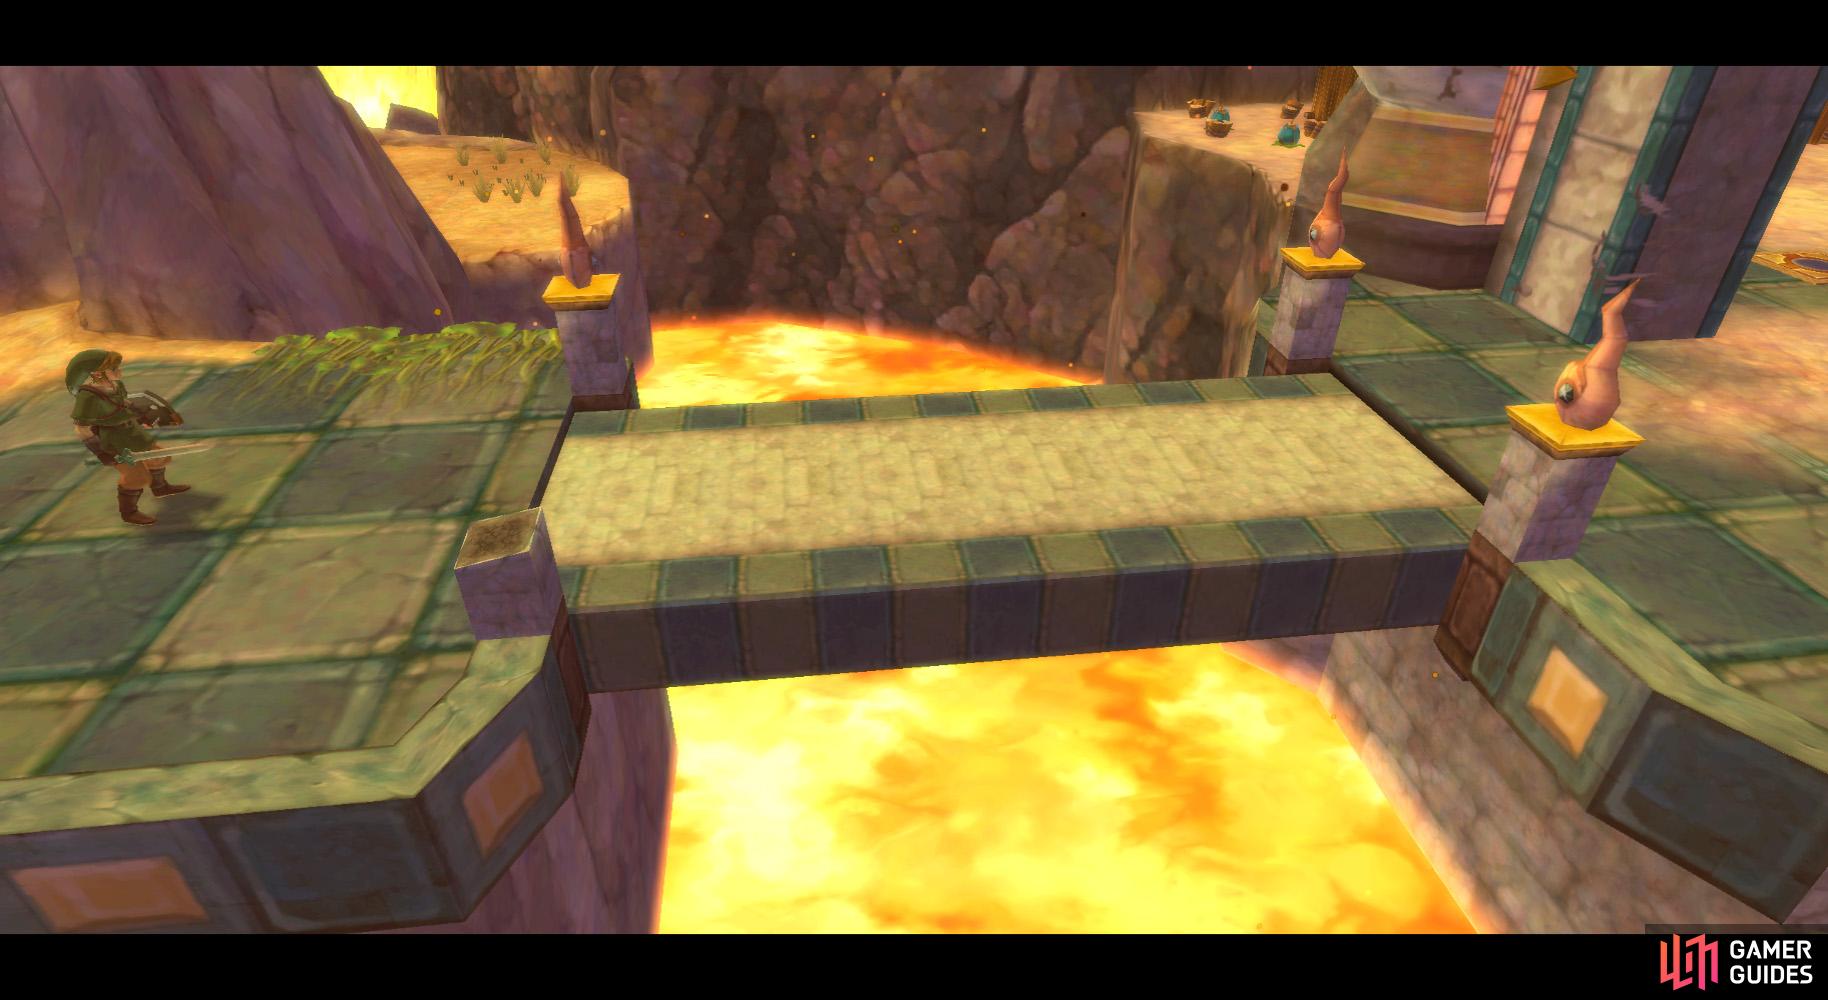
(1 of 2) These shortcuts make backtracking easier.
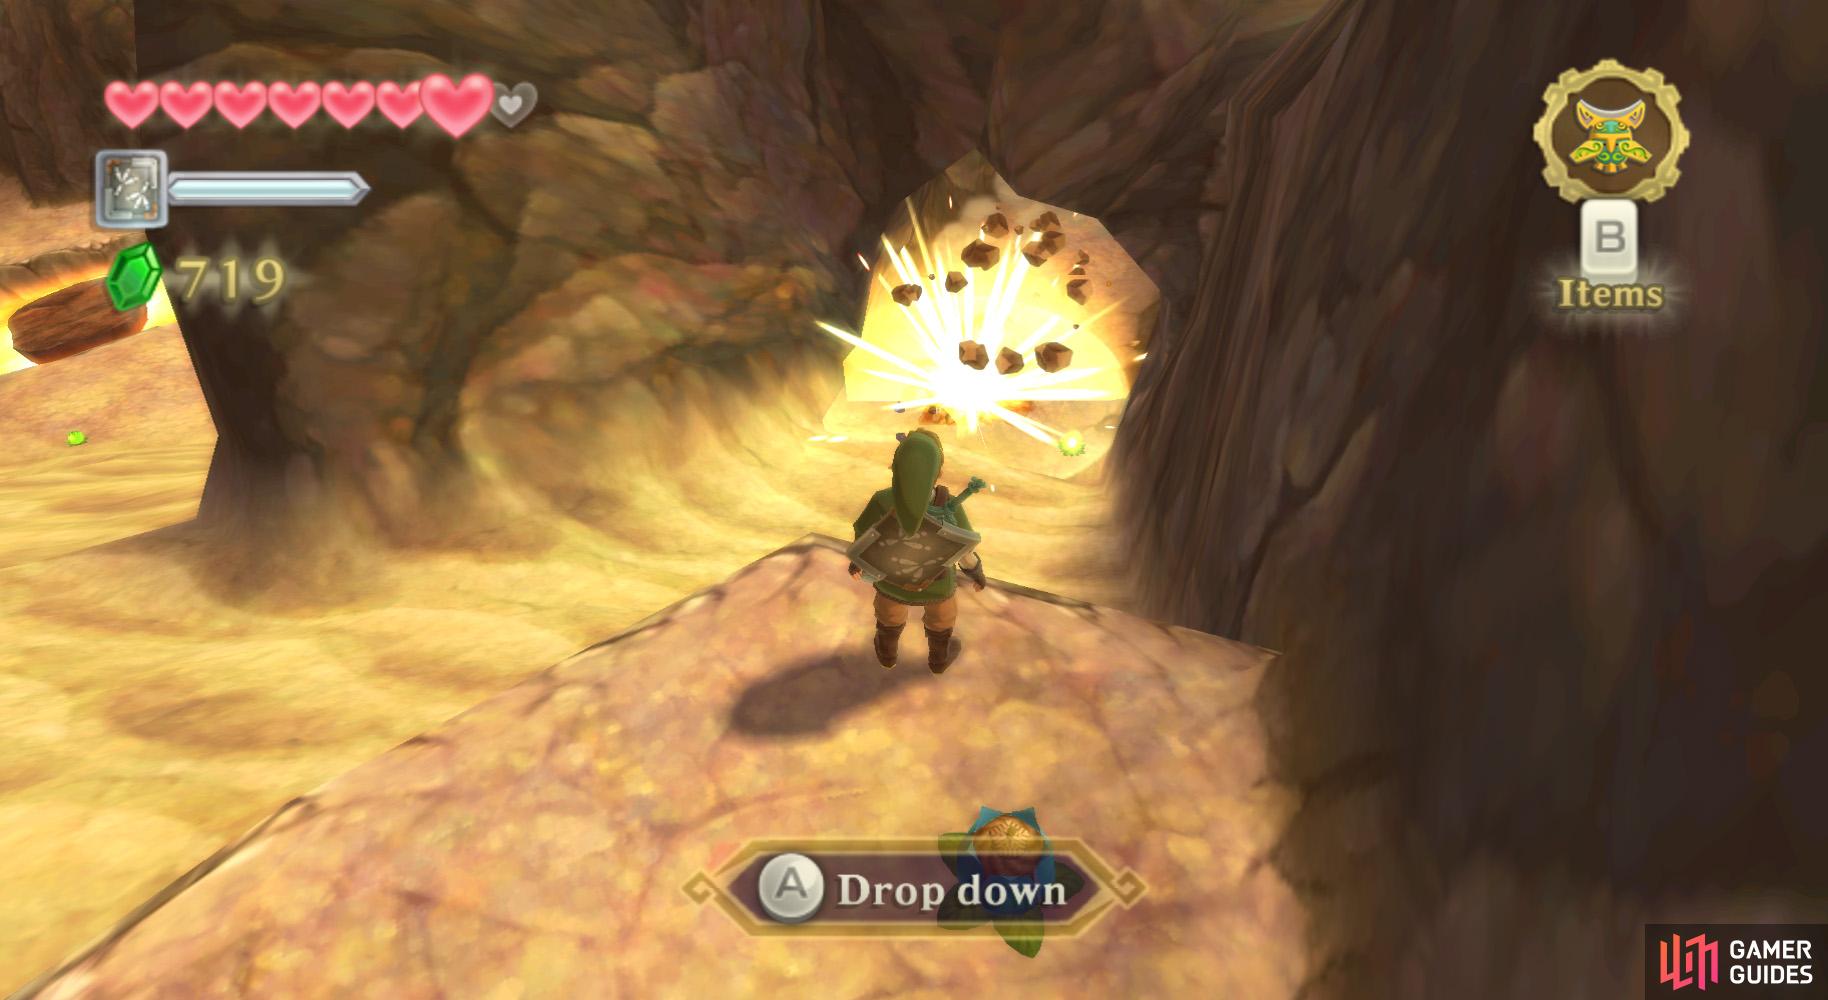
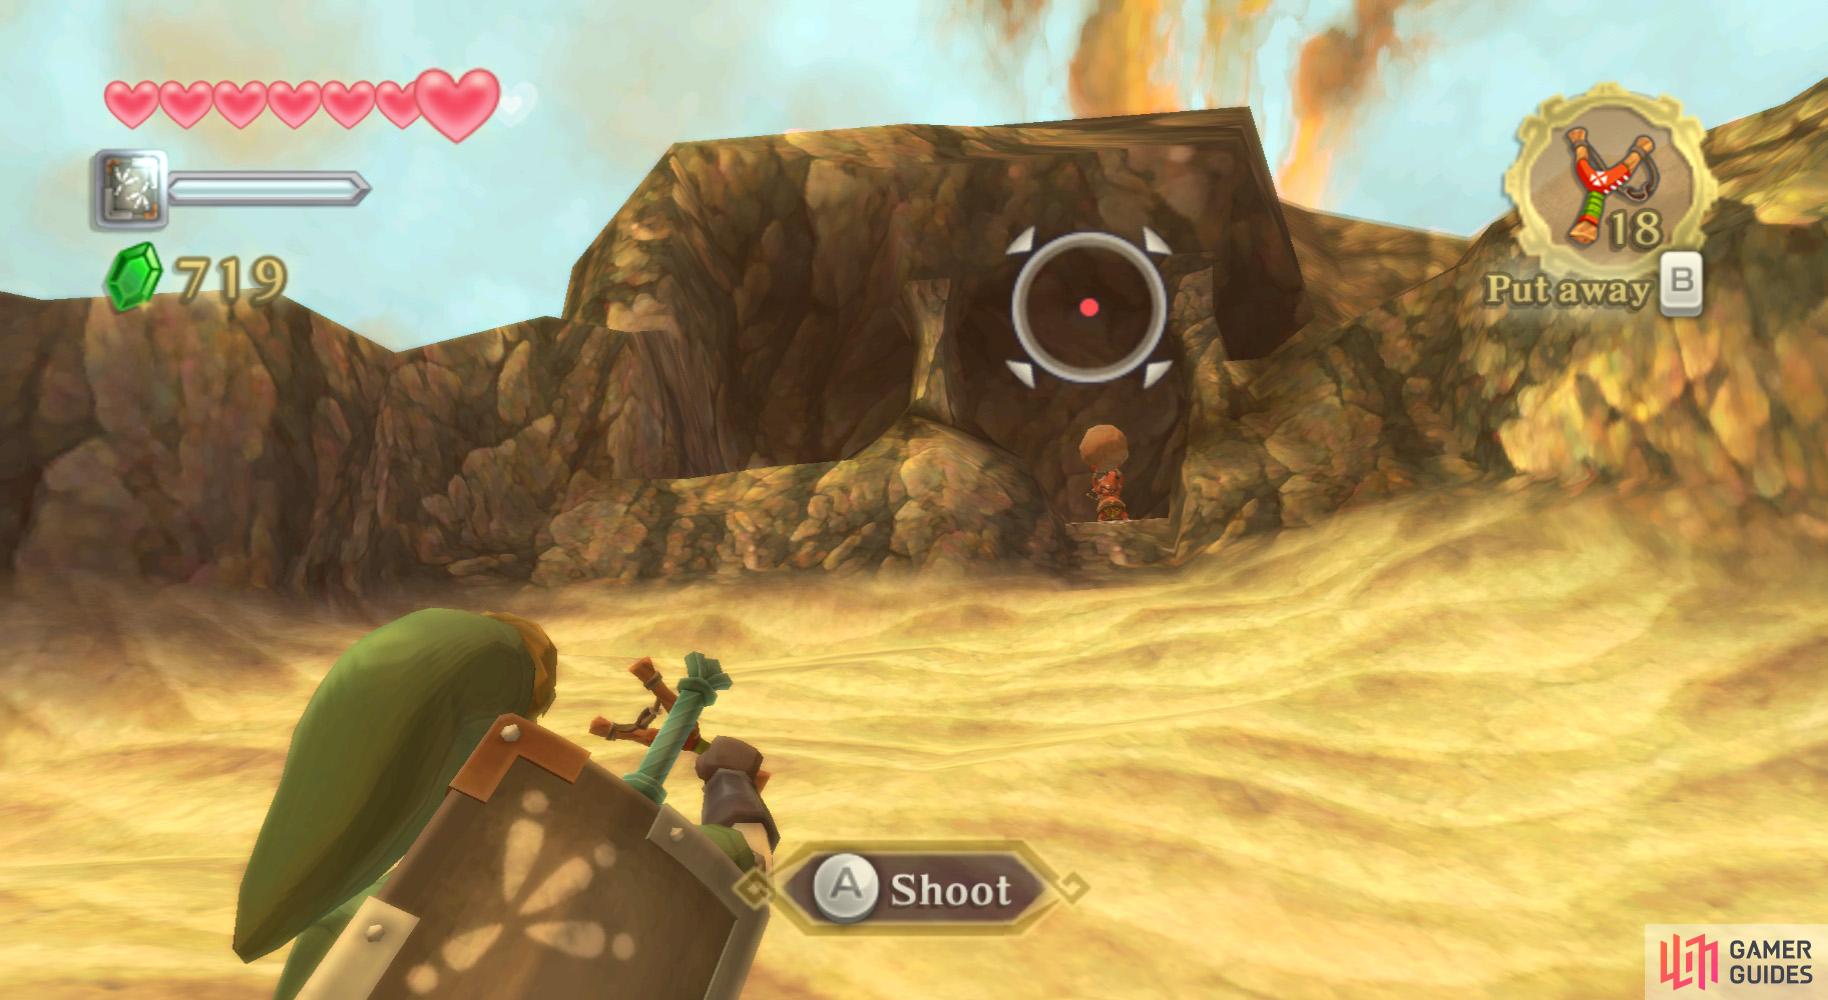
These shortcuts make backtracking easier. (left), Shoot the Bokoblin to make them drop their boulder. (right)
Go to the nearby Bomb Flower ledge and throw it down the hill, towards the rock blockade, for a future shortcut. Also be sure to do some digging here for Deku Seeds. Return to the initial platform you ran to and equip the Slingshot. Aim it further up the hill, and above the rock-wielding Bokoblin; if you hit it, it will drop the rock and effectively be killed. Reminds me of Dig-Dug. :P
Afterwards, dash further up the hill and climb onto the ledge the Bokoblin from earlier was on. Go further along the path to find a few more Bokoblin. Defeat those on the ground first, then put a Bomb Flower at the base of the wooden watchtower.
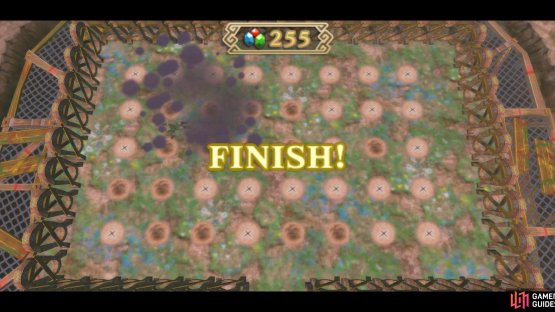
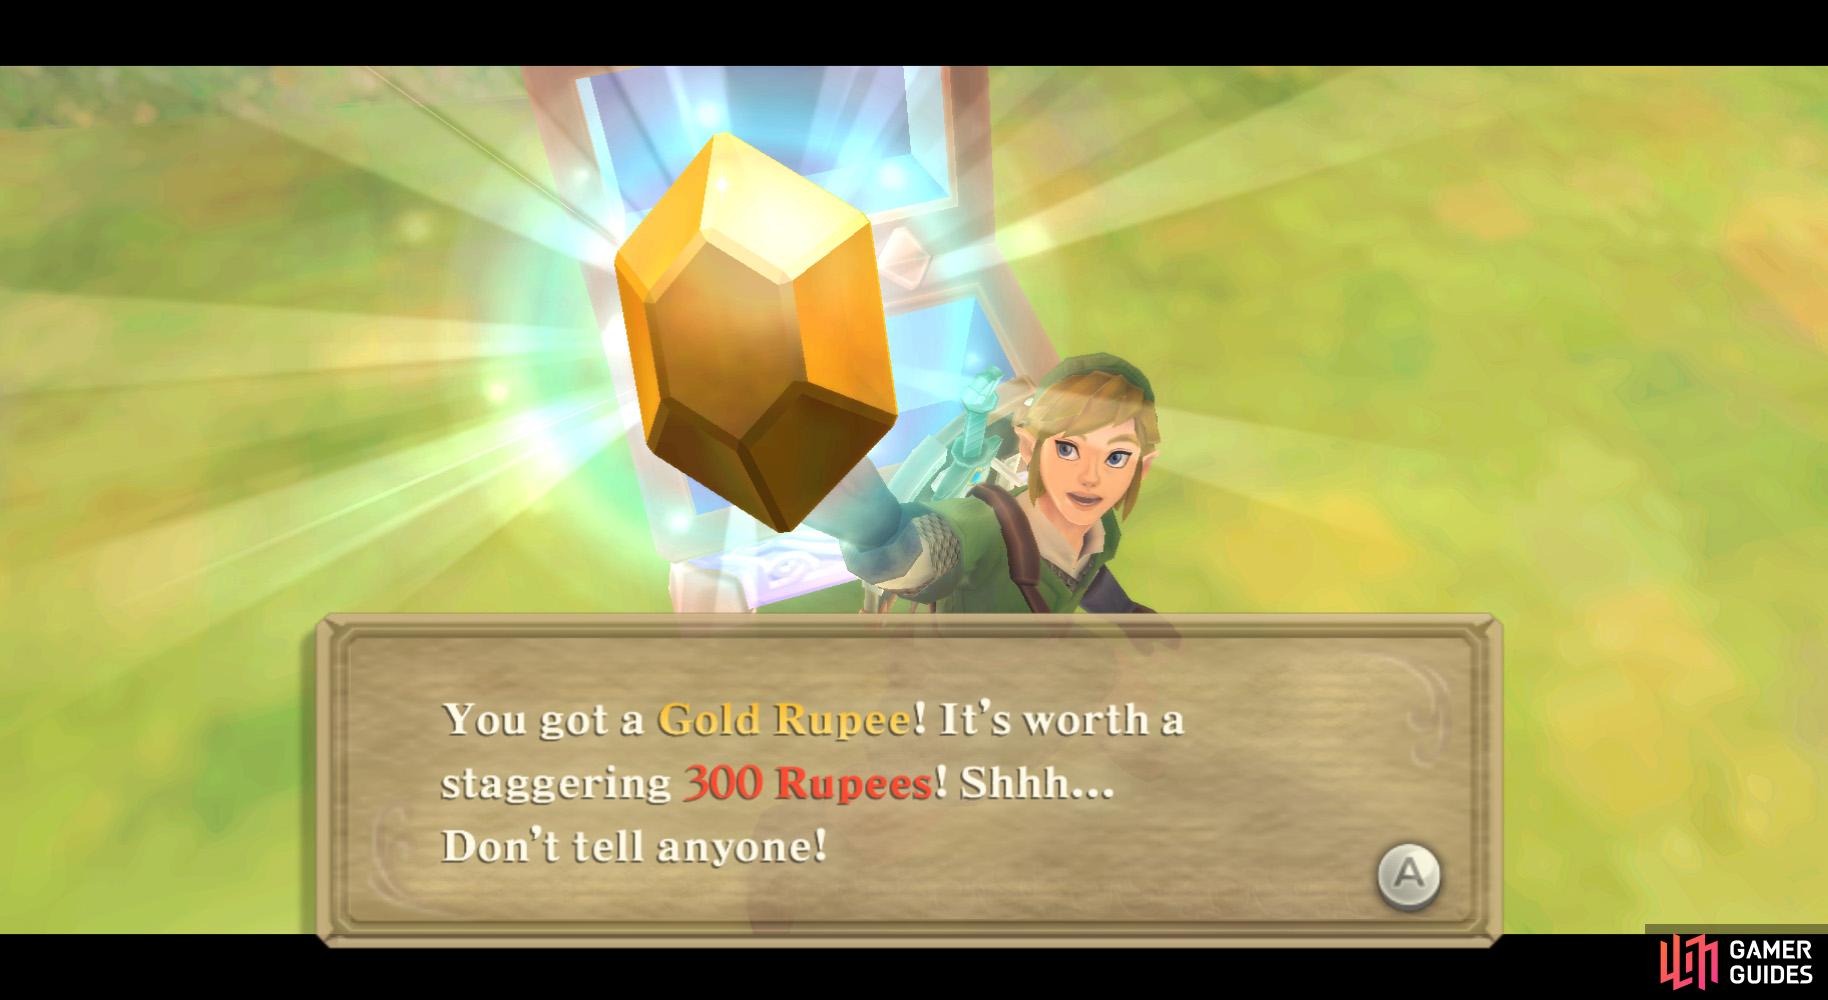
(1 of 2) If it’s thrills you want, you’re in the right place.
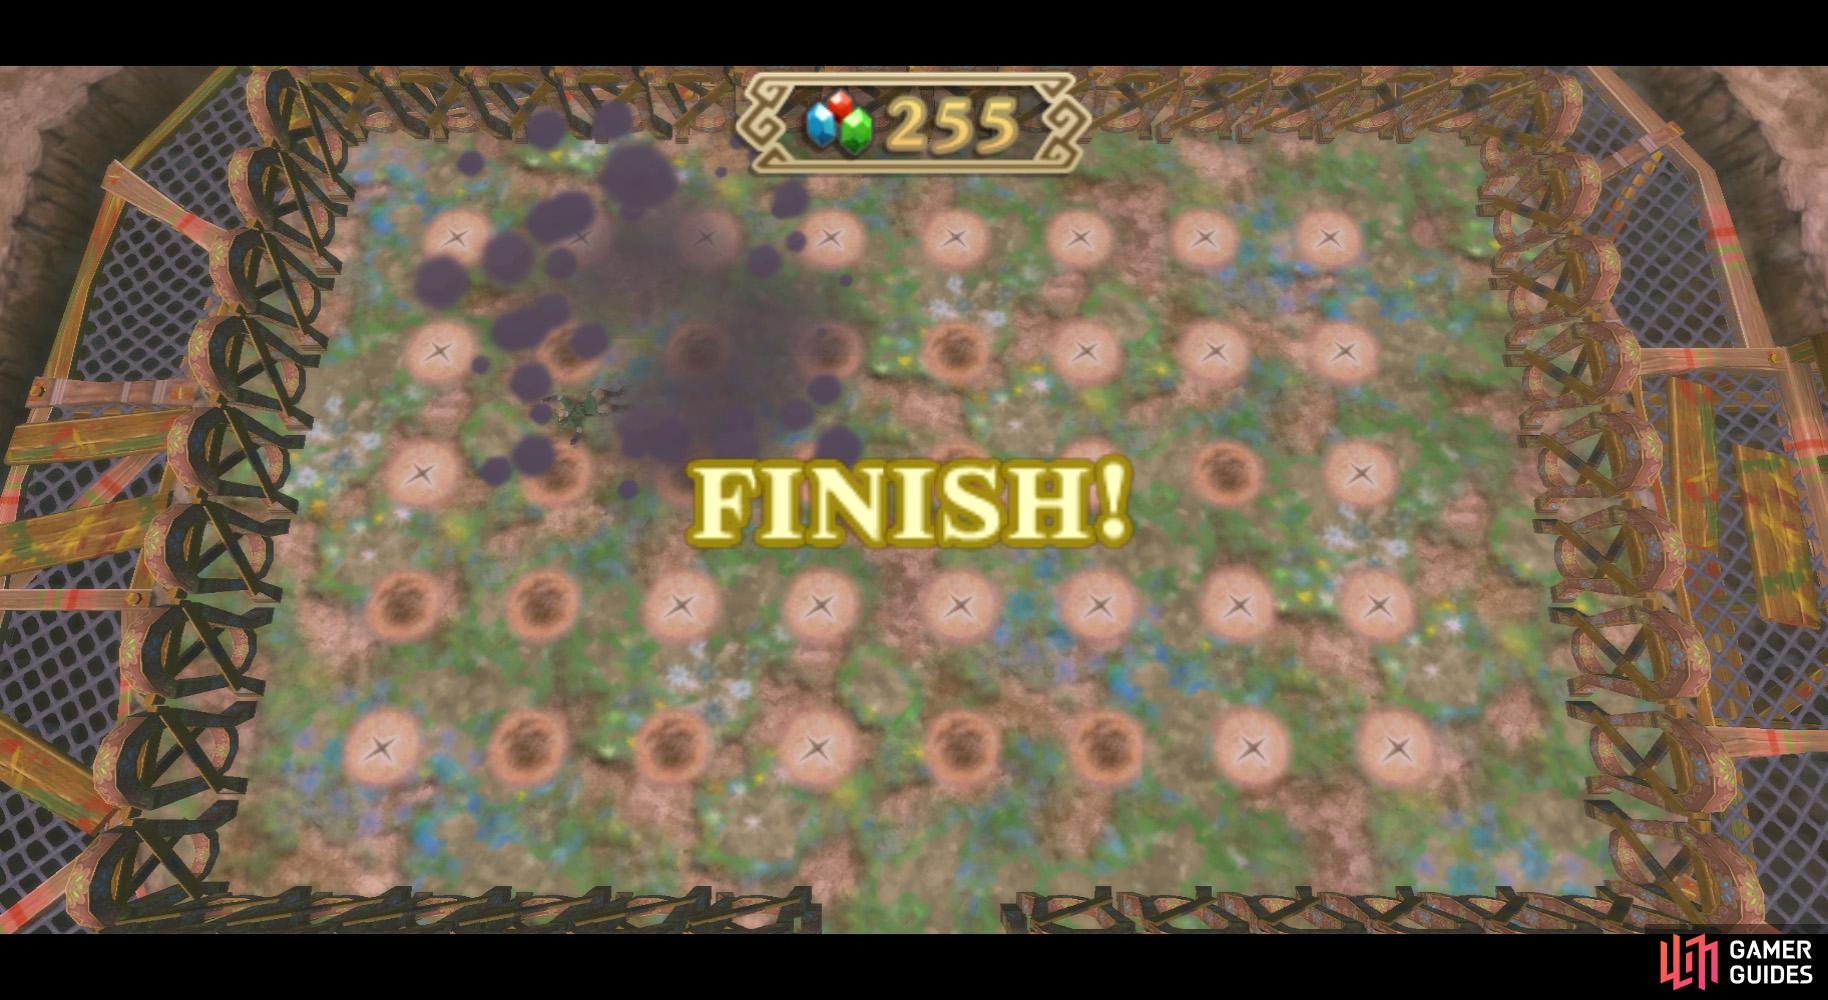
If it’s thrills you want, you’re in the right place. (left), With some luck, you can earn lots of Rupees! (right)
You’ll soon knock it over, also effectively killing the Bokoblin. Defeat any remaining enemies, then go across the gap, using the tower as a bridge.
Anyhow, go across the tower/bridge to the vinery ahead. Climb it, grabbing a few hearts beforehand if needed, then go along the path. You’ll fight a huge Red Chuchu on the way.
Eventually, you’ll reach another steep hill, much like the previous one. Go up the platforms. Nothing much to note, really. When you reach the highest of the wooden platforms, shoot the Slingshot further uphill to hit the Bokoblin with rocks, killing them as before. Then dash uphill, climb the ledge, and approach the temple.
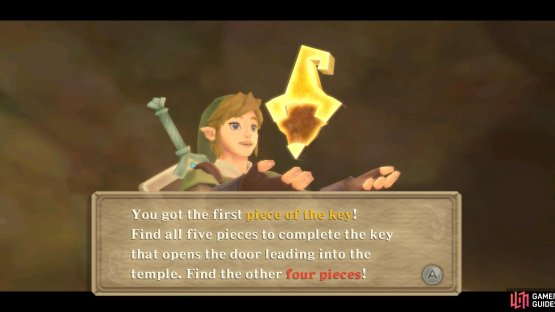
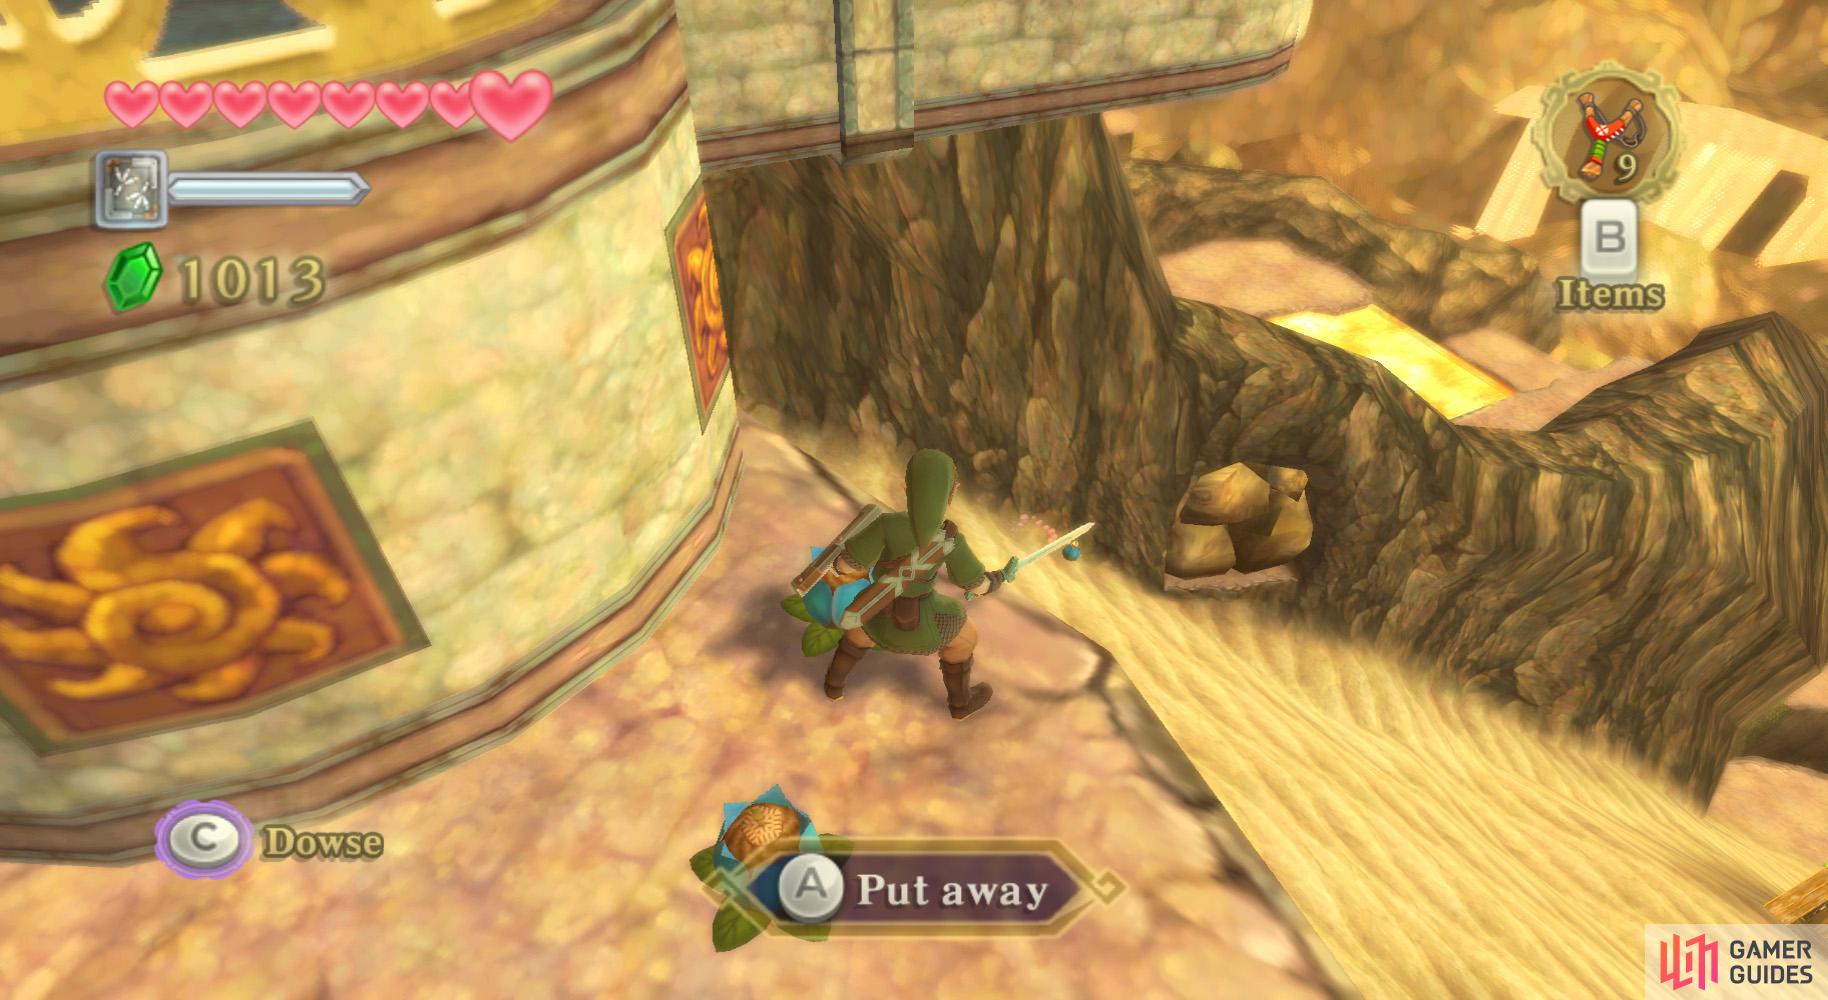
The 5 Key Pieces
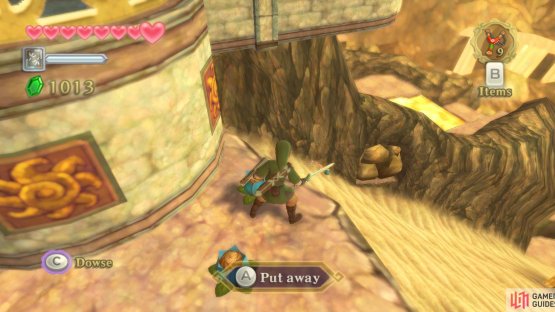
(1 of 2) Dig here…
Dig here… (left), For an easy key piece! (right)
As you do, you’ll eavesdrop on a conversation between a couple of Mogmas about a buried key. There actually are five pieces of the key. Fi will make them a Dowsing option for you, so yay. Let’s begin.
Go to the left of the temple and dig around; one of the mounds has Key Piece 1.
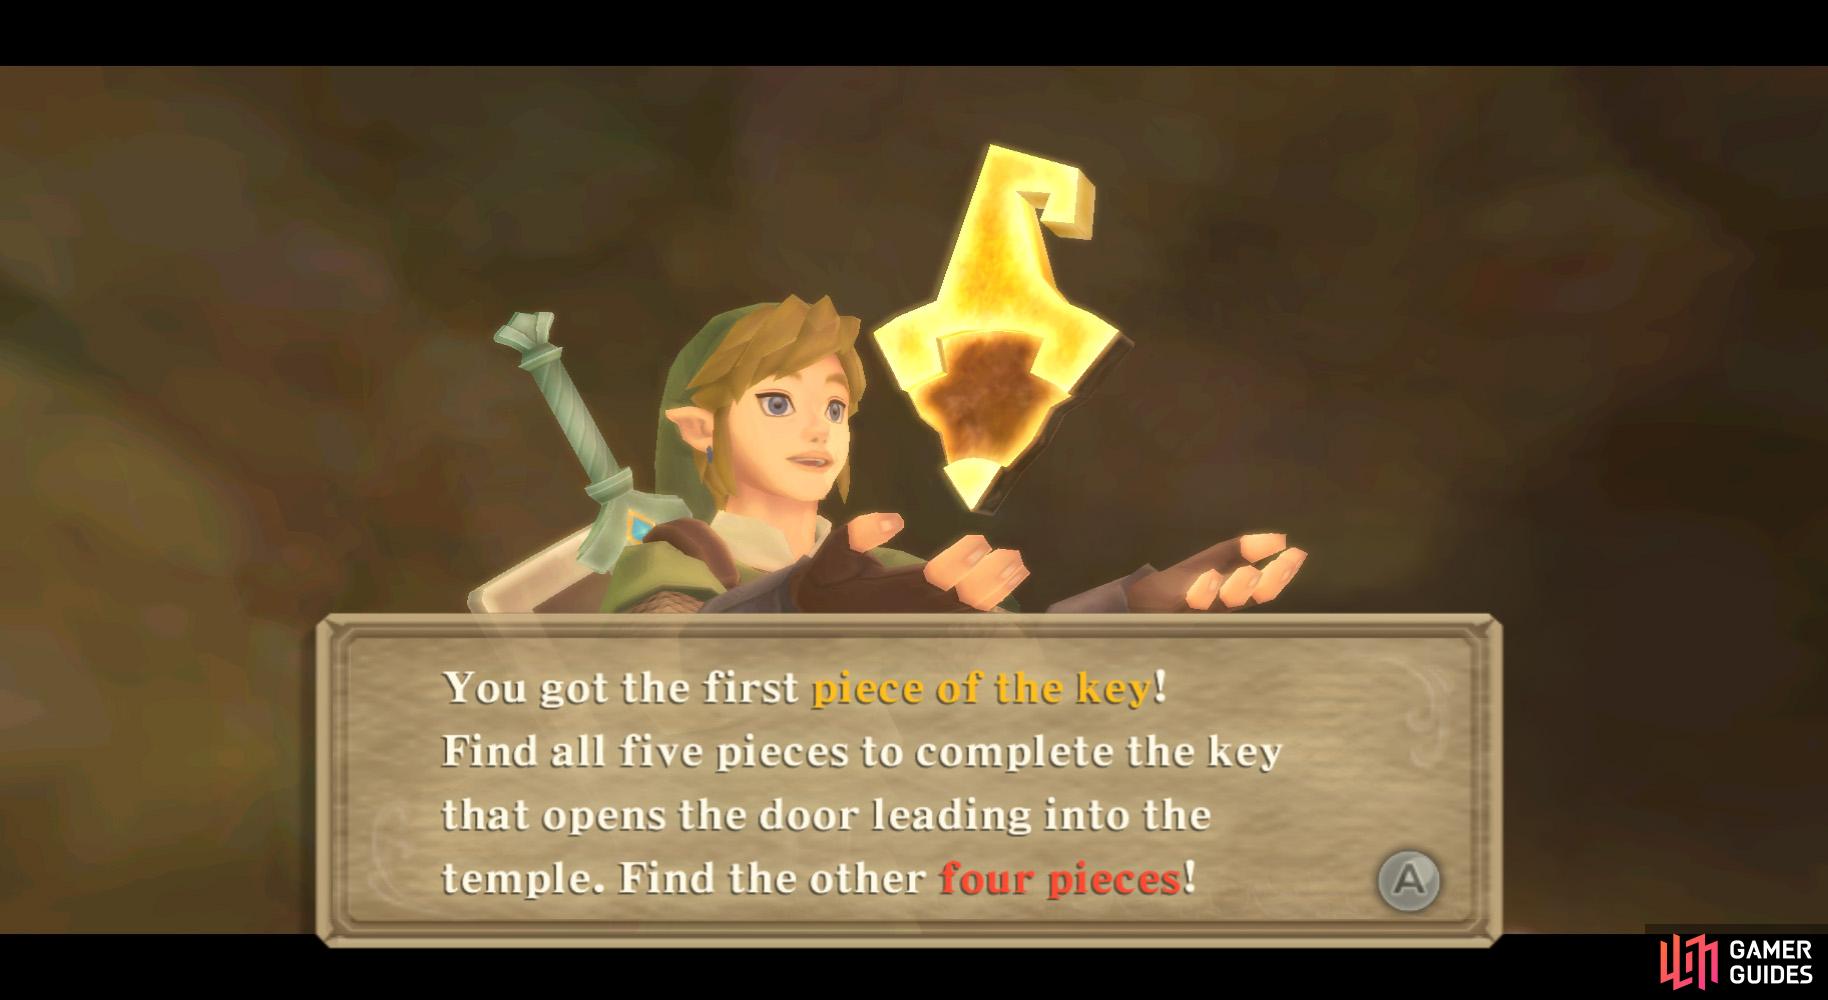
Goddess Cube 13

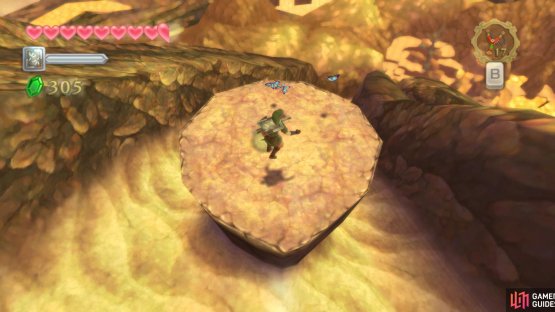
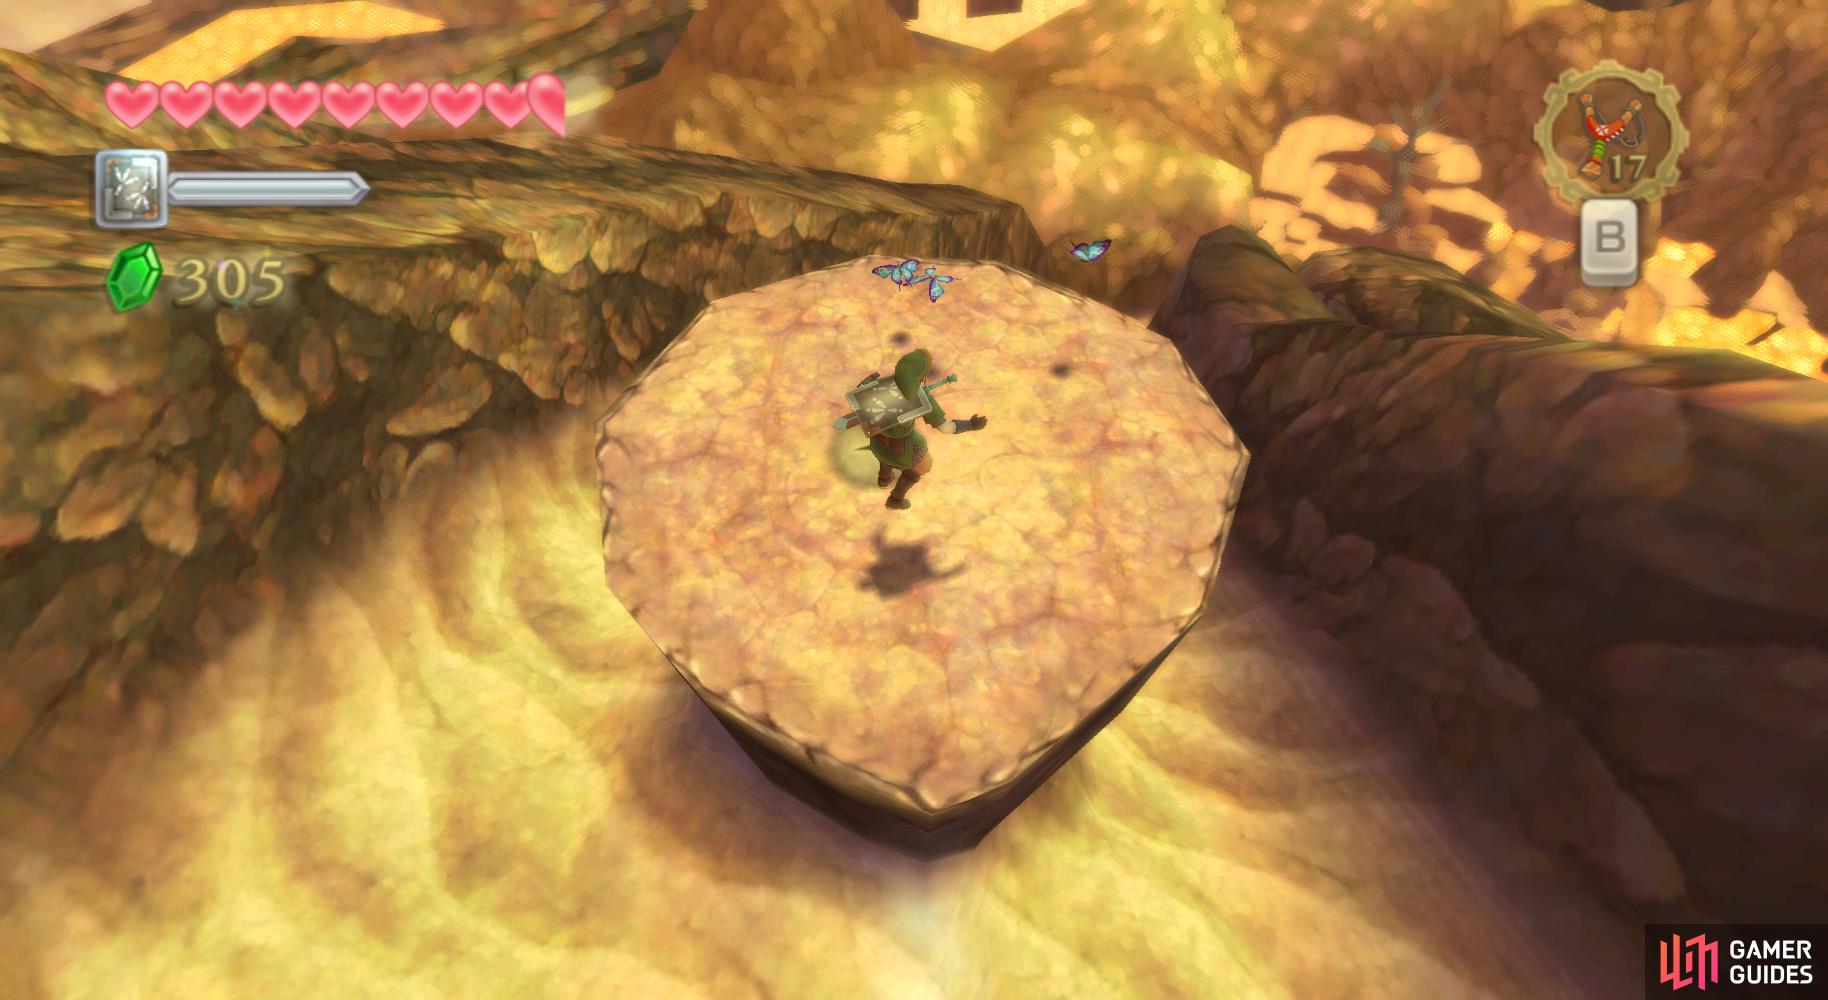
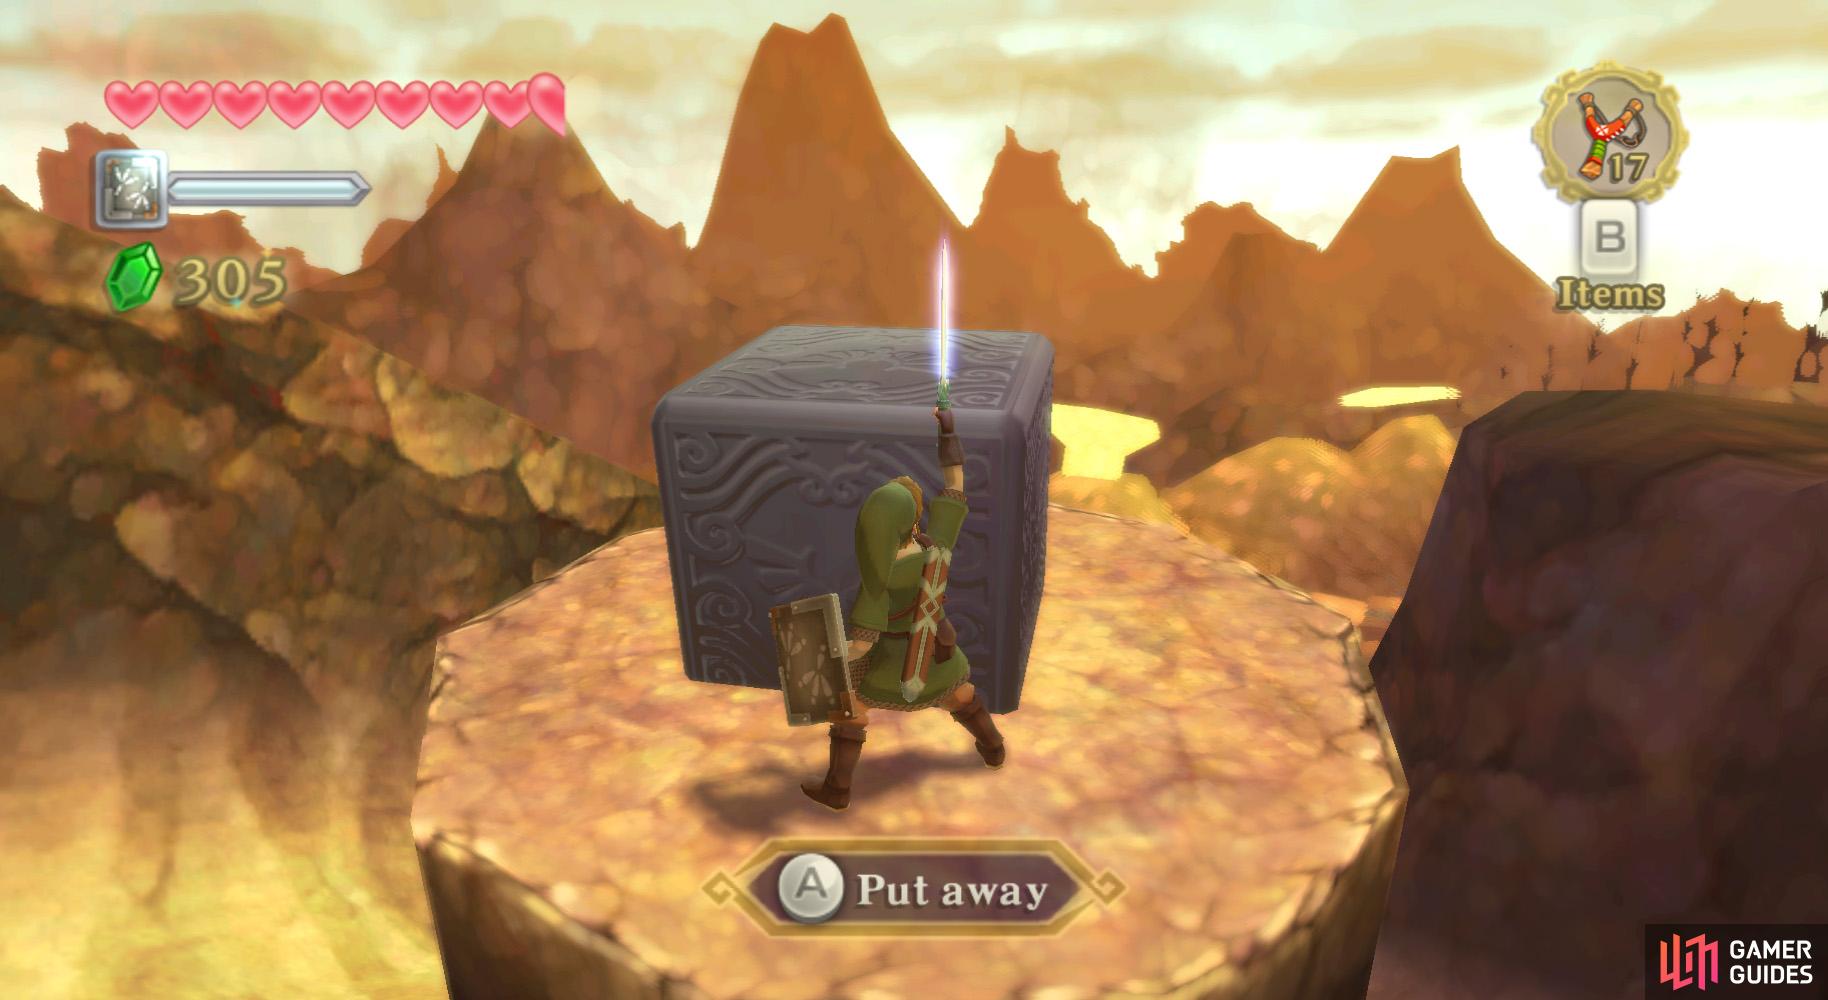
(1 of 2) Goddess Cube: Behind a rock blockade in front of the temple. Throw a bomb onto an air vent.
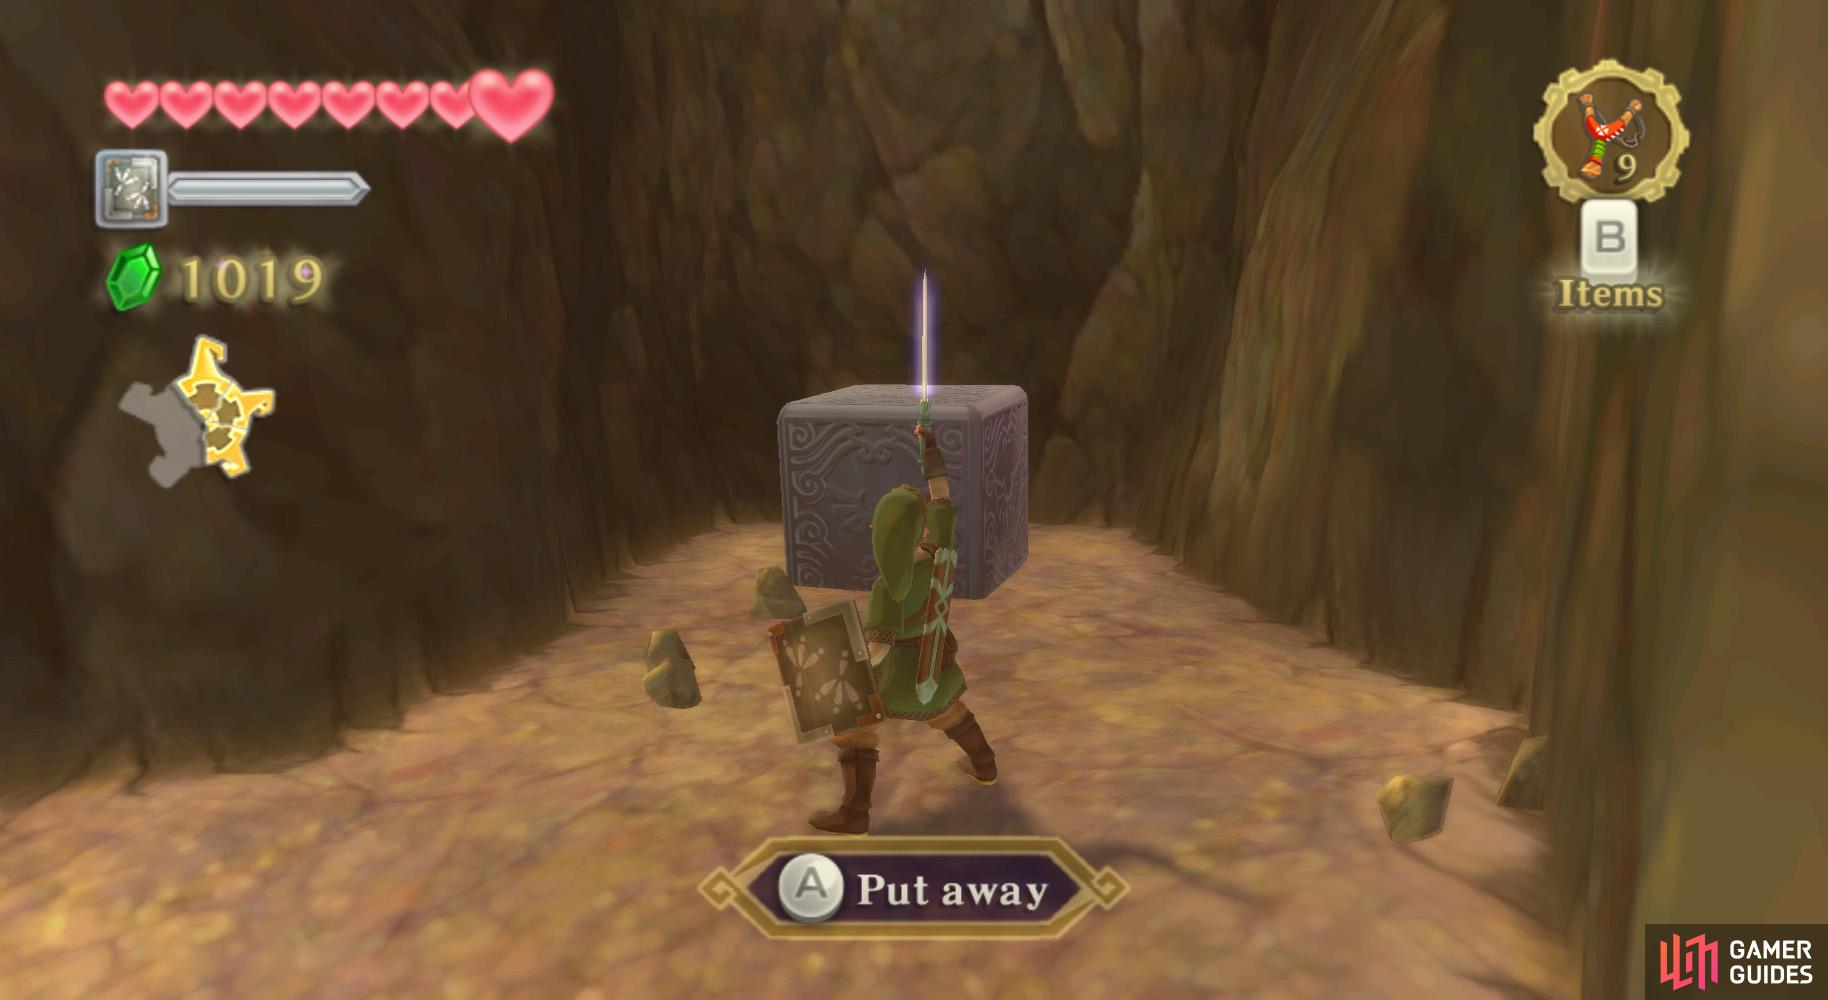
Goddess Cube: Behind a rock blockade in front of the temple. Throw a bomb onto an air vent. (left), Treasure Chest: On Bamboo Island, north from Skyloft. (right)
Next, dig in the corner to find a vent. Grab a nearby Bomb Flower and toss it into the aforementioned air vent to clear the blockade. You can reach Goddess Cube 13 in this manner; be sure to hit it with a Skyward Strike. Drop back down afterwards.
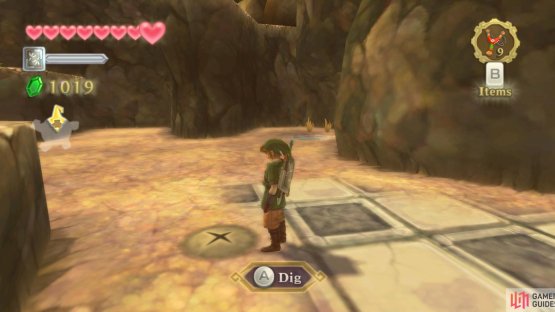
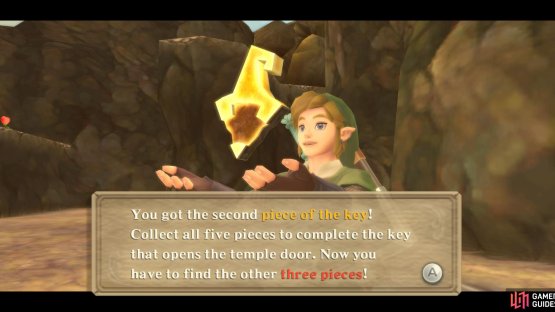
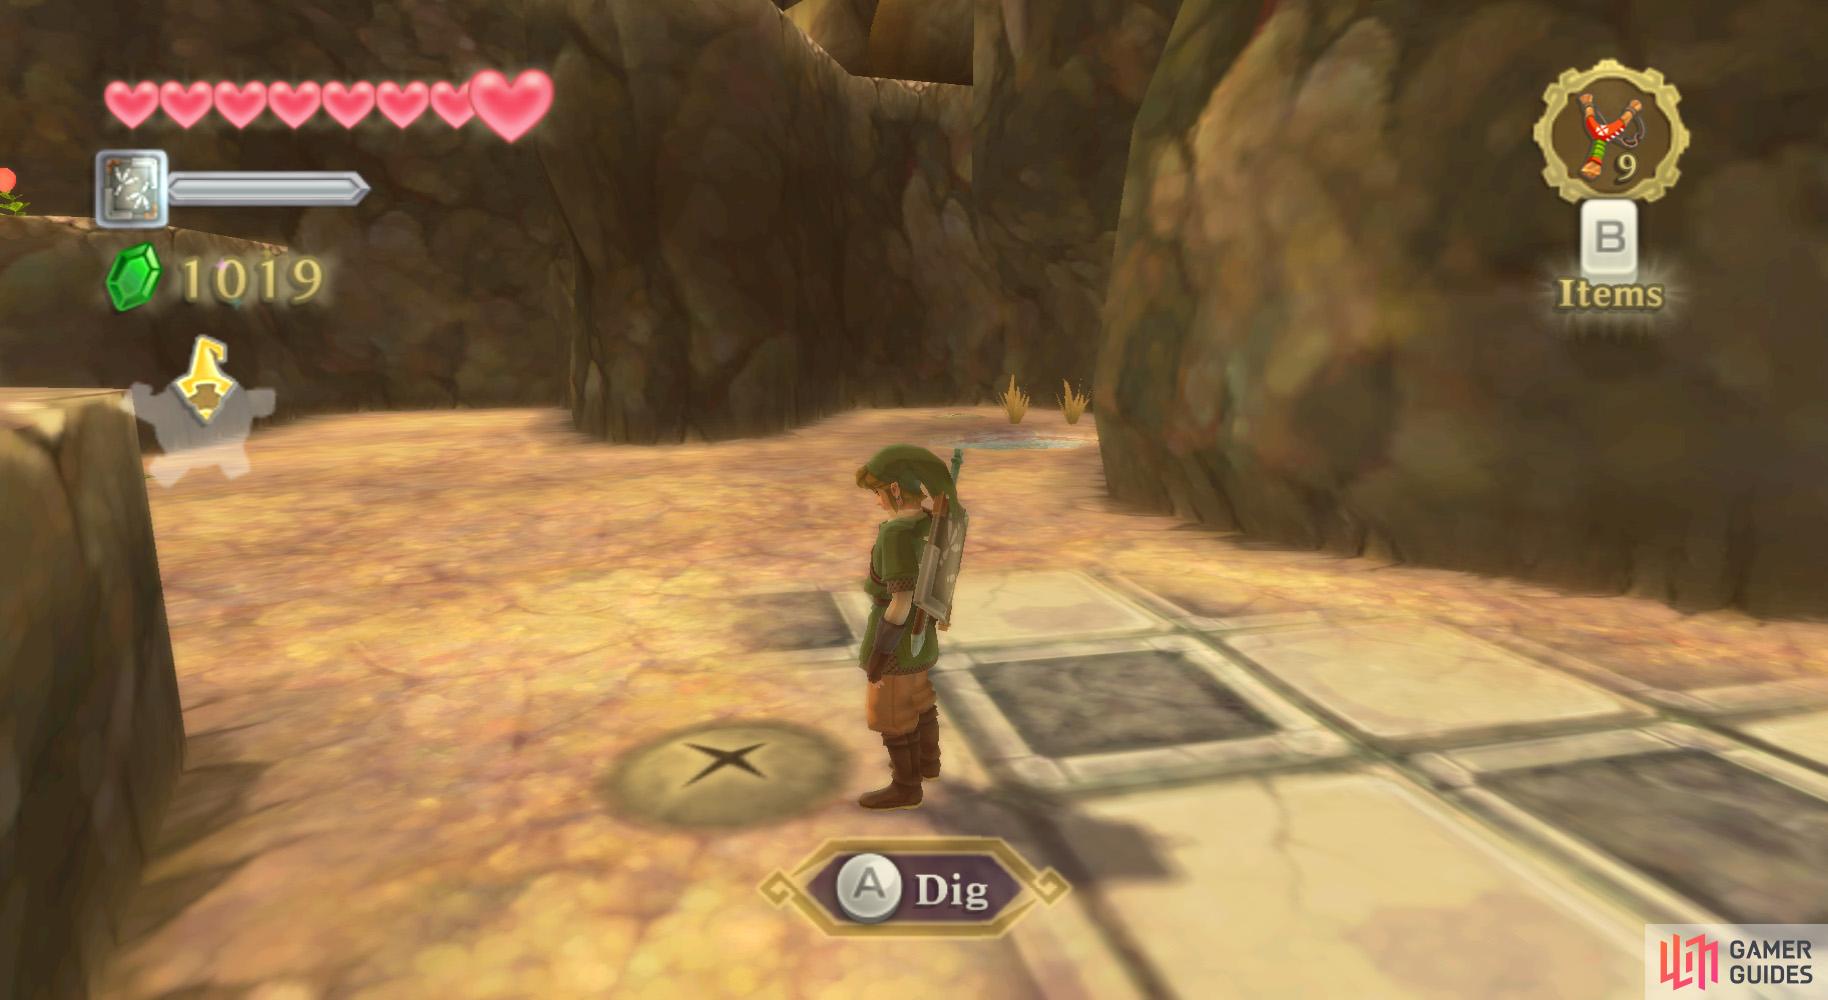
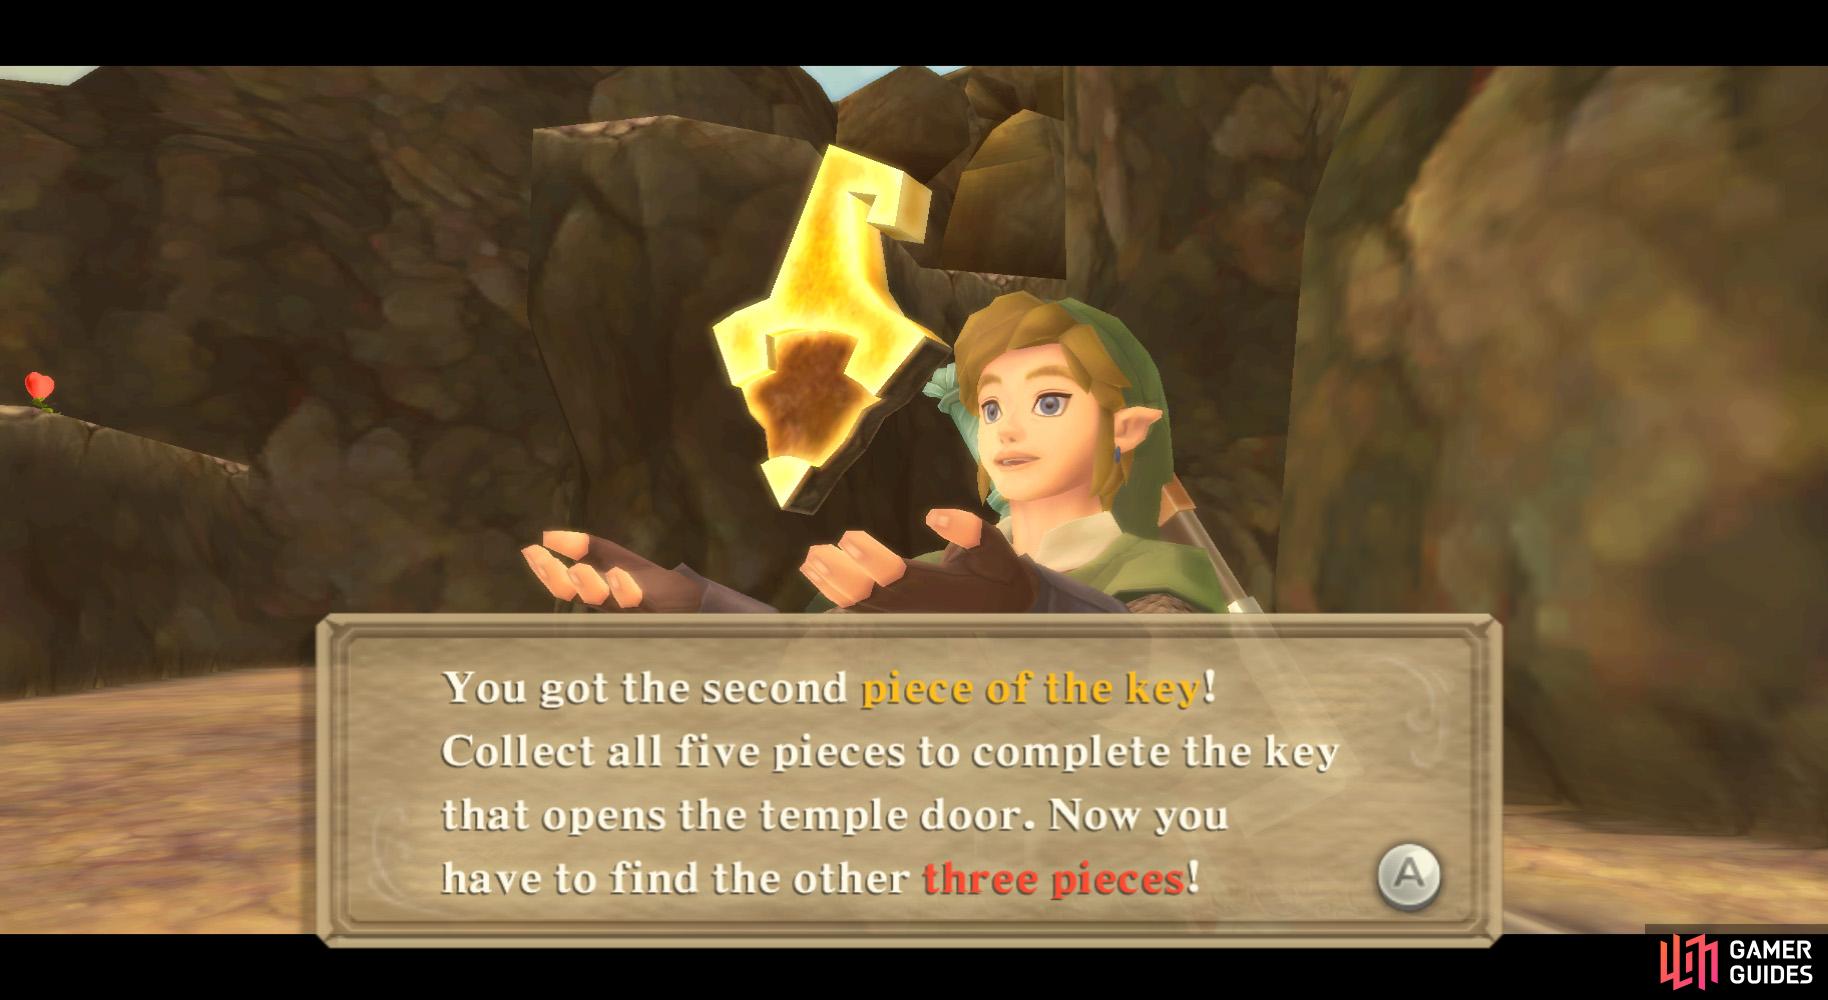
Nearby is a ledge, with a steep hill and tower down from there. Near the ledge, you’ll find some Bomb Flowers. Toss one down towards the wooden tower. Once you knock over the tower, go down and dig to find Key Piece 2.
(1 of 2) Throw a bomb flower down the slope.
Throw a bomb flower down the slope. (left), Then dig to find the third key piece. (right)
Dash back uphill and look down the very large hill in front of the temple you ascended a few moments ago. Take one of the nearby Bomb Flowers and toss it down the left side of the hill to, hopefully, remove a rock blockade. Go into the newly-revealed alcove to find a dig spot, in which you’ll find Key Piece 3.
Return to the temple entrance and head east. Defeat the nearby Bokoblins. Afterwards, use one of the nearby Bomb Flowers to knock over the wooden watchtower, creating a bridge and one more Bokoblin in your kill count.
Goddess Cube 14


(1 of 2) Goddess Cube: Path to the left of the fallen watchtower, near the temple entrance.
Goddess Cube: Path to the left of the fallen watchtower, near the temple entrance. (left), Treasure Chest: North-eastern small island. You need to climb the vines on the side of the island. (right)
Ignore the bridge for a moment and go east. You’ll find an incline going down. Follow that path to Goddess Cube 14.
After activating the cube, go across the downed watchtower. Go further along the path, defeating some Fire Keese and a Red Chuchu as you do so.
Further along, you’ll find a gap. The bridge is uncrossable, so go to the left and hang from the narrow ledge. Go to the right to the platforms. Dash, run, and leap across to the vinery. Here, climb in a counterclockwise(ish) manner, using the Stamina Fruit when you arrive at them. Once you reach the ledge, let go of the vines and step onto the nearby switch in the cave, making a bridge.
Head further into the cave. In the next area, you will take damage from the extreme heat. Run immediately towards the right, at which point you’ll drop down to a slide. If you can, slide towards the air vent on the left. It’s a bit fussy, so no big deal if you miss it; you can come back and retry.
Goddess Cube 15

(1 of 2) Ride the left air vent at the giant slide.
Ride the left air vent at the giant slide. (left), Then jump forward to find this Goddess Cube. (right)
If you do manage to ride the left air vent, run ahead to drop down to a platform where Goddess Cube 15 is found. Of course, give it a good Skyward Strike, before jumping back down on the slide. You won’t be able to reach the chest until later on though.
At the bottom of the slide, go around the path and jump to the central platform. You’ll notice a Bomb Flower nearby, as well as a lava plug in the nearby wall. Throw the nearby Bomb Flower at it to drain the lava from the room. Then roll a Bomb Flower along the slope there so as to blow up the rock blockade there. Once you do so, dash across to find a dig spot containing Key Piece 4.

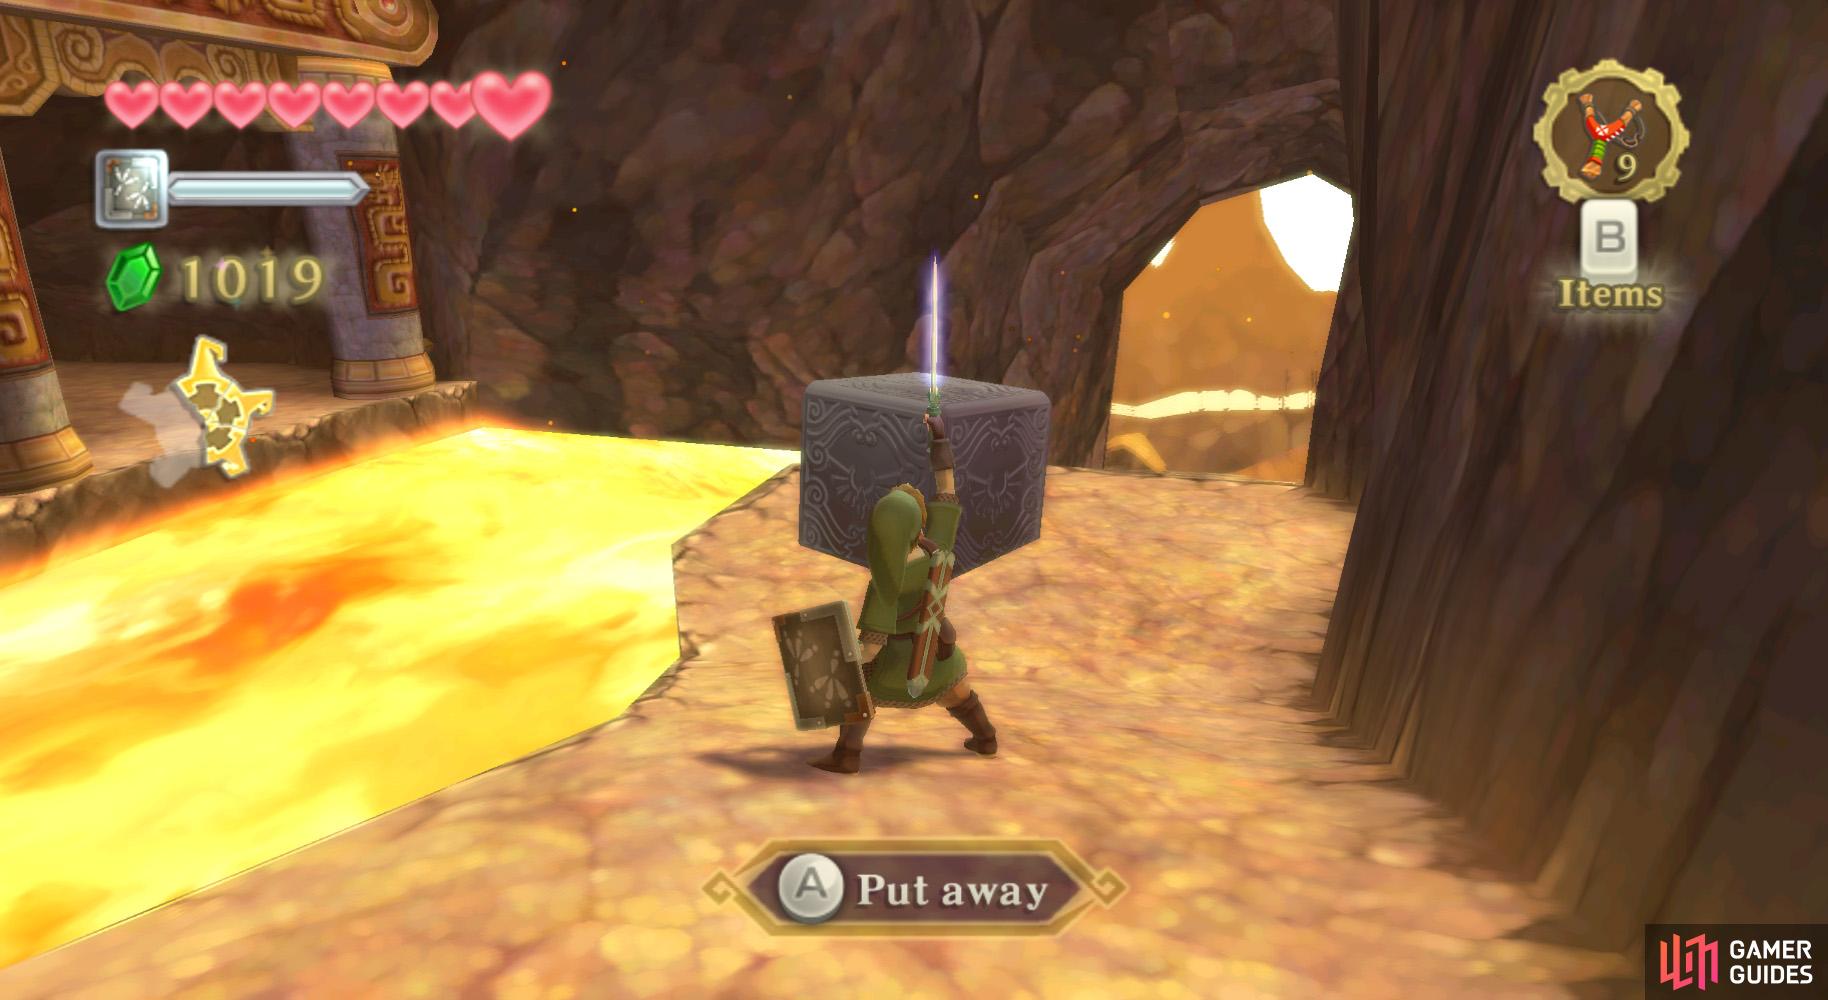
(1 of 2) The timing can be a little tricky. You want to wait until the first air vent is moments from disappearing.
The timing can be a little tricky. You want to wait until the first air vent is moments from disappearing. (left), There we go, all five key pieces! (right)
Go back across the incline and leap to the platform with the Stamina Fruit. Go to the right and grab the Bomb Flower. Step into the room behind it and blow up the rock blockade to create a very useful shortcut. Next, take nearby whirlwind to go back near the super-hot-lava room. Go back through and down the incline.
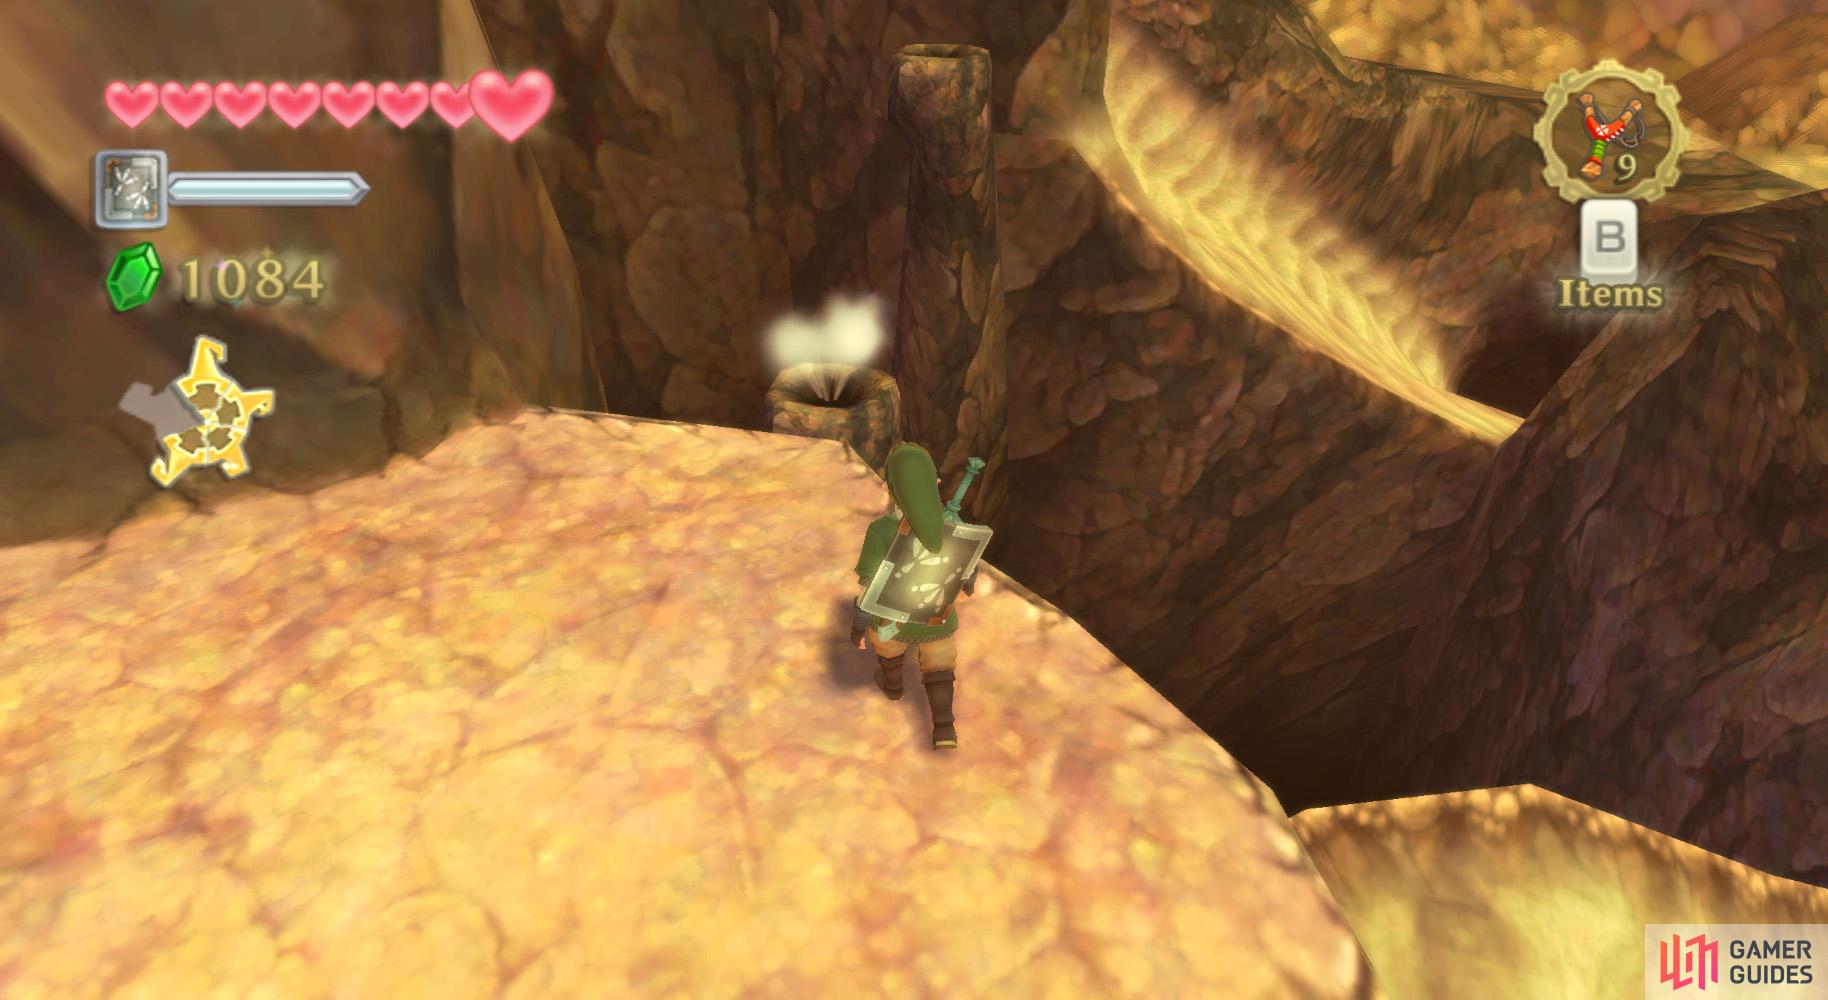
When you’re going down the incline for the second time, take the rightmost of the air vents. Upon getting on the platform, jump off of the opposite edge, then continue dashing downhill, taking the right path to the next platform below. Here, you’ll find two air vents that alternate. Time your jump so as to go all of the way across to find the Key Piece 5, the final one, within the dirt there.
Now, go to the bottom of the incline and go along the path to the large whirlwind from earlier. After landing, backtrack towards the temple. Examine the Bird Statue, save, and open up the Earth Temple for your next dungeon.
No Comments