
Massive Room (SE side)

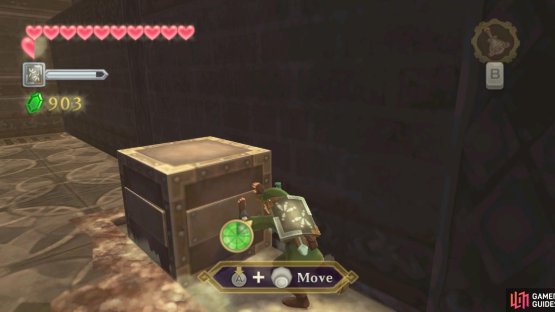
(1 of 2) Look for this switch near one of the corners.
Look for this switch near one of the corners. (left), Then push a block on top of it to keep it pressed down. (right)
Back in the big central room, push the block out of the way, then climb the ladder to the lower level. Defeat the Thunder Keese nearby, then climb down and jump over the gap. Defeat the Yellow Chuchu and continue to the Bird Statue. Use it if you want, then exit to the south.
South Room
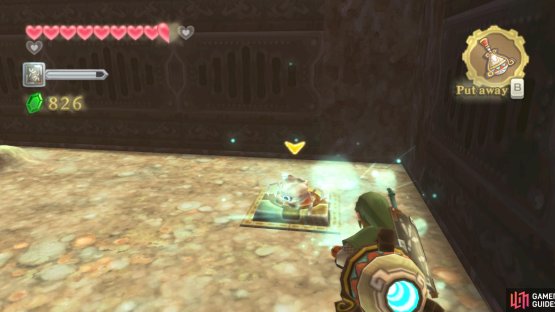
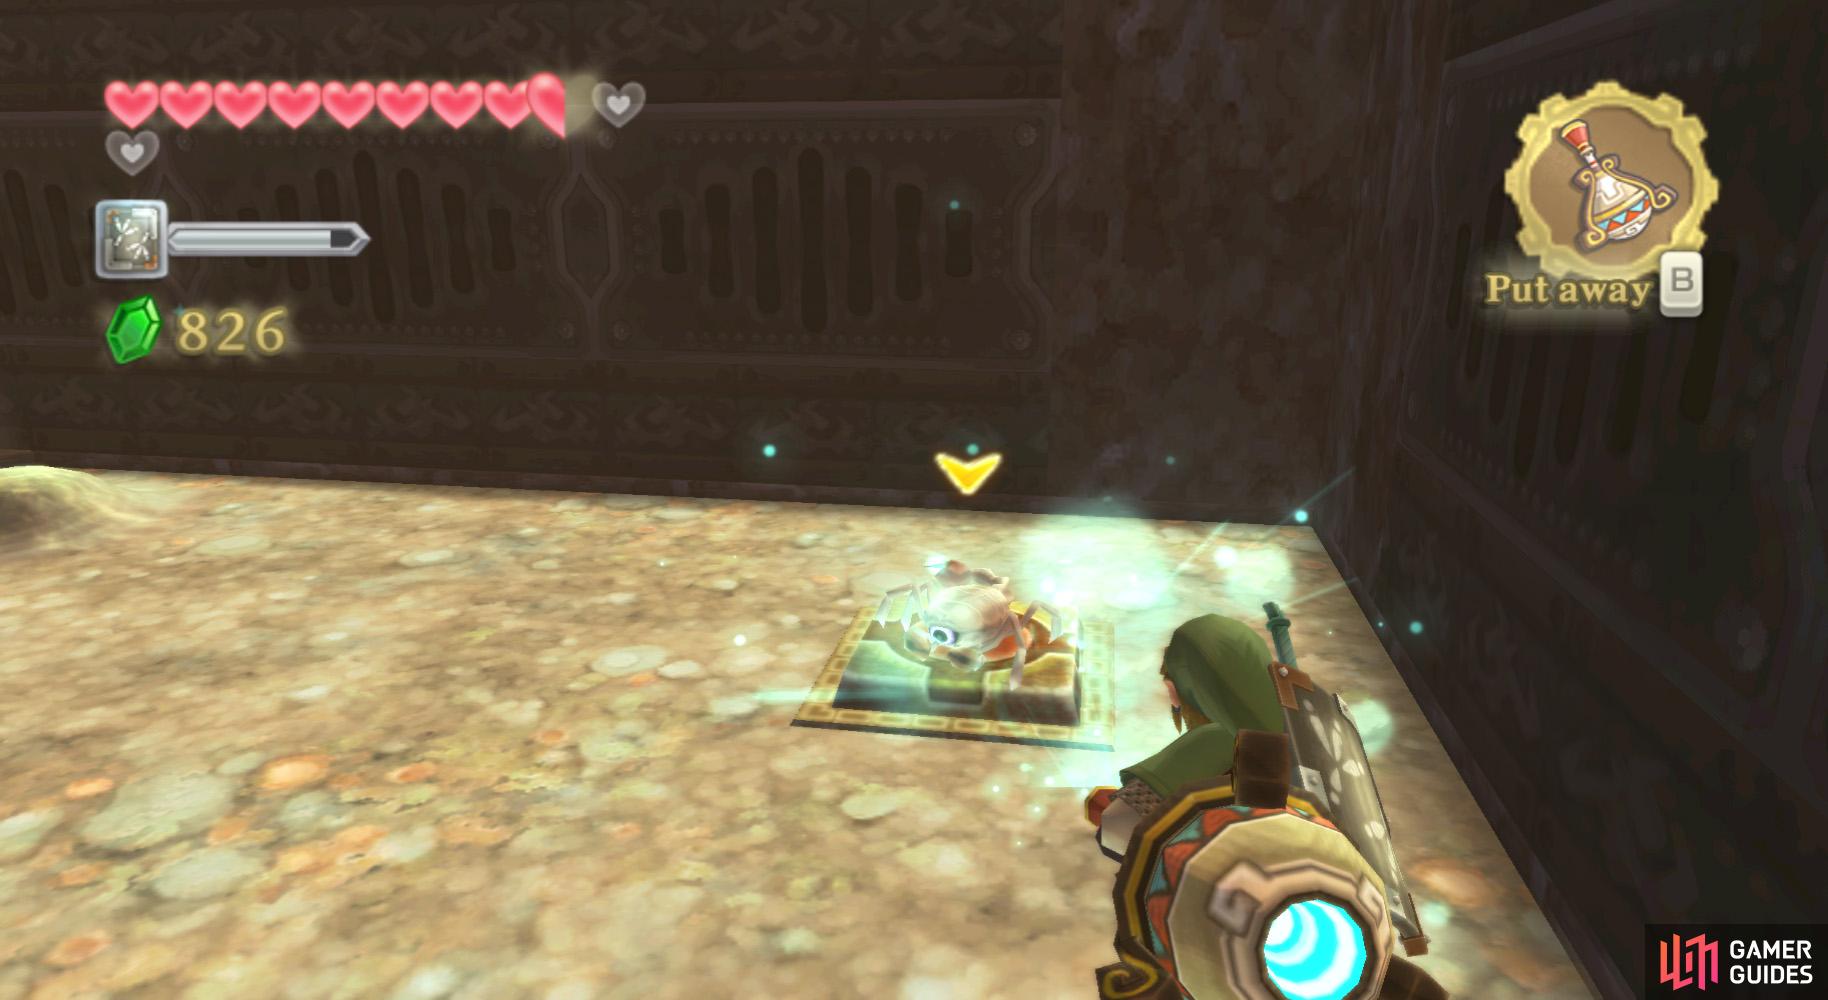
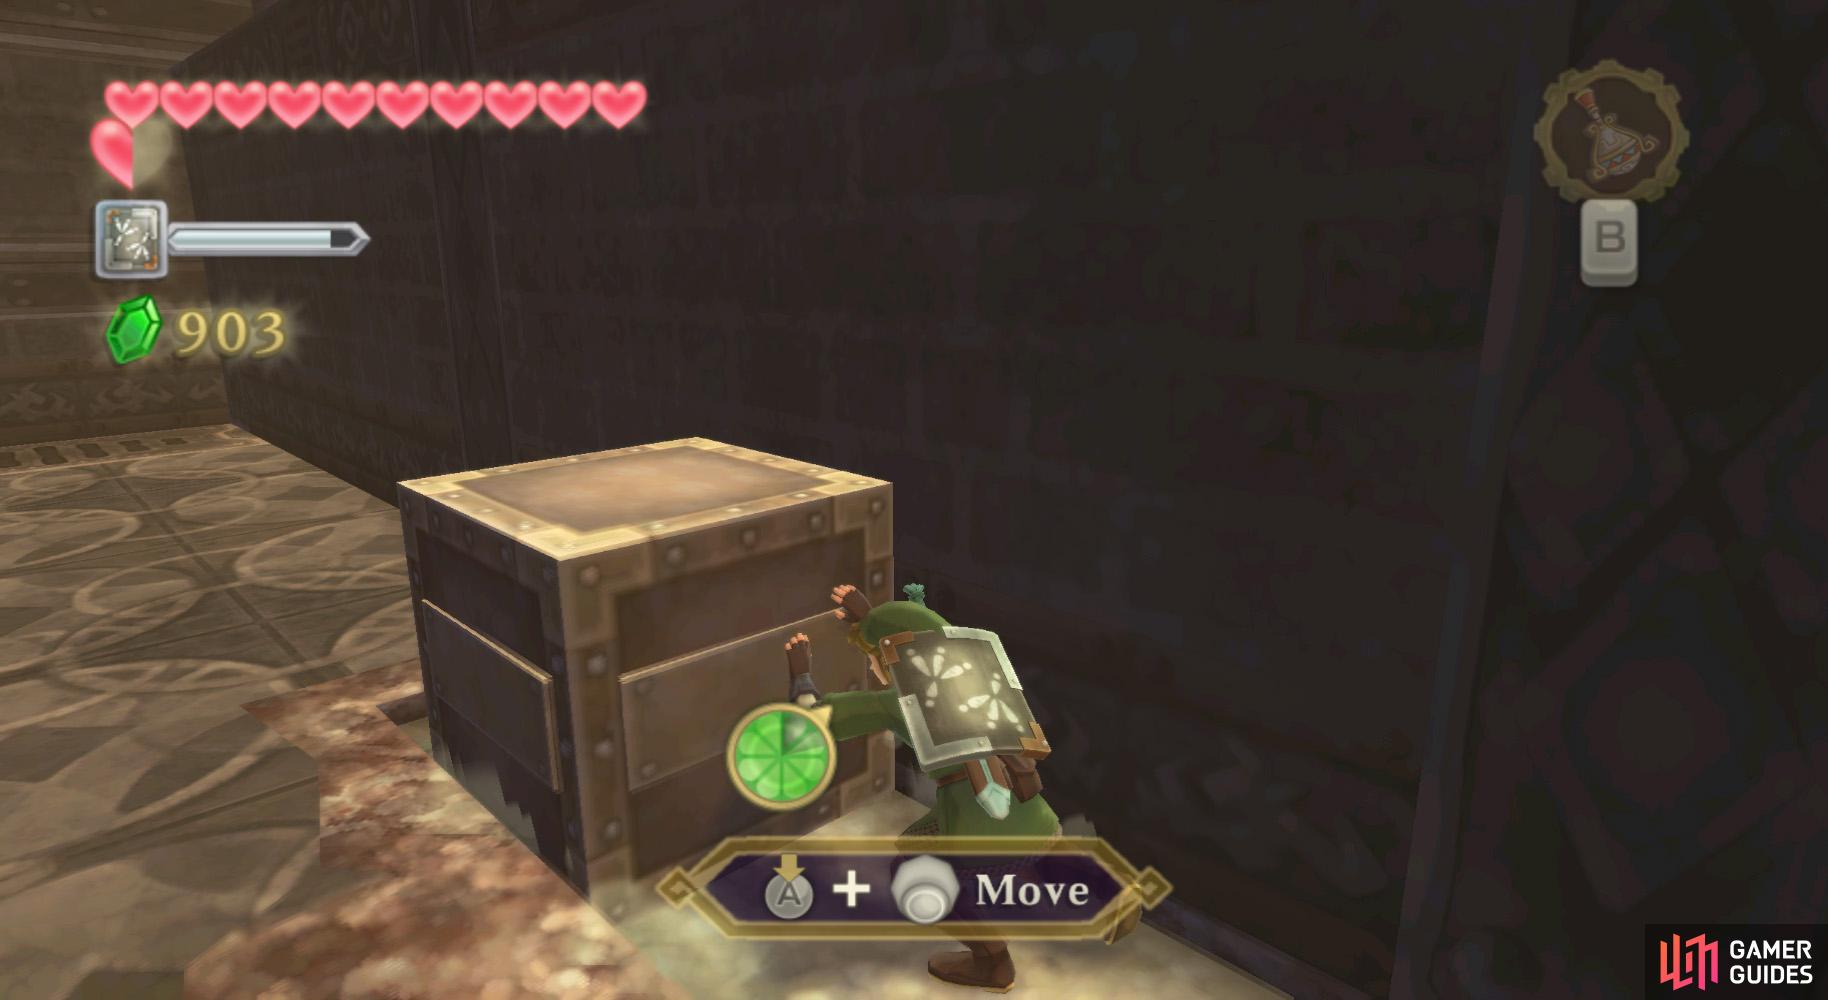
Here, drop down and head to the sandy area in the northeastern corner. Defeat any Arachas that appear, then use the Gust Bellows to clear the sand away. Be sure to clear it from around the block.
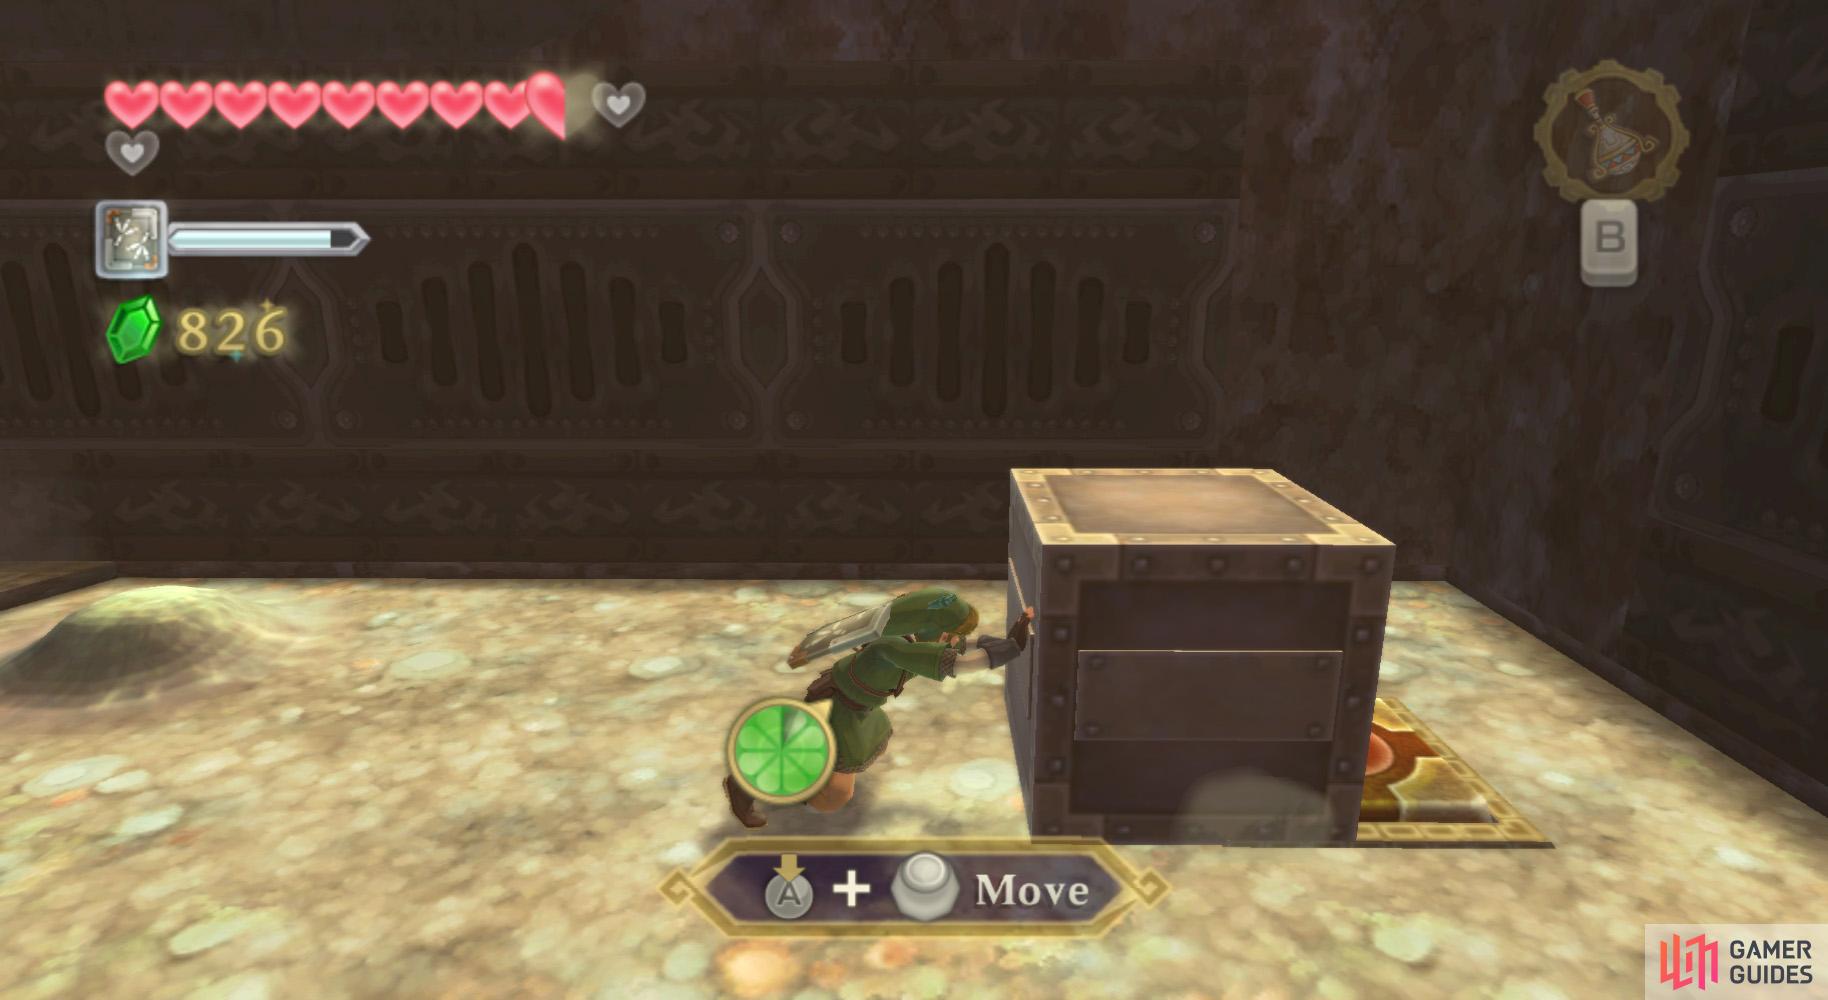
After doing that and finding the switch beneath the sand, push the block onto the switch to unlock the way to the western room. Go through that door now.
South-West Room

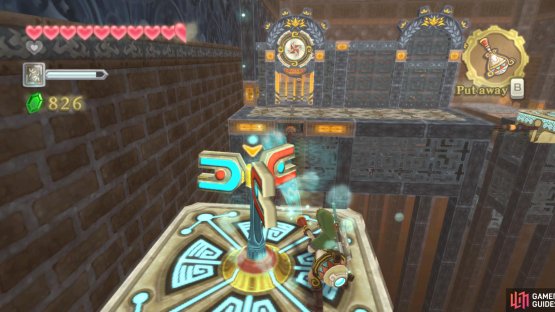
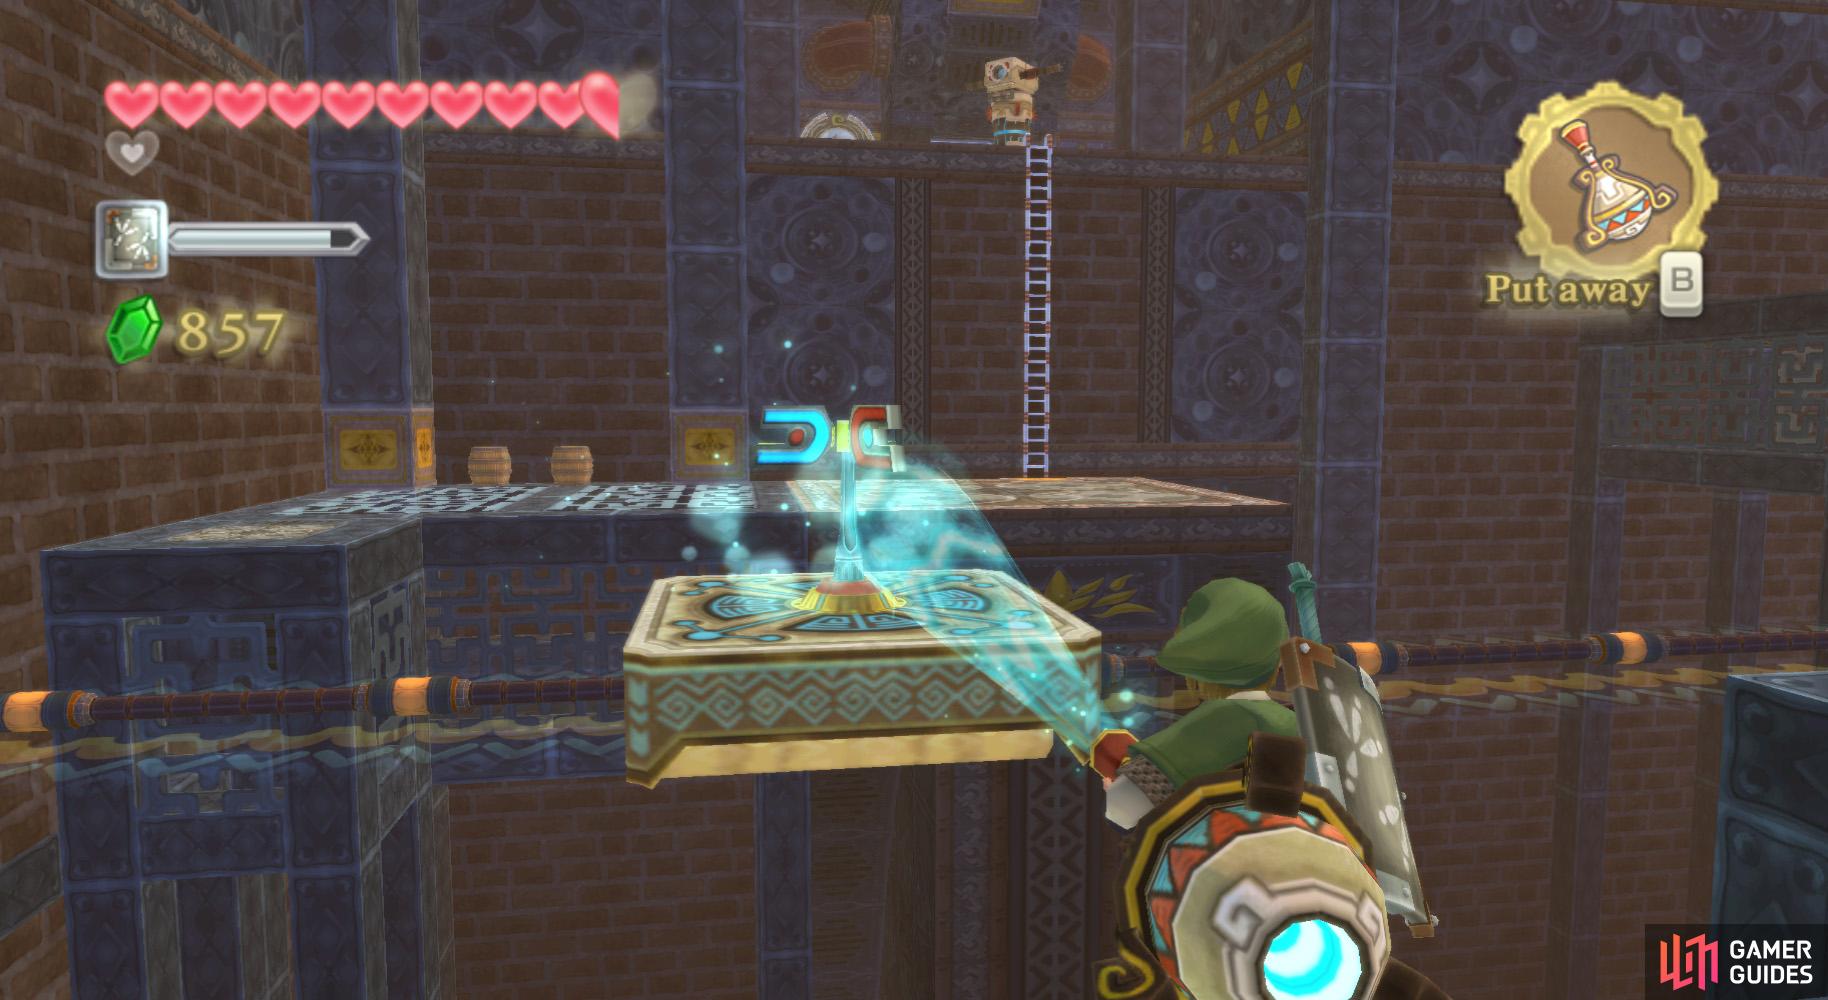
(1 of 2) Lookie here, it’s another Timeshift Stone.
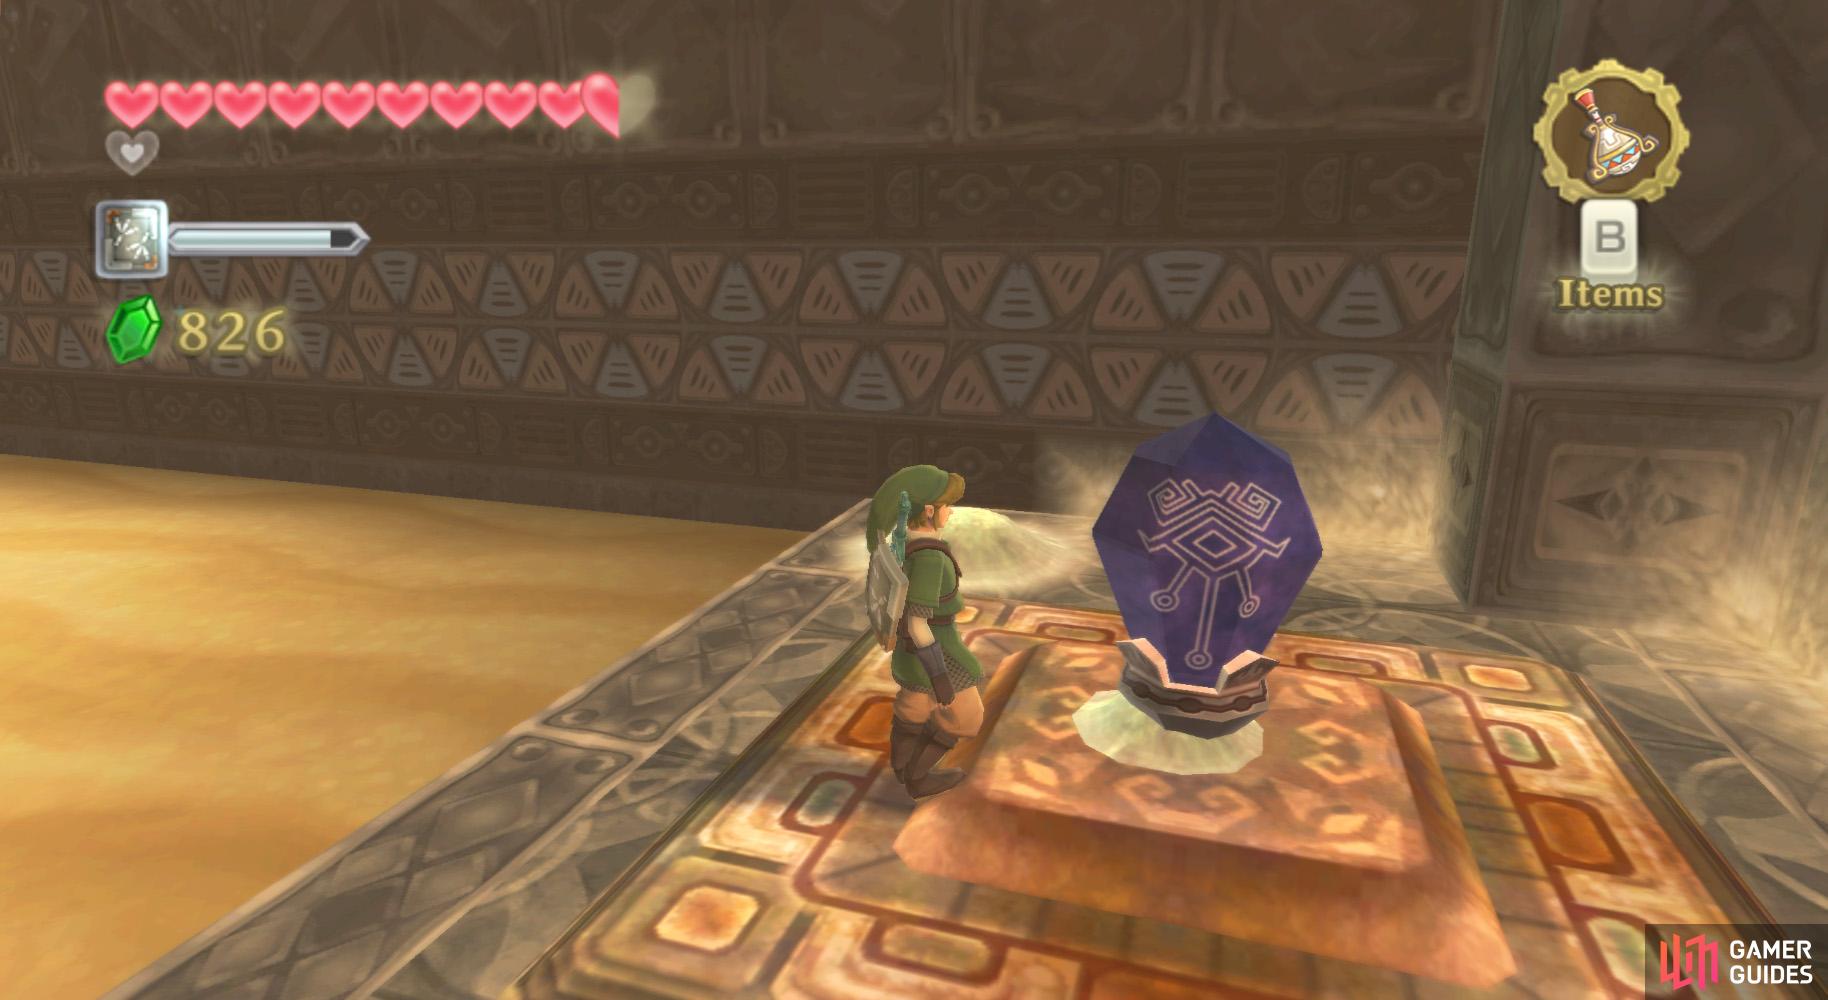

Lookie here, it’s another Timeshift Stone. (left), Blow on the correct side of the wind vane to move the platform in your desire direction. (right)
In this room, go across the quicksand, dashing from platform to platform and resting when possible. Head to the southeastern corner and you’ll find a Timeshift Stone beneath the sand (blow it away with the Gust Bellows) and hit the Timeshift Stone.
After the mass transformation, get onto the nearby platform. To use it, hit the wind vanes on its top with the Gust Bellows to move in the direction desired. Move to the platform in front of you, the one with the gate.
Ignore the gate for the moment and go to the right. Use the Gust Bellows to get one of the platforms closer. Jump onto this platform and go across to a small ledge with a chest on it.
Open it for a Monster Horn, then jump back onto the platform and go back to the gate. Look up and you’ll spot a pinwheel. Blow on it with the Gust Bellows until the gate fully opens.
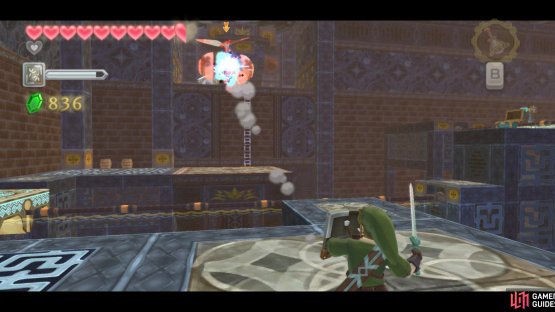
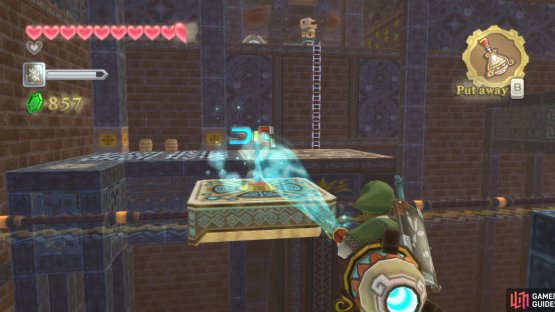
(1 of 2) Bounce back the Sentrobe’s projectile to damage it.
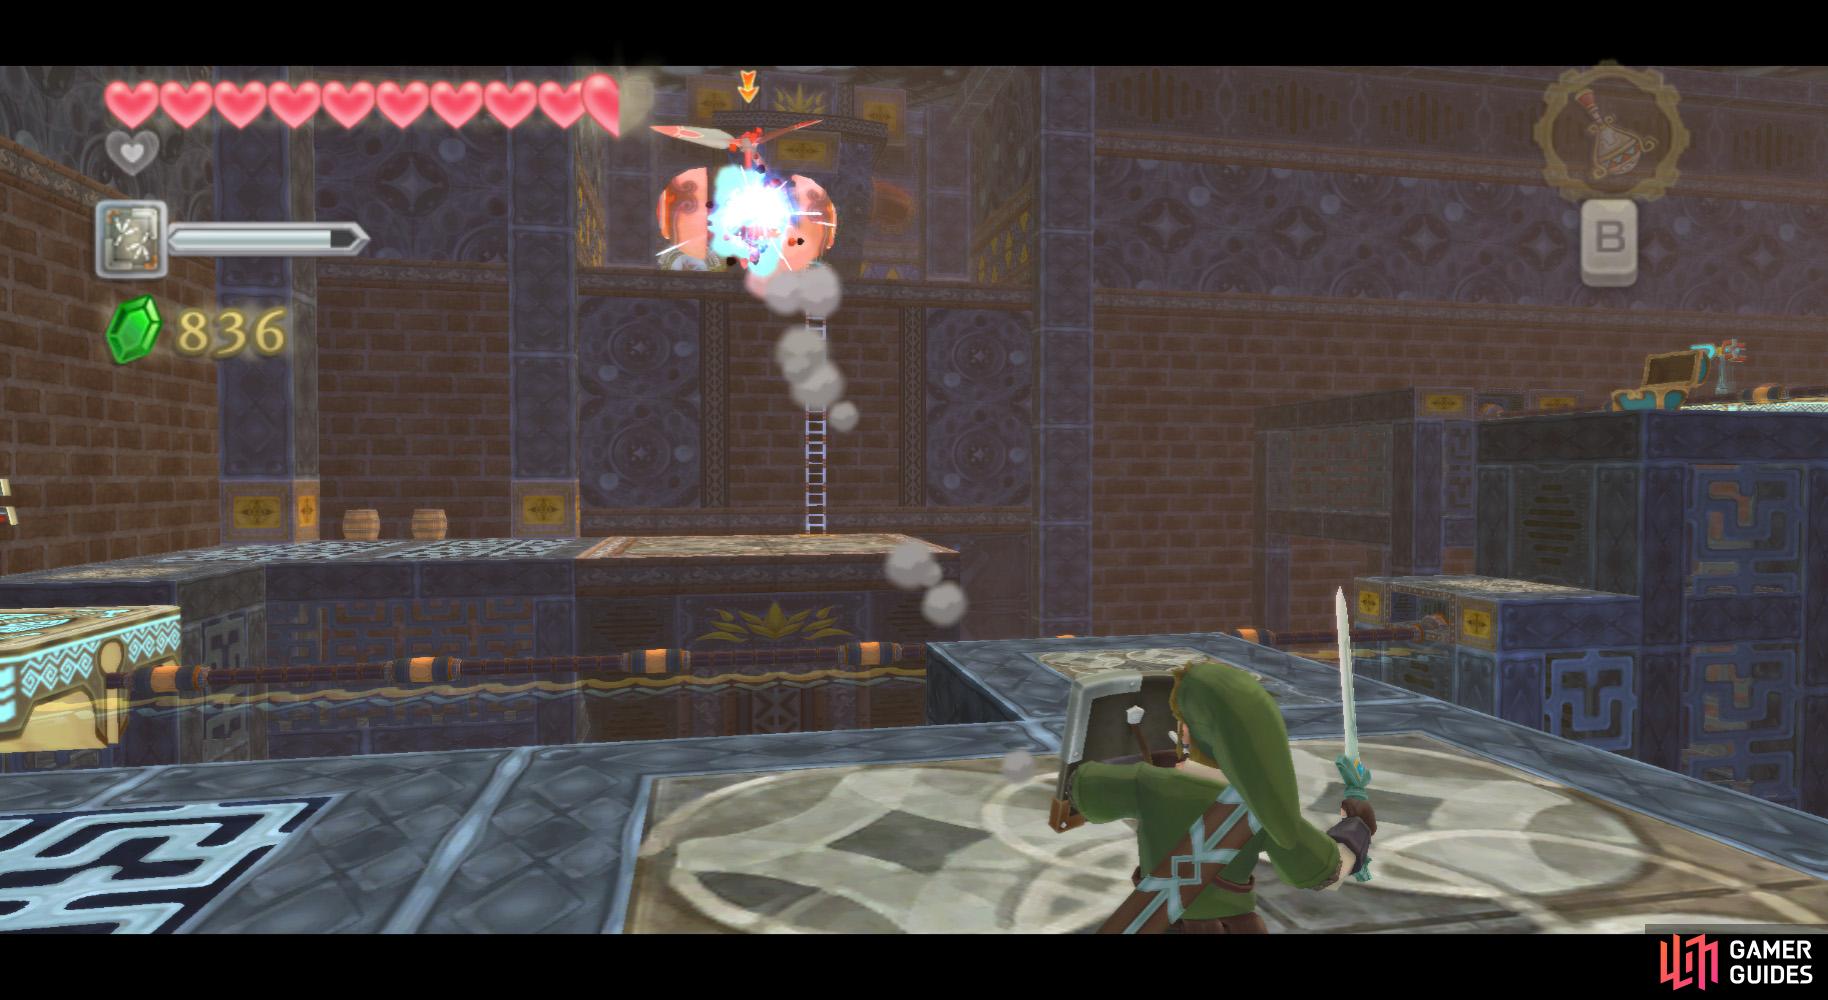
Bounce back the Sentrobe’s projectile to damage it. (left), You’re coming with us, platform! (right)
Then go through and defeat the Beamos at the end of the linear path. Afterwards, go down the ladder to find a new enemy, the Sentrobe. Use a shield bash to bounce back any kind of projectile shot at you, then slice the two orbs it shoots along the blue lines; do this twice to defeat it.
Afterwards, use the Gust Bellows to blow the nearby platform to the other end of the track. Once it’s there, get onto it and blow it over to where it originally was.
Jump off here and go up the ladder further along the path. Defeat the Beamos here – trust me, it is much easier – then use the Gust Bellows on the pinwheel upon the door to unlock the door. Go on through.
West Room
(1 of 2) Hmm, this isn’t our favorite kind of company.

Hmm, this isn’t our favorite kind of company. (left), Push this block here, so you can climb up. (right)
Once you enter the room, the door locks behind you. Go to the lower level and kill the two Staldras. Blow away the sand around here to find some Arachas. Defeat them, then blow away the sand around the northern block. Push/Pull this block along its slightly-depressed path to the end.
Afterwards, use the block to reach the upper ledge. Hop across the ledges on your left to find some Arachas beneath the sand and some random treasure on the final ledge (you can just use the Hook Beetle to get it, though).
Afterwards, go to the barred gate with the huge pile of sand. Blow the sand away to find a Timeshift Stone – use your Slingshot to trigger it.
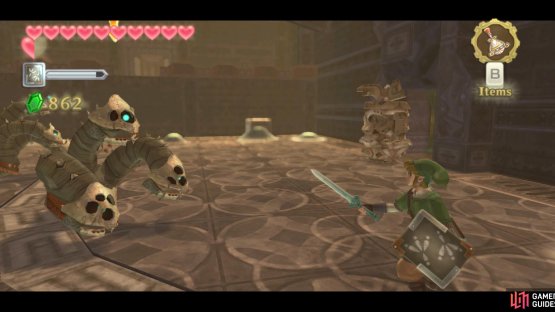
(1 of 2) If you’re struggling, run back a bit and the Armos will retreat.
If you’re struggling, run back a bit and the Armos will retreat. (left), This map will come in handy very soon. (right)
In doing so, the room gets cleaned up and the Armos below awakens. To defeat one of these, use your Gust Bellows to turn the wind vanes on its head, which opens its mouths. Hit the two crystals within – one can be simply struck, but the other requires a thrust.
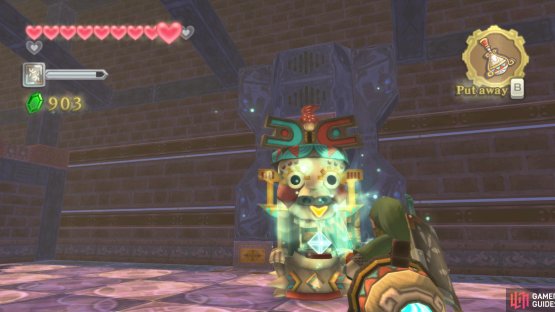
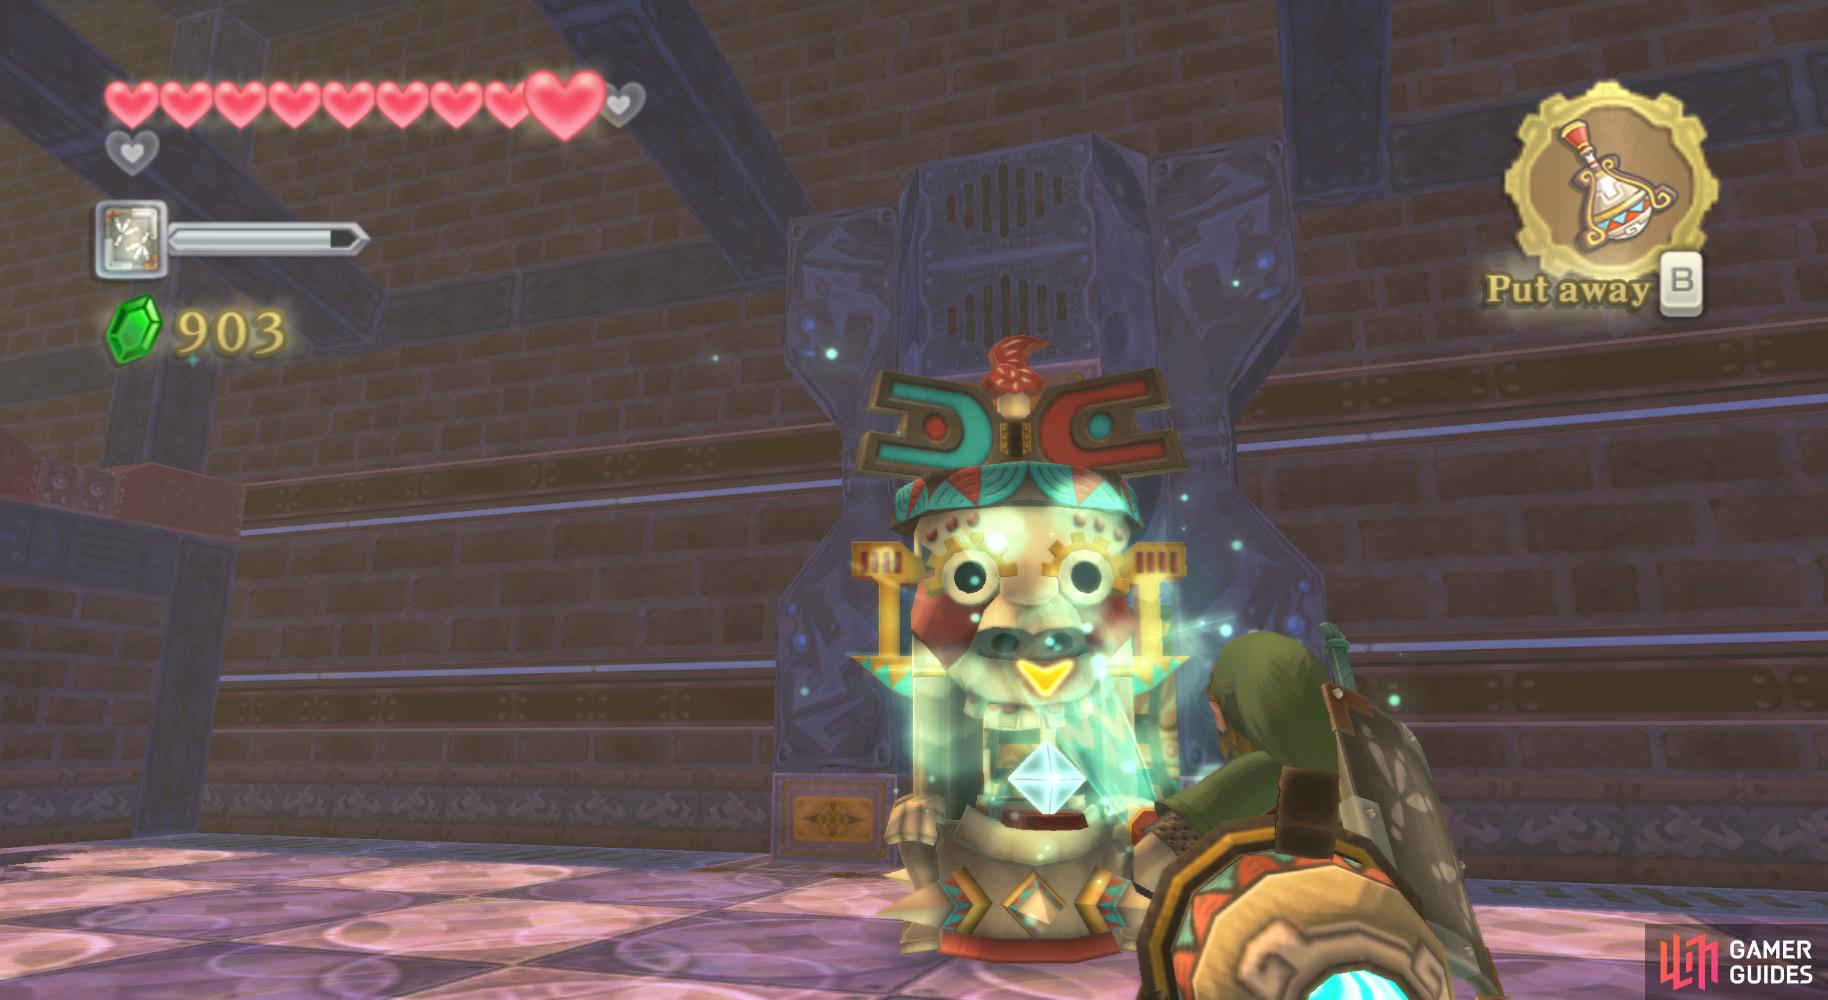
After getting rid of the Armos, you can go through the door it was guarding, as well as the chest on the upper level. Grab the Dungeon Map from the chest, then go through the aforementioned door.
No Comments