Lanayru Desert
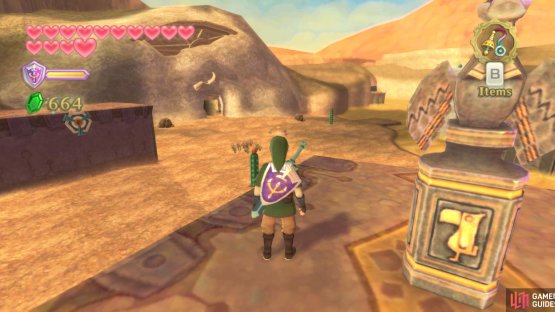
(1 of 2) When you arrive at this bird statue, the trial gate is within walking distance.
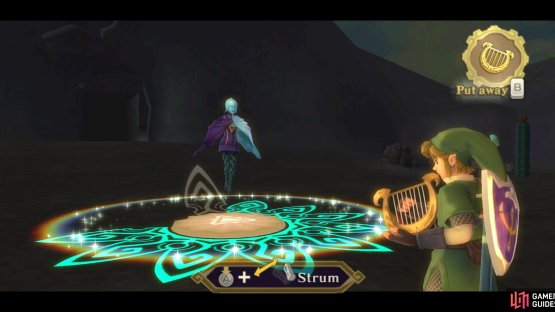
When you arrive at this bird statue, the trial gate is within walking distance. (left), Take out your harp and play it while Z-targeting the correct spot. (right)
For minimal inconvenience, land at the “North Desert” Bird Statue. Upon landing, you’ll be able to see a glowing circle with some Blessed Butterflies near it. Go towards it and play the harp as before, then thrust your Goddess Longsword into the circle, and you enter the second Silent Realm.
Nayru’s Silent Realm
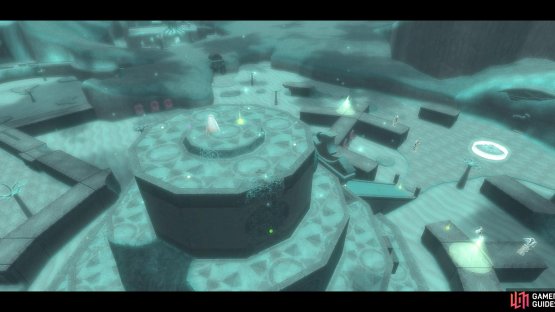
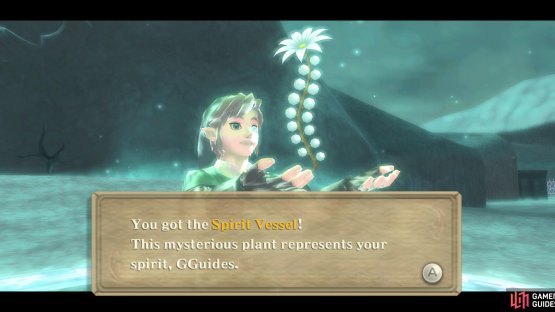
(1 of 2) How are you finding these silent realms? They’re not too bad with a guide.
How are you finding these silent realms? They’re not too bad with a guide. (left), Anyway, time to fill ’er up again! (right)
Upon your arrival, you’ll get the same basic routine as last time, but much shorter, since Fi will only explain what you ask about.
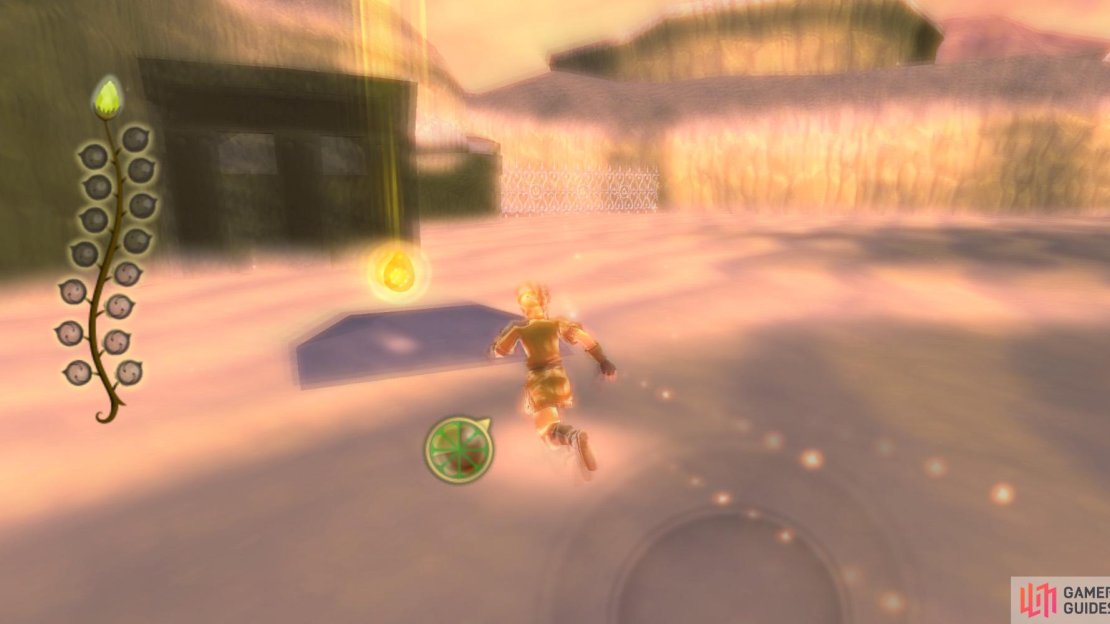
Some things to mention, though: you can sink in the quicksand (but not have to restart the trial), you have to dash across the quicksand, and you need to use the map and/or beacons to mark solid paths in the quicksand. So, here’s the strategy:
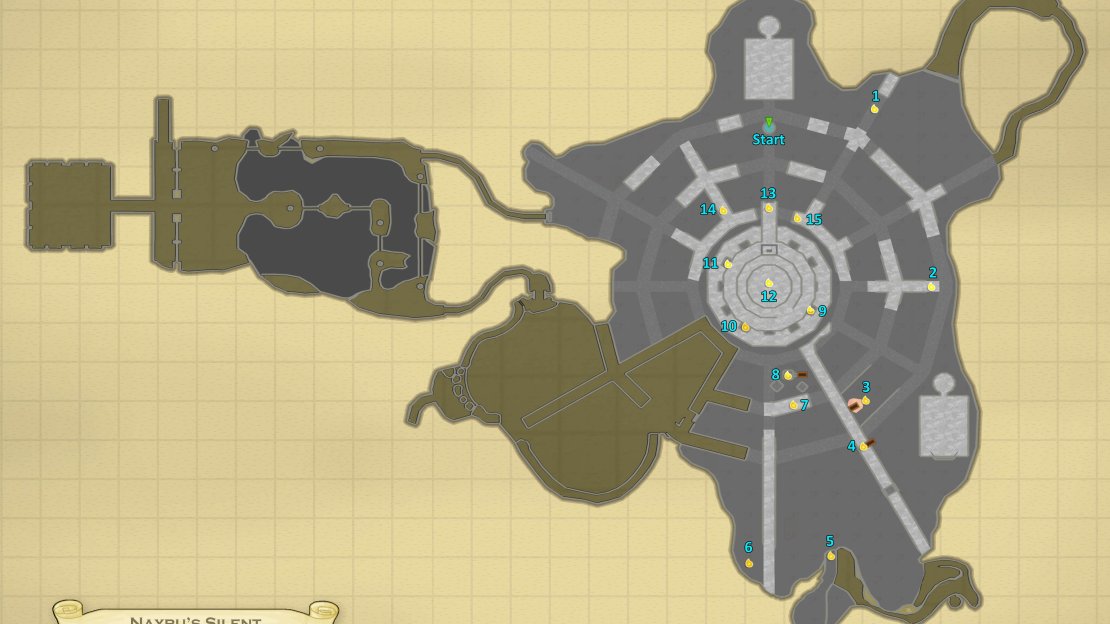
Silent Realm Map
Map of Nayru’s Silent Realm.
Sacred Tears
(1 of 5) 1. A slightly difficult start. Face left from the entrance and navigate the solid paths hidden under the quicksand (use your map and place beacons).
-
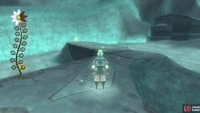
Upon beginning, go east and along the solid path beneath the quicksand. Once you reach a visible part of the path, go left to find a Tear of Nayru.
-
Go southeast along the submerged path (check your map and use beacons). After the quicksand ends, run up the slope ahead to get on the raised platform, then go left to find another Tear of Nayru.
-
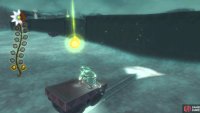
From there, hit the ground and run due south to a Stamina Fruit. You’ll soon also find a mine cart and Waking Water. Once the latter recedes, immediately pull the mine cart back as much as possible. Let the water recede if you deem it necessary, then climb onto the cart for another Tear of Nayru.
-
Go south where there’s a mine cart next to the wall. Climb up the wall and the tear should be smack bang in front of you.
-
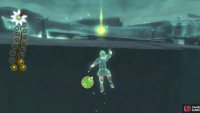
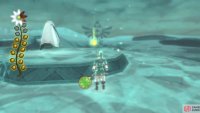
Go south some more to find my least favorite area. Yeah, I bet you can see all of those Watchers. Dash across the area, avoid the Watchers, and grab the Tear of Nayru on the ledge. If you’re stuck, it may be easier to let a Watcher catch you first, before running for the tear.
(1 of 5) 6. Run past the Watchers again, going around the wall on the left. Run up to the tree and roll into it to dislodge this tear.
-
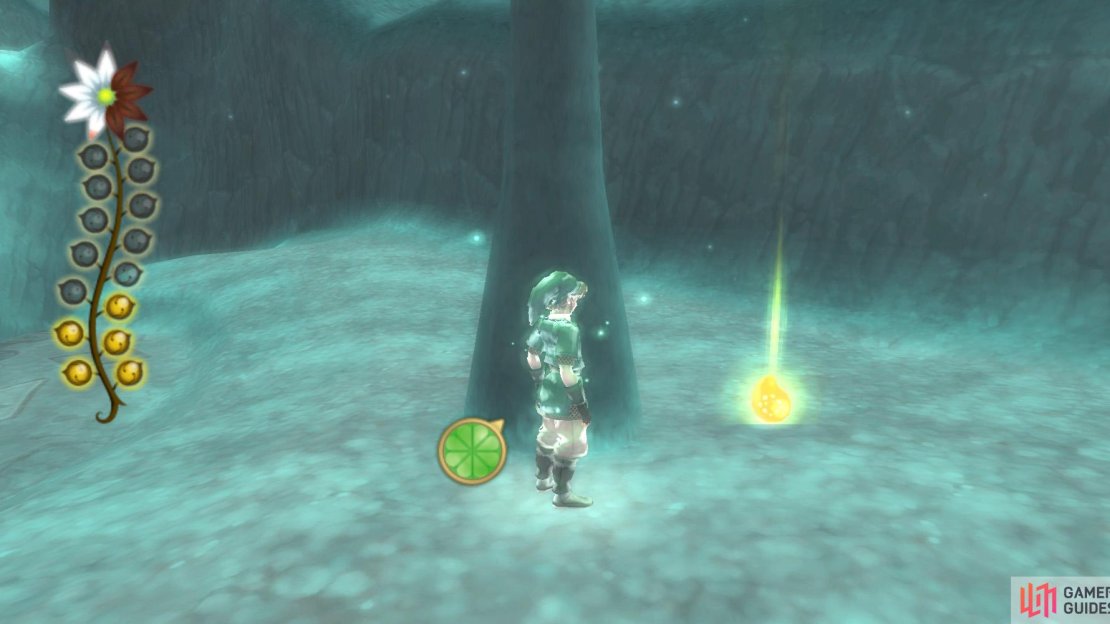
Next, run to the north. Once the western wall stops, go around it and back south along this shallow incline to a tree. Roll into the tree to knock down a Tear of Nayru. You will need to go past all those Watchers again though. If they catch you, don’t panic because only the flying Guardians will chase you (and they’re not that fast).
-
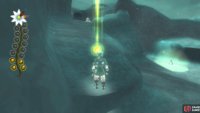
Go back north to the cage area. Run up the crumbling ledge nearby and grab the Tear of Nayru here.
-
Drop to the ground and into the cage area. Find the nearby mine cart and push it into the cage nearby. Back up slightly, then dash-jump to the next Tear of Nayru. (And, for the record, that hole is patched up rather well. You won’t fall into the Guardian’s hands, where you’d be unable to leave.)
-
Go north and across the quicksand. Climb onto the lowest of the pathways surrounding the entrance structure to the Mining Facility. There are three Tears of Nayru here. You have to climb the boxes around here to get them. First, grab the one on the right.
-
Climb up to the next level. Then walk clockwise around the structure. When you’ve just gone past the south-facing side, drop down to grab the second tear here.
(1 of 5) 11. Continue clockwise around the middle pathway. This tear is just past the west-facing side. You can see the silent realm entrance just about.
-
Climb back up and continue traveling clockwise around the pathway. This time, drop down to the boxes after going past the west-facing side. You can just about see the entrance to the silent realm from here.
-
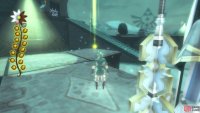
Upon grabbing all three tears, climb the vines on the structure to the top to find another Tear of Nayru. If you followed the guide carefully, the vines are a short distance on the right, when facing the structure.
-
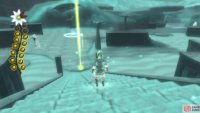
Drop off to the north and go downstairs. Continue going north and down the big stairs to find another Tear of Nayru.
-
Face the stairs again and go up them some. You can soon dash onto an upper ledge here. A Tear of Nayru is nearby. It’s near where you activated the dungeon entrance.
-
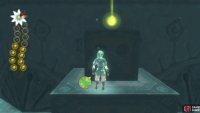
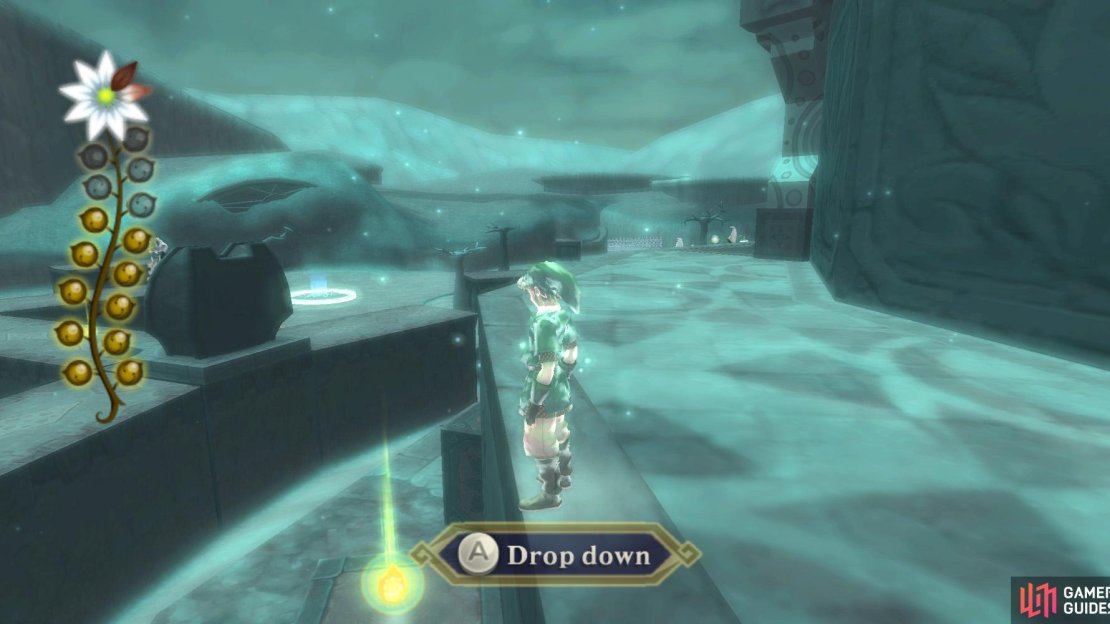
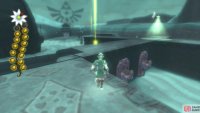
Go back up the stairs and to the lower level, then to the northeastern corner of this specific portion. To the north is a wall you can walk on, with two Watchers and an inactive Guardian. You can go there, approaching it from the east, and avoid the Watchers to easily reach the Tear of Nayru. Those little columns off to the side are not patrolled except the very edges. Alternatively, you can run straight into the Watcher’s path and dash to the tear before the Guardian catches you.
(1 of 2) Having acquired all 15 tears, you still need to return to the entrance. Luckily there’s no time limit.
Having acquired all 15 tears, you still need to return to the entrance. Luckily there’s no time limit. (left), You can use the Clawshots to hook the obvious-looking wall targets, as well as vines etc. (right)
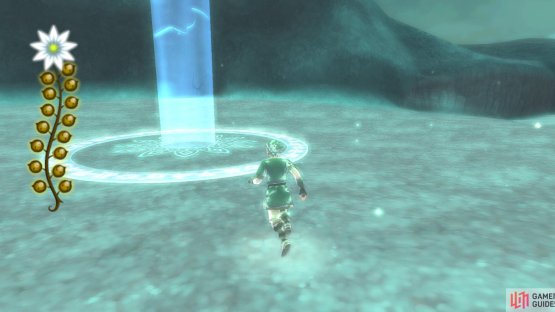
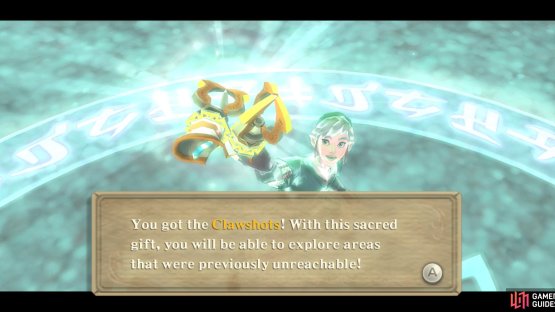
Anyhow, after grabbing the last Tear of Nayru, you can simply head northwest and back to the entrance of this area. There, you’ll receive the second gift from the goddess: the Clawshots. (If you ever played Wind Waker, they’re a similar version of the Hookshot.) Afterwards, you’ll return to the real world.




No Comments