B1 - Center (Present Era)
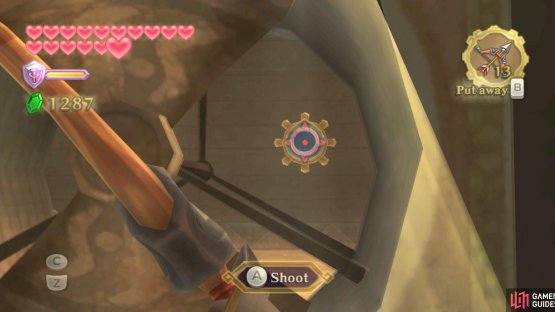
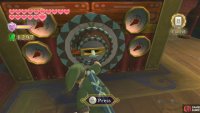
(1 of 2) While in the present version of the Sandship, fire an arrow through the non-moving fan.
While in the present version of the Sandship, fire an arrow through the non-moving fan. (left), Step on the pressure switch and shoot another arrow through the gap. (right)
Anyhow, go down the long hall and keep an eye on the wall to your right. You should spot an inactive fan along it. Target through it with the Bow, then unleash an arrow on the eye switch. You’ll unlock a room.
B1 - South Room A
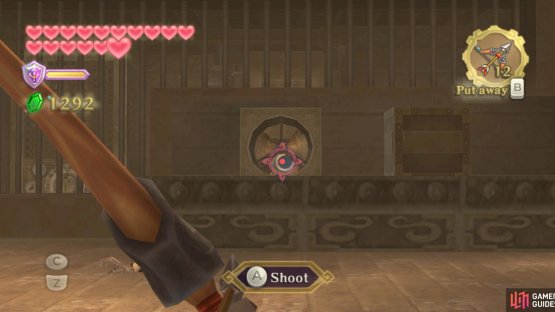
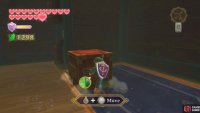
Inside, defeat the local Thunder Keese. Climb onto the ledge nearby and pull the crate along the depressed path. Go to the other side of the room and step onto the floor switch, then unsheathe your Bow. Aim for the eye switch in the opposite room, then fire the arrow to hit it through the fan hole. Exit the room.
Once you do, go across the quicksand and shoot an arrow at the Timeshift Stone using the same method as before, then go into the room you recently unlocked.
B1 - South Room B
(1 of 2) Ignore Fi; you don’t need to speak to the crew to learn what’s going on.
Ignore Fi; you don’t need to speak to the crew to learn what’s going on. (left), Push the crate onto the switch to open the portholes. (right)
There, defeat the Technoblin inside and face the power node. Thrust your sword into it, rotate the switch ninety degrees to the left, then insert the switch.
Exit the room and go into the unlocked room across the hall.
B1 - North Room A
There, pull the crate onto the pressure switch. This opens the portholes to the outside, but they’re useless at the moment.
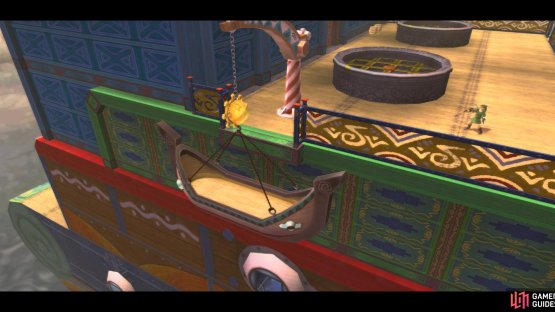
(1 of 2) Lower the lifeboat while you’re not on it.
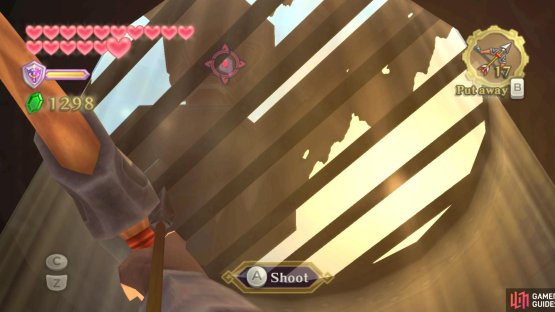
Lower the lifeboat while you’re not on it. (left), You know the drill: Look up and shoot the Timeshift Stone. (right)
Anyhow, exit the room and head outside to the main deck.
Deck
There, look to the left and forward to find a lifeboat hanging next to the above ledge. Work your way over there and, while out of the boat, shoot the eye switch with your Bow to lower it to the right porthole from earlier. Then blast the Timeshift Stone with an arrow. Drop into the lifeboat and go into the porthole.
B1 - North Room B
There, walk into the room next to you. Jump at the wall switch, unlocking the door for future perusal. Then look up through the ceiling. There should be a vent here – launch an arrow through it and to the Timeshift Stone.
Thrust your sword into the nearby, active power node and rotate the switch ninety degrees to the left, then insert the switch.
(1 of 2) You need to use the portholes to reach the engine room.
You need to use the portholes to reach the engine room. (left), Inside, try not to get squished by the pistons! (right)
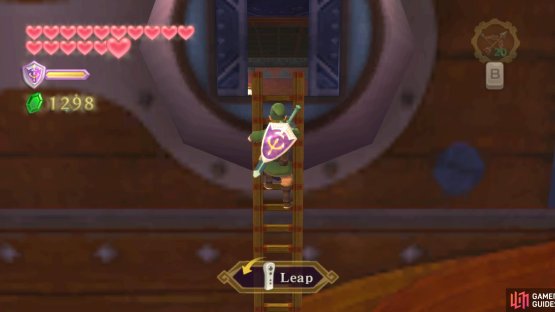
The engine room is now fully active and ready for us. Go into the porthole room and through the left of the portholes. Climb or drop down the ladder and go along the path and through the door to the engine room.
B3 - Piston Area
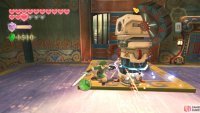
Here, go down the ladder in front of you. You’ll find some pistons (I think; mechanics never was my strong point) going up and smashing down; obviously, you want to avoid the latter and run forward during the former.
At the set of two further ahead, immediately run when the first piston rises and be ready to continue after the second also does so. Then climb up the ledge.
(1 of 2) After going past the first set of pistons, use the whip to swing to this ledge.
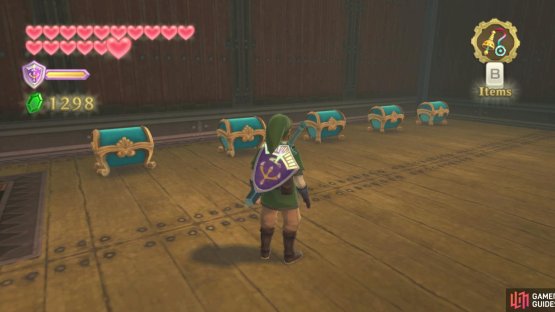
After going past the first set of pistons, use the whip to swing to this ledge. (left), Upstairs, you’ll find five treasure chests! (right)
There, use your Whip on the swinging post to go over the gap. Hold B and turn to the ledge on the right. Go upstairs to find five chests. Inside are two Silver Rupees and three random treasure.
Return to the swinging post and swing to the other unused ledge. For these, immediately after the first piston rises, run across. On the other side, use the Whip on the nearby swinging post and swing yourself onto the first of the pistons. Dash across them to the opposite ledge and jump to the wall switch.
(1 of 2) You can run up to these switches or use the whip.
You can run up to these switches or use the whip. (left), As thanks for rescuing the crew, they’ll give you a Small Key. (right)
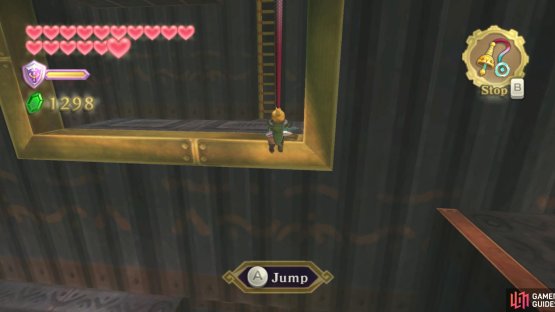
Crawl through the tunnel nearby to a ladder.
B2 - Prison Area
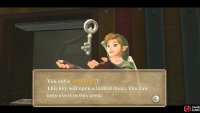
After climbing up, you’ll be behind the jail cell. Pull down the wall switch. This allows the crew to escape, and you get a reward in the form of a Small Key. This one is meant to be used on the (absent) ship captain’s quarters, which is now marked on your map.
Anyhow, go back to the engine room and through the shortcut you just made. Go along the path and back to the door. Go along the path and up the ladder to the porthole room. There, get into the lifeboat and shoot the eye switch to get back up to the main deck. On this very ledge, you can find the captain’s quarters. Go inside.
1F - East
(1 of 2) Bash up the monsters in this room.
Bash up the monsters in this room. (left), Then stand on the switch and shoot an arrow through the gap. (right)
Here, head downstairs and around the corner to the Bird Statue. Use it and approach the barred doorway on the left. In this room, you’ll find a Beamos. Shoot its eye with an arrow for a quick end. Then head upstairs, outside, and hit the Timeshift Stone with an arrow. Go back inside and continue through the now-unelectrified doorway.
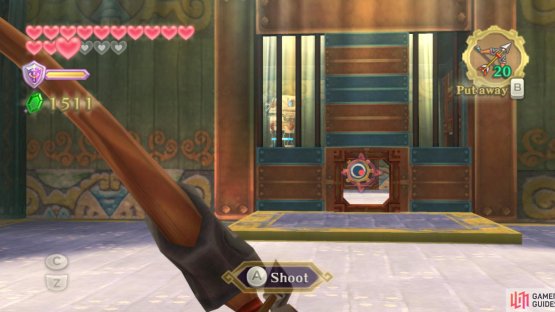
You’ll find some Arachas in here. Slice ’em up, then look through the vent in the roof. Shoot an arrow at the Timeshift Stone, then get rid of the nearby Beamos and Technoblin. Stand on the floor switch to open up a panel; stand there and shoot an arrow at the now-revealed eye.
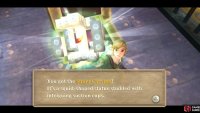
(1 of 2) You now have the “boss key”.
You now have the “boss key”. (left), Use it to unlock the big door you passed by, on the other side of the ship. (right)
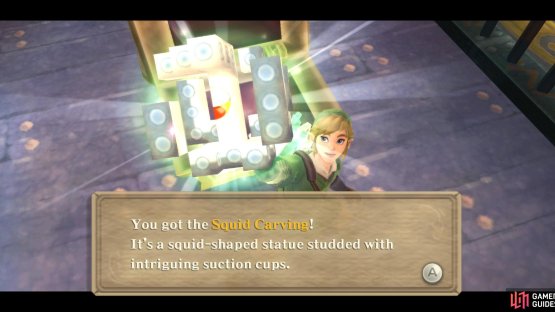
Then go through the newly opened room. Defeat the remaining Beamos in here (you can go into the nearest corner on the right upon entering to barely avoid being hit with the lasers) to open up a mini-room. Open the chest there to find the boss key for here, the Squid Carving.
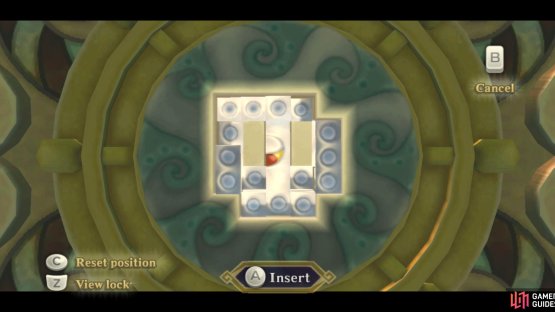
Return upstairs, to the main deck, through the other doorway, and head to the floor below you with the Bird Statue. Use the aforementioned, as well as the chair, then go to the large door. Insert the Squid Carving, then get ready for another boss fight.









No Comments