
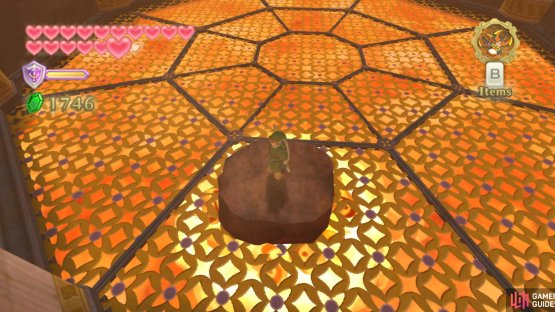
(1 of 2) Yay, another fire dungeon.

Yay, another fire dungeon. (left), Knock the spiky plants into the lava to create a temporary platform. (right)
Entranceway
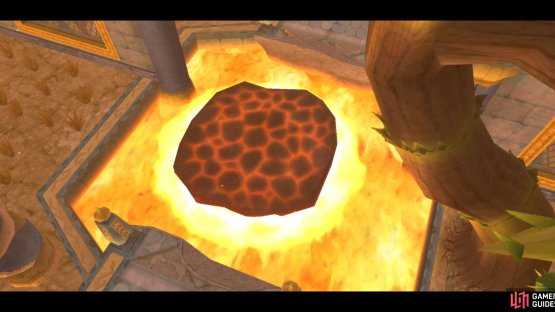
Upon entering this dungeon, go forward to the Bird Statue and save. You’ll find the path ahead to be blocked by a large river of lava. You cannot run or jump across … so you think. Look up and you’ll find some plants hanging from above.
Hit one with something (preferably the Hook Beetle, to save your ammo) and water will fall onto the lava below, temporarily solidifying and making a viable platform. Jump across quickly - it does eventually disappear.
Map
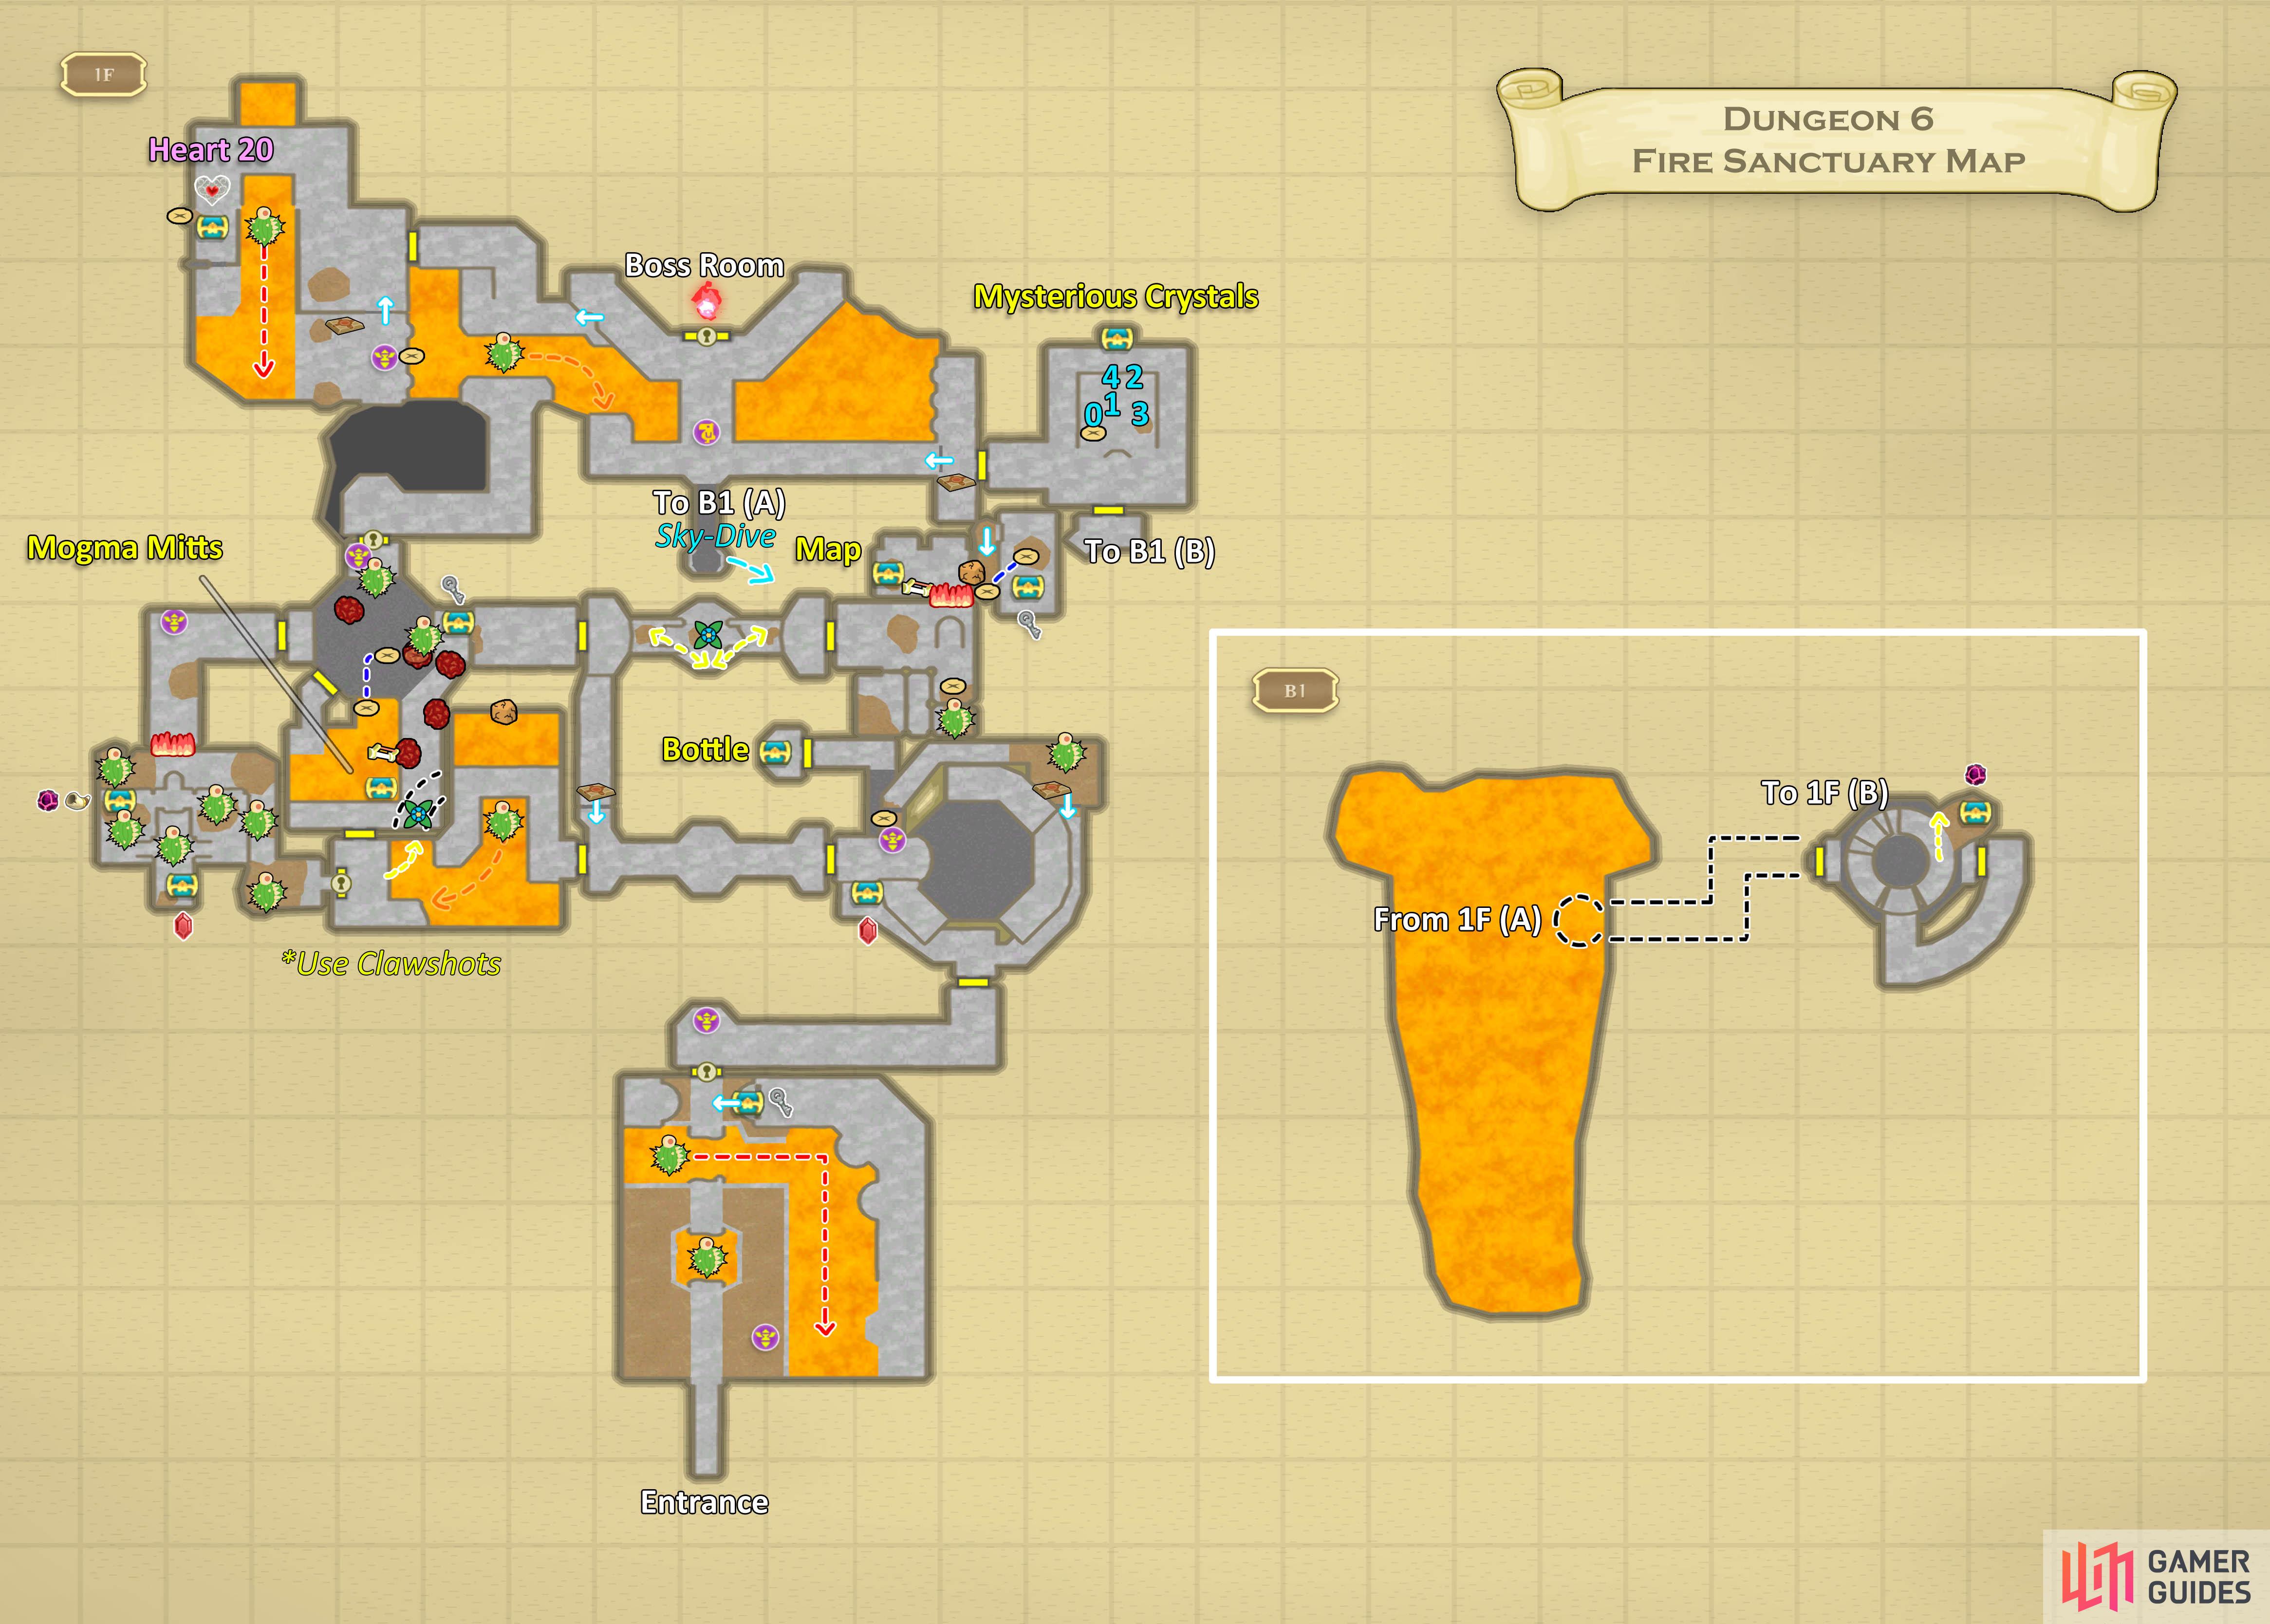
Map of the Fire Sanctuary
On the other side, hit the next plant above the lava to make another platform. You can ride this one for a while longer, as it is in a current. Use your shield to block any arrows the Bokoblin Archers shoot at you.
At the end of the current, jump onto the nearby solid platform. Go up the hill and finish off the monsters. Get rid of them all to find a chest and open up a doorway; the former will contain a Small Key.

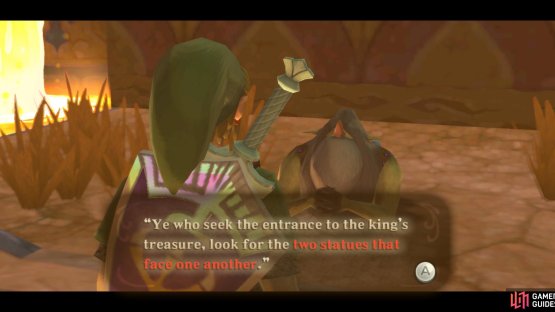
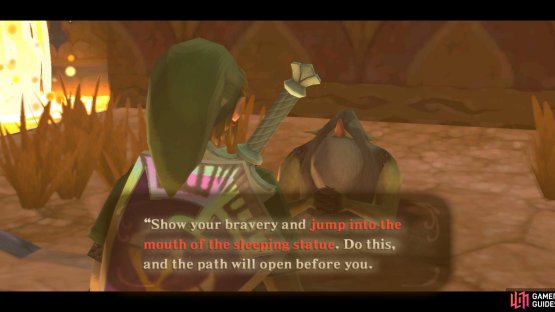
(1 of 2) The legend speaks of two statues facing each other.
The legend speaks of two statues facing each other. (left), One of the statues will be “asleep” and you must jump into this one. (right)
Drop down from the ledge and you’ll meet up with a Mogma, Guld. He’ll give you some advice for the future, although you may have to write it down, because it could be a while. (Alternatively, just follow our guide!) Unlock the door nearby.
South Corridor
In the next room, utilize the nearby Bird Statue and head downstairs. As you do, defeat the Bokoblins and the Dark Keese, then go through the doorway.
East Room 1
In this next room, go left to find a chest (Red Rupee). Next, go downstairs to a ledge looking over the room nearby. Drop down onto the metal grating blocking you from falling into the magma and immediately head for the rock.
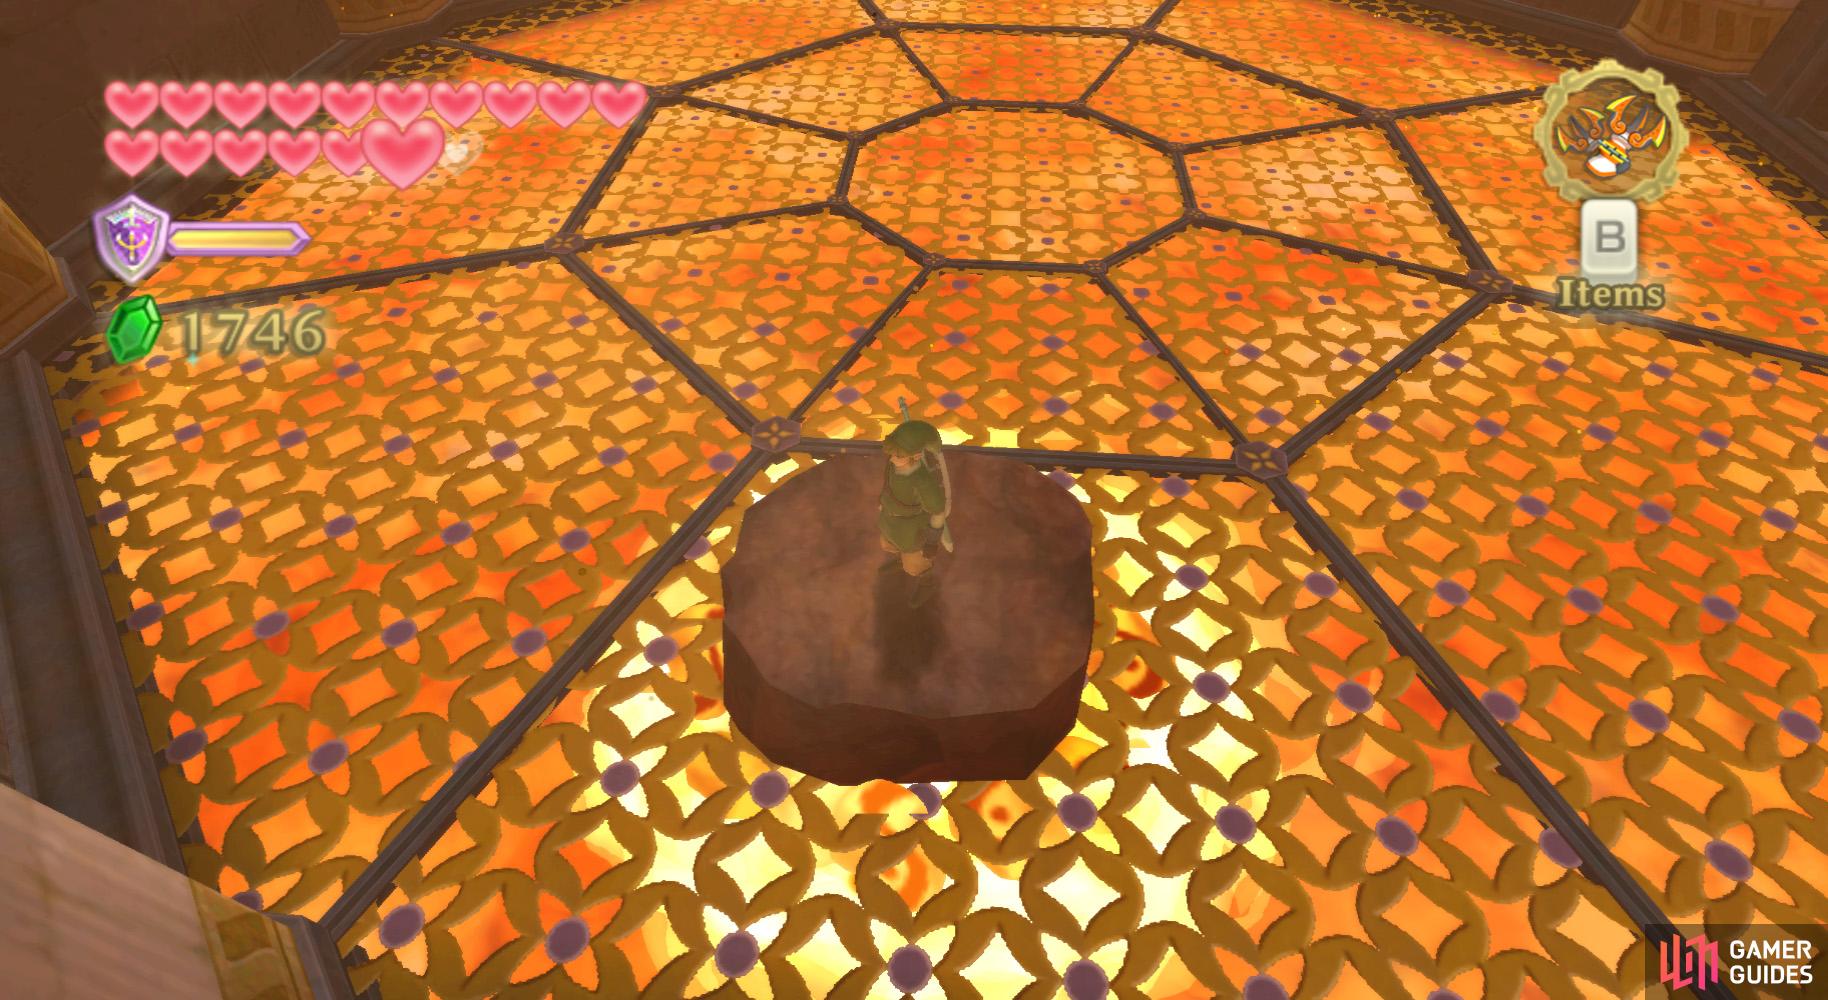
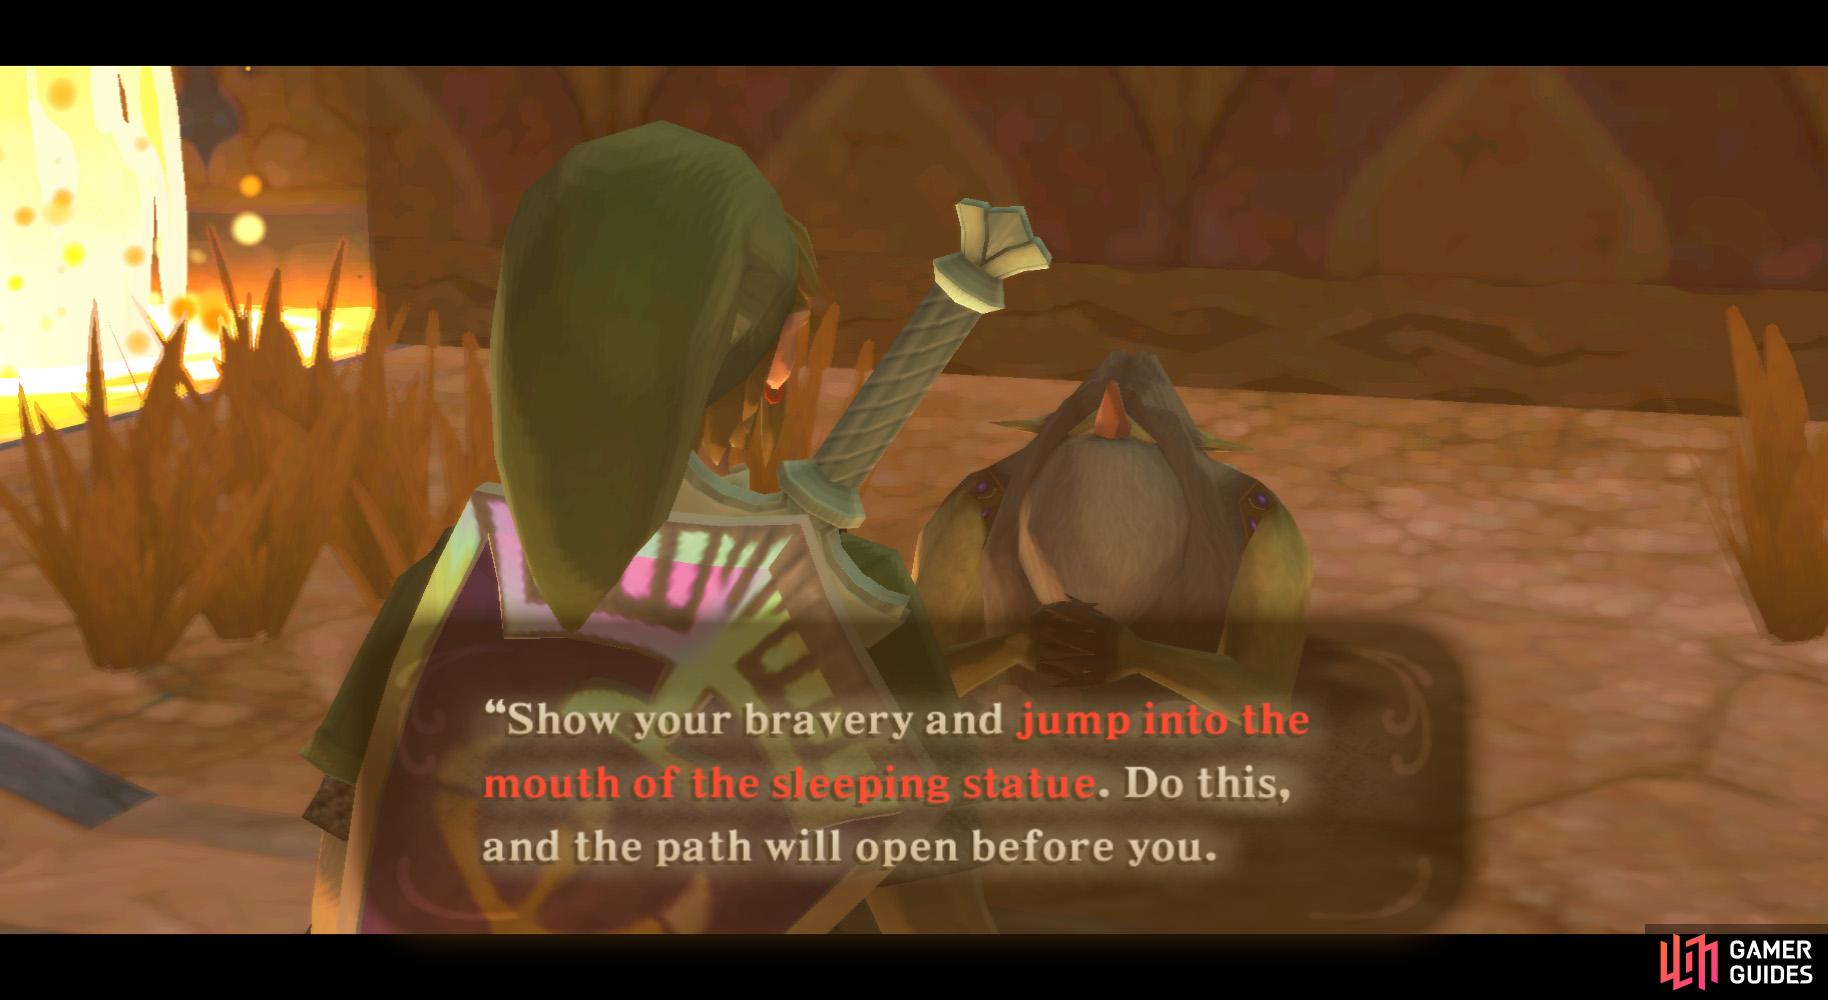
(1 of 2) Quickly stand on top of this platform.
Quickly stand on top of this platform. (left), The lava hand enemy should lift the platform high up. (right)
The enemy below, a Magmanos, will probably end up launching you to a higher ledge. There, get off of the rock and start ascending the vinery.
Upon landing, defeat some more Bokoblin Archers, then continue along the vinery to another ledge. There, get rid of the other Bokoblins and drop down to the Bird Statue below. Use it and go through the door nearby.
Central Area
In this room, you’ll face a single Dark Lizalfos. The strategy to defeat it is the same as for a regular Lizalfos; it is merely stronger and can Curse you with its breath. Defeat it and grab your rewards, then go through the unused doorway.
West Room 1
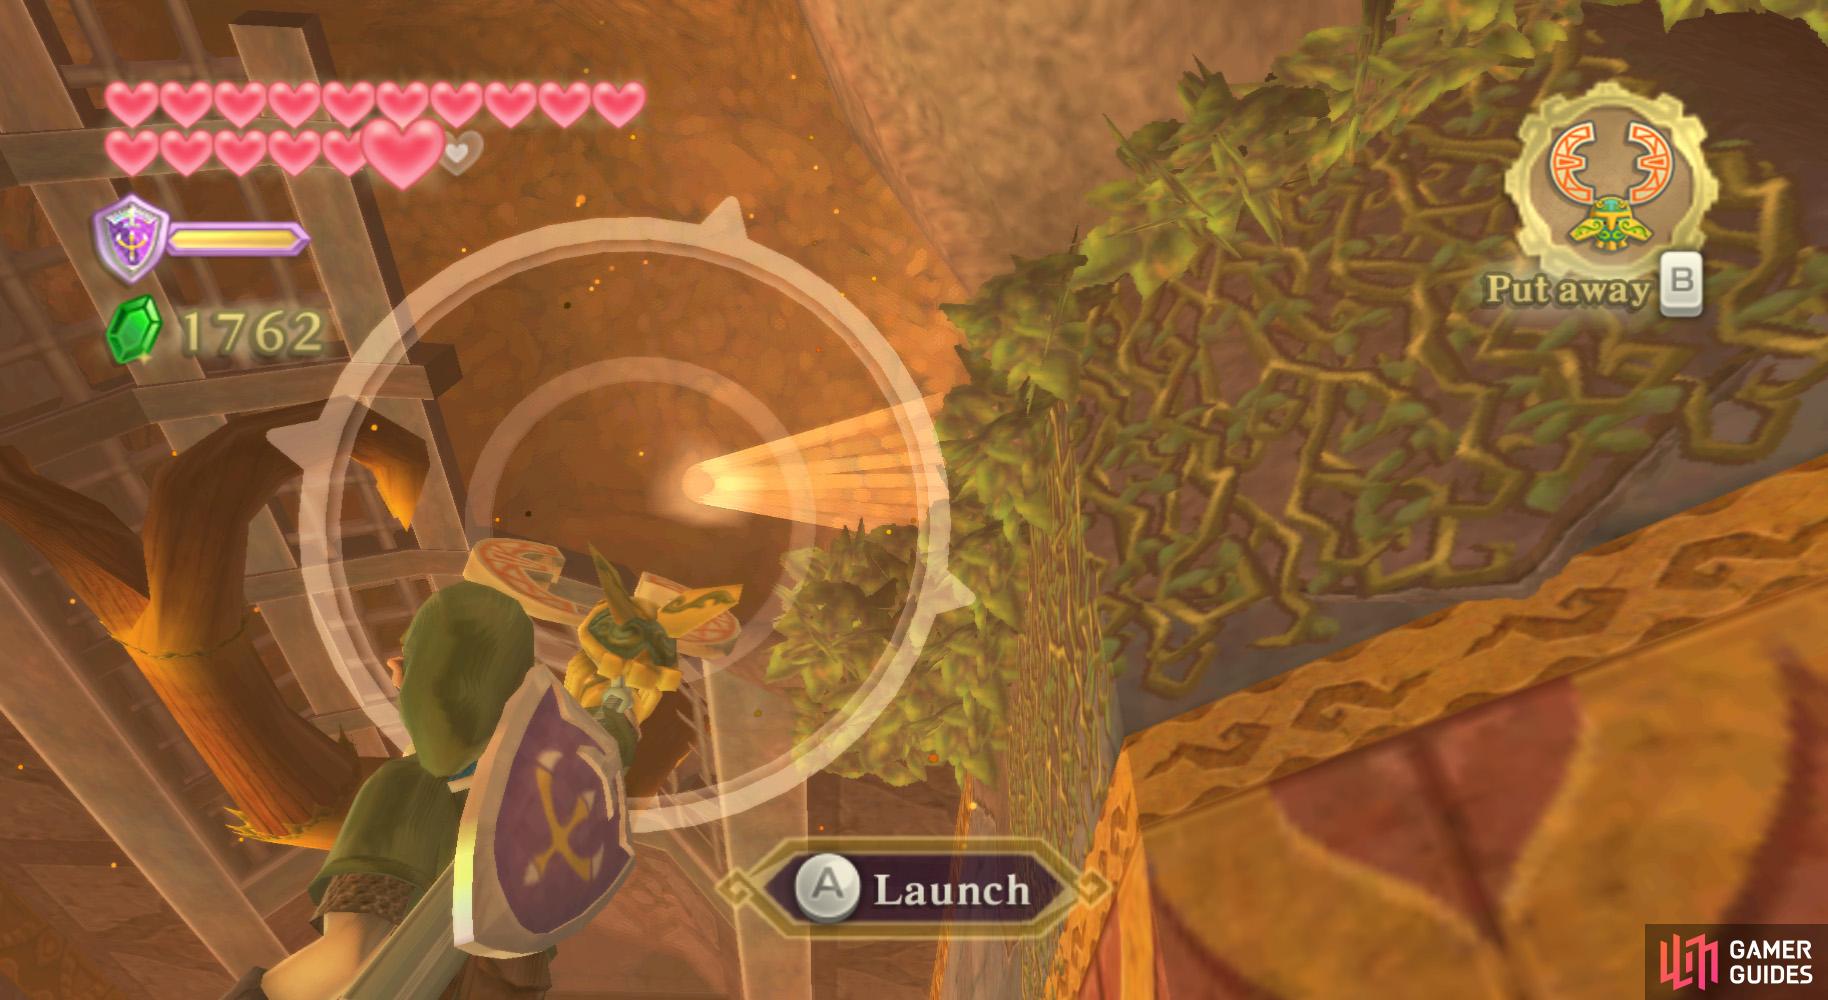
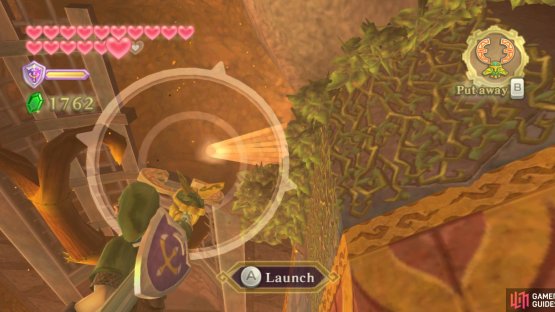

(1 of 2) If your Beetle can’t travel far enough, launch it from here instead.
If your Beetle can’t travel far enough, launch it from here instead. (left), Anyway, your target is this blocked up statue. (right)
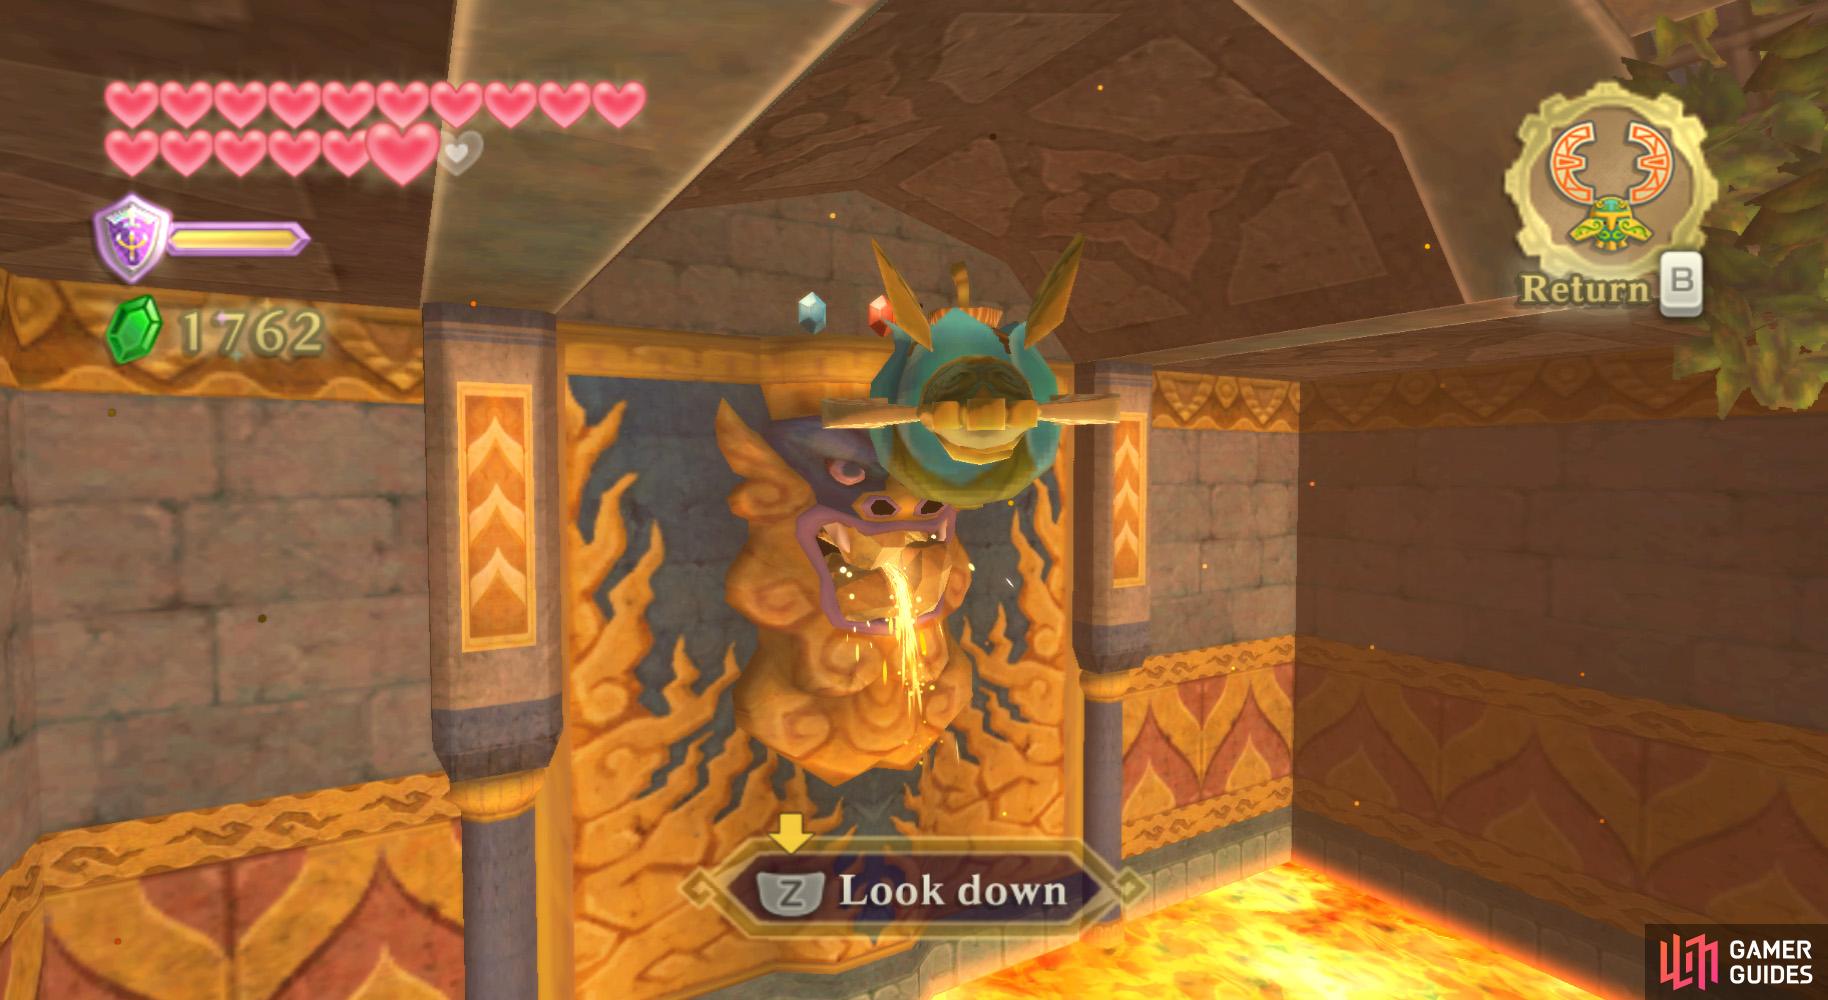
Here, you’ll find three Cursed Spumes in this room. Use the Bow to finish them off. North of where you entered the room, you’ll find a statue’s mouth clogged with rocks. Do a 180 to find a tunnel high in the wall.
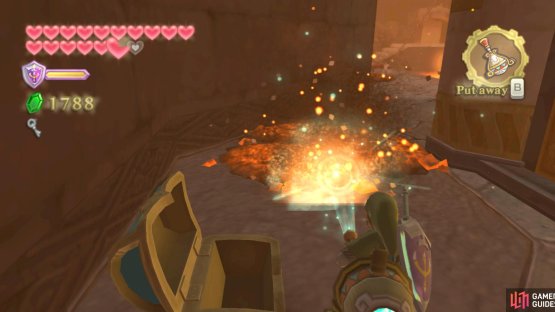
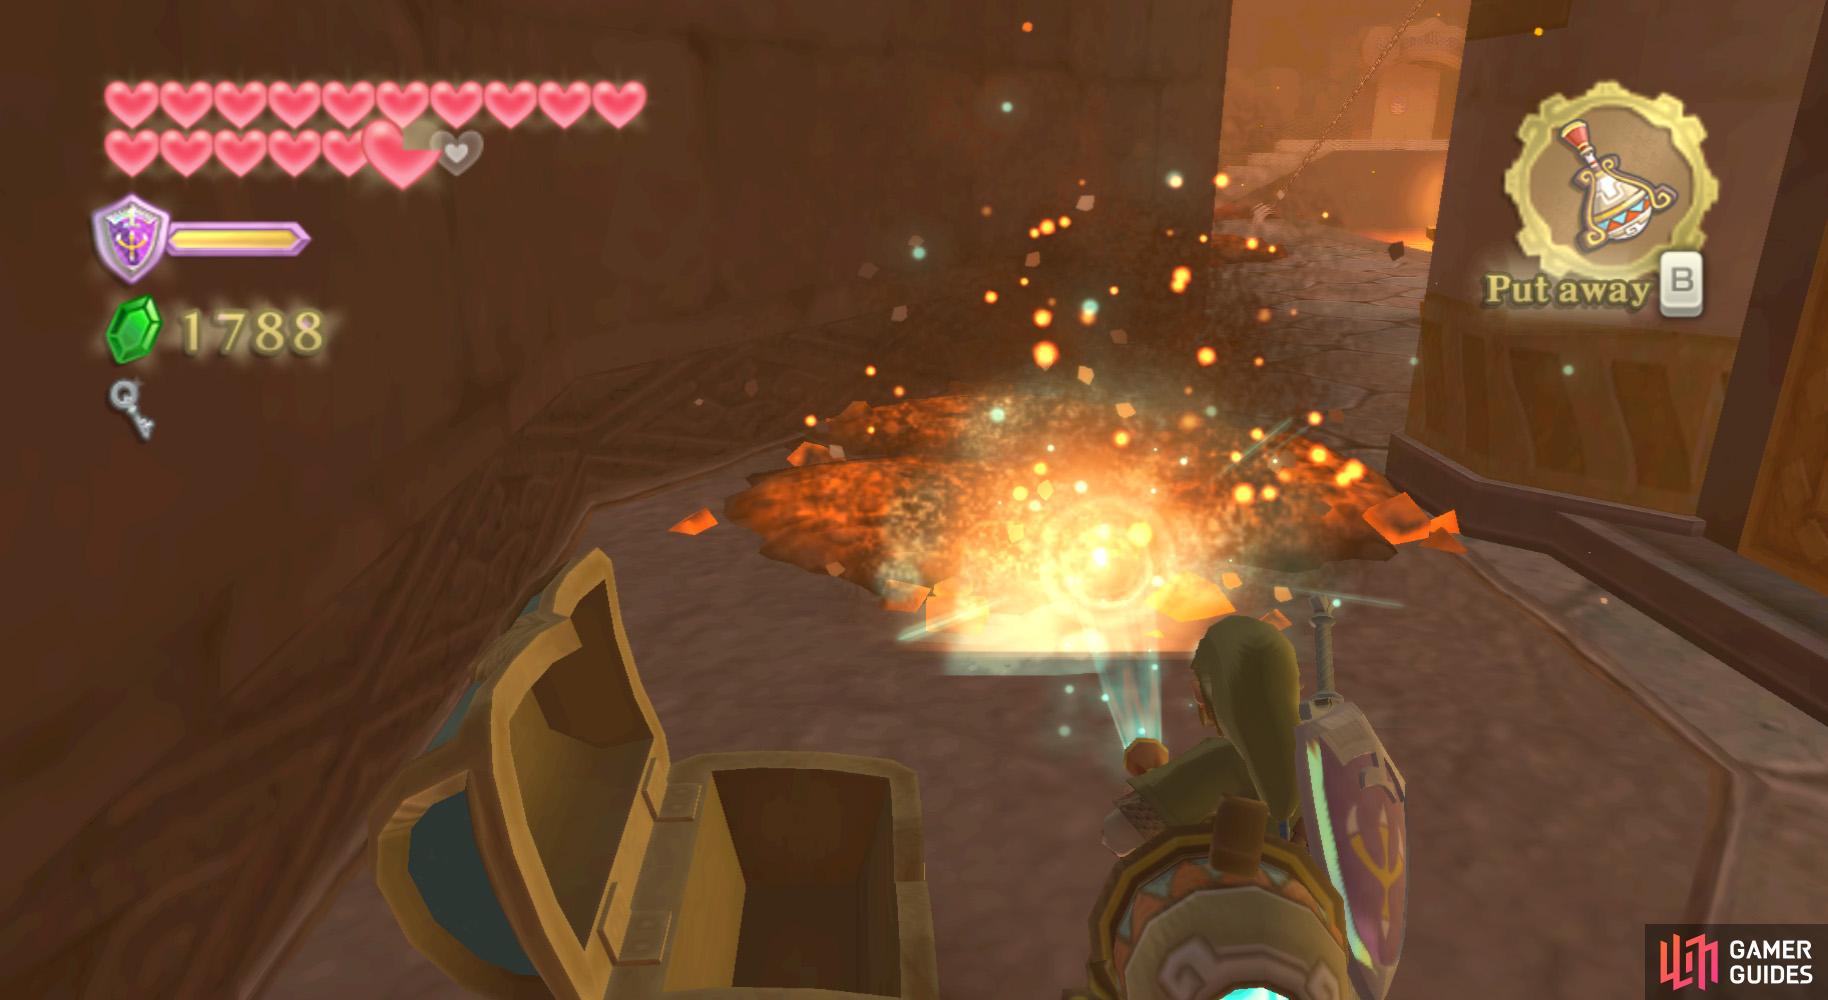
Send the Hook Beetle along it to find a few Rupees. When you get to the Bomb Flower patch (you may need to relaunch the Hook Beetle), grab a Bomb Flower and run into the rocks in the statue’s mouth.
This causes the lava to flow now. Use the Hook Beetle to knock the water out from one of the plants above the lava, then ride the platform to the ledge. There, disembark, defeat the Bokoblin Archers, and go through the only usable door.
West Room 2 (South)


(1 of 2) Don’t drop this into the lava!
Don’t drop this into the lava! (left), Use the Gust Bellows to cool down the molten rock. (right)
Here, you’ll find a Mogma being held captive above a pool of lava. After a short conversation, go around the room and you’ll find some molten rock on the ground. Clear it with the Gust Bellows and you’ll find some treasure, much like with sand.
At the end of this path is a chest, inside which you’ll find a Small Key. Exit the room, then go through the nearby locked door.
West Room 3
Here, you’ll proceed forward by cutting down the plants and going further before the plants grow back (or you can just try weaving through them). Once you reach the fire blockade, go south to find some more water plants at the intersection.
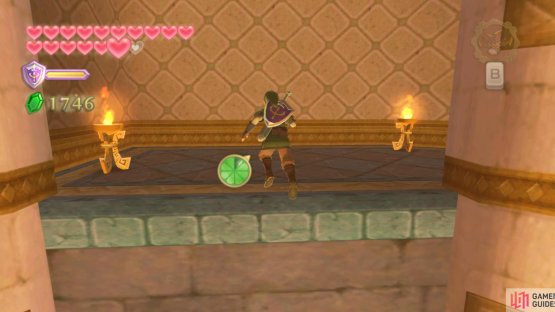
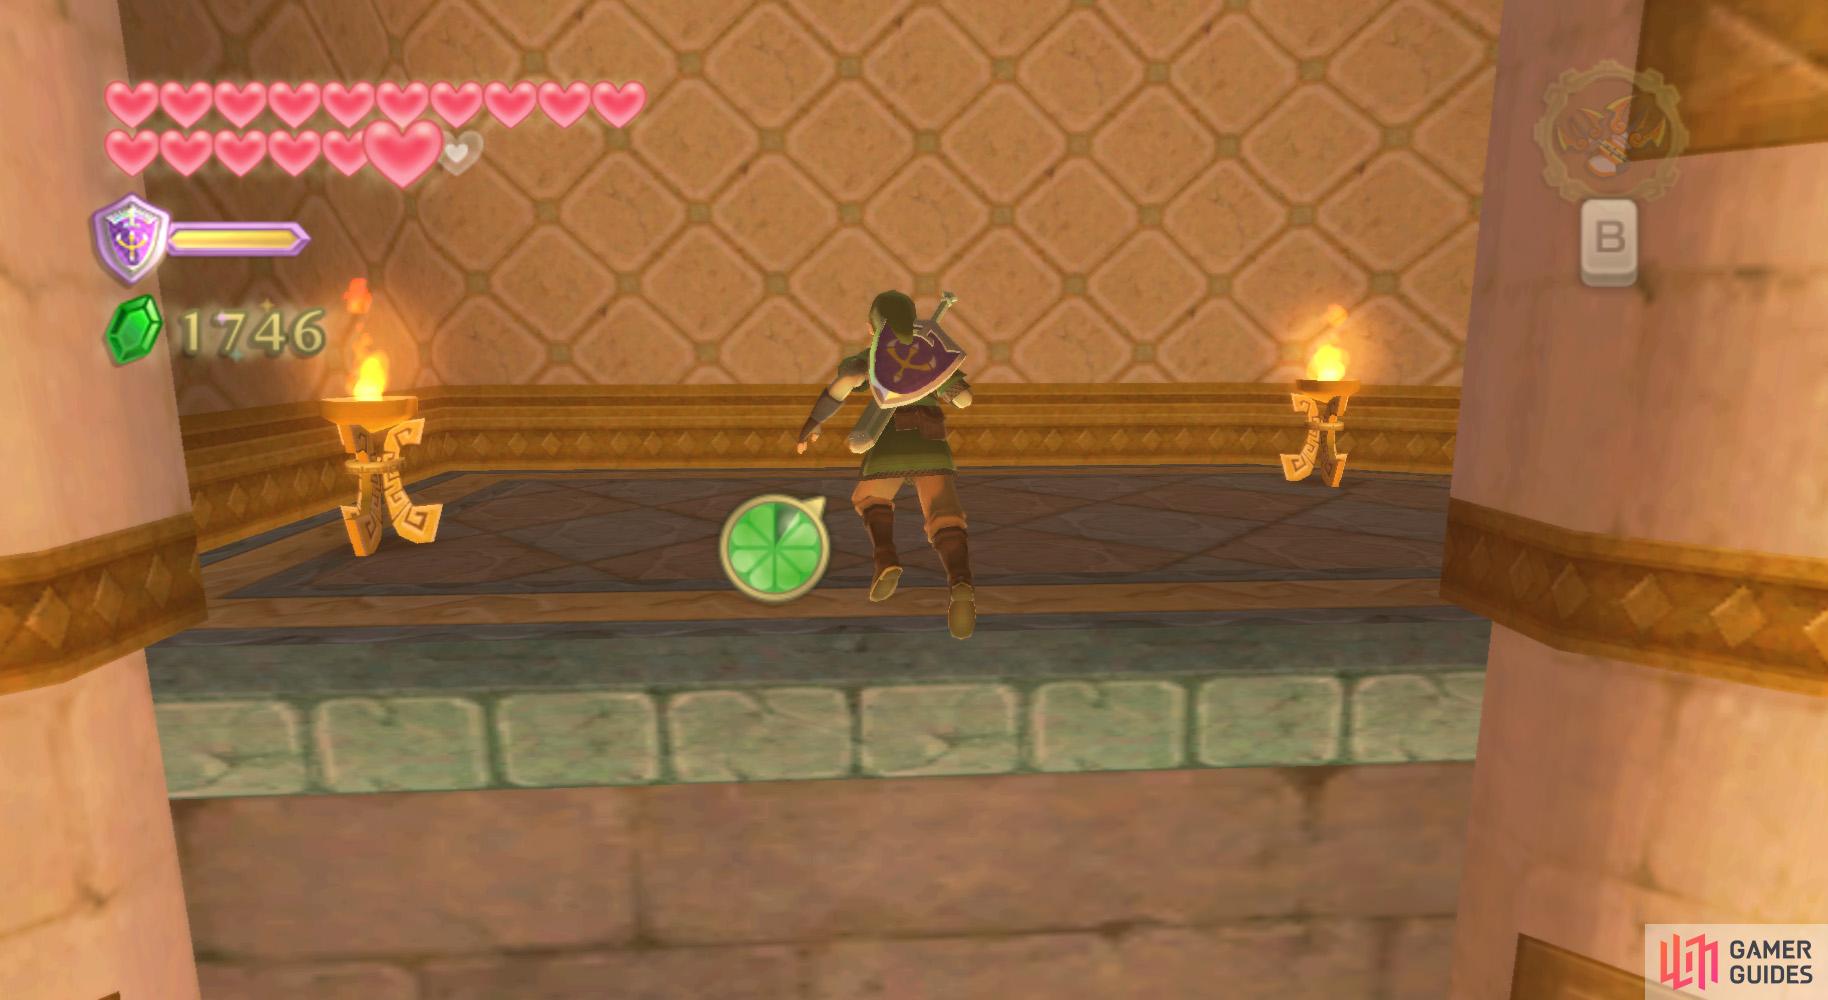
Open the chest to find a Red Rupee, and you’ll also find a fairy in one of the pots. If you haven’t refilled your Empty Bottle with anything useful, I suggest putting the fairy in it.
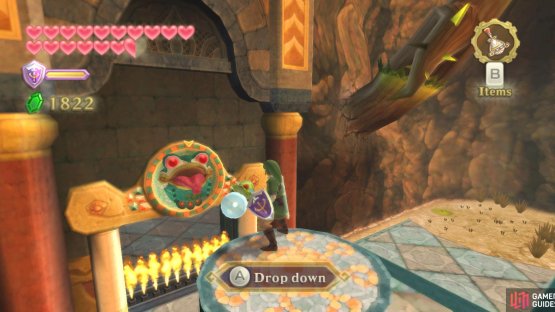
(1 of 2) Thrust your sword to grab a spiky plant.

Thrust your sword to grab a spiky plant. (left), Then chuck the plant into the frog’s mouth. (right)
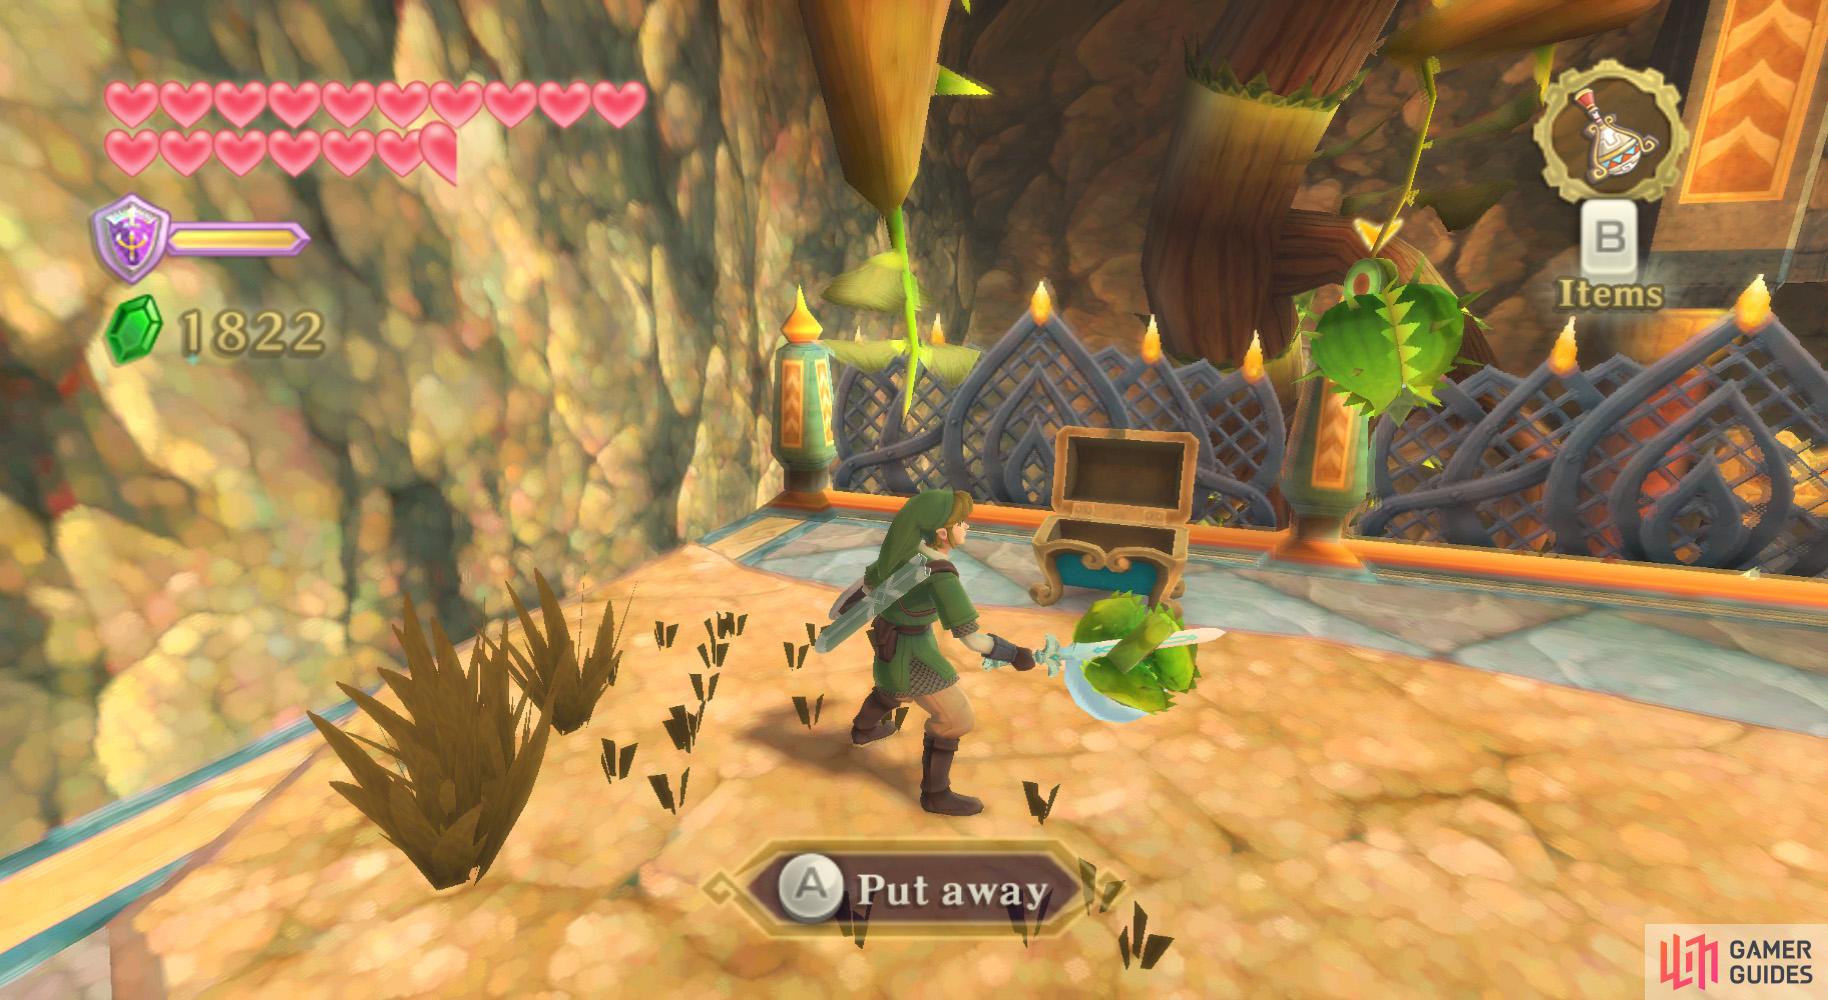
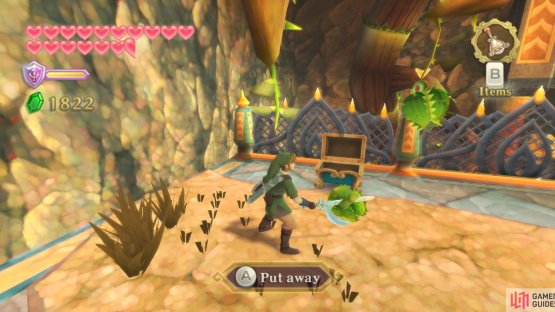
Go up the nearby staircase and open the western treasure chest for a random treasure. Go to a water plant now and thrust your sword at it; this should leave the plant hanging on the sword.
Go to the northern platform overlooking the fiery blockade. Lock-on to the frog statue and do a vertical slice to quench the statue’s thirst.
Proceed forward here, defeating the Dark Keese and the Bokoblin. Use the Bird Statue on the way, then go through the doorway at the end of the path.
West Room 2 (North)
In the next room, you’ll need to defeat two Magmanos. Use one of the rock slabs in conjunction with a Magmanos to reach some water plants.
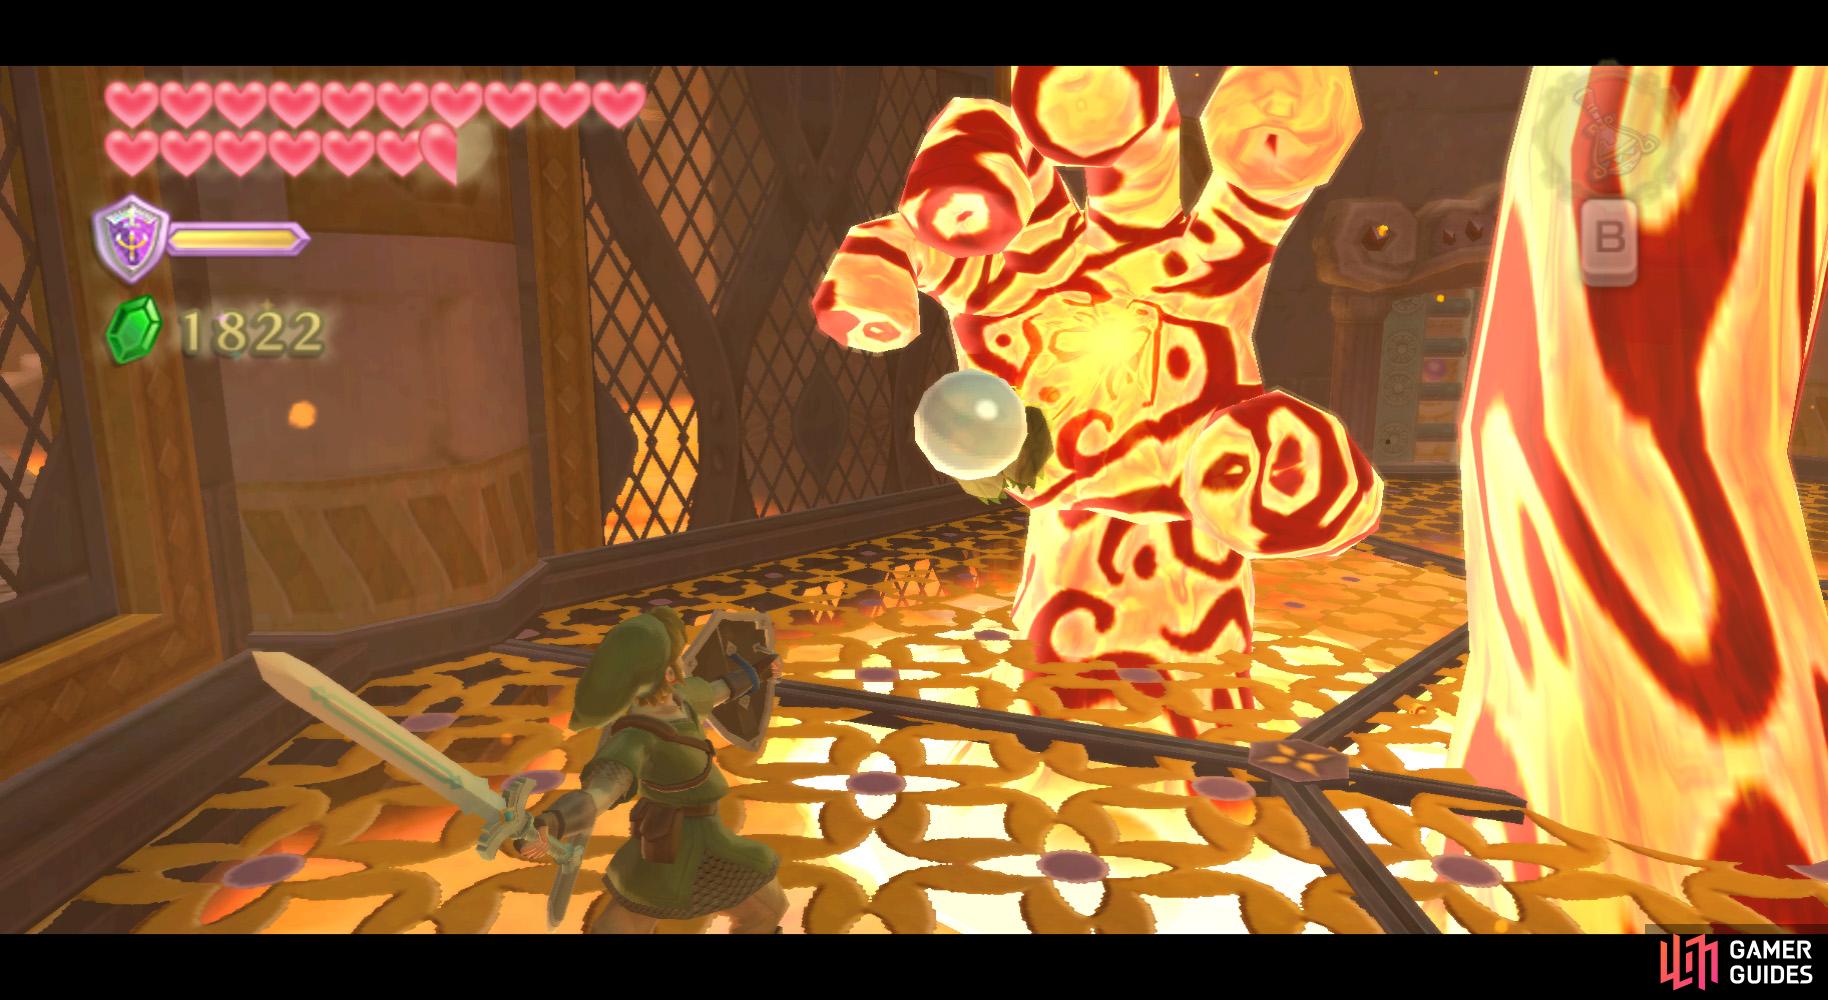
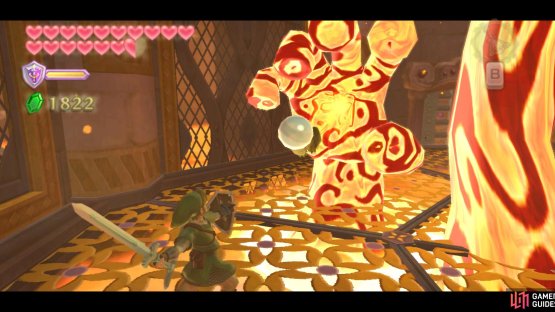
(1 of 2) Grab a spiky plant from high up, then throw it at a Magmanos to solidify it.
Grab a spiky plant from high up, then throw it at a Magmanos to solidify it. (left), Okay, now you can REALLY feel like a Mogma! (right)
Thrust one onto your sword and hit the ground. When one of the Magmanos reveals itself, throw the water plant at it and slice the now-solidified Magmanos until it shatters. Repeat this with the other one, thereby making the lava drain out of the room and revealing a door.
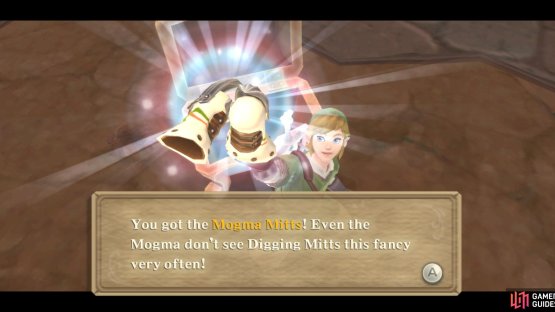
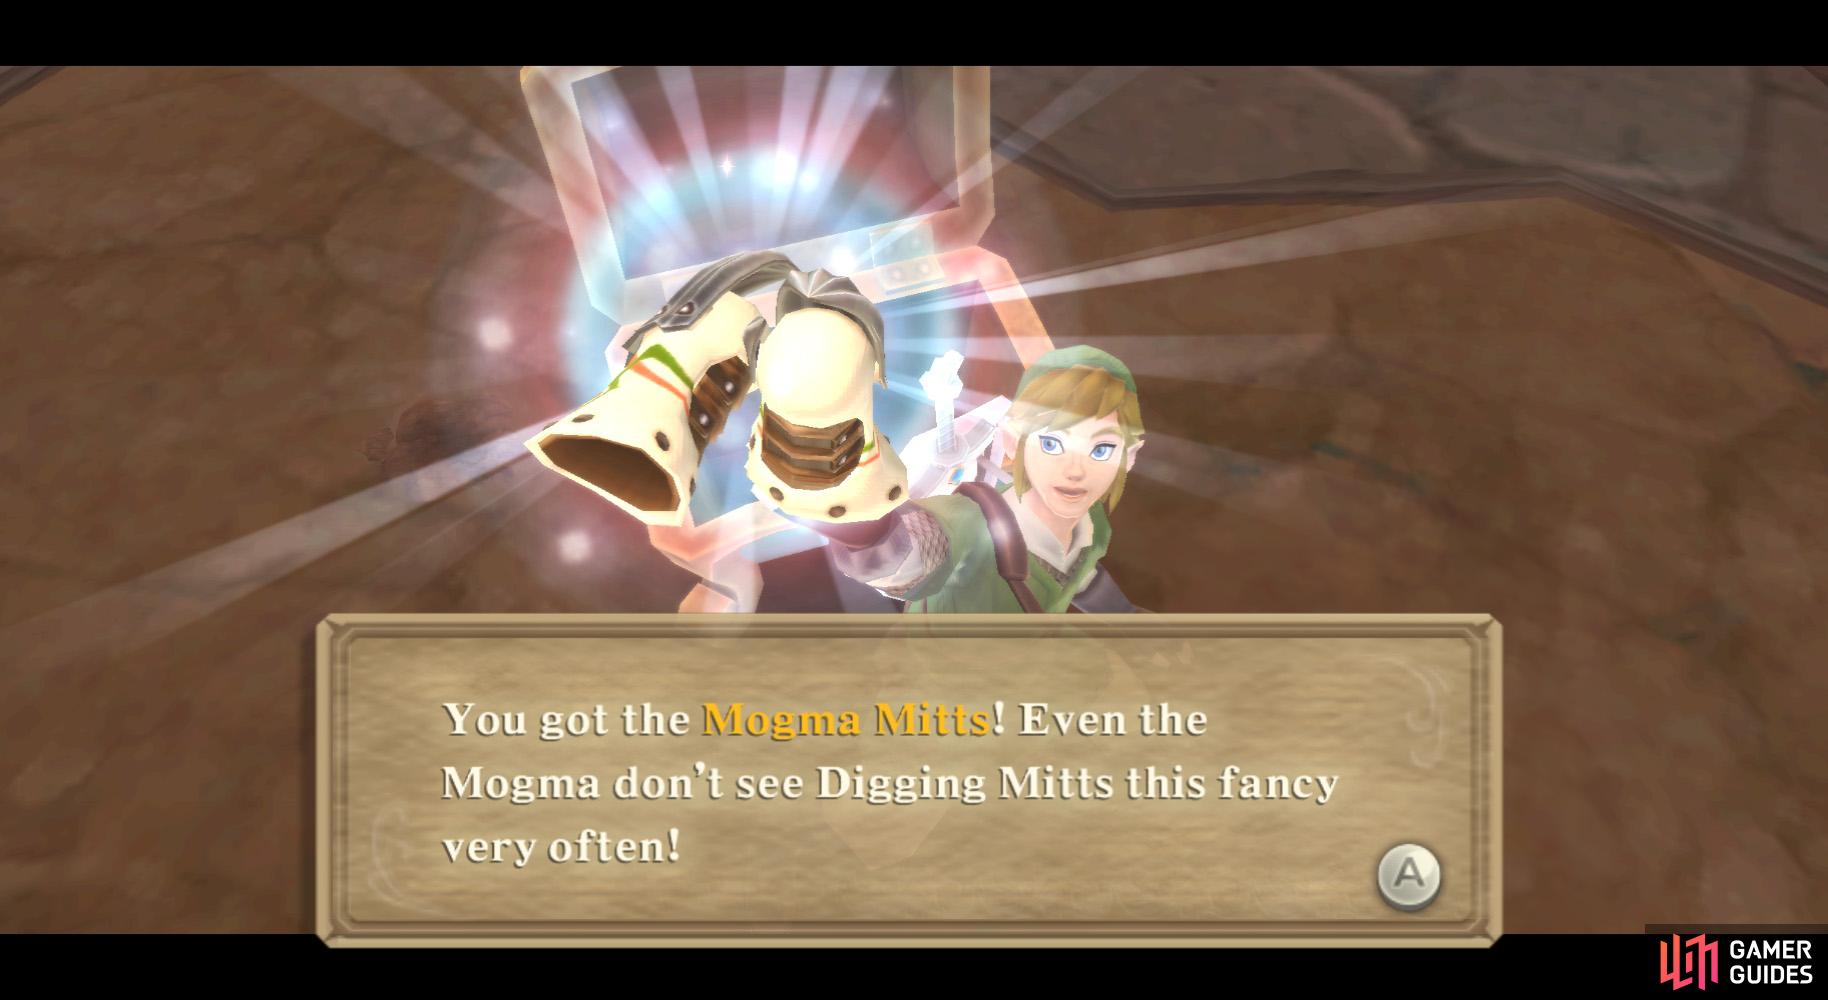
The captive Mogma from earlier will then call to you from his perch. Go through the newly-revealed door to find the pit above which he’s hanging. Hit the nearby wall switch to lower the Mogma to the ground. After a short scene, open the chest to get the Mogma Mitts.
They function like the Digging Mitts, but also allow you to dig and travel underground in certain areas. (It is differentiated from the “Dig” command by being named “Burrow”.)
No Comments