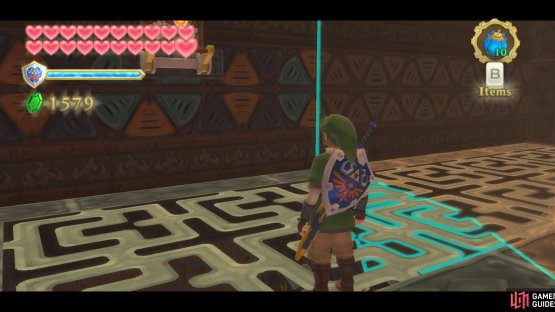
(1 of 2) This room is based on the Lanayru Mining Facility.
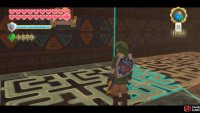
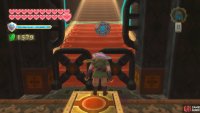
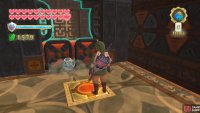
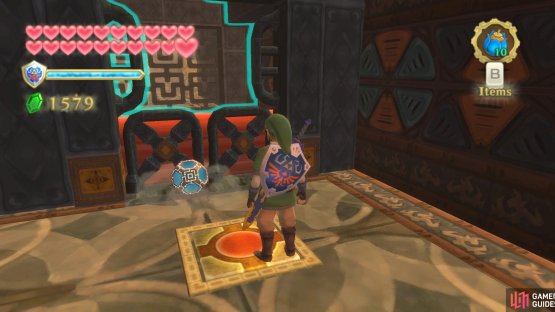
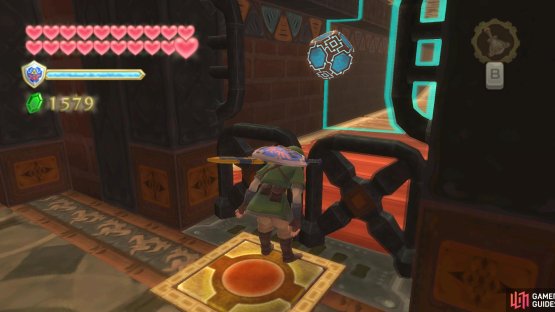
This room is based on the Lanayru Mining Facility. (left), Place the Timeshift Orb on the tile left from the ladder. Then climb up and pull this wall switch. (right)
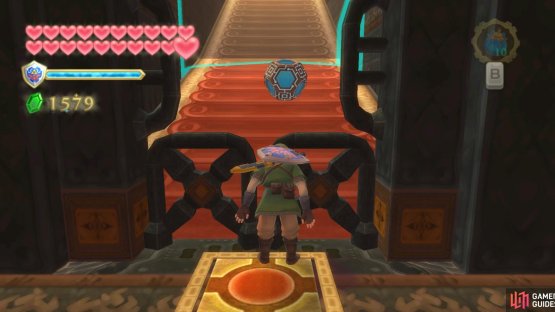
Use the nearby Bird Statue if you want, then look to the left. You should find a Timeshift Orb down there. Go there and pick it up. Go back down the hall and through the now-open doorway, thanks to the Timeshift Orb.
Defeat the Technoblins that pop up as you do so. Go downstairs and defeat the Sentrobe nearby. You’ll find a differently-designed tile nearby; drop the Timeshift Orb there. Climb the ladder nearby and pull down the above wall switch, opening the below gate.
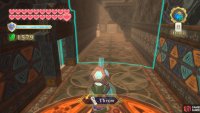
(1 of 2) Step on the floor switch and chuck the Timeshift Orb onto the conveyor belt.
Step on the floor switch and chuck the Timeshift Orb onto the conveyor belt. (left), Go upstairs and then collect the Timeshift Orb from the end of the belt. (right)
Drop down and snatch up the Timeshift Orb, going into the newly-unlocked room. Step on the floor switch here and toss the Timeshift Orb through the opening.
Go around and climb the ladder to the top, then go across the room. Over there, step on the floor switch to drop out the Timeshift Orb (once the conveyor belt gets it there).
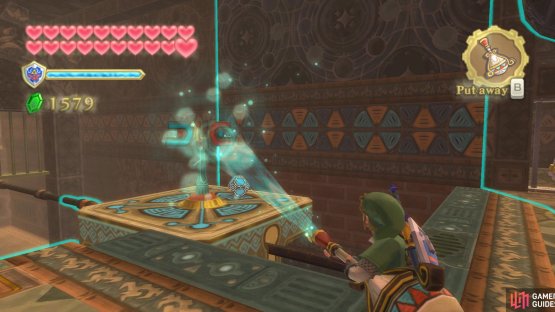
(1 of 2) Plop the Timeshift Orb onto the platform with a wind vane, then blow the wind vane to move the platform along.
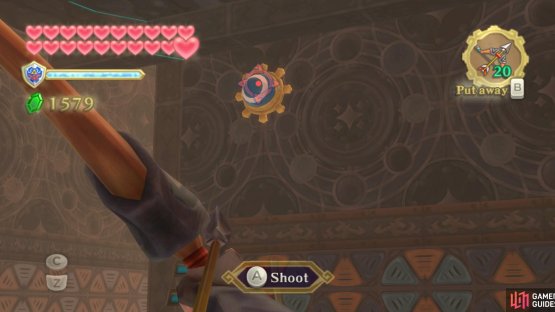
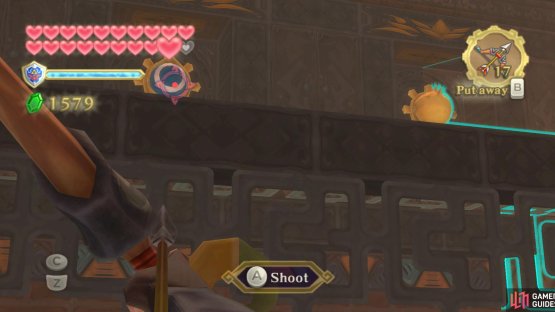
Plop the Timeshift Orb onto the platform with a wind vane, then blow the wind vane to move the platform along. (left), Keep blowing the platform to the end, past the barred gate. The Timeshift Orb will then reveal an eye switch for you to shoot. (right)
Next, carry the Timeshift Orb over to the platform above the gap, transforming it into one of the wind vane platforms. Drop it there and start blowing it with the Gust Bellows across the gap.
At the bars, you’ll need to go forward yourself and step on the floor switch, then continue blowing the platform across the gap. Once it is at the end, an eye switch should open up on the opposite wall. Shoot it with an Arrow.
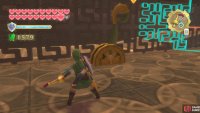
(1 of 2) Throw the Timeshift Orb onto the second conveyor belt.
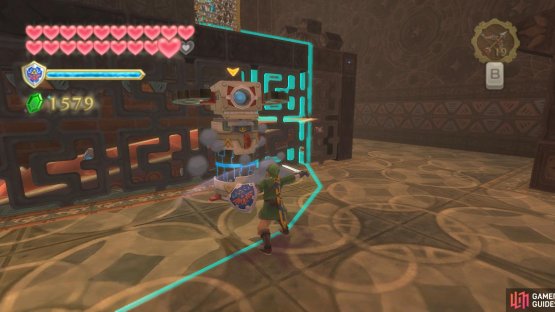
Throw the Timeshift Orb onto the second conveyor belt. (left), In the next room, focus on eliminating the Beamos alongside the belt. (right)
Continue along the path yourself and pull on the wall switch to completely move the platform across. Jump onto the platform, grab the Timeshift Orb, and take the Timeshift Orb into the next room.
Pull the wall switch next to a barred doorway as you do, to make a future shortcut.
Here, step on the nearby floor switch and throw the Timeshift Orb onto the conveyor belt. As it moves along, go around the corner and defeat the enemies that arise due to its influence. Ignore the lever nearby for the moment as you continue going across the room.
(1 of 2) Use your Whip to pull this lever, reversing the direction of the conveyor belt.
Use your Whip to pull this lever, reversing the direction of the conveyor belt. (left), As the Timeshift Orb travels on the belt, shoot all the eye switches that appear above it. (right)
Once the Timeshift Orb is at the opposite end, and all of the enemies here are defeated, look above the Timeshift Orb and you should see an eye switch or two. Shoot it/them down, then go to the lever. Use your Whip to move it the other way, reversing the direction of the conveyor belt.
Continue looking up with your Bow – as the Timeshift Orb moves, more eye switches are revealed. Shoot down each one – you can repull the lever as you need to. Once all five switches have been hit, you’ll be able to go to the control panel in the adjacent room.
Rearranging the Rooms
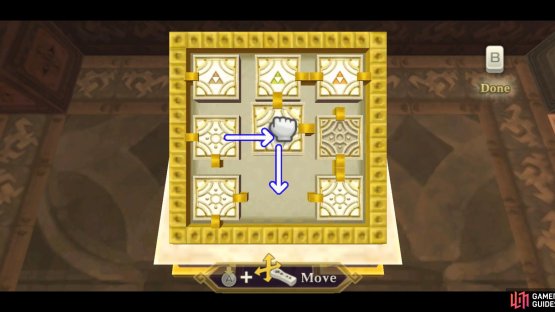
Here, make the following changes to the area:
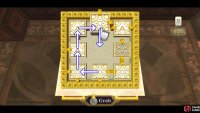
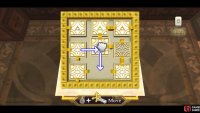
(1 of 2) Beginning with the top-center room and ending with the bottom-center room, rotate the rooms clockwise.
Beginning with the top-center room and ending with the bottom-center room, rotate the rooms clockwise. (left), Finally, move the center room down and the center-left room to the center. (right)
- Move the top-center room down one space.
- Move the top-left room right one space.
- Move the central-left room up one space.
- Move the bottom-left room up one space.
- Move the bottom-center room left one space.
- Move the central room down one space.
- Move the central-left room right one space.
Afterwards, go back through the room with the eye switches and all that to the hallway you originally entered into. Go back into the Forest Room, then, using the shortcut opened earlier, go back through to the next room.







No Comments