
West Room 2
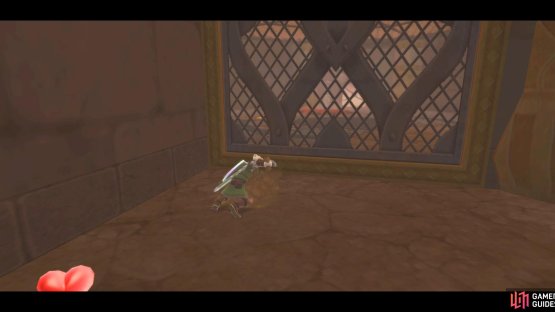

(1 of 2) Let’s get right to digging, shall we?
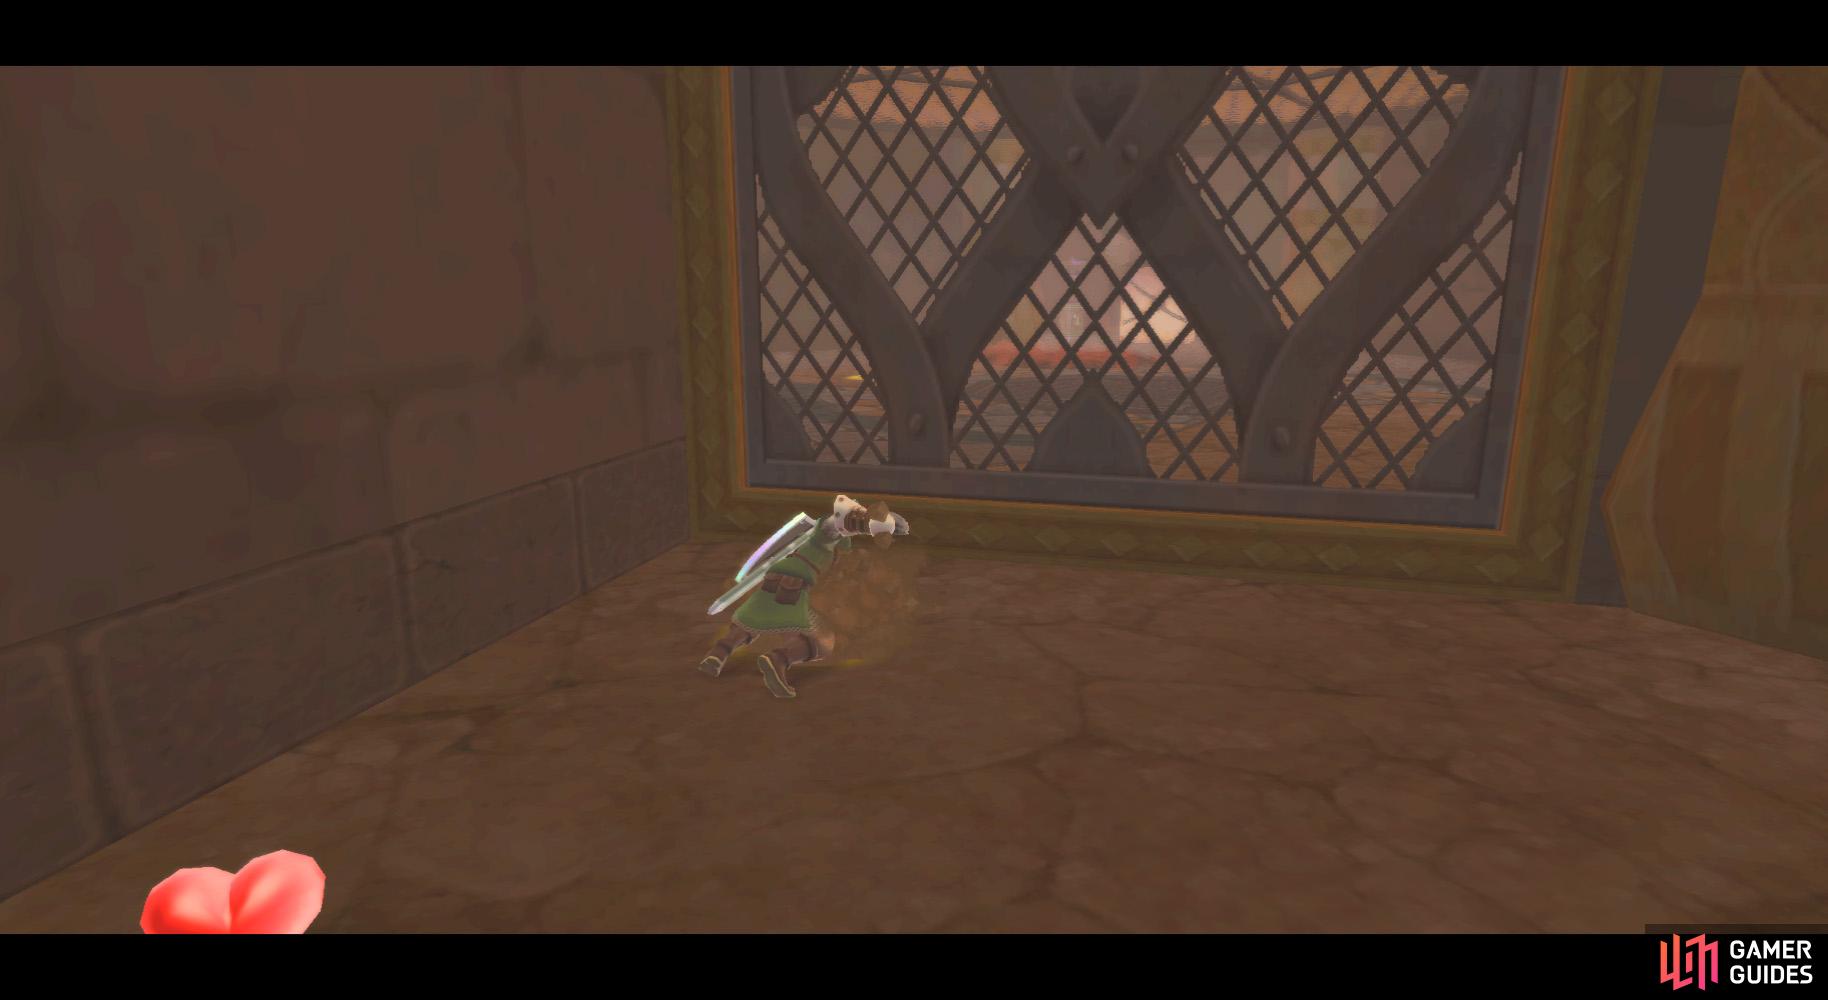
Let’s get right to digging, shall we? (left), Once you’ve had your fun, head for the other light to emerge outside. (right)
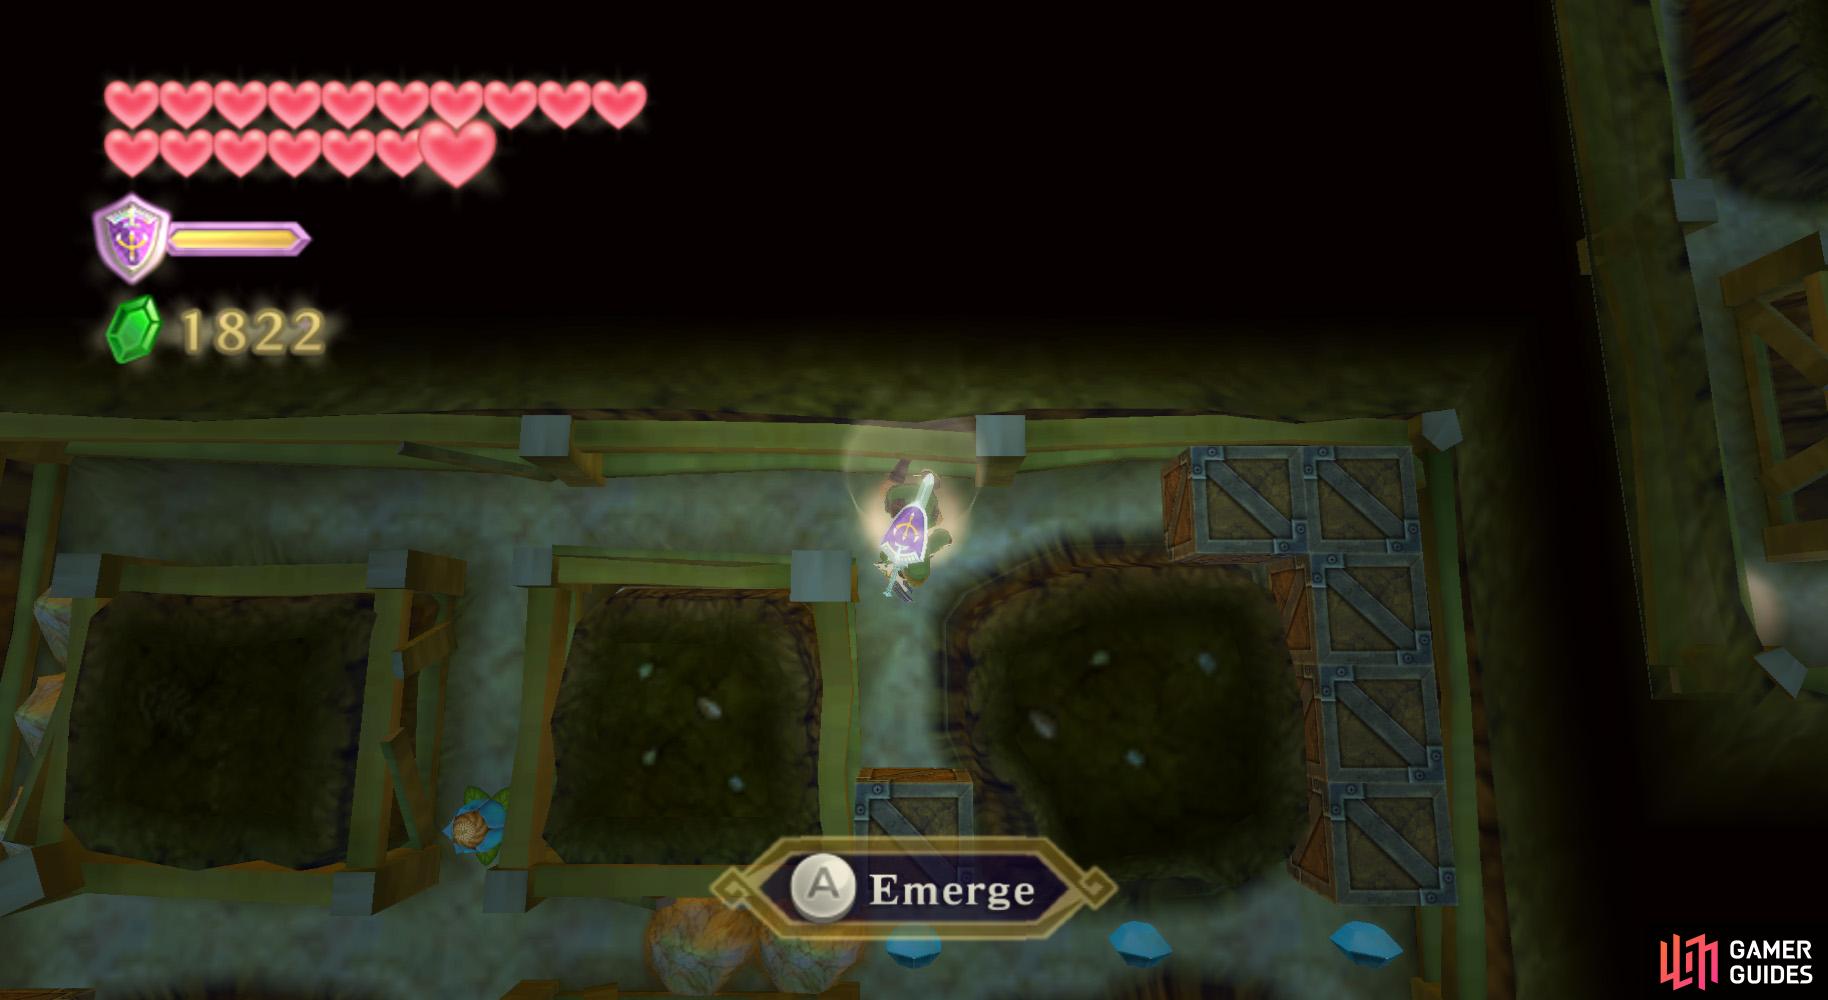
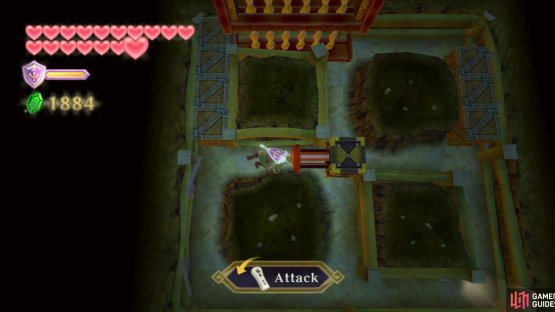
Try out your newly-acquired Mogma Mitts on the nearby patches of dirt. Generally, one of the holes with the larger opening after digging is a viable burrow area. Dig into the one nearby and learn the basics.
the Control Stick makes you move, holding A makes you move faster, swinging the Wii Remote hits things (eg. destroys boulders, pushes along Bomb Flowers), and Z lets you see the above floor when applicable.
Anyhow, go around here and collect a fair amount of Rupees. Hit the Bomb Flower to the north to get rid of the rubble, then go to the northeastern light to emerge aboveground.
(1 of 2) Push this switch to open the gate.
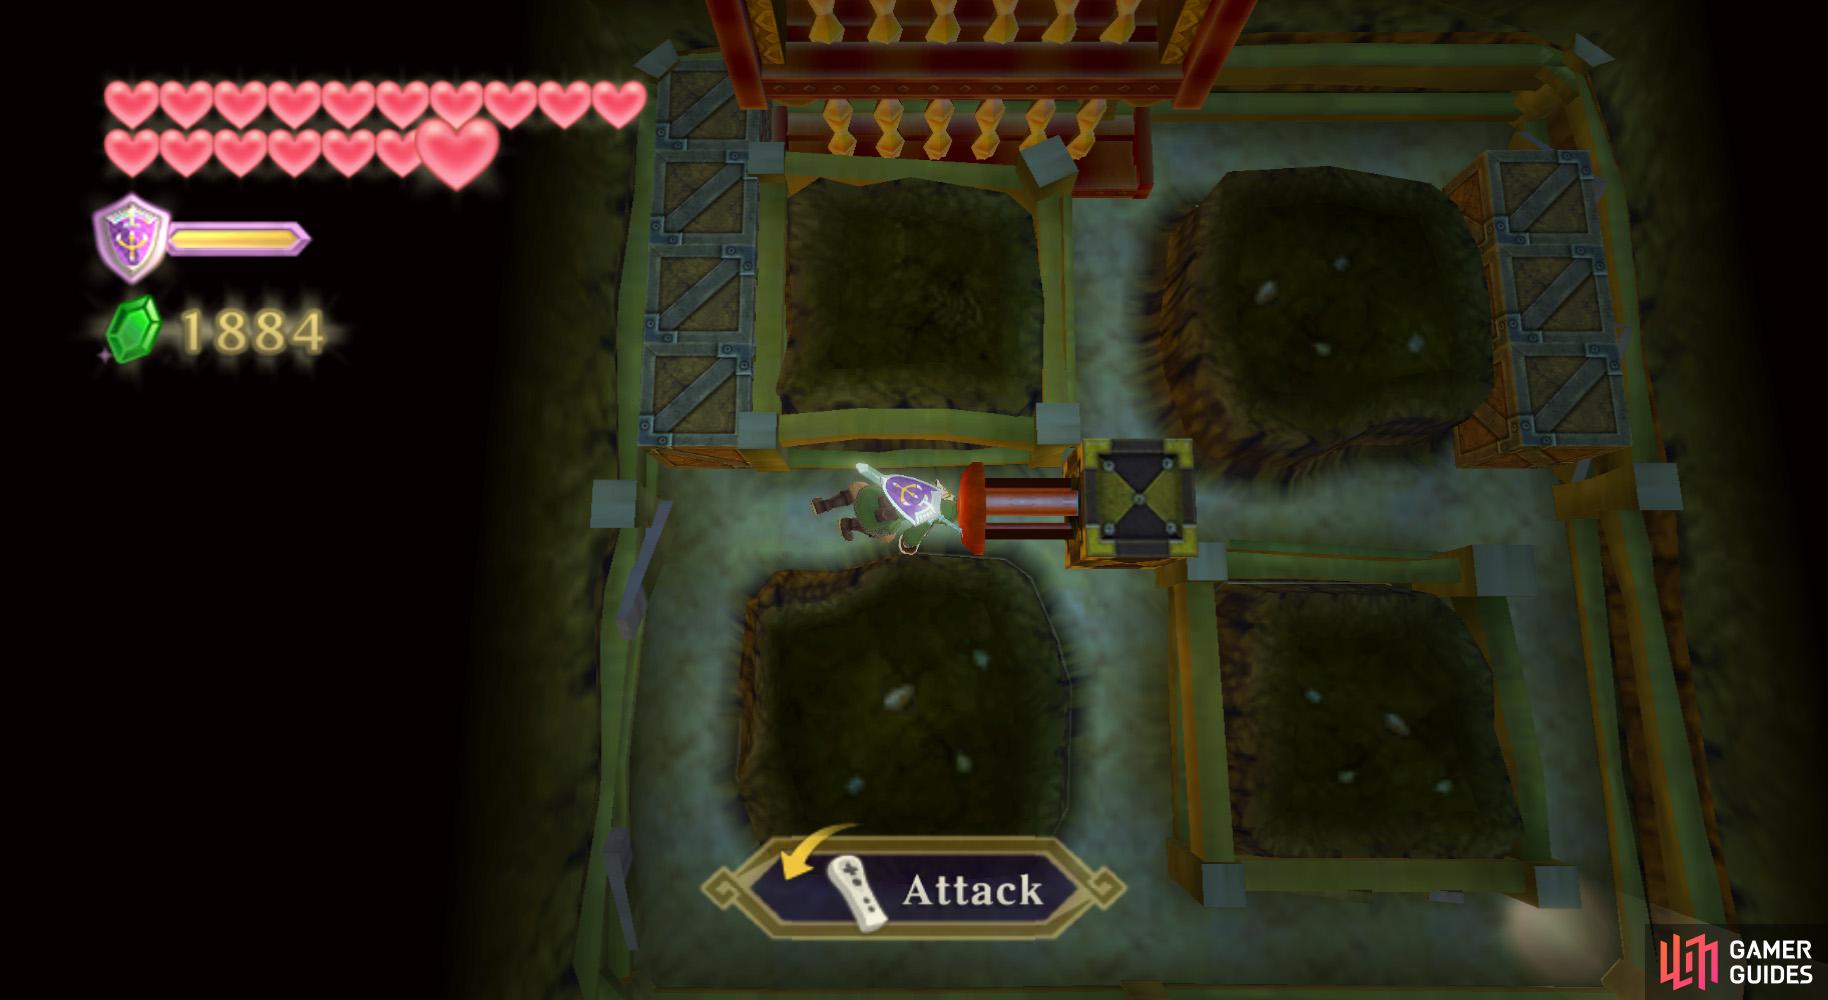
Push this switch to open the gate. (left), You can never have too many shortcuts! (right)
In this new room, blow away the pilings of molten rock with your Gust Bellows to find some new dig spots. Use the nearby Bird Statue first, then dig around to another pathway.
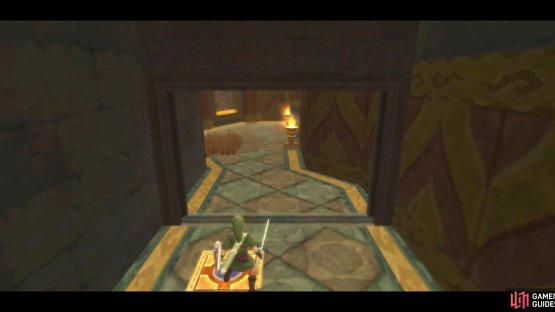
Here, go around to the west side of the central switch, then hit it to move the gate. Get aboveground and go to the doorway ahead, then upstairs to the eastern room.
Central Area
In this room, go down the southern hallway and onto the floor switch to raise the bars for a future shortcut. Return to the broken northern bridge to find some Bokoblins. Shoot them down with the Bow, then hit the Clawshot targets.
Be sure to hit the floor below as well – you’ll find some Blessed Butterflies with a Goddess Wall down here. When you’re done, Clawshot to the above level, then continue to the next room.
East Room 2
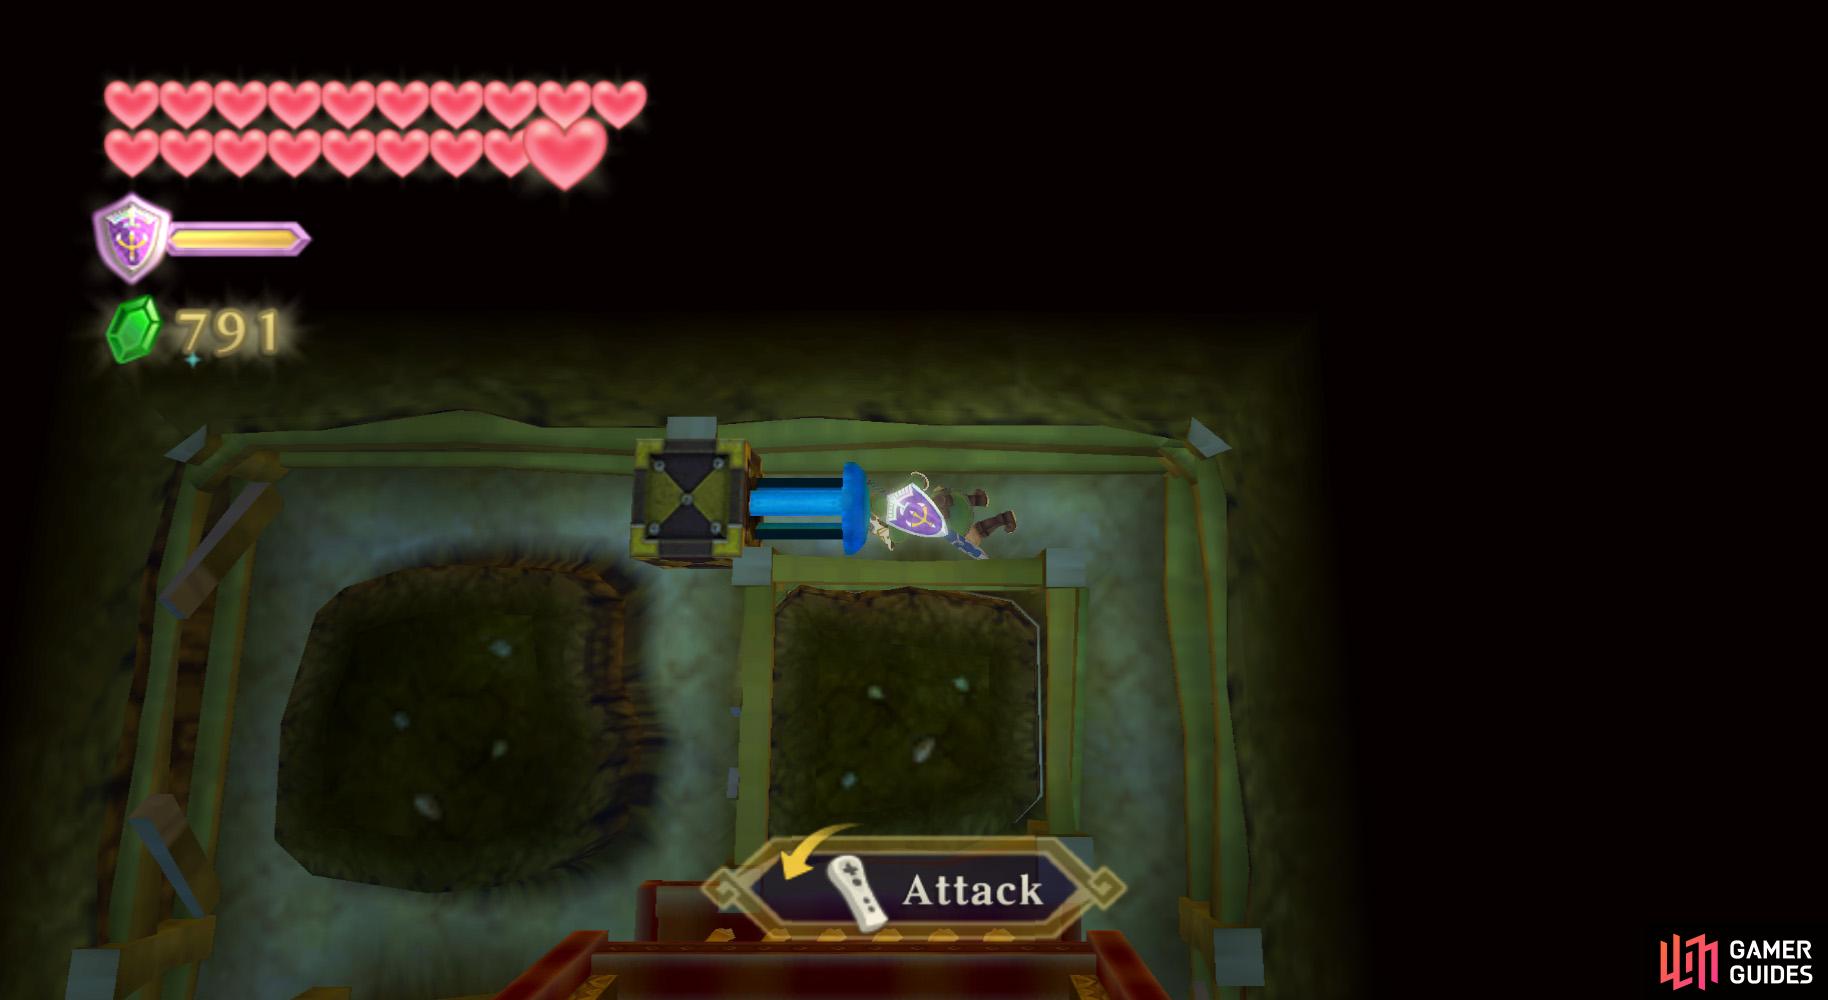
(1 of 2) Push both underground switches, so you can reach this spiky plant.
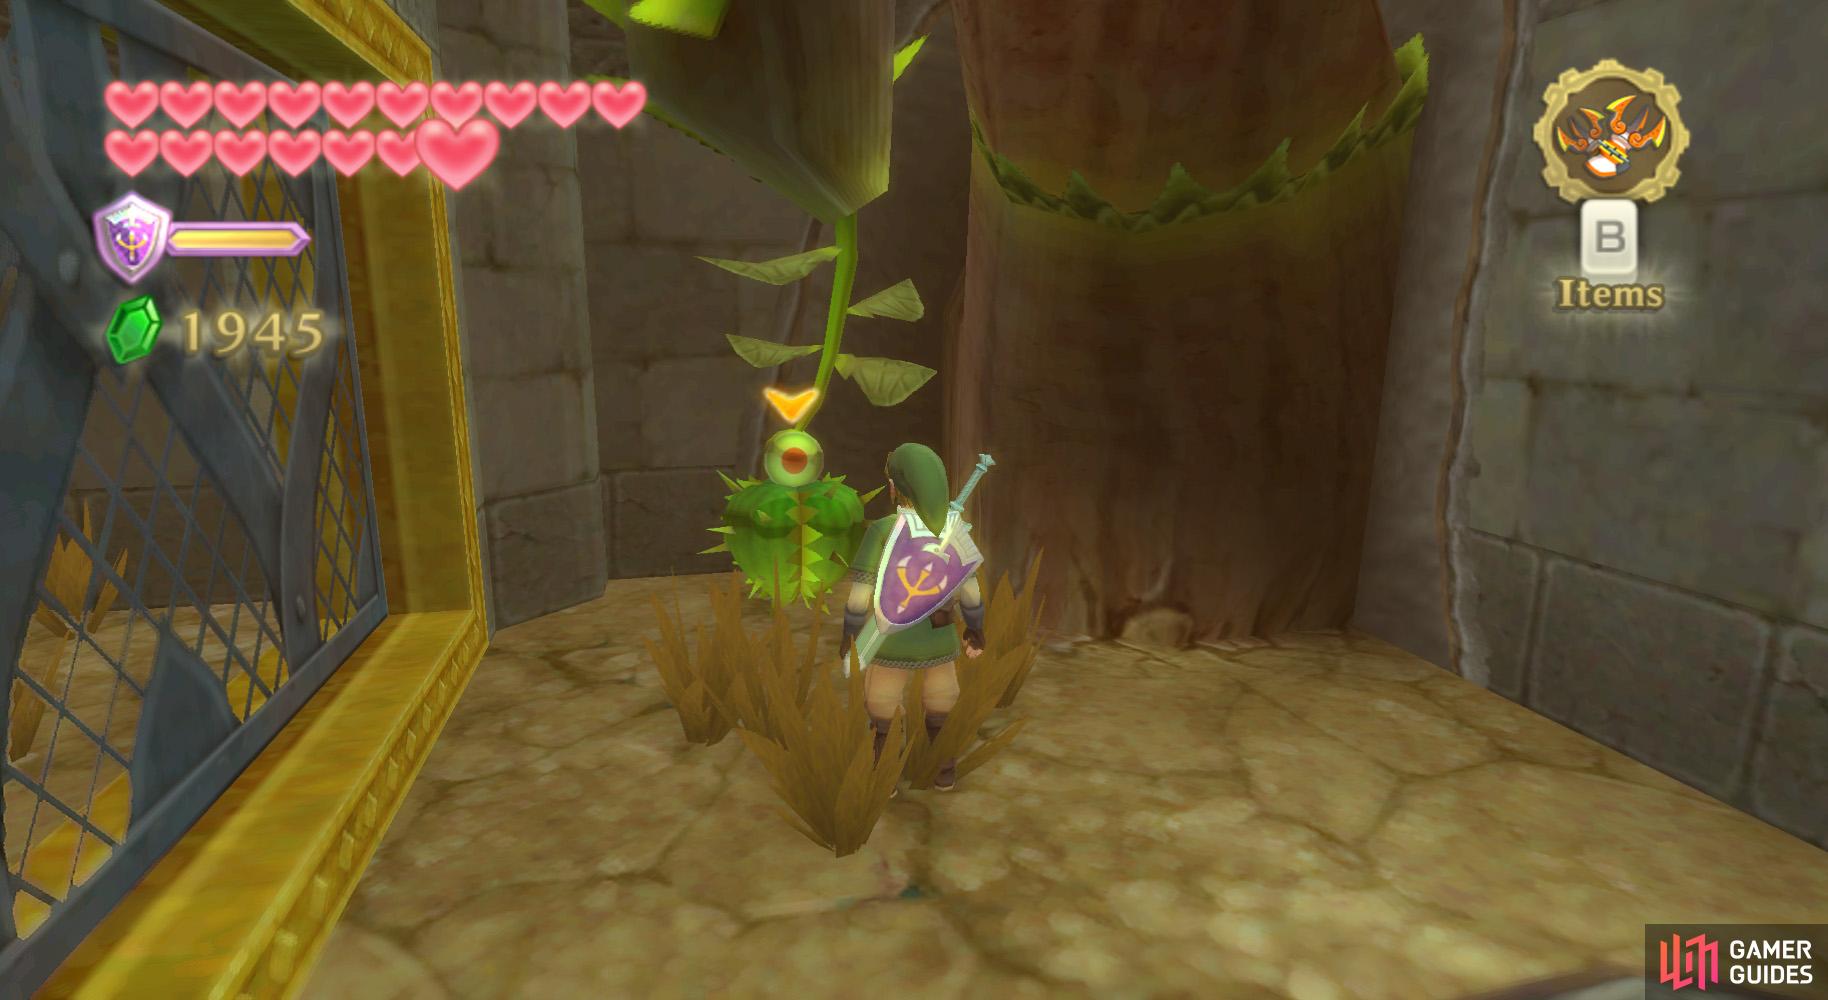

Push both underground switches, so you can reach this spiky plant. (left), The Dungeon Map will let you know where a fake wall is. (right)
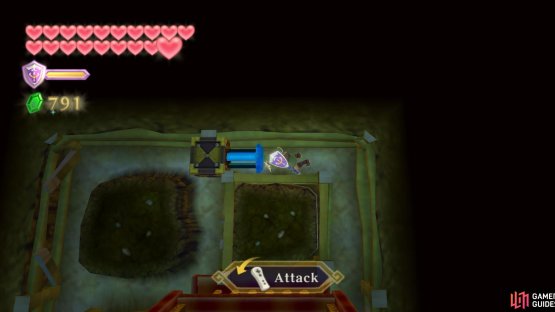
Here, we find another captive Mogma. (As a species, they seem to be almost as bad as Princess Peach, eh?) Speak with him and go around the corner to the gate. Burrow into the nearby tunnel and you’ll find two switches controlling the above gates.
Hit the bottom, then the top switches and get out of the tunnel. Go around the corner to a water plant. Thrust it onto your sword and return to the fire gate. Lock-on to the frog statue and do a vertical slash to douse the flames.
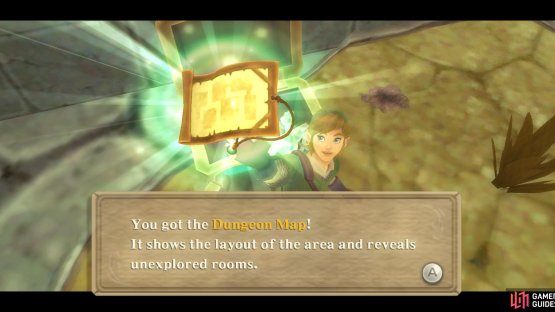
Go into the room you just opened up and pull down the wall switch to give the Mogma some freedom. Go back and speak with him to eventually receive a chest; open it to receive the Dungeon Map.

(1 of 2) Bomb this wall.
Bomb this wall. (left), You don’t need to fight this Moldorm, but it’s good practice for later… (right)
Now, it seems there is a false wall nearby hiding a hidden room. In the room you most recently unlocked, Bomb the eastern wall to find a dig spot. Burrow and you’ll find the tunnel passageway to it.
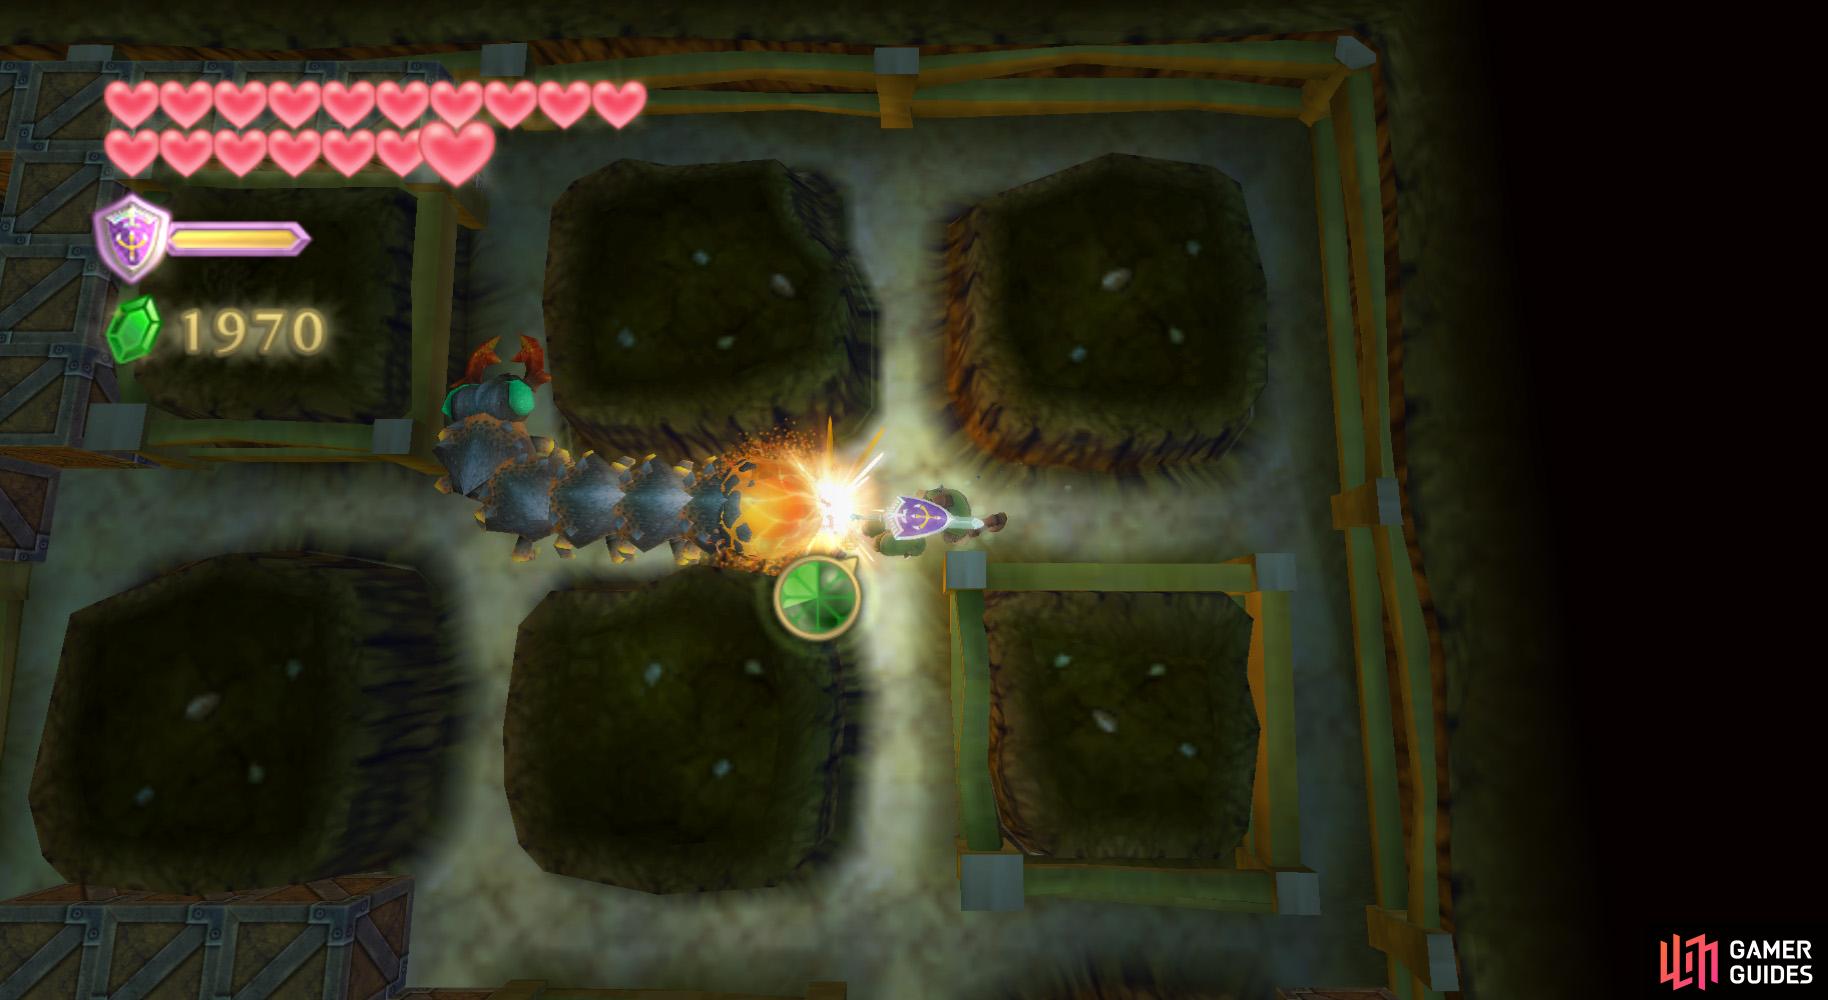
There is a Moldorm around here. You hurt it by attacking its tail. If you are spotted, you are chased at a relatively high speed, although you can stun it by dodging at the last second and letting the Moldorm hit the wall.
Anyhow, finish it off if you want, then leave via the western exit. Here, you can open the chest to find a Small Key. Climb the vinery nearby to reach a ledge, then drop down and leave via the western door.
Central Area
Back here by the broken bridge, shoot down any Bokoblins that on the other side, then Clawshot over there.
On the other side, don’t go through the door. Instead, go south and press the floor switch. This creates a shortcut to where you fought the Dark Lizalfos from earlier. Go across that bridge into the east room.
East Room 1

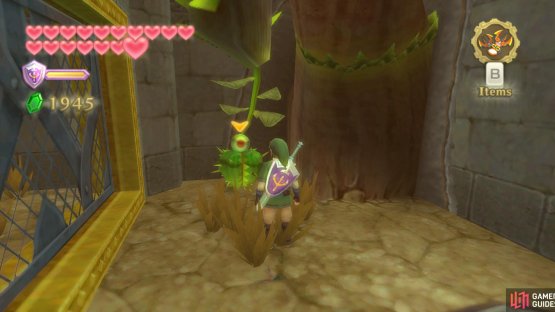
(1 of 2) Return to the room with the first Magmanos you encountered. Then burrow in front of the gate by the bird statue.
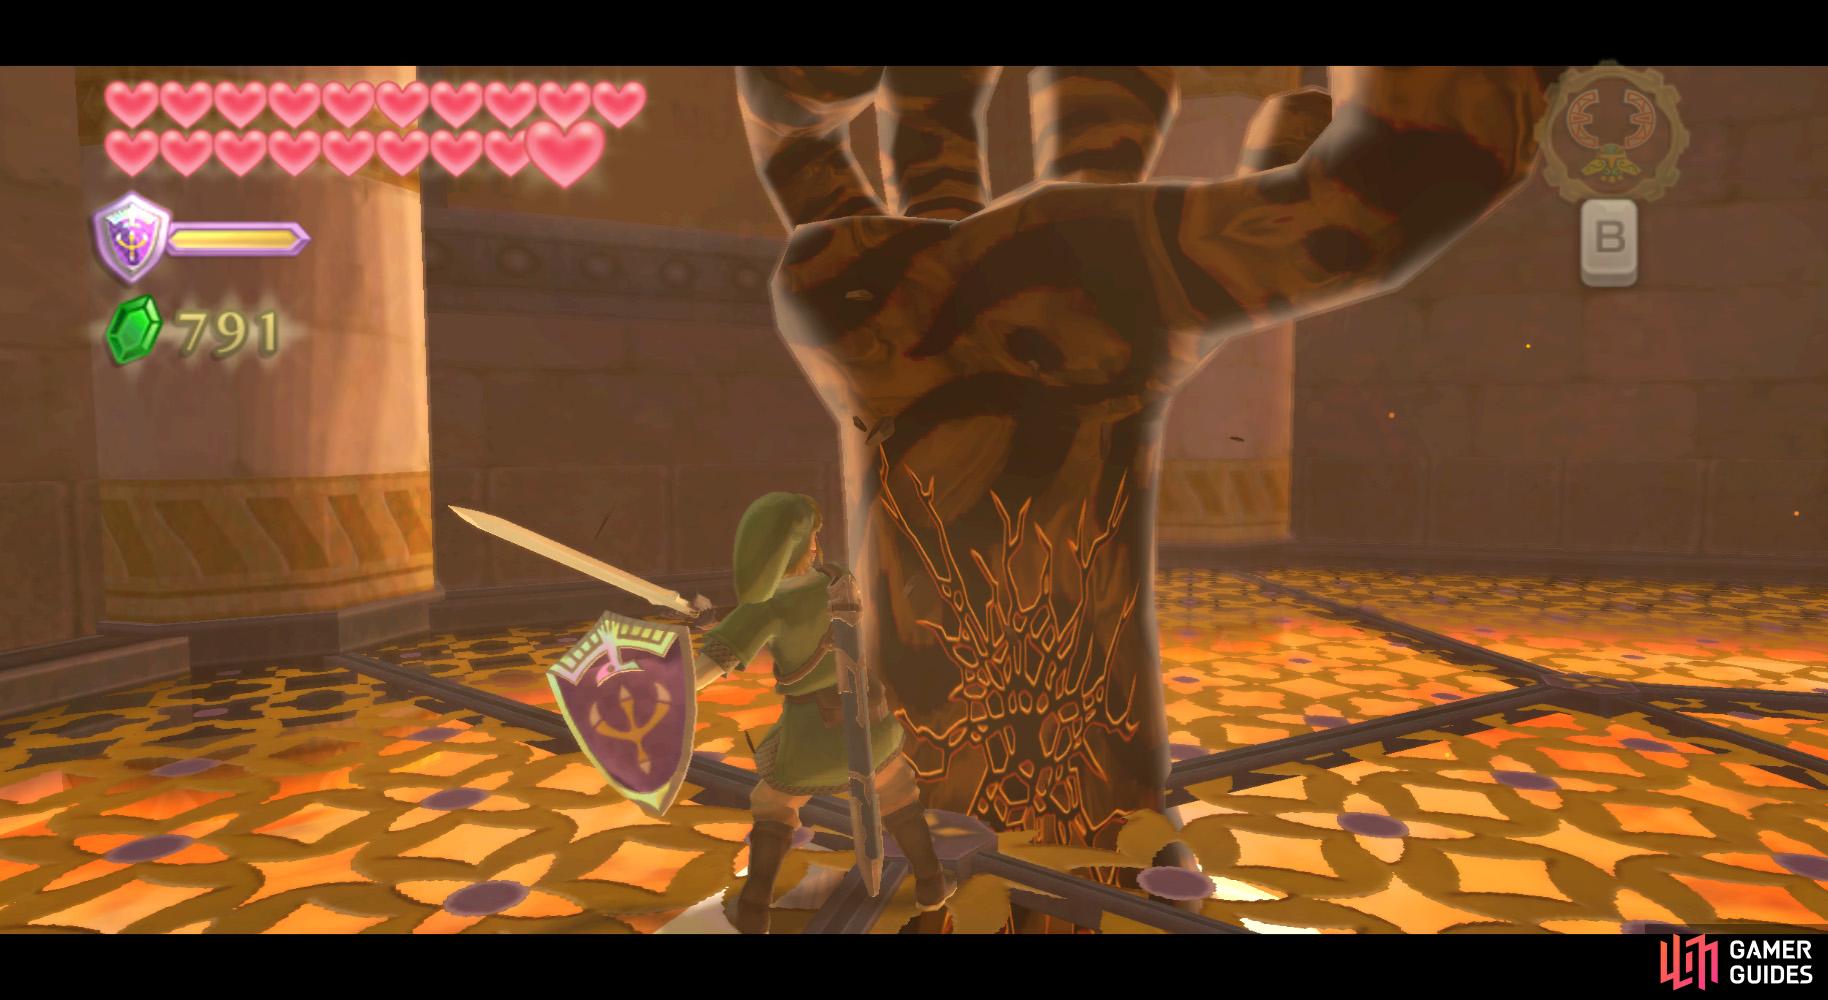
Return to the room with the first Magmanos you encountered. Then burrow in front of the gate by the bird statue. (left), Defeat the Magmanos using the spiky plants here. (right)
Here, burrow into the spot next to the left gate. Go around to the right side of the gate to the switch. Smack it and return aboveground.
Continue down the hallway and the stairway. At the water plants, thrust one onto your sword and stand on the floor switch to raise some bars, making another shortcut.
Drop to the grating in the center, luring out the Magmanos, then solidifying and shattering it. This ends up draining the lava, much like before.
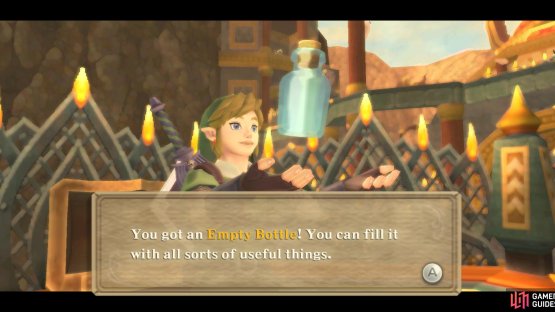

(1 of 2) Go through the tunnel to find an Empty Bottle chest!
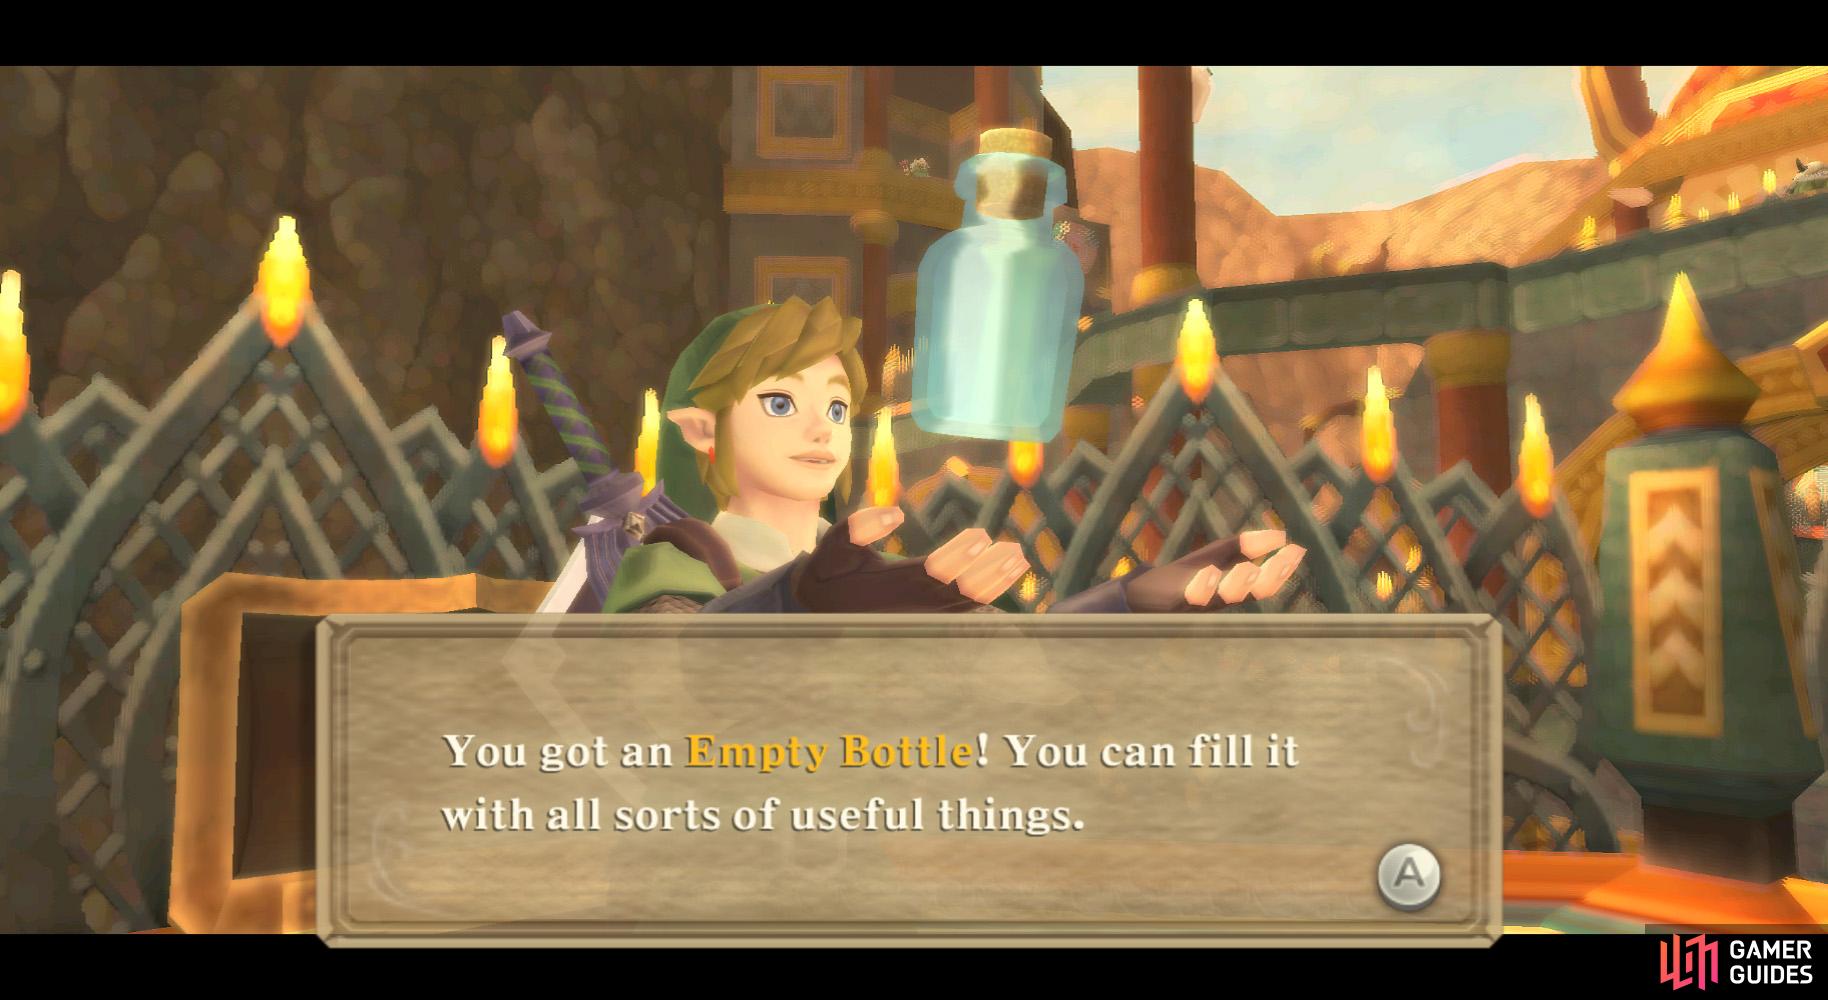
Go through the tunnel to find an Empty Bottle chest! (left), Time to use your Small Key to unlock this door. (right)
Follow the newly-revealed path down the hall to and through the doorway at the end. Here, go to the balcony to find a chest, inside which you’ll find an Empty Bottle!
Return inside and go down the hall. Climb onto the ledge across from you and go left, back along the path you opened up before. Go through the door by the Bird Statue.
Central Area (Again)
Head across the bridge, go to the right, and follow the path across the other bridge, then go through the door on the left.
West Room 2 (Again)
Here again, go downstairs and use the Bird Statue. Unlock the door with the Small Key to go to a new area.
No Comments