
West Room
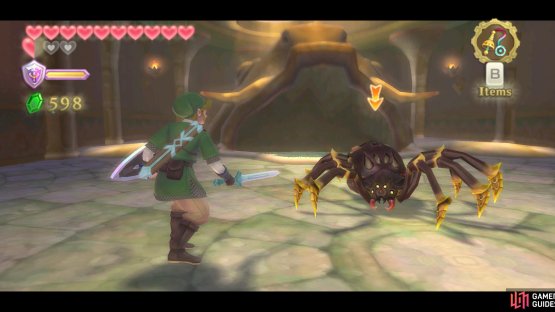

(1 of 2) Avoid staying in front of the Skulltula for long, as it can shoot web at you.
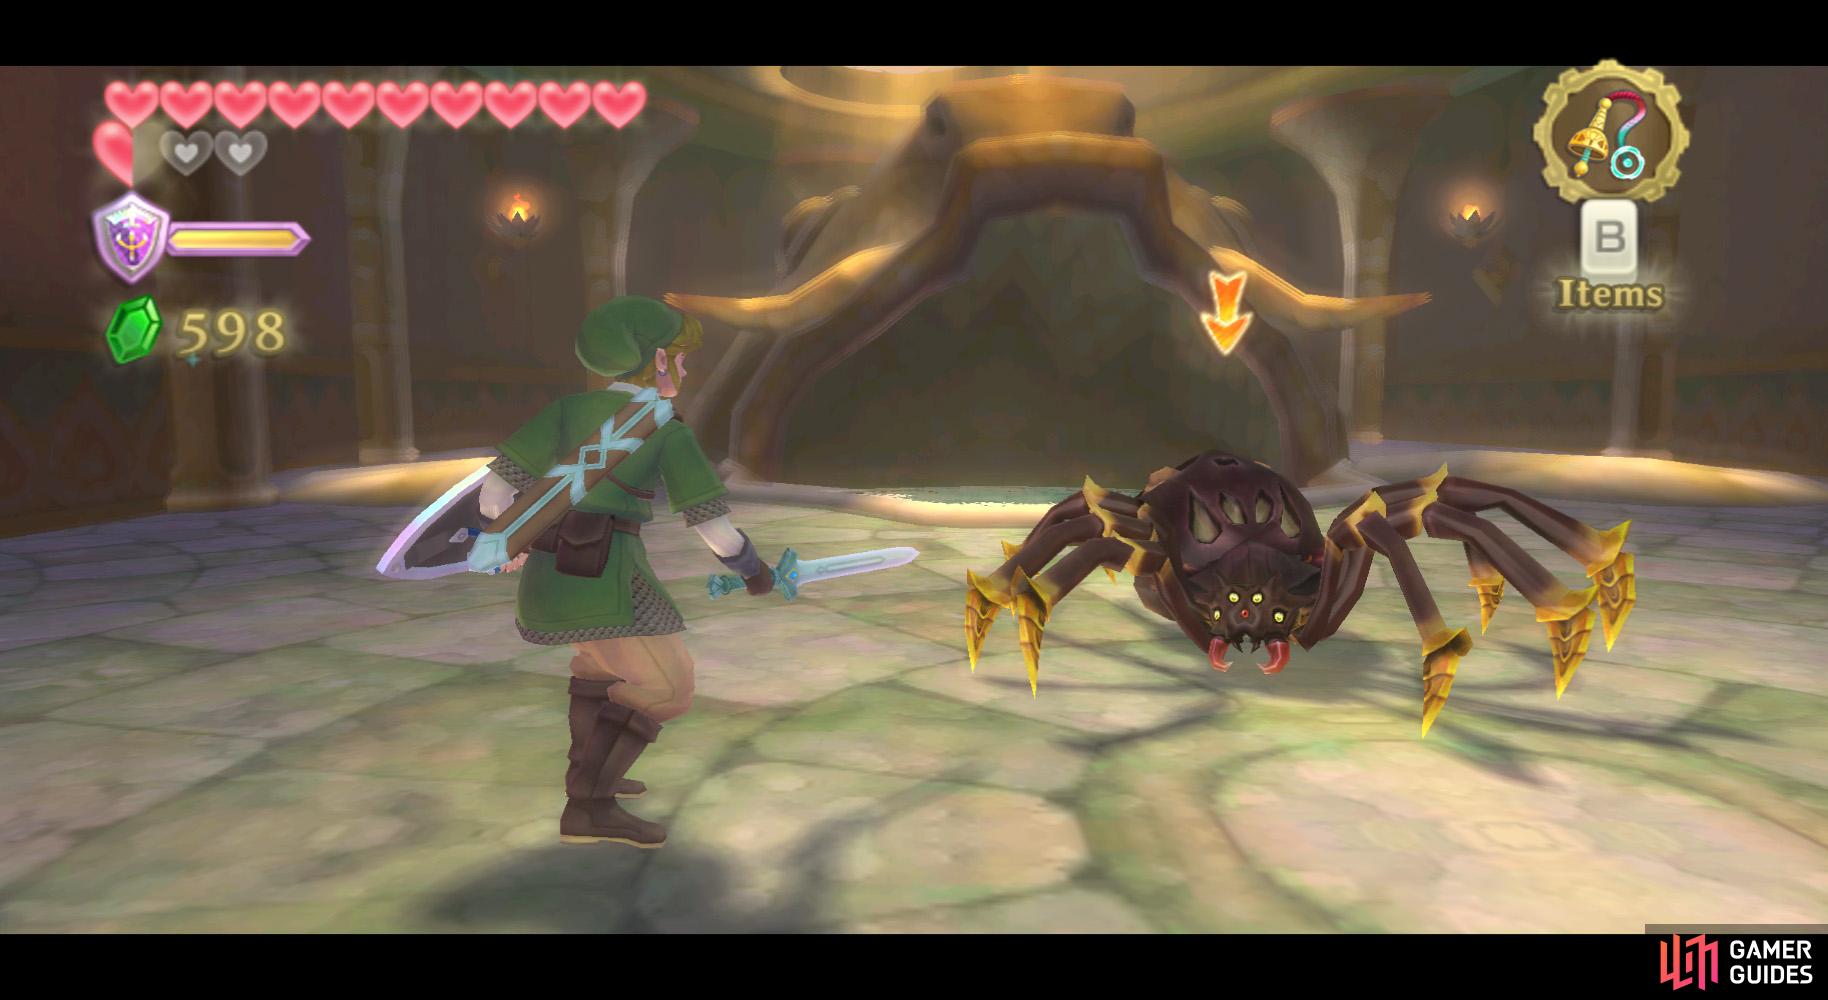
Avoid staying in front of the Skulltula for long, as it can shoot web at you. (left), You can reach this wall switch with your whip. (right)
Surface in the next room and kill the Skulltula. Walk around the path behind the fish head to find a chest with a Red Rupee inside.
On the opposite side, you can find a wall of bars. Behind the bars, you’ll find a wall switch. Vertically swing the Whip to hit the wall switch and open the gate.
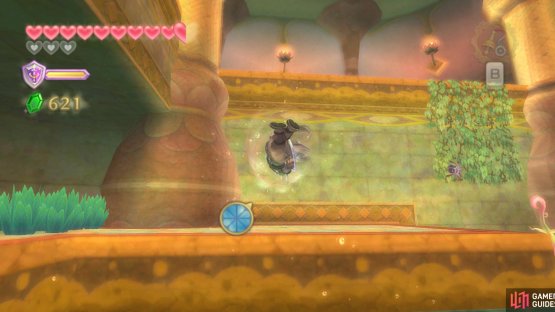
Head into the next room and kill the Bokoblin Archer nearby. Continue along the path, defeating the Green Chuchus on the way.
Further ahead, you’ll find a grouping of Blessed Butterflies. Play the Goddess Harp to make a Goddess Wall appear!
Utilize it, then return to the Bokoblin Archer’s ex-platform. Climb the vinery to the above ledge and, there, dash up the rotating column of vines. Don’t move around much - just jump off when you’re over the platform with a Bokoblin Archer.
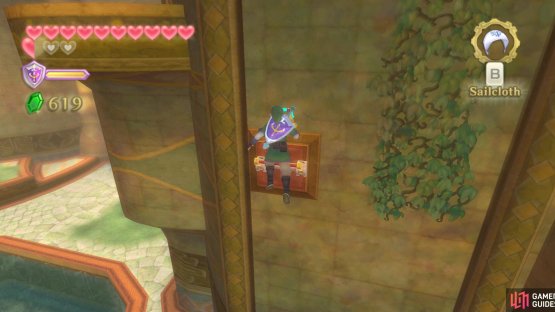
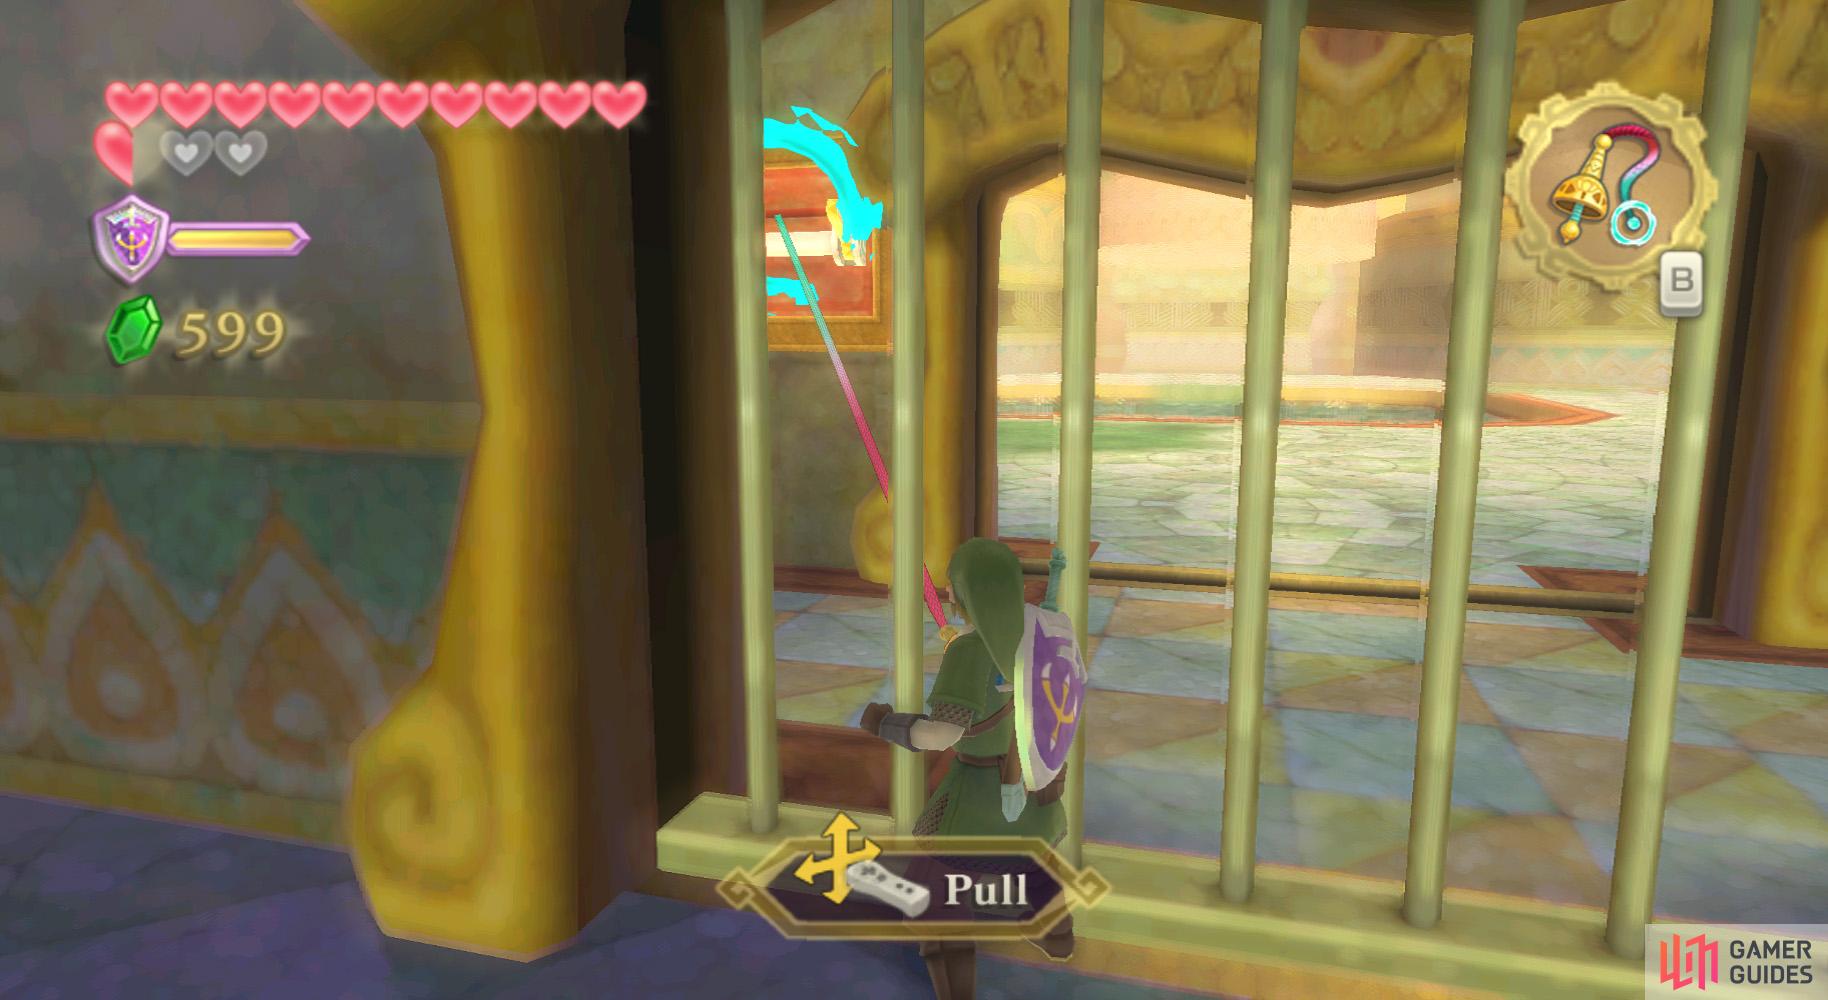
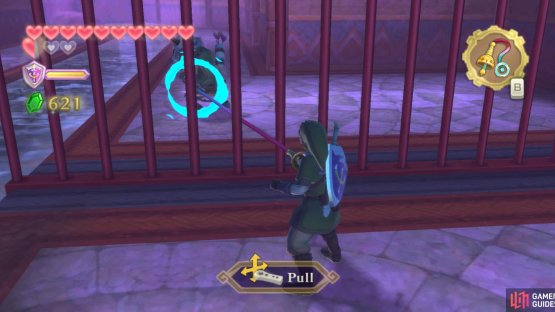
(1 of 2) Angle yourself so you’re swinging towards the wall switch.
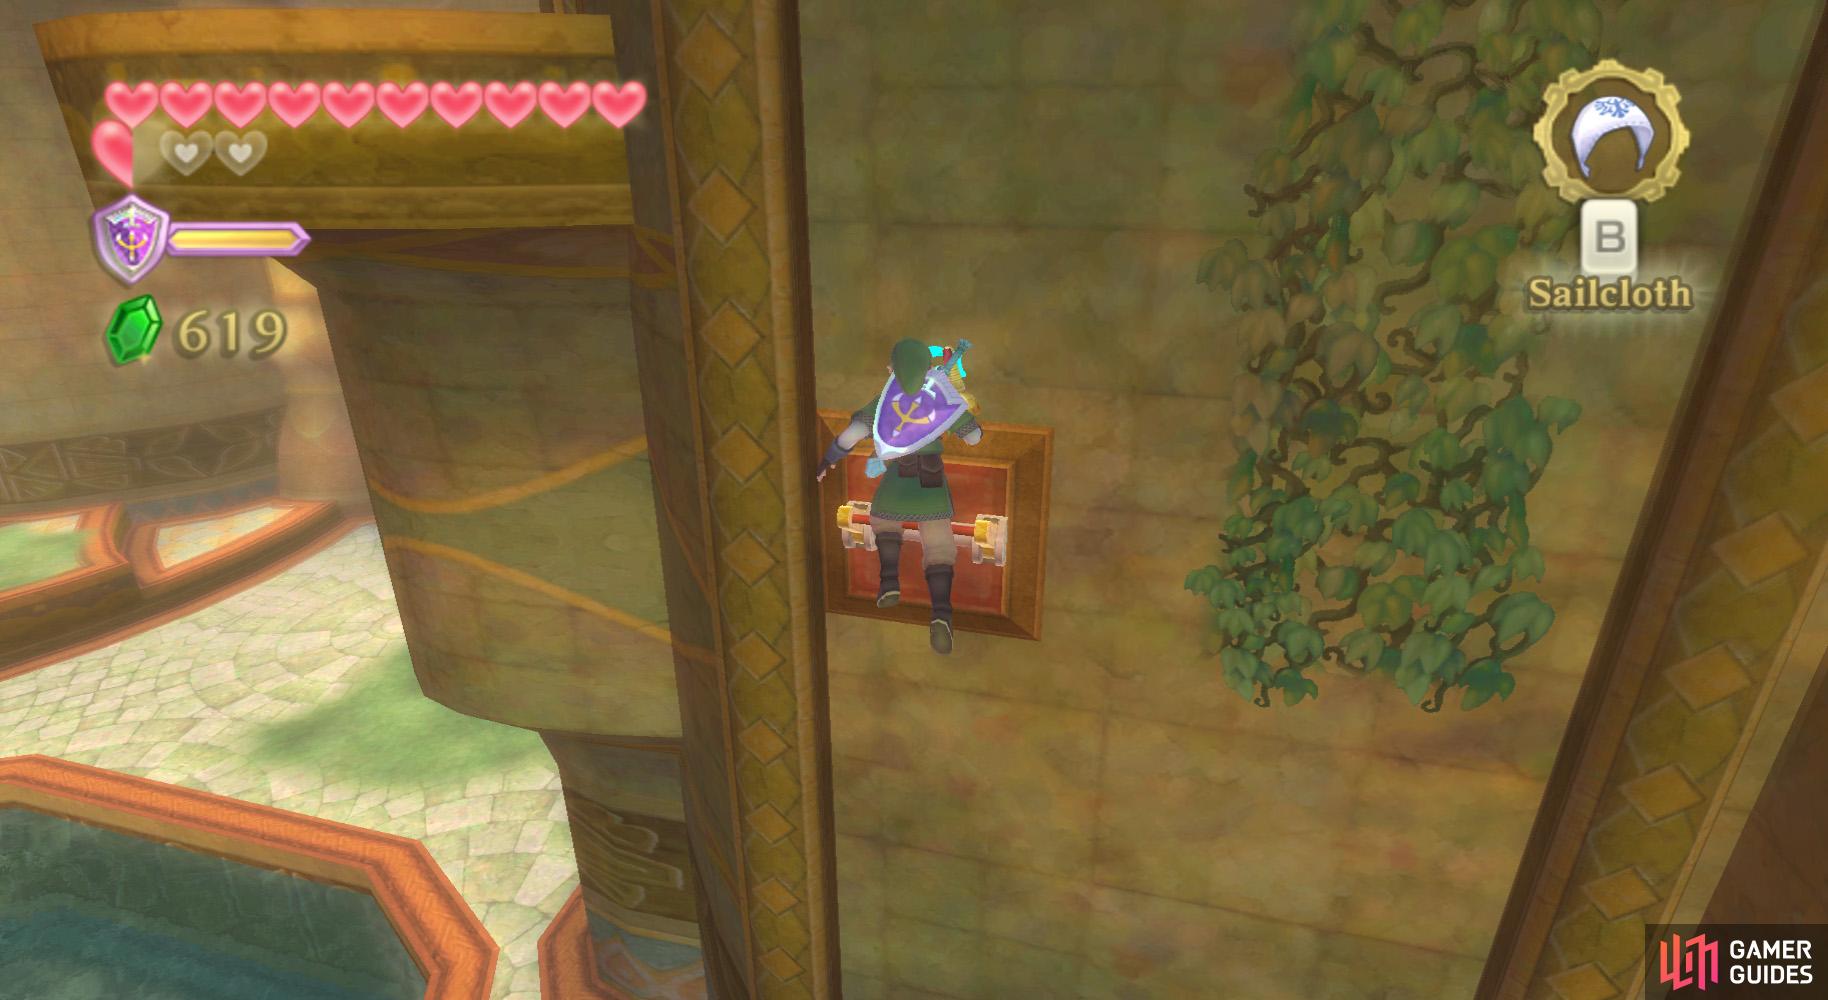
Angle yourself so you’re swinging towards the wall switch. (left), With enough momentum, you should reach the wall switch, although barely. (right)
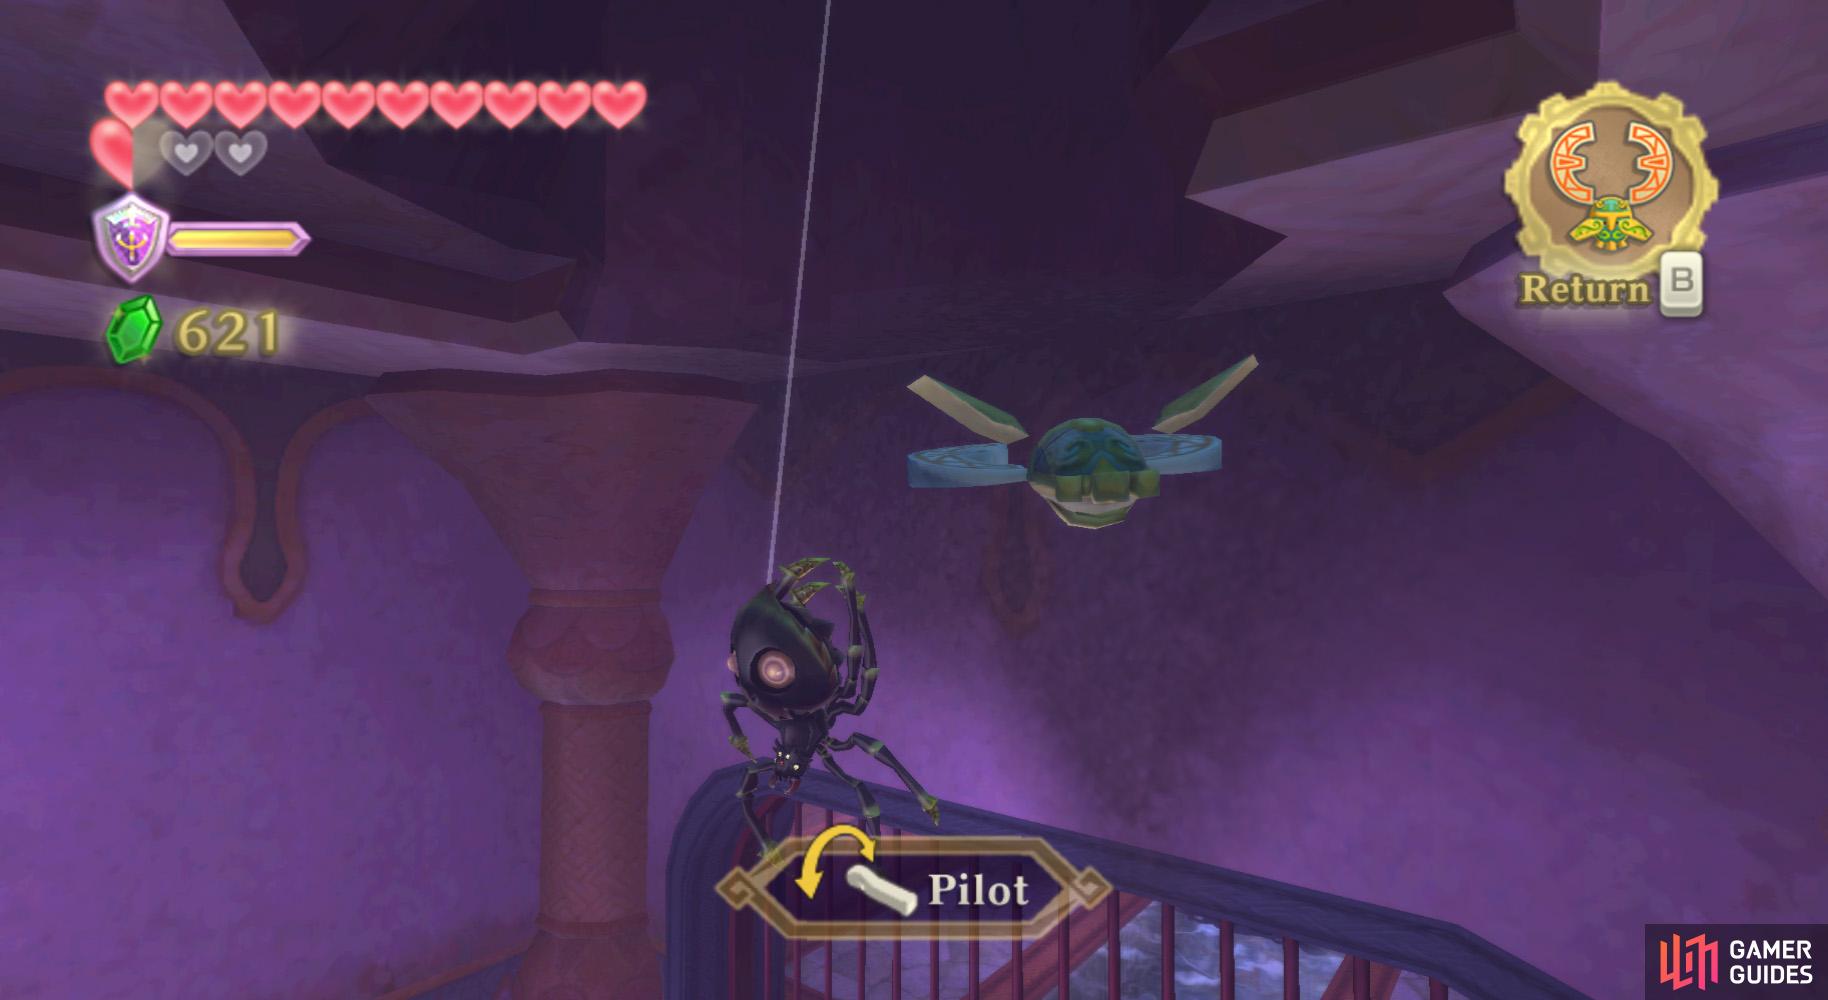
Defeat the aforementioned enemy, then look around. You should find an unused set of vines with a Walltula climbing them. Kill it, then use the Whip on the swinging post nearby.
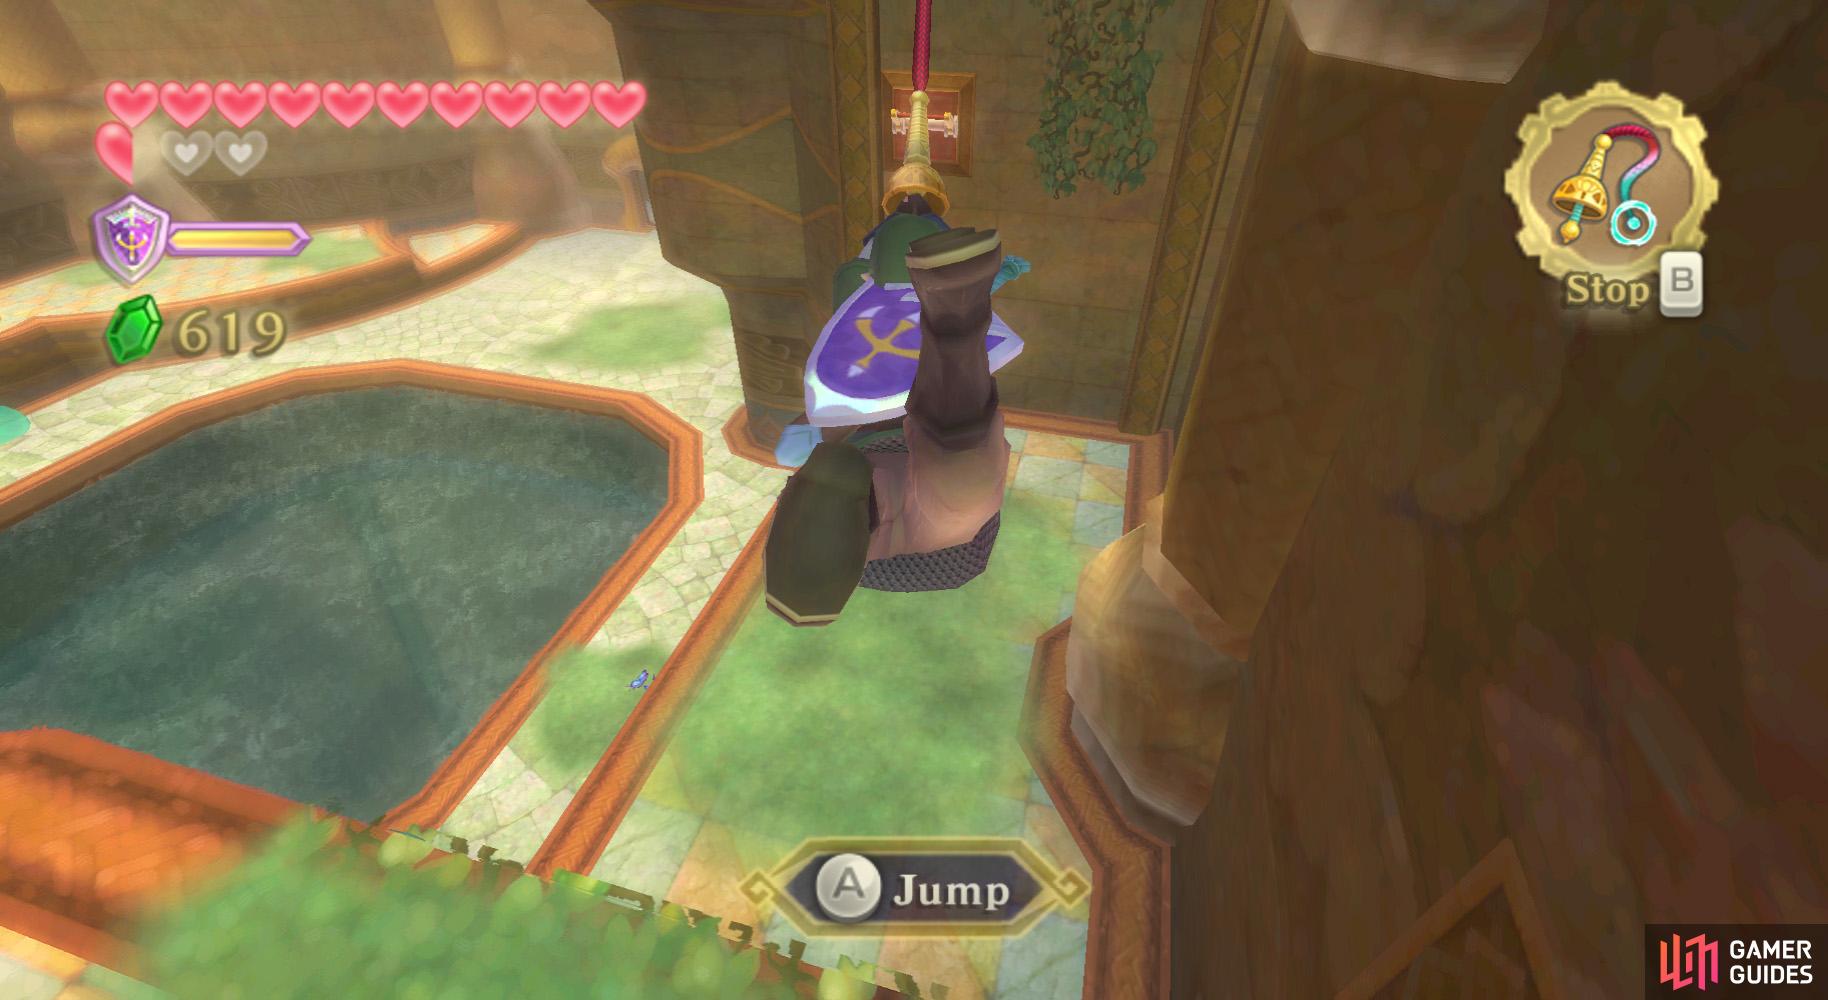
Hold B to stop swinging, then turn around and face the wall switch. Swing back and forth a few times to build up momentum, then jump at the wall switch, lowering the bars in the above room.
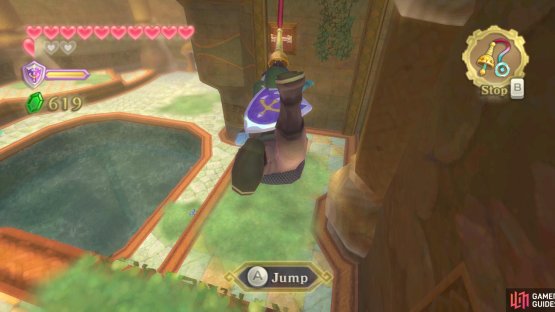
Climb back up the vines nearby, then swing back on the post, but, this time, aim for the vinery leading to the above room from earlier. Climb up and defeat the three Deku Babas you find here.
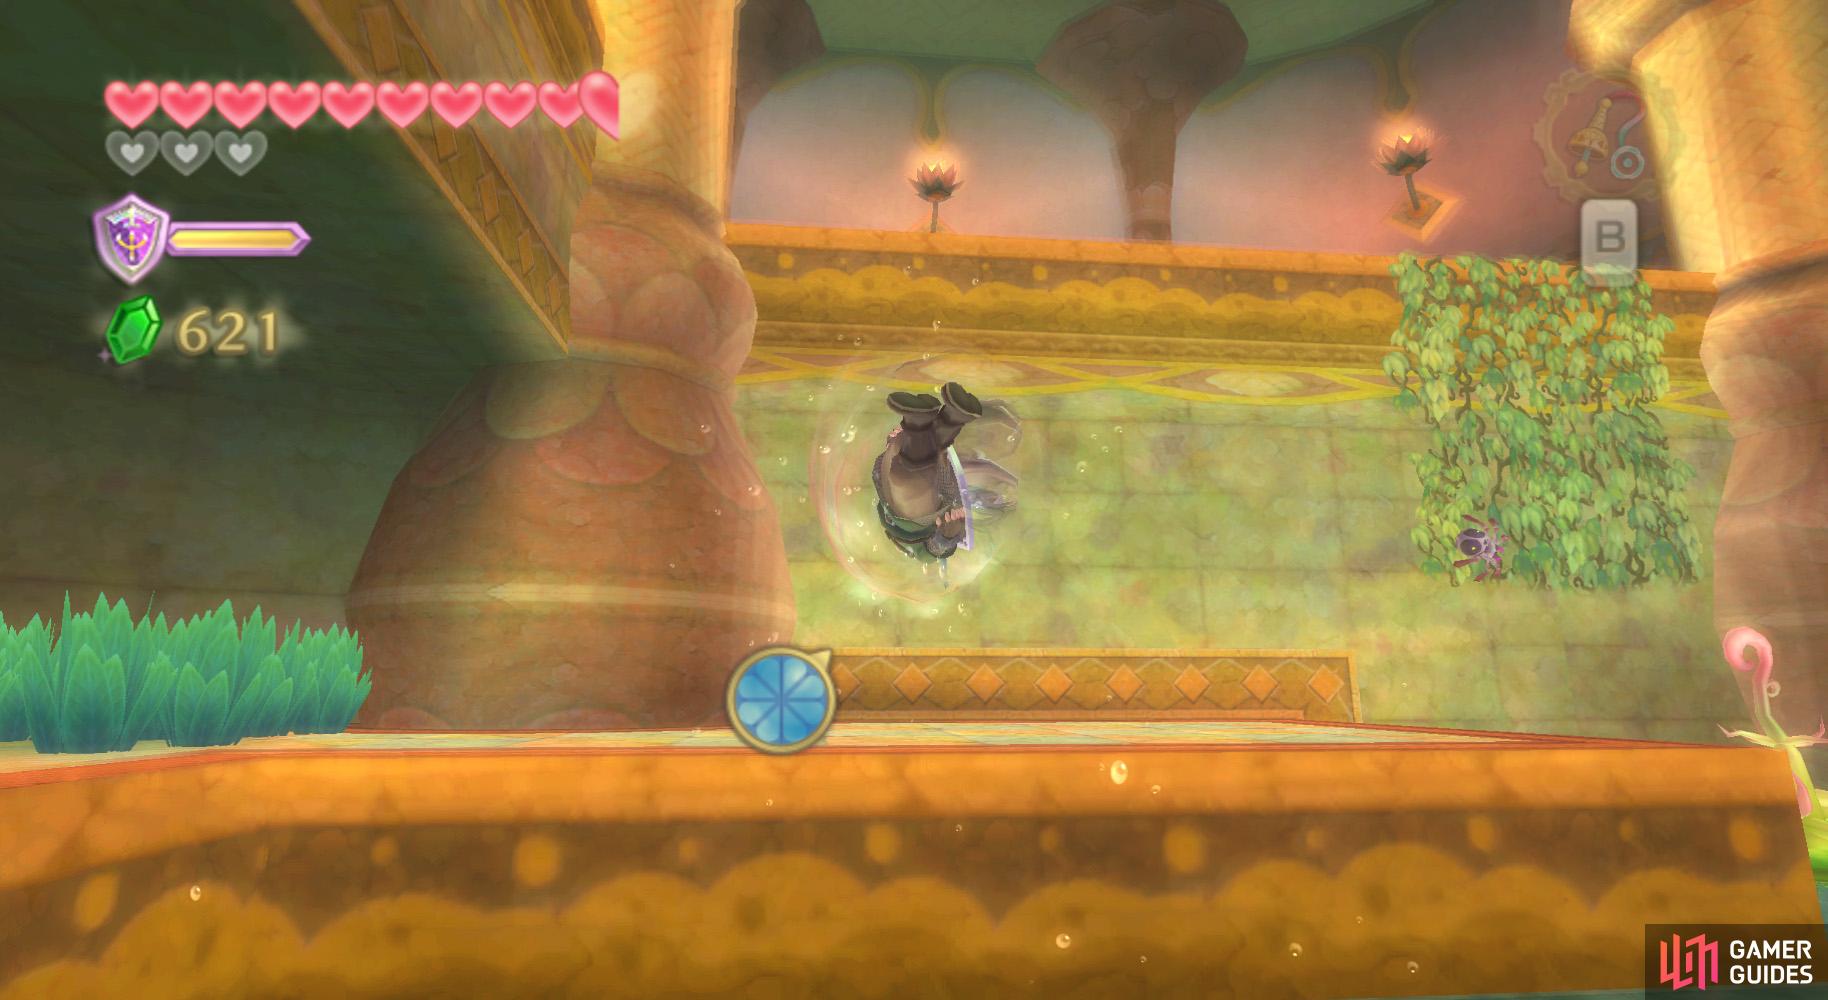
Afterwards, use your Whip on the valve nearby to cause a whirlpool down below. Go down there and jump into it. (Kinda makes you think of that old nursery rhyme, “The Itsy-Bitsy Spider”, doesn’t it?)
Basement South
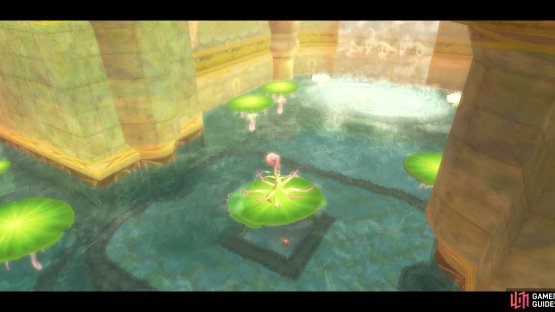
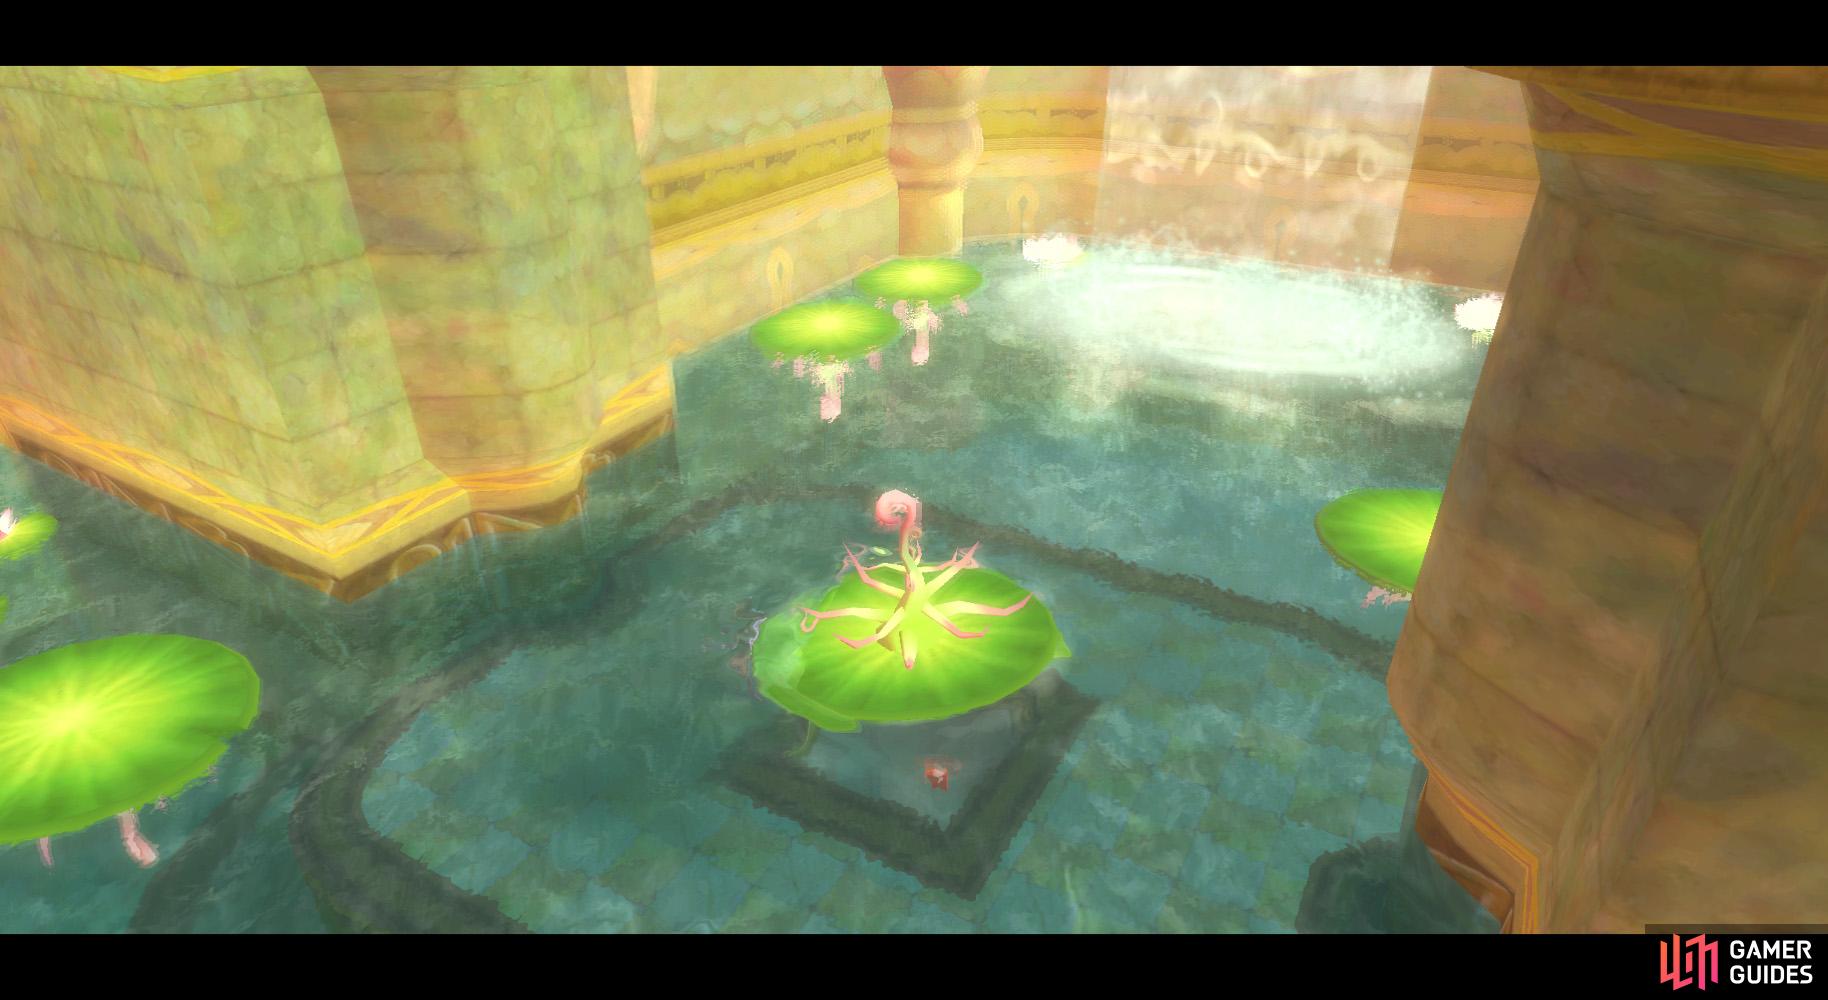
(1 of 2) Knock down the furthest Skulltula to flip over the lilypad.
Knock down the furthest Skulltula to flip over the lilypad. (left), Your Small Key? My Small Key! (right)
After getting sucked through the tunnel, you’ll be on the lowest floor of the dungeon. Get above the water, onto the platforms, and use the Bird Statue nearby.
Look to the roof of the room for some Skulltulas; use your Beetle to cut them down. One should end up flipping over a lilypad. Swim through the newly-unblocked tunnel to go forward.
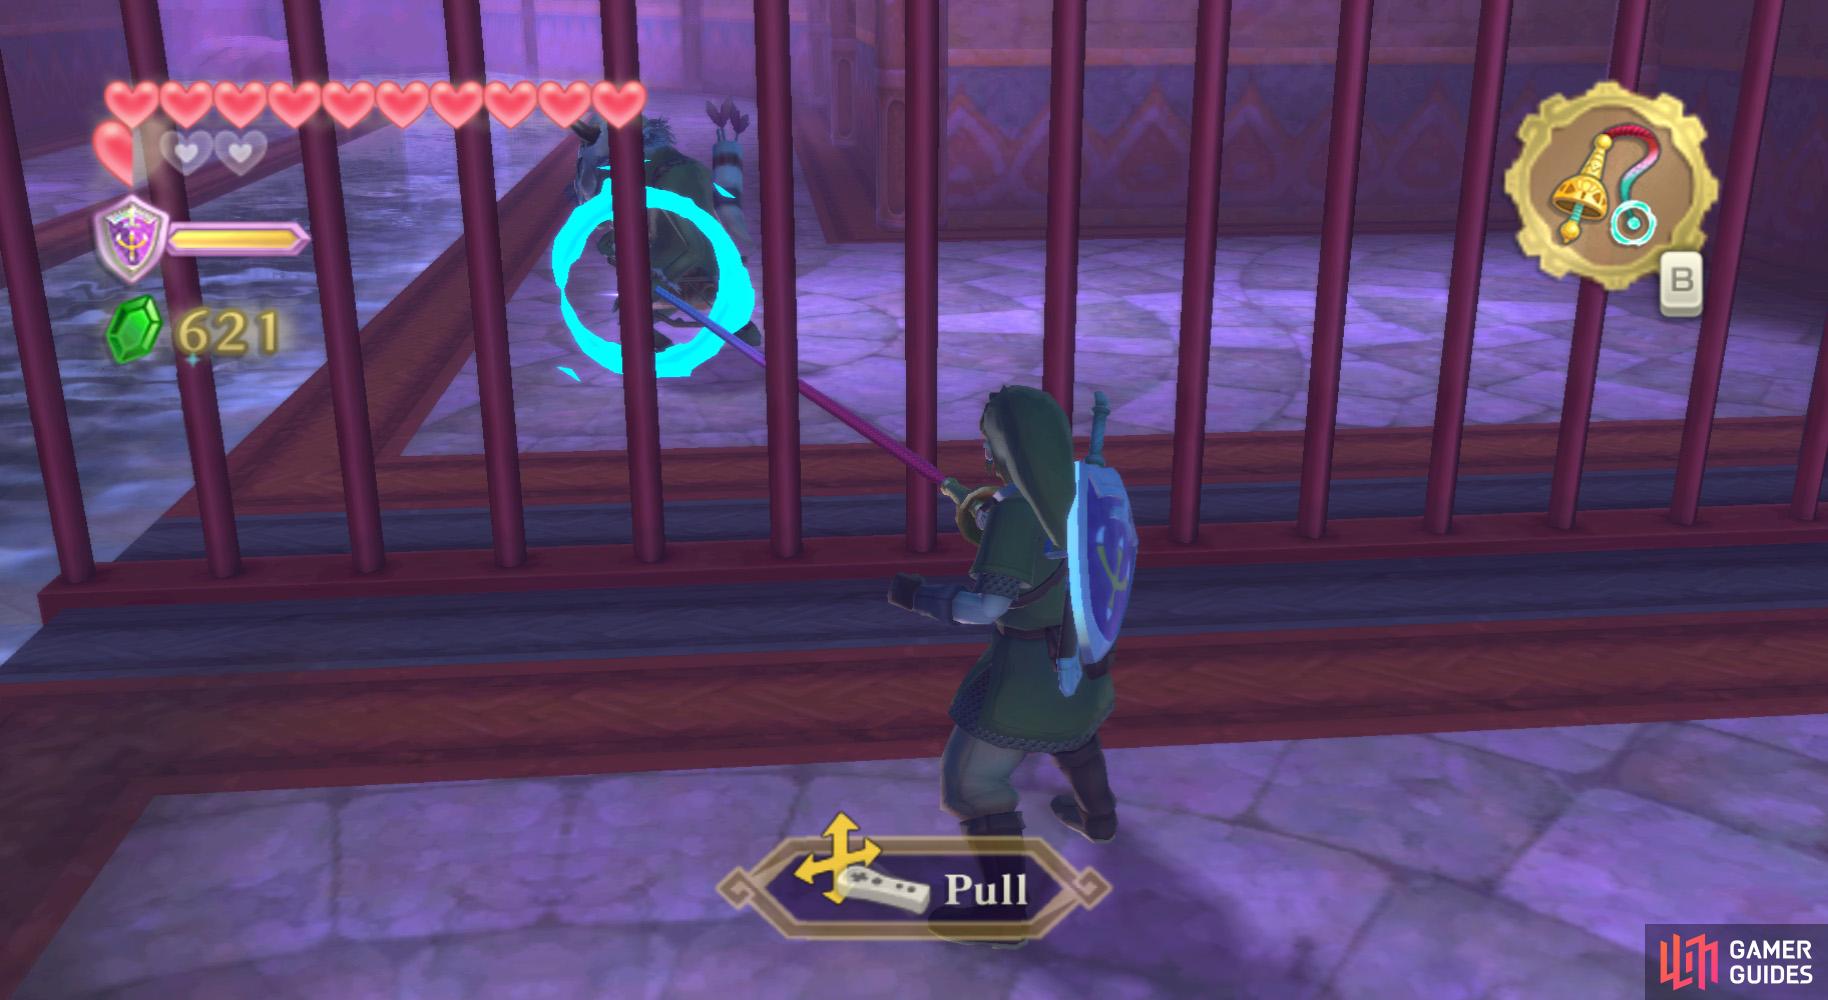
In the next room, you’ll notice a Bokoblin Archer on the right side of the waterway. Get onto the ledge and use your Whip on the Archer to get a Small Key, then proceed to kill the enemy.
Across the waterway, you’ll find a locked door, which you can now unlock. Go through.
(1 of 2) Now you can return to the central/initial area easily.
Now you can return to the central/initial area easily. (left), Spin jump onto this slightly raised platform. (right)
When you enter, you’ll take a nice, long look at the ominous room down below (you don’t get much worse than skeleton imprints). We’ll be going there in a bit.
For now, go over to the Bokoblin Archer and get rid of ’im, then go to the other end of the room. Swim into the pipe to return to the first level of the northern chamber.
North Room
Swim to the surface and go north, onto the platform. Jump onto the wall switch to open up some bars, permitting you access to the entrance room.
You’ll also find a Bird Statue nearby, so you might want to use it. Get into the water and spin jump onto the dry platform nearby.
Afterwards, you should be able to find some vines nearby, on a wall above you, with a lilypad below it. Flip the lilypad with your Whip, then get rid of the Walltula with the Slingshot.
Get onto the lilypad and climb the vinery. Follow the path to and defeat the Quadro Baba. Go to the edge of the platform and jump off to flip another lilypad.
(1 of 2) Jump onto this lilypad to flip it over, then swim through the tunnel under it.
Jump onto this lilypad to flip it over, then swim through the tunnel under it. (left), After activating the water valve, go around and flip the same lilypad with your whip, then dash across it. (right)
Go into the newly-revealed passage, grabbing the Red Rupee on your way, then avoid the Froaks. (Killing them is out of the question; the explosion is likely to hurt you.)
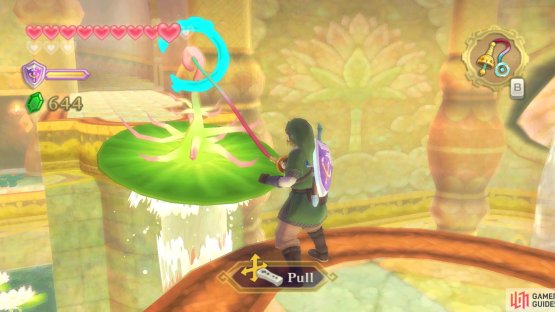
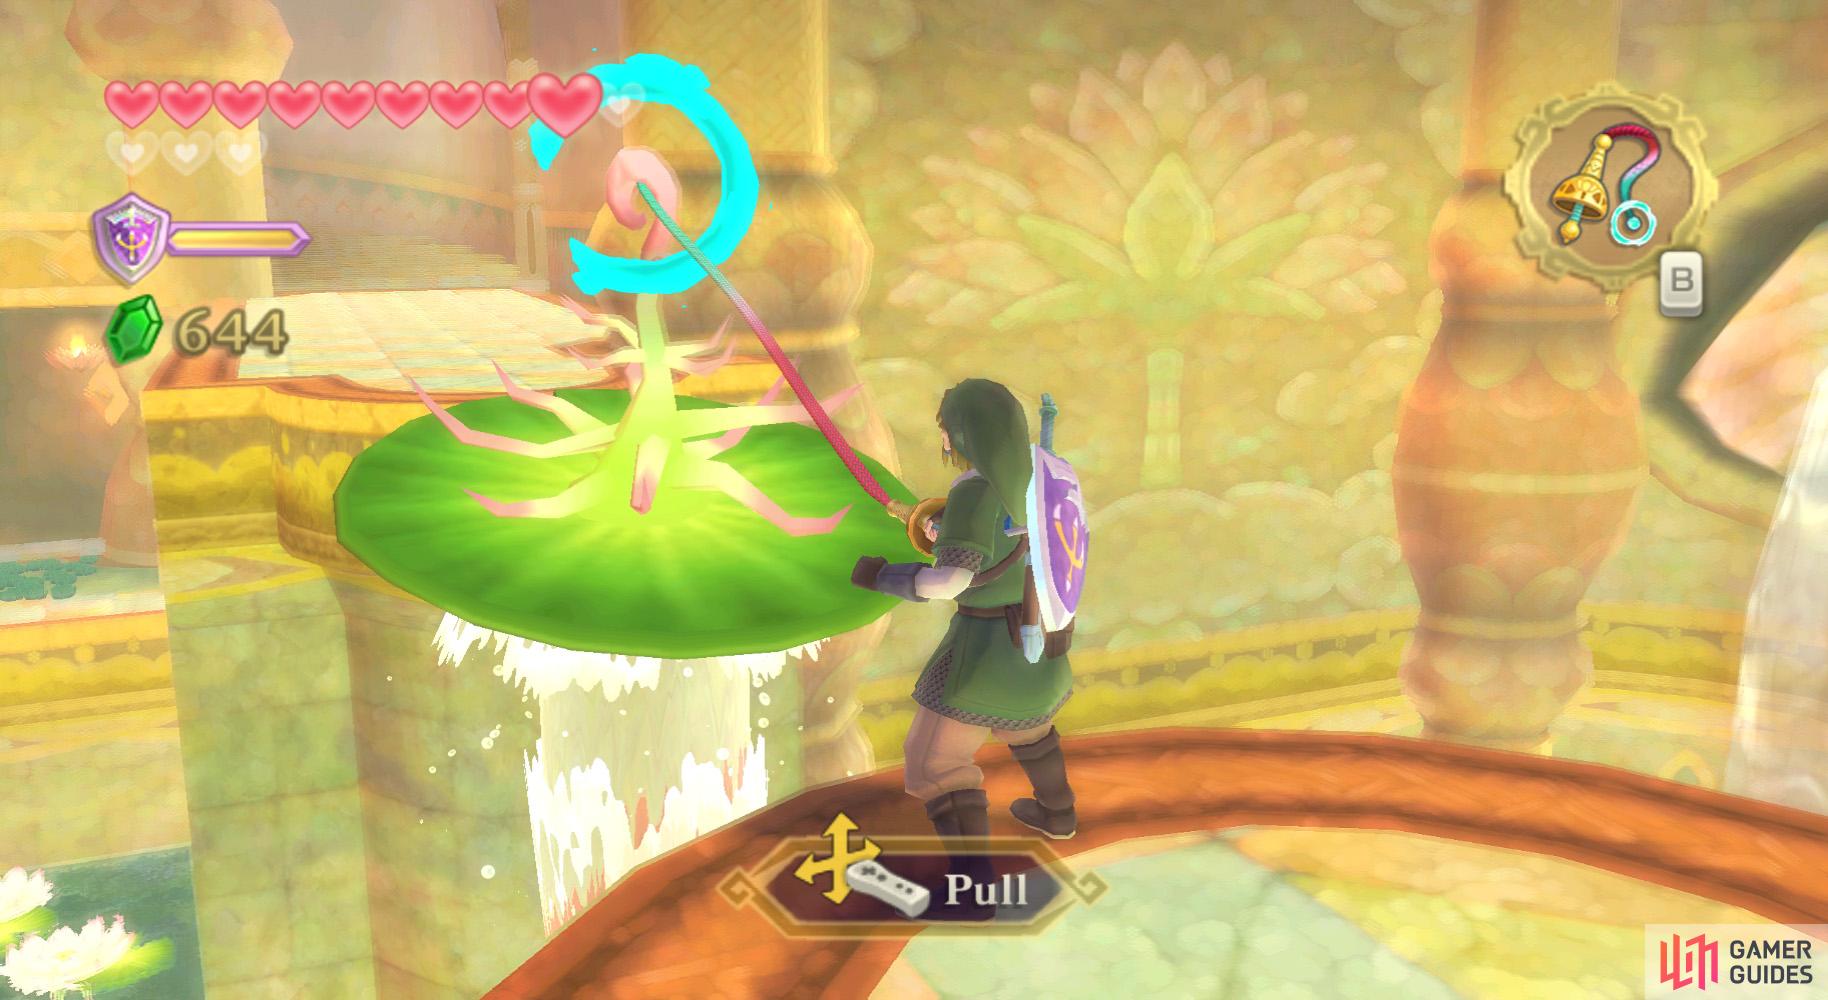
Once you reach the end of the tunnel, surface and go upstairs. Defeat the Deku Baba hanging from the ceiling, then Whip the valve to create a geyser where the lilypad was (the one you flipped).
Get back into the water and go across the room to the vines from earlier. Climb them and go along the path. At the end, flip the lilypad over with your Whip, then safely jump to the other side.
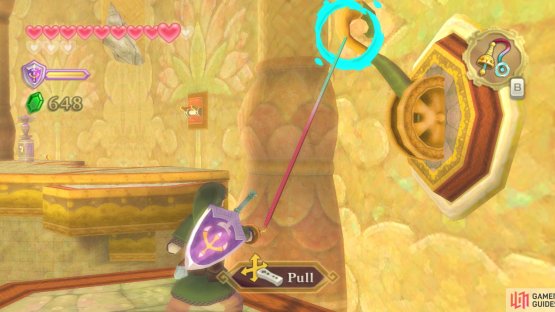
Go upstairs and you’ll find an out-of-reach wall switch; smack it with your Whip to trigger it. Proceed through the newly-opened doorway.
Central Area
Hey, I think we know this room! Anyhow, go to the right and you’ll notice some vines. Don’t climb them yet – shoot down the Walltulas on them with the Slingshot, then start climbing to the left. At the far left portion, drop off the vines to find some more.
(1 of 2) After climbing the vines, pull this lever at the end of the path to trigger a big change.
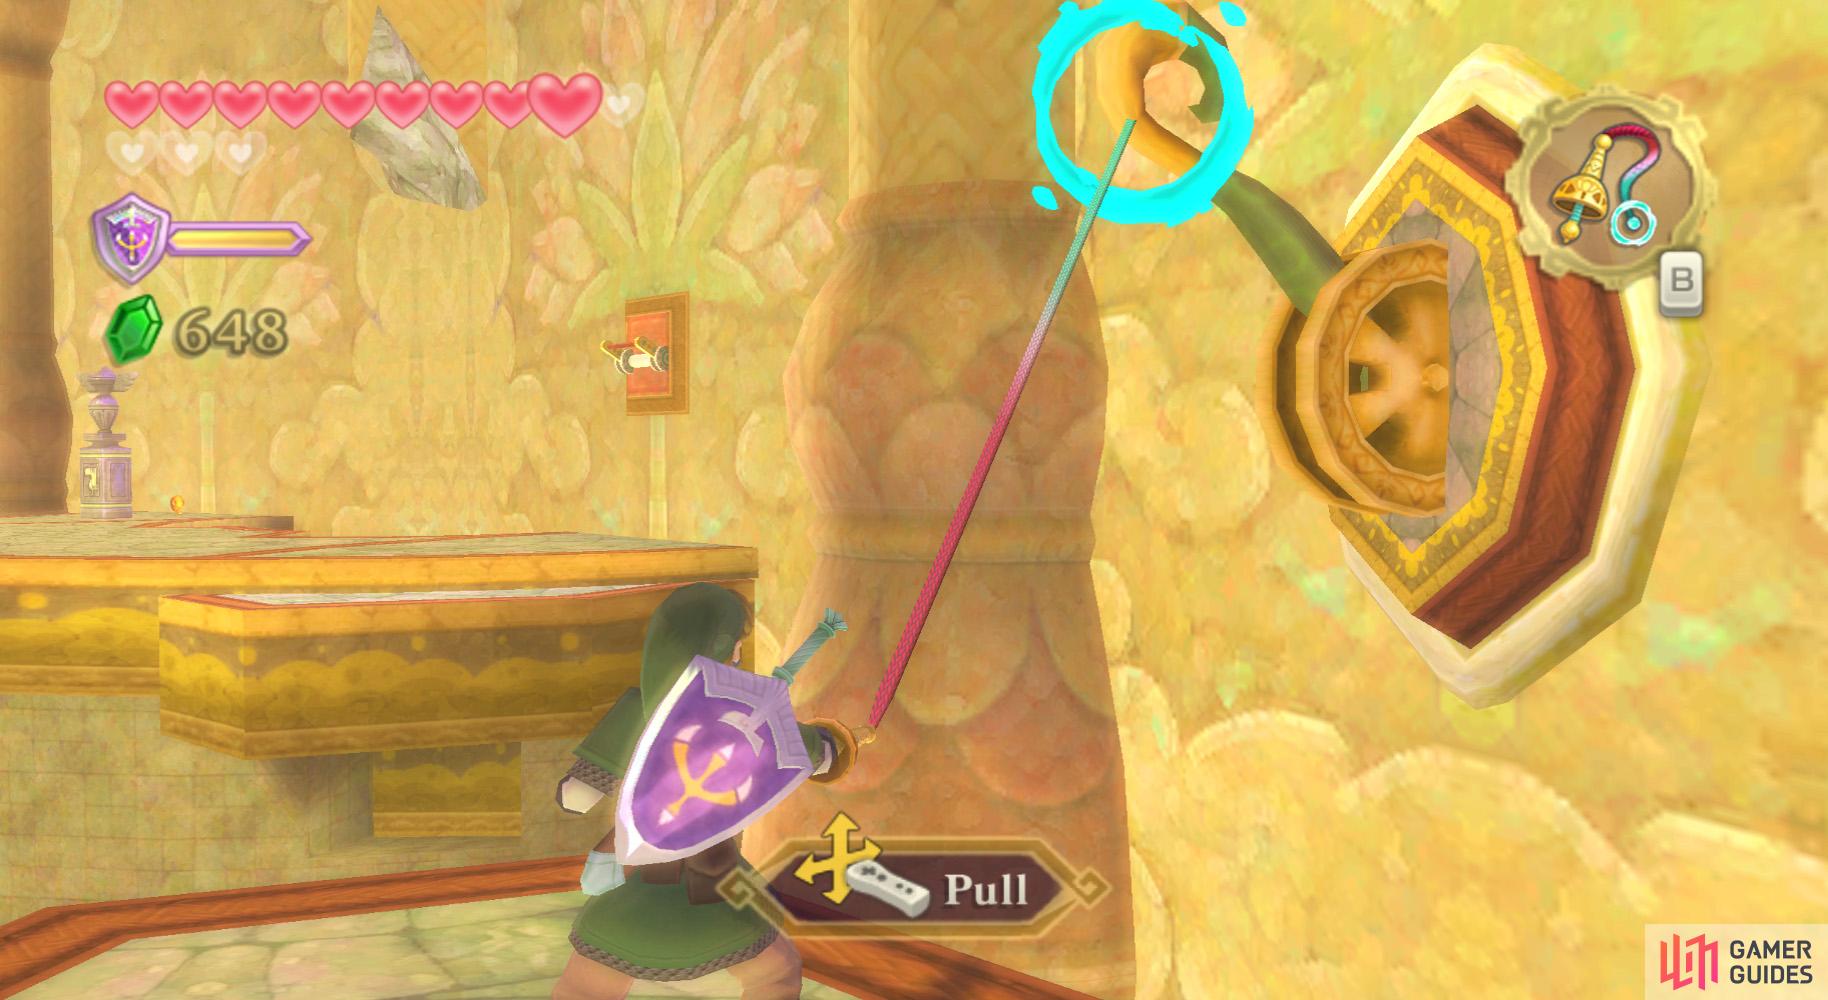
After climbing the vines, pull this lever at the end of the path to trigger a big change. (left), Now the doors in the giant statue will lead elsewhere. (right)
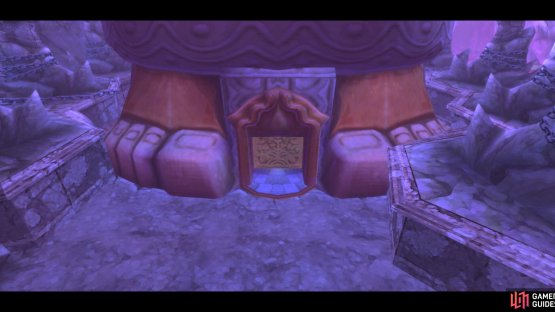
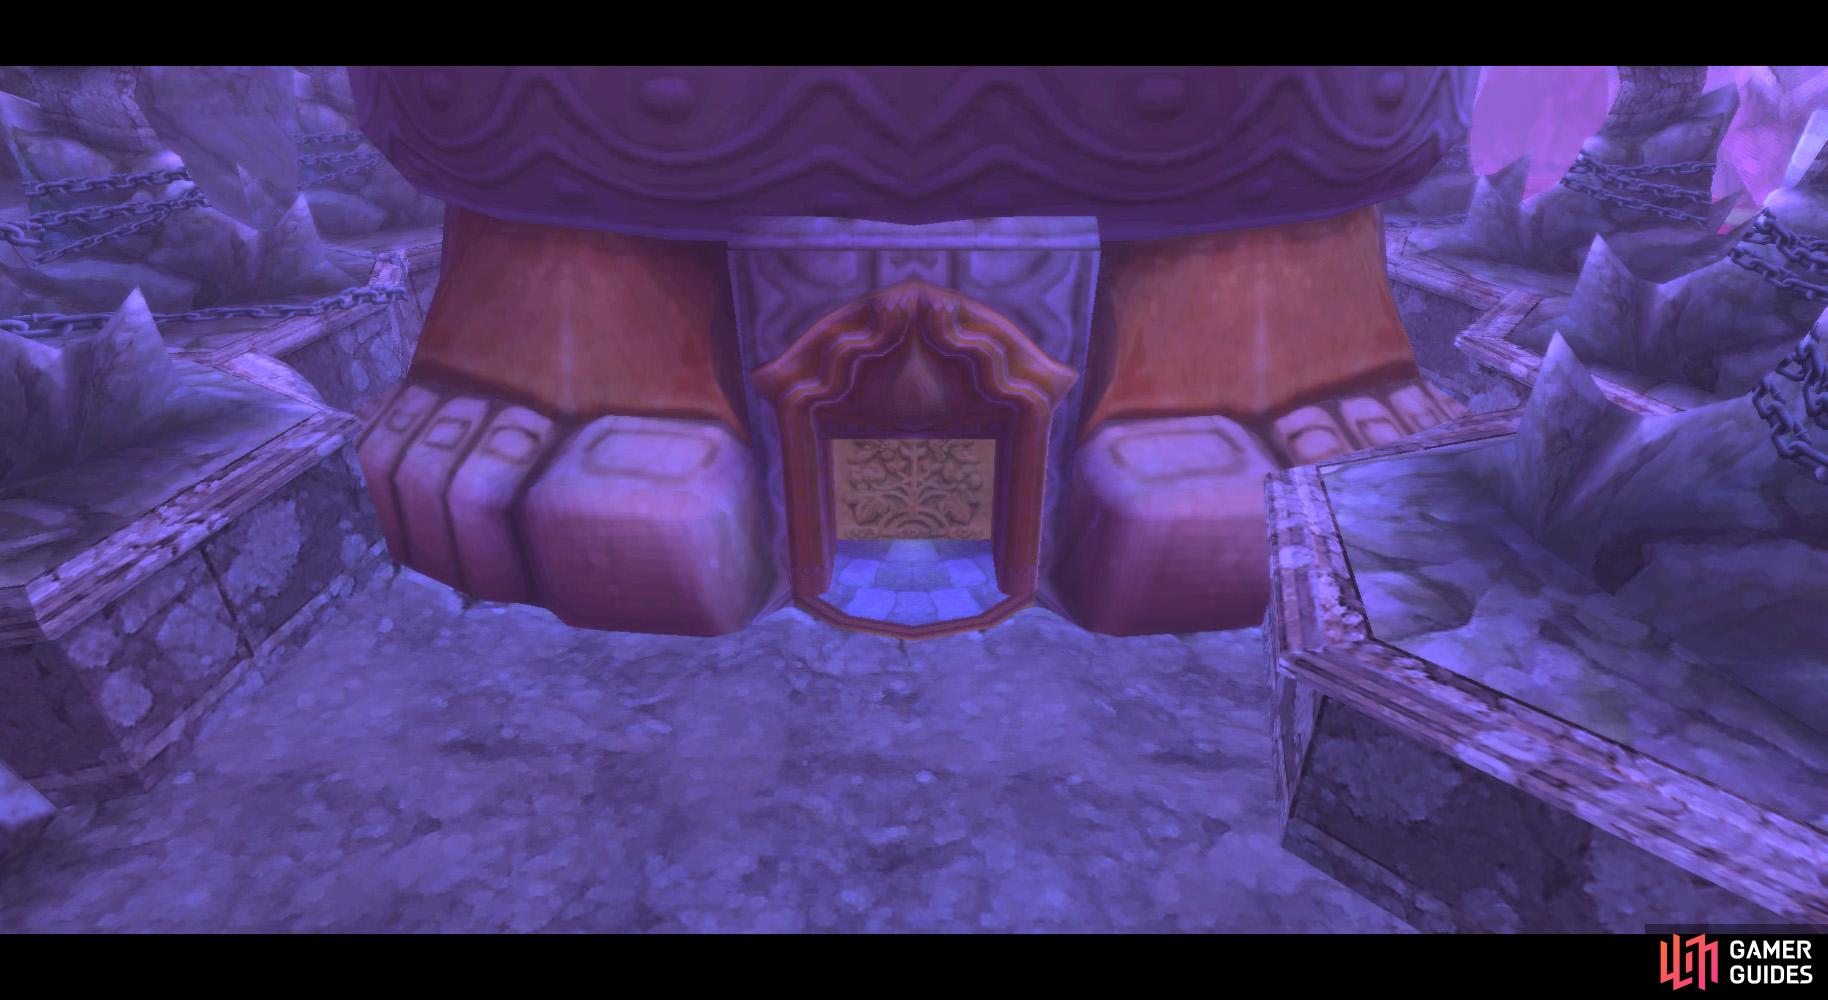
Continue climbing leftward to a new ledge. There, drop off of the vines and use the Whip to make a geyser appear. Go ahead some more to find a large switch on the wall – use the Whip to pull it down, thereby causing the giant statue nearby to sink down a floor.
Jump into the water and head to the southern side of the statue. Get onto the ledge and go through the door. There, drop to the bottom of the statue, using the Sailcloth to soften the fall. Go through the door down here for a new area.
No Comments