

(1 of 2) The next dungeon is found here, although we’re still quite far from it.
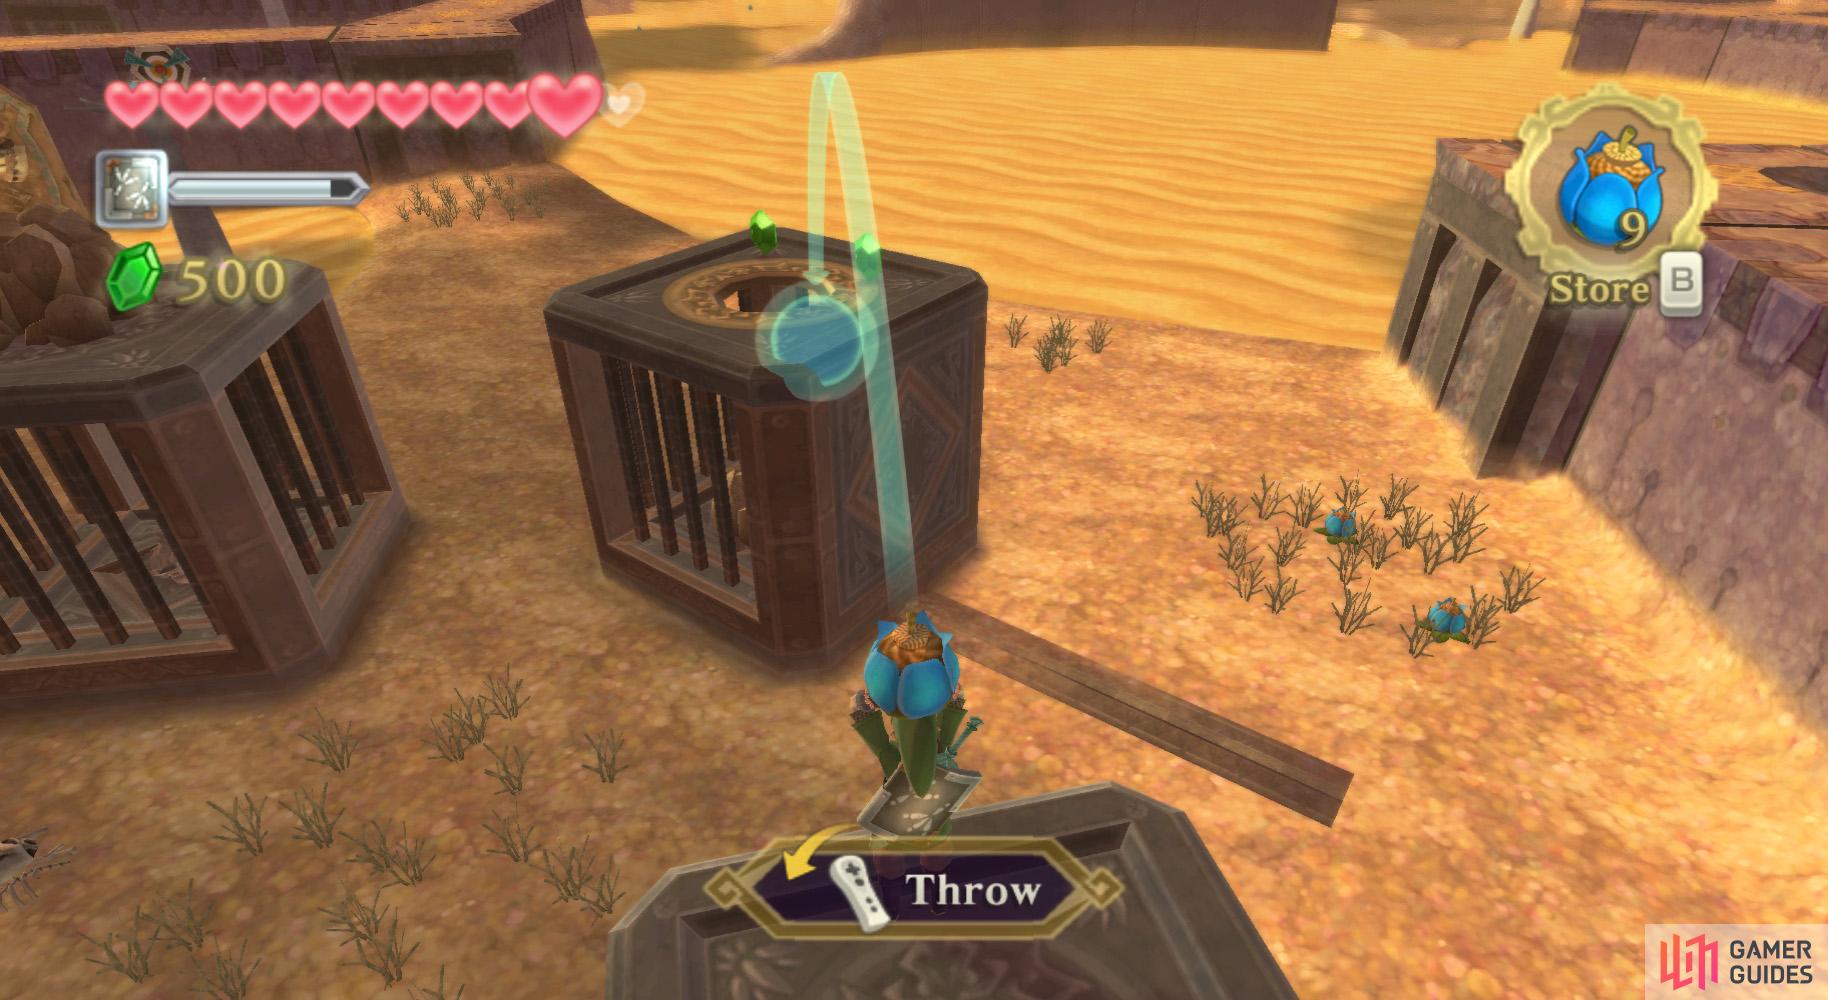
The next dungeon is found here, although we’re still quite far from it. (left), Throw a bomb into the gap above this metal cage. (right)
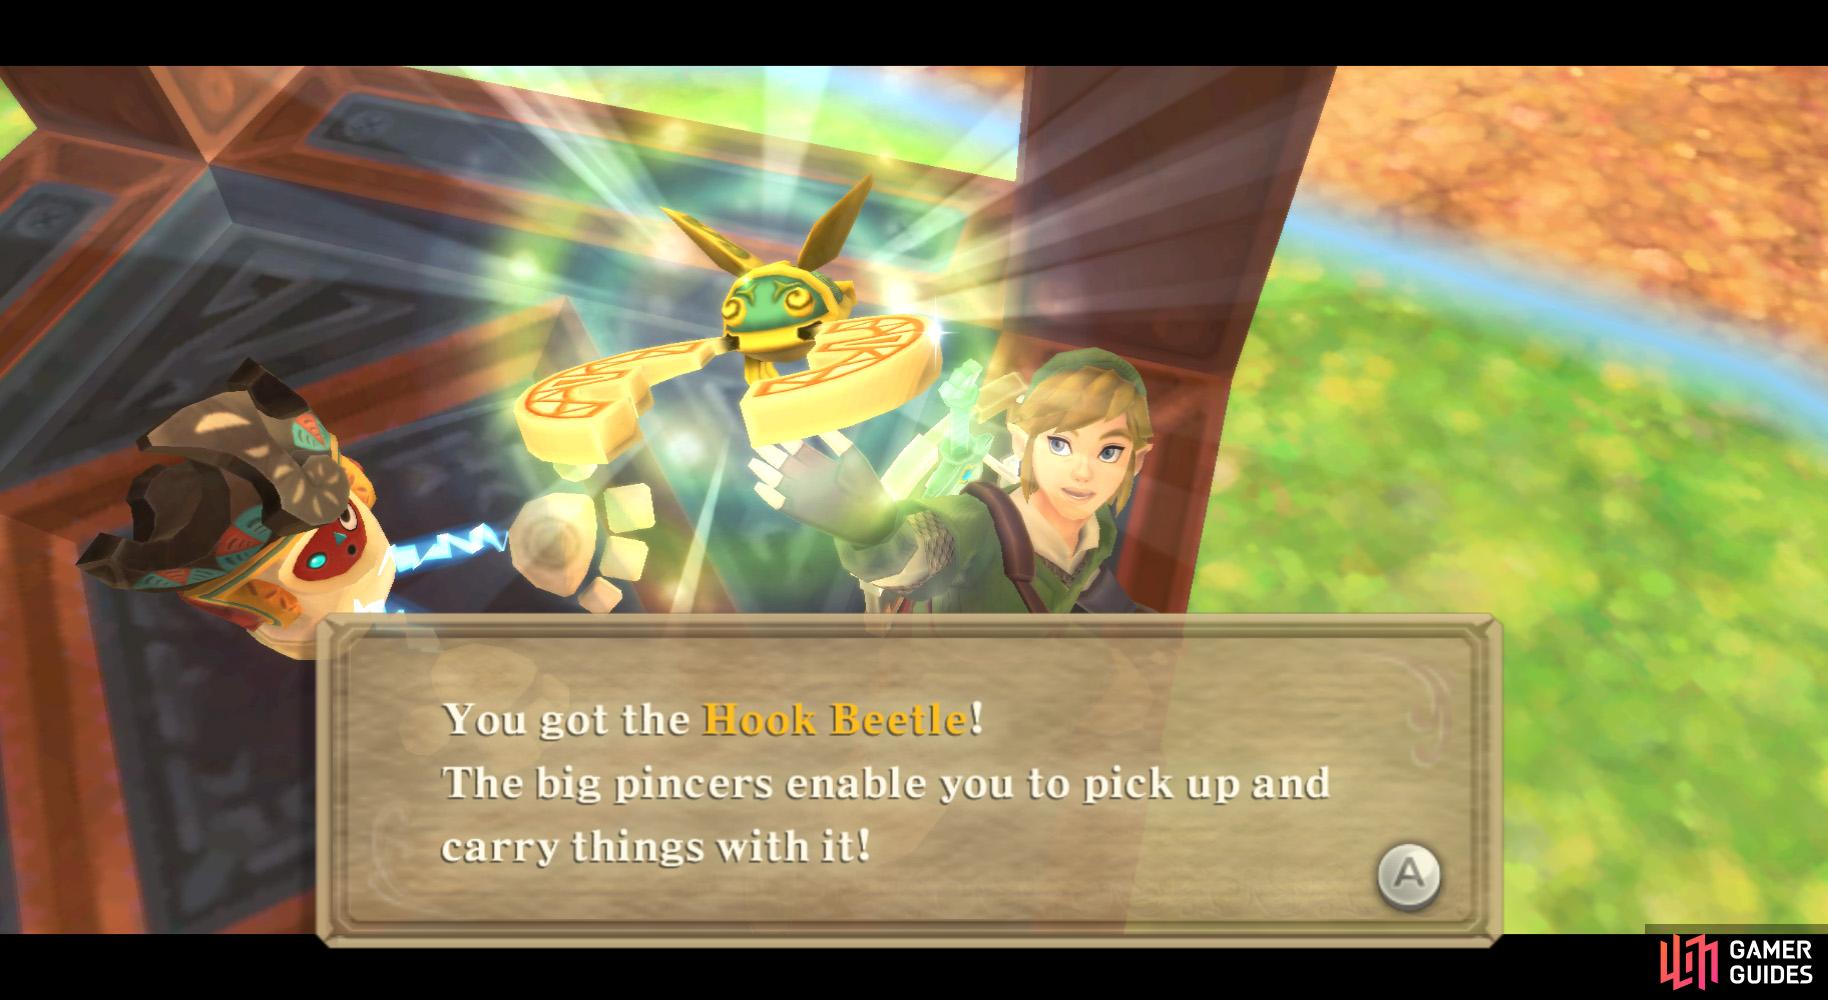
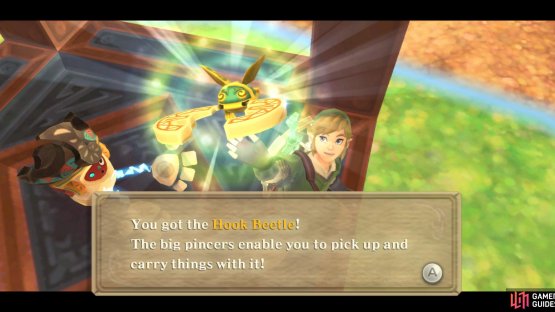
Obtaining the Hook Beetle
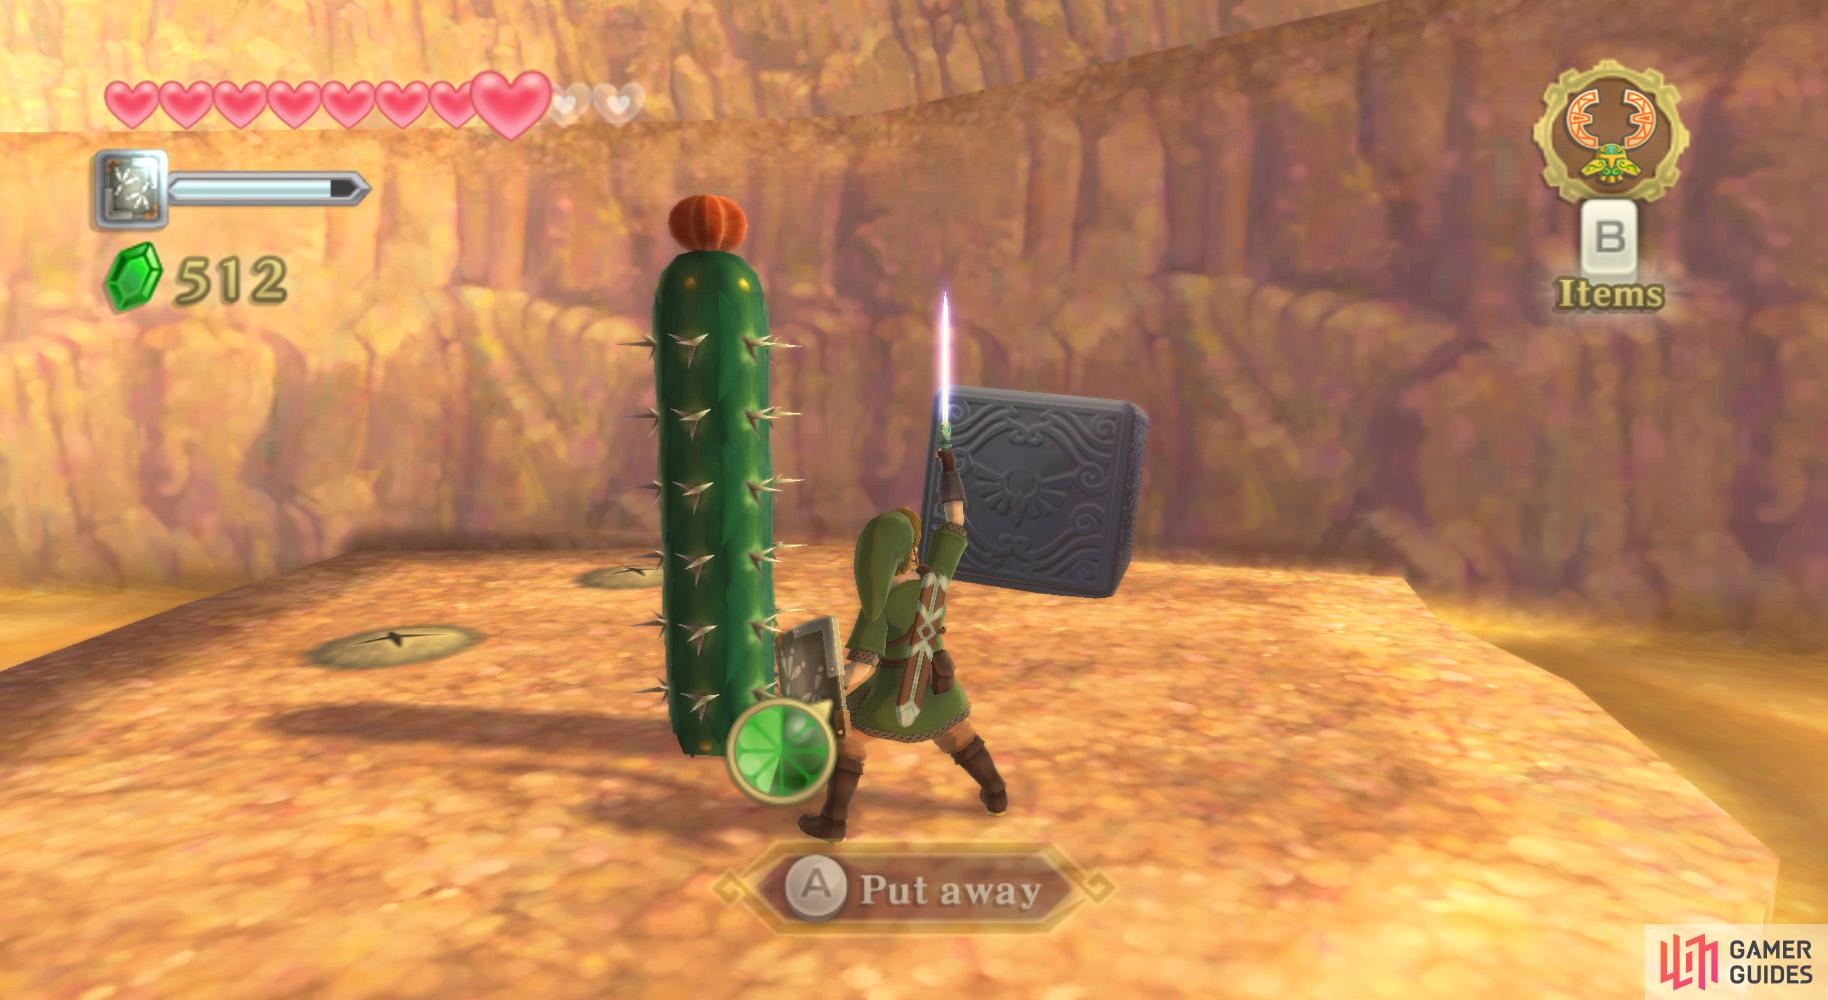
Use the nearby Bird Statue and take the path downhill. Soon enough, you’ll spot a red enemy with a shell known as an Ampilus. It is best defeated by shield bashing it during a charge, then slicing it to bits.
Map
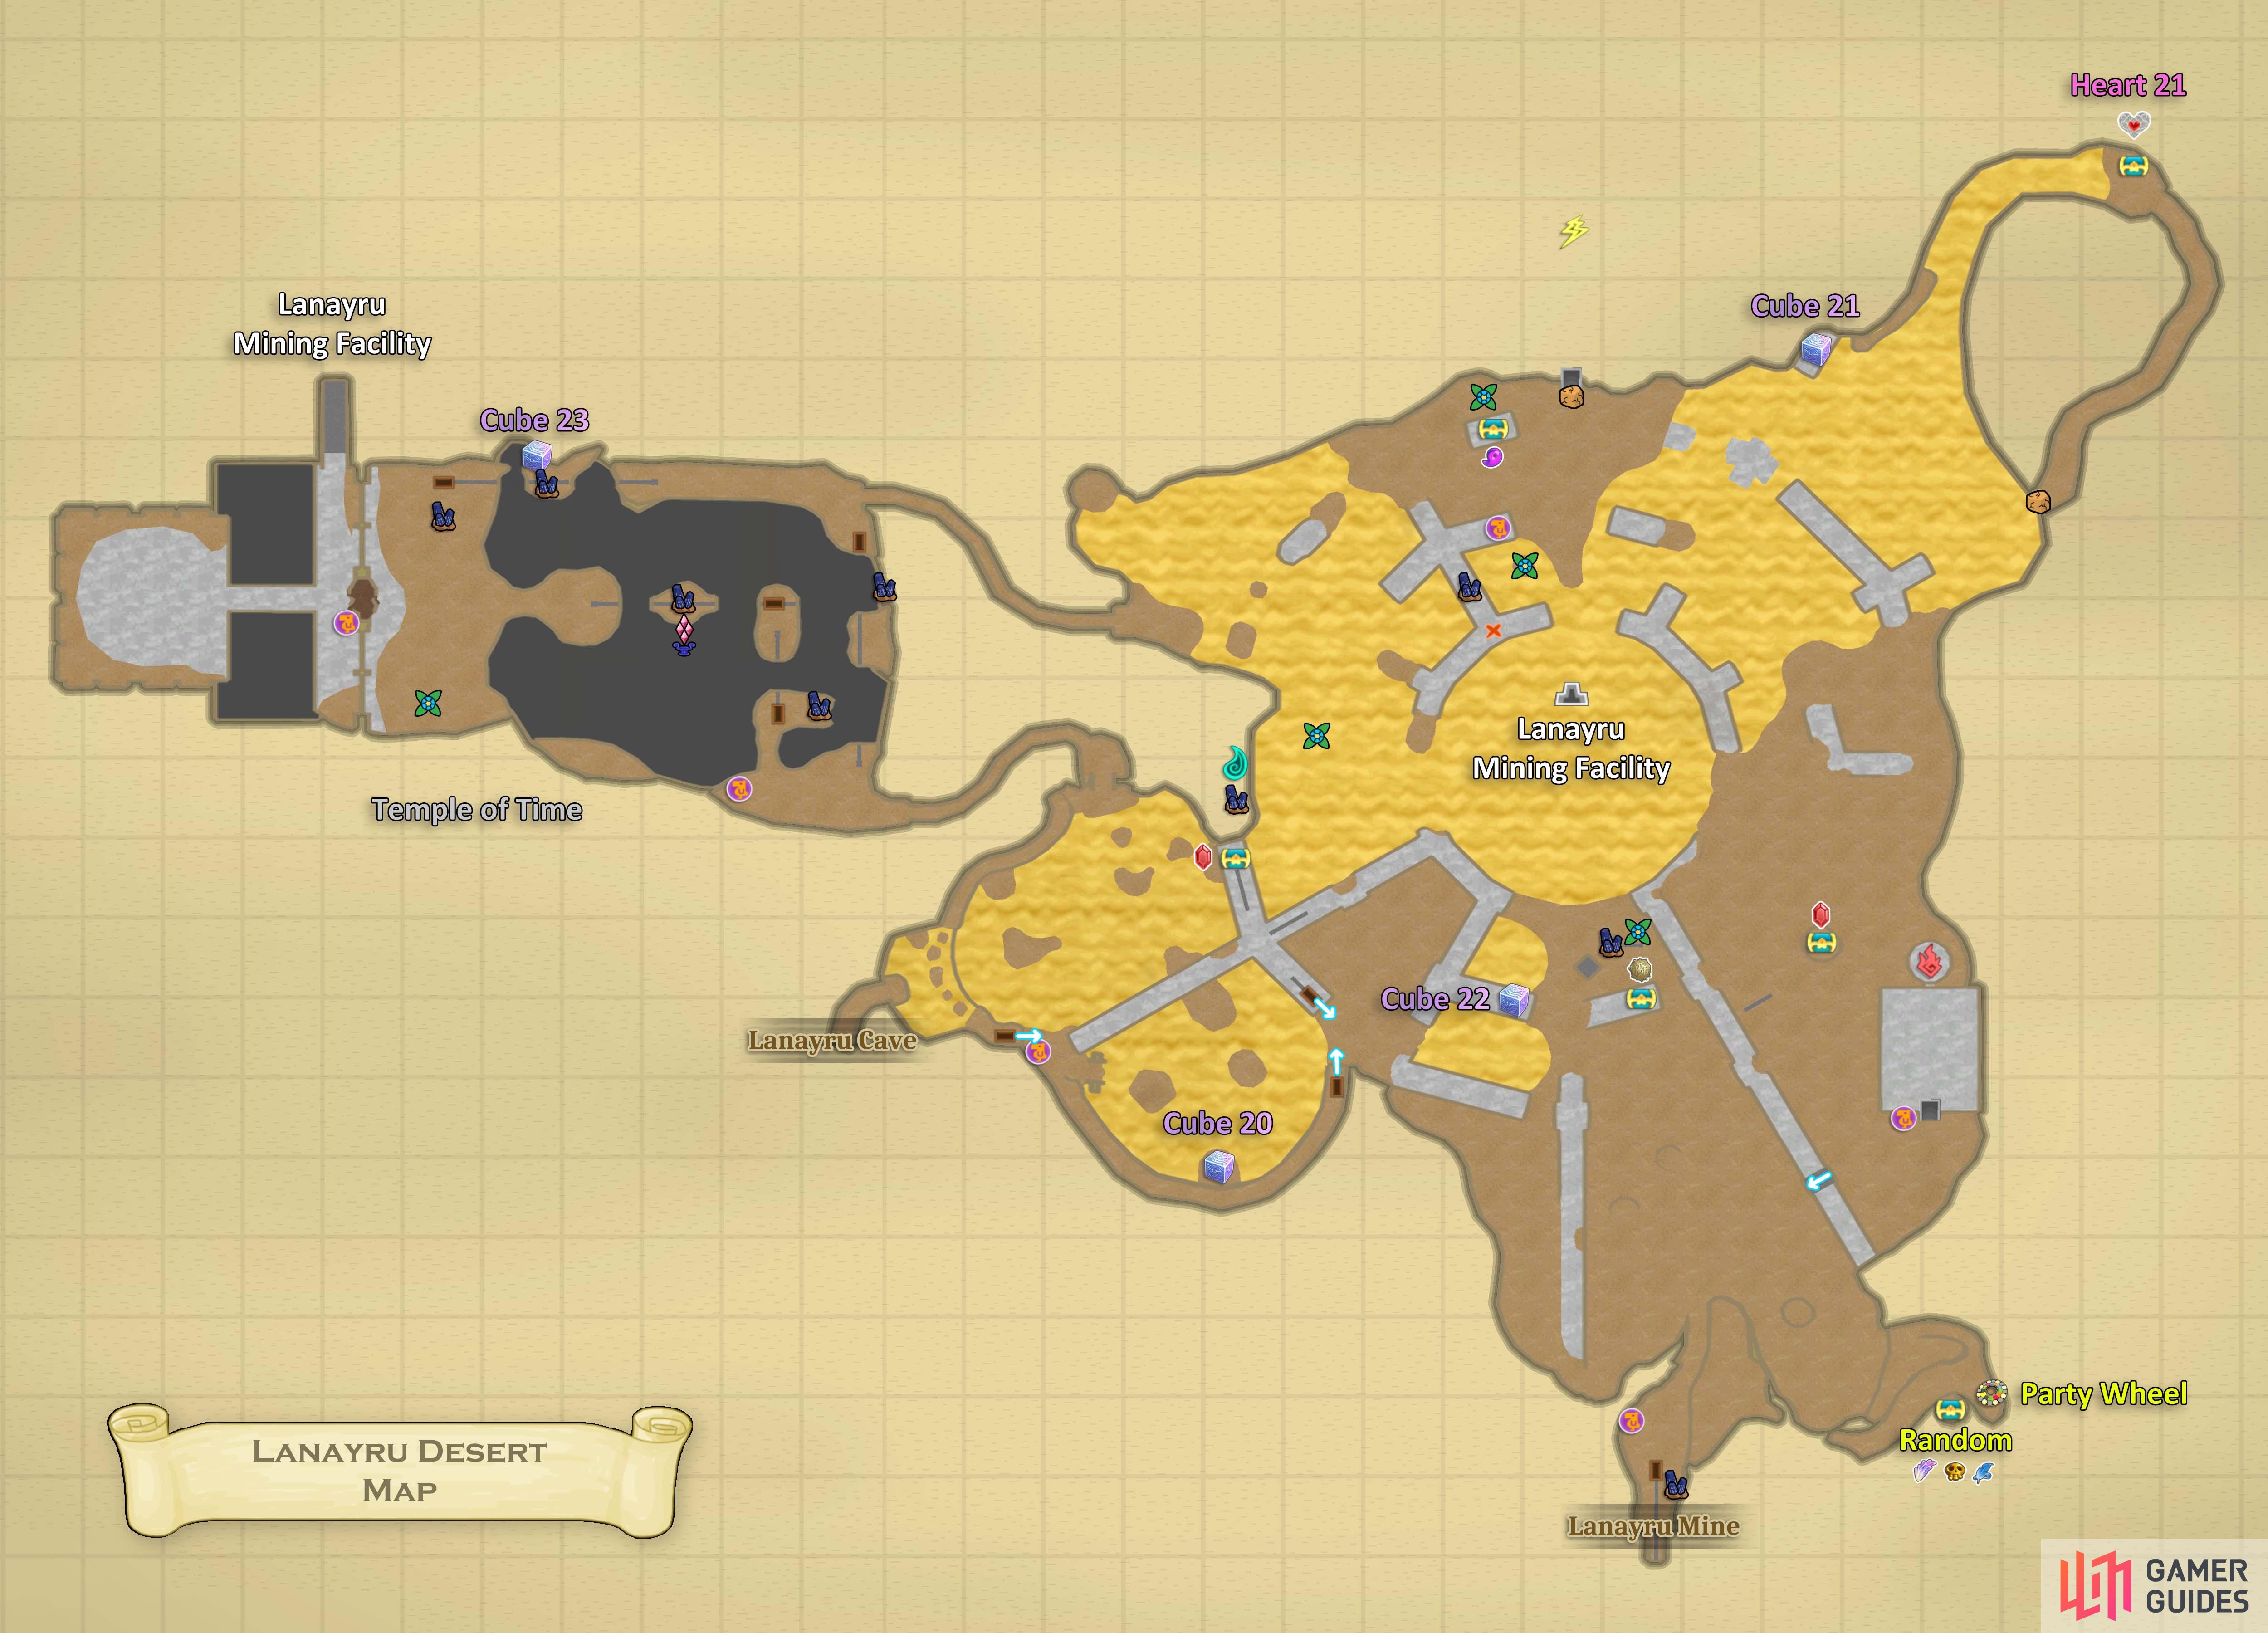
Map of Lanayru Desert.
Continue northward across to initial area to the three cages. South of them, you’ll find a high platform. Take the incline nearby to reach the platform and open the chest to receive a treasure.
Next, jump onto the nearest cage and throw a Bomb into the second cage, which just so happens to have a hole in the roof. The first Bomb will reveal the Timeshift Stone within; the second triggers it. After doing so (note that this will occur always with bones), the bones will transform into a Technoblin. Defeat it.
(1 of 2) This upgraded Beetle can pick up items and carry them forward.
This upgraded Beetle can pick up items and carry them forward. (left), You can use the Hook Beetle to pick up bombs and drop them while midair. (right)
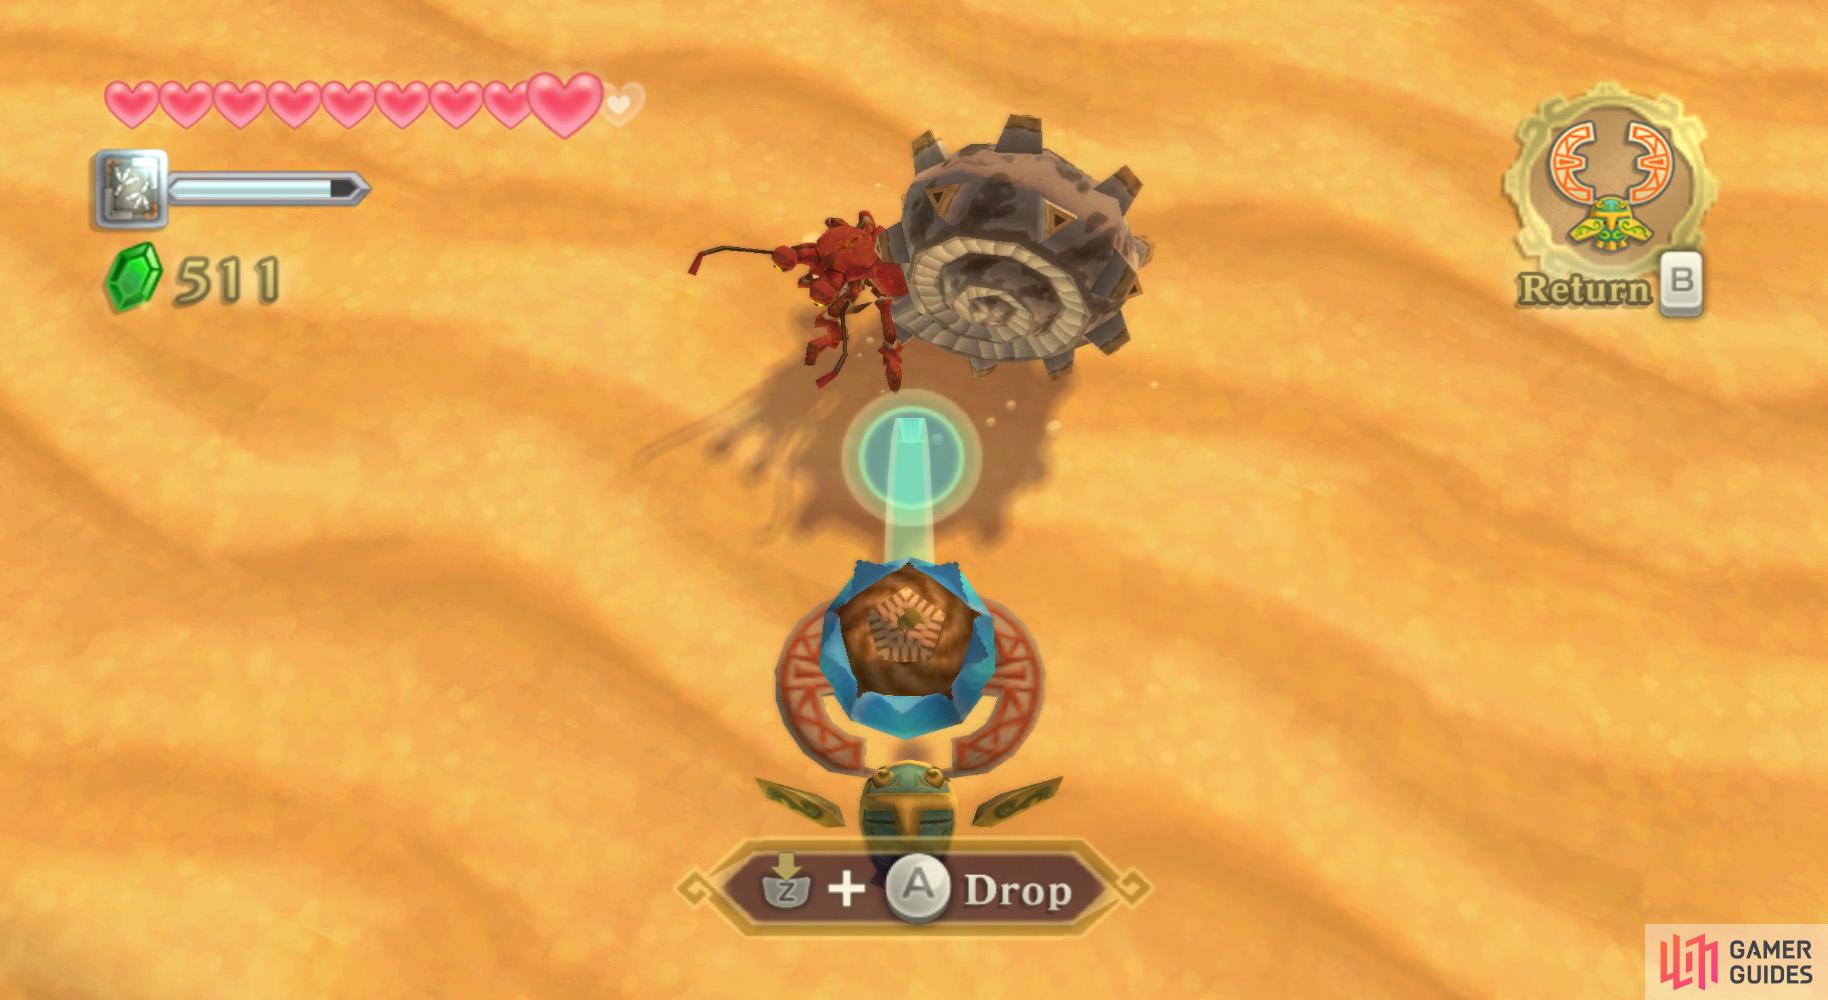
Afterwards, the cages will open and the robot that was trapped in one cage will thank you by allowing it to pick up items with its hook; it is aptly named the Hook Beetle. You pick up items by running into them, then drop them by using Z and A. Test it out by using the nearby Bomb Flower and bowl-holding statues.
Towards the Temple of Time
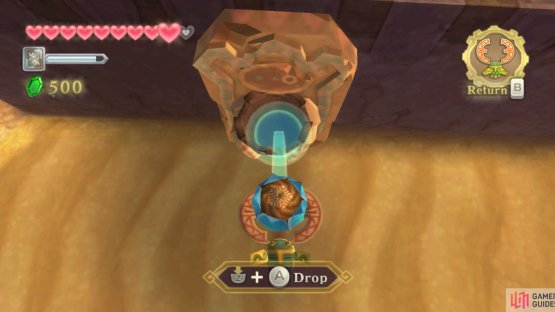
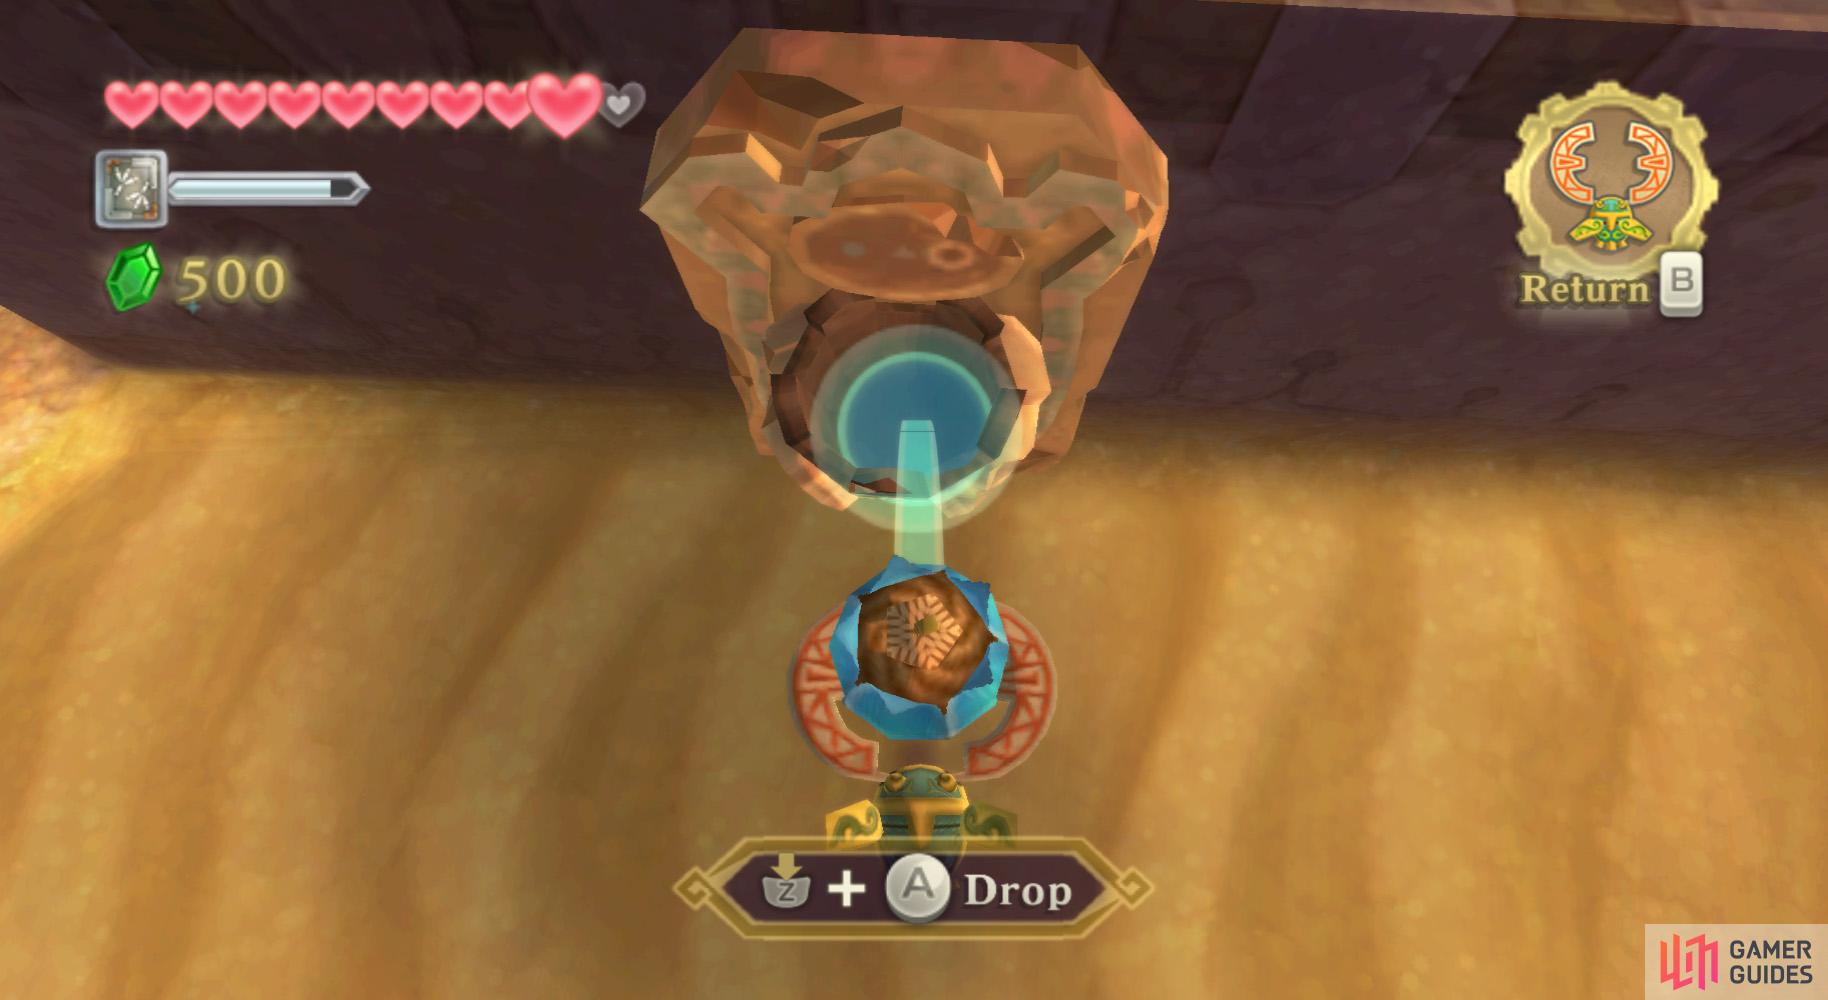
Once you’re ready, look to the west to find a bunch of quicksand, with its edges lined with the bowl-holding statues. Using the Hook Beetle, run into the Bomb Flowers and use Z to find your targeting cursor; when it lines up with the bowl desired, press A to drop it.
Also be sure to drop a Bomb on the Electro Spume. The alcove on the right will hold an Amber Relic; you might want to grab it. Ignore the Goddess Cube above, as well, as we are unable to grab it at the moment.

(1 of 2) Blow up an Ampilus.
Blow up an Ampilus. (left), Then use its corpse as an island. Classy. (right)
Anyhow, on the other side of the quicksand pit, you’ll find a few trees with some large birds, Hroks, atop them. They will get annoying – they seem to enjoy dropping rocks on you when you’re spotted – so use the Hook Beetle with some Bomb Flowers to eliminate them.
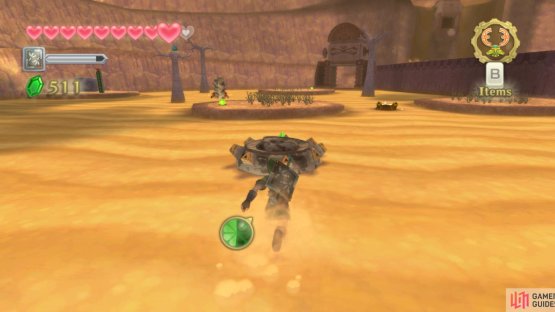
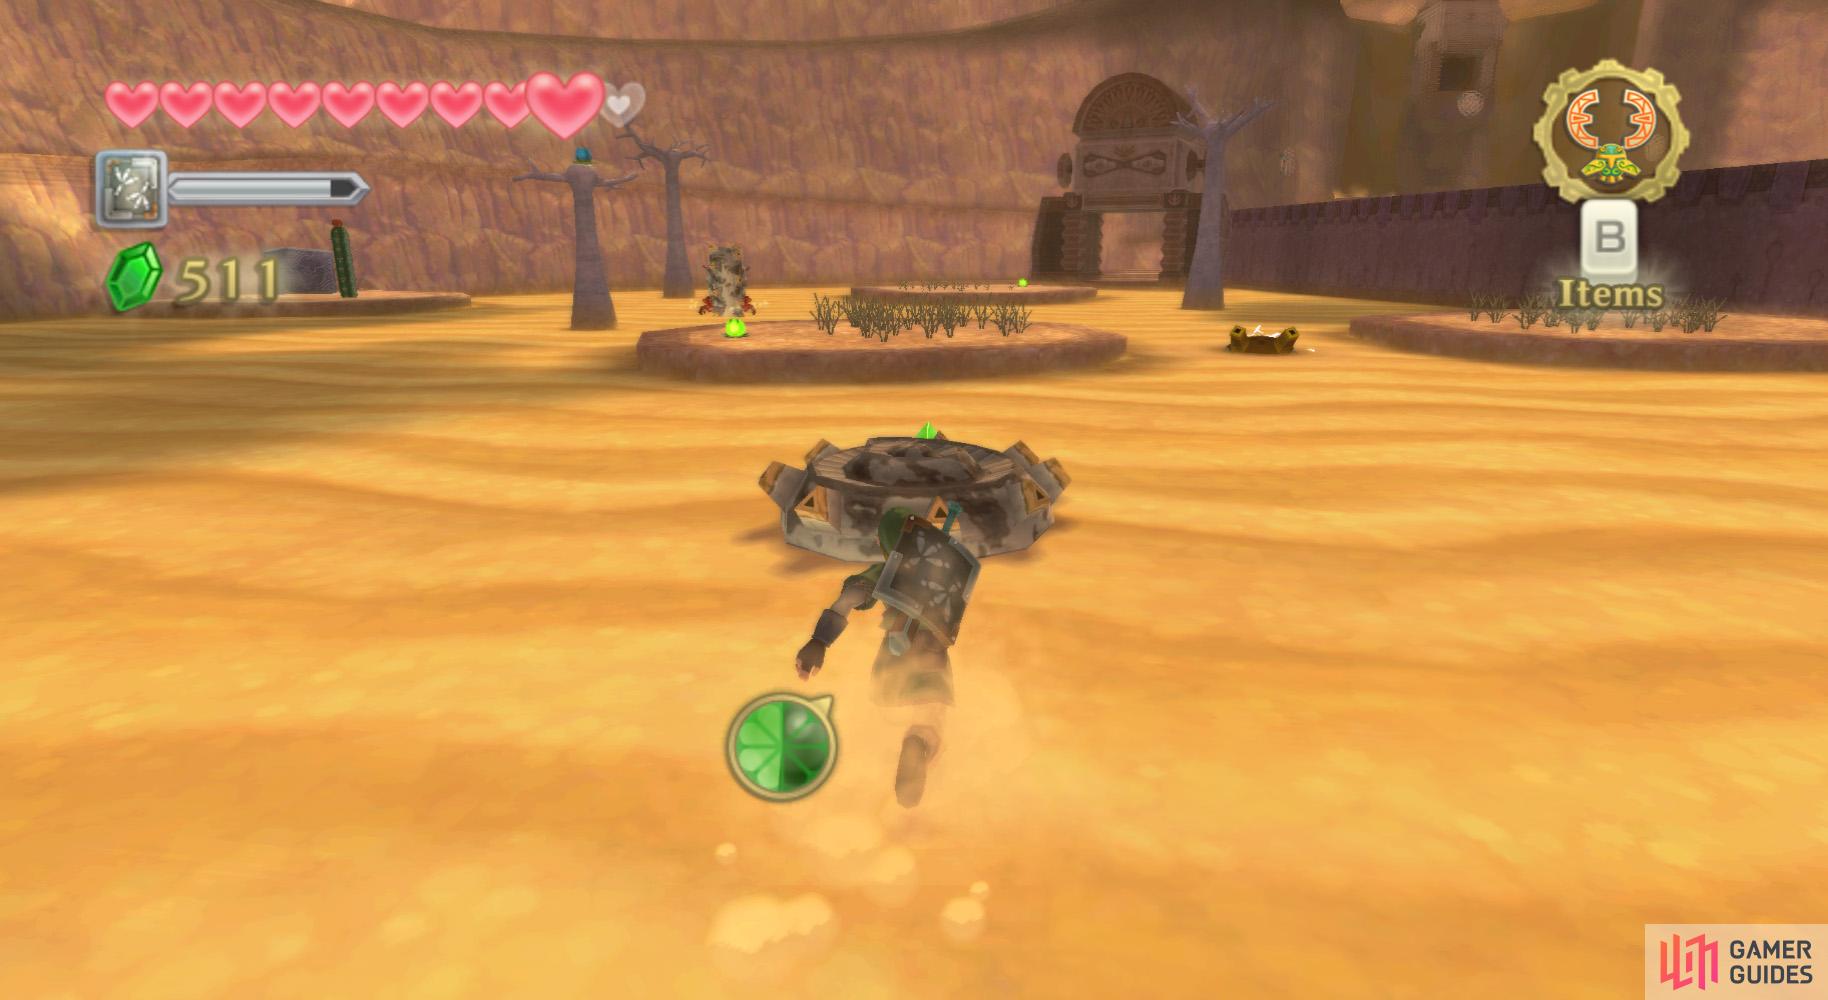
Afterwards, proceed southwest to the large quicksand pit. Two Ampilus are nearby, as well. The gap between the “islands” is too large to go in one dash, so what do we do? Watch.
Use your Hook Beetle to drop a Bomb Flower on the nearest Ampilus. Its shell will remain momentarily after being defeated; dash to the aforementioned shell and let your Stamina Gauge fill up. After it does, go to the next “island”.
Goddess Cube 20
(1 of 2) Goddess Cube: Southwest from “West Desert” Bird Statue. In the area with the quicksand river.
Goddess Cube: Southwest from “West Desert” Bird Statue. In the area with the quicksand river. (left), Treasure Chest: Island south of Skyloft, shaped like a Volcano. On a ledge, outside. (right)
Continue using this to get to Goddess Cube 20 on the southern “island”, then make your way to the northern end and continue forward.
Further ahead, you should find a Bird Statue. Use it, then ascend the nearby ledges and follow the path. At the end, push the nearby mine cart off of the ledge. Return to the Bird Statue and go north to another quicksand pit.
Your strategy should be similar to as before (kill the Ampilus and dash to the left-behind shell). Do so. However, you can also use the shell to ride down to a better dashing spot (the sand is moving, after all).
Once you reach the northern gate, climb up the ledges to the left. Follow the path and go across the ledges – you might need to Bomb the Electro Spume if it gets troublesome.
At the end of the path, you’ll find a mine cart – push it down to the ledge below to make a shortcut, then return to the gate area and north to the next area.
No Comments