(1 of 2) The Ancient Cistern is a water dungeon, but it’s not as mind-boggling as previous ones.
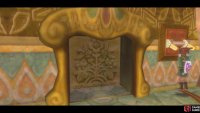
The Ancient Cistern is a water dungeon, but it’s not as mind-boggling as previous ones. (left), Start by heading anti-clockwise to this eastern door. (right)
Main Area
Once you enter the aquatic temple, utilize the nearby Bird Statue. Use the ledge you’re to go around the edge of the room, counterclockwise, defeating the Green Chuchus as you go.
Eventually, you’ll find a locked door. Jump at the switch on the wall nearby to unlock the door. Go inside.
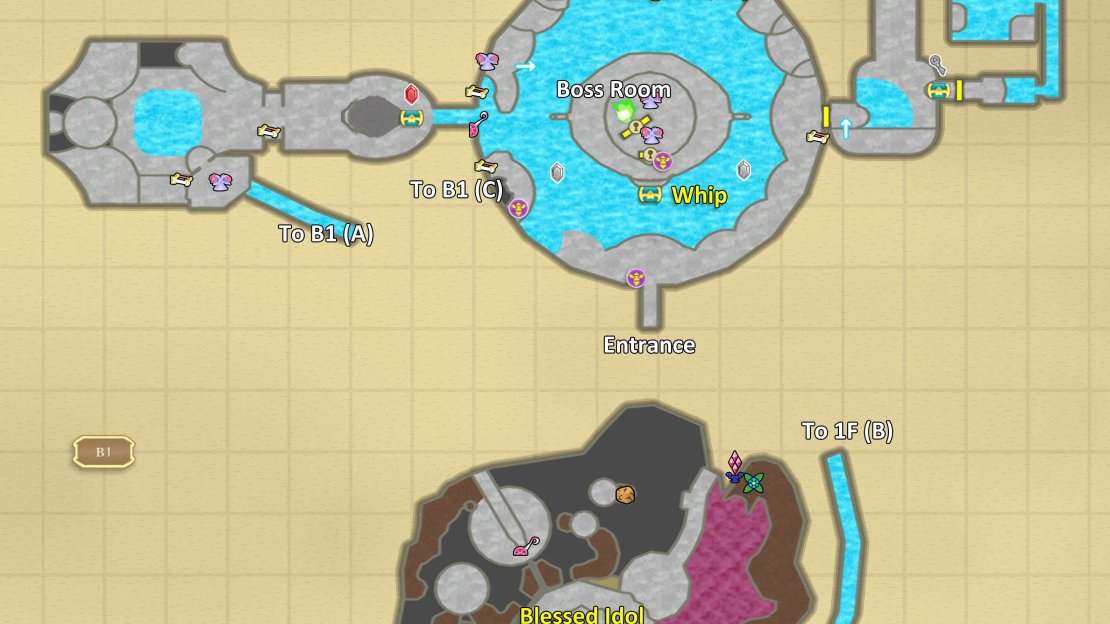
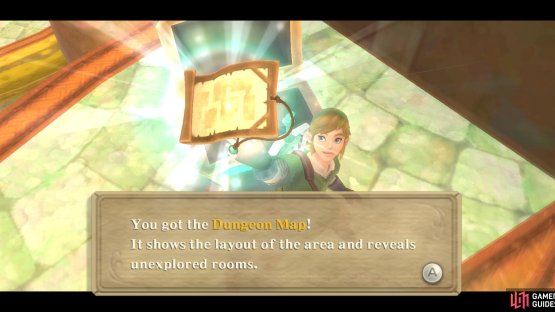
Dungeon Map
Map of the Ancient Cistern.
East Room 1
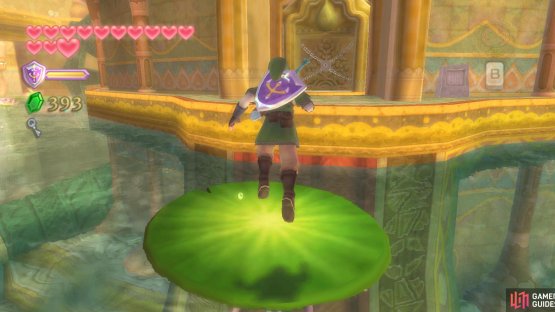
Here, jump off the ledge onto the lilypads below - note that, when you land on a lilypad from a high distance, you’ll flip it over, bringing the harmful spiky underside aboveground, making it safe to swim underneath.
Anyhow, climb up the nearby ledge and slice one web down. Hit the Skulltula with a down-up vertical slice, then use a fatal blow to end it. Repeat with the other spider web and Skulltula.
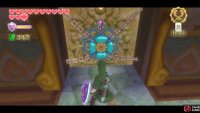
(1 of 2) You need to hit this lock in a certain order: top, bottom, left and right.
You need to hit this lock in a certain order: top, bottom, left and right. (left), When you’ve got some free time, use a spin attack to collect the Silver Rupees in the first area without being grabbed. (right)
Further ahead, you’ll come to a door with a weird lock on it. There are four switches you must hit on the lock in a certain order, one that corresponds with a certain riddle in the entrance area. You don’t have to go back there; you will, however, miss out on some easy-to-find Silver Rupees.
If you go back there for the riddle, the two Silver Rupees are on the statue’s hands. Anyhow, the solution to the puzzle lock is: top, bottom, left, right. Those are the four sections of the lock you are to hit with your sword to unlock the door. Once it is unlocked, go on through.
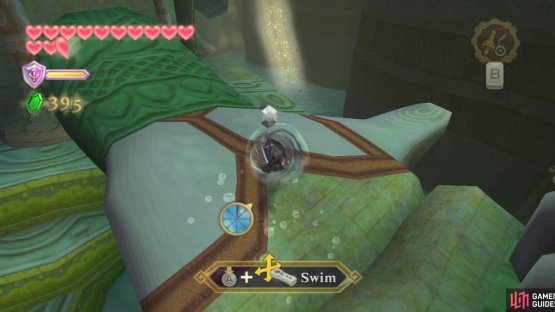
(1 of 2) Jump down and flip this lilypad upside down.
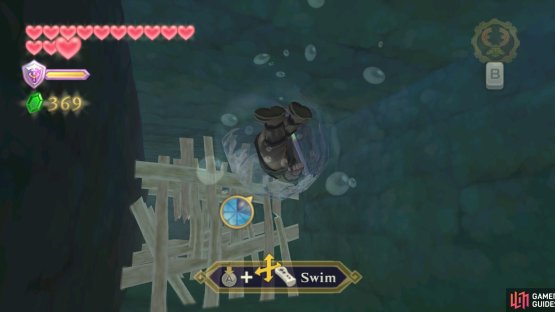
Jump down and flip this lilypad upside down. (left), Swim through the tunnel under the lilypad, using the spin attack to smash the blockades. (right)
Afterwards, hop across the lilypads to the southeastern corner of the room. There, climb the vines to the empty ledge, then unleash your Hook Beetle, using it to cut down the Skulltulas hanging from the roof, killing them once they hit the water.
Next, look down from the ledge, looking at the lilypads, to find a lilypad with larger-than-usual spikes underneath. Flip it over and go through the newly-revealed passage. Continue for a Red Rupee, then spin attack through the blockades further ahead.
East Room 2
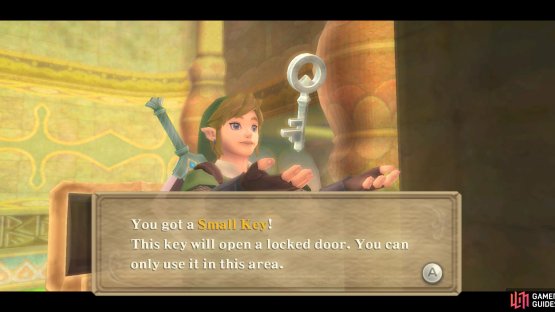
(1 of 2) Your reward is a Small Key.
Your reward is a Small Key. (left), Return to the initial area and open the locked door opposite the entrance. (right)
In the small room, climb the vinery and go through the door here to find a chest on the other side. Inside, you’ll find a Small Key. Use the nearby water spurt to reach the upper ledge and follow the path to the entrance door and out of the room entirely.
Central Area (Again)
Back in the central room, head back south, towards the entrance, then cross the lilypads to the north. You should eventually land on the ledge around the statue. Go forward to the locked door and unlock it.
Mini-Boss Room
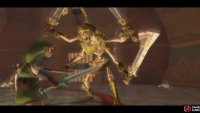
In the new room, drop to the bottom of the pit below to fight a Stalmaster!
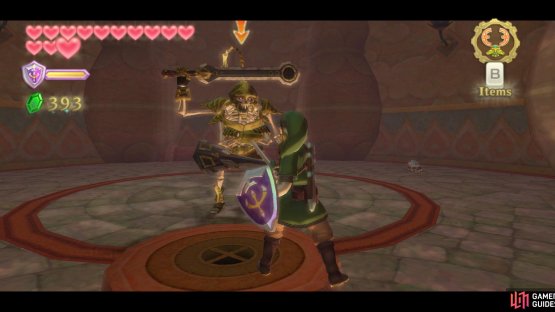
(1 of 2) The Stalmaster starts off easy with just two arms.
The Stalmaster starts off easy with just two arms. (left), Afterwards, it’ll use all four arms, but the same strategy applies. (right)
The Stalmaster is little more than a buffed-up Stalfos. It has four arms and four weapons. It will initially fight, however, with only two, so it’ll be like fighting a Stalfos for a bit. Always try to hit the exposed parts of the enemy!
Soon, your opponent will use all four arms. Again, continue to hit the exposed portions - the only difference is that you have be more specific on where you strike. There are some hearts surrounding the room if you need them.
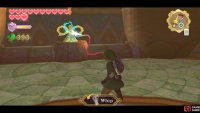
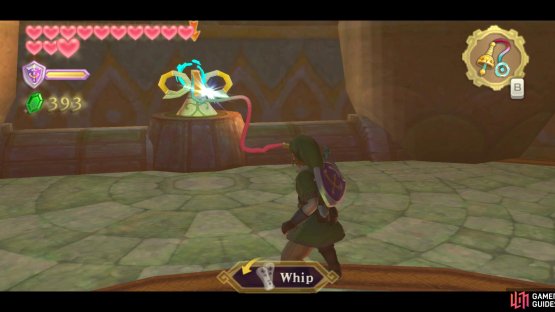
(1 of 2) The whip essentially acts like a longer (and stretchier) arm.
The whip essentially acts like a longer (and stretchier) arm. (left), Swing the whip at these water valves to create a way back up. (right)
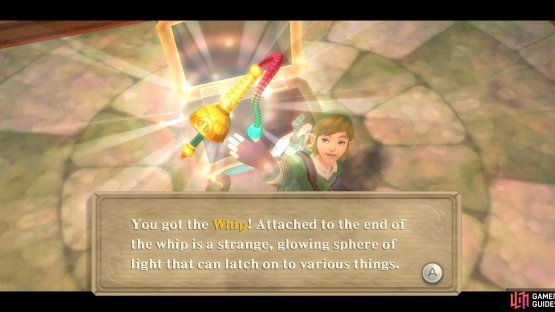
After the battle, go through the newly-opened door to find a chest. Inside, you’ll find a new item, the Whip. Much like the Grappling Hook of Wind Waker, you can use this to latch onto things or to steal items from enemies.
Exit the room and use the Whip on the water valve on the other side of the room and turn the valve to create a water geyser.
Go into the geyser, then continue to repeat the process to reach the top of the room. Afterwards, return through the door that required the Small Key, back to the very first area.
Central Area (Yet Again)
(1 of 2) Feel free to do your best Indiana Jones impression.
Feel free to do your best Indiana Jones impression. (left), With the Dungeon Map, you’ll have an easier time navigating. (right)
Use the Bird Statue near the entrance. Now, go along the edge of the room, counterclockwise and up the ledges to find some branches on the wall.
You can lock-on to and Whip them to make a swing of sorts. Use it to cross the gaps ahead. At the other side, open the chest nearby for a Dungeon Map.
Get back on the water and head to the west side of the room, where the red X on the map is. There, you’ll find an unreachable wall switch.
Whip the lilypad’s spikes to turn it over. Get onto the now-safe lilypad and hit the wall switch with the Whip to activate it, causing the nearby fish head to stop blasting out water.
Anyhow, jump into the water below and swim through the fish head, going west.









No Comments