
West Room 1
After entering the western door from the large central area, go straight to the other door at the opposite side of the room.
West Room 2
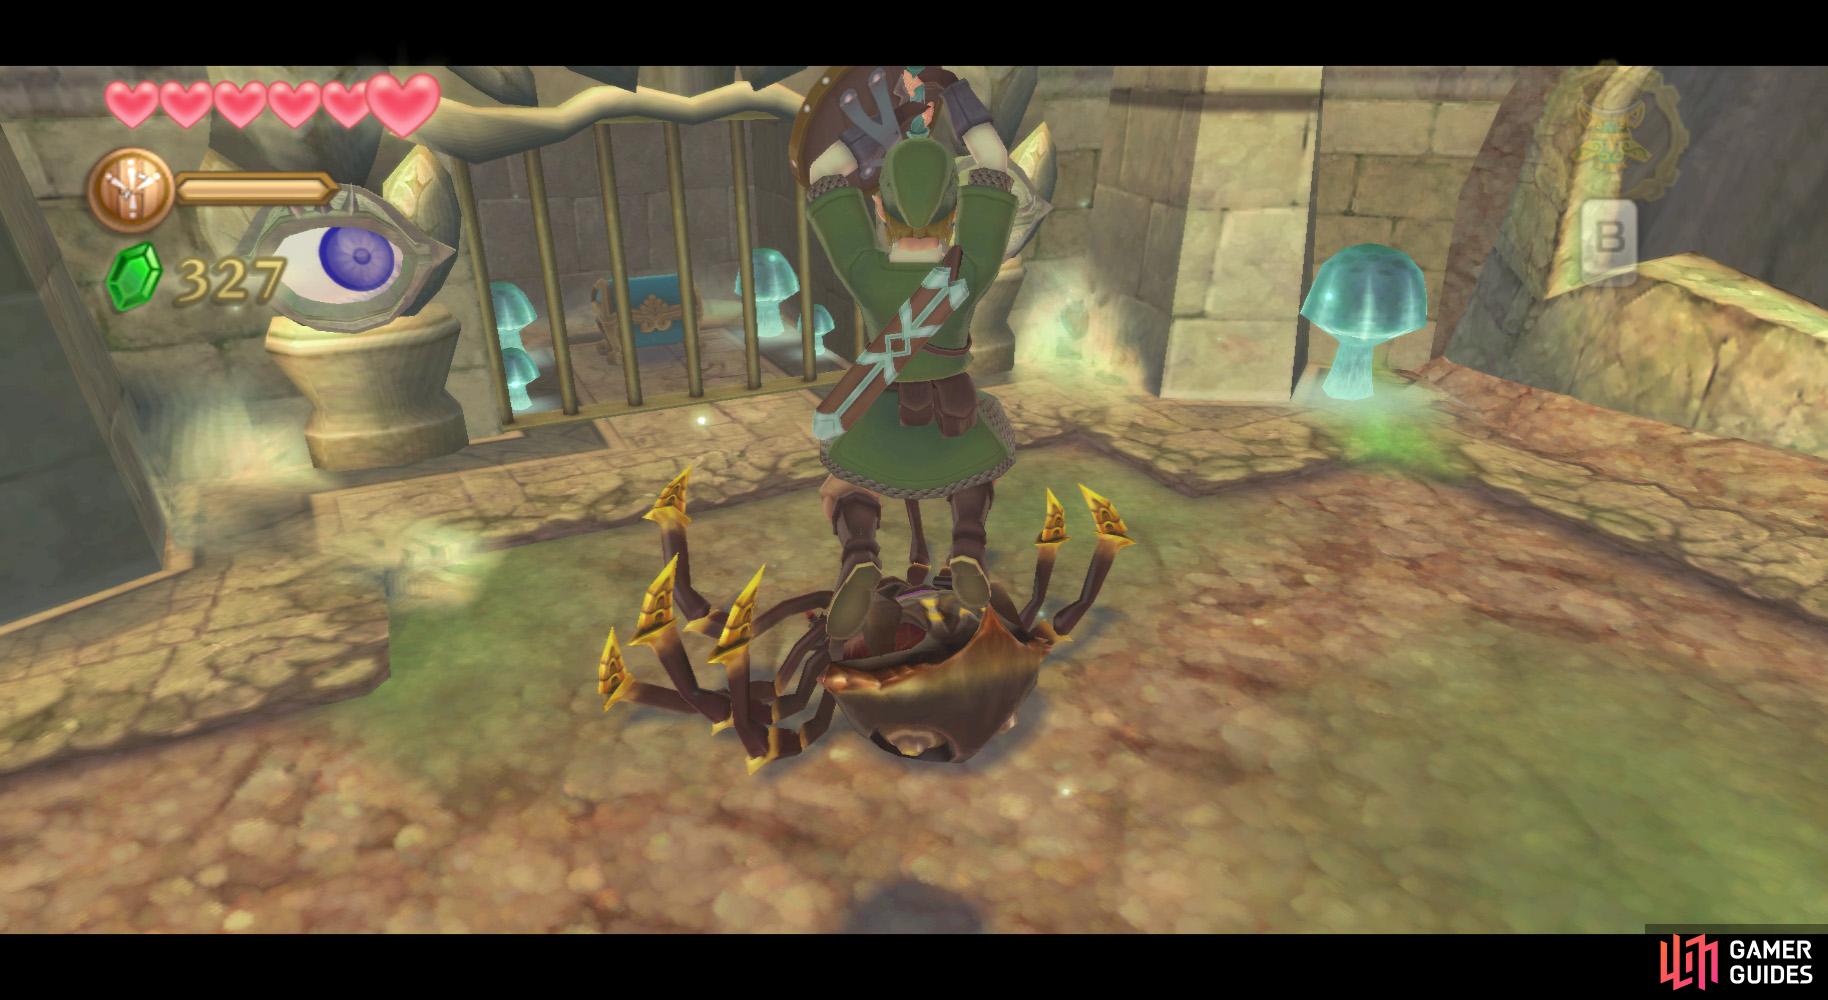
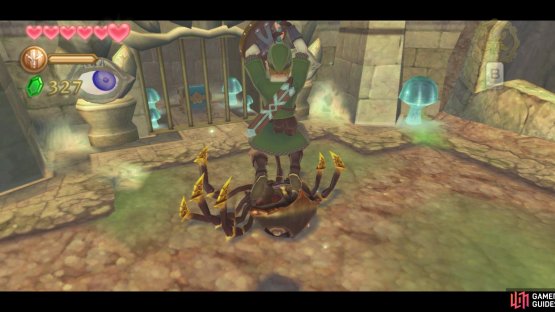
(1 of 2) You need to flip the Skulltula upside down first.
You need to flip the Skulltula upside down first. (left), Push the crate and stand on top of it to waken the third eye. (right)
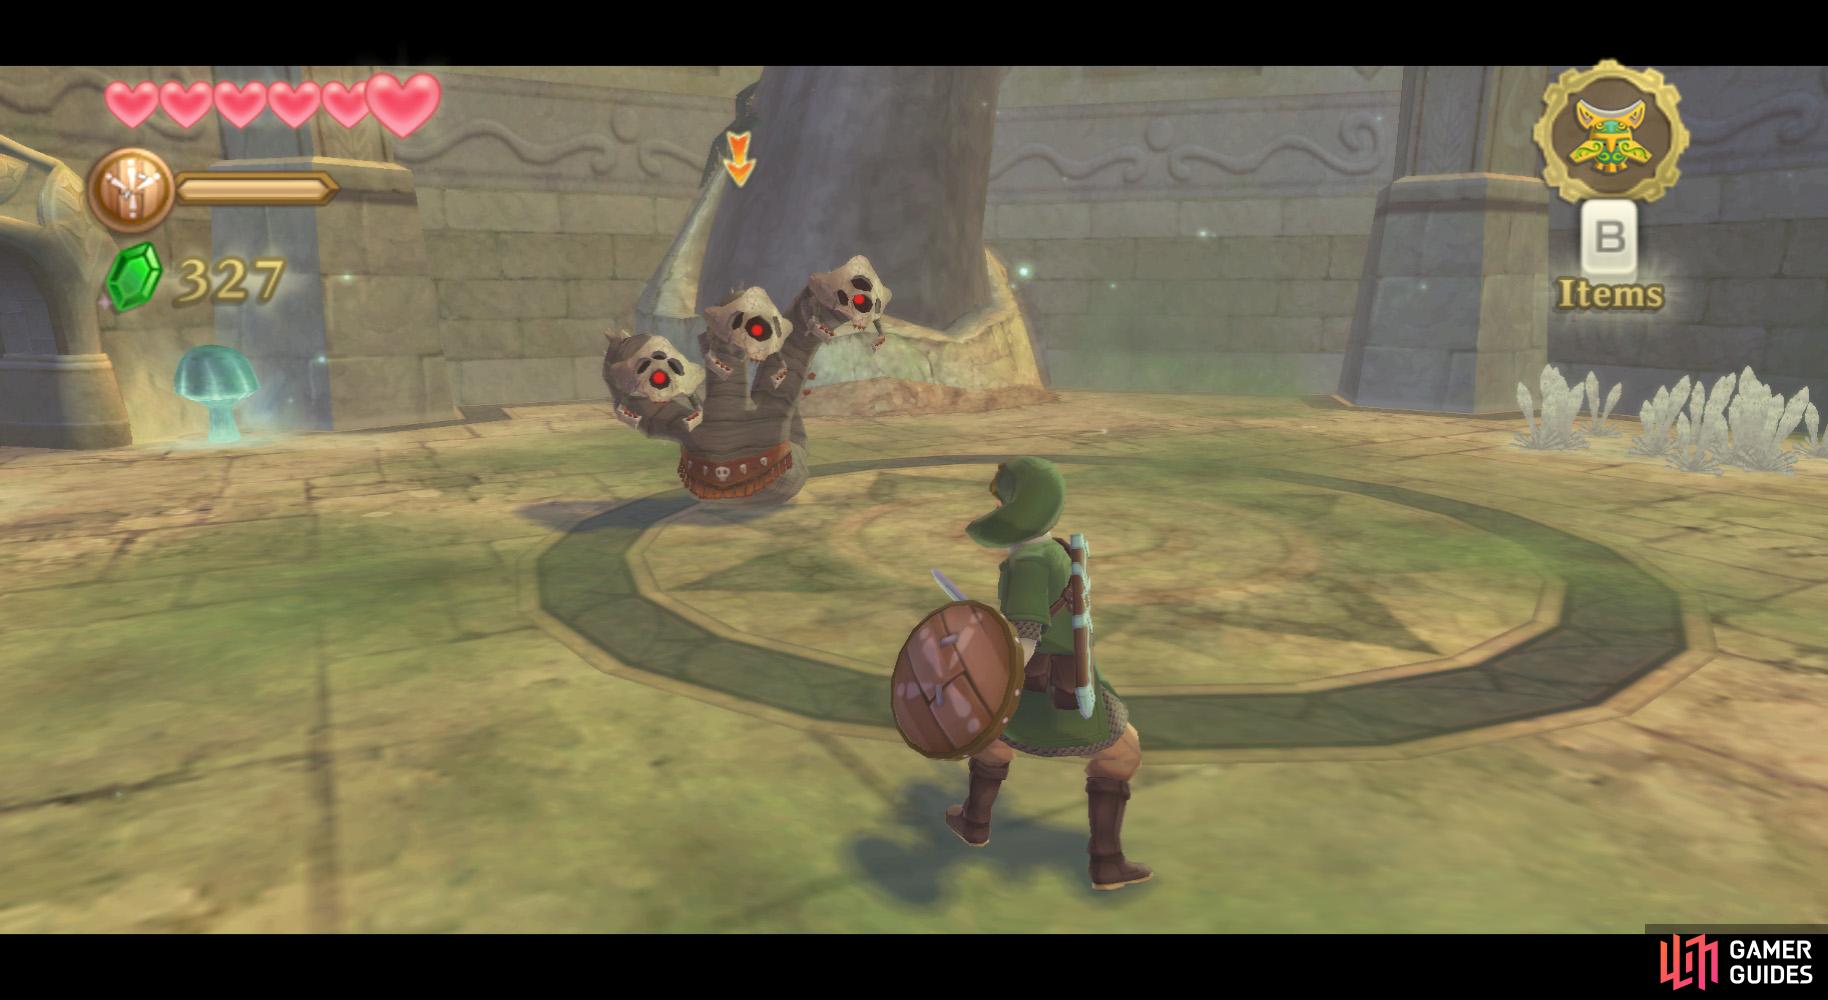
Inside this room, the door will lock behind you. Go forward and a Skulltula will drop down. Hit it with a down-up vertical slash, then a fatal blow to finish it.
Turn around afterwards and ascend the vines to reach the ledge. There, push the nearby box to the lower area.
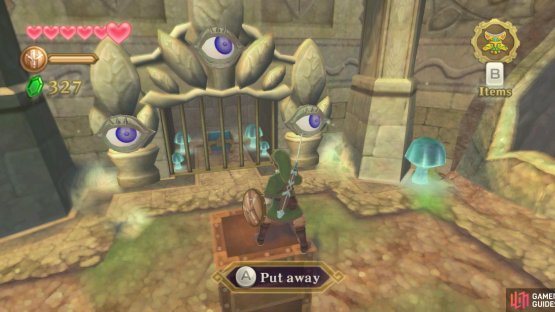
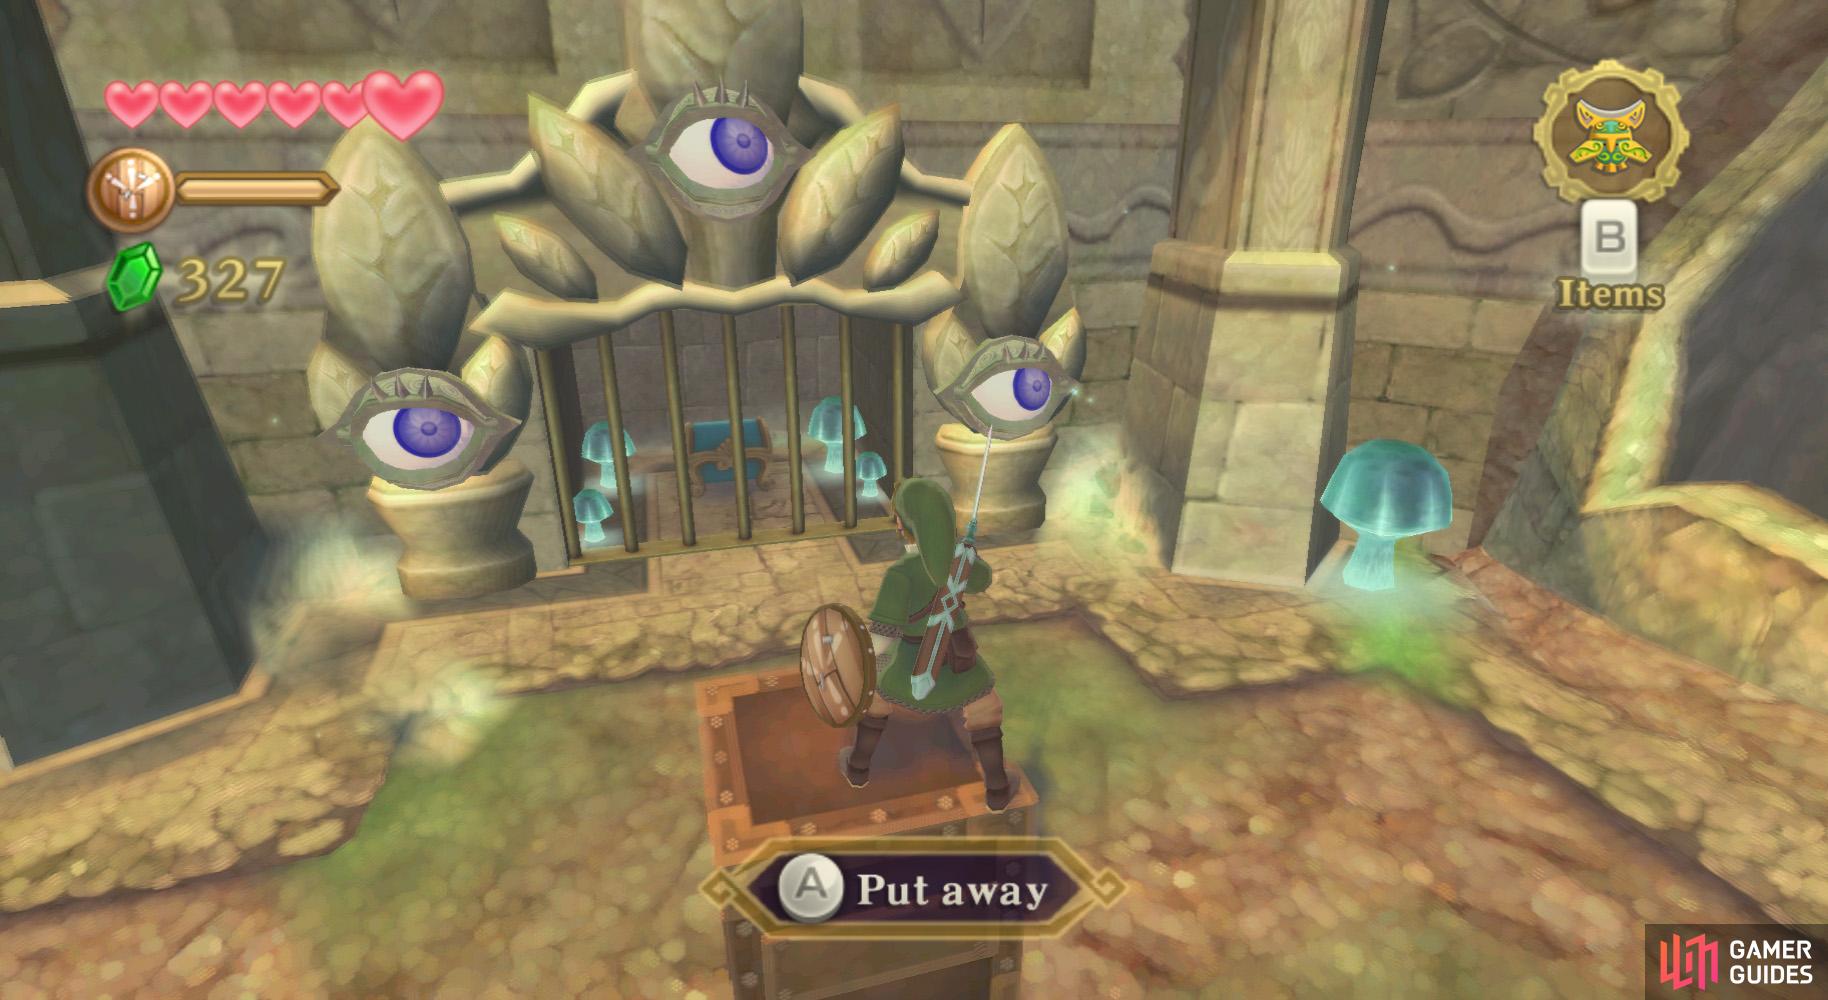
Go there yourself and pull/push it eight spaces west and north to put it in the center of the room. Stand atop the box and withdraw your sword and the eyes (three of them) should be open.
Do a few circles to kill the eyes and allow you to receive the Small Key from the nearby chest.
West Room 1 (Exiting)
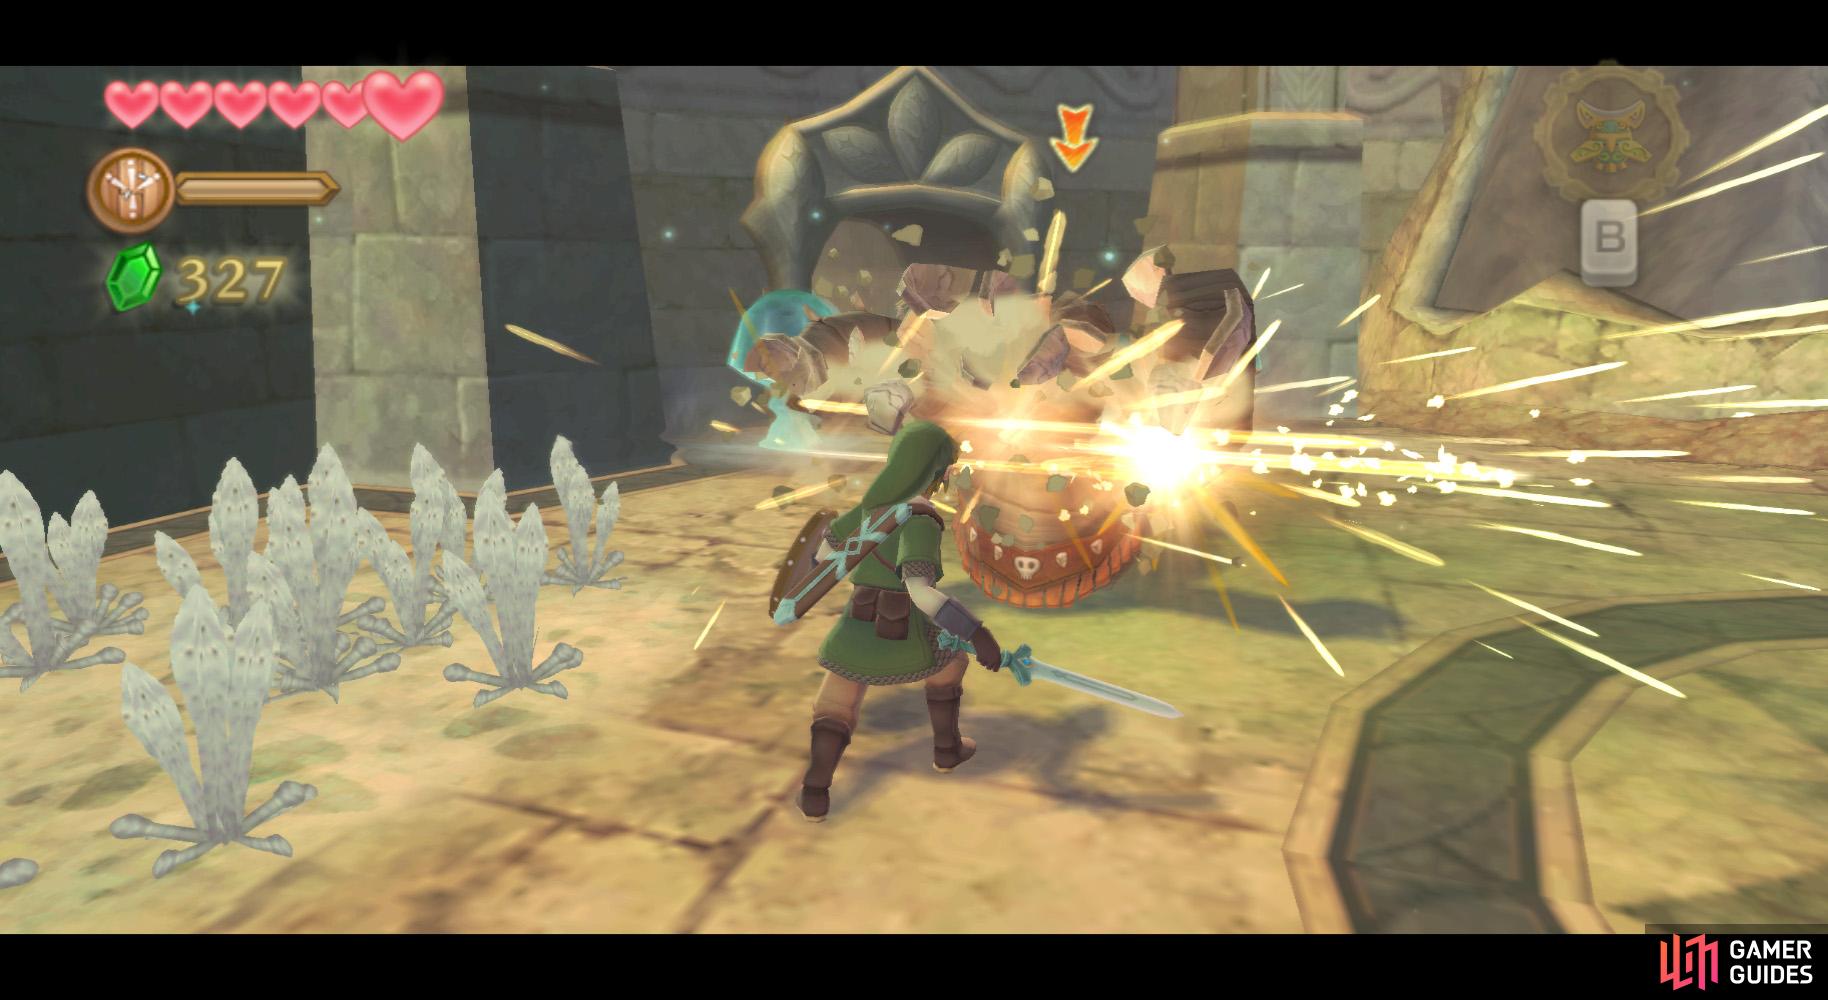
(1 of 2) Use your trusty Beetle to hit the crystal switch in this corridor.
Use your trusty Beetle to hit the crystal switch in this corridor. (left), Another Skulltula bites the dust. (right)
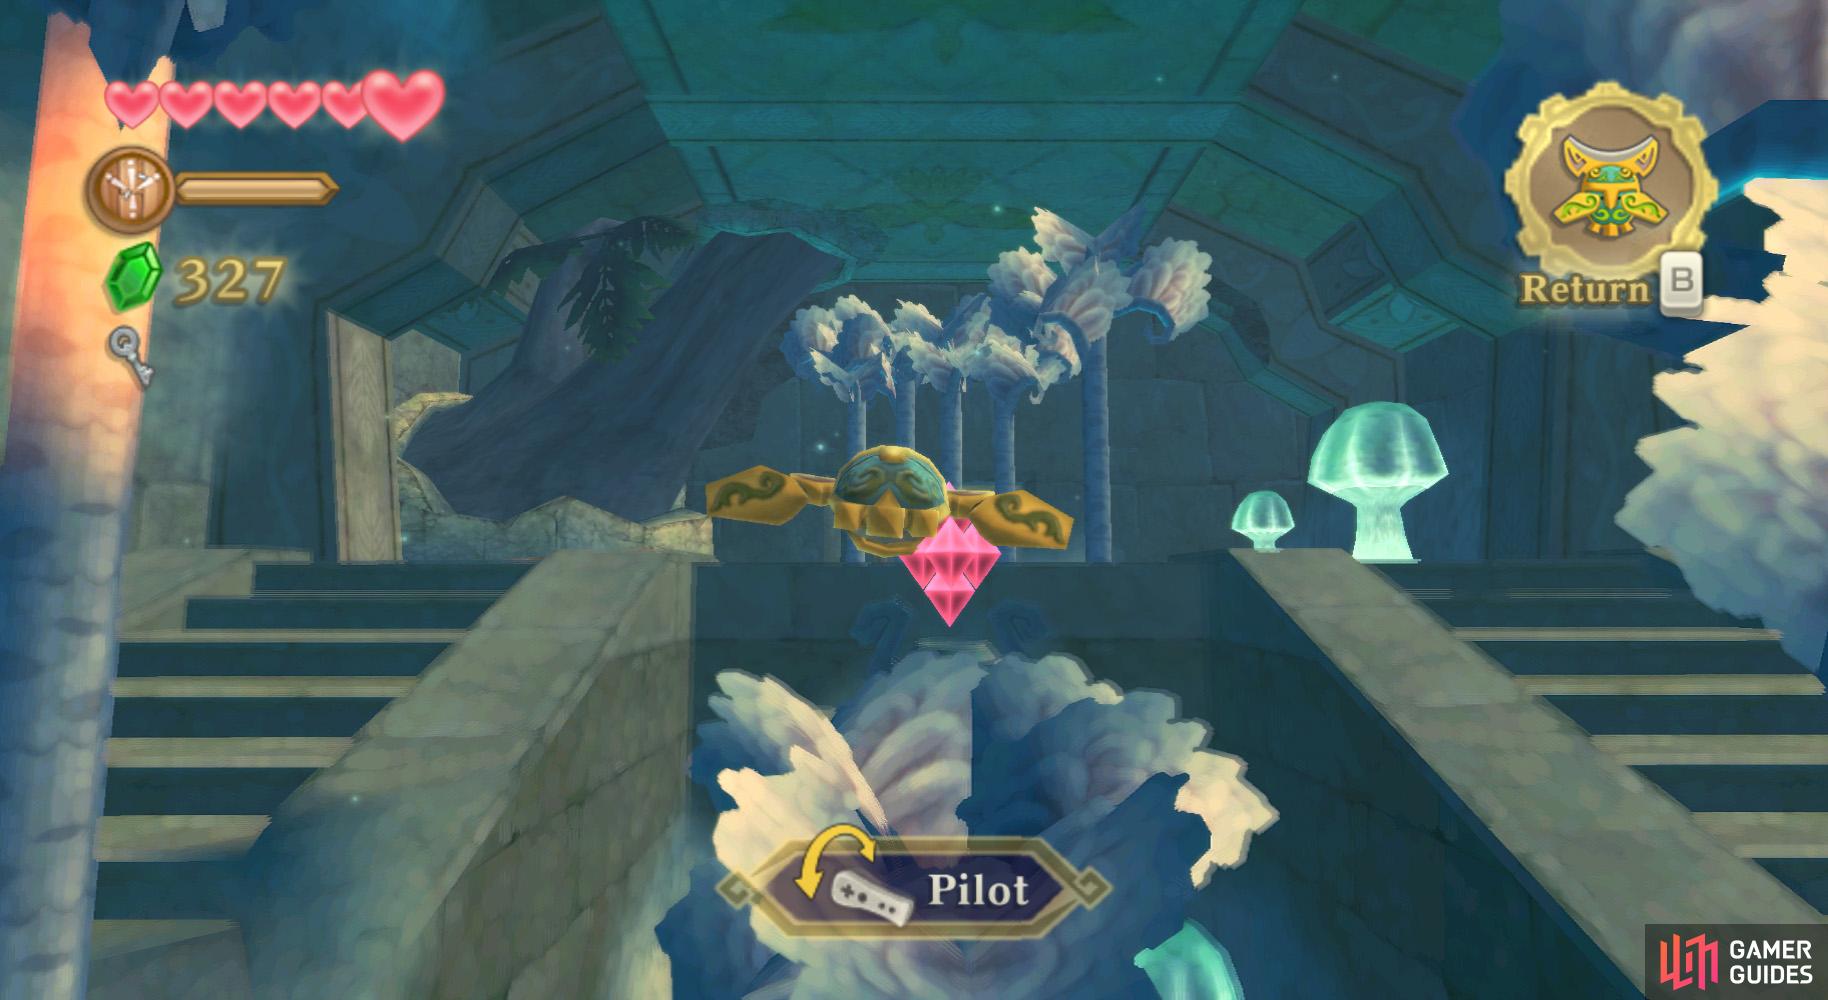
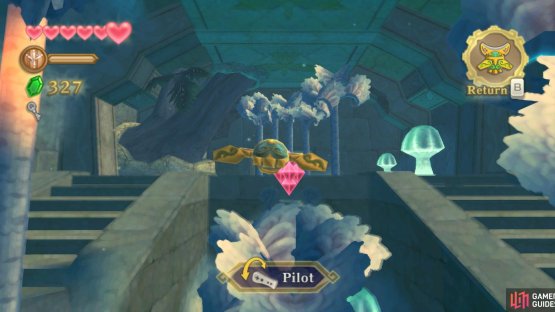
Return to the previous room. Launch your Beetle and send it to the higher ledge nearby, through the Skulltula web, and hit the crystal switch, thereby flooding this room with more water. Go up the nearby partial staircase and defeat the Skulltula if you want.
Proceed to the highest point in the room and cut down the trees, then crawl through the newly-found tunnel. After exiting, go back to the extra-large room.
Center Room
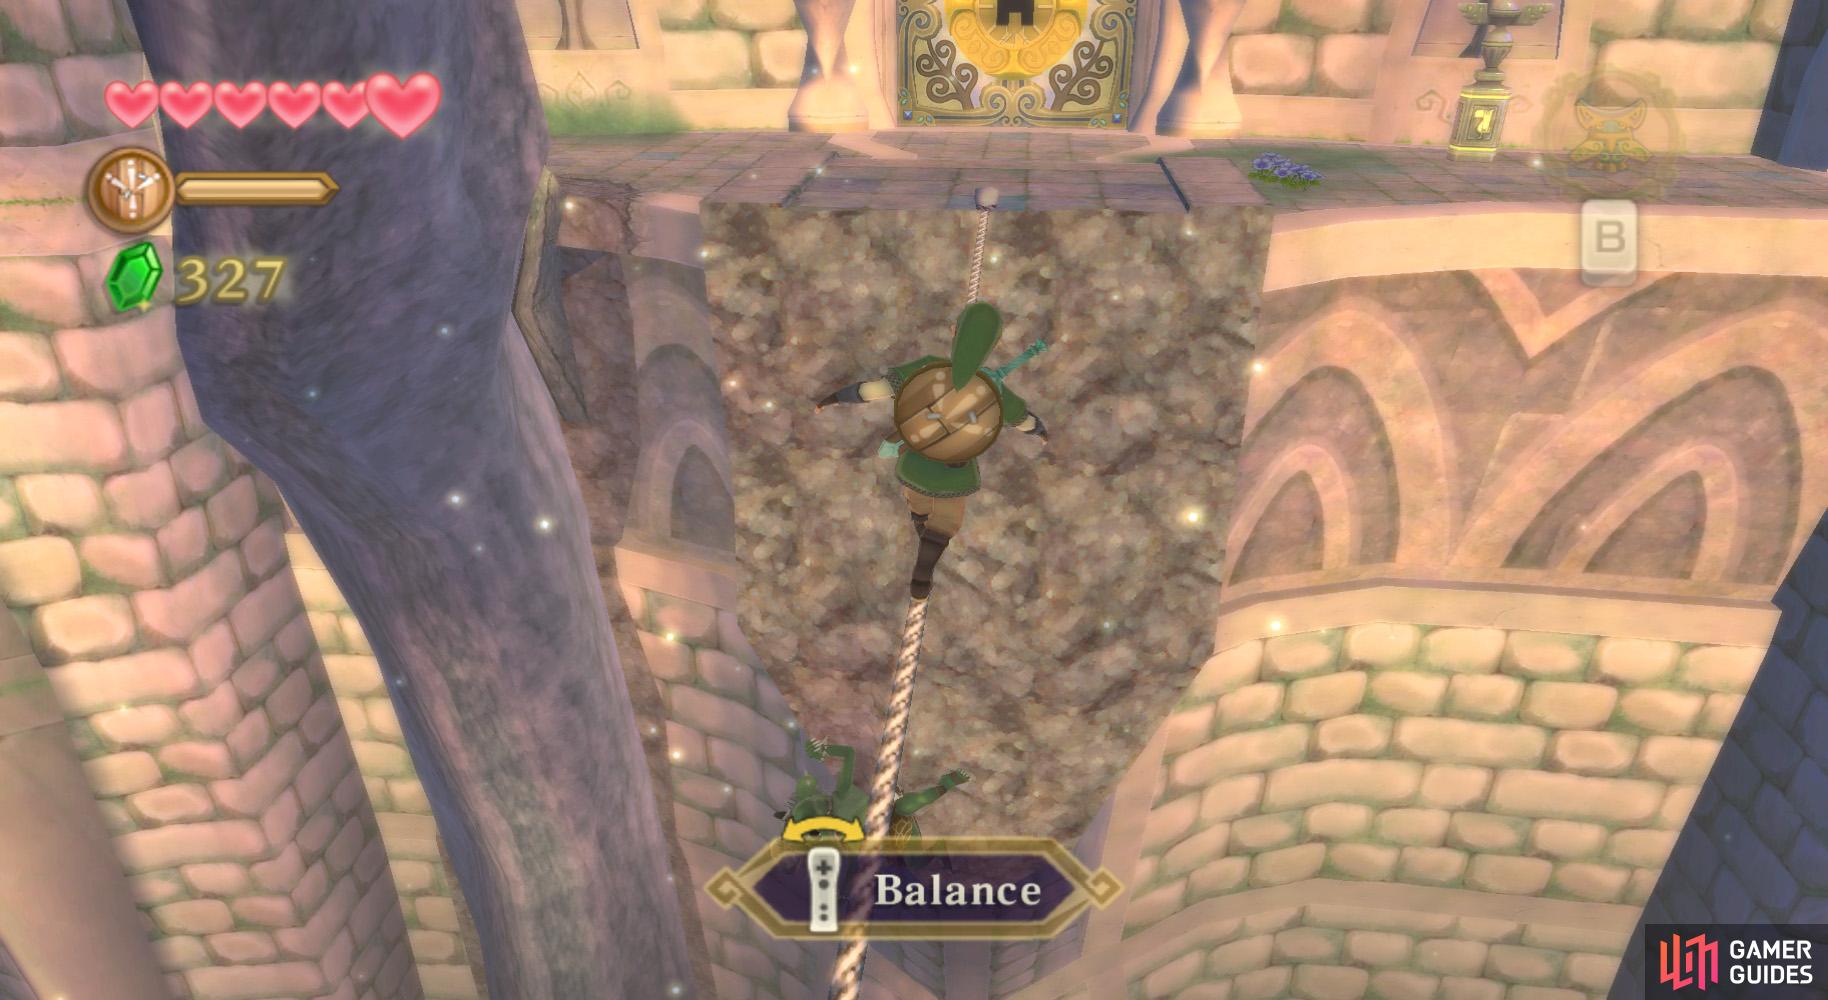
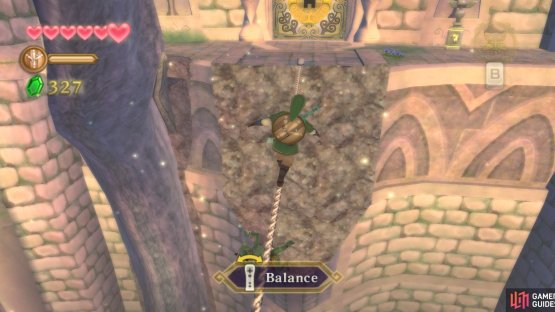
Next up, head over to the opposite (eastern) side of the room. Here, you’ll find a tightrope. Don’t cross it yet, though.
Use your Beetle to cut down the Deku Babas hanging from the roof, then walk across the rope. At the other side, use the Small Key and go through the door.
East Room


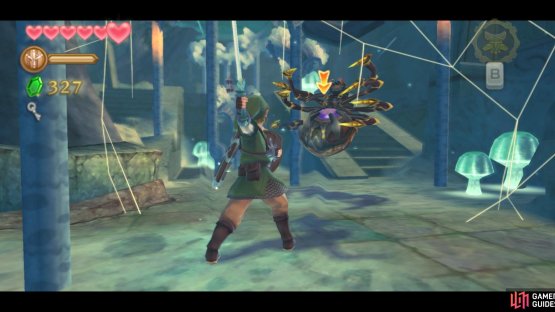
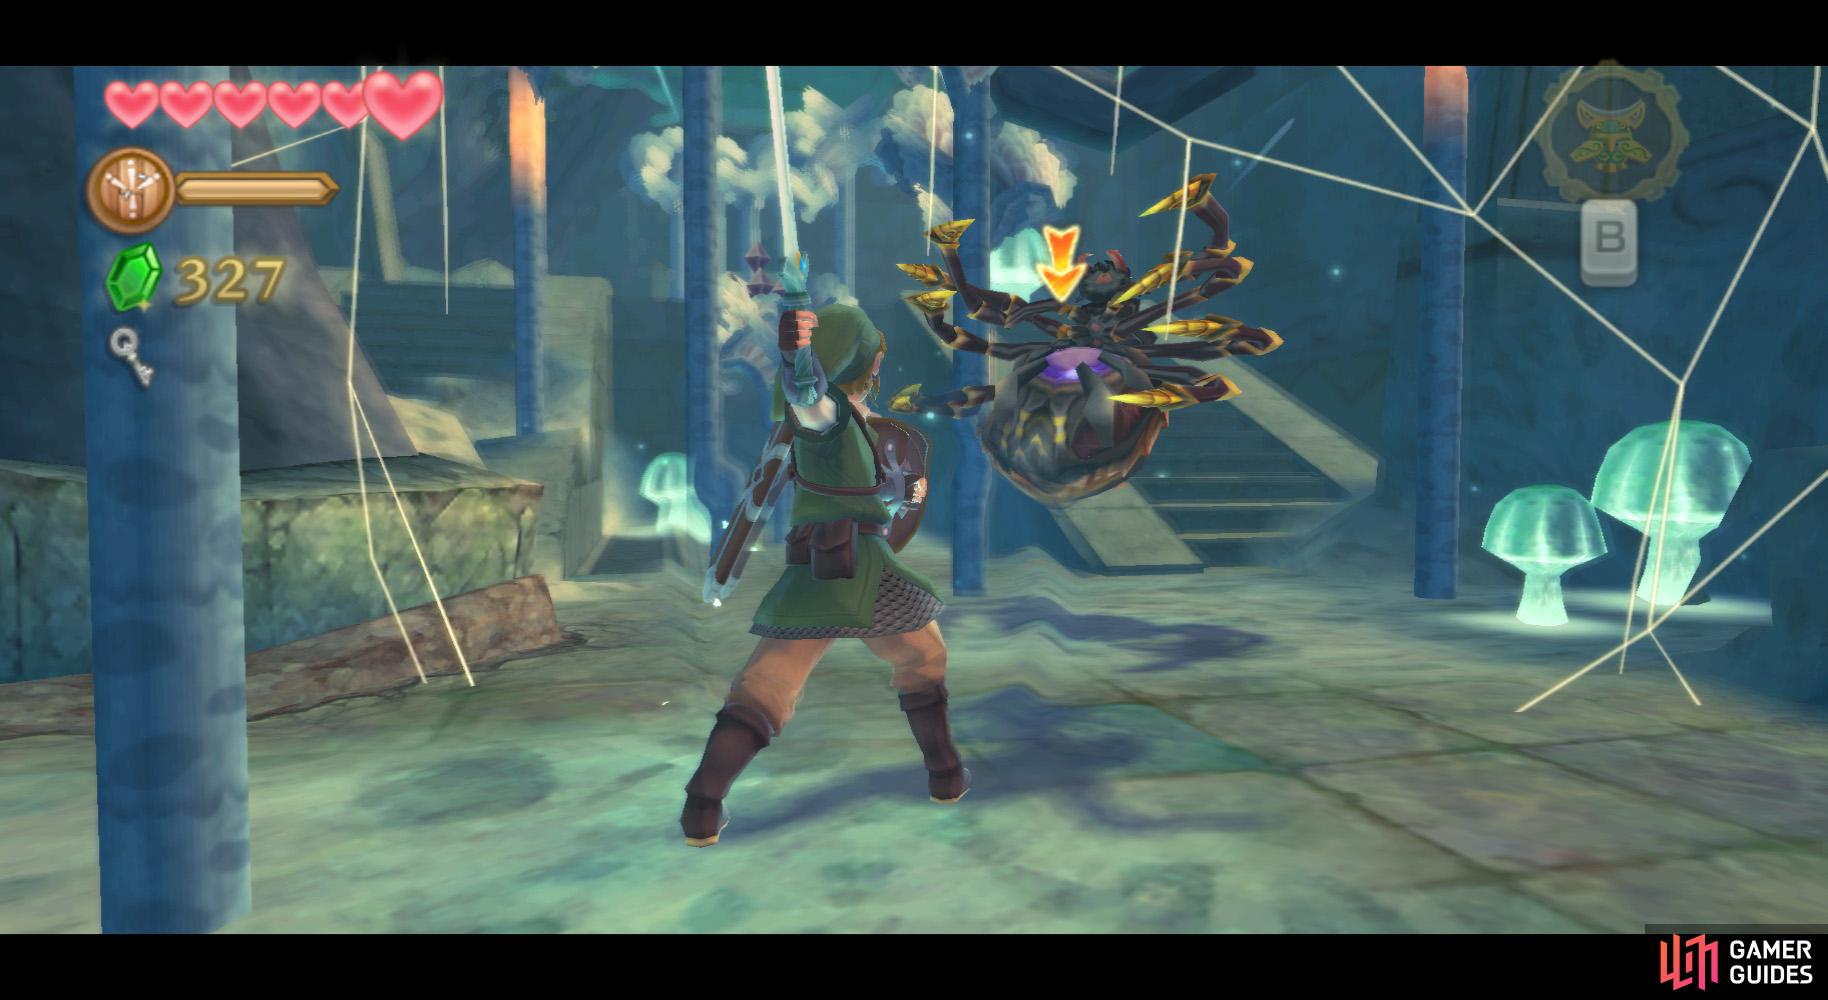
(1 of 2) Patiently wait for the Staldra’s heads to line up…
Patiently wait for the Staldra’s heads to line up… (left), Then slash all three heads with one sword strike! (right)
In here, simply go along the path and cut down any impeding wooden boards. You’ll soon come across the three-headed Staldra.
You are to hit all three of its heads nearly-simultaneously; otherwise, it won’t die. I prefer to kill one head first, then, when the heads regrow and line up for a second, go a Spin Attack.
After slaying the Staldra, go through the newly-opened door
North Room
Defeat the Bokoblin you’ll find further along the pathway. Go further along to the Skulltula over an abyss; defeat it by using the Beetle to cut down its web.
Then dash-jump across the abyss and you’ll find a gate to the left. Above it, you’ll find a crystal switch; hit it with the Beetle or the Slingshot (the former saves Deku Nuts).

(1 of 2) Wobble the rope to send the Bokoblins into the abyss.
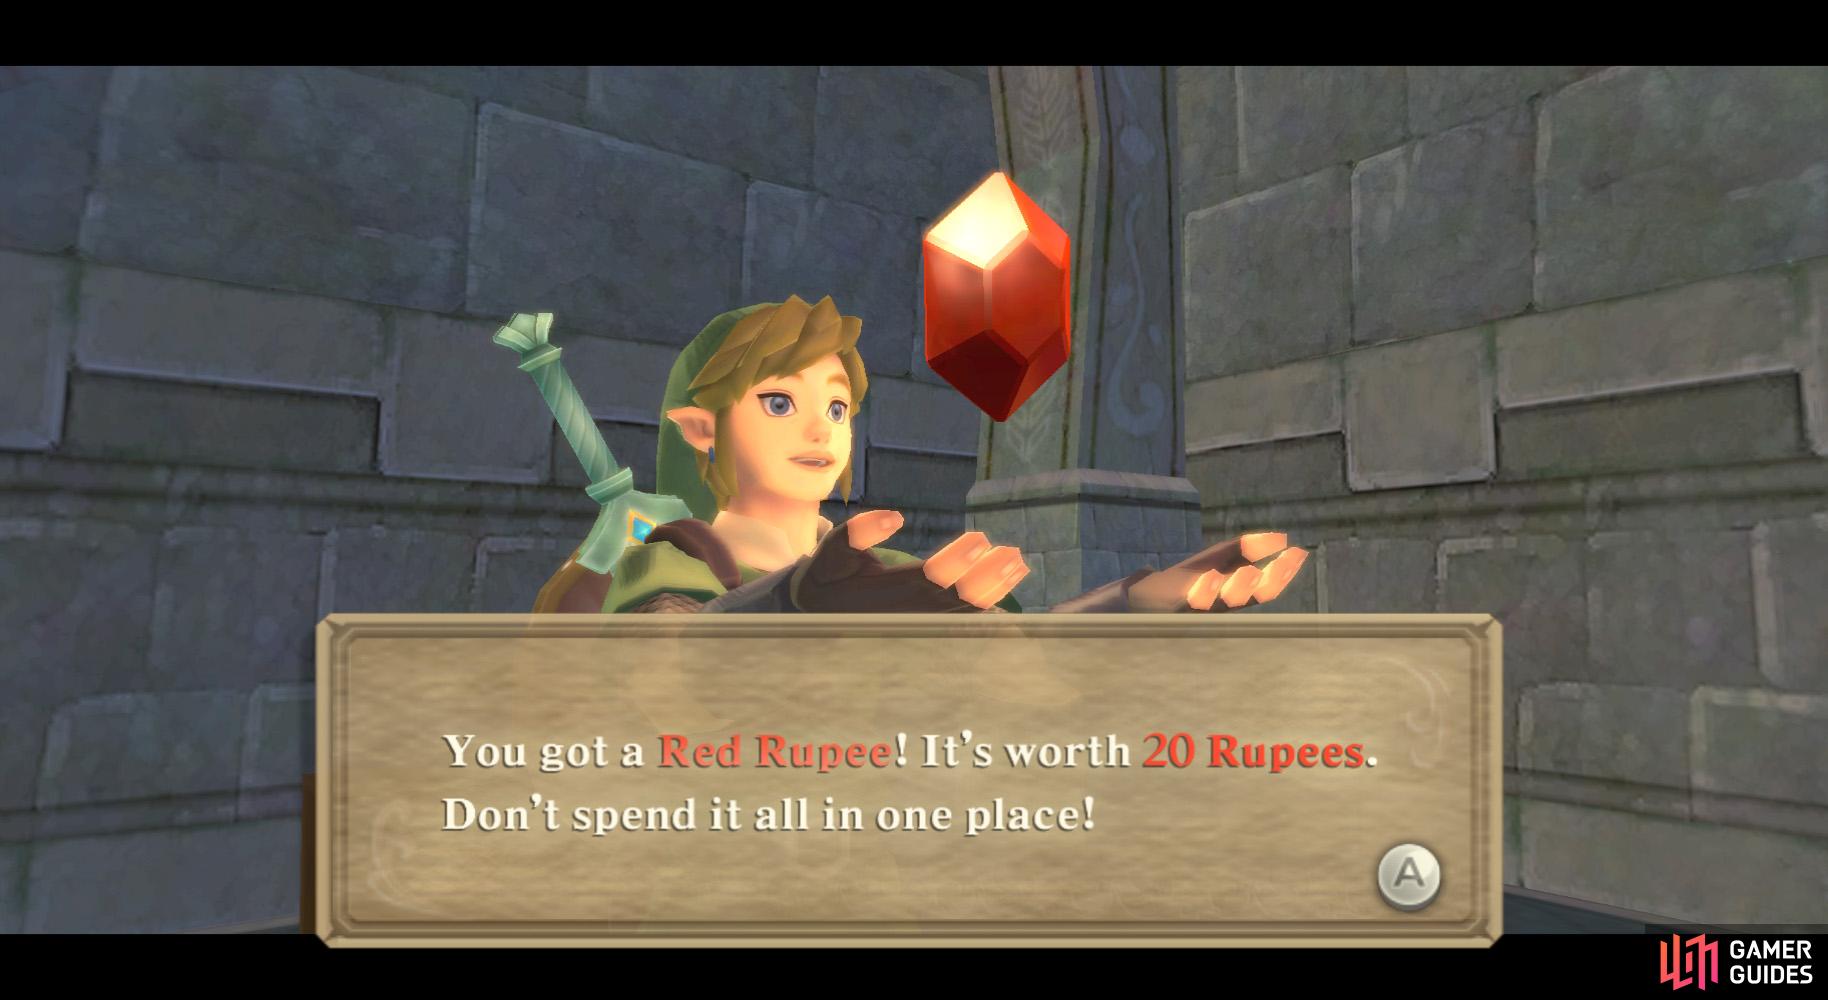
Wobble the rope to send the Bokoblins into the abyss. (left), Then pick up a Red Rupee to feel good about yourself. (right)
Okay, after that, you’ll probably notice the huge abyss and the Bokoblin on the other side of the tightrope. Start climb along it and, soon enough, the Bokoblin will start to go towards you. Be sure to jostle it off the rope when possible, then get on the other side of the abyss.
Here, use the Bird Statue and go into the western room. Open the chest for a Red Rupee, then go into the eastern room and ascend the vines.
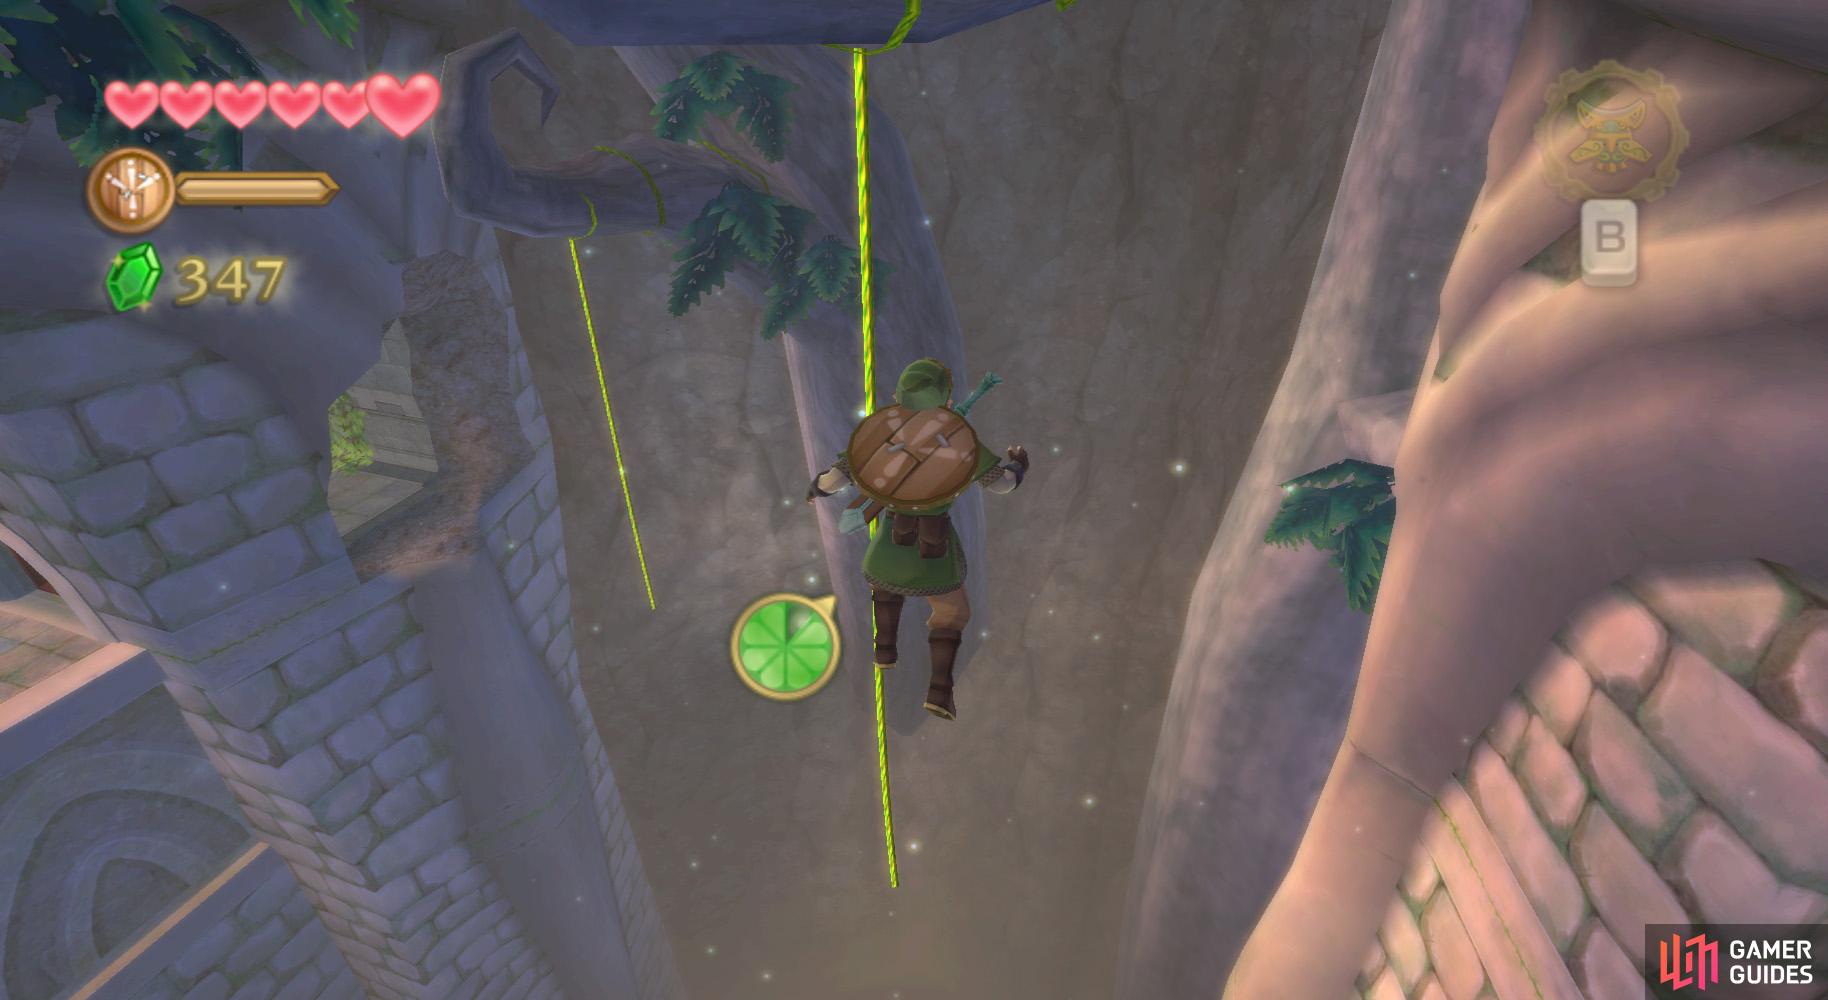
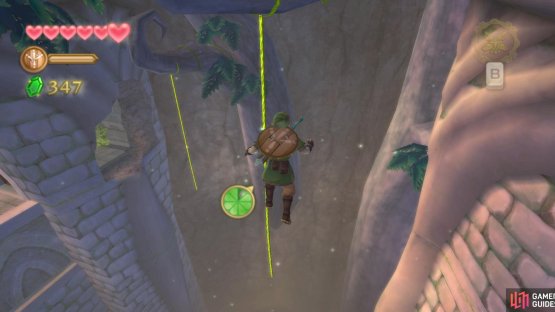
On the upper ledge, cut the rope and dash for the now-swinging rope. Press and hold B to stop swinging, then face to the right. Swing towards that vine-covered platform.
Climb the vines on the central platform and walk along the path. At its end, shoot down the two curled-up vines above you with the Slingshot (or the Beetle).
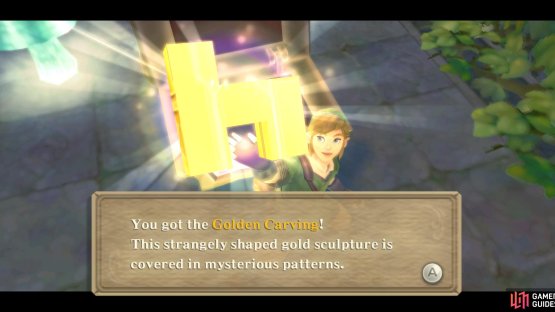
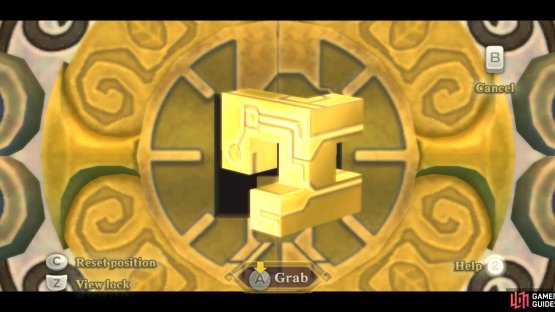
(1 of 2) You’ll need to swing across two vines to reach this final chest.

You’ll need to swing across two vines to reach this final chest. (left), Inside is the Golden Carving, needed to unlock the boss door. (right)
Jump onto one vine, swing to the next, do a nice Tarzan yell, and land on the ledge to find a chest, in which is the Golden Carving.
This golden item fits in the large gold lock across the abyss, and functions much like the Boss Keys of Wind Waker (a previous Zelda).
Ascend the vine and jump across the top area to return to the southern portion of the room. Once again, cross the tightrope and utilize the Bird Statue.
Examine the large door and you’ll have to fit the Golden Carving into the door.
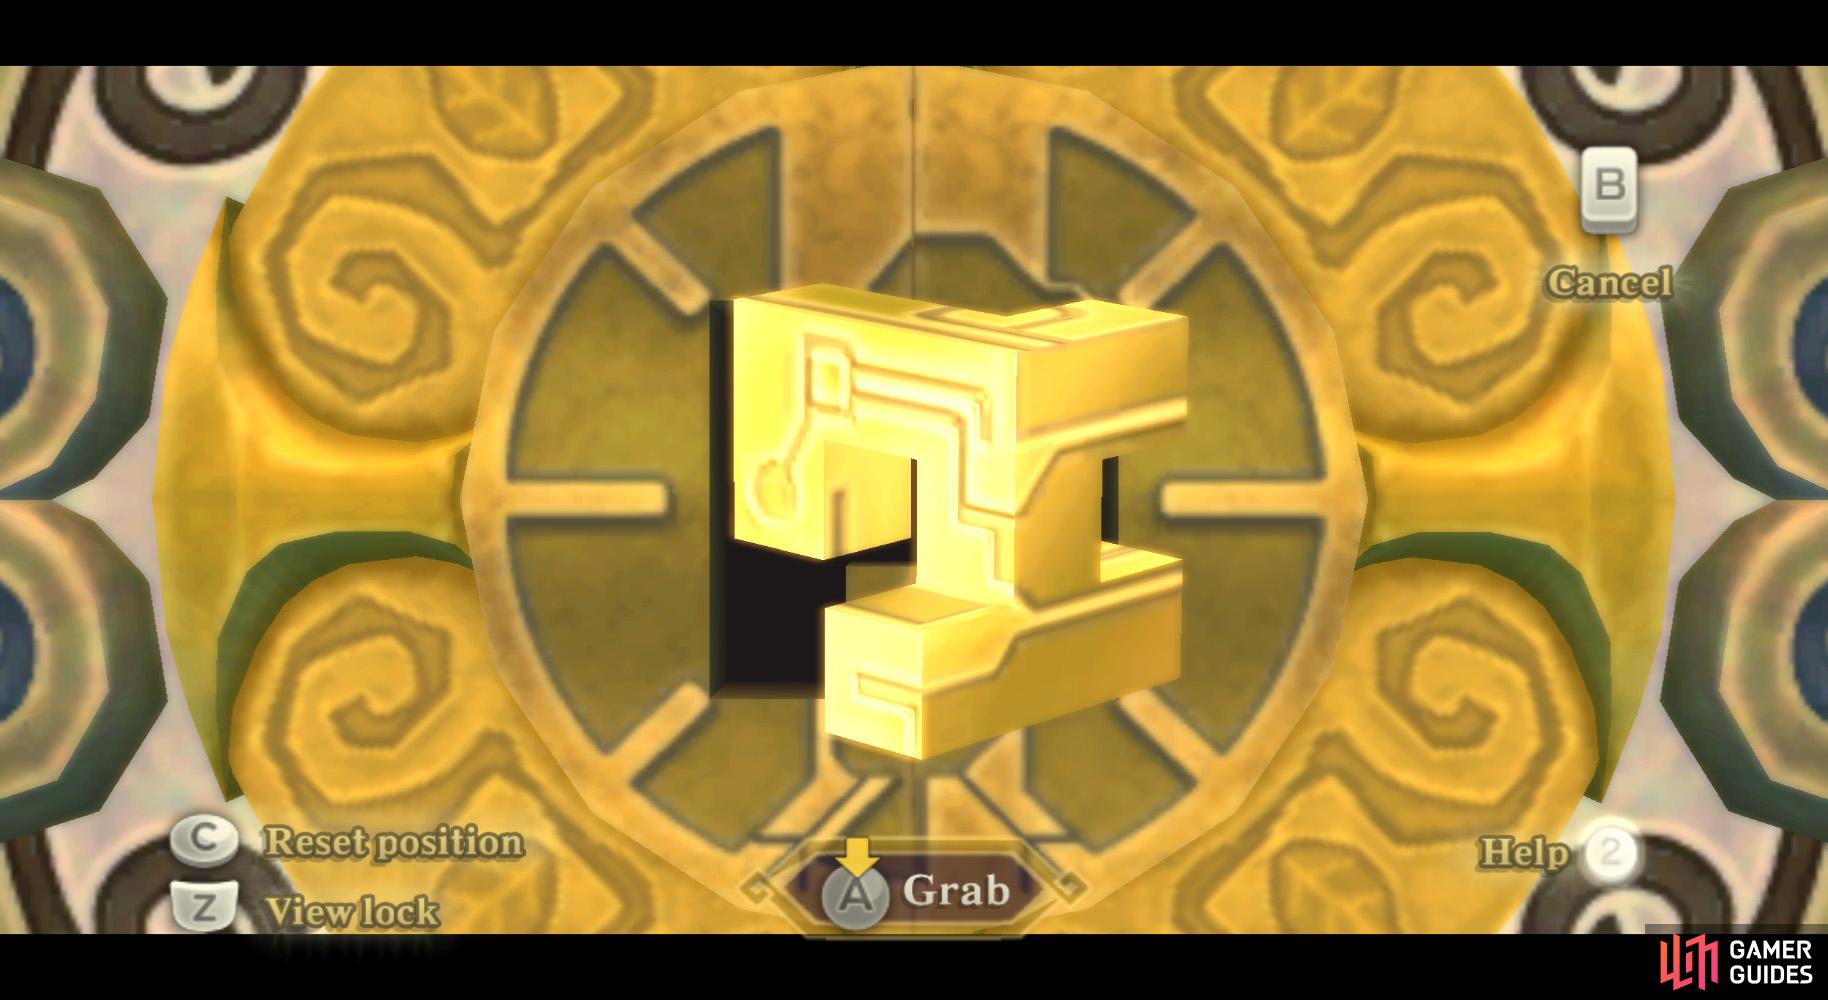
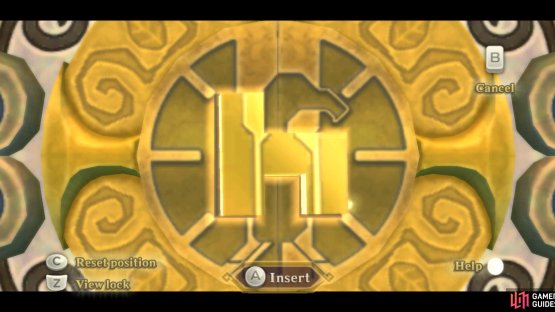
(1 of 2) Remember to occasionally release your hold, so you can grab the carving again.

Remember to occasionally release your hold, so you can grab the carving again. (left), There, a perfect fit! (right)
After a lengthy scene, you’ll fight your first real boss.
No Comments