
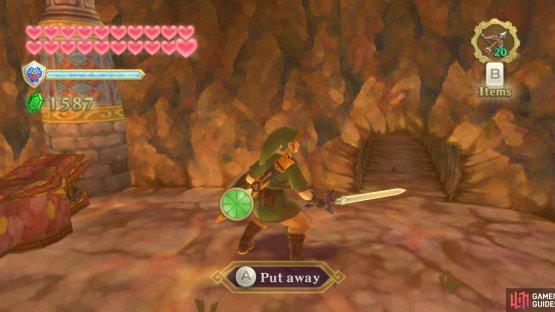
(1 of 2) To begin with, crawl through this narrow tunnel.
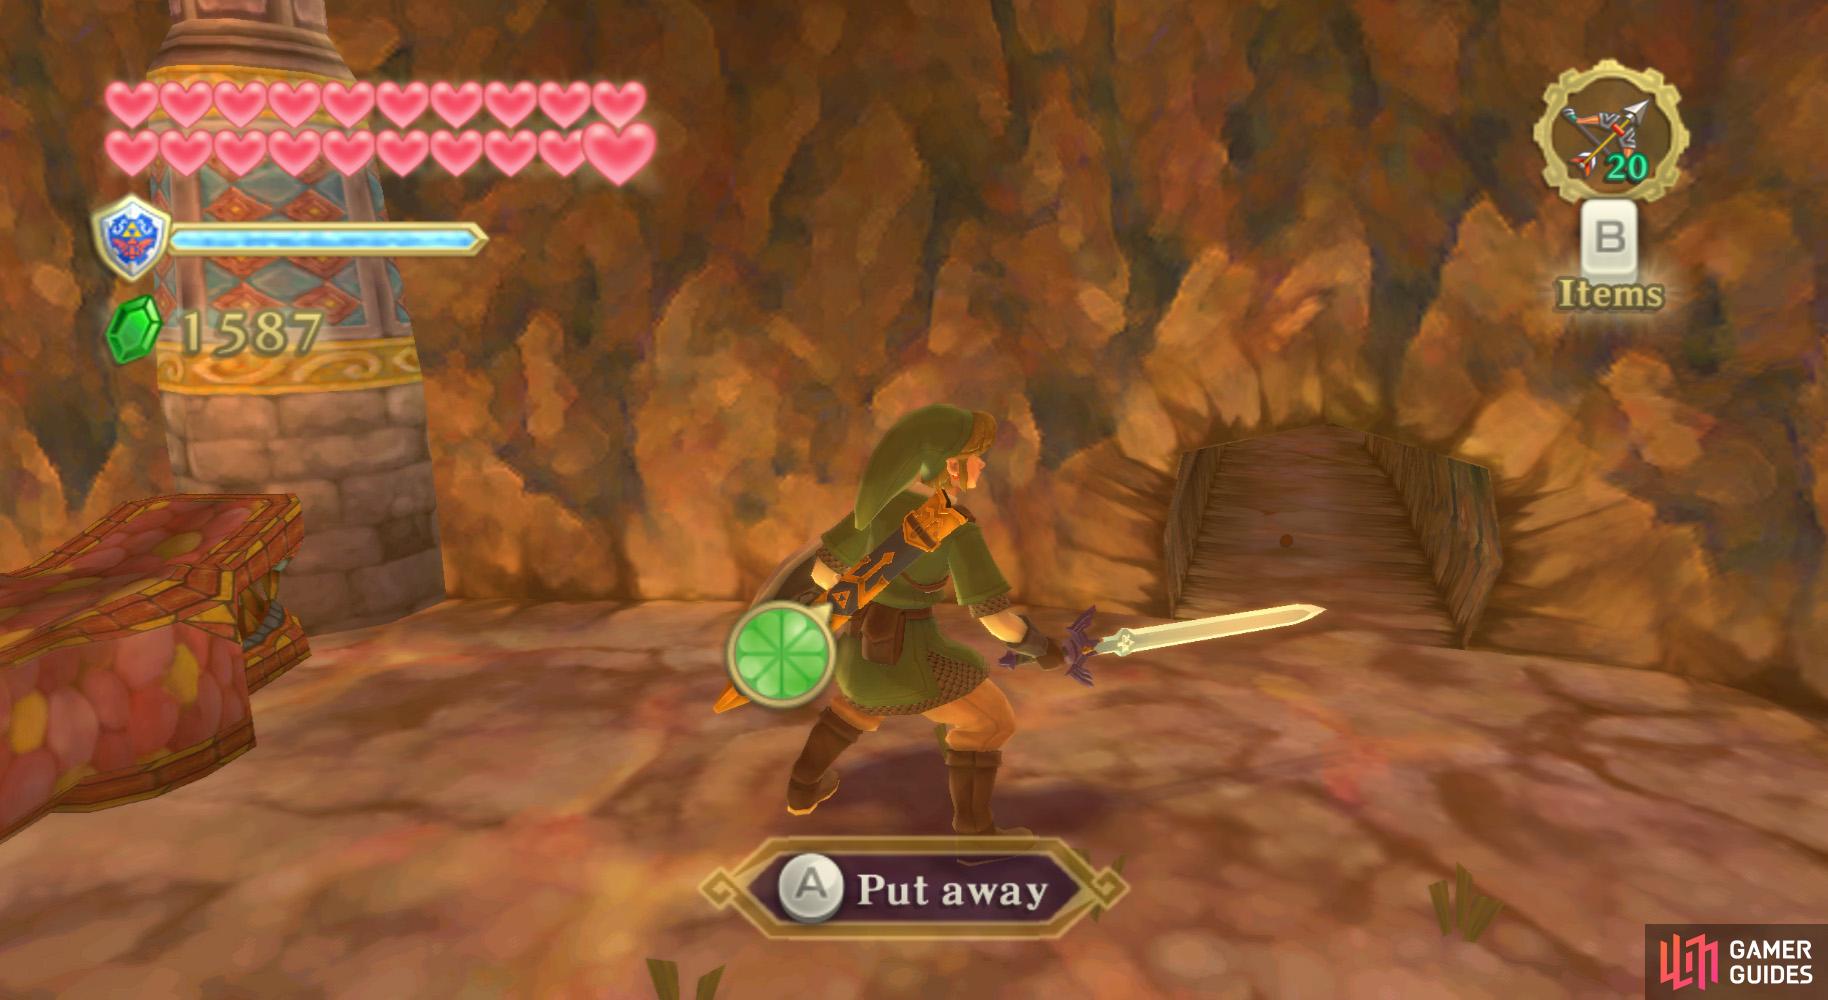
To begin with, crawl through this narrow tunnel. (left), After emerging to the left, roll a Bomb back into the tunnel to blow up the rubble further in. (right)
Once you arrive here, utilize the Bird Statue nearby. Go along the path to the left, defeat the Red Chuchus as you go. Cut down the grass at the end and you should find a tunnel in the wall nearby. Crawl along it, going left at the fork, to find a room with a lone Bomb Flower.
Restock your supply if needed, then roll a Bomb Flower into the tunnel to clear the other branch of the fork. Go down that path now and you’ll find a giant Red Chuchu. Defeat it, then burrow into the dirt in the corner.
(1 of 2) Keep your eyes peeled for important clues like this!

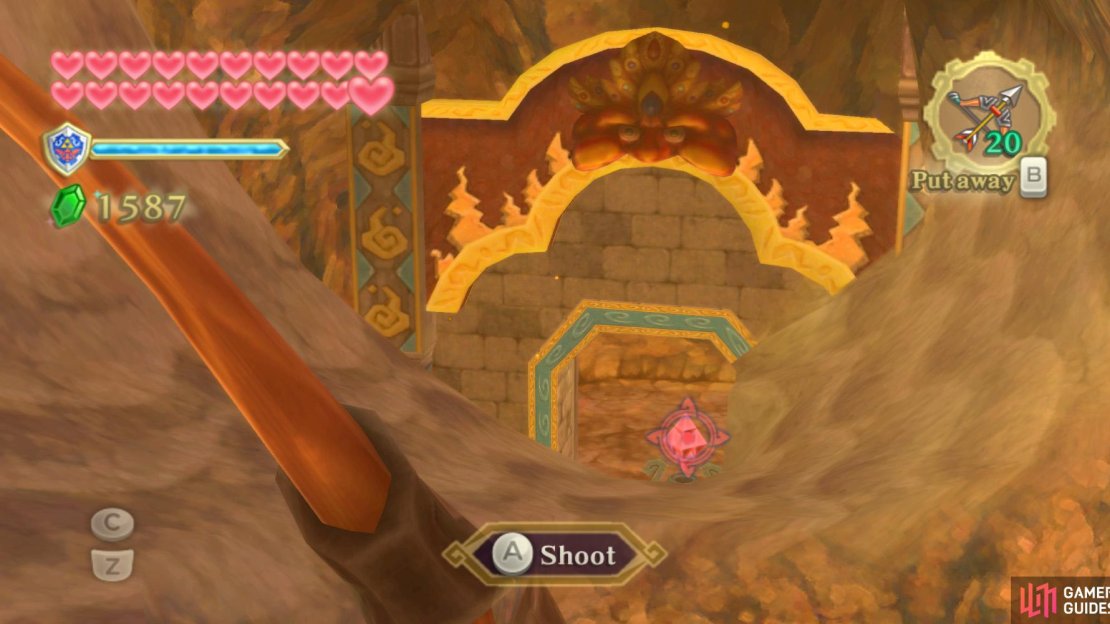
Keep your eyes peeled for important clues like this! (left), Lob a Bomb into the basket to reveal this crystal switch, but don’t trigger the switch yet. (right)
Here, go north and break the boulders. Hit the switch to move the gate aside, then resurface from where you entered.
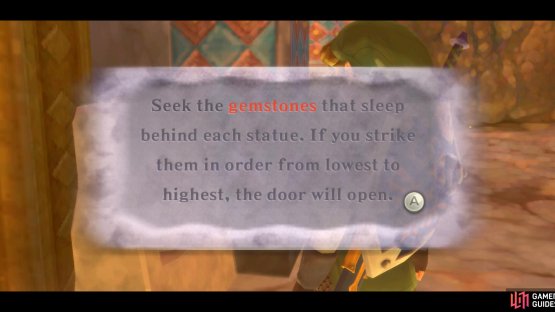
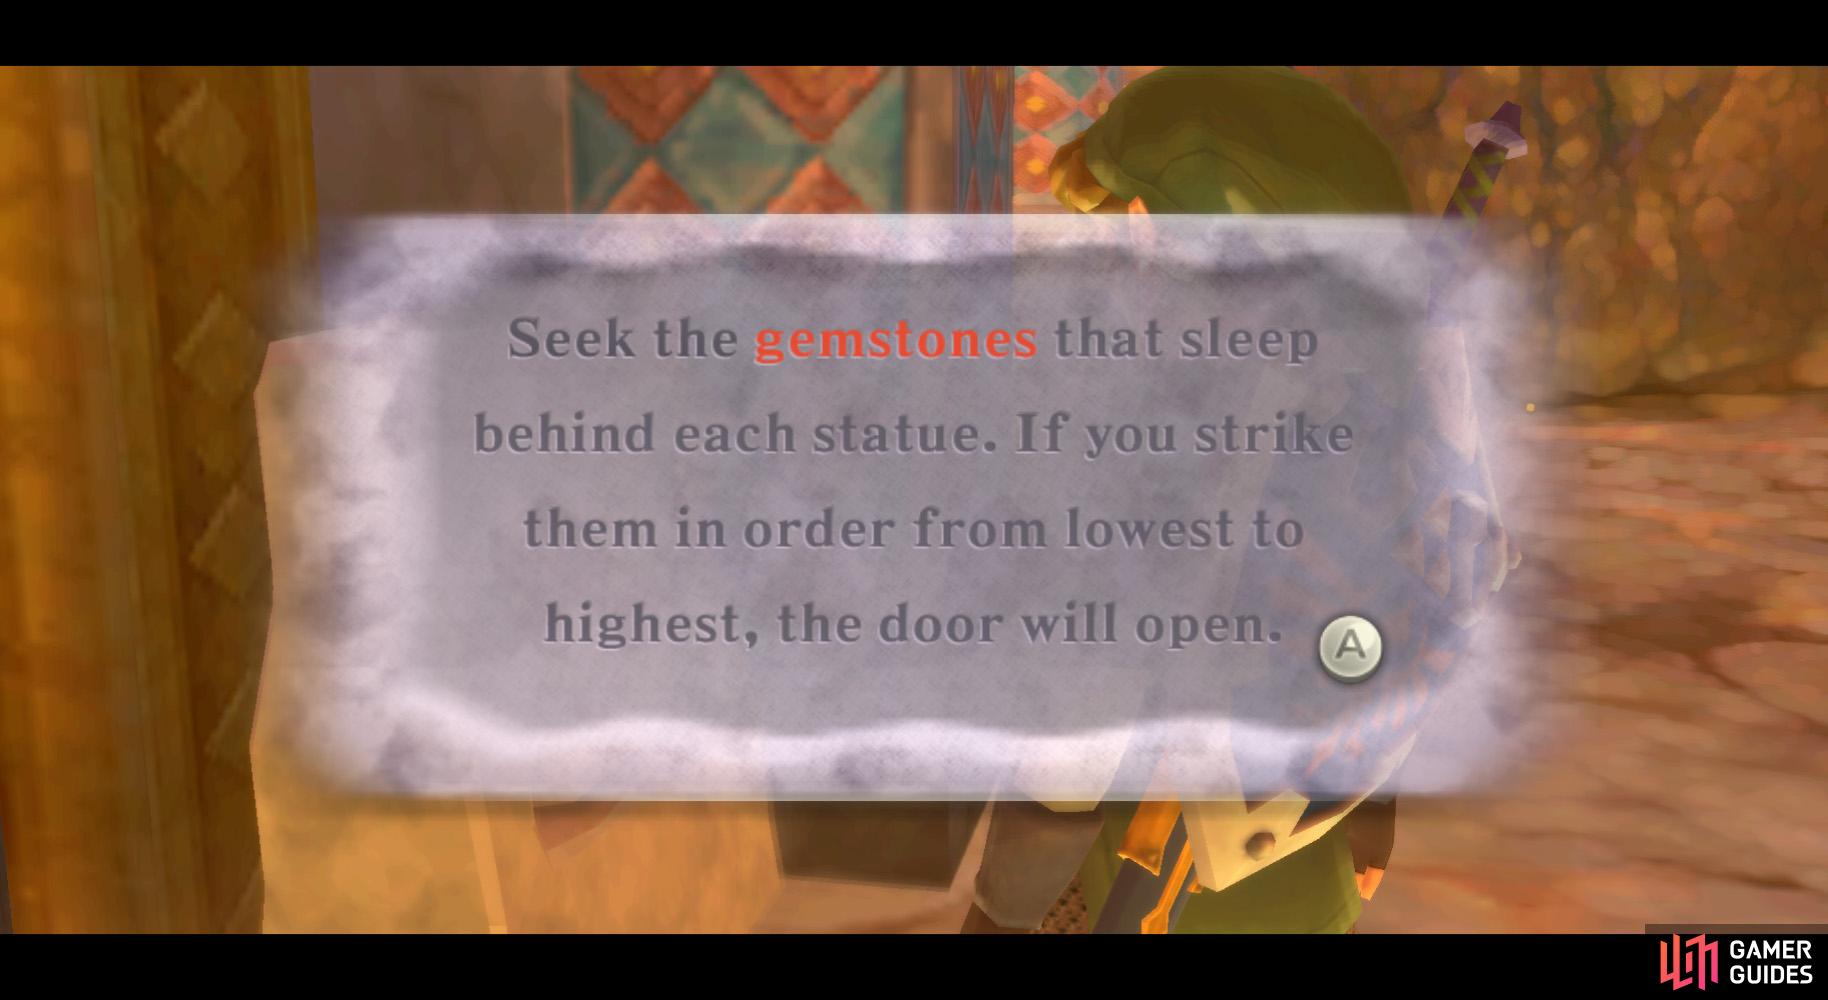
Back up, go through the tunnel to the entrance area, then go along the right path this time. Defeat the Dark Lizalfos further ahead, then read the stone tablet to learn about hitting the switches found behind the statues from low to high.
Nearby is a bowl-holding statue beside some lava – toss a Bomb into the bowl to reveal a switch. Ignore it for the moment, because it is the second switch.
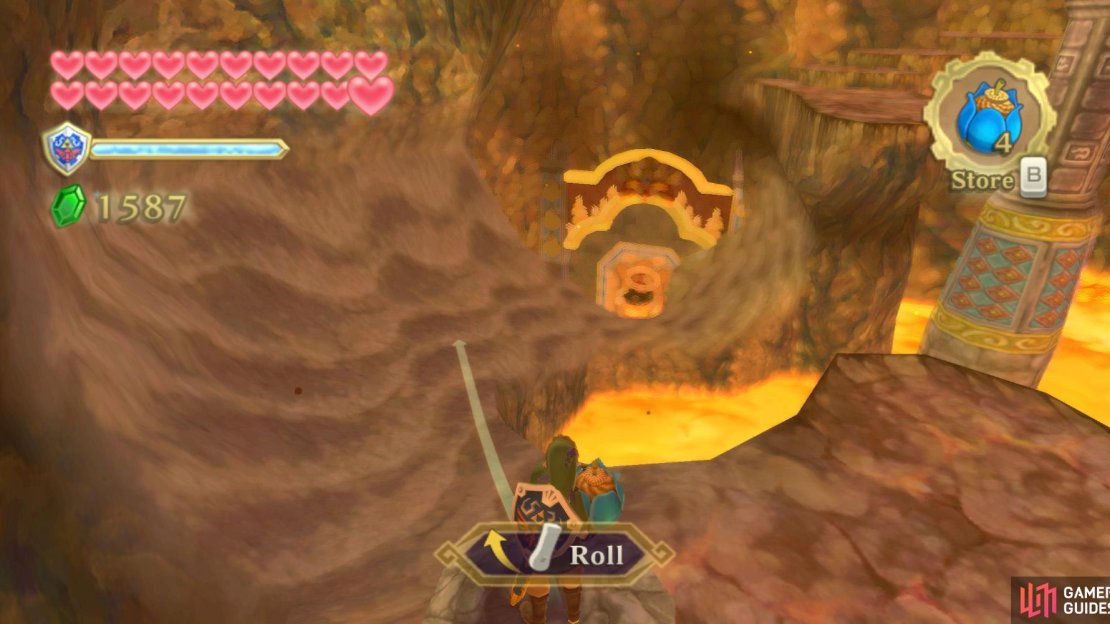
(1 of 3) Roll a Bomb at this angle.
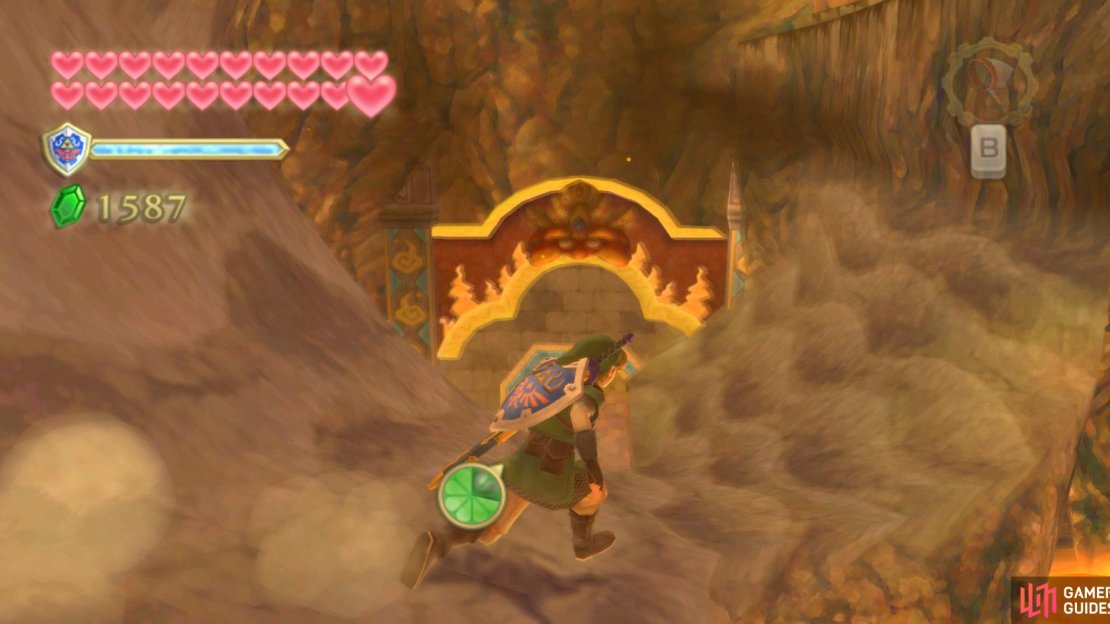
Turn around to find a circular ledge overlooking a winding hill. Climb up to that ledge and roll a Bomb onto that hill, straight onto it, and it should land into the statue’s bowl, revealing the switch.
Hit this switch with an Arrow or something, then do the same with the other switch we’ve revealed. Dash down the hill to the low switch, then climb the vinery nearby.
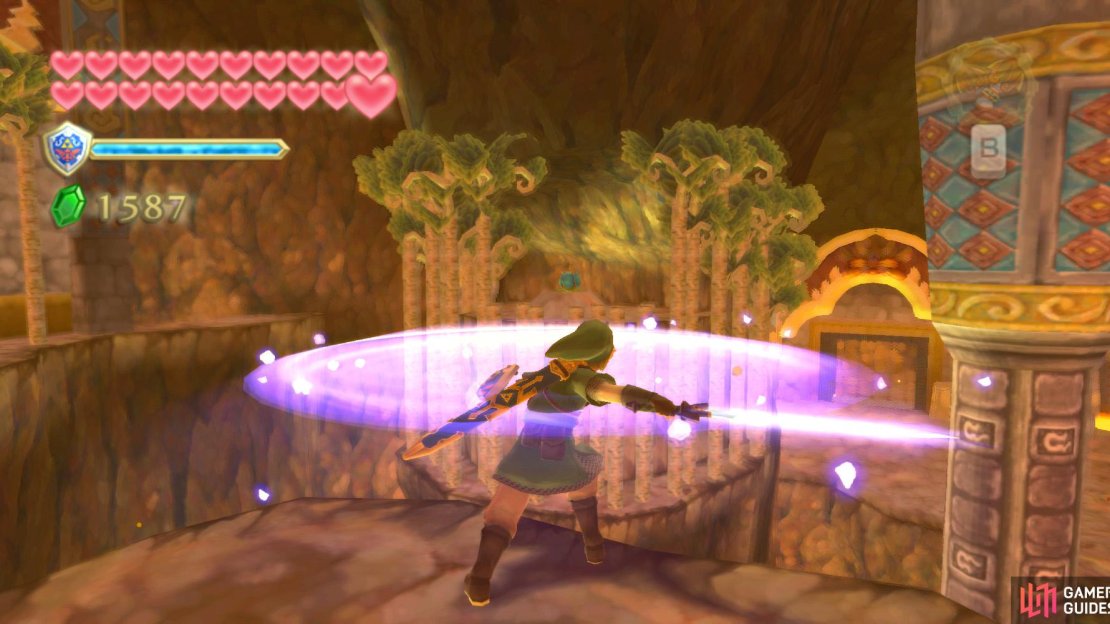

(1 of 3) Clear away the narrow trees ahead of you using a Skyward Strike etc.
Up here, turn and look ahead – you’ll find a bunch of trees surrounding a Bomb Flower. Use your own Bombs or Skyward Strikes to cut down the trees, then you can send a Hook Beetle over there to crash the Bomb Flower into the other trees there.
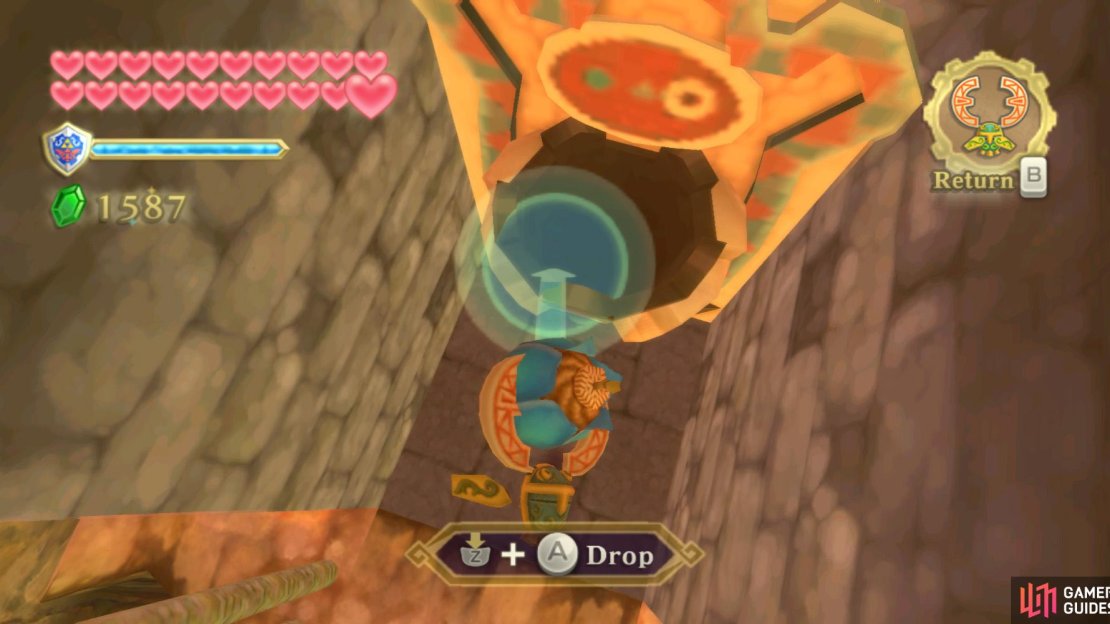
Also use the Hook Beetle to use the Bomb Flower to destroy the trees on the ledge to the left. Afterwards, use the Hook Beetle to grab the Bomb Flower and drop it into the high bowl-holding statue.
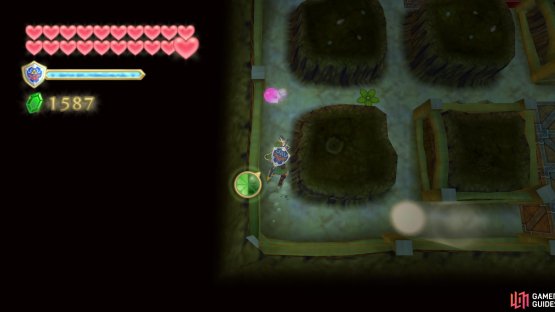
(1 of 2) Hit this Bomb Flower from the right side.

Hit this Bomb Flower from the right side. (left), Then quickly dash-crawl around and hit the same Bomb from below. (right)
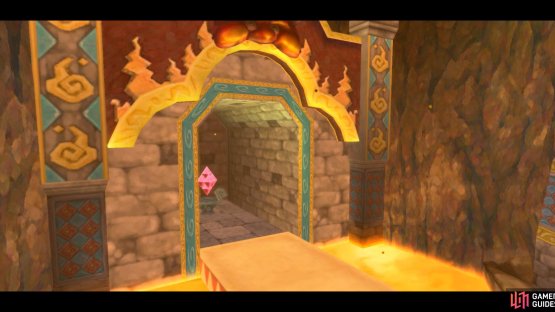
Trigger the switch with something afterwards, which opens up the barred gate below. Drop down to the ledge nearby and dash across to the gate. Go on through.
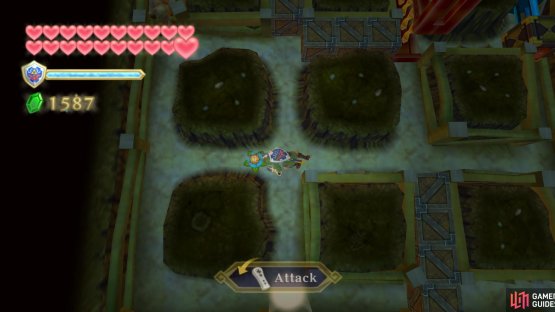
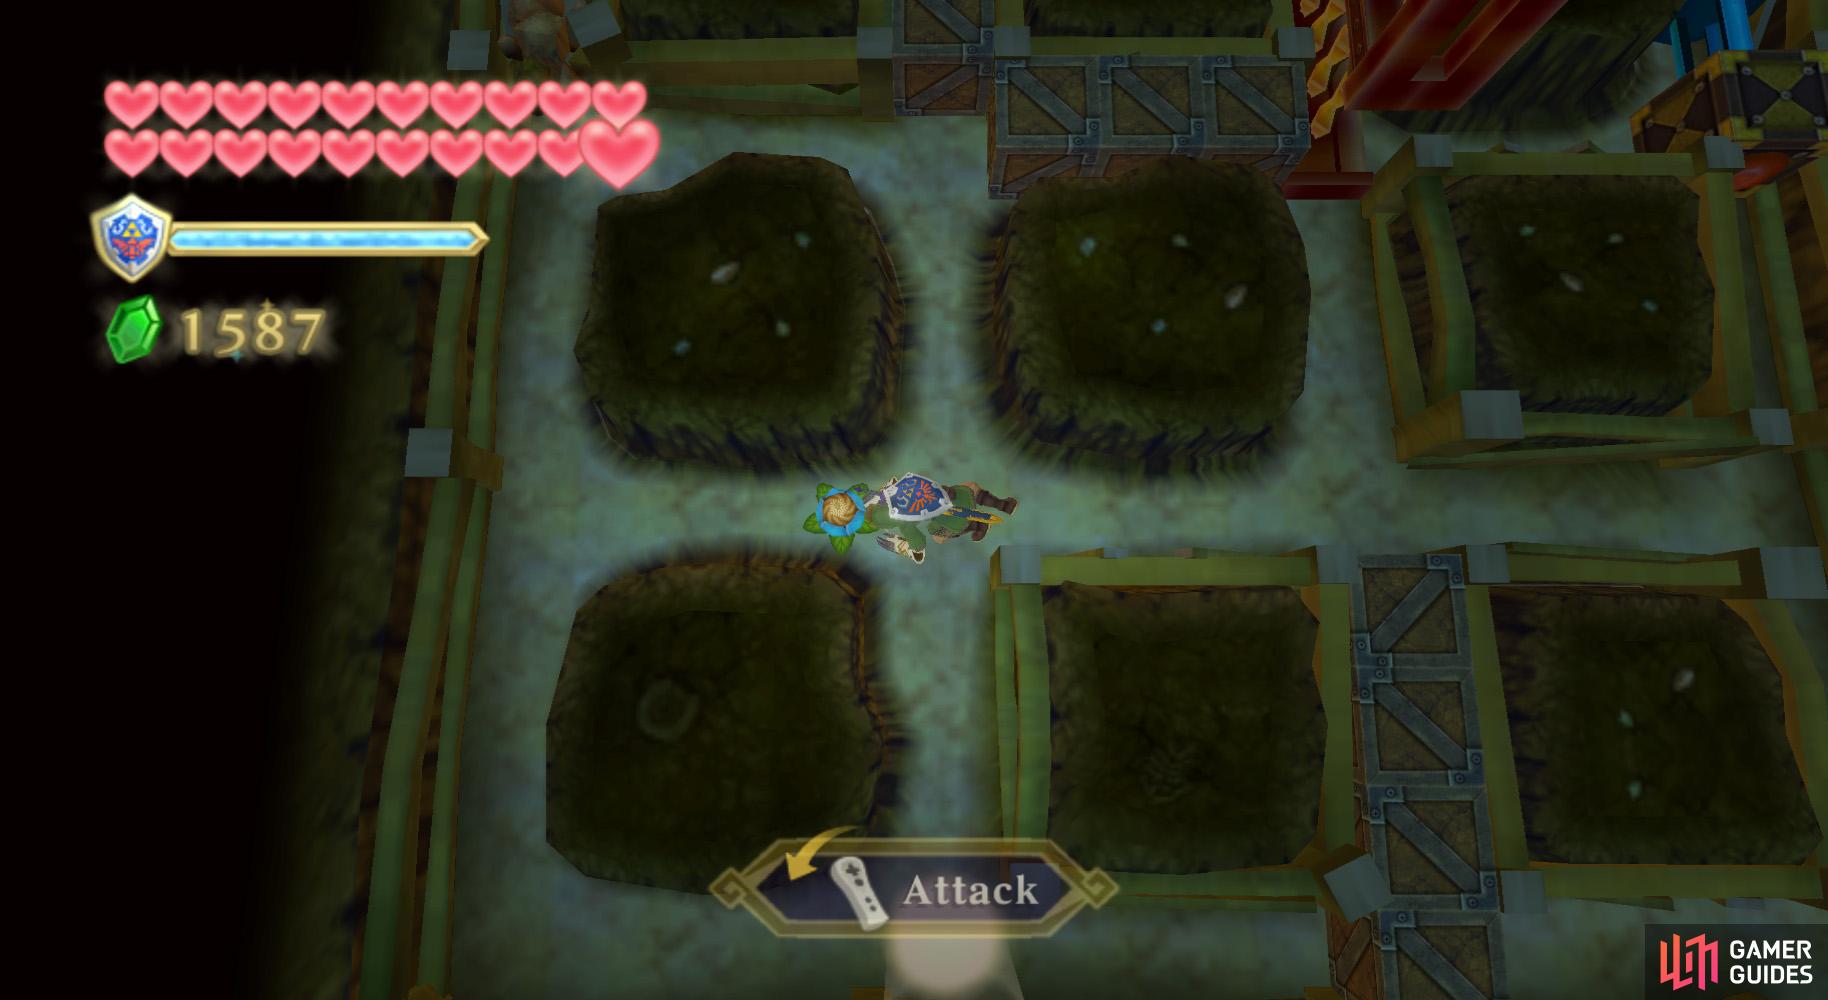
Go in there and burrow into the dirt in the corner. Here, smack the Bomb Flower to the left, dash-crawl around it, then smack it upwards, clearing the rubble. Crawl along this path to the switch and smack it. Go back along the path and emerge from underground.
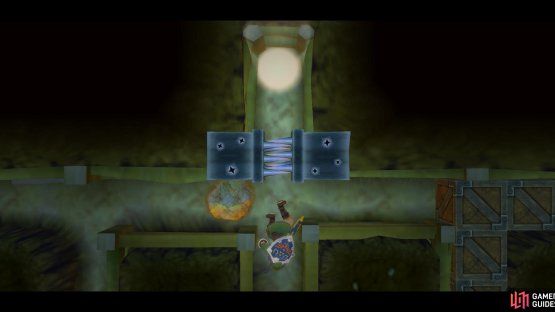
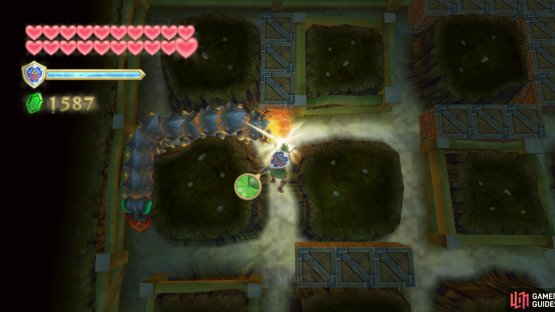
(1 of 2) In the second underground zone, the entrance and exit will automatically lock.

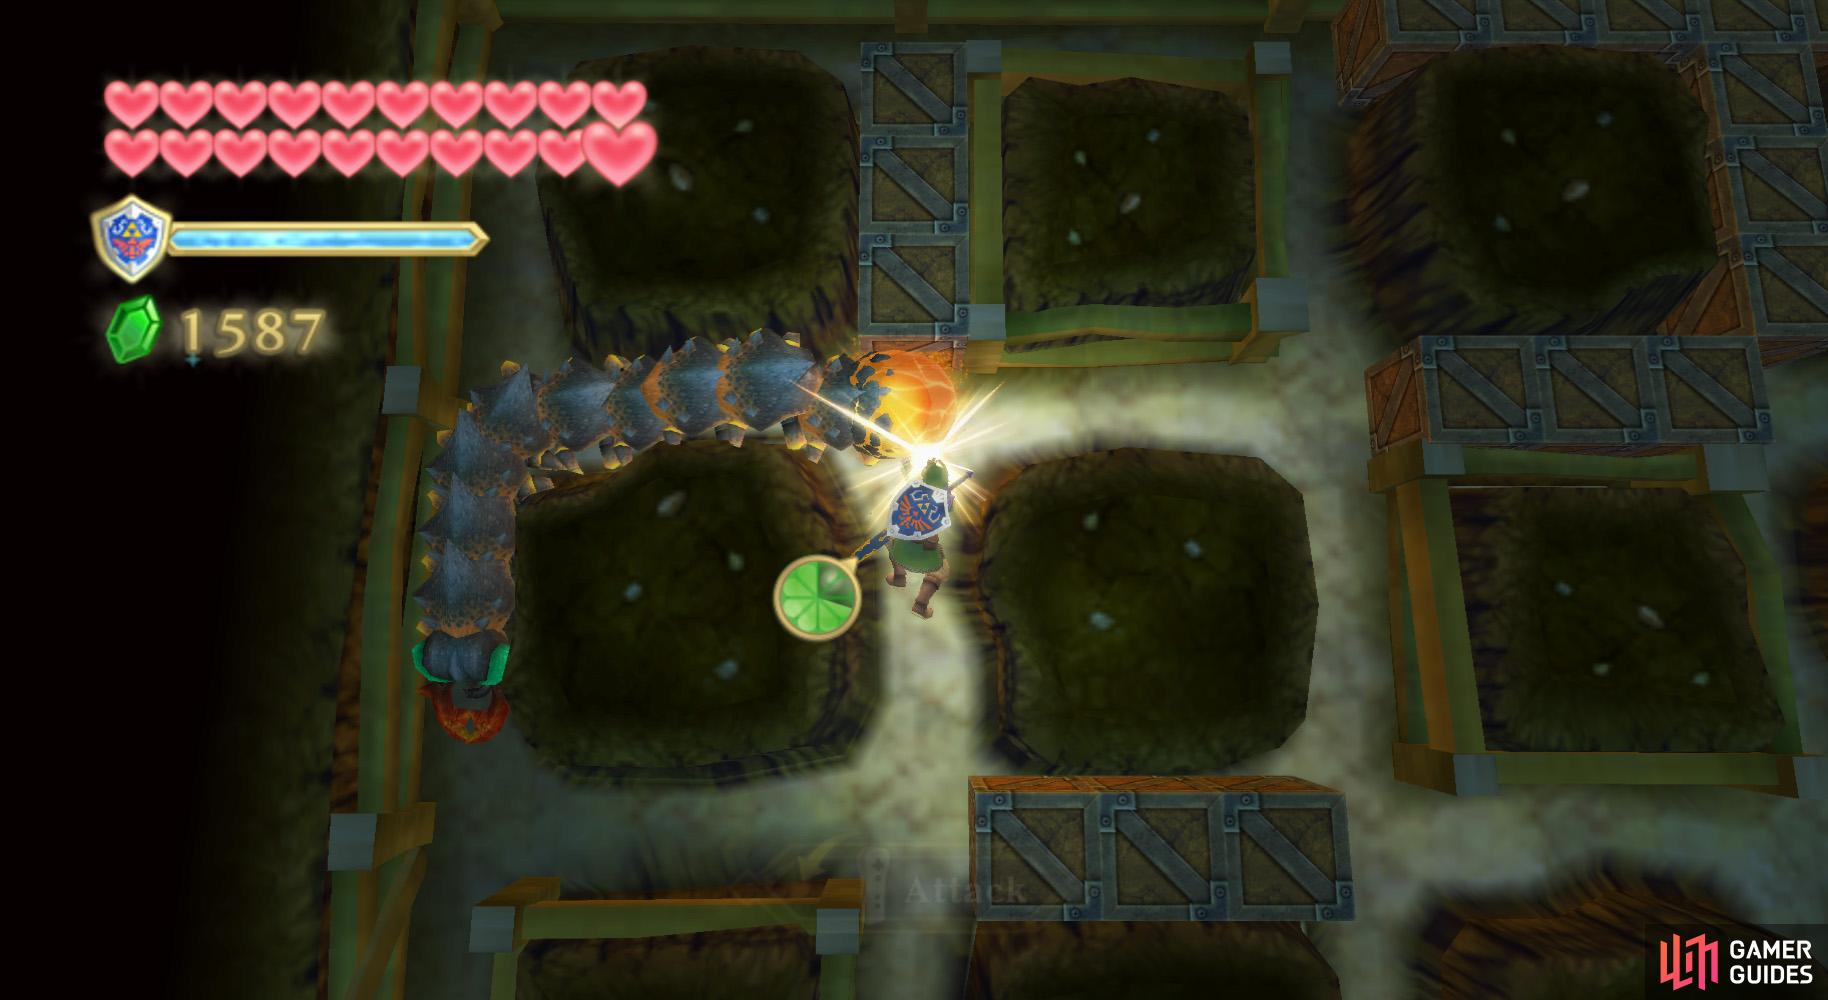
In the second underground zone, the entrance and exit will automatically lock. (left), You’ll then have to defeat two Moldorms to proceed. (right)
Backtrack along the path to the gate. Go into the other room and you’ll find another patch of dirt – burrow into it.
Here, go forward and the gate will close behind you. You’ll have to defeat them much as you have before. Once you go, crawl to the northeastern corner and get back aboveground.
Here, pull down the nearby wall switch to make another shortcut. Ignore the control panel nearby; just go into the next room instead.
No Comments