Sealed Temple
(1 of 2) Don’t let Ghirahim get away!
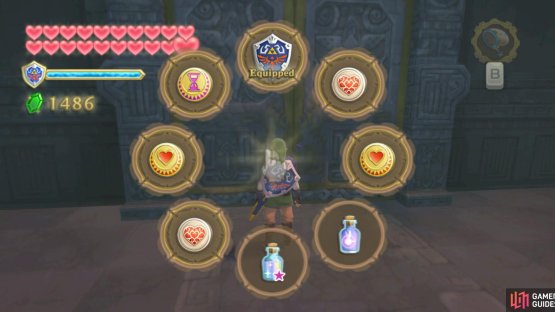
Don’t let Ghirahim get away! (left), Here’s our pouch loadout for the finale. (right)
After watching the scenes resulting from the completion of the Sky Keep, we are back at the Sealed Temple. You honestly should think of going back to Skyloft and grabbing some Heart Potions (preferably with one upgrade on them), and grabbing the Hylian Shield from the Thunder Dragon.
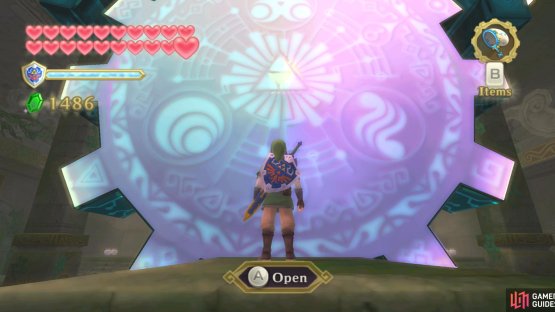
Finish any preparations you have left, then go through the Gate of Time.
In the past era, Impa will tell you to go through the doors of the temple to go outside (the doors facing the Gate of Time). Save the game with the Bird Statue first, then leave.
Hylia’s Realm
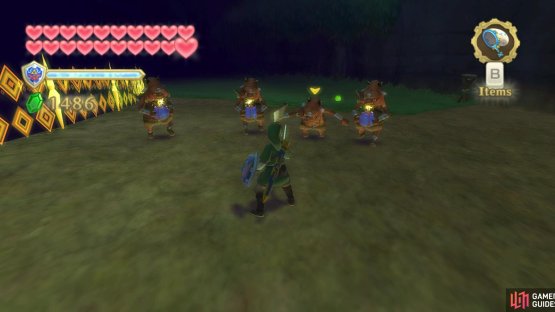
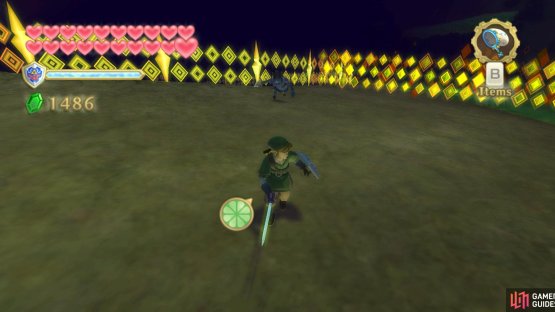
(1 of 2) A horde of Bokoblin will appear to try and slow you down.
A horde of Bokoblin will appear to try and slow you down. (left), Cut them down like you’re playing a Warriors game! (right)
Outside, you’ll find Ghirahim at the bottom of the pit with Zelda, performing a ritualistic, freakish dance to summon back Demise. He’ll send up massive swarms of enemies to delay you.
Wave 1
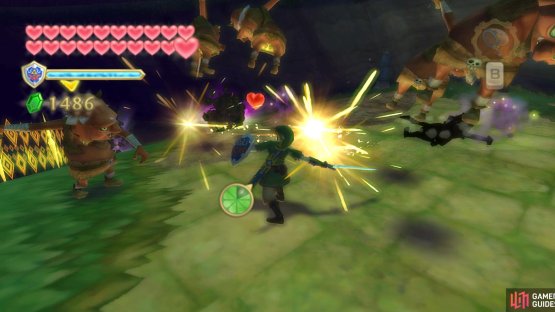
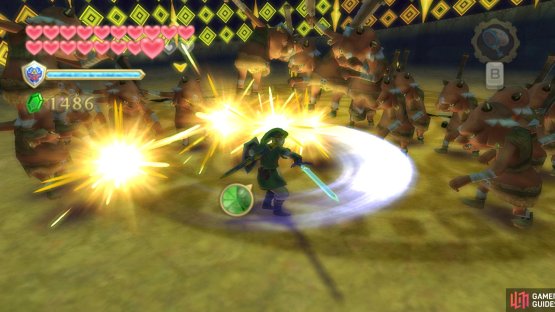
The majority of these enemies are plain Bokoblin, which can be dealt with in one slice by now, but they come in swarms, so expect many spin attacks and Skyward Strikes.
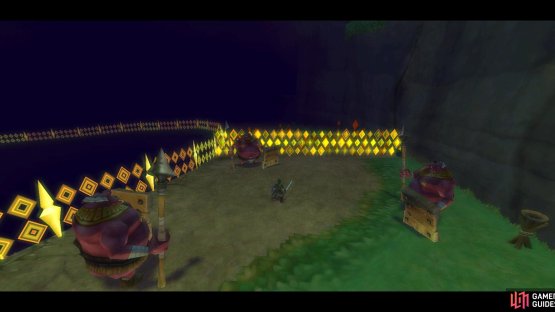
Your goal is to simply continue down the path – however, I highly recommend actually defeating the enemies on the way, because you will be blocked at certain points, and no one wants hundreds of Bokoblin in their face, Master Sword or not.
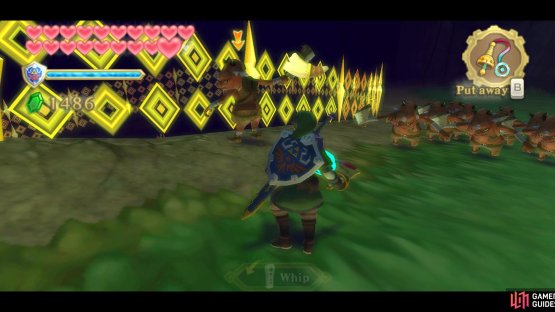
(1 of 2) These Bokoblins will try to block your sword.
These Bokoblins will try to block your sword. (left), Hit them once to stagger them, then quickly follow up with another attack. (right)
The first of these blockades will have a group of defensive Bokoblin, numbering five or six. If you hit their weapons, you’ll cause them to stagger–quickly slash again to send them to the grave.
Wave 2
As you continue, be careful of the Bomb-wielding Bokoblin– you’ll probably get hurt if you try to hit them with the Bombs in their hands, so wait until after the Bomb is gone, then deal some punishment.
(1 of 2) You’ll start to see bomb-throwing Bokoblins.
You’ll start to see bomb-throwing Bokoblins. (left), At the second blockade, three Moblins will surround you. (right)
If you have the Heart Medal though (or plenty of potions), you can be reckless and hit them regardless. The explosion will hurt you, of course, but you can top up your health soon afterwards. Extra points if you get lots of Bokoblins blown up in the process!
The second blockade features three Moblins. You’ll pretty much be able to use the jump-over-the-shield thing I keep mentioning.
Wave 3
Afterwards, continue down. As you do (yes, more enemies. Starting to love that Heart Medal?), you’ll find some more Bokoblin. In addition to the Bomb-wielders, you’ll find some with bow and arrows.
(1 of 2) Run to evade the arrows, then move in for the kill.
Run to evade the arrows, then move in for the kill. (left), Don’t chase the blue Bokoblin–let it try and attack you. (right)
The third blockade features a more-annoying blue Bokoblin. This annoying bugger is fast and will try to rush in to hit you, before running away. Try moving away from it, so it thinks you haven’t noticed it. Then dodge just before it attacks and slash at it. It’ll take a few hits to kill it.
Wave 4
Next, there will be some Bokoblin Leaders in the group. They can make the swarms impossibly more massive, thanks to their horn calls.
If you’re concerned, you can try to kill the leaders, but be wary that they can run very fast. Also, after killing a leader, try to pick up the horn or another Bokoblin will take it!
(1 of 2) Use the Whip to stop the leaders from calling endless minions.
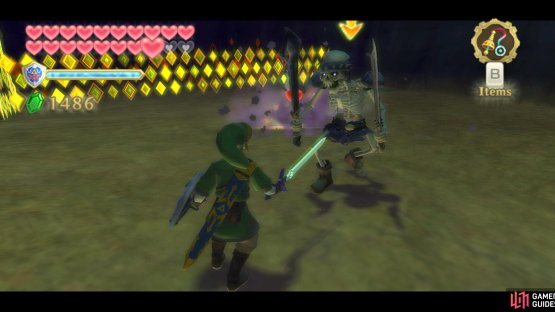
Use the Whip to stop the leaders from calling endless minions. (left), With the Bokoblin leaders gone, you’ll have less distractions when fighting the Stalfos. (right)
An easy way to deal with the leaders is to use the Whip to steal the horn directly from their hands. That way you don’t need to fumble around to try and pick up the horn after killing one.
The fourth blockade features two Stalfos. You can take care of them, I’m sure. Just try to use spin attacks so as to deal with other Bokoblins.
Wave 5
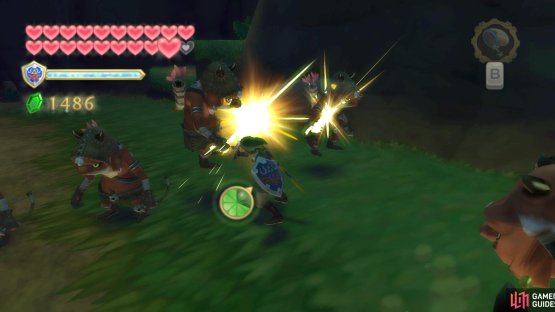
Further on down the path, you’ll end up fighting all types of Bokoblins, including the pesky blue ones and the archers, so keep your shield up (no need to parry if you have the Hylian Shield).
(1 of 2) This is the final blockade.
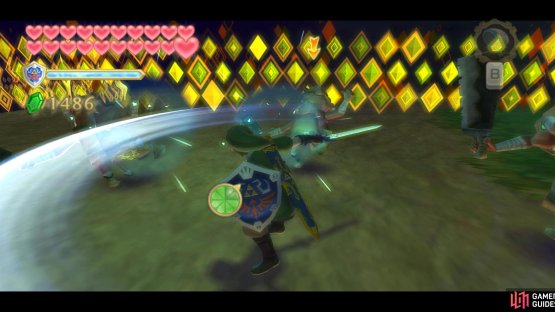
This is the final blockade. (left), Slash them furiously and use a few spin attacks for good measure! (right)
At the bottom of the pit, Ghirahim, infuriated with your speed, will futilely summon a last wave of Bokoblin. Defeat them and you’ll soon fight Ghirahim.









No Comments