

(1 of 2) This vast area was once a normal sea.
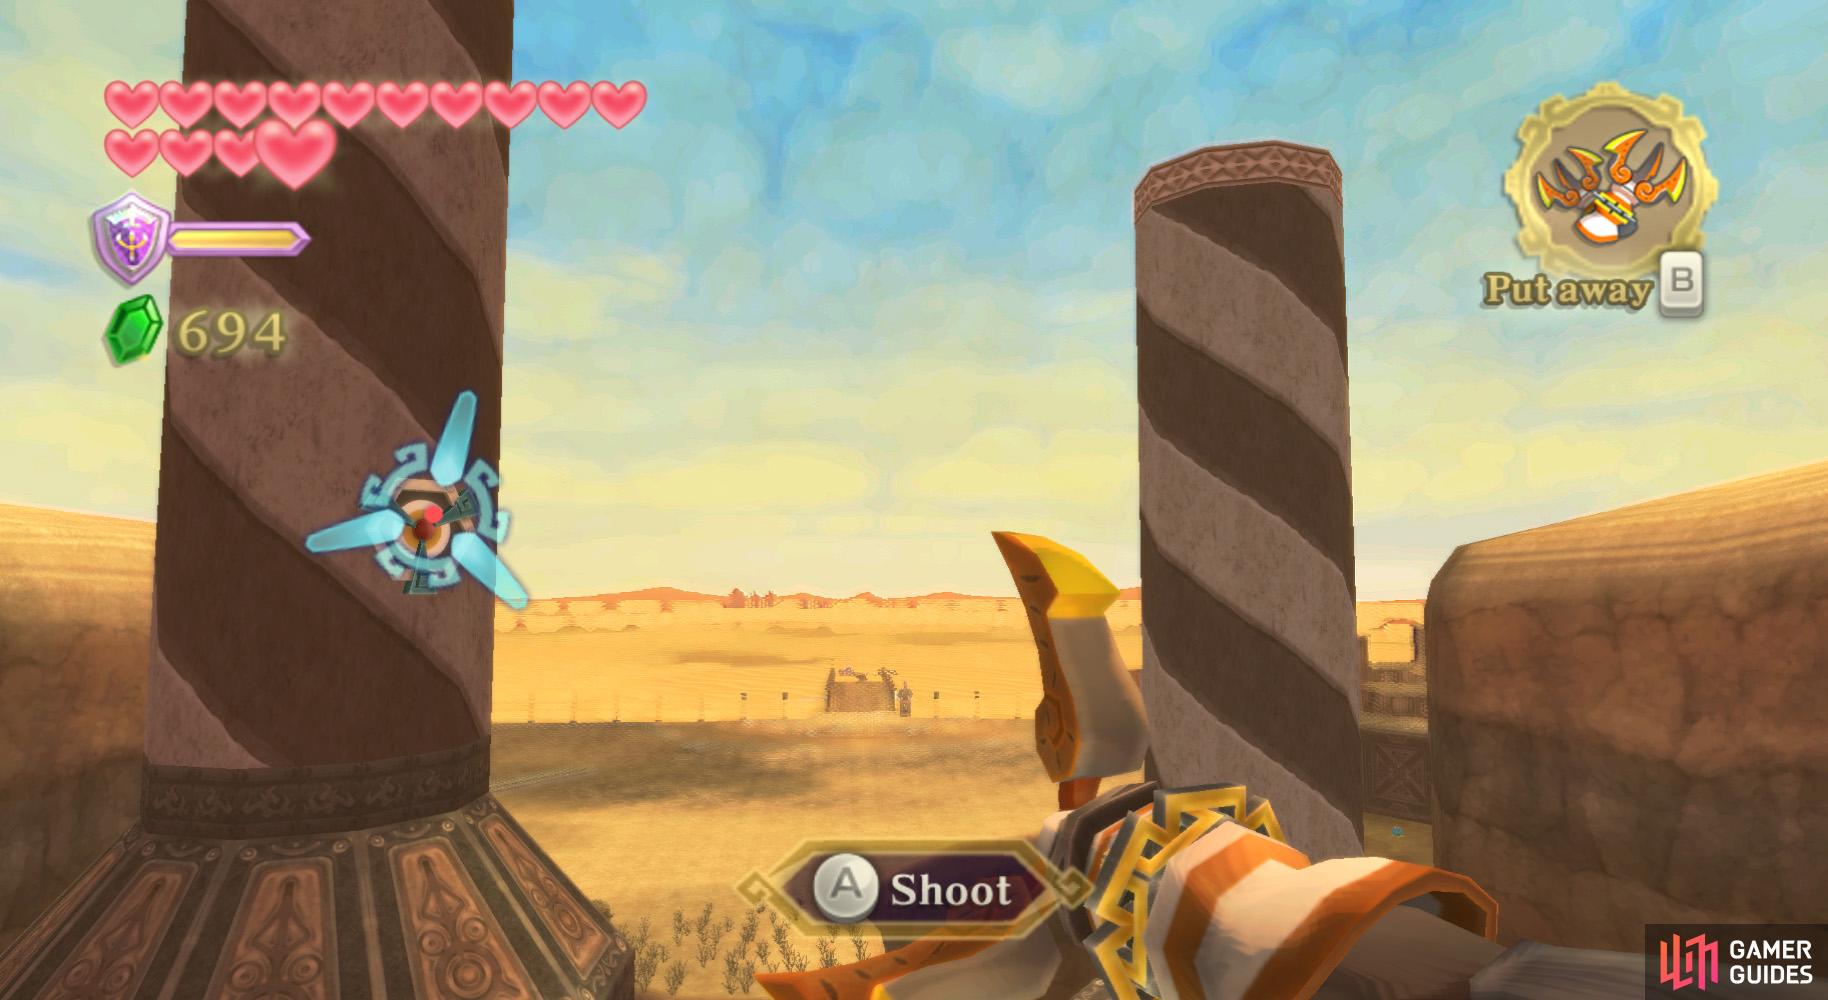
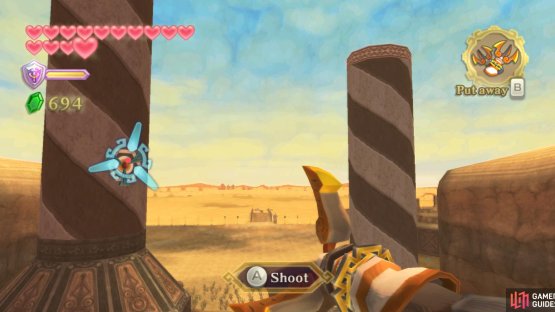
This vast area was once a normal sea. (left), By the way, you’ll be using the Clawshots a lot. (right)
Initially, you’ll have go to from pillar to pillar here via the Clawshots, in a similar manner to how you reached the Goddess Cube from earlier across the large pit. At the end, drop down to the ground to find a crumbling bridge. Clawshot over to the opposite side to a large, but mostly-enclosed area.
Harbor Map
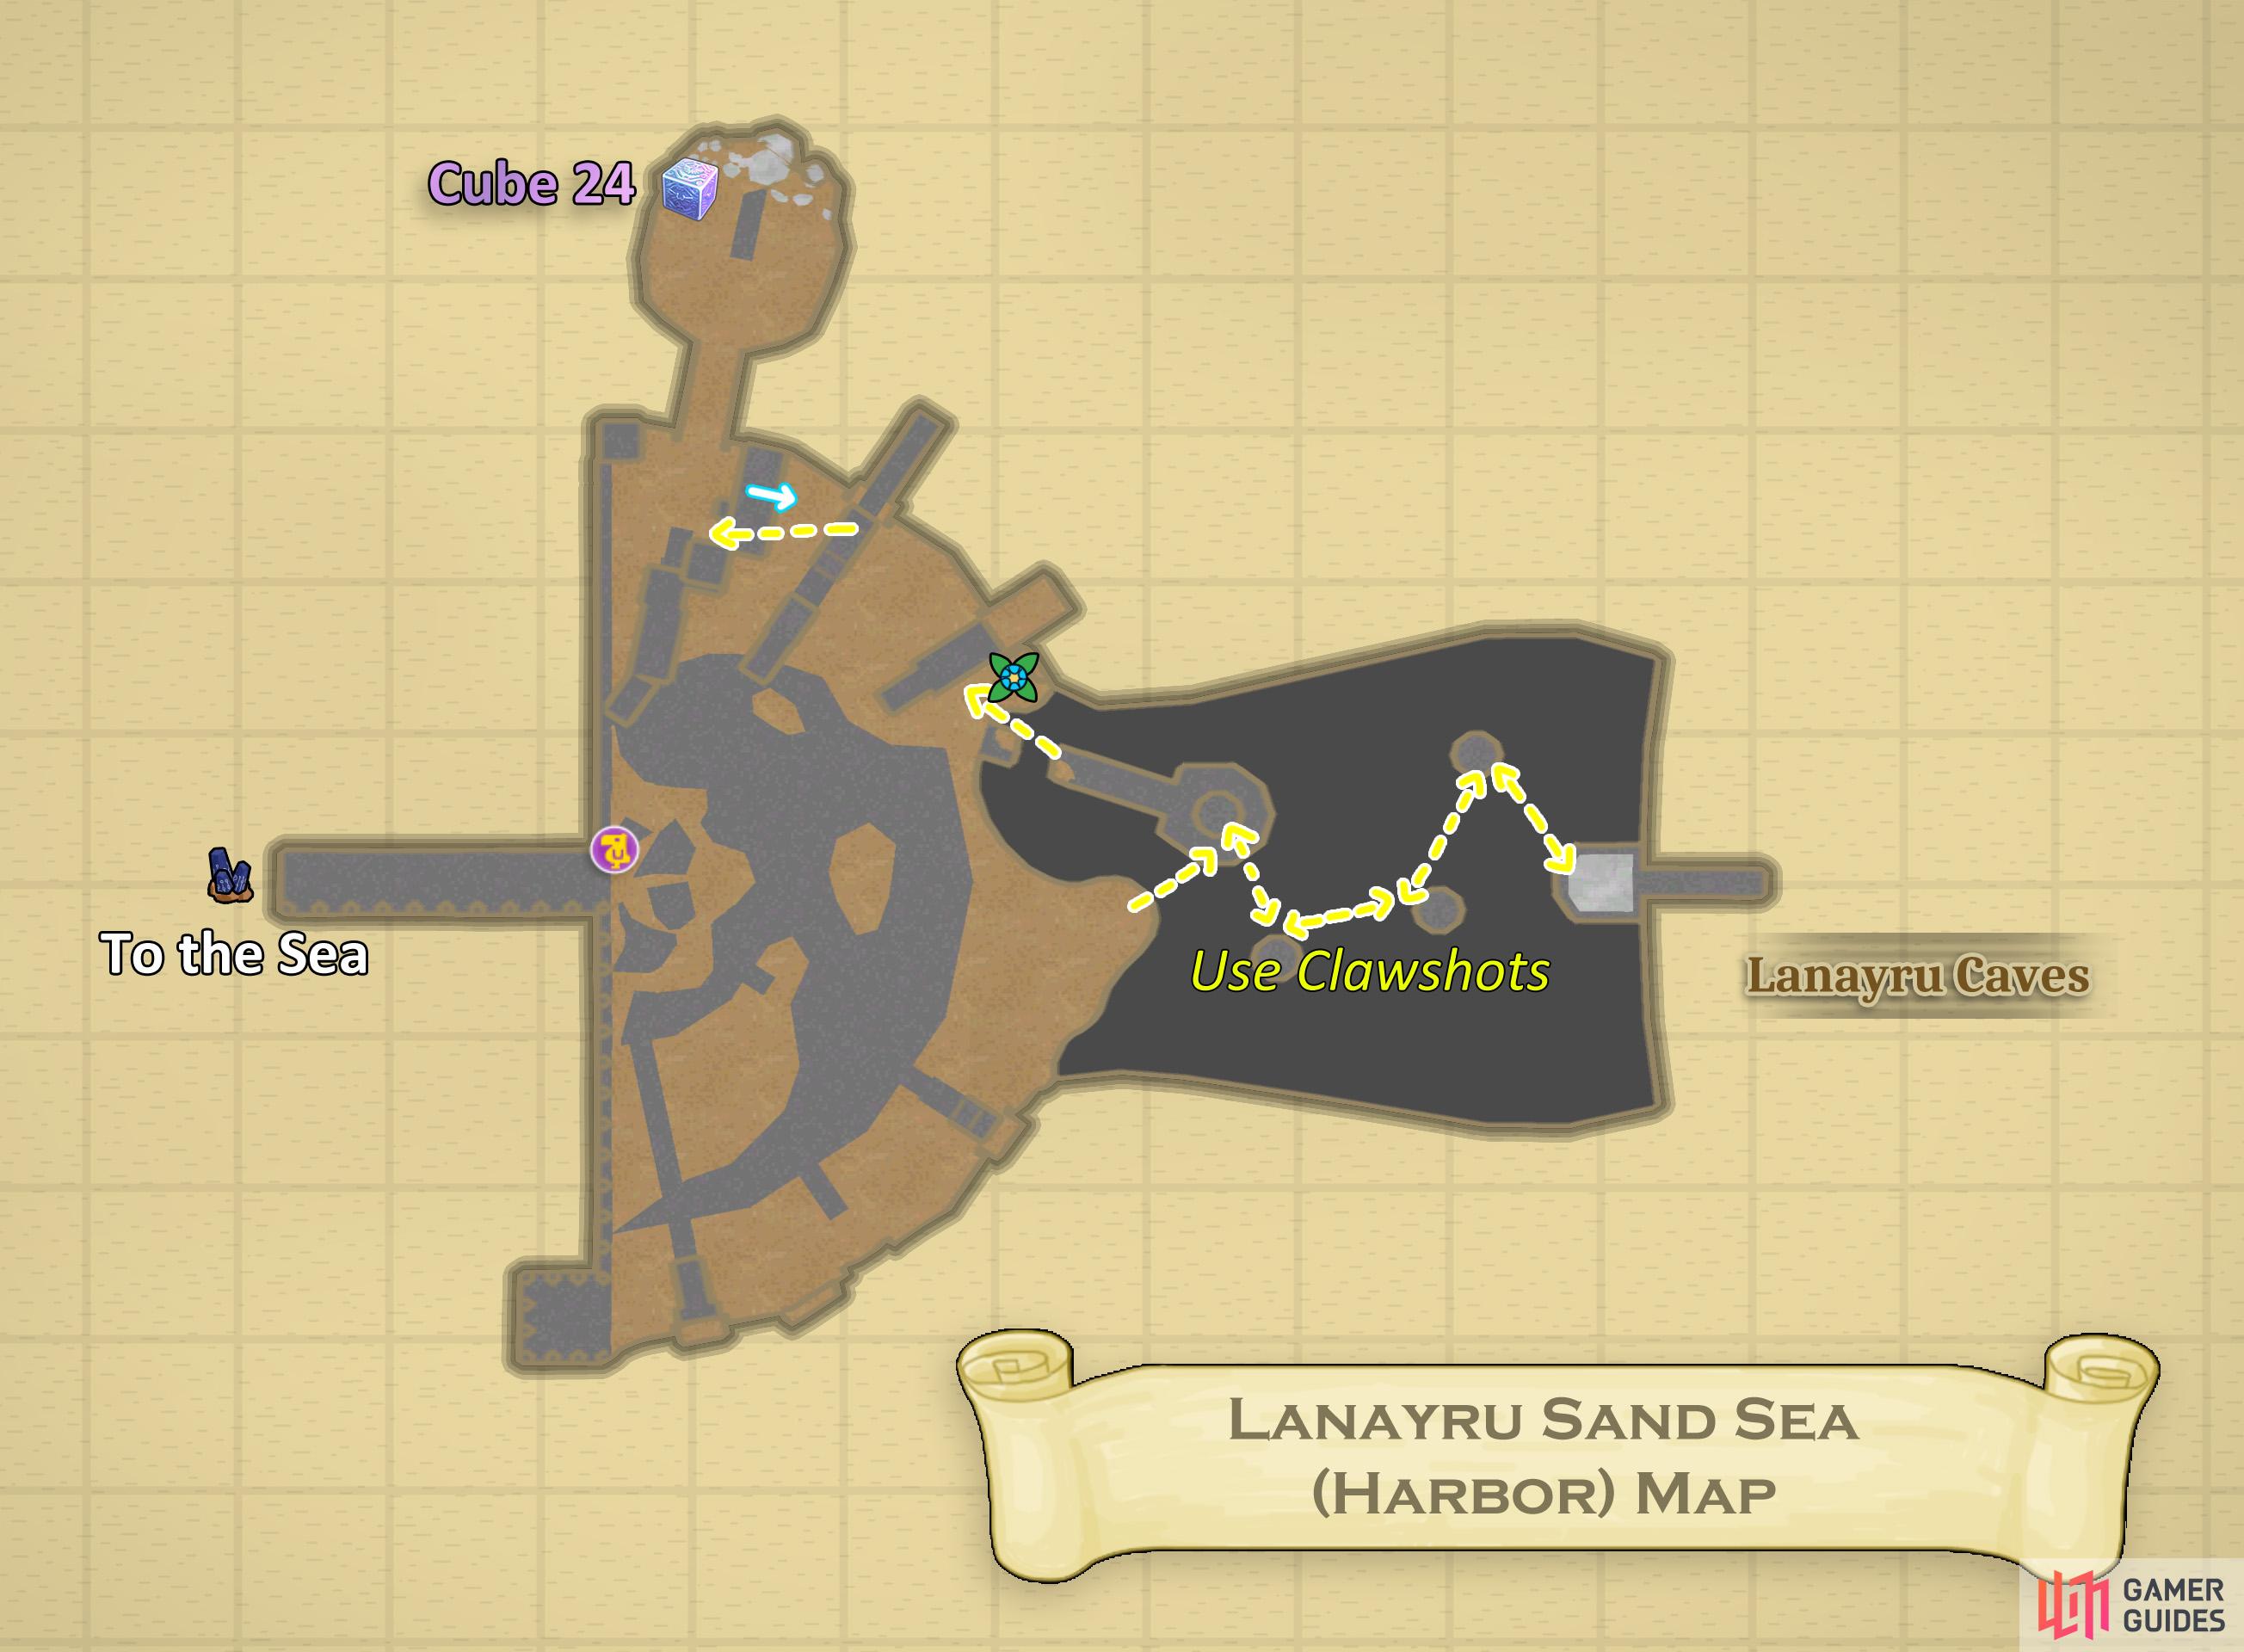
Map of Lanayru Sand Sea (Harbor).
Be wary - wandering around can find you a lot of Yellow Chuchus and Arachas, but you can also find Lanayru Ants if you’re into that sort of thing. Also be sure to use the Bird Statue nearby.
Goddess Cube 24
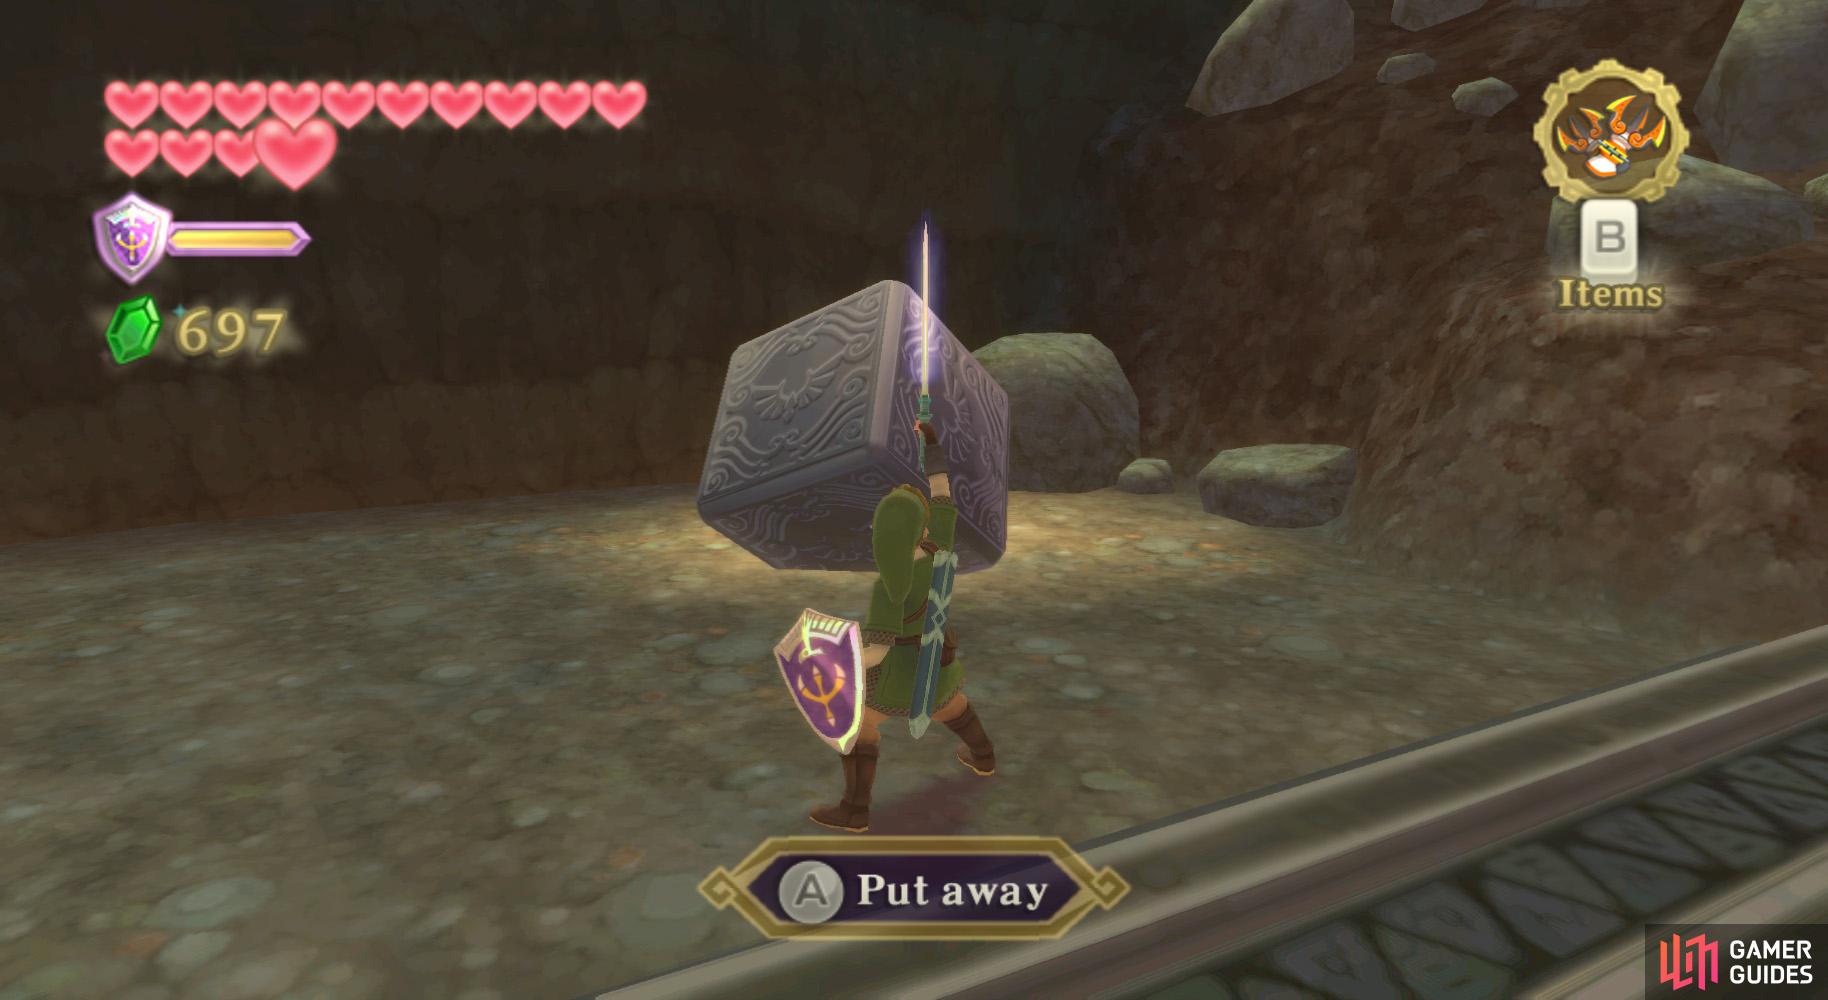
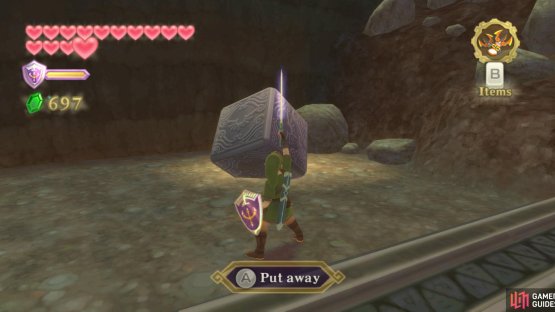
(1 of 2) Goddess Cube: Climb up the bunch of crates near the Bird Statue, then look for a Clawshot target behind one of the crates further away.
Goddess Cube: Climb up the bunch of crates near the Bird Statue, then look for a Clawshot target behind one of the crates further away. (left), Treasure Chest: Inside the Skyloft Bazaar, near Gondo’s Scrap Shop. (right)
Anyhow, to the north are a bunch of crates. Manually climb onto them, then Clawshot over to the northwestern bunch. On the other side, drop down and go into the alcove. Defeat the bunch of Aracha that fall. Afterwards, activate Goddess Cube 24 with a Skyward Strike. Exit the alcove and go back over the crates.
Afterwards, go west and onto the pier. At the end, you’ll find an old robot and a boat. Hit the Timeshift Stone on the boat to transform the desert nearby to water, activate the robot, and make this Timeshift Stone permanently active (you’ll see why).
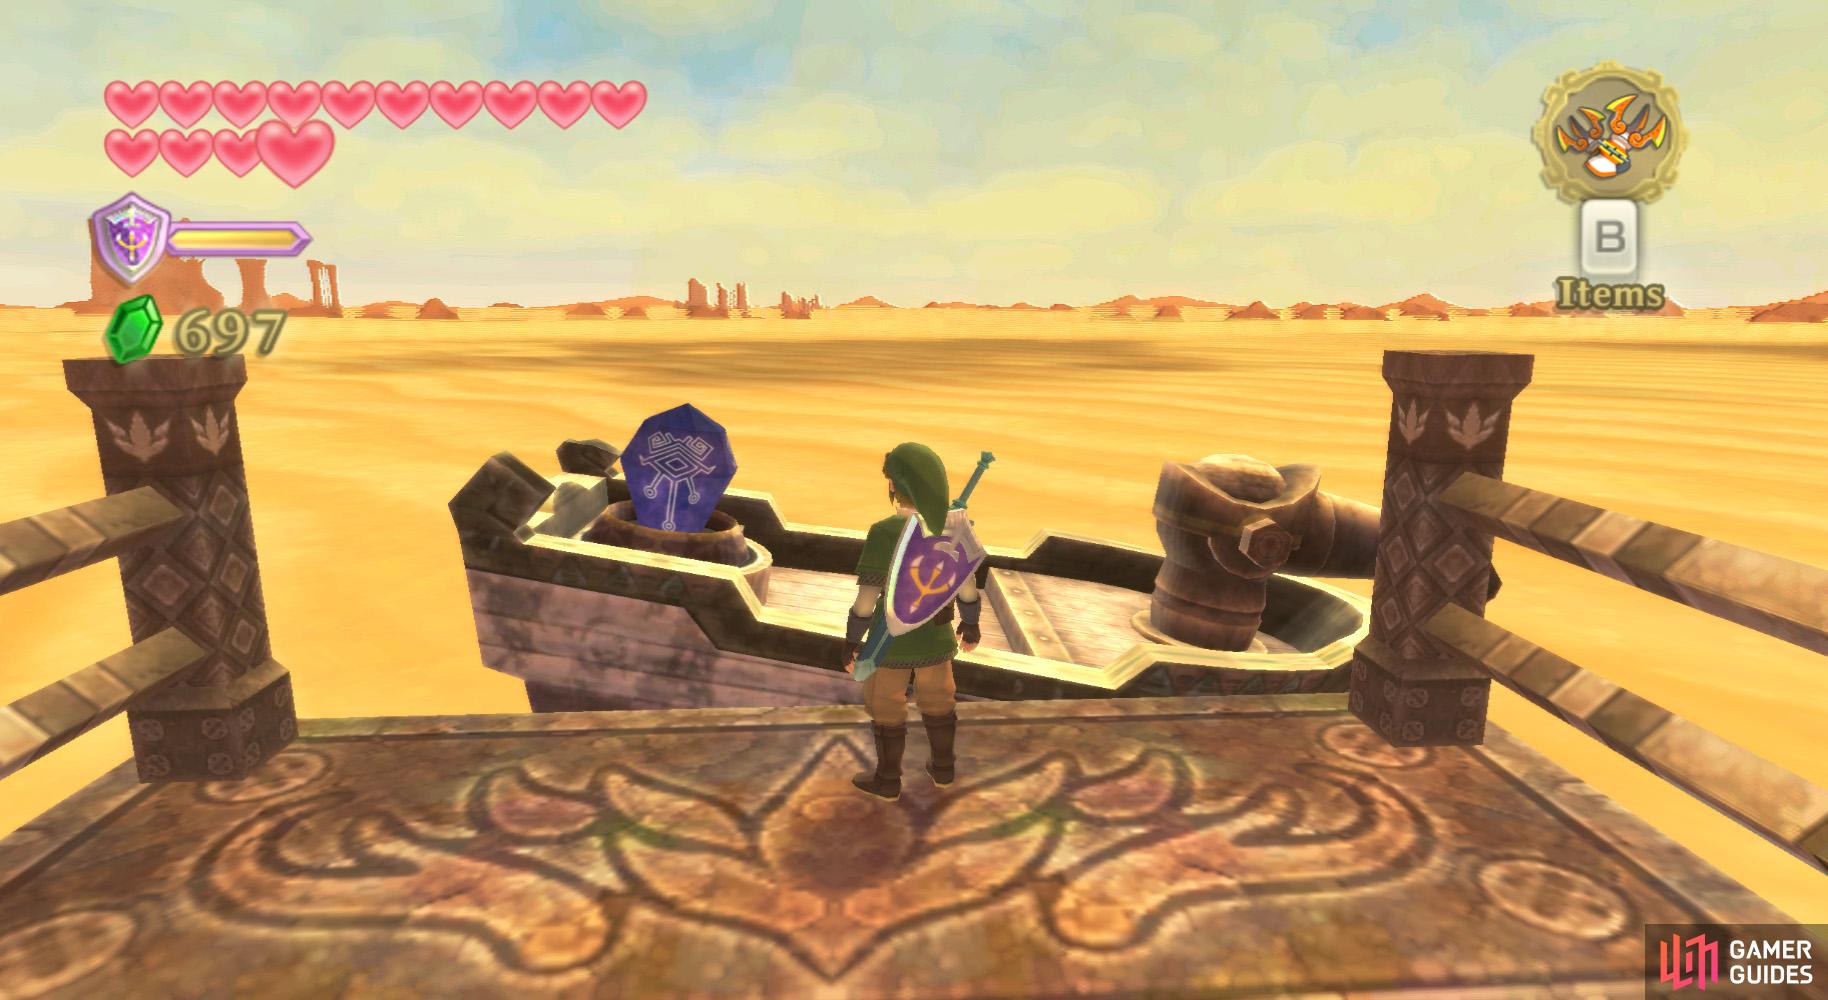


(1 of 2) Get ready for some more Timeshift magic!
Get ready for some more Timeshift magic! (left), With the Timeshift-powered boat, you can travel through the past version of the sand sea. (right)
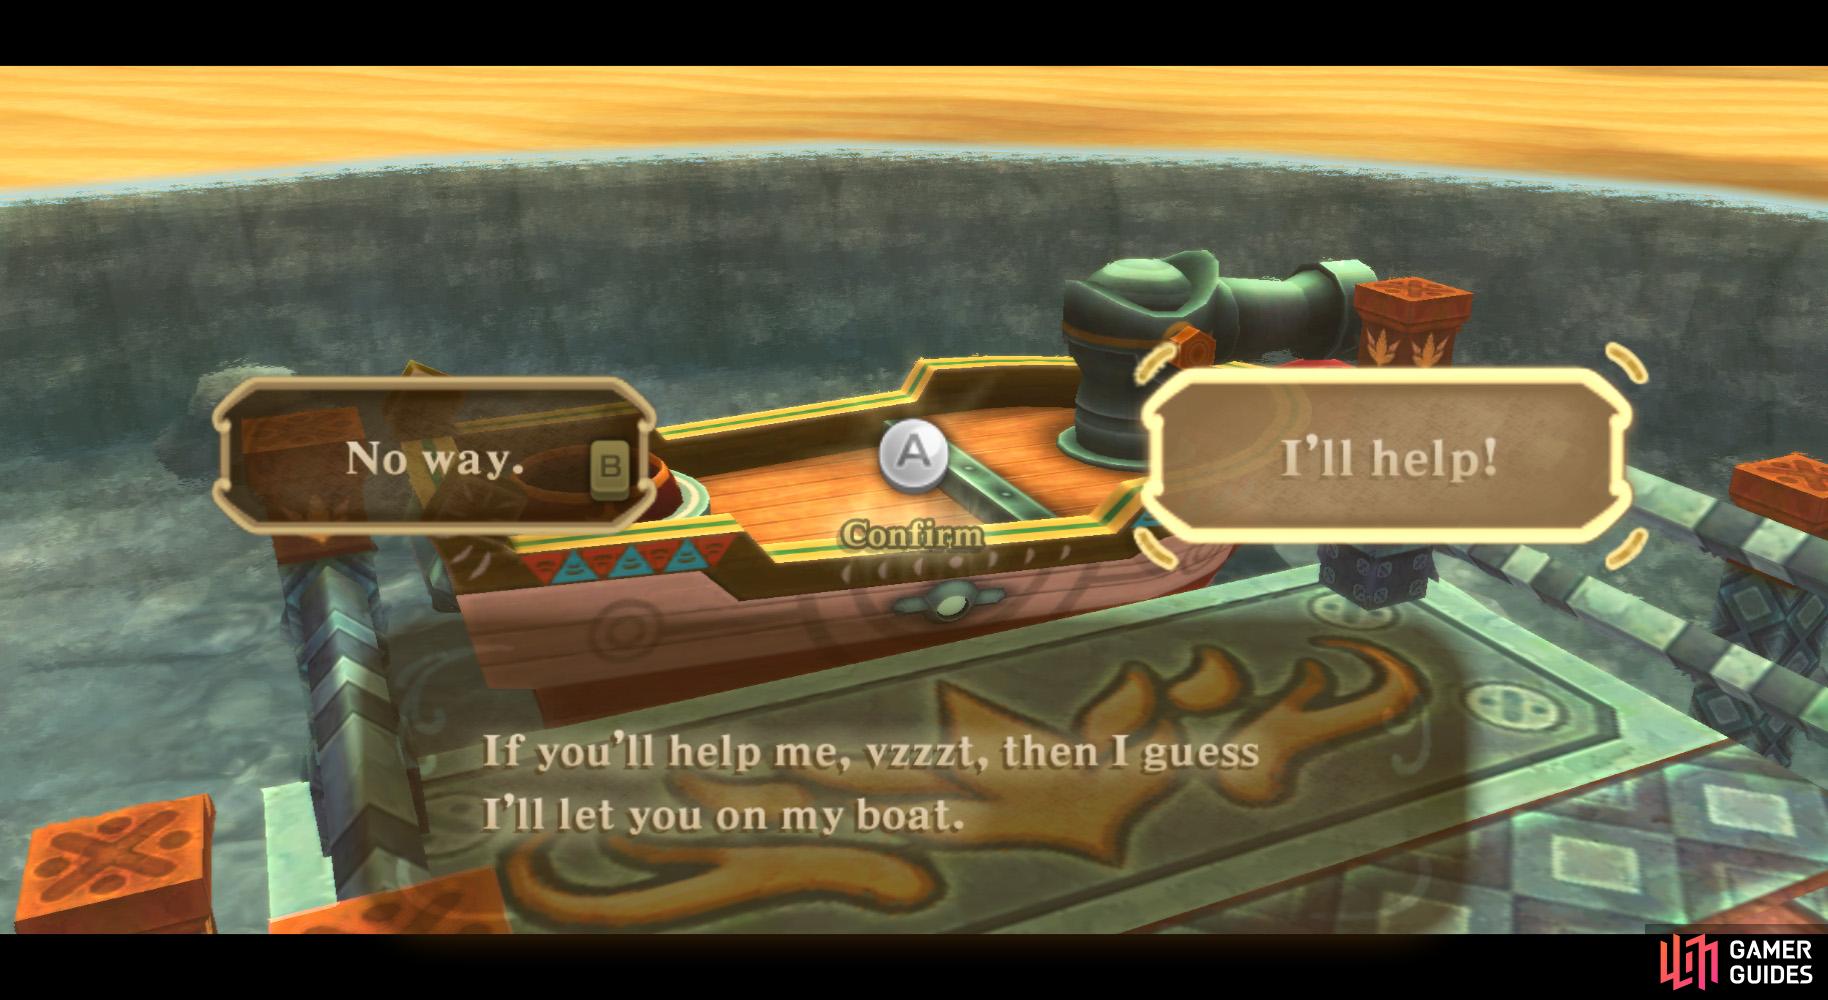
Speak with the robot for a bit. You’ll learn that he “recently” lost his crew and ship, so agree to help. You’ll first have to get his sea chart (ahhh… Reminds me of Wind Waker), which is marked on your now-extended map.
Sea Map
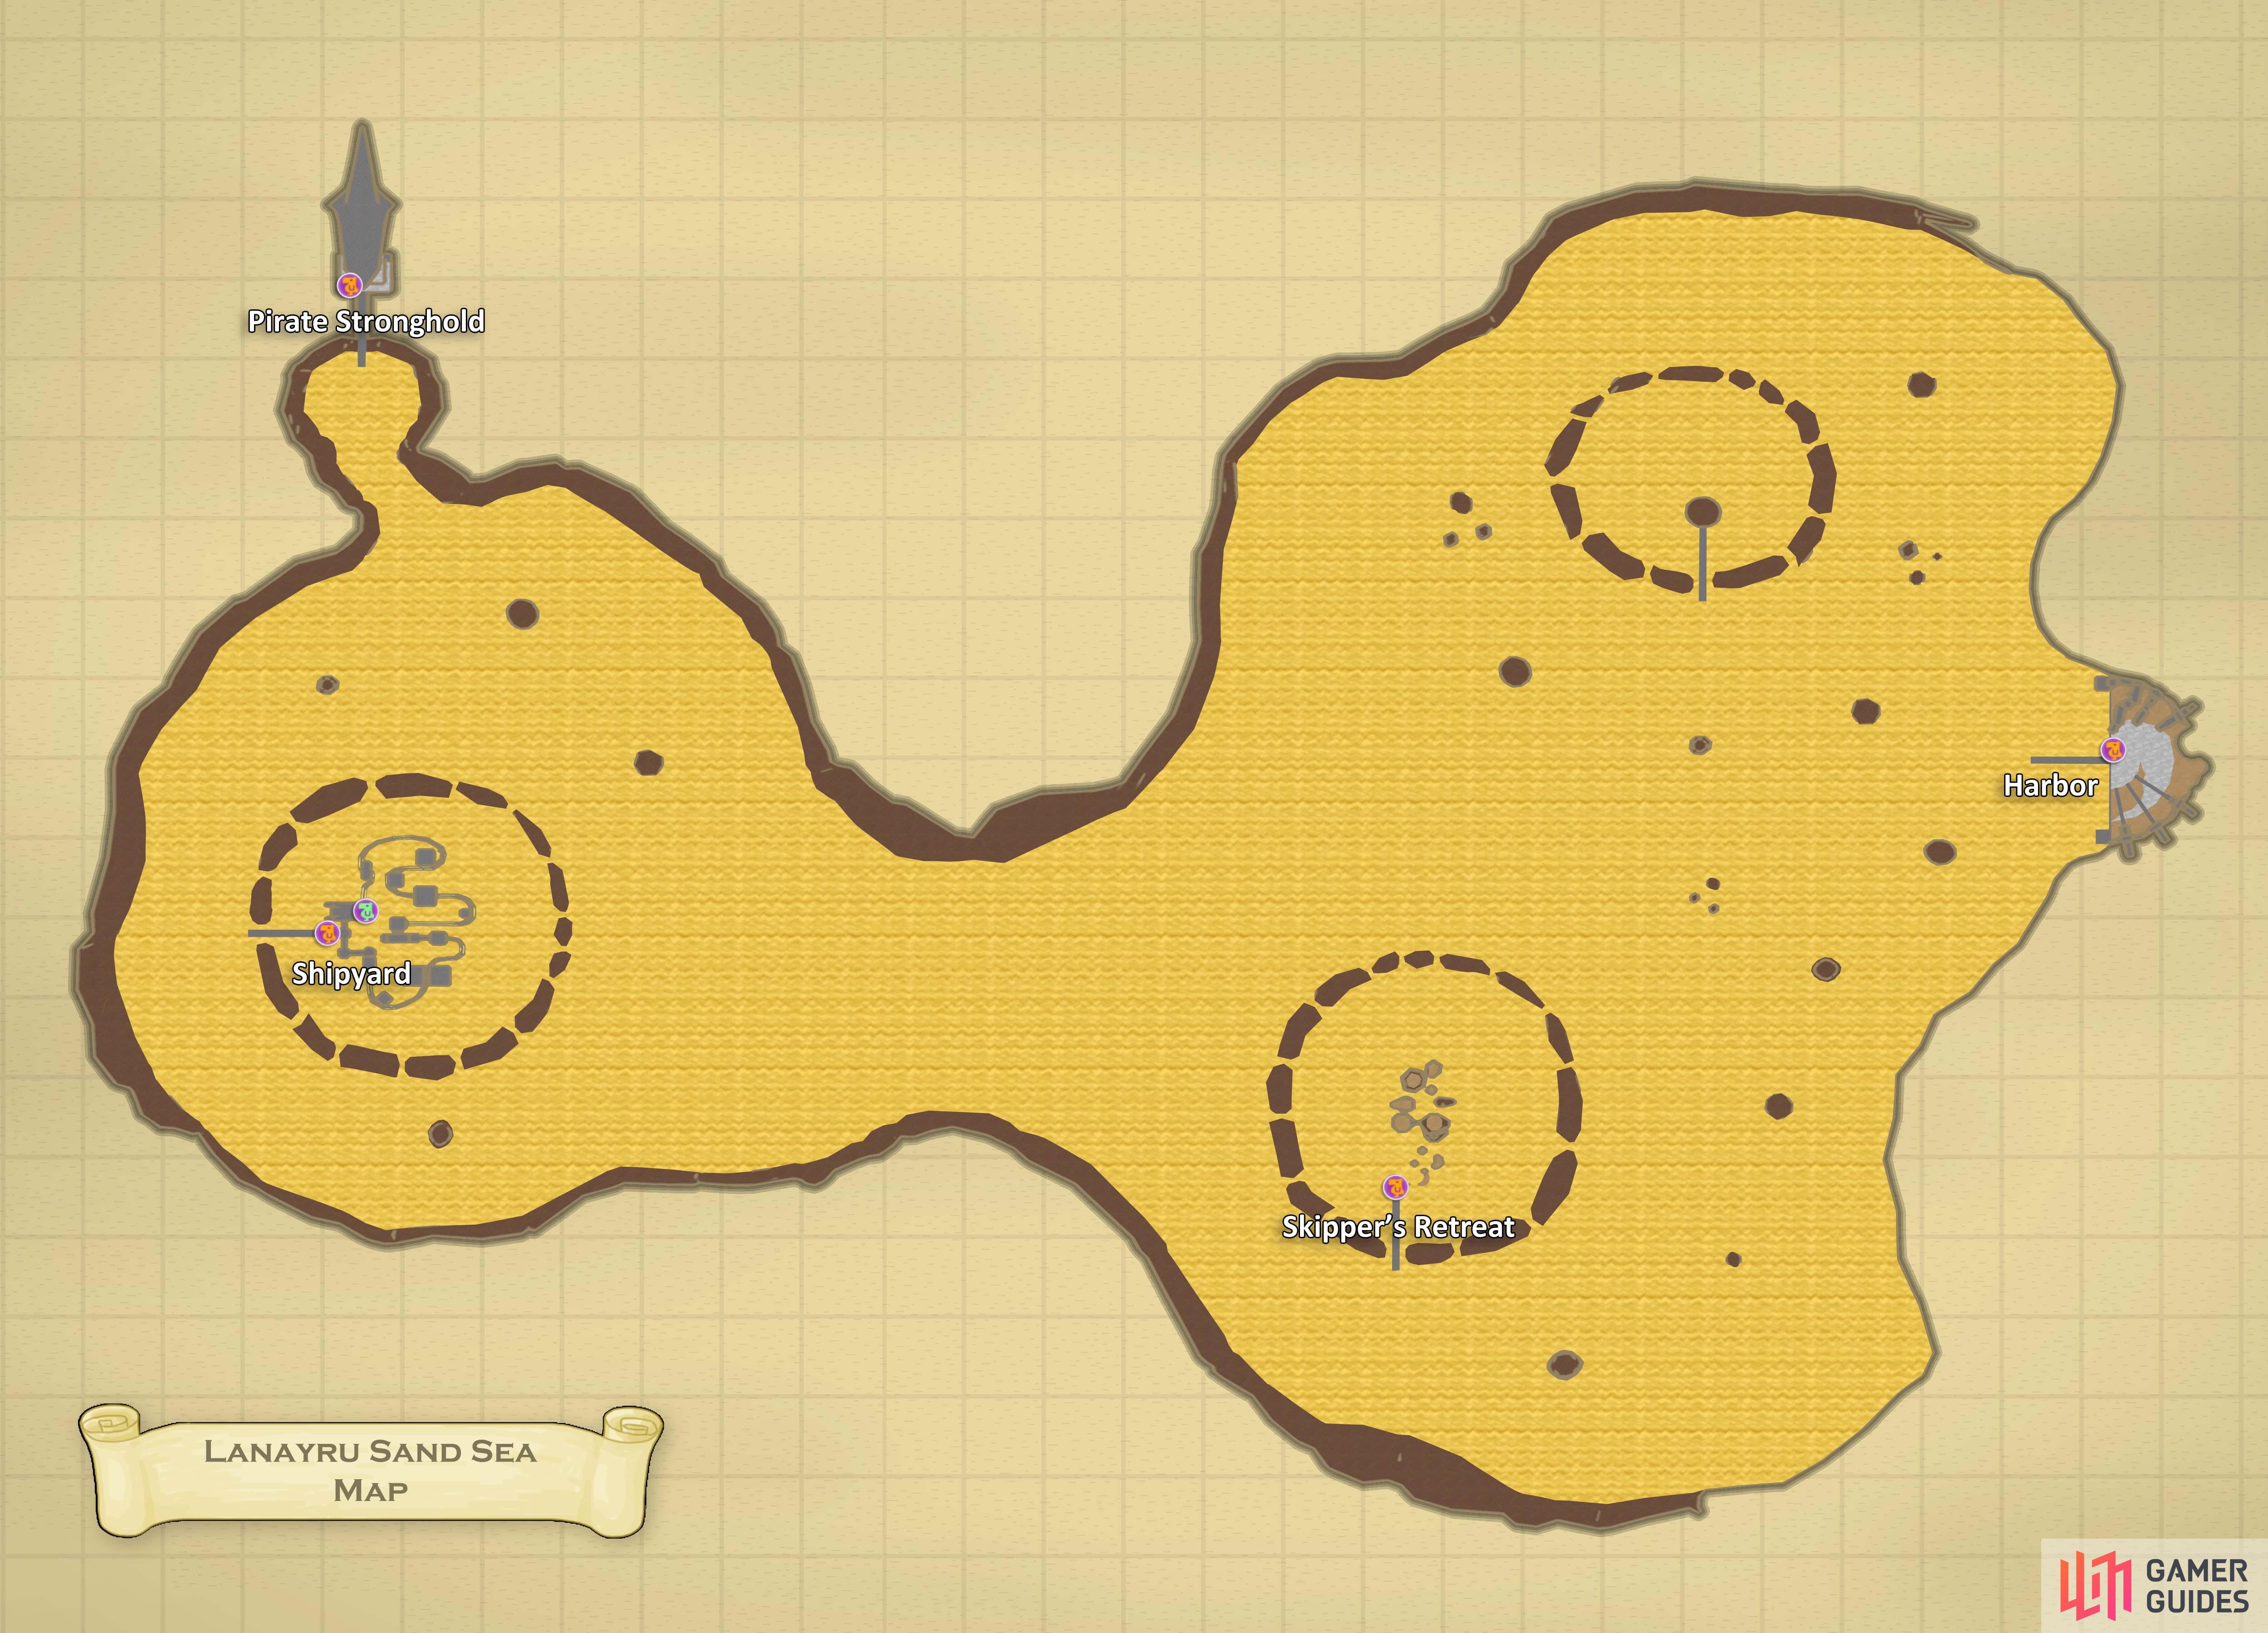
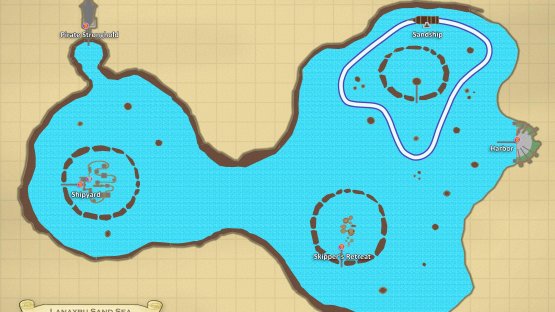
(1 of 2) Map of Lanayru Sand Sea.
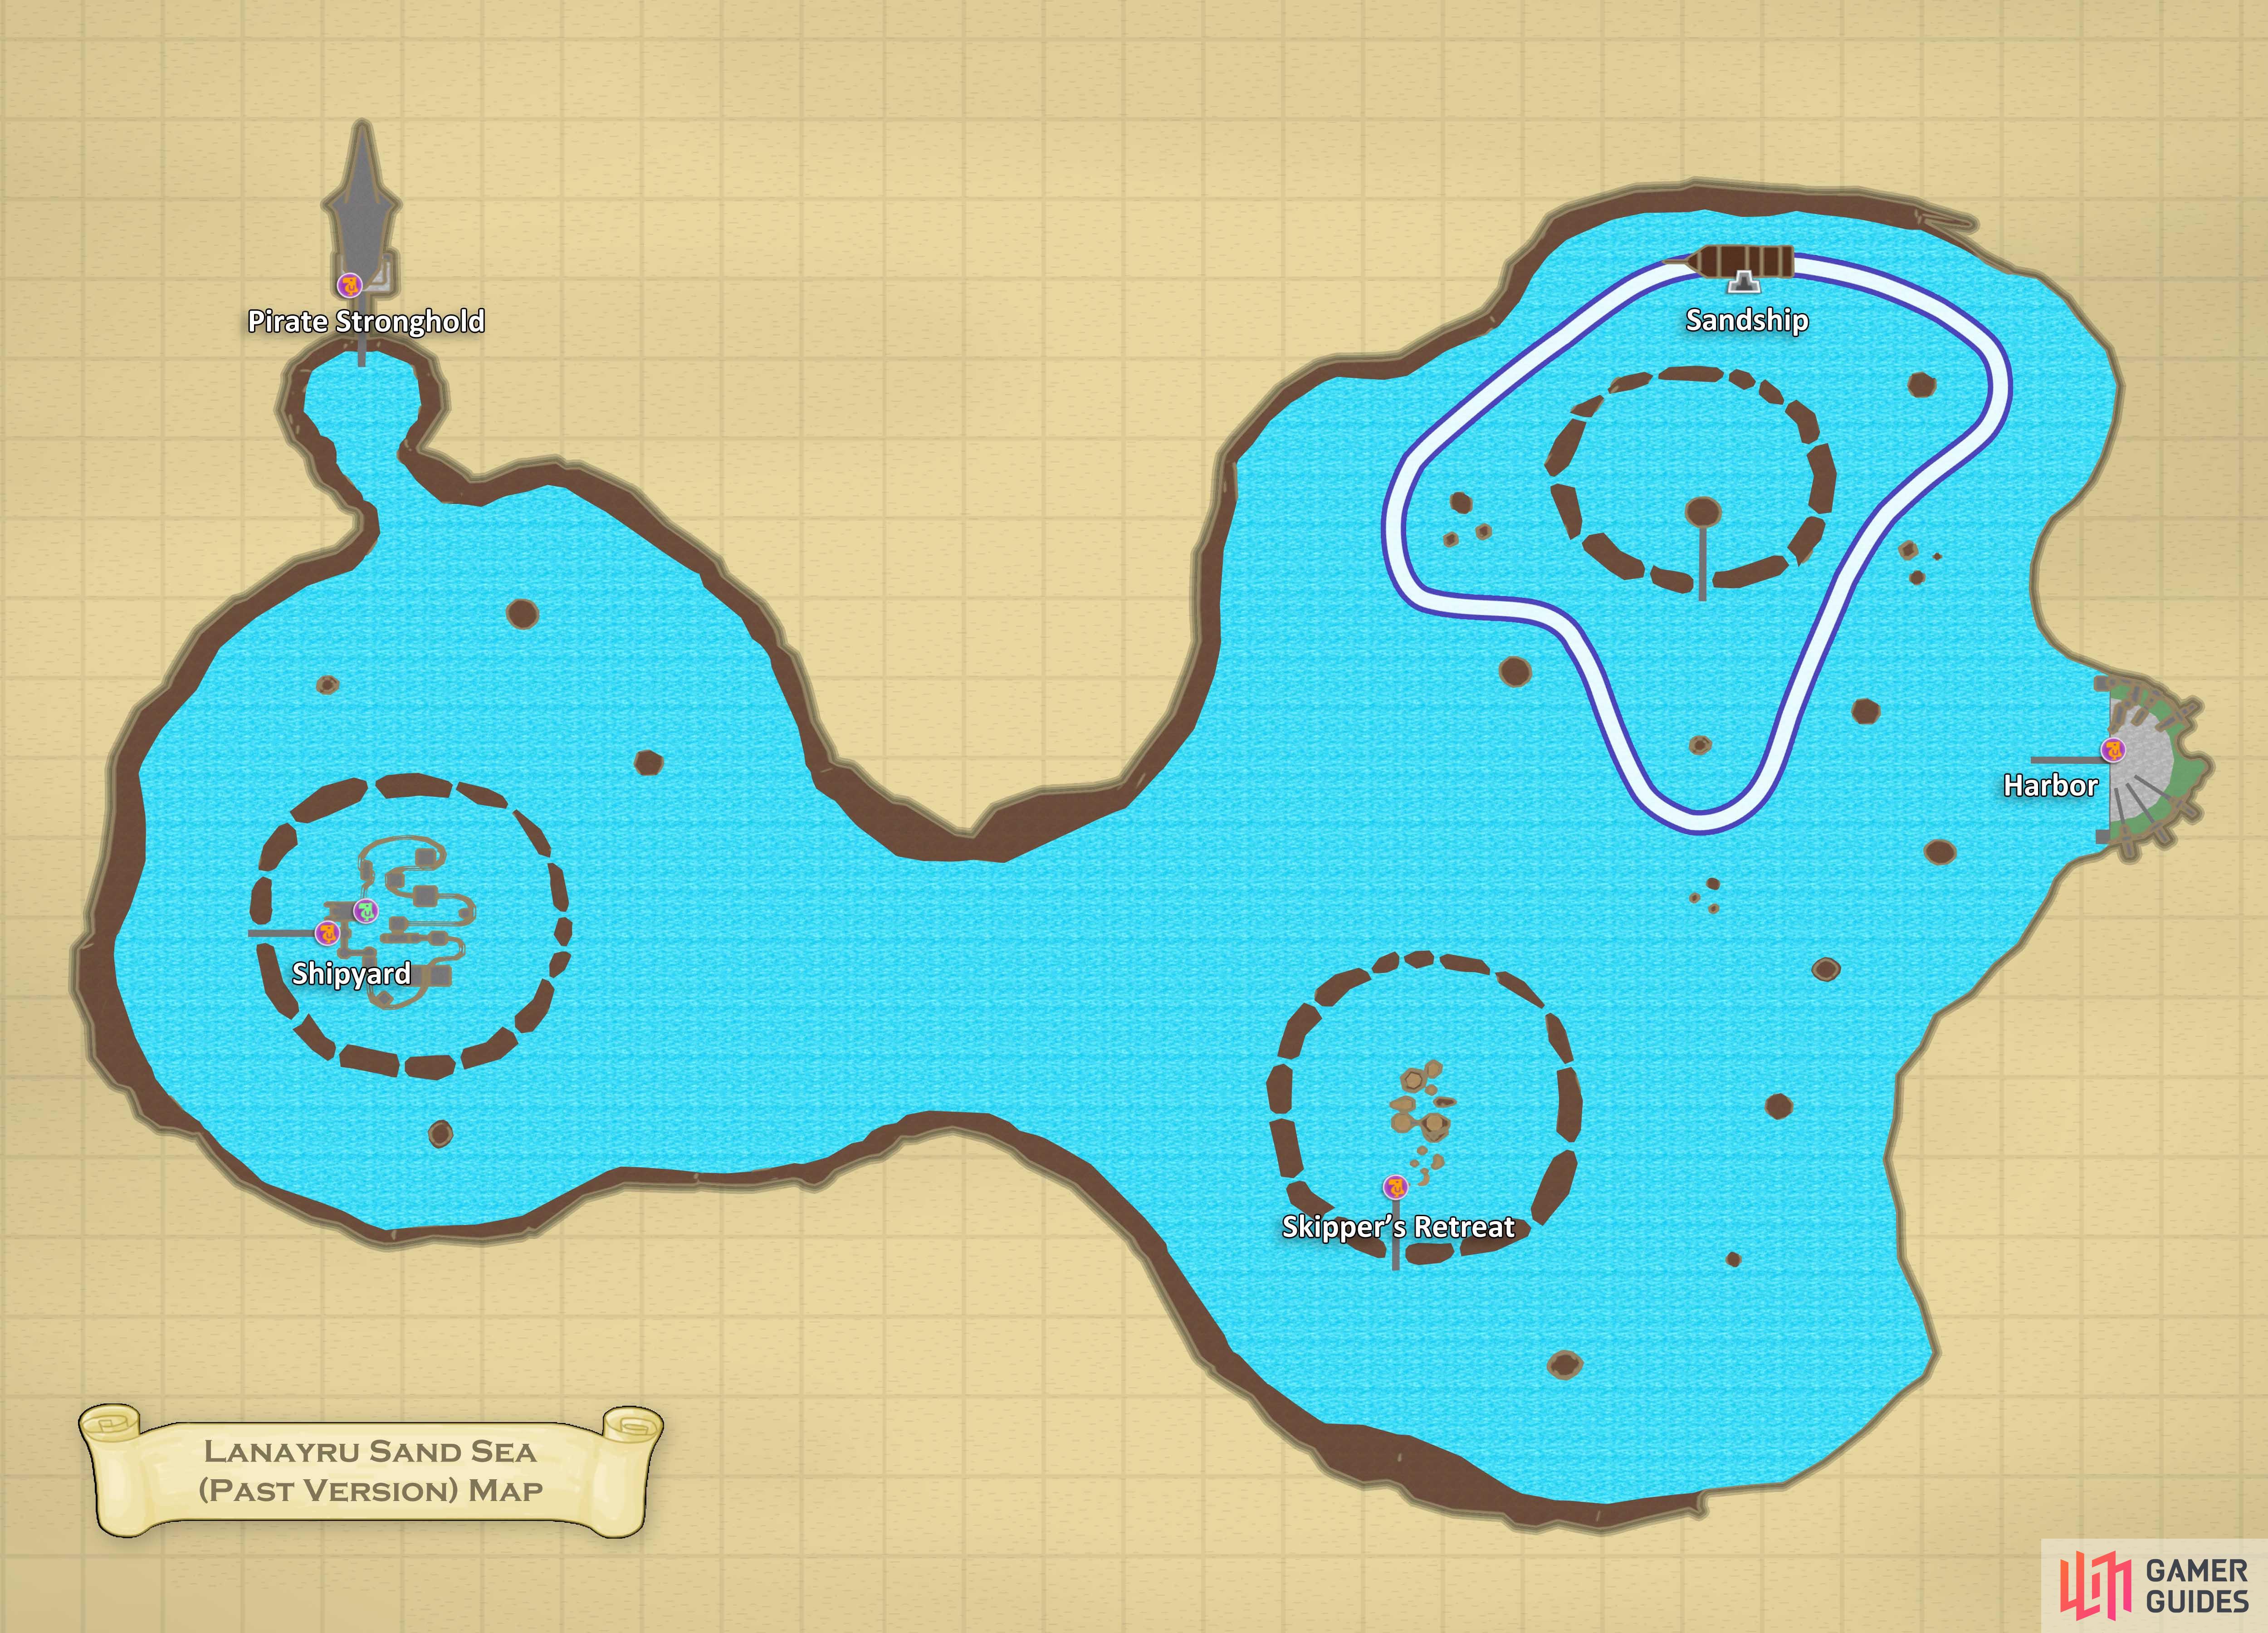
Map of Lanayru Sand Sea. (left), Map of Lanayru Sand Sea (Past). (right)
So, first, you’ll learn how to control the boat. The Control Stick controls which direction you move (it’s weird, operating without an accelerate). The A button controls your boost, which has a Stamina Meter. The B button activates the cannon, with its aim operated with the Wii Remote’s point and shots with the A button.
Anyhow, your destination is the Skipper’s Retreat, which is south-southwest/southwest of the pier from earlier. Once you arrive there, disembark the boat.
No Comments