
North Area
(1 of 2) This is the final stretch!

This is the final stretch! (left), You can hold A to crawl faster. (right)
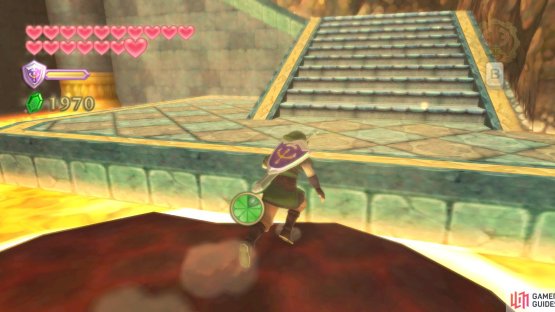
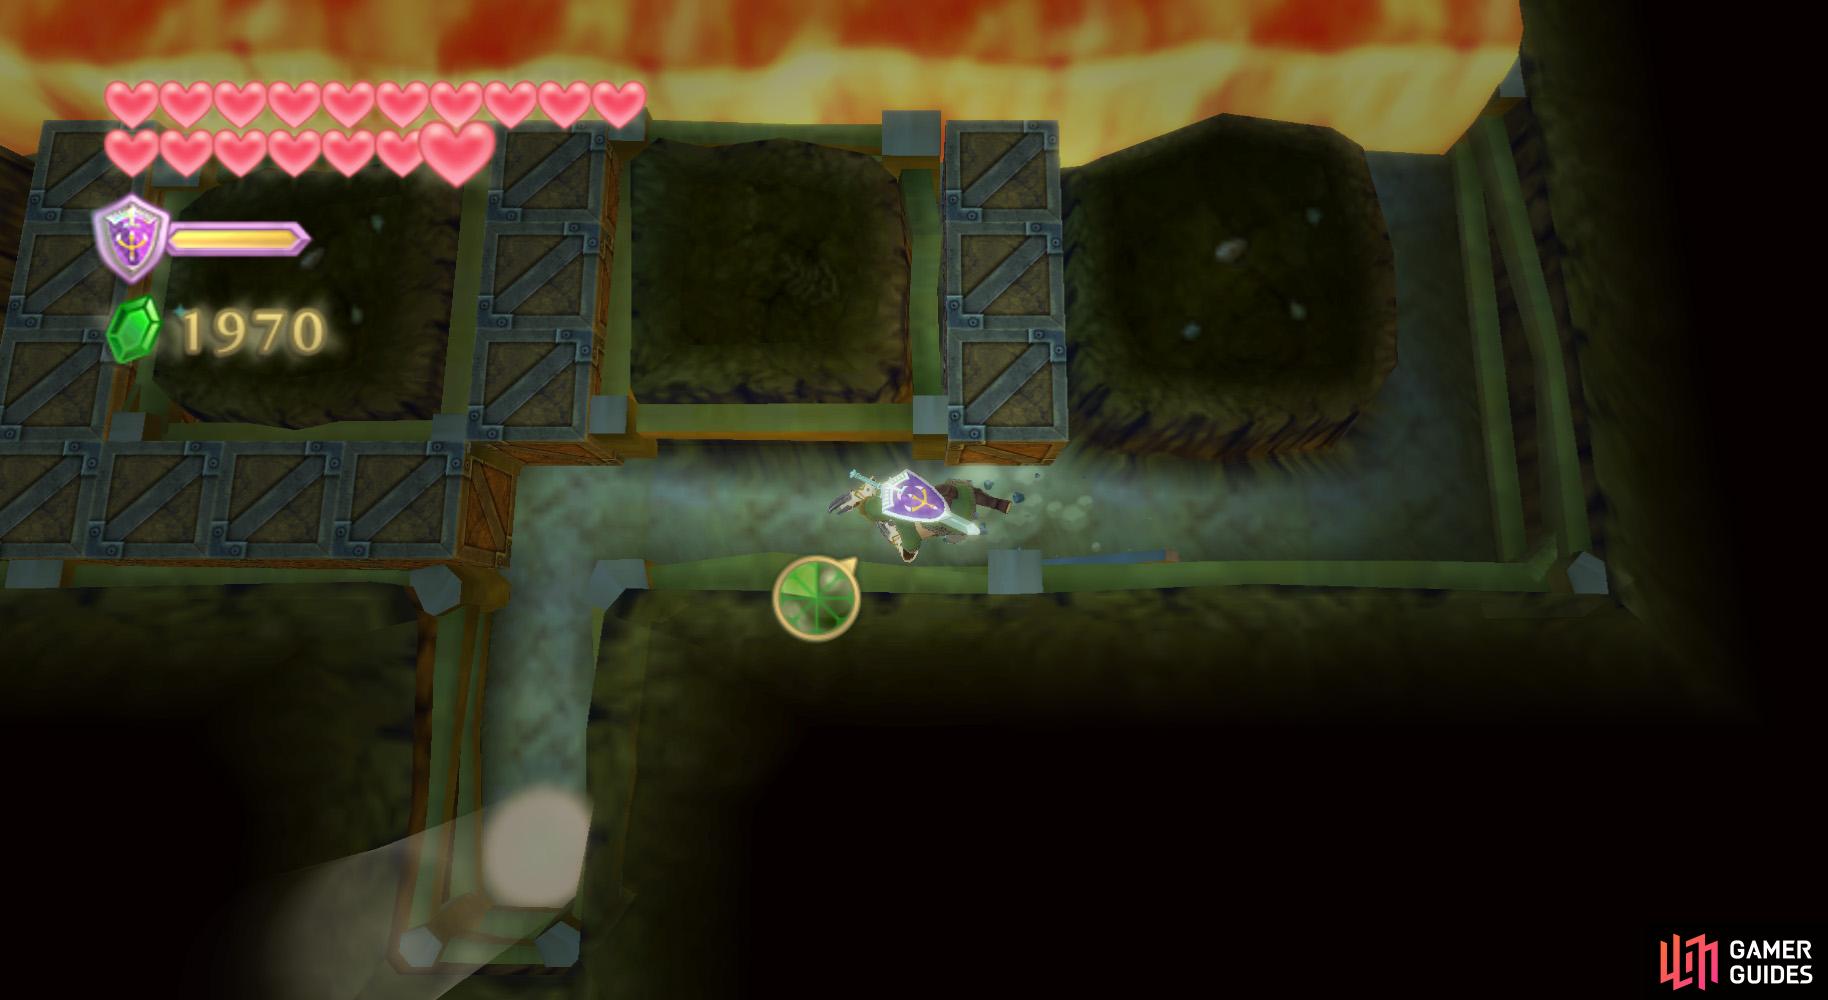
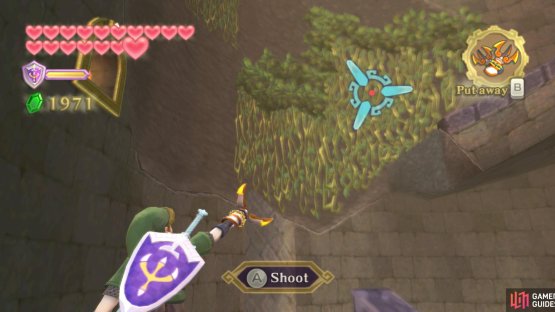
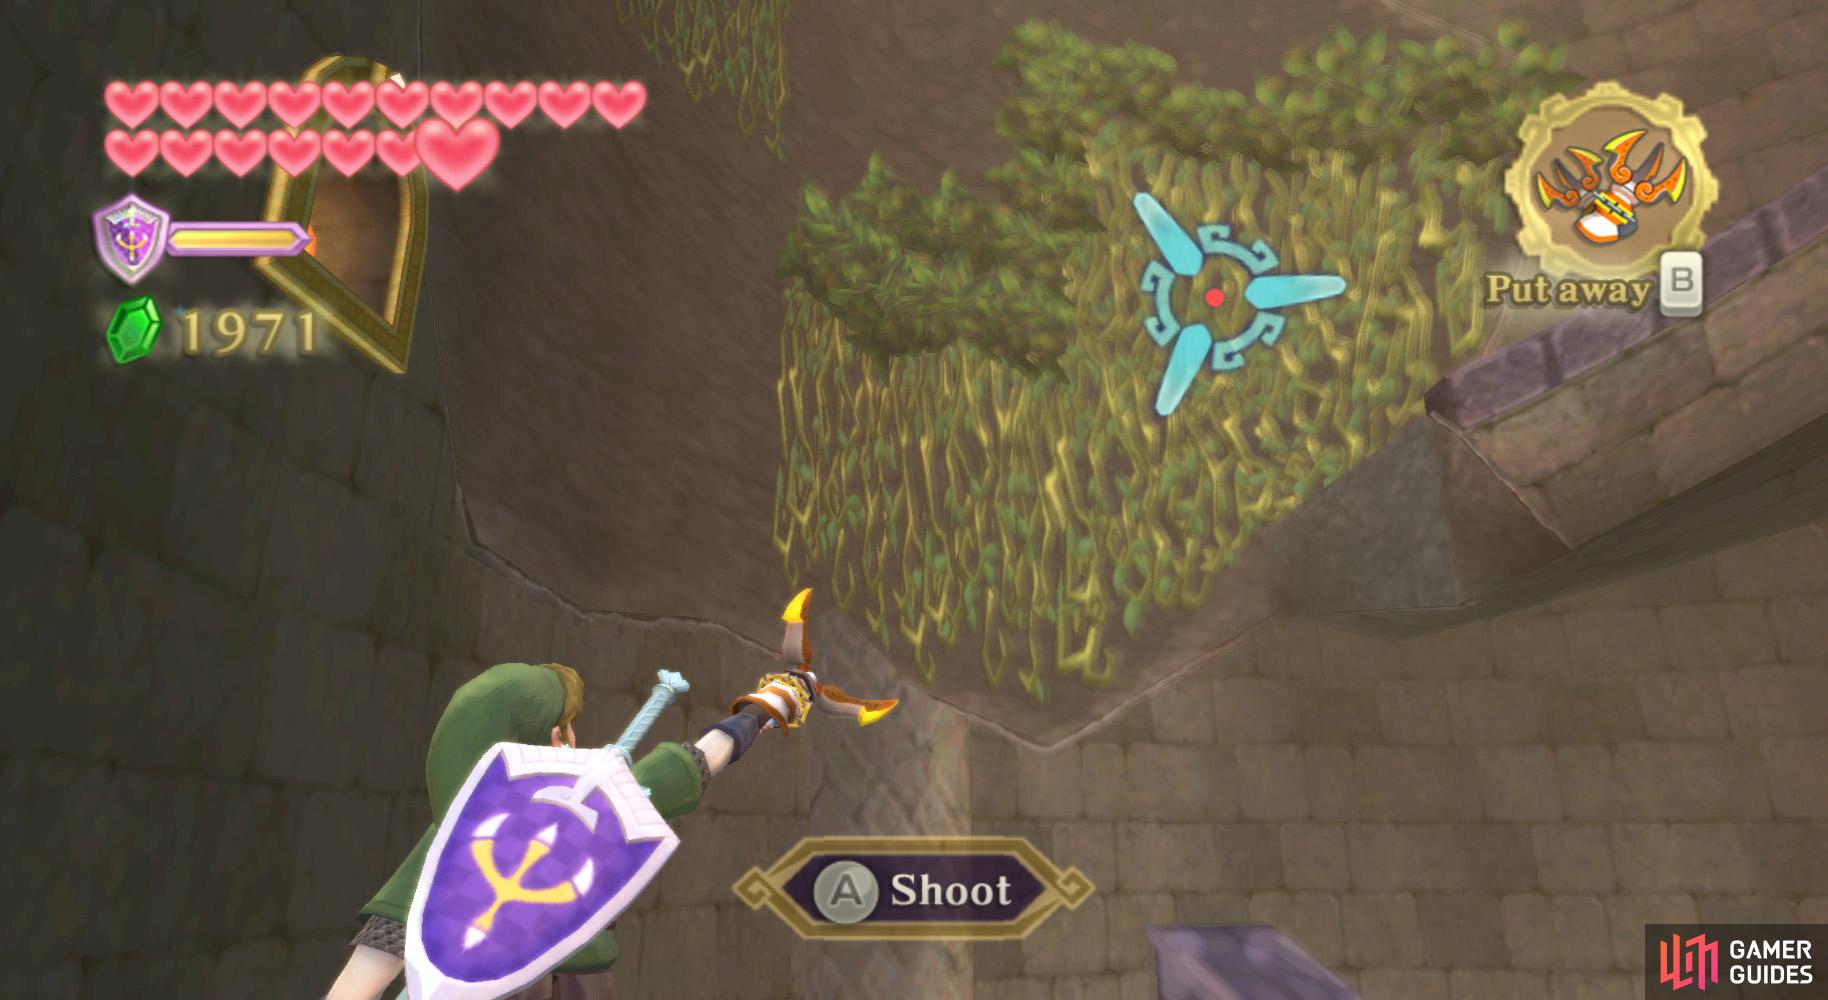
In this northern section, go along the path to the river of lava below. From a distance, use your Bow to kill off the Cursed Spumes and the Bokoblin Archers atop the high western ledge.
Use your Hook Beetle to hit the water plant above the magma. Jump across the newly-made temporal platform to find a door. Go through it.
North-West Room
In this room, go along the path and you’ll soon reach a burrow spot and a gate. Burrow underground and go to the nearby switch. Smack it and you’ll eventually get spotted by the nearby Mogma. The Mogma will re-smack the switch.
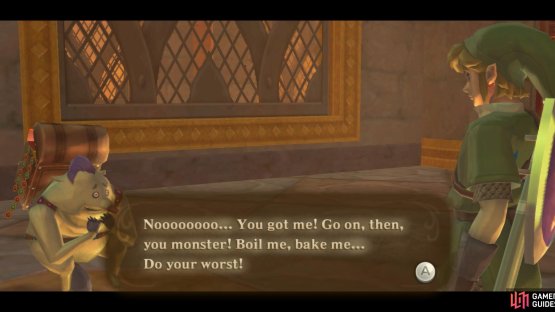
Go around the corner and towards the Mogma, who responds by daring you to catch him. This part is simple – wait for him at an intersection. As he approaches, dash out and touch him (touching him ends this).
Heart Piece 20
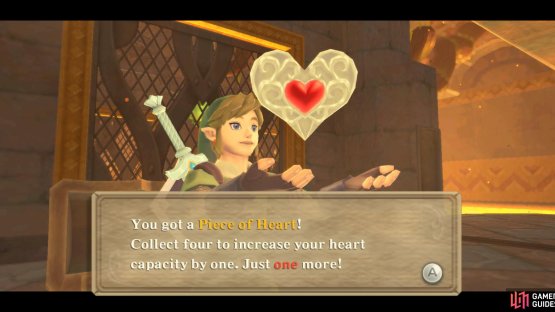
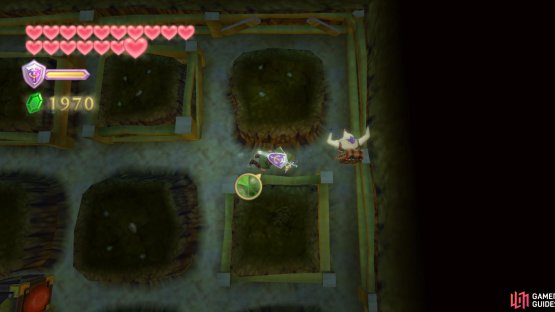
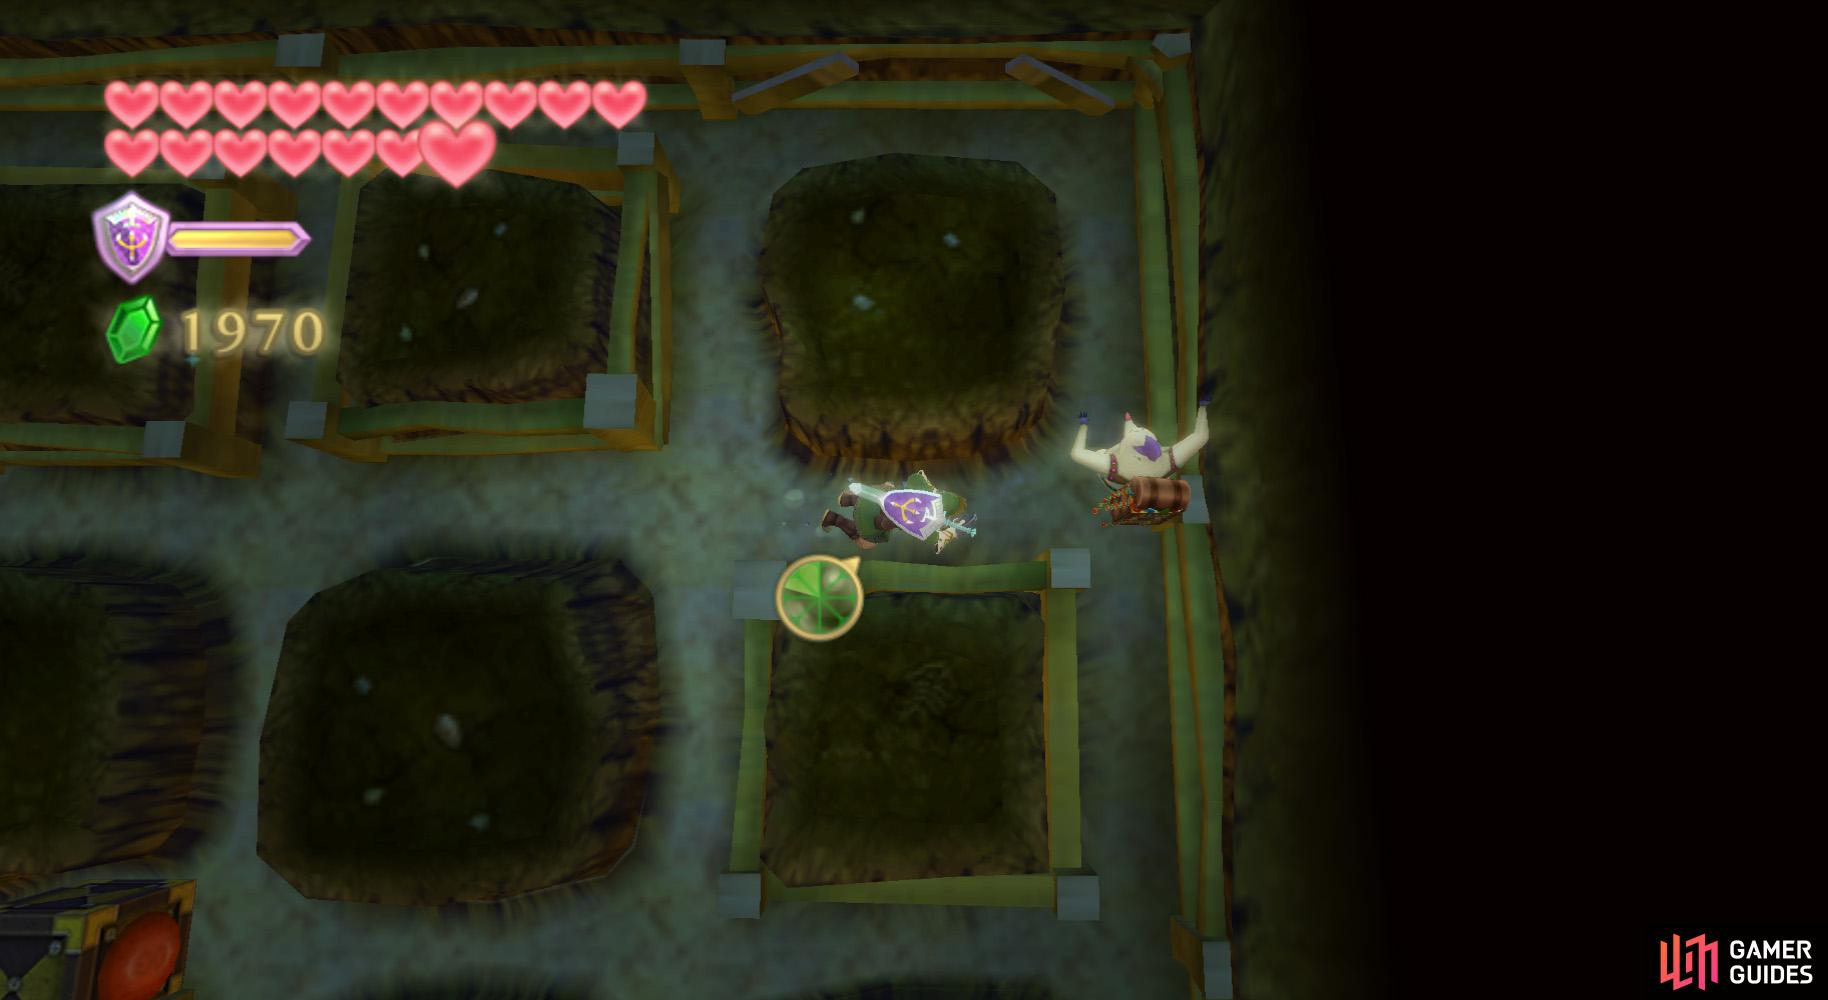
(1 of 2) Chase the Mogma on your way to the boss room for this Piece of Heart.

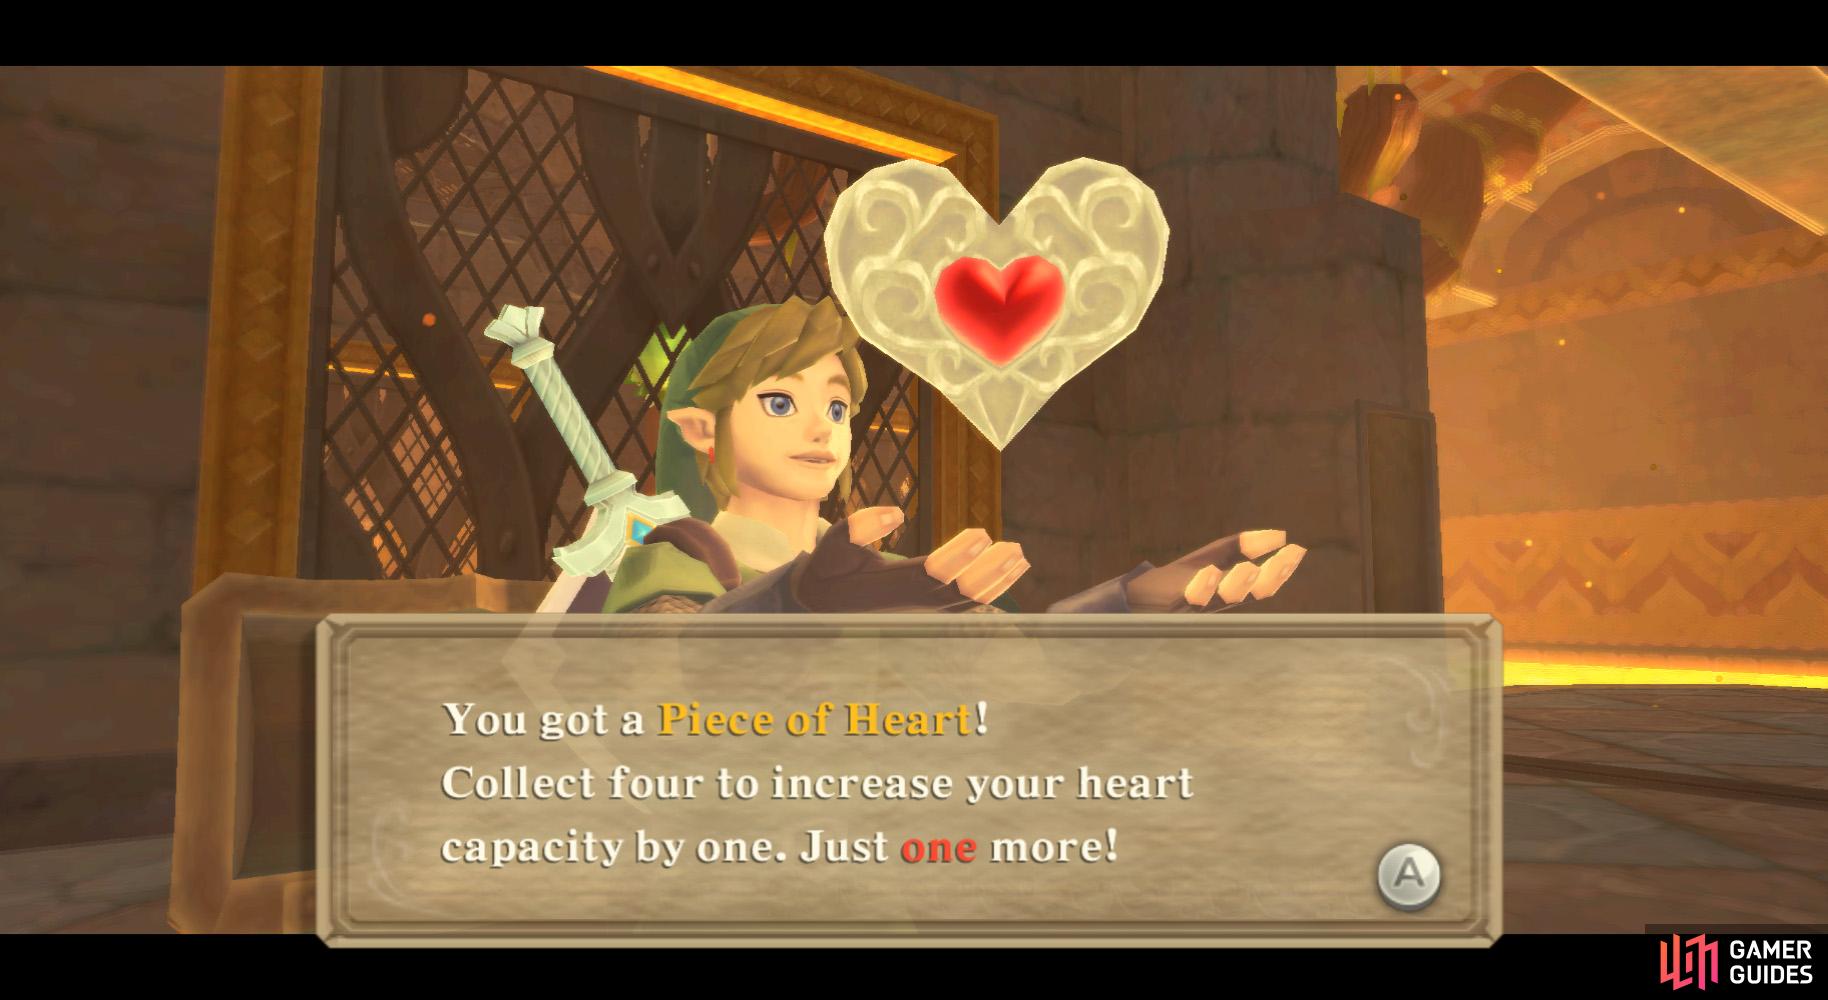
Chase the Mogma on your way to the boss room for this Piece of Heart. (left), (right)
Afterwards, you both will return aboveground and, after a conversation, you’ll receive a chest. Open it up for Heart Piece 20 and an opened gate.
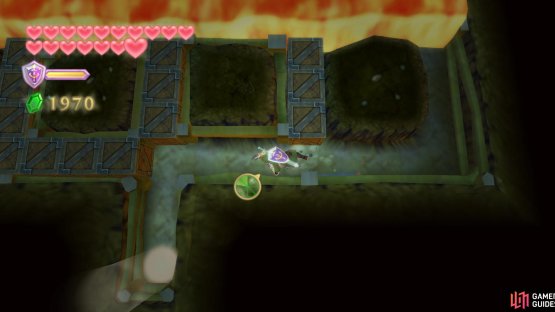
Go through the opening to find some Cursed Spume and Dark Keese. Get rid of them and then hit the water plant above the lava with your Hook Beetle. Ride the platform along the current and jump off at the other side. There, step onto the floor switch to create yet another shortcut.
After saving, burrow into the nearby patch. Go around the tunnel, noting the locations of the Stamina Fruit as you do. Attack the boulders in the corner, then smack the Bomb Flower to the north and all hell breaks loose. That magma is now rushing towards you - if you touch it, you die.
(1 of 2) It’s not half as bad when you know what’s coming.
It’s not half as bad when you know what’s coming. (left), Go back and hit the spiky plant, then ride the platform downstream. (right)
Dash around corner and continue dashing until your Stamina Gauge is a sliver from empty. Collect the first Stamina Fruit you find as you go – the second is either too risky or already burnt. Don’t let your Stamina Gauge empty; if it gets too low, just crawl along at the normal speed.
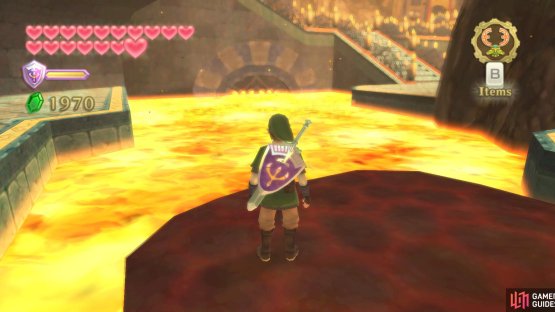
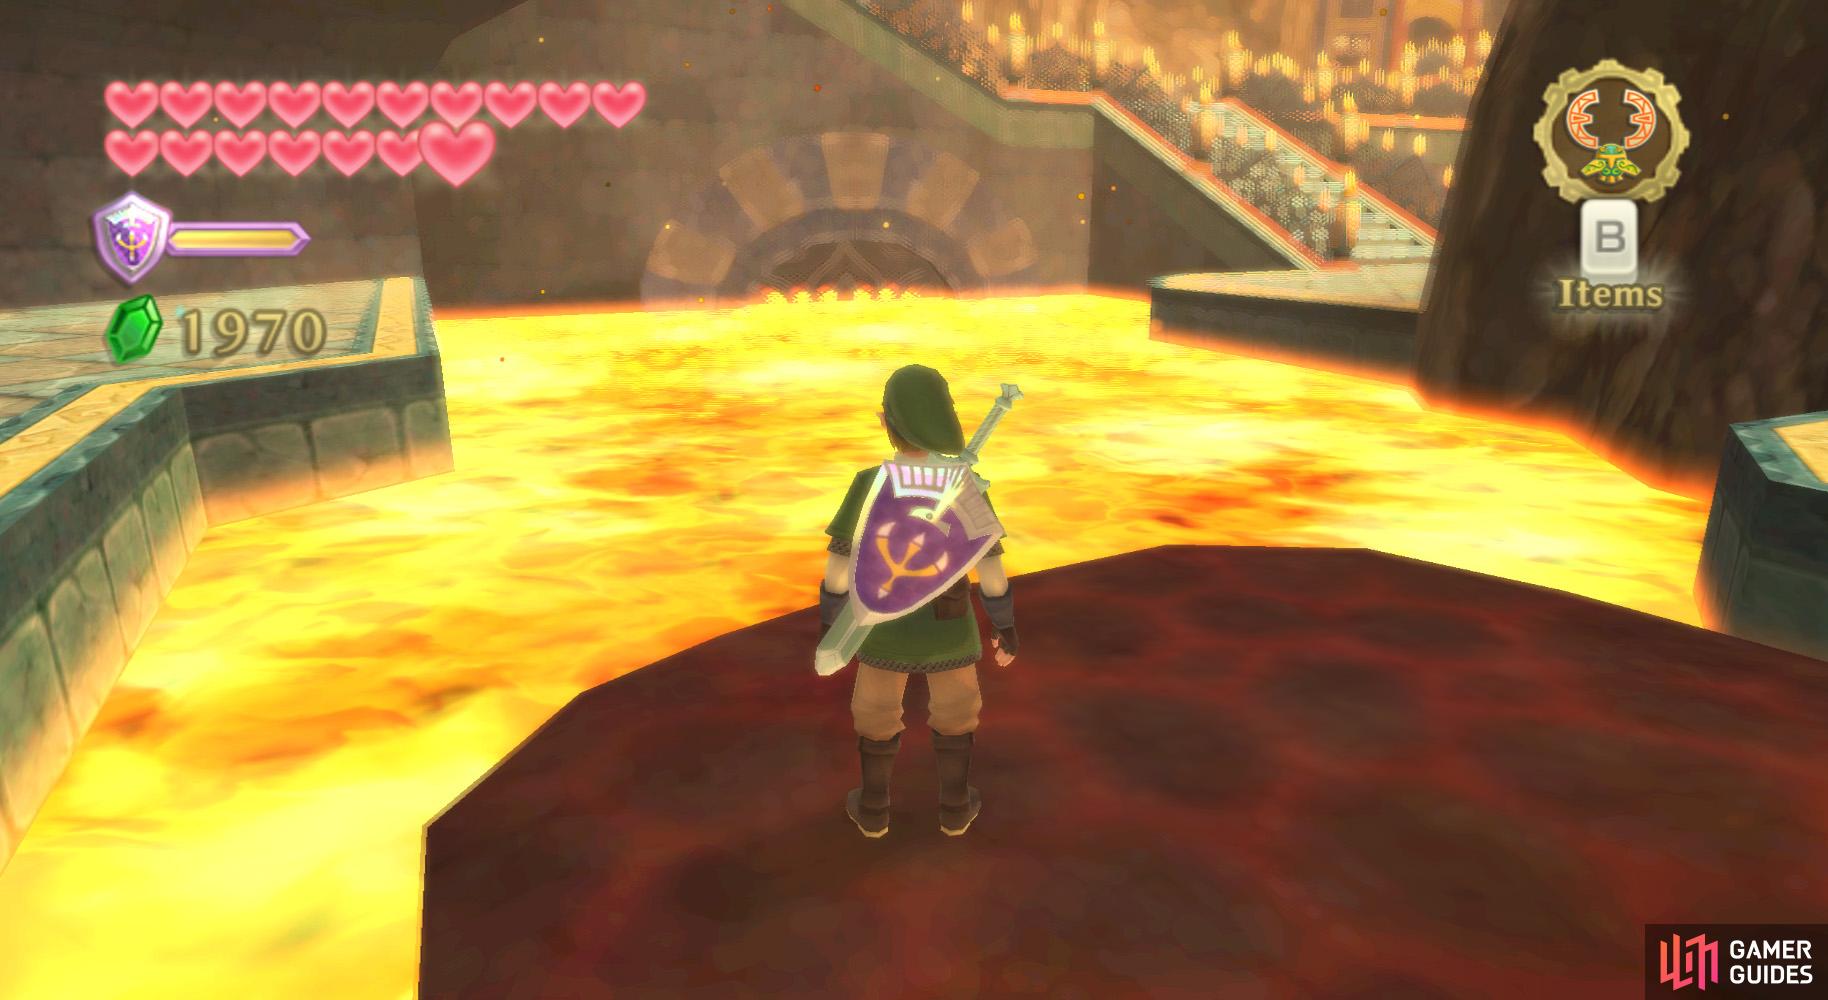
If you successfully exit these tunnels, the statue heads outside will start to spew out lava, creating a current in the below river. Save at the nearby Bird Statue, then go through the door nearby and downstairs.
North Area (Again)
Go to the edge of the river, then launch your Hook Beetle above to the water plant. Hit it, then jump onto the platform.
(1 of 2) You want to leap towards the statue with its eyes closed.
You want to leap towards the statue with its eyes closed. (left), Talk about a leap of faith! (right)
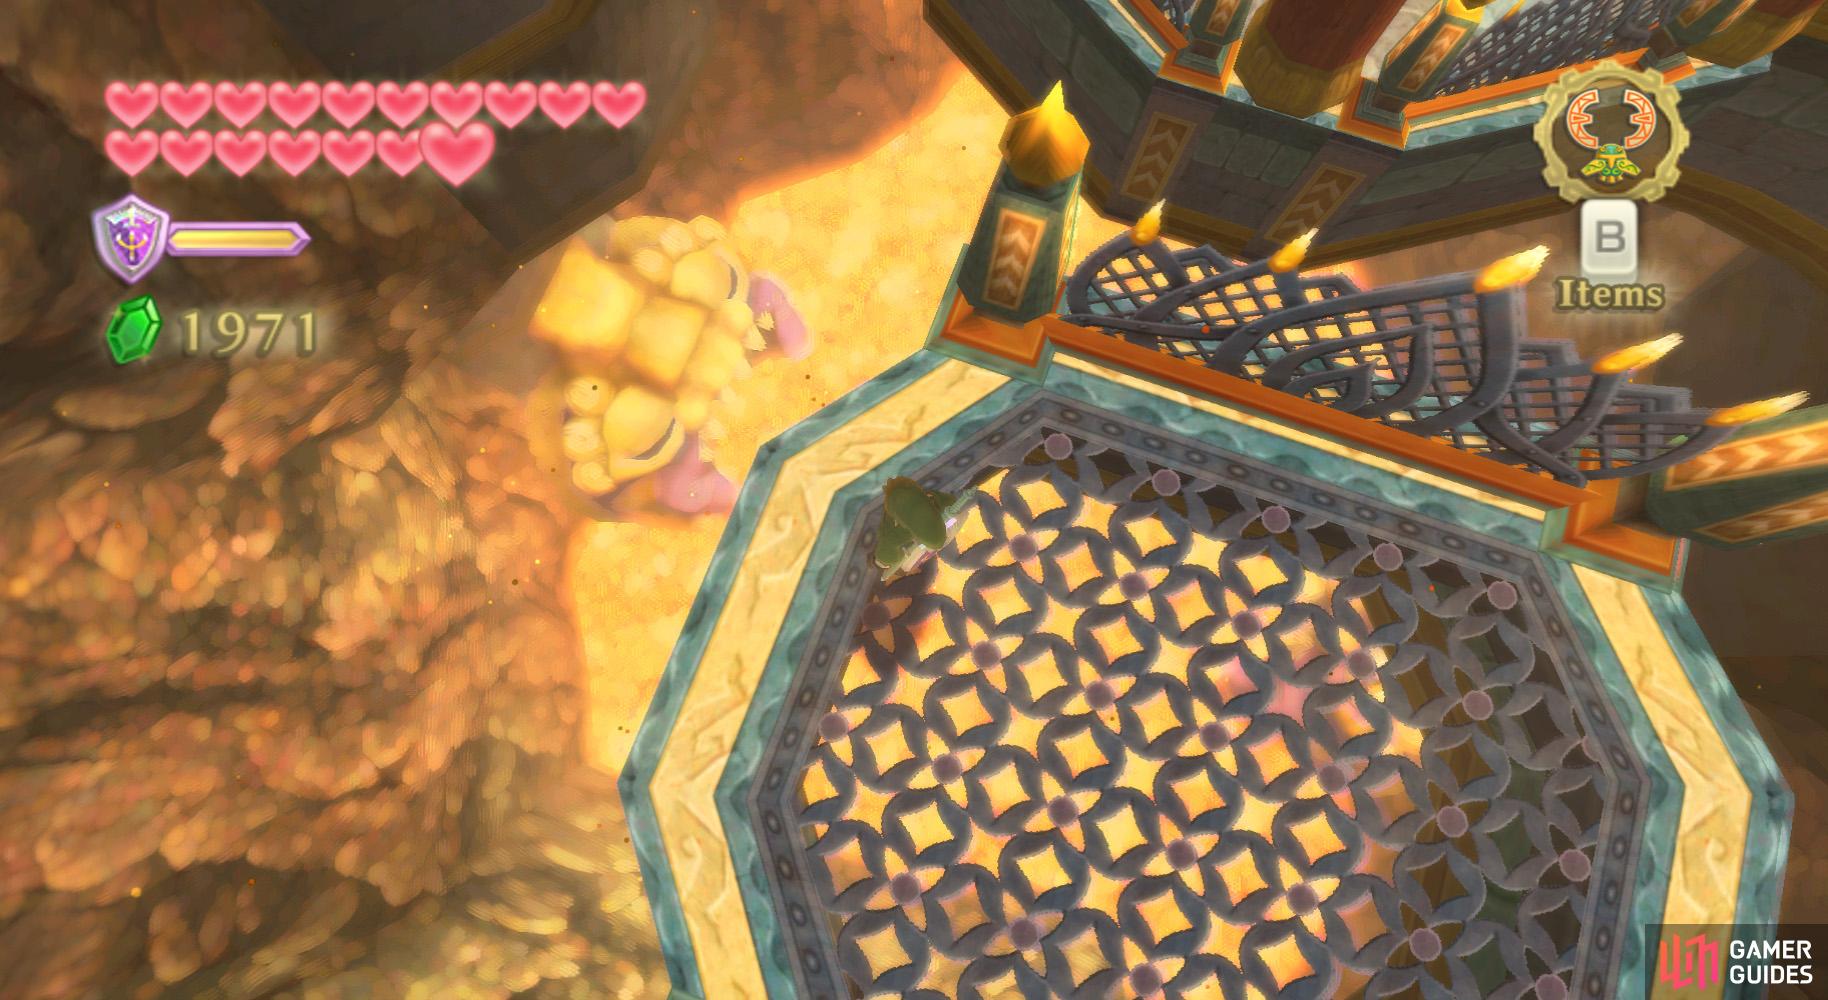
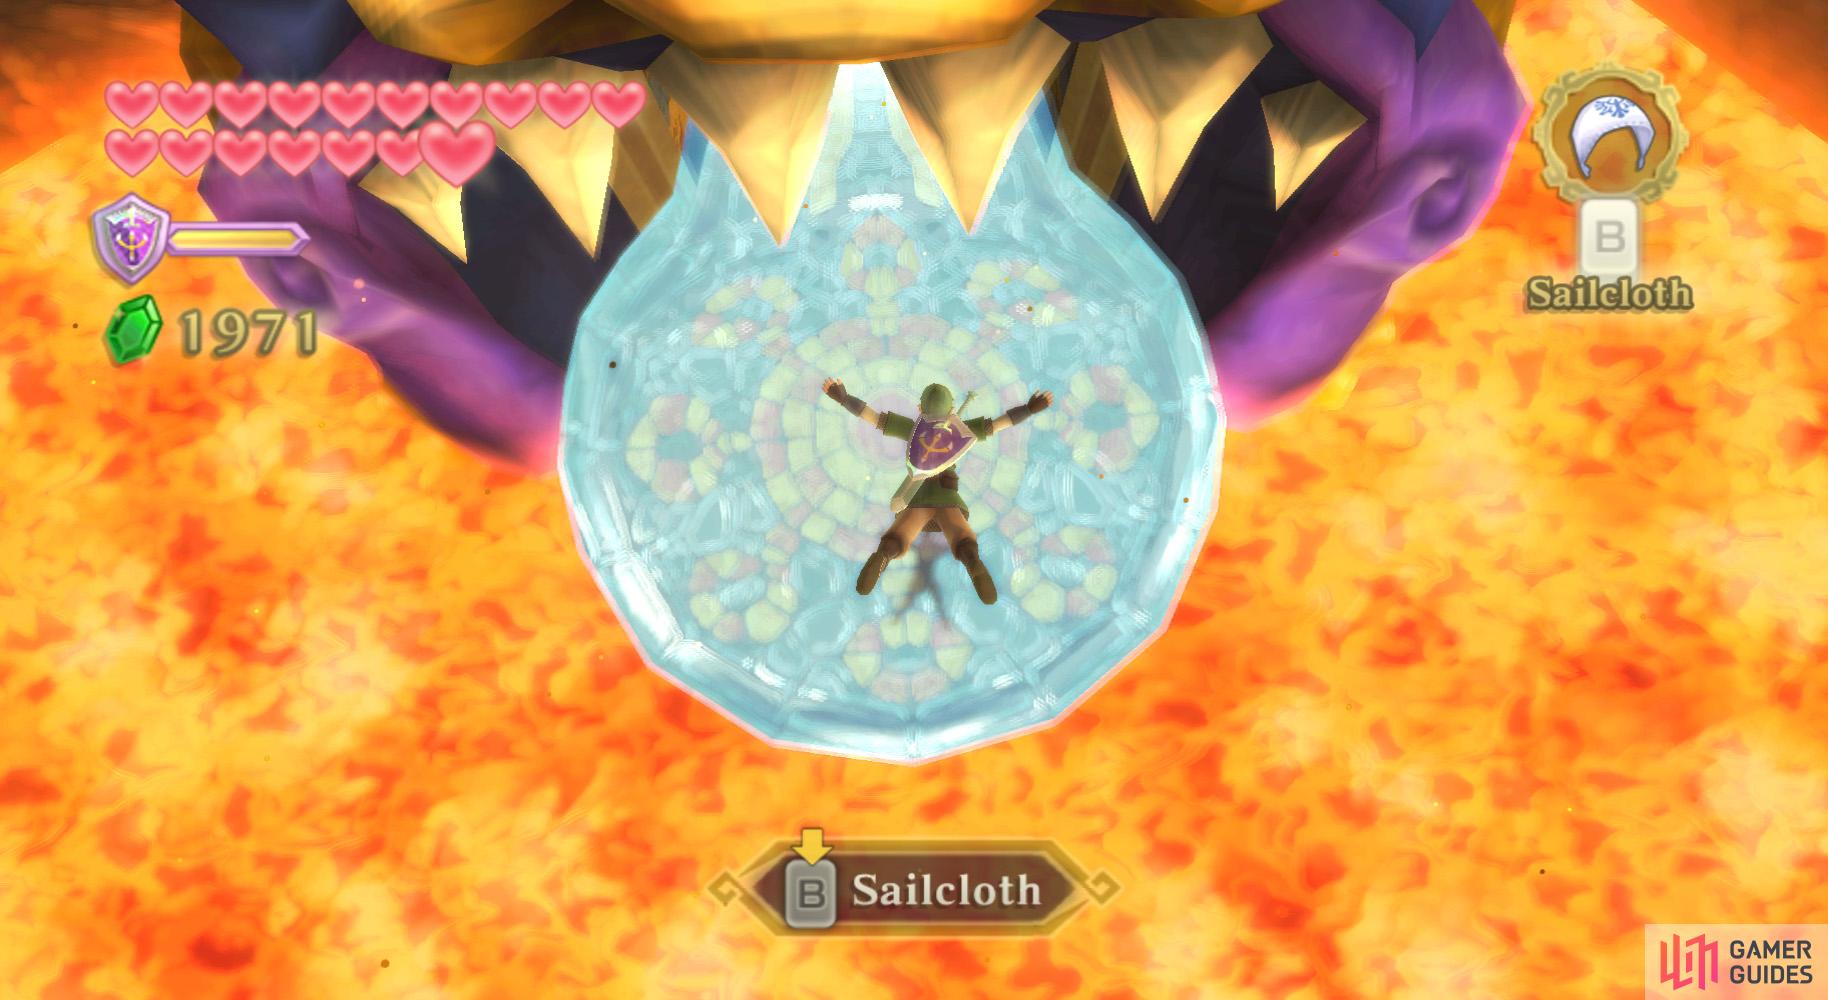
At the other end, jump off the platform and head upstairs to a Bird Statue and an intersection. Use the former, and go the seemingly dead end behind the former. You’ll find two statues below – one looks likes it’s sleeping, the other like it’s awake.
Drop down onto the one that is sleeping - the one on the left. Anyhow, you’ll reach a magical platform.
Basement
Head along the path and around the corner to find a group of Blessed Butterflies. Summon up a Goddess Wall (if you need healing, I’d recommend drawing the Triforce or some hearts), then go through the door nearby.
You need to defeat the two Dark Lizalfos here to unlock both of the doors. Do so and go through the unused one on the high ledge.
(1 of 2) The first gap, you’ll need to Clawshot the vines to get across.

The first gap, you’ll need to Clawshot the vines to get across. (left), The other gaps, you can jump across. (right)
In this area, go upstairs to a kind of landing. Go around the bottom of the room and you should find another grouping of Blessed Butterflies nearby; you can also summon a Goddess Wall here.
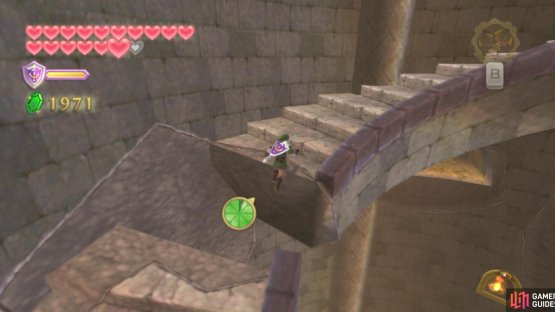
Proceed up the staircase, defeating the Dark Keese as you go. At the part with the vinery, look up to find two separate sections.
Clawshot to the top-left section, then turn and go to the hidden set of vines near the ledge. Land on the ledge to find a random treasure within the treasure chest. From there, you can Clawshot to the right set of vines to continue your journey to the top of the stairs. There, go through the doorway to the next room.
North-East Room
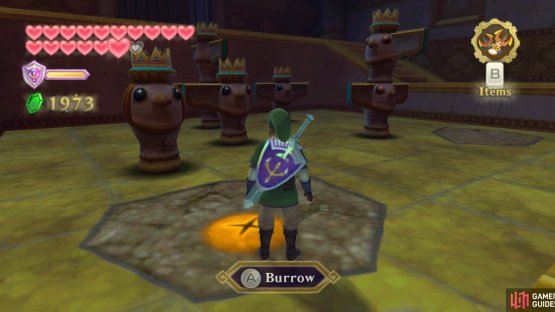
(1 of 2) Before burrowing, identify the number of wings on the four statues.
Before burrowing, identify the number of wings on the four statues. (left), Solve the puzzle and defeat the Moldorm to get this boss key. (right)
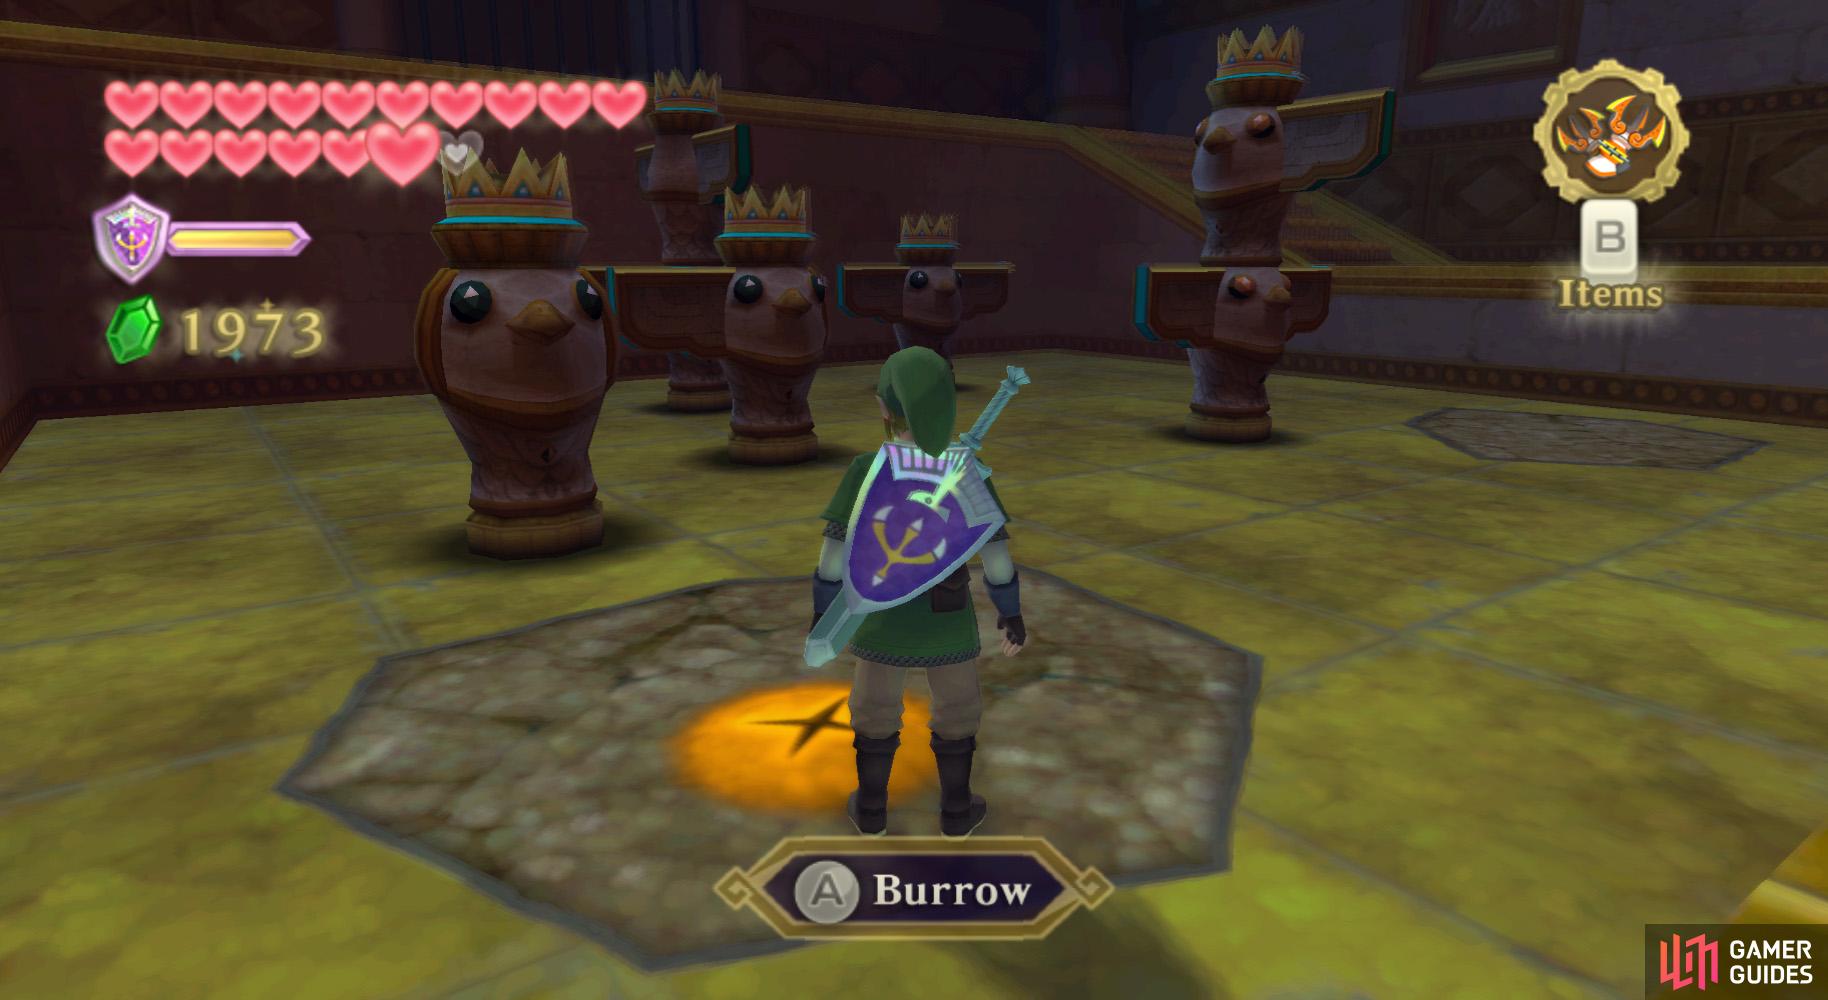
Here, you’ll find five statues, each having some wings. Imagine the wing numbers as the statue’s own number (0, 1, 2, 3, 4). Memorize their positions and burrow underground.
Here, you’ll need to travel onto the switches beneath the statues in their numbered order by wing number. After the first two, you need to smack the Bomb Flower to the north to continue with the sequence. Once you end up hitting them all correctly, you’ll have to defeat a Moldorm.
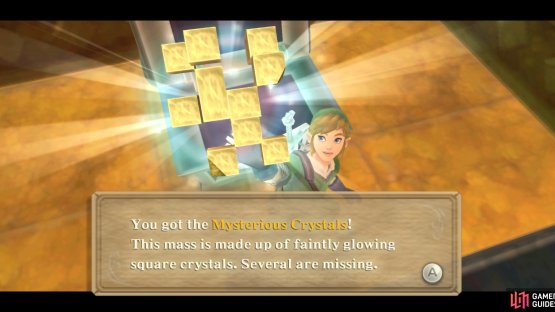
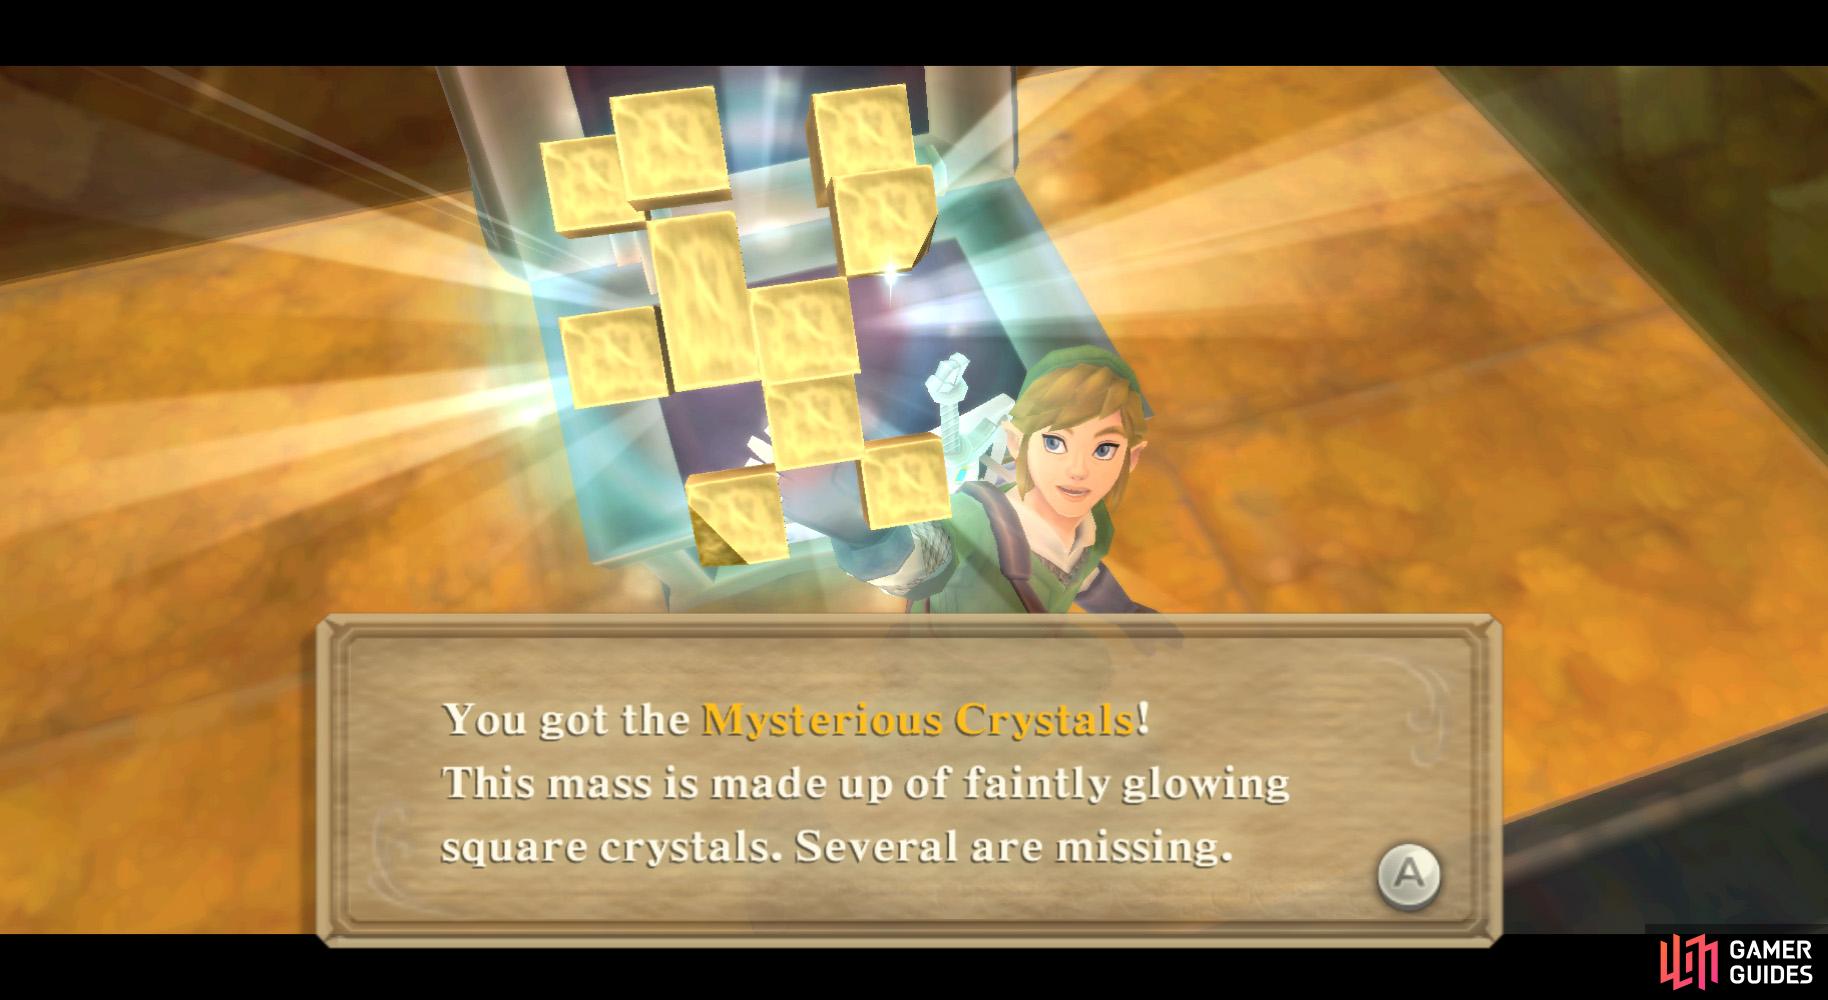
Once you defeat the Moldorm, you can return aboveground. Here, go to the chest to find the boss key for this dungeon, the Mysterious Crystals.
Go up the stairway at the other side of the room and outside via the doorway.
North Area (Final Stop)

(1 of 2) The Mysterious Crystals are kind of abstract, but eventually you should get the right shape.
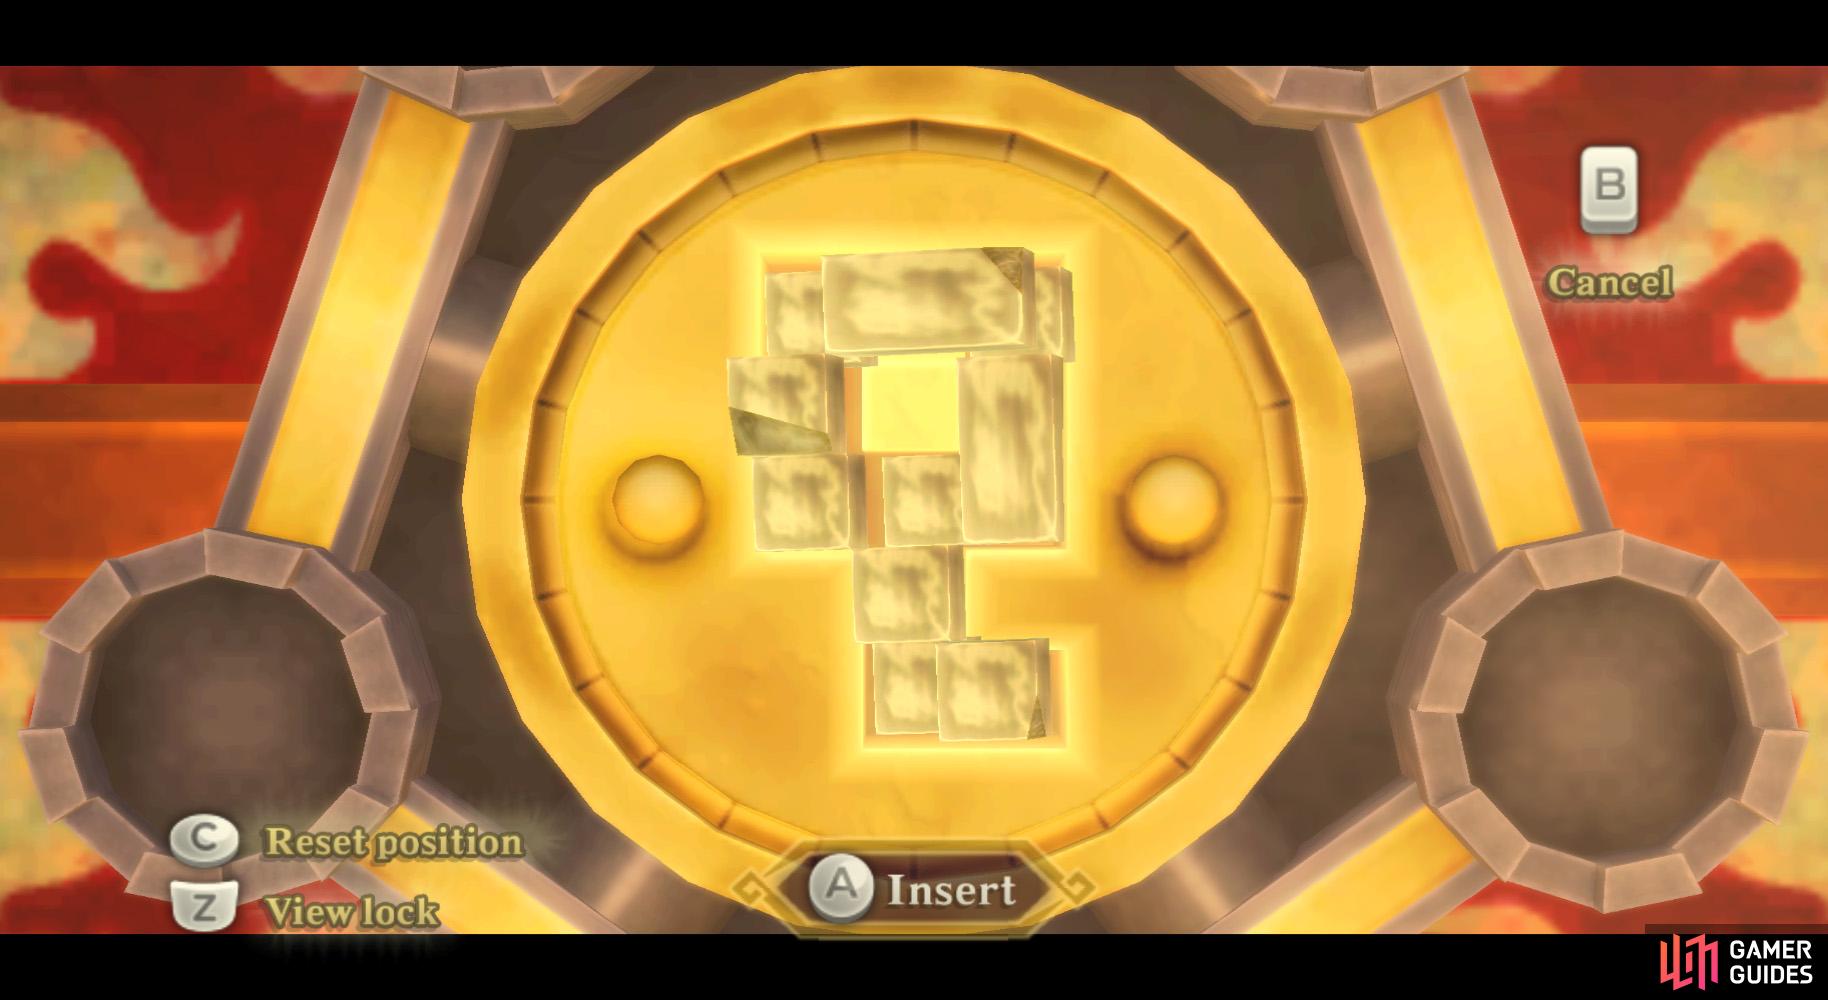
The Mysterious Crystals are kind of abstract, but eventually you should get the right shape. (left), Here goes nothing! (right)
There, step onto the floor switch to open up the barred gate. Go along the path to the intersection from earlier and save at the Bird Statue.
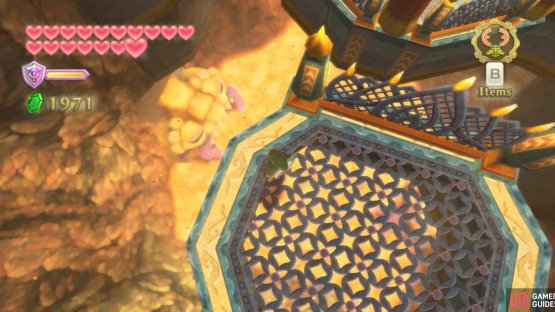
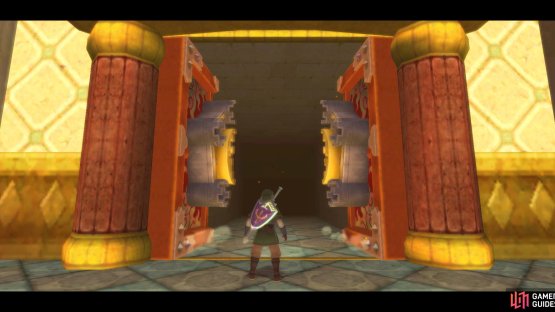
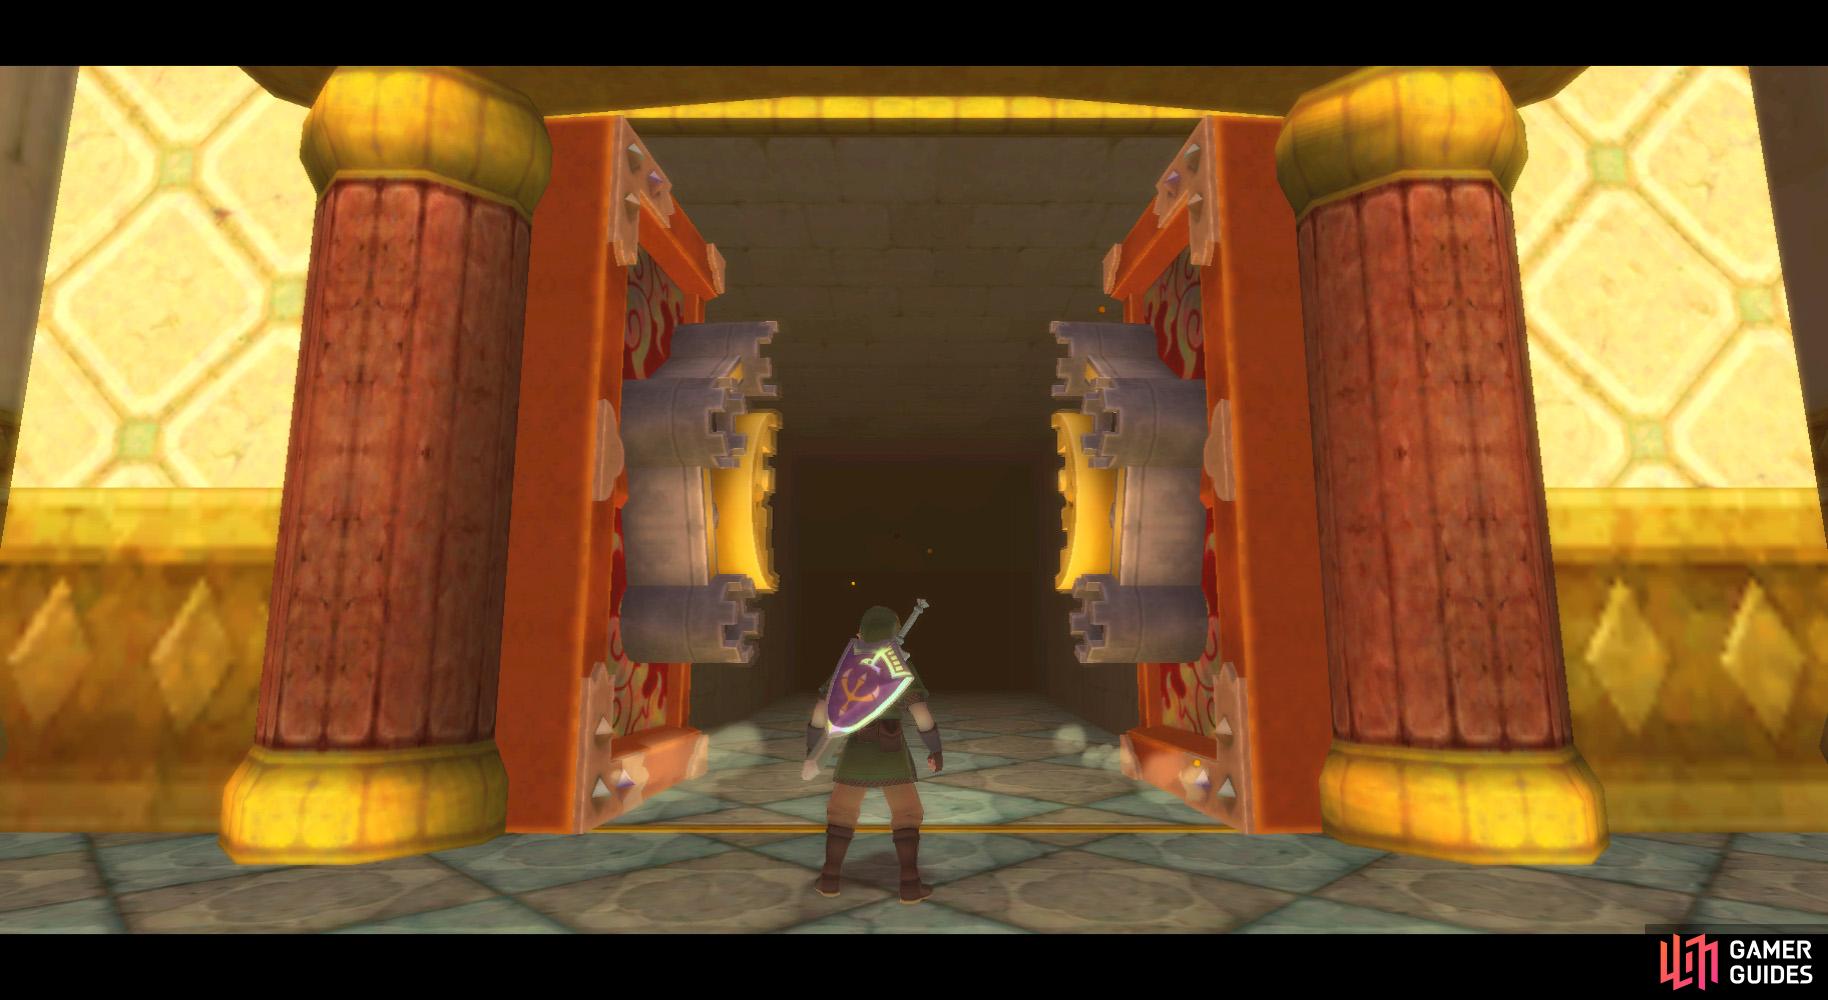
Go up the northern staircase to the large door. Examine the door and properly place the Mysterious Crystals into the lock to unlock the door, which starts up your next boss fight.
No Comments