
Massive Room (SW side)
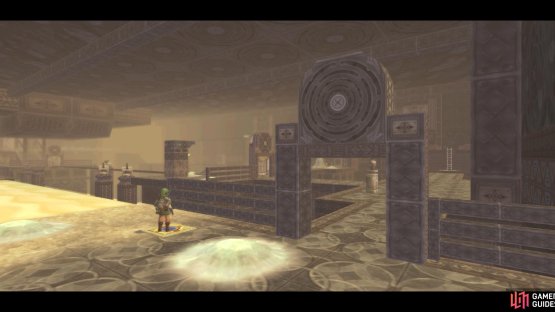

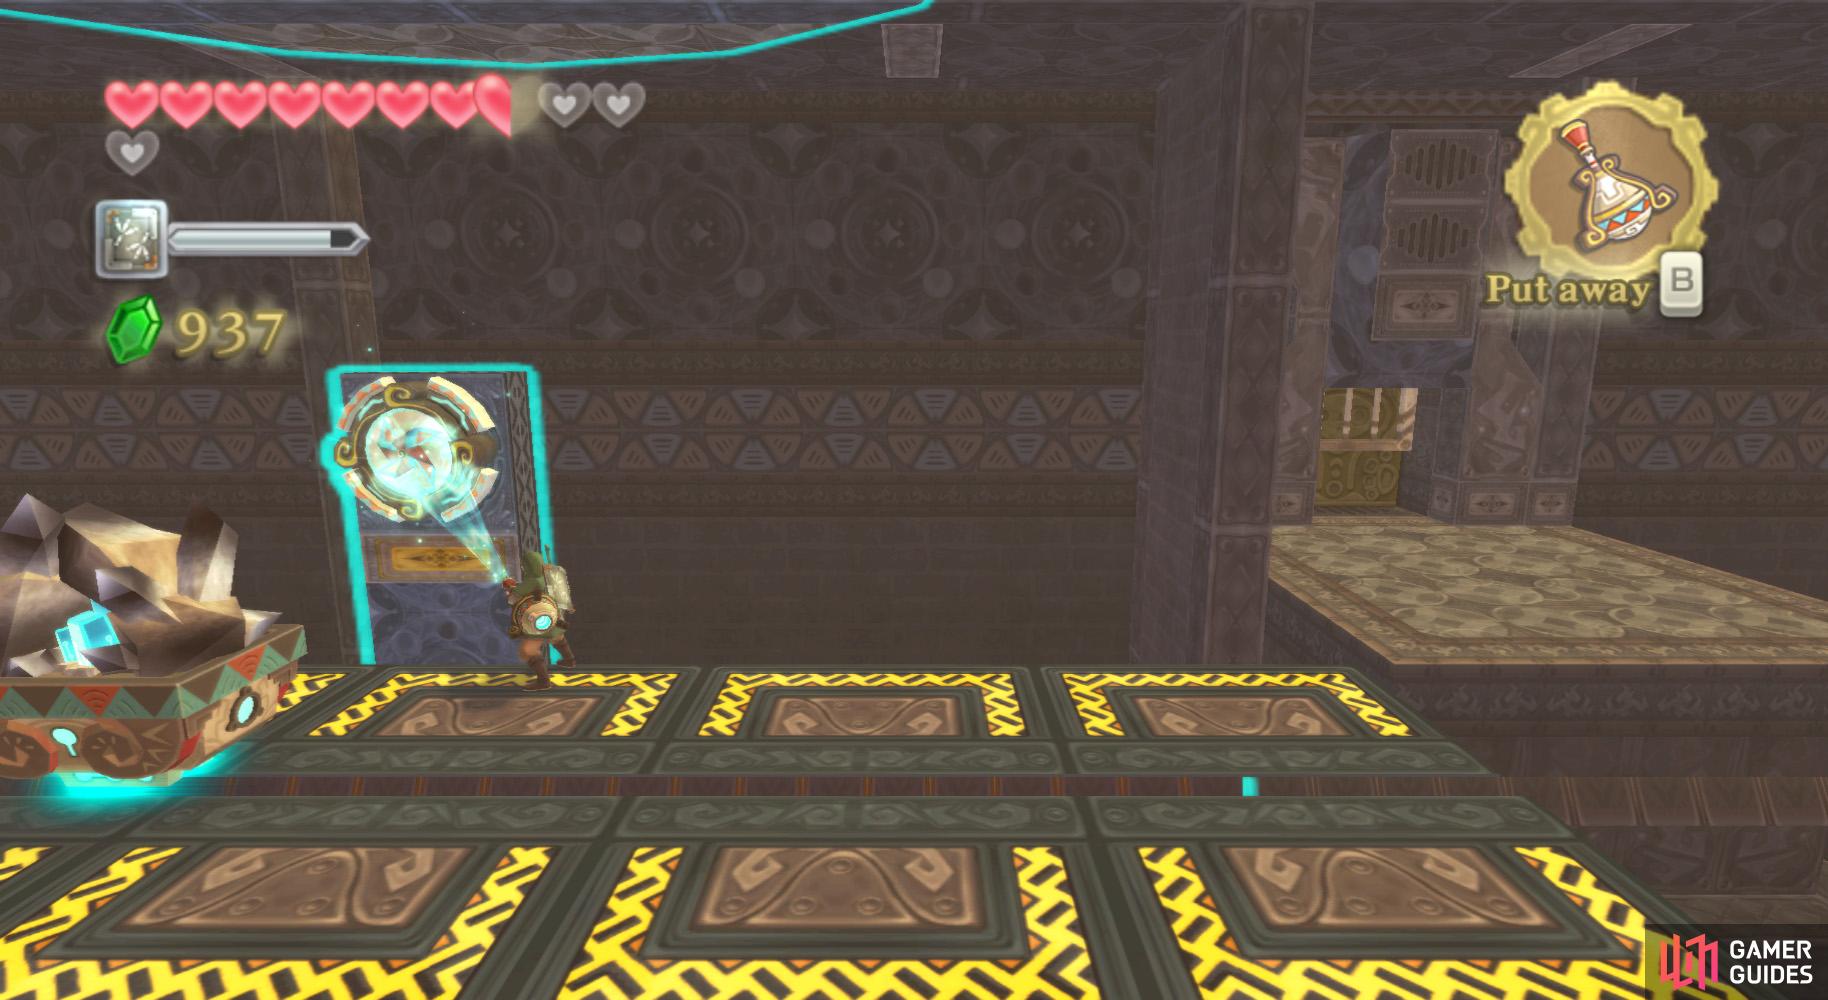
(1 of 2) Be sure to activate this shortcut, just in case.
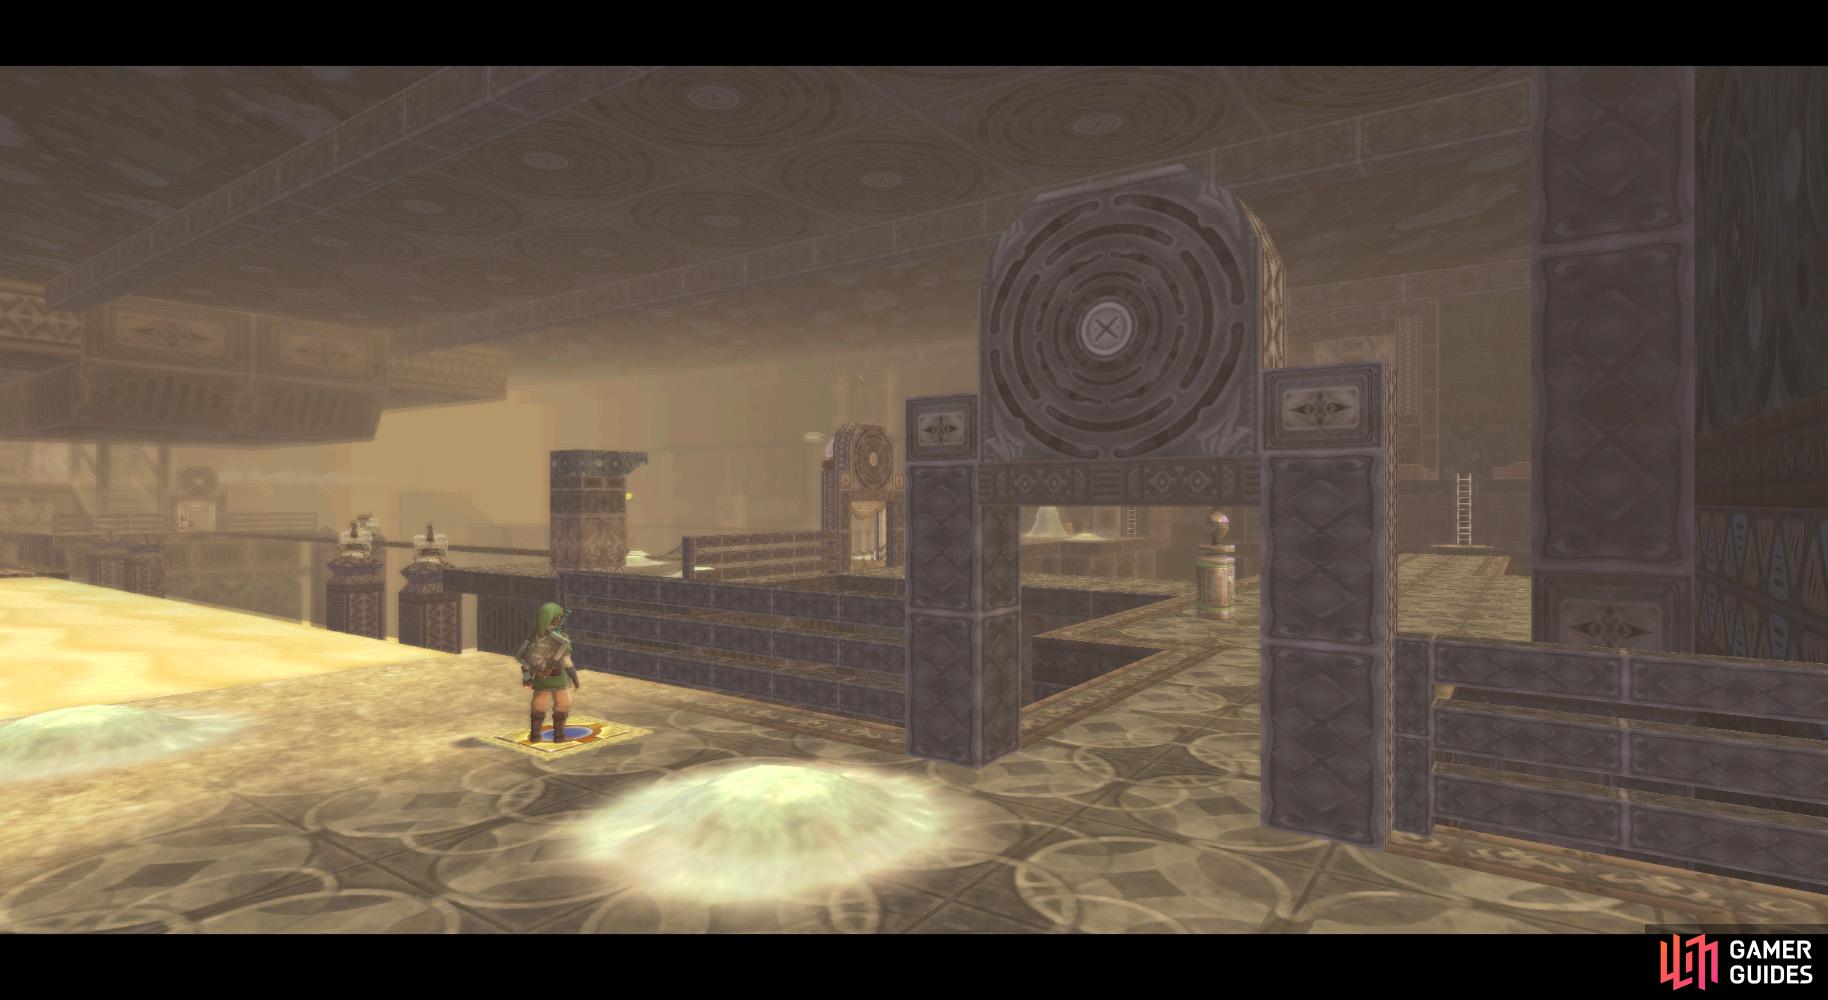

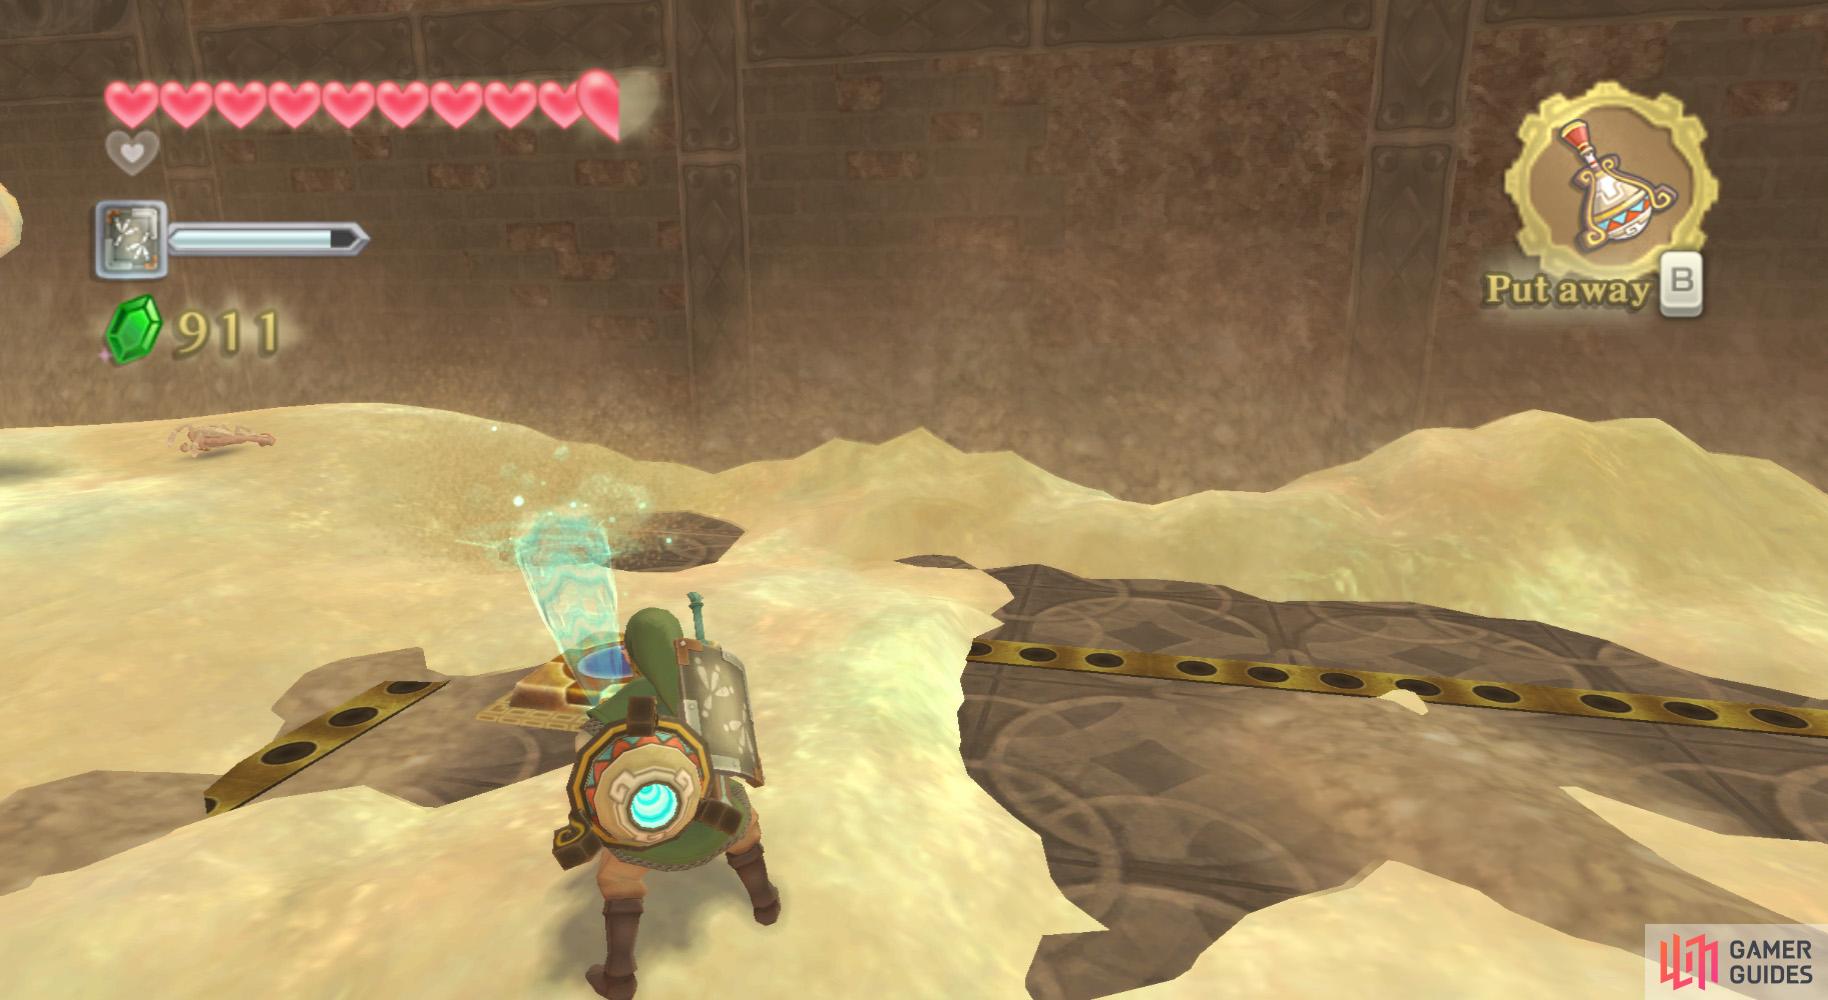
Be sure to activate this shortcut, just in case. (left), Use the map to find a safe place to cross this quicksand. (right)
And we’re back in the vast central area again! Anyhow, go forward and step on the switch on the floor to create a shortcut to the Bird Statue. Use if you need to, then return to the western portion of the room.
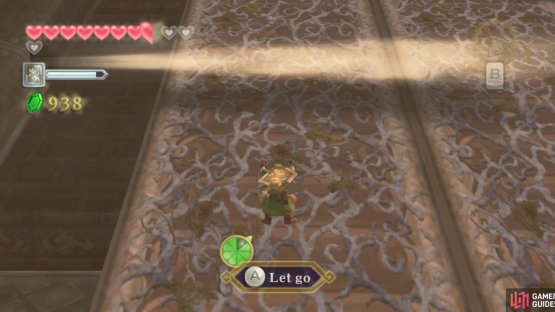
Examine the map – you’ll be able to notice some submerged pathways beneath the northern quicksand pit. Hint hint. Go ahead and begin crossing.
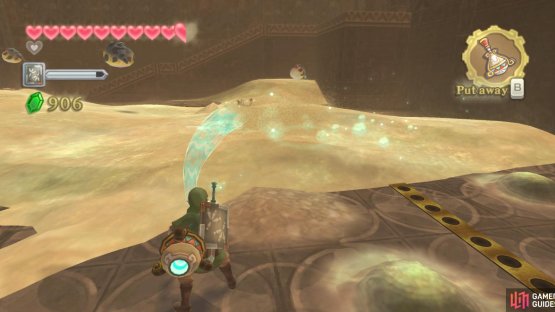
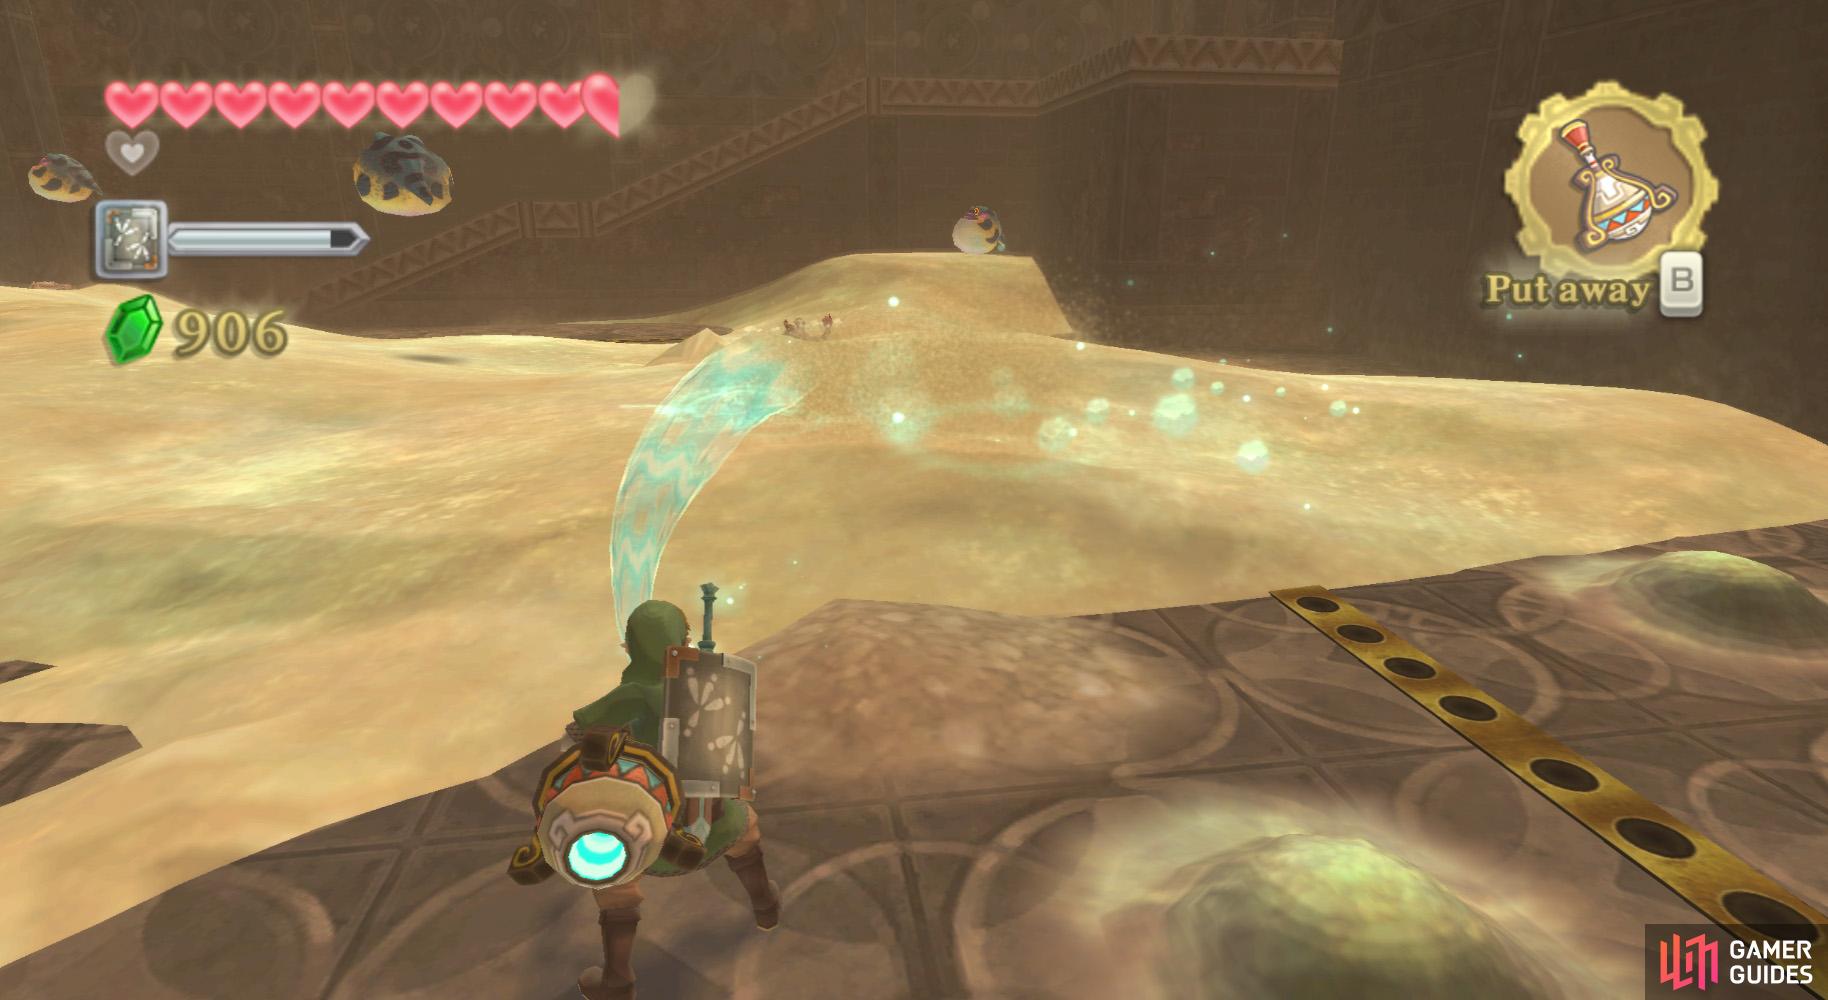
As you do, take note of the sand-covered western ledges. Upon blowing the sand off of the first one, you’ll find a tunnel; crawl through it to find a chest with a random rare treasure. You can also blow away some of the sand in there to find an Amber Relic.
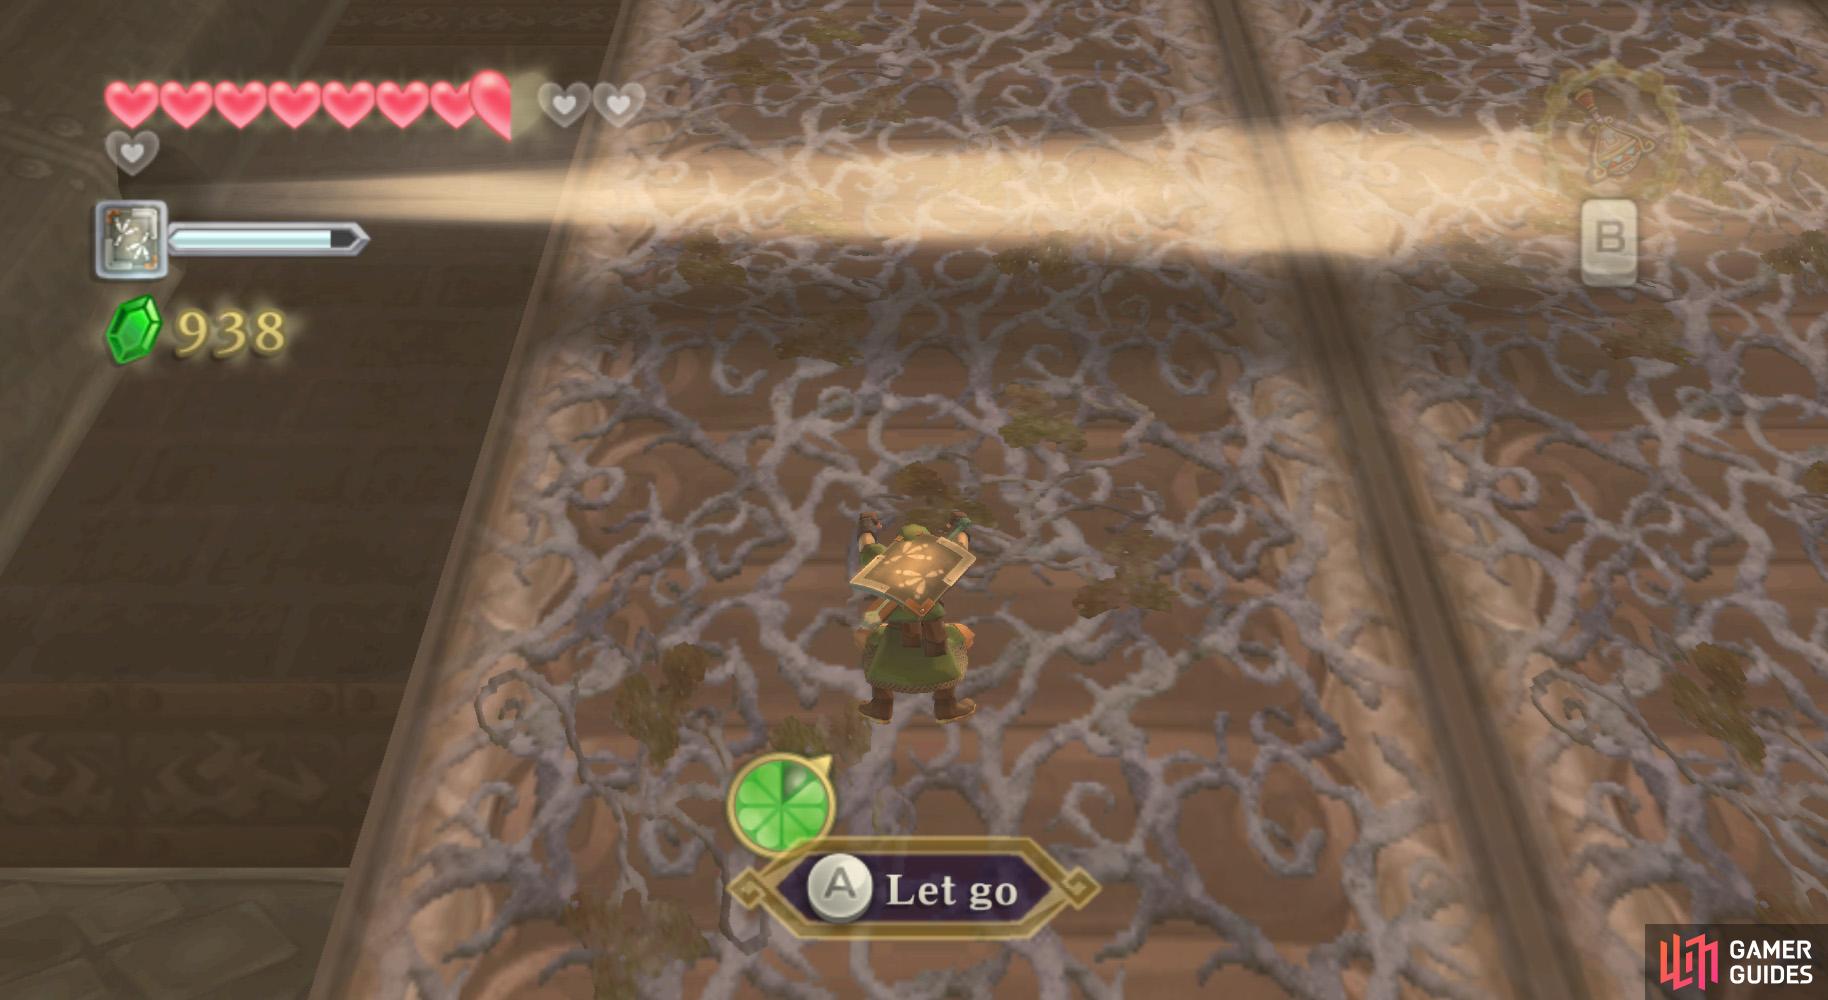
Go back through the tunnel and continue crossing the sand pit. You’ll find another sand-covered western ledge as you do. Blow away the sand covering the ledge, then go through the newly-revealed tunnel to find a new room.
North-West Room

(1 of 2) Blow the sand away with the Gust Bellows.
Blow the sand away with the Gust Bellows. (left), While avoiding the hidden spikes, look for this switch to open the door. (right)
Oh, fun. You’ll firstly notice the large amount of sand here; you’ll have to clear a fair deal of it soon. There are also spikes that pop up when you’re near them (much like the ones in the room where you found the Gust Bellows).
Clearing the sand in the central section near the northwestern corner will yield a switch you need to press. There’s a Red Rupee chest if you continue around to the actual corner. Anyhow, go through the door.
Massive Room (NW side)
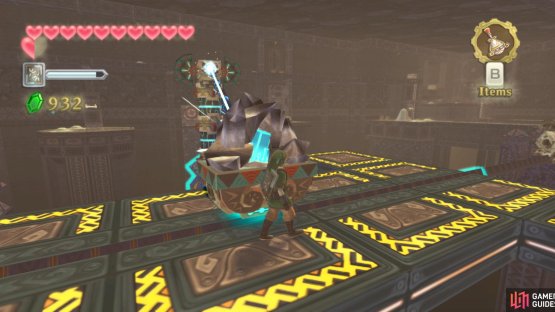
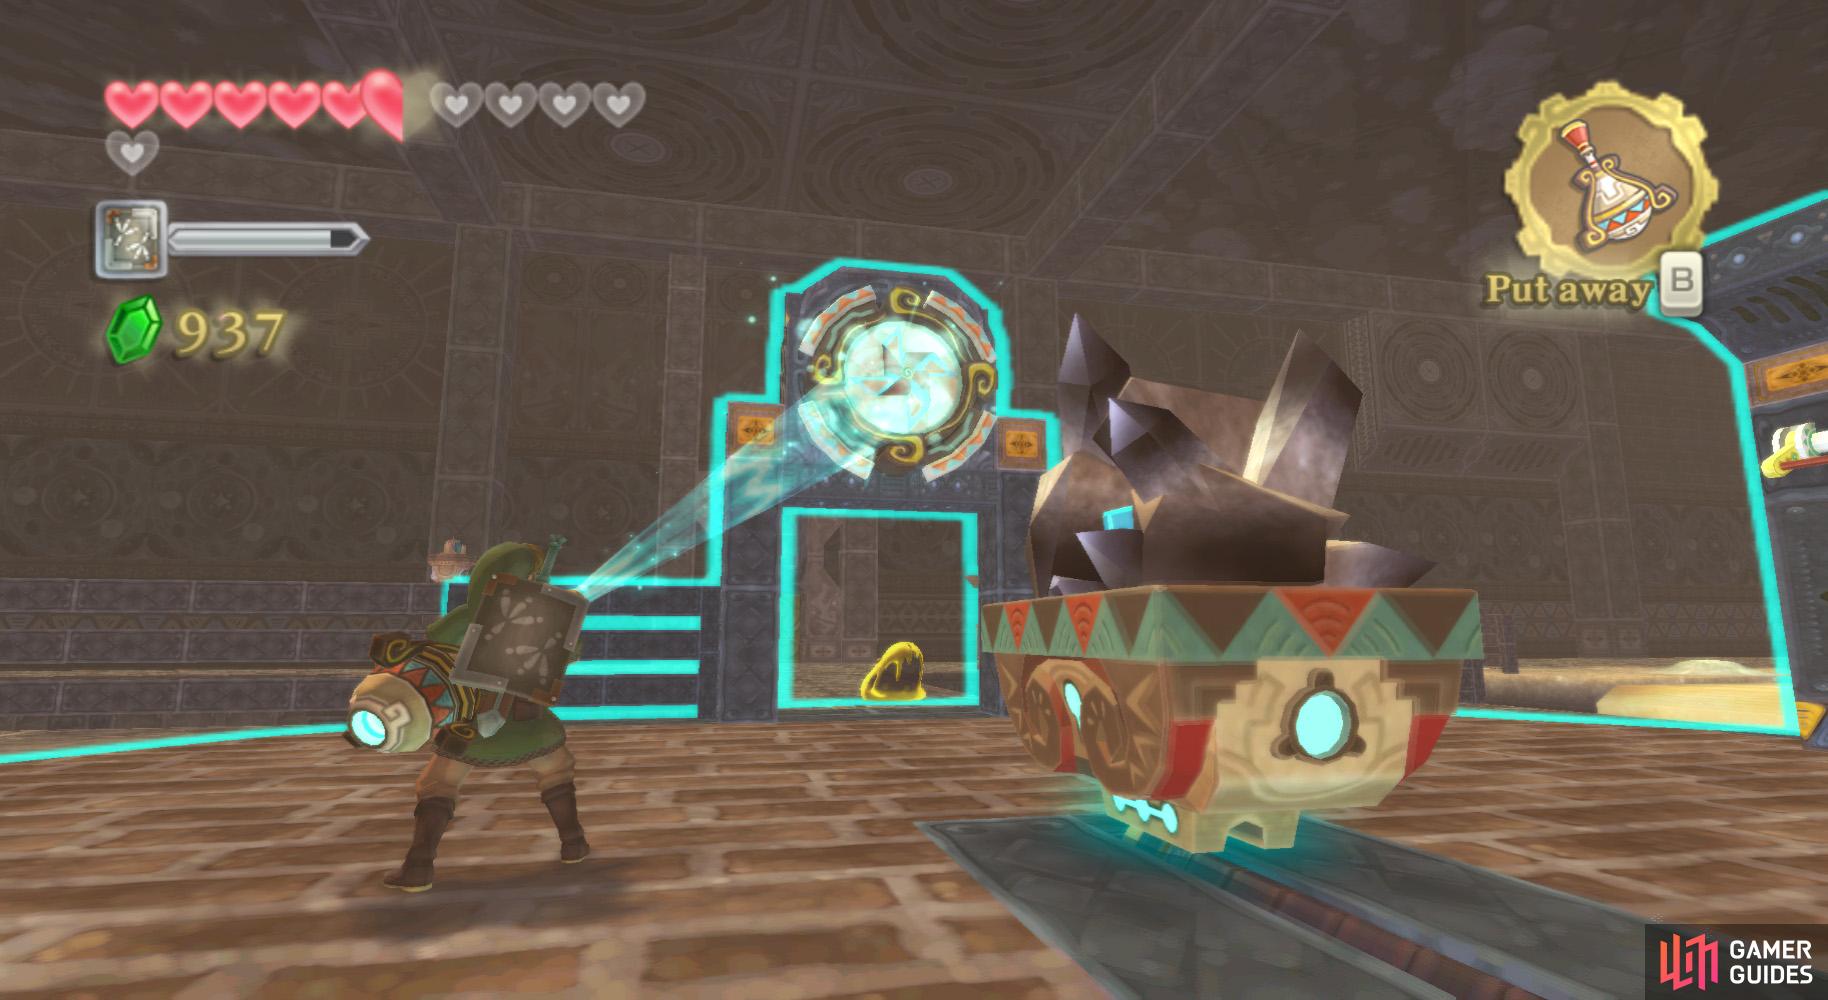
Here, clear away the sand here to find a mine cart that has a Timeshift Stone trapped inside. Hit it with a sword thrust and the cart will begin moving. Follow it – it is safe, as it creates ledges beside it where there are gaps. On the ledge across the first gap, you’ll need to defeat a Sentrobe.
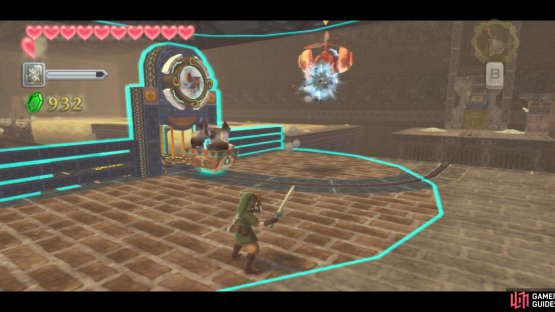
(1 of 2) If you can, get rid of this defense mechanism first.
If you can, get rid of this defense mechanism first. (left), Use the minecart as a shield from the laser. (right)
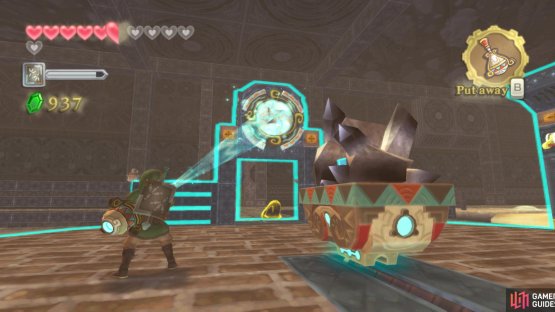
After you do, you can use the Gust Bellows on the pinwheel above the barred door to continue forward. As it crosses this gap, use the cart as a shield from the first Beamos you find. Defeat the Beamos further ahead, then use the cart as a shield from the remaining Beamos.
On the platform here, use the Gust Bellows on the pinwheel above the barred doorway to make another future shortcut. Use the Bird Statue on the other side if you want to, then return to the cart and go east along the path.
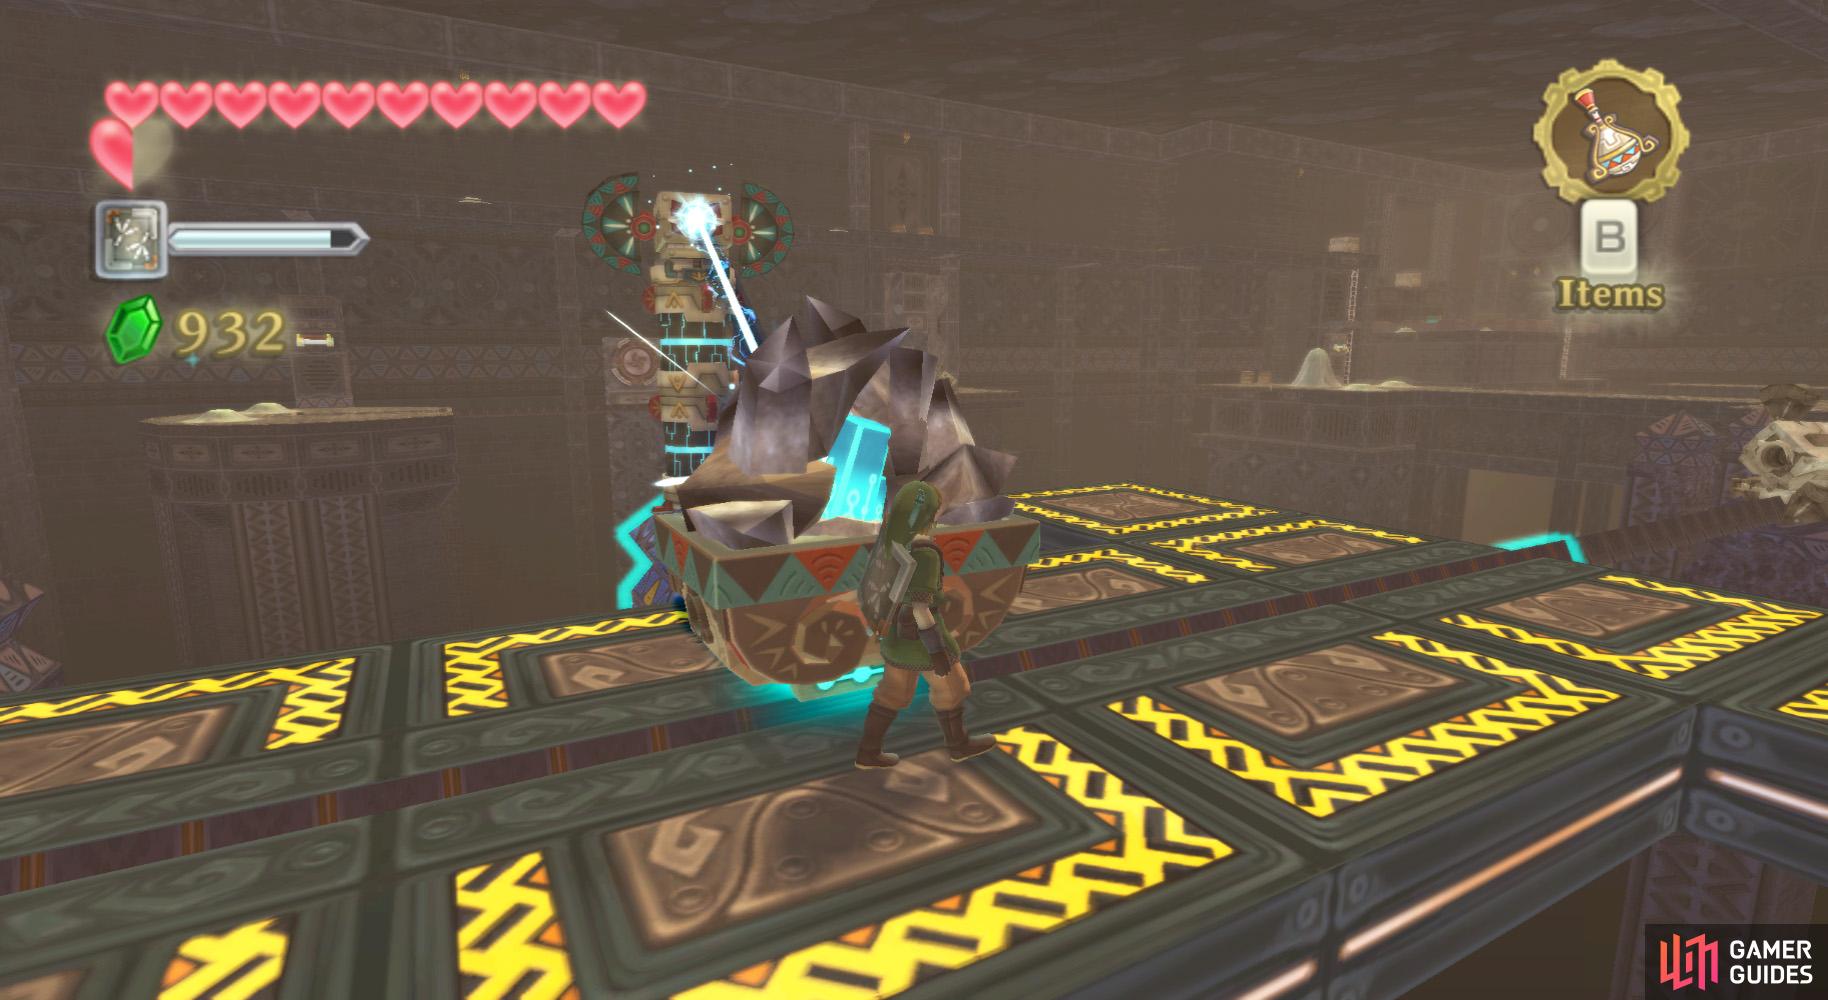
Blowing away some more sand reveals another Timeshift Stone-carrying mine cart. Hit the Stone and we’ll do more of this.
(1 of 2) If you need to, you can go back to rest using this shortcut.
If you need to, you can go back to rest using this shortcut. (left), Try not to dilly-dally here or the past will leave you behind! (right)
Begin by hanging on the left side of the cart to avoid the Beamos’ fire. Past them, stay on the right side of the cart and as far ahead as possible.
You’ll soon pass a pinwheel, which is only active when the Timeshift Stone is close enough. As soon as possible, blow on the pinwheel to open up the door behind the platform-based Beamos.
Then continue to the end of the track and hit the Timeshift Stone twice to cause it to move in the other direction. On the platform with the Beamos, go through the door behind it – this is possible, and more convenient, when the Beamos is inactive.
North-East Room
(1 of 2) These air gusts can knock you you flying into the abyss.
These air gusts can knock you you flying into the abyss. (left), Now for some more basketball practice! (right)
In this room, go along the inactivate conveyor belt while avoiding the air spurts from the pipes. On the other end of the conveyor, you’ll find some vines. Blow the Arachas off of it, then climb up and right. Oh, you might want to try avoiding the wind gusts!
Anyhow, at the top of the platform, go left. There, go forward to find some Thunder Keese. Slice them and continue to the wall switch. Grab it and a platform will move to your location.
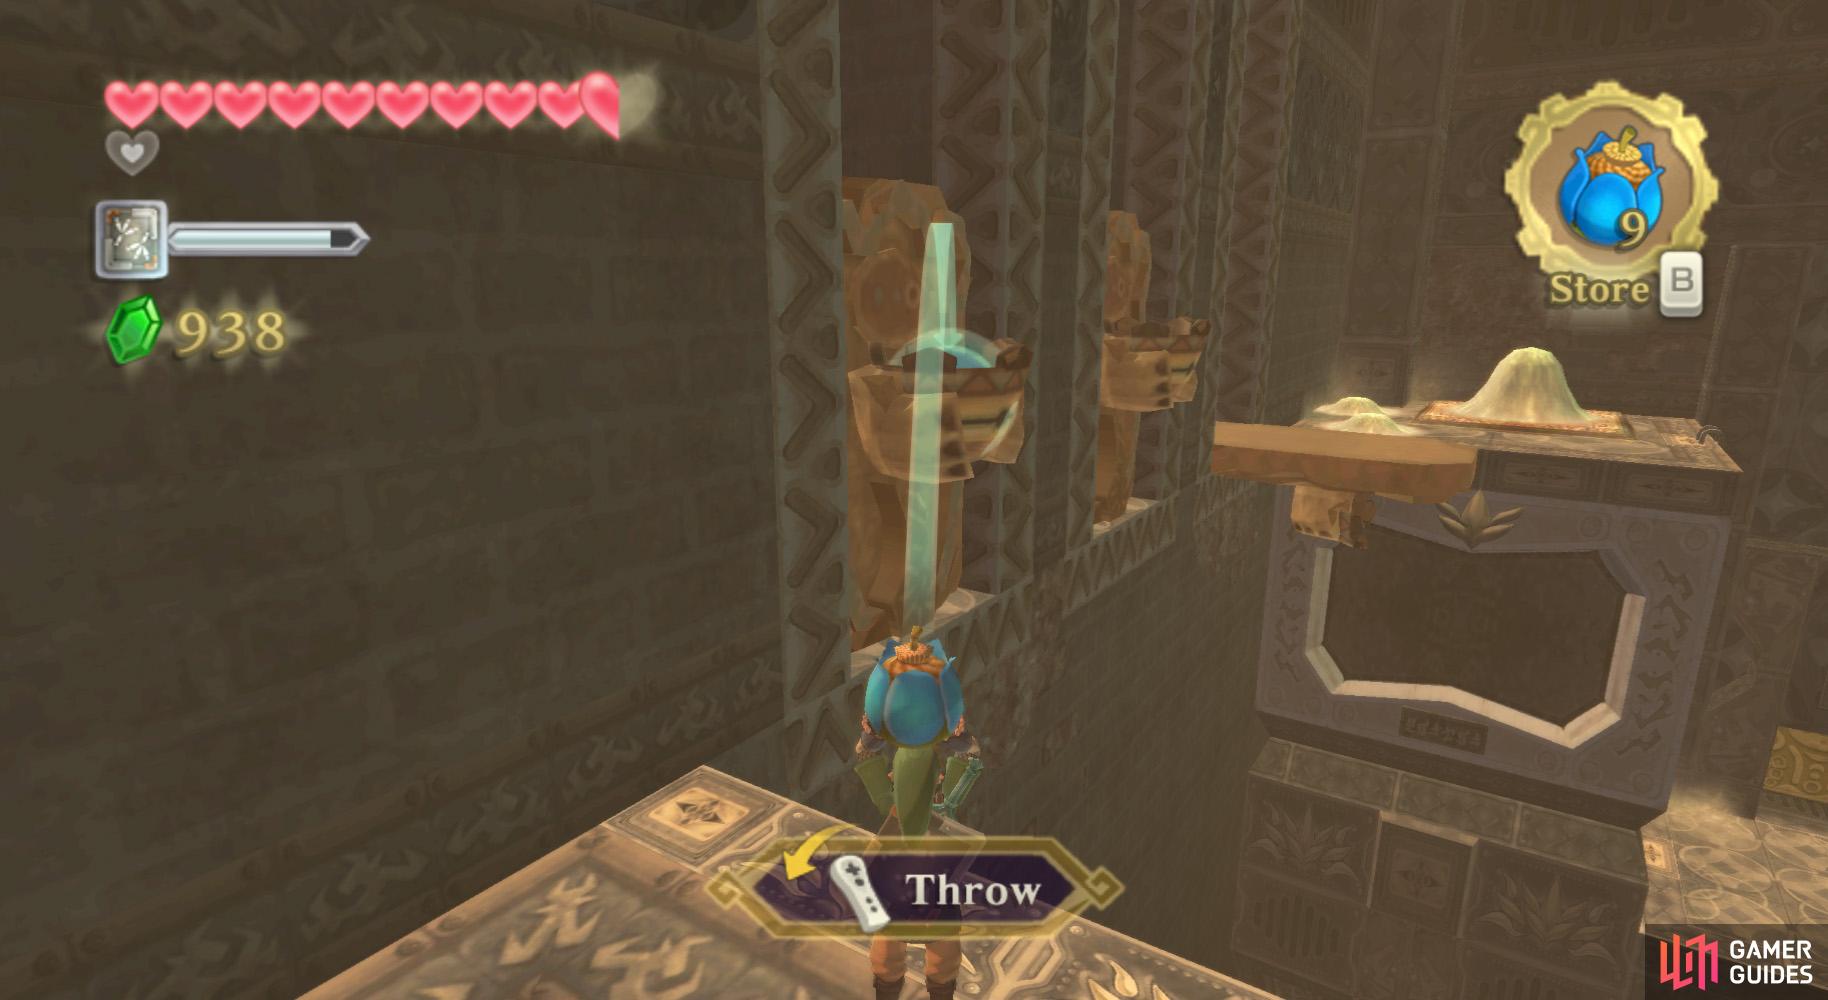
Go to the other end of the large platform you’re on to find some of the bowl-holding statues. Toss a Bomb into the first one, jump on the ledge, and jump the next statue to go across the gap.
At the other end, use the Gust Bellows to get rid of the sand, which reveals a Timeshift Stone. Of course, you have to strike it. Jump back across the statue platforms to the other side. Then, for the conveyors, you’ll need to cross them all, so dash across while angled slightly towards them.
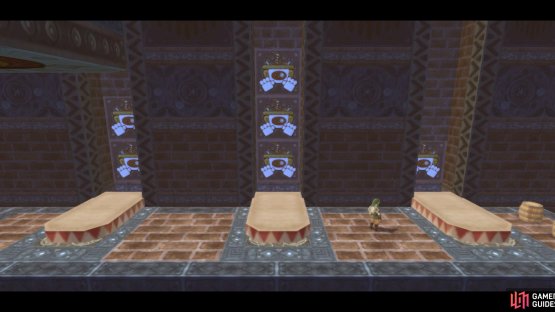

(1 of 2) This side of the wall is a clue for your next puzzle.
This side of the wall is a clue for your next puzzle. (left), Hit the left, right and finally the middle crystal. (right)
On the other side, hop onto the platform on your left and use the Gust Bellows to blow it to the other side of the room. Get off here and throw some Bombs into the statues’ bowls to reveal a solution to a puzzle: read it as “2, 3, 1”.
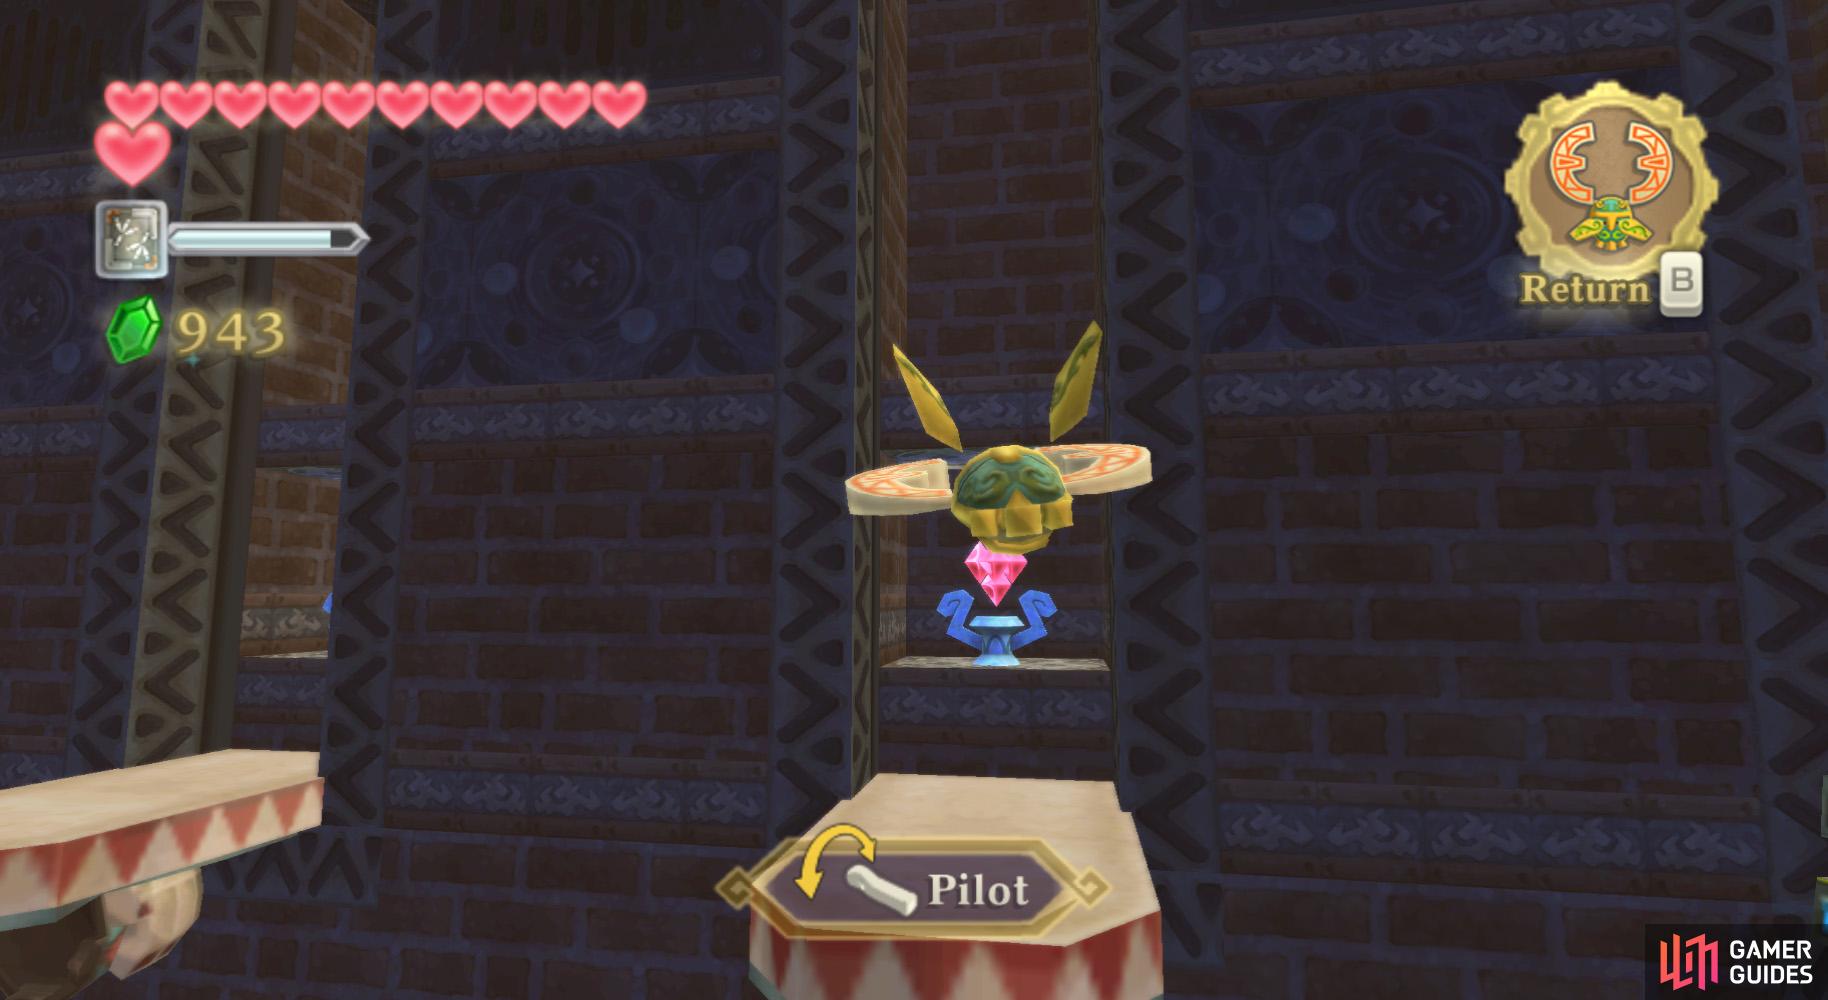
Defeat the nearby Sentrobe and look over the gap. You’ll find another one of the Gust Bellows platforms, parallel to your own. Blow it to your right, then blow your own over there to get onto it.
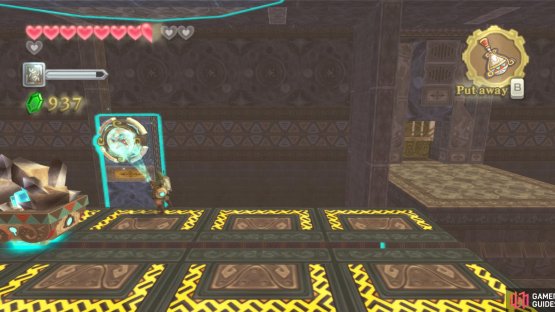
Jump onto the new platform and ride on across. At the far end, push the block aside to be able to use the ladder (it is a future shortcut). Run across and onto the eastern wall’s platform.
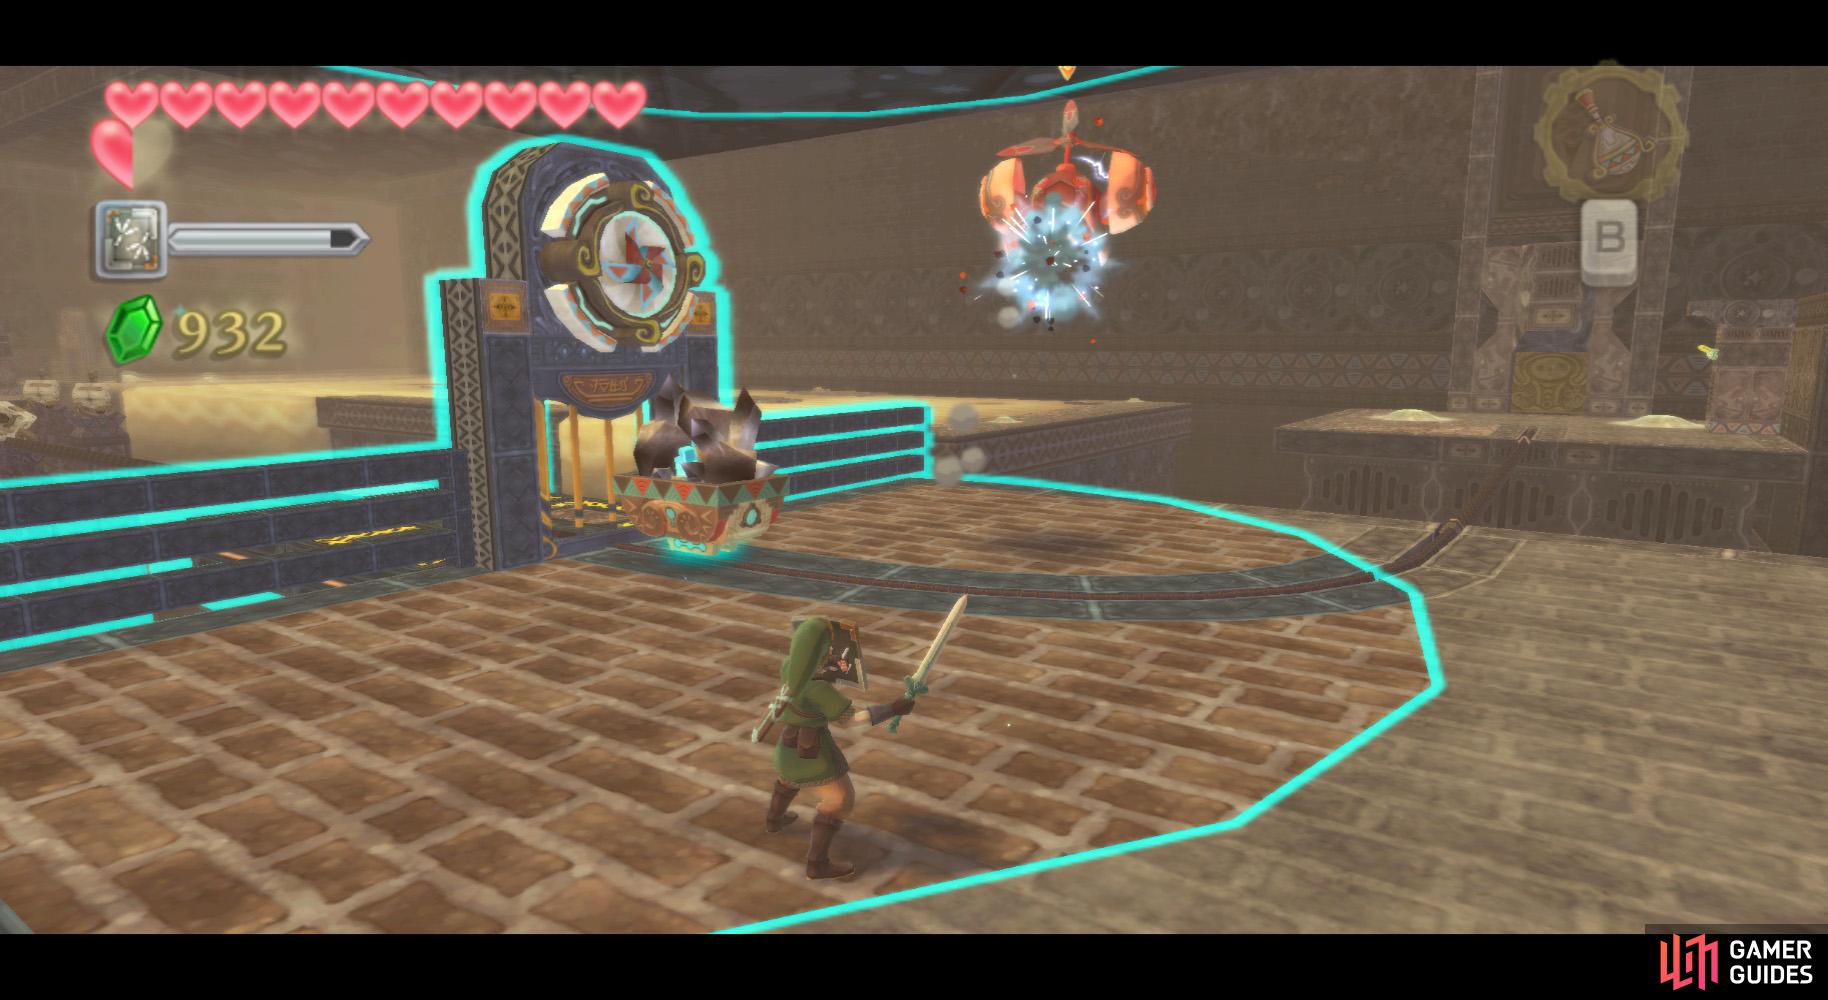
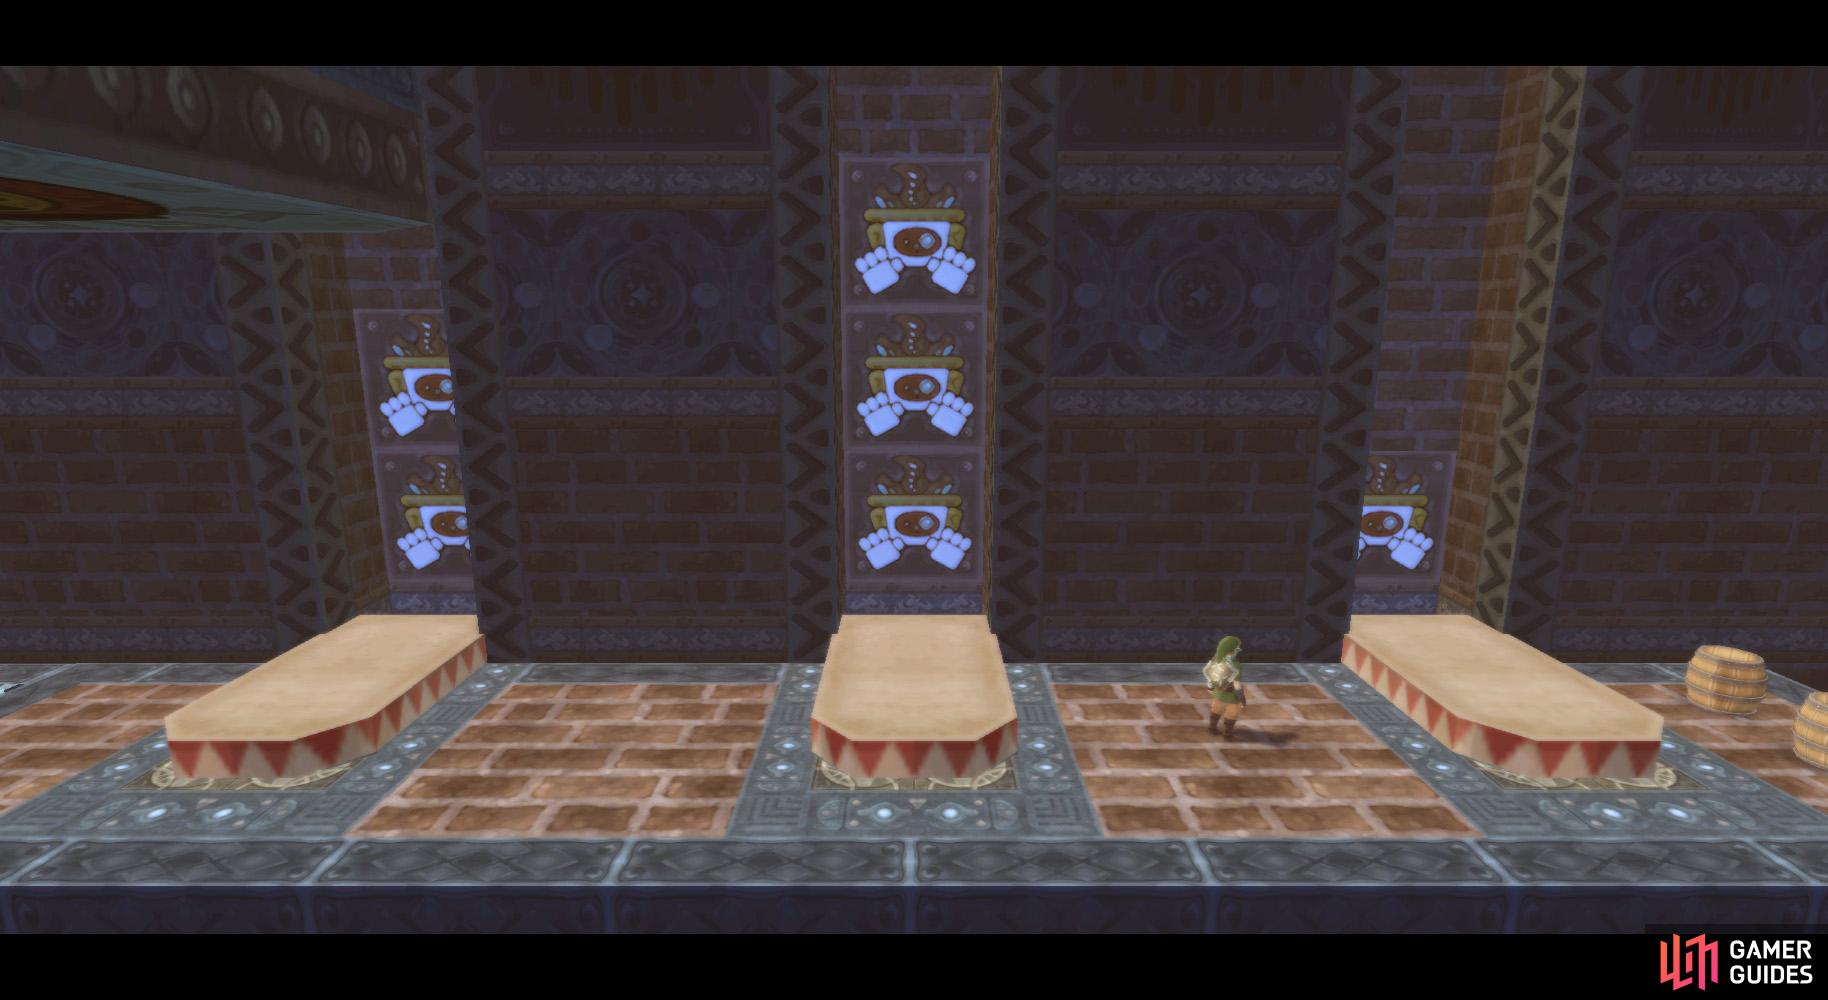
Here, you’ll find another three bowl-holding statues. Throw Bombs into each one of them to reveal some crystal switches. Now, don’t hit any yet.
Once you have them all revealed, hit the leftmost, rightmost, then the center switches – it mirrors the order given by the statues on the other side of the room.
(1 of 2) Again, take your time defeating the Armos if necessary.

Again, take your time defeating the Armos if necessary. (left), Your reward is the key that unlocks the boss door. (right)
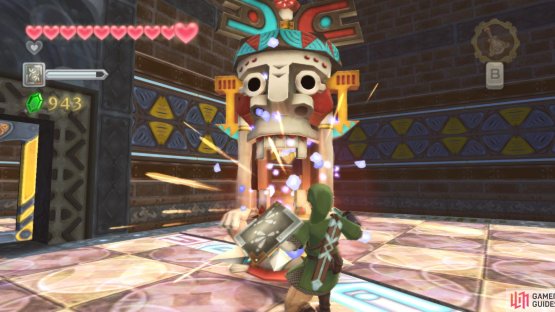
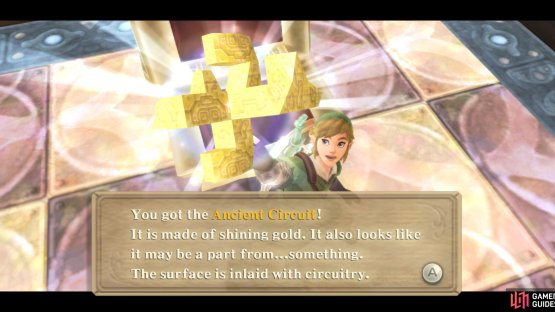
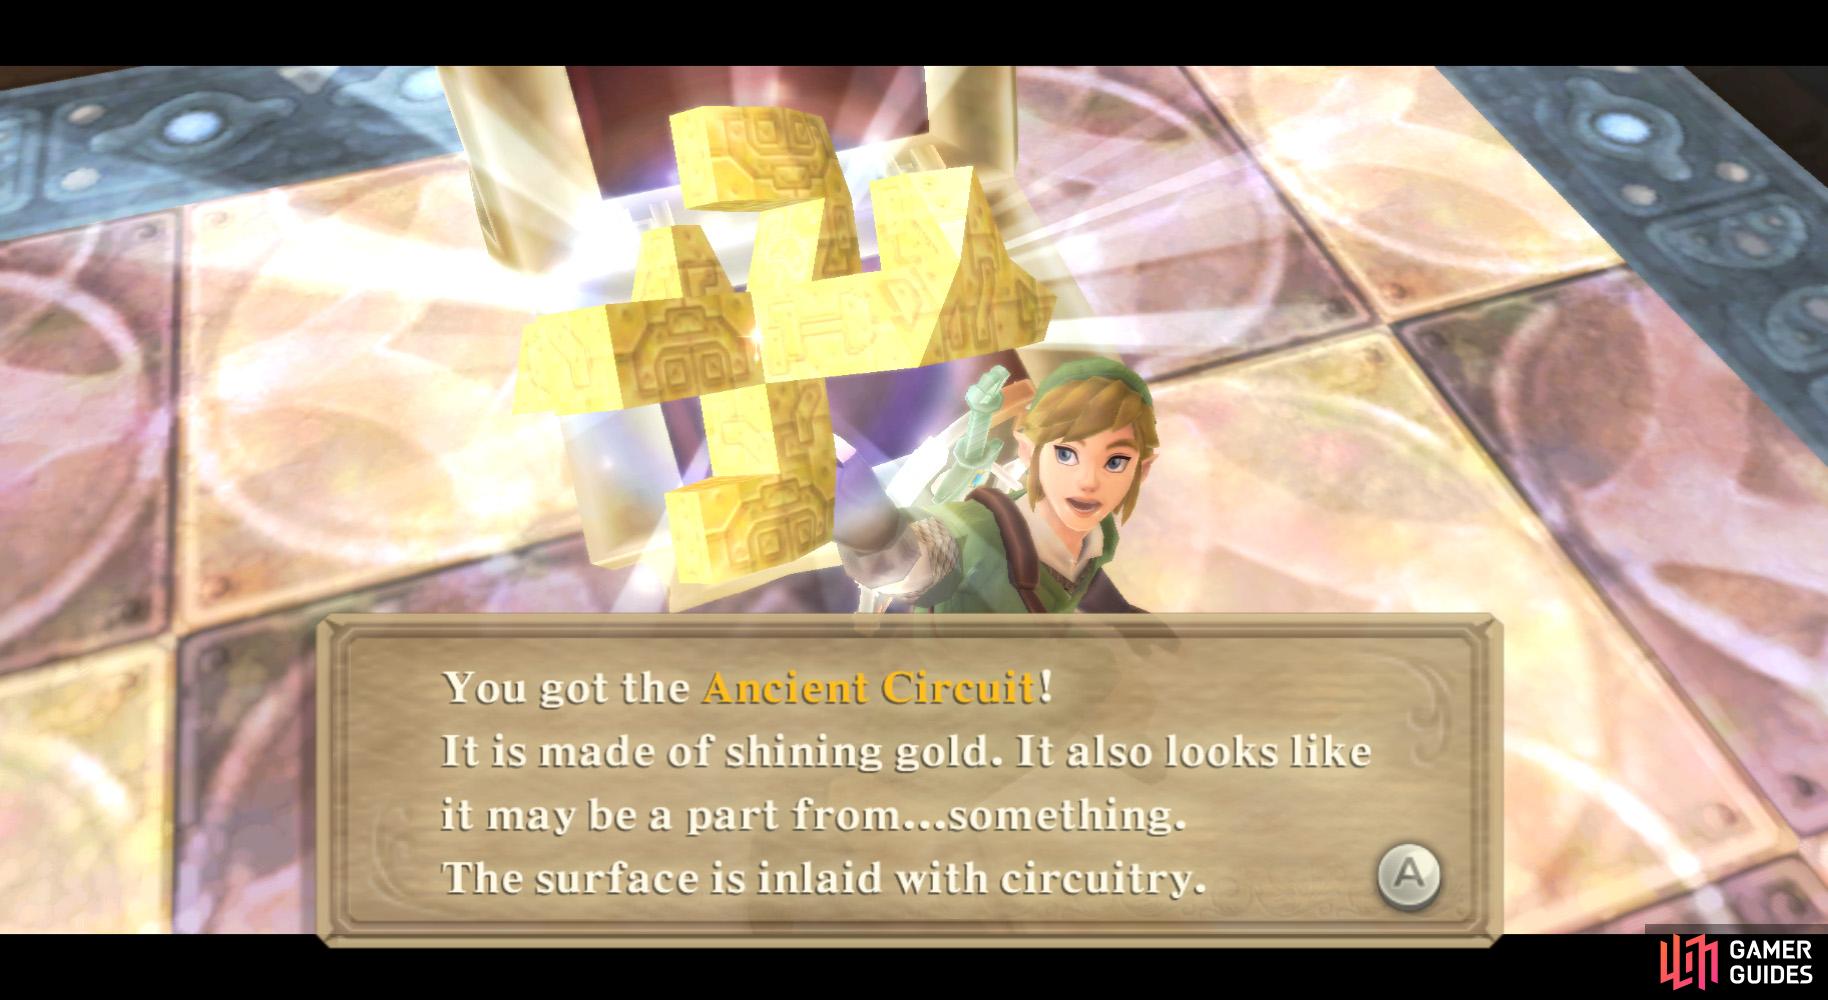
After this, a door on the northern side of the room is unlocked. Ride your platform over there and go in there. Here, you’ll find two Armos to defeat. Defeat them and open the chest in the next room to find the Ancient Circuit, the key to the boss door.
Leave this small room and go down the ladder by the block in front of you. Defeat the Beamos you find along the path to reach the conveyor belt.
Run up it while avoiding both the rocks and the air spurts while grabbing Stamina Fruit when possible. At the other end, go through the door to reach the big central room we’ve visited so many times before.
Massive Room (NE side)
Here, climb the first ladder nearby – you’ll find a Red Rupee in the chest at the top, as well as some Thunder Keese nearby. After defeating them, pull the block at the end to make another shortcut. Go back to the door and use the Bird Statue.
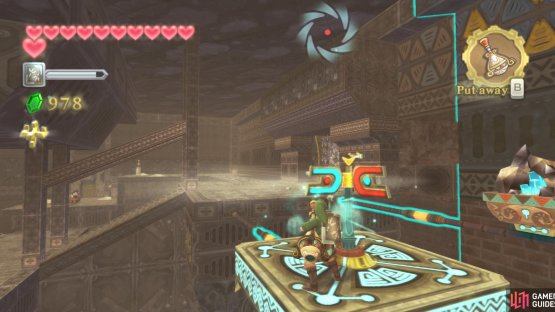

(1 of 2) Ready for some synchronized mine carting?
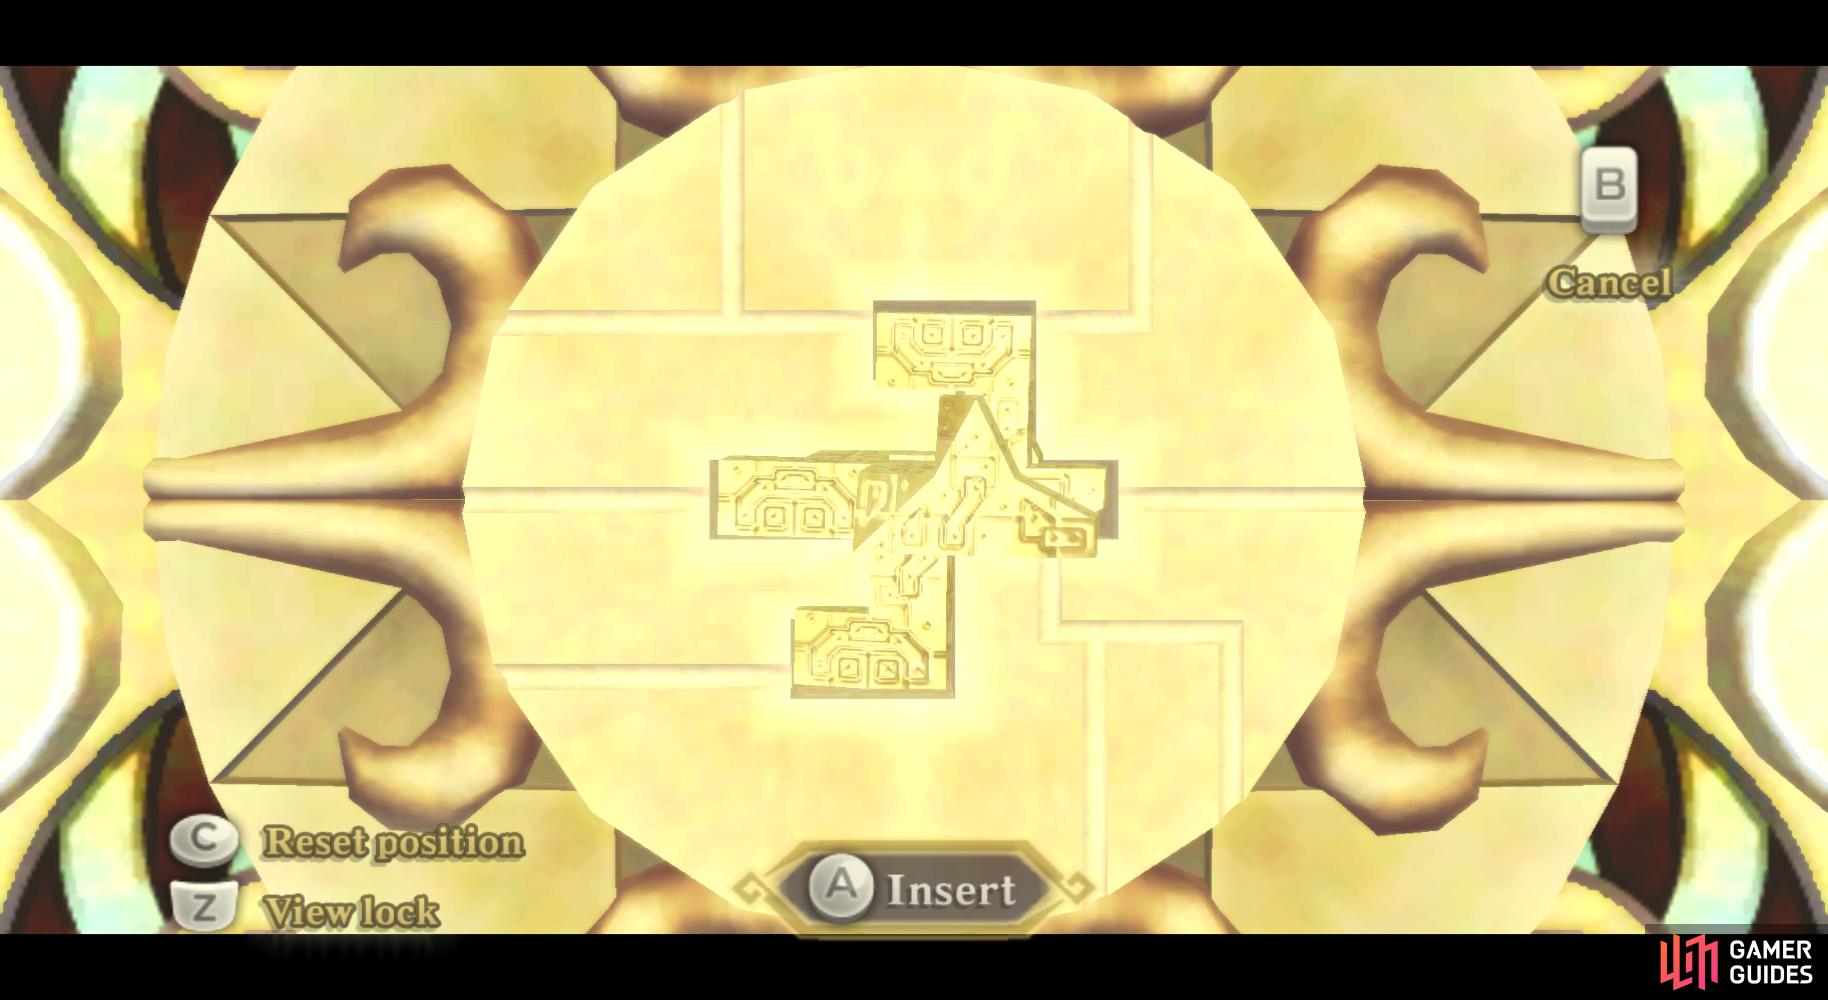
Ready for some synchronized mine carting? (left), This block can be a little tricky to find the right position. But it WILL fit! (right)
Activate the Timeshift Stone in the nearby mine cart, then hop onto the other platform parallel to it. You’ll need to move it when it activates by using the Gust Bellows, but keep it within the effect of the Timeshift Stone so as to be safe from the powerful whirlwinds.
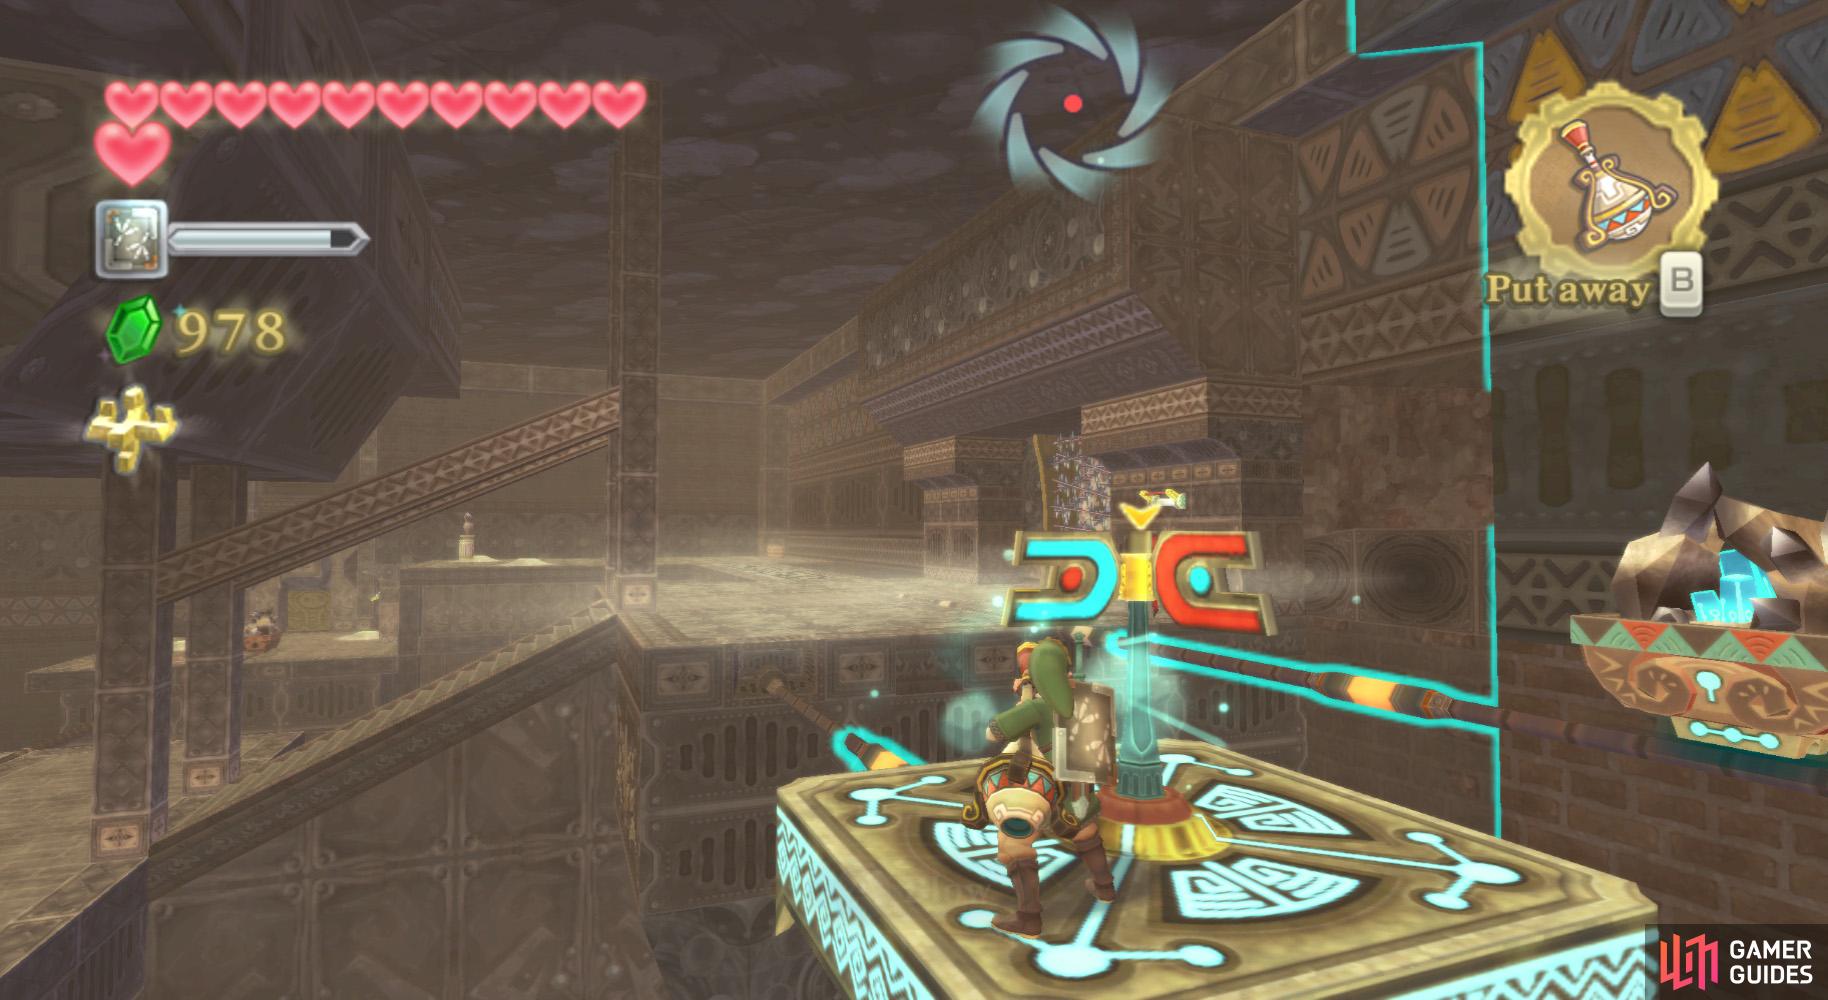
At the other end, go to the northwestern corner of the room and save at the Bird Statue. Afterwards, make sure the Timeshift Stone from earlier is at your end of the room and activate. Insert the Ancient Circuit into the large door nearby. In the next room, you’ll find your next boss.
No Comments