Deck
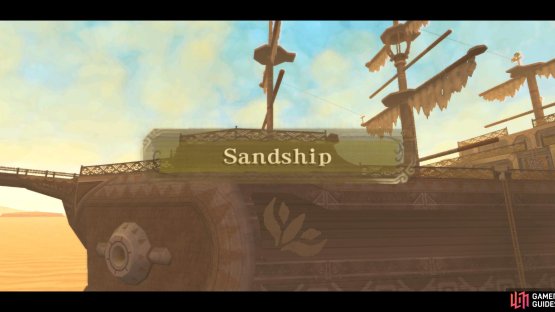
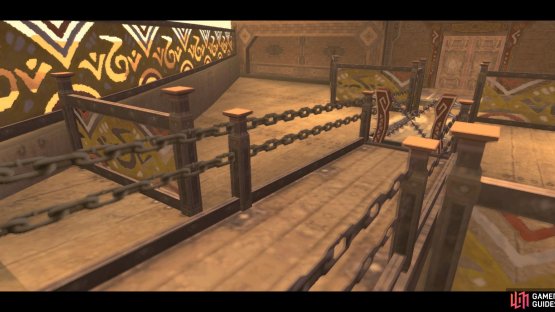
(1 of 2) It’s refreshing to have dungeons that aren’t just temples, caverns and whatnot.
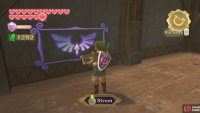
It’s refreshing to have dungeons that aren’t just temples, caverns and whatnot. (left), Here’s a Goddess Wall if you want to grab some free items. (right)
Once you board the ship, go left and through the doorway.
1F - West
There is a chair here, so restore your health if you want to, and there is a Bird Statue, which it is a given that you should use it. Go down the nearby stairwell.
B1 - West
Down here, you’ll find some Blessed Butterflies nearby, on the left.
Play the Goddess Harp when near them to find a Goddess Wall. Take the other hallway (the one farthest from you) and defeat the Thunder Keese down there. Then go through the door nearby.
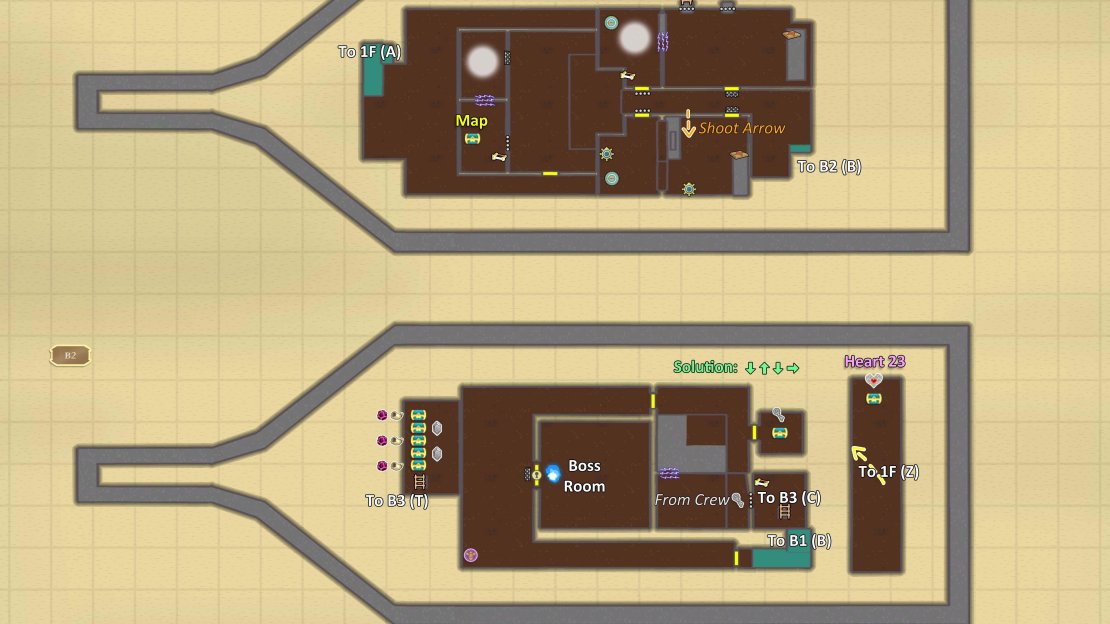
Map
Map of the Sandship.
B1 - Center
Here, Bomb the Electro Spume and go across the quicksand. Go all of the way down the hall to another stairwell. Descend and go through the door.
B2 - Before Boss
You’ll then find a hall just packed with Arachas. Defeat them and go to the Bird Statue. Use it and nearby chair. Ignore the nearby large door (it is the boss door, to which we lack the key) and continue all of the way down the hall and through the doorway.
B2 - Prison Area
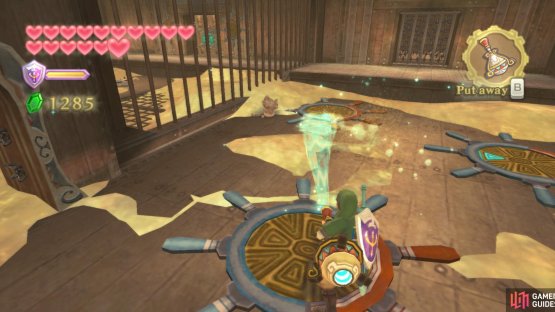
(1 of 2) Blow away the sand to find clues to open the locked door.
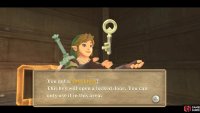
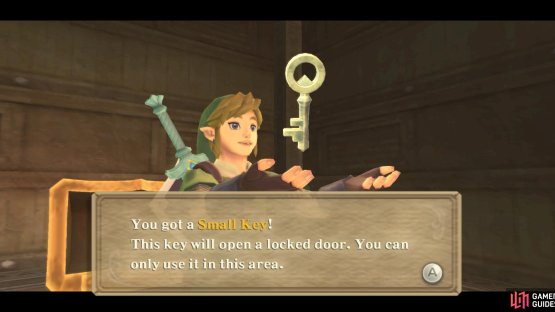
Blow away the sand to find clues to open the locked door. (left), Use the clues (or follow our guide) to open the door and get a Small Key. (right)
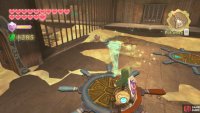
Man, I’m never going to the beach again… Yeah, this room has a bunch of sand in it. Get rid of it with the Gust Bellows, then get rid of the Arachas that managed to survive your hatred for sand. You’ll see four patterns on the floor. Observe them to learn the pattern for the weird lock nearby.
The number of red prongs indicates the ordinal number and are meant to be at the top; the blue marking is kinda obvious. If you don’t get it, the lock’s pattern is down, up, down, right. Go through the now-unlocked door to find a Small Key.
Now, you will have to go to the top floor within the ship (the one you originally entered into). There, save and heal if you need to, then go through the door for a boss.
Mini-Boss: Scervo
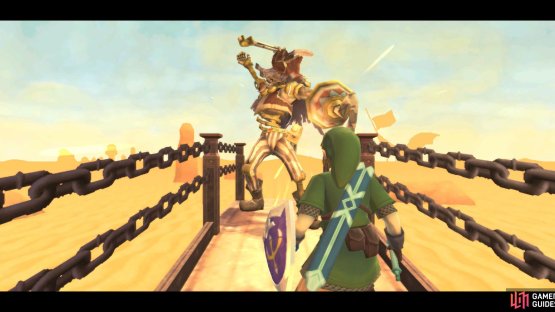
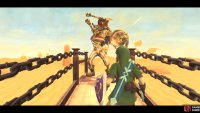
(1 of 2) Your ultimate goal is to push Scervo off the plank.
Your ultimate goal is to push Scervo off the plank. (left), At certain points during the fight, the gate will move closer. (right)
I highly would prefer you stand for this (it is much easier). Raise your shield and target Scervo. Shield bash him as he tries to hit you, then hit him a few times with your sword. Continue doing this to push him off of the plank.
As he gets close, he’ll also pull out an electrified club. At the end of the plank, he’ll push you back and the gate (which damages you if touched) will move closer to you. Repeat this same process a few times to end the battle, making a chest appear.
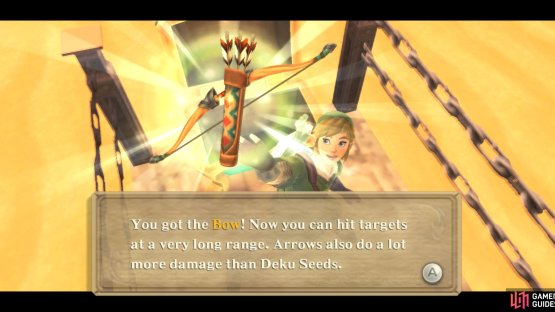
(1 of 2) The bow can shoot farther and deals more damage.
The bow can shoot farther and deals more damage. (left), You’ll be shooting this Timeshift Stone multiple times throughout the dungeon. (right)
Inside the chest that appears, you’ll find the Bow! This is controlled like the Slingshot. Point the Wii Remote to aim, then hold A to draw and charge up a shot, or hold C and draw back for a faster version of the same.
Fi will then point out an eye switch on the other side of the ship. We’ll go there now to hit it. Return inside the ship, heal up, then exit out the other door.
Deck (Past Era)
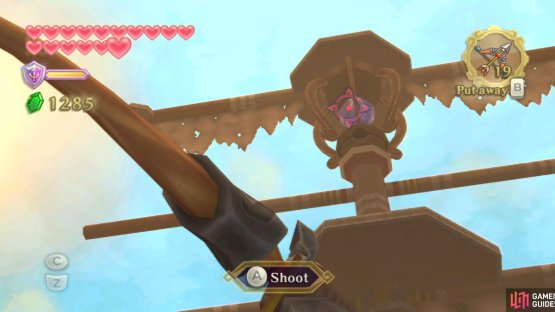
Here, shoot at the eye switch on the central mast to reveal a Timeshift Stone atop the ship.
Shoot an arrow at the Timeshift Stone, transforming the ship to how it looked a millennium ago, complete with enemies, including some Bokoblins on the deck. One of them has locked up the Timeshift Stone.
Defeat the Bokoblins nearby, then start shooting at the Bokoblin Archers above you, or at least the majority of them.
(1 of 2) Shoot an arrow at the eye switch.
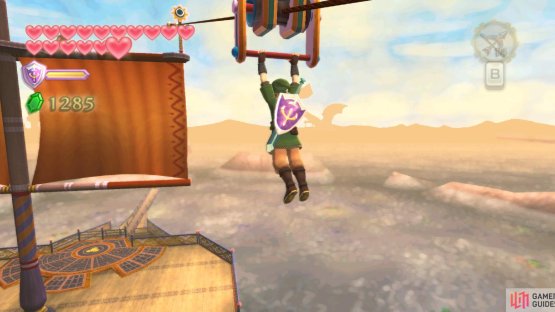
Shoot an arrow at the eye switch. (left), Then ride the zipline to the other side. (right)
Climb the ladder on the central mast to find some more Bokoblins. Kill them, then go to the zipline. Look up to the other end of the zipline, then shoot the eye switch near it. Now you can ride the zipline up some. Repeat this on the other side when you land, then go to the power node thing nearby.
Get rid of any nearby Bokoblins, then thrust your sword into the switch, then rotate it ninety degrees counterclockwise, then insert the switch the open up the Timeshift Stone and open up the door below you.
Afterwards, look east – you should be able to find another zipline. Shoot the eye switch at the other end, then ride the zipline to the stern of the ship.
Heart Piece 23
(1 of 2) At the stern of the ship, use the Clawshots to reach the very back of the ship.
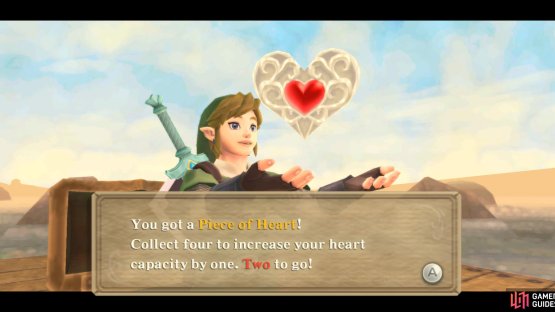
At the stern of the ship, use the Clawshots to reach the very back of the ship. (left), Then drop down for a chest with a Piece of Heart. (right)
Drop to the ground and look east to the Clawshot target. Hit it with the aforementioned item to the hidden deck, where you can find a group of Blessed Butterflies (a Goddess Wall) and a chest (Heart Piece 23).
Snatch your rewards, then Clawshot up to the main deck, then back into the ship via the “newly” opened door.
Now, you’ll have to proceed to the area where you blew away the bunch of sand and unlocked the weird lock (it’s the last room of the ship in its currently linear form). Along the way, beware: you’ll find some Technoblins, a Beamos, and that may be it.
B2 - Prison Area (Past Era)
(1 of 2) If you can see light coming from above, there’s a good chance you can shoot the Timeshift Stone atop the central mast.
If you can see light coming from above, there’s a good chance you can shoot the Timeshift Stone atop the central mast. (left), The dungeon map will help you plan the rest of your journey. (right)
In the destination room, you’ll find the other side of the room is a jail cell for the robot’s ship crew. Speak with the nearest one to obtain information about the power generators to the engine room; the generators are on the floor above you. Go back there (you have to go back through the ship and past the first stairwell you come across).
B1 - Center (Past Era)
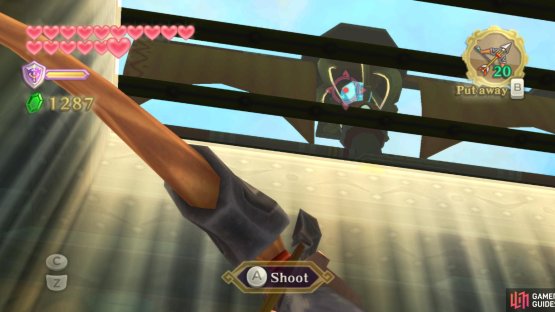
In this area, go across the quicksand and to the northwestern room. Defeat the Technoblins and look up in the aforementioned area, through the vent, to find the Timeshift Stone, which you can hit with a high-powered arrow.
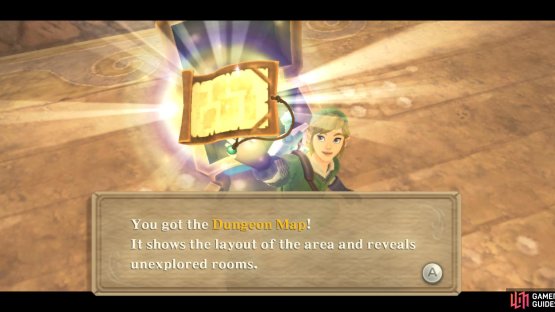
Do so and go into the room next to you to find a chest with the Dungeon Map inside. Hit the wall switch nearby. Now, whenever you have to hit the Timeshift Stone, just come back here and shoot another arrow.








No Comments