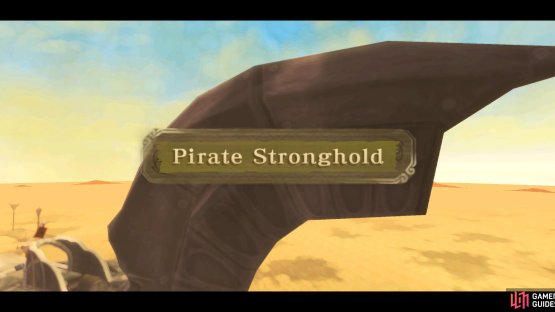
(1 of 2) The pirates here lived here are all gone, but monsters still roam free.
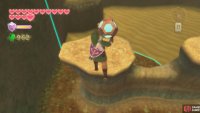
The pirates here lived here are all gone, but monsters still roam free. (left), Hmm, is this treasure that the pirates left behind? (right)
Upon arriving, go forward and examine the nearby Bird Statue. Wander around the area if you want to find some Yellow Chuchus and Thunder Keese. Finish up whatever business you could possibly have here, then go around the right side of the structure, on the lower walkway, to find a door. Go through it.
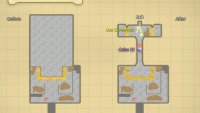
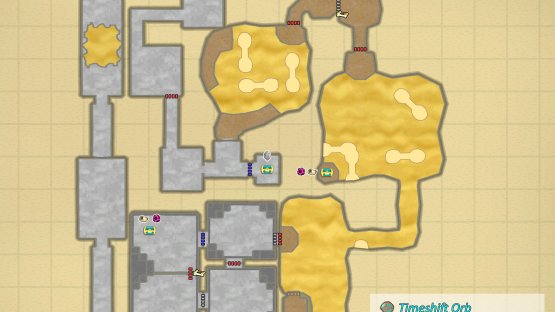
Map
(1 of 2) Map of the Pirate Stronghold (Exterior).
Map of the Pirate Stronghold (Exterior). (left), Map of the Pirate Stronghold (Interior). (right)
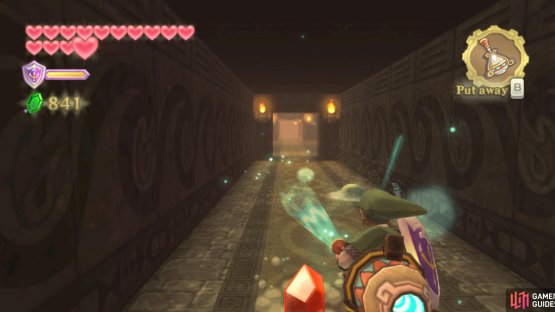
Inside, head downstairs to find a pedestal you’d normally find a Timeshift Stone in. Hmm… It’s empty. Anyhow, continue forward and through the only open door. Go through the long hallway, using the Gust Bellows to clear some sand and find some Rupees. Get rid of the two Lizalfos found further ahead.
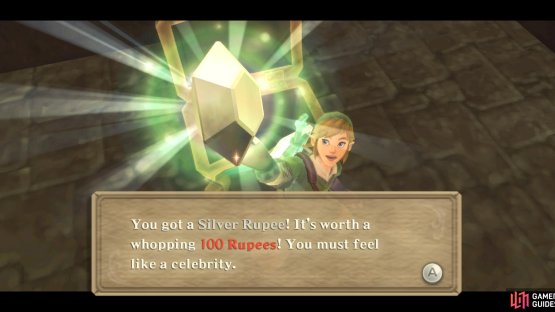
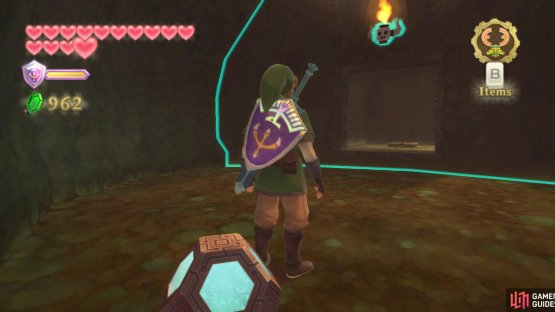
(1 of 2) As you carry the Timeshift Orb, look ahead for remains that will come back to life when you get close.
As you carry the Timeshift Orb, look ahead for remains that will come back to life when you get close. (left), Have you thought of what to spend these rupees on yet? (right)
Further ahead from there, Bomb the Electro Spume you’ll find in the quicksand, then run across the aforementioned quicksand to the door. In this next room, go around the corner to find a Timeshift Orb (the mobile version of the Timeshift Stone). Pick it up and watch as things change.
Continue along through the halls to reach a room with some skeletons inside. Defeat the two Technoblins that appear and continue into the next room further down the hall. You’ll find a Beamos blocking it, by the way.
There is also a chest in a side alcove – get the Timeshift Orb away from it to make the chest, which contains a Silver Rupee, accessible. Then continue northward, with the Timeshift Orb, into the next room.
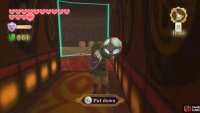
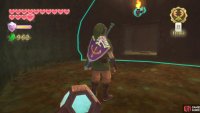
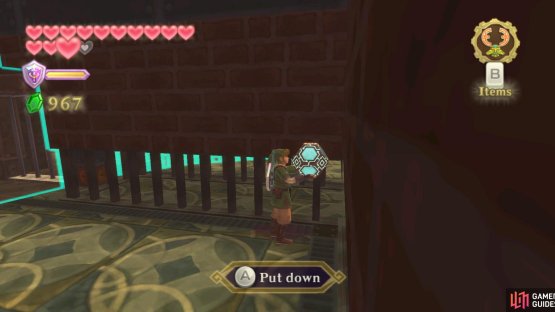
(1 of 2) Even while carrying he orb, Link is agile enough to jump across gaps.
Even while carrying he orb, Link is agile enough to jump across gaps. (left), Put down the orb for a while, then go around and pull this wall switch. (right)
There, watch as the Timeshift Orb changes the quicksand to grass and platforms rise out of the ground. Walk around to find some Ancient Flowers (only within the influence of the Timeshift Orb), then go up the hill in the corner.
At the top, go right and follow along the path that appears as the platforms past forms reach the influence of the Timeshift Orb. At the doorway, continue down the hall.
Here, put the Timeshift Orb down in front of the gate to the right and go along the left path for a bit. Once you find the wall switch, grab it to raise the gate. Get the Timeshift Orb and continue forward into another sandy room.
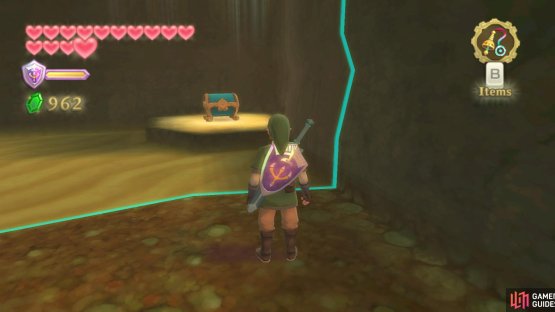
(1 of 2) Put down the orb far away from the chest, so the platforms don’t rise, but close enough so you can run across.
Put down the orb far away from the chest, so the platforms don’t rise, but close enough so you can run across. (left), Do a similar thing to reach the floor switch past the electric fence. (right)
Here, you’ll probably notice the ledge in the corner. As you approach it with the Timeshift Orb, platforms rise. Back up some so that the platforms won’t go up, drop the Timeshift Orb, then dash across the quicksand to the treasure chest, which contains a random treasure.
Go back to the Timeshift Orb, grab it, then leave to the southern hallway, in which you’ll fight some Technoblins and Deku Babas.
In the next room, go around the room, defeating the enemies that appear within the influence of the Timeshift Orb, as well as the Electro Spume in the corner that disappears within that influence.
Next, get as close to that mini-room as possible without activating the electric gate, then drop the Timeshift Orb and dash across the quicksand.
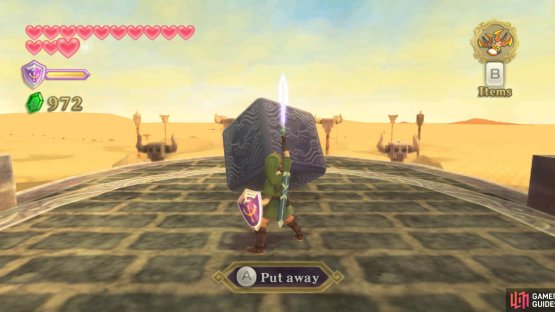
Inside, pull/push the block onto the pressure switch. This raises both of the gates. Return to the Timeshift Orb, grab it, and continue to the next room.
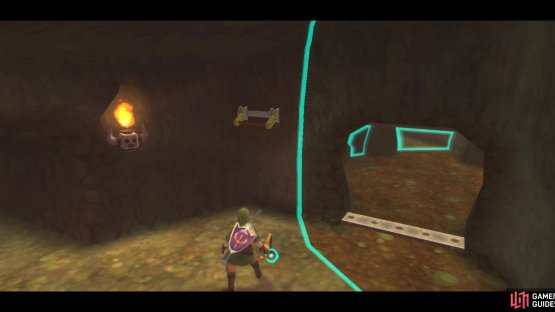
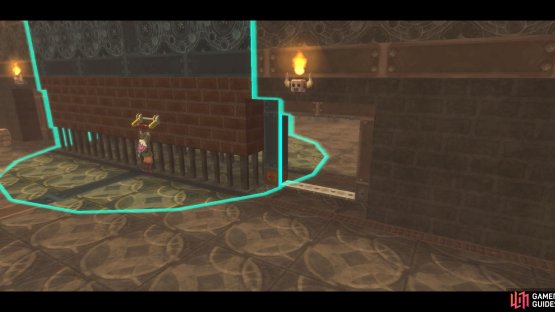
(1 of 2) In the room with the Beamos, place the orb in the northwest corner.
In the room with the Beamos, place the orb in the northwest corner. (left), On the other side, the wall switch should now be accessible. (right)
Here, you’ll find three interconnected rooms. From the room in which you arrive, go into the left room and defeat the Beamos statues (you’ll have to bring along the Timeshift Orb).
Afterwards, try to place the Timeshift Orb in the corner, getting rid of the gate blocking you from getting out of here and the one in the largest of the rooms.
Then proceed into the largest room and open the chest nearby for another random treasure. Be sure to also blow away the sand nearby with the Gust Bellows to find some Rupees.
Now, look for the wall switch within the influence of the Timeshift Orb (if it is blocked by a spiky gate, you placed it wrongly and now have to move it). Grab the wall switch when possible to unlock the doorway nearby.
Go back and grab the Timeshift Orb and go towards that newly-opened doorway. You’ll need to defeat two Armos. Once you do, proceed through the doorway to the entrance room.
There, put the Timeshift Orb on the holder for it, which causes the building to kind of open up and reveal another area. After Fi briefly converses with you, go through the now-open doorway.
Outside of the stronghold, go across the center bridge. Fi will notify you that you can now dowse for Nayru’s flame.
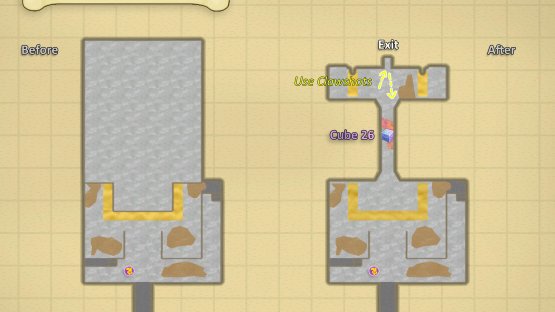
Goddess Cube 26
(1 of 2) Goddess Cube: Outside, at the very top. Use the Clawshots in front of the exit.
Goddess Cube: Outside, at the very top. Use the Clawshots in front of the exit. (left), Treasure Chest: At the top of the waterfall. Use the Clawshots near the waterfall cave entrance. (right)
Turn around now and look above the doorway you just used. Clawshot onto the top area to find Goddess Cube 26. Dive off of the ledge and use the Bird Statue, then speak with the robot to leave the area.










No Comments