Inside the Thunderhead
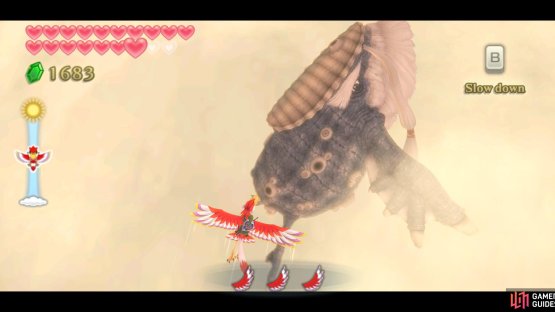
(1 of 2) Catch up to Levias, then dive onto his back.
Catch up to Levias, then dive onto his back. (left), At long last, the Song of the Hero is complete! (right)
Go further northwest and you should find Levias – you can’t miss him; he is the huge, gray, whale-like thing flying through the sky. Dive onto his back and Levias will teach you the fourth and final part of the Song of the Hero.
After the resulting scene, you’ll be told that you have one last trial to complete, somewhere in the skies. The location of said trial becomes a Dowsing option, but there is no need for that, as I’ll point you there. Begin by exiting the Thunderhead and flying to Skyloft.
Skyloft
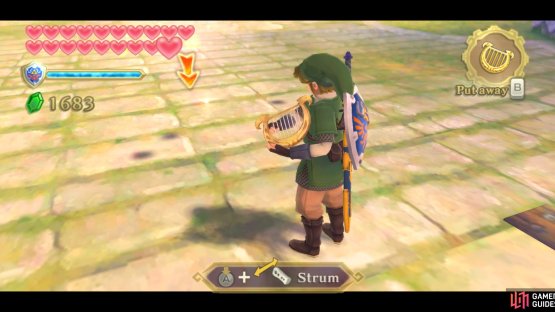
(1 of 2) Strum the harp near the new group of butterflies.
Strum the harp near the new group of butterflies. (left), Then time your harp playing with the circle of light. (right)
Once you arrive, go to the southern portion of town, towards the Light Tower. Near the Tower’s base, you should find a grouping of Blessed Butterflies.
Play the Goddess Harp near them, in time with the circle of light, then thrust your sword into the group so we can begin our final Silent Realm.
Goddess’s Silent Realm
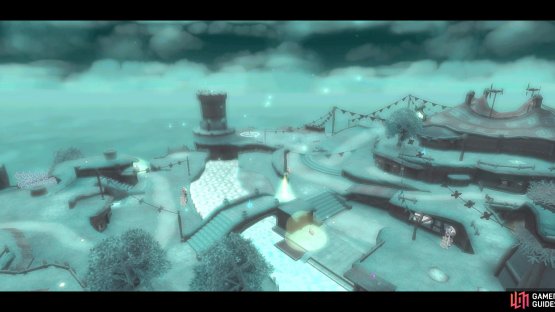
(1 of 2) You’ve been here multiple times, but now the stakes have been raised.
You’ve been here multiple times, but now the stakes have been raised. (left), This’ll be the last time you fill her up. (right)
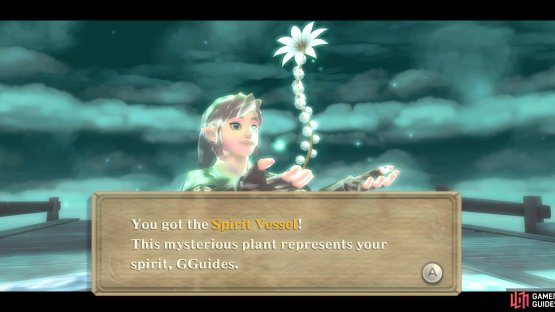
Once again, upon arriving, you’ll receive your Spirit Vessel and Fi will offer to explain the basics to you. The only thing here to mention is this – the Waking Water here is special. Take the places where the lakes are, for example. You cannot swim in it – only walk atop it. Just FYI.
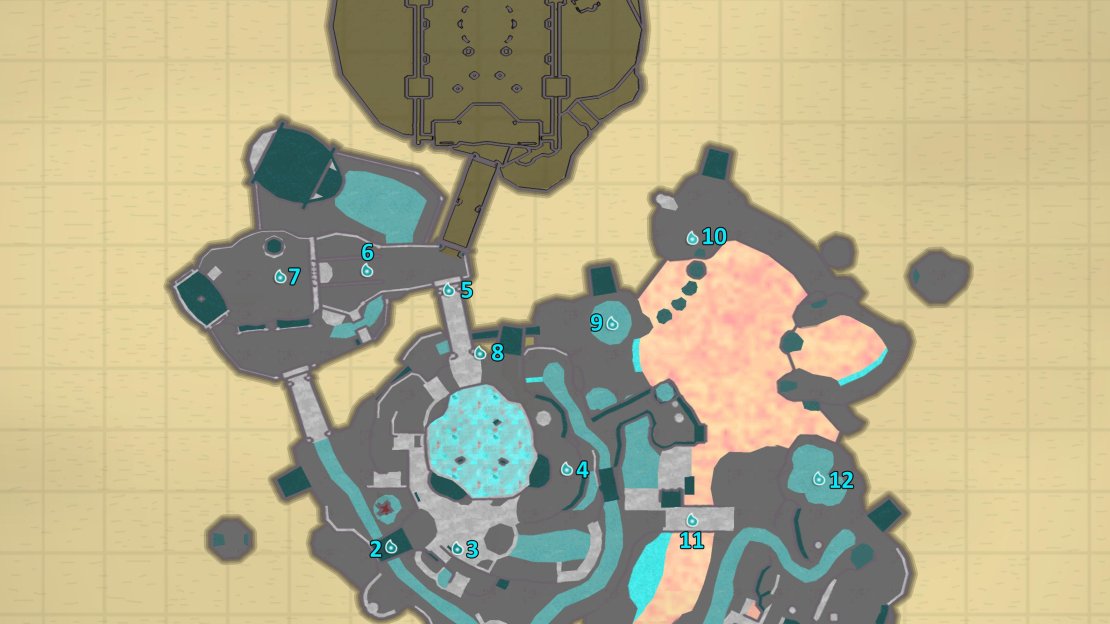
Silent Realm Map
Map of the Goddess’s Silent Realm.
Sacred Tears
Anyhow, to the Sacred Tears!
-
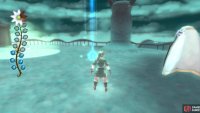
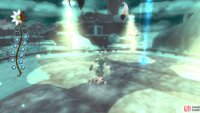
Go due north and you’ll find a Sacred Tear.
-
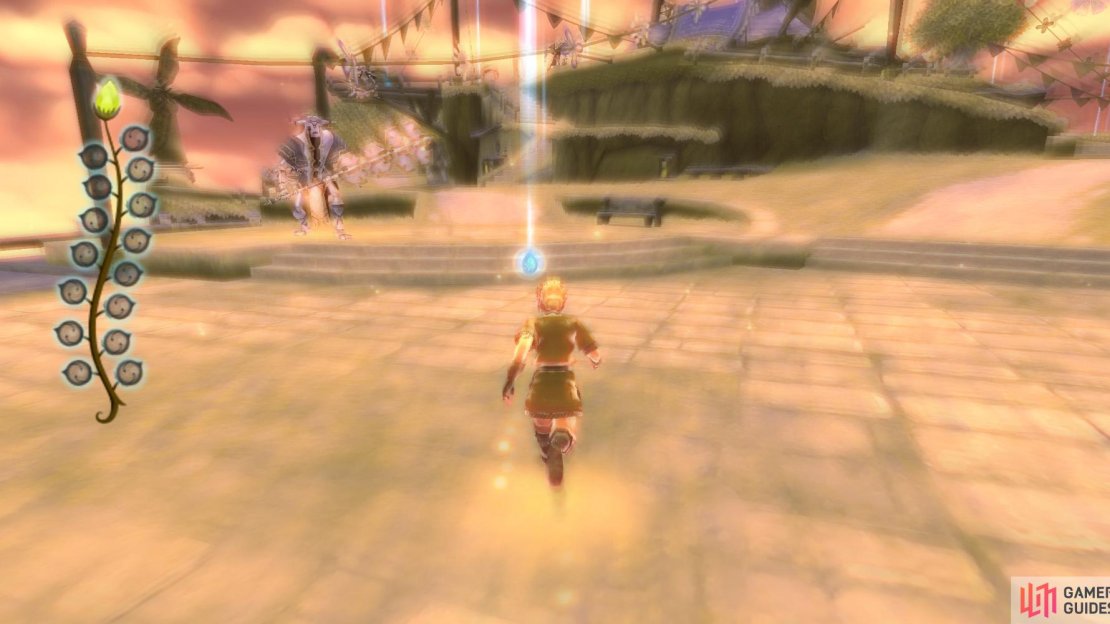
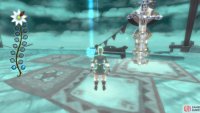
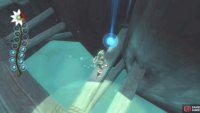
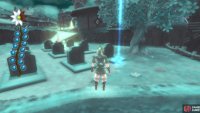
From there, go north and upstairs. At the top, watch out for the Watcher; let it move towards the buildings. Once it does, run onto the left platform and grab the Sacred Tear beside the Guardian.
-
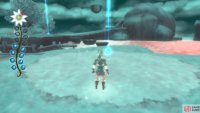
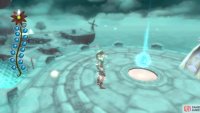
Go to the other side of the aforementioned Watcher’s path and let it move towards the platform you were on mere moments ago. Once it does, dash to the east and grab the Sacred Tear near that Guardian.
-
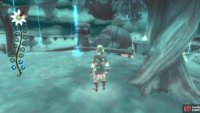
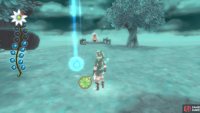
Go to the eastern side of the Bazaar. Near a tree should be another Sacred Tear.
-
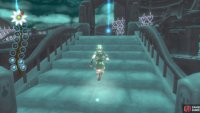
Go north to the long staircase north of the Bazaar, atop which you’ll find another Sacred Tear.
(1 of 5) 6. In front of the Knight Academy’s upper entrance. Pull the block when the Watcher isn’t, um, watching. Then climb up.
-
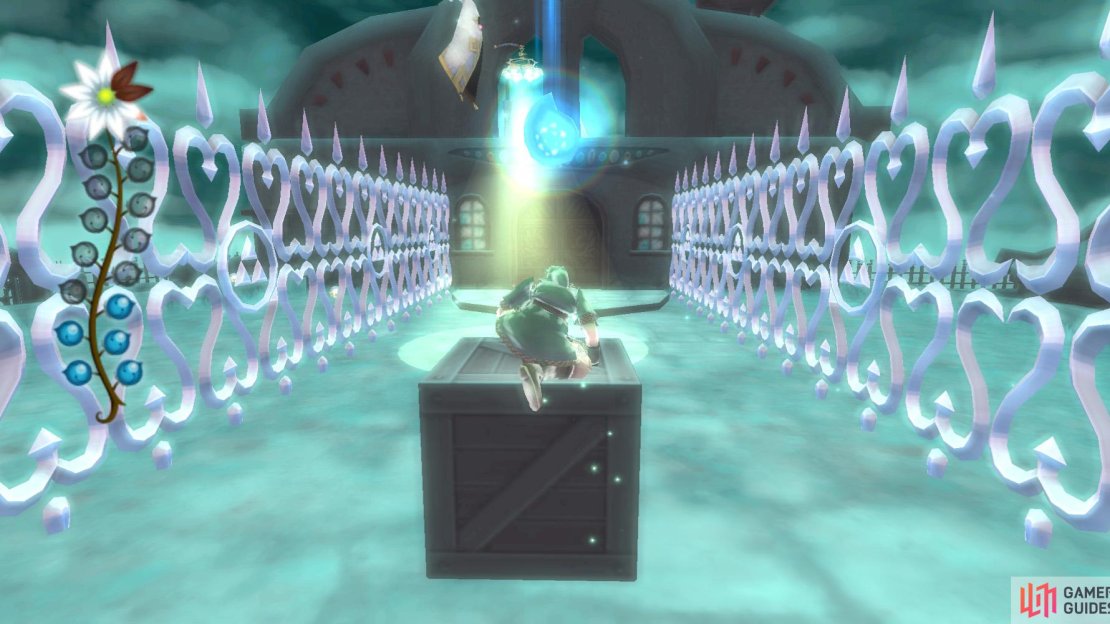
Next, head towards the Knight Academy. You’ll notice a box, a Sacred Tear, and a Watcher. Whenever the Watcher’s patrol does not cover the box, pull it back. You might need to pull and stop multiple times, as long as your cover isn’t blown. Once the box is far enough away, climb onto it and grab the Sacred Tear.
-
Go around to the left side of the fences and climb onto the ledge next to the wall. Follow it to the overhang over the Knight Academy’s ground floor doorway. Go along the path to the vines and start climbing. Avoid the Watcher and grab the Sacred Tear near the Guardian.
-
Drop down from the roof, onto the overhang again, and go along the path back to the large staircase north of the Bazaar we ascended earlier. Go east and drop down the ledges. Keep your eyes to the northwest to find a wooden bridge. Go along it, when the Watcher is facing away, and carefully climb on the support beam to the Sacred Tear.
-
Return to the main bridge and go back across the bridge to where you started crossing. Continue east to the open area to find another Sacred Tear in an open area.
-
Dash carefully across the four rock platforms nearby towards Waterfall Cave. There is some Waking Water below you; again, be careful. You’ll find the Sacred Tear on the other side.
(1 of 5) 11. On the bridge that leads the eastern residential area. Guarded by a Watcher.
-
Go back across the platforms and head south along the main path. You should soon come to the bridge over the river. When the Watcher isn’t patrolling the middle of the bridge, run up and get the Sacred Tear.
-
Now, stand on the railing of the bridge and, if you’re lucky, the Watcher won’t notice you. Go across to the east side and uphill. You’ll find a bunch of Watchers nearby in the pumpkin patch. You’ll want to carefully analyze their patrol paths to find an easy path to the Sacred Tear, as well as a path out. (Of course, you could just dash in, get caught, and all that, but it is very risky.)
-
Go back downhill to the bridge. Now, look southeast and you’ll find a low path between two of the houses. Look carefully at the alleyway before going through, because it will fill up with some Waking Water on occasion, so be sure your path is dry before crossing. The Sacred Tear is past the alleyway next to the Guardian.
-
Go back through the alleyway and go south to the graveyard. A Watcher will be patrolling the hill near the entrance there. Avoid it and dash into the graveyard; the Sacred Tear is near a Tombstone.
-
Okay, the last one. This one is actually atop the Light Tower. Go north and get onto the bridge railing, then carefully go across. Once you do, go south to the ring of light. Climb up the ladder and watch out for the Watcher above. Wait for it to completely pass before climbing up. At the top, grab the Sacred Tear.
Once you have the Sacred Tear, take a nice long DASHING jump off of the Tower to hit the ground below (it won’t terminate the trial). Then just walk a few steps into the circle of light. There, you’ll receive the Stone of Trials.
Skyloft (Again)
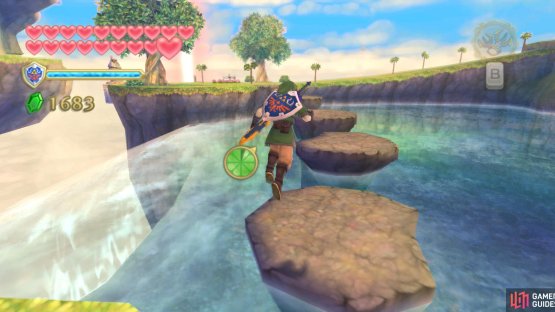
After returning from the Silent Realm, Fi will tell you that the Stone of Trials is one of a pair. The other one is in Skyloft. Go towards the waterfall to the northeast and cross the four rock platforms.
(1 of 2) Leap across the rocks to get across the river, like you did during the trial.
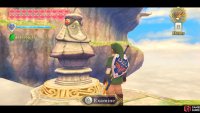
Leap across the rocks to get across the river, like you did during the trial. (left), Then slap the Stone of Trials into the statue’s empty eye socket. (right)
On the other side, examine the bird statue with one eye and you’ll end up inserting the Stone of Trials beside what is apparently its partner.
Afterwards, the statue opens up, revealing a cannon. A cannonball is shot at the bottom part of the island with the Goddess Statue on it, and it soon crumbles to pieces. A structure beneath is revealed – it is your next dungeon, the Sky Keep. A few more cannonballs are shot, which become Clawshot targets.
After the scene, stock up at the Bazaar if you feel like it, then cross the Clawshot targets and go into the structure.













No Comments