Faron Woods
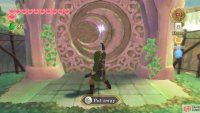
(1 of 2) Charge up a Skyward Strike in front of this gate.
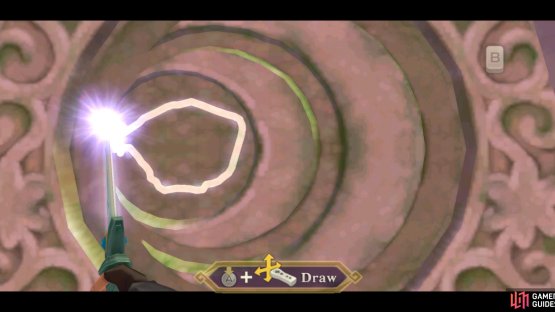
Charge up a Skyward Strike in front of this gate. (left), Then draw a rough circle with your sword. (right)
Head northeast upon hitting the ground, towards the temple ruins. There, go around back and onto the symbol on the ground. After speaking with Fi and getting a good look at it, we are to now go southward through the woods.
Head towards and up the spiral hill (you know, the one we ascended the first time we were here to visit the Kikwi Elder?).
Once you reach the stone gate, defeat the Deku Scrubs nearby. Go up to the gate and charge up for a Skyward Strike. Once you do, you are able to draw on the gate by holding A and moving the sword around.
Draw a circle in the proper position – don’t worry about accuracy, the game is rather generous when it comes to these kinds of things.
Assuming you did it correctly, the gate will open up and let you through. Go along the bridge to the ledge, then dash-jump-dive into Lake Floria.
Lake Floria
(1 of 2) Lake Floria is huge, but you’ll only be exploring the tunnels.
Lake Floria is huge, but you’ll only be exploring the tunnels. (left), Be sure to swim into the air bubbles to catch your breath. (right)
Upon entering, you’ll soon find that there is a current that automatically pulls you along, and you can’t swim against it really. So, just go along with it over the waterfall.
Map
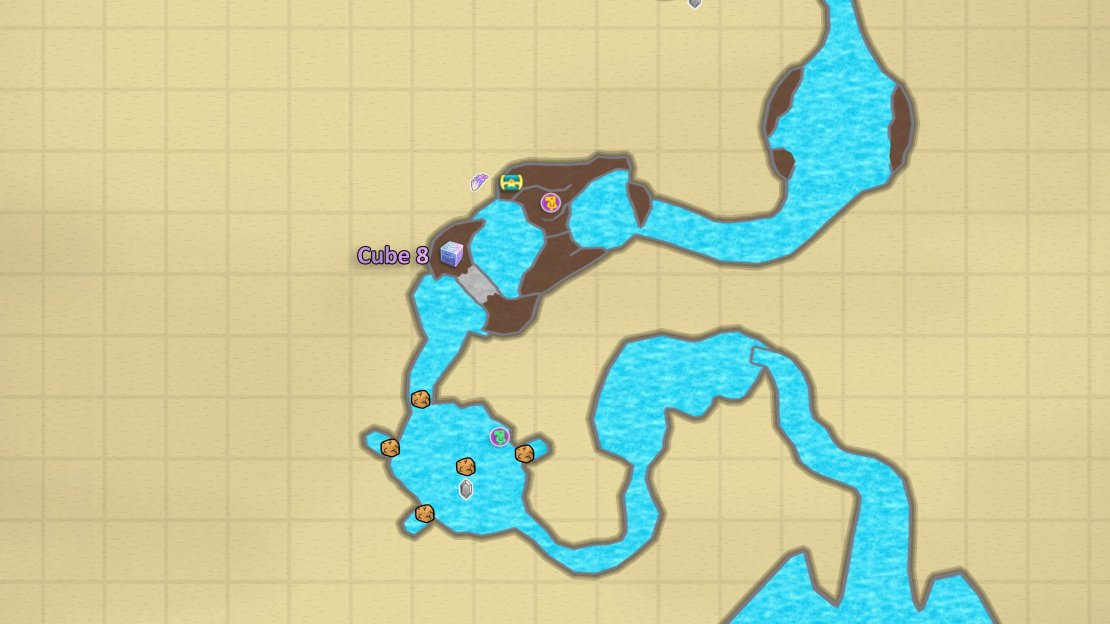
Map of Lake Floria.
In this next room, you’ll find a strange creature, a Parella. It will get scared of you and flee. Follow it (grab the Amber Relic from the ground on the way) and, in the tunnel, it will go through a hole in the boards. Start to swim and shake the Nunchuk to spin through the boards.
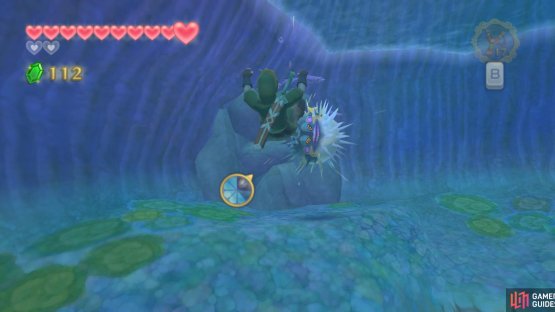
After that, the Parella will notice that you have the Water Dragon’s Scale, and therefore agree to take you to the Water Dragon. Continue along the tunnel, following the Parella, while trying to avoid the spiky balls. Further ahead, you’ll have to spin through some more boards and into another room.
(1 of 2) Shake the Nunchuck to do a spin attack.
Shake the Nunchuck to do a spin attack. (left), If you’re struggling to fly over this barrier, try swimming near the surface, before using a spin attack. (right)
Here, it seems that your path forward is blocked by some rocks. You’ll find some Froaks nearby – you can spin attack them into a wall or something to make an explosion. Do so and be sure it is near the rather obvious rock blockade.
Afterwards, continue along the path to the next room. Here, you’ll need to jump over some iron bars – do so by spinning as you approach the surface of the water and you’ll jump over the barricade.
Continue following the Parella into the next room. Eventually, it will slip through a crack in the wall. Spin jump onto land and use the nearby Bird Statue. Nearby, you should be able to spot a treasure chest; it contains a Goddess Plume.
Goddess Cube 8
(1 of 2) This Goddess Cube is in the same area as the Bird Statue that’s halfway along.
This Goddess Cube is in the same area as the Bird Statue that’s halfway along. (left), After activating it, you need the Clawshots to get the treasure. (right)
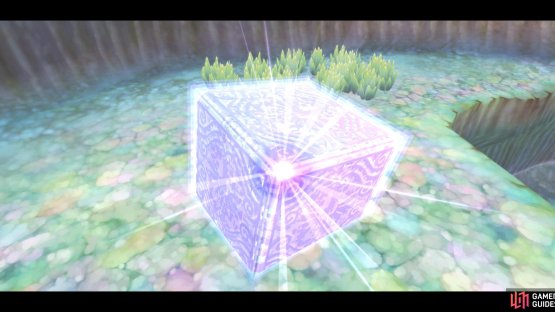
Walk along the ledge to the other side of the room and you’ll find Goddess Cube 8. Hit it with a Skyward Strike.
Return to the central area and through the enclosed area below. There, swim through the tunnel to its end, then jump over the barricade.
Here, you’ll find a large enemy fish swimming around. Simply spin into it a few times to finish it off and continue. The Parella will go ahead to the gate. Meet it there and the Parella will unlock the door here by using its head as a key.
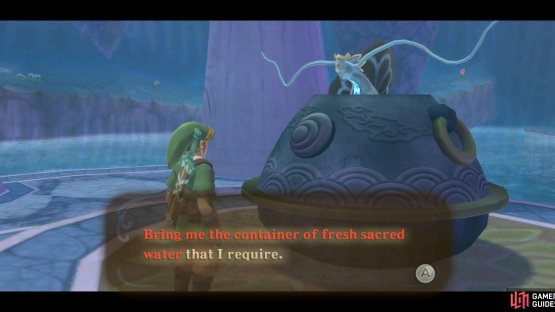
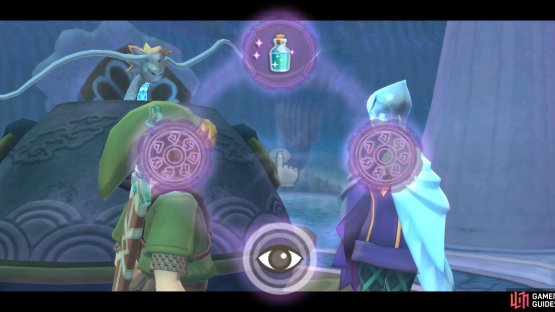
(1 of 2) Faron tests Link by asking for some Sacred Water.
Faron tests Link by asking for some Sacred Water. (left), Remember that you’ll need an Empty Bottle to collect the Sacred Water. (right)
Anyhow, go through to the Water Dragon’s room. There, swim forward and spin onto the ledge. Speak with the Water Dragon, Faron, and you’ll told about her encounter with Ghirahim, the reason why she is in a healing basin at the moment and not so physically high-and-mighty.
As a test, you’ll be asked to get her some more sacred water to fill up her basin some more. Agree to do so.
Afterwards, swim to the back of the room and spin jump onto the ledges. Climb and go through the back door. Outside, use the Bird Statue and head to the right and back to the woods.
Faron Woods (Again)
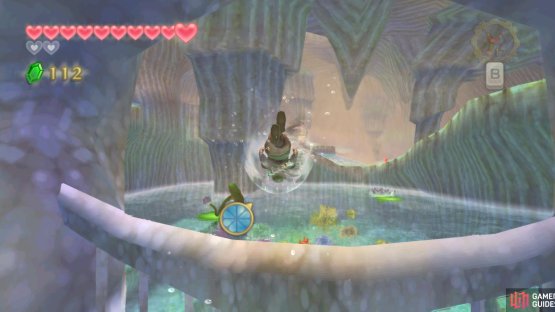
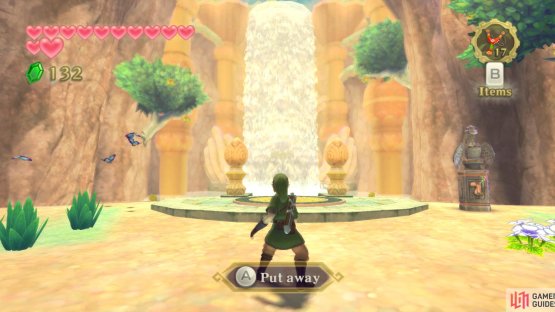
(1 of 2) Right now, you can only admire the scenery here.
Right now, you can only admire the scenery here. (left), Take a right and push the log to create yet another shortcut. (right)
Back in the woods, go forward and push the log off of the ledge to create a very useful shortcut for the future. You are in the southwestern portion of the forest, near, I think, where you had your first Kikwi encounter.
Anyhow, our next stop is actually Skyview Temple. Basically, go to the temple ruins in the northeastern corner of the area. Go around back and use the vine to get onto the ledge to the Deep Woods.









No Comments