
Deep Woods
Back here, take a left and climb on top of the fallen log. Go through the narrow path, mindful of the enemies along the way. Once you’re back on the main path, climb up the next log ahead and the Skyview Temple will be straight ahead.
However, if you didn’t push the second log beforehand, turn right at the end of the path and then shimmy along the ledge. Use the Hook Beetle to grab a bomb on the tree root across the chasm and drop it onto the Deku Shrub across the tightrope. After that, go across the tightrope, shaking off the little bombs as you do.
On the other side, go around and then leap towards the hanging rope and use it to swing across. Now you’ll be atop the second log–and you should definitely push it this time, just in case.
Skyview Temple
Entranceway
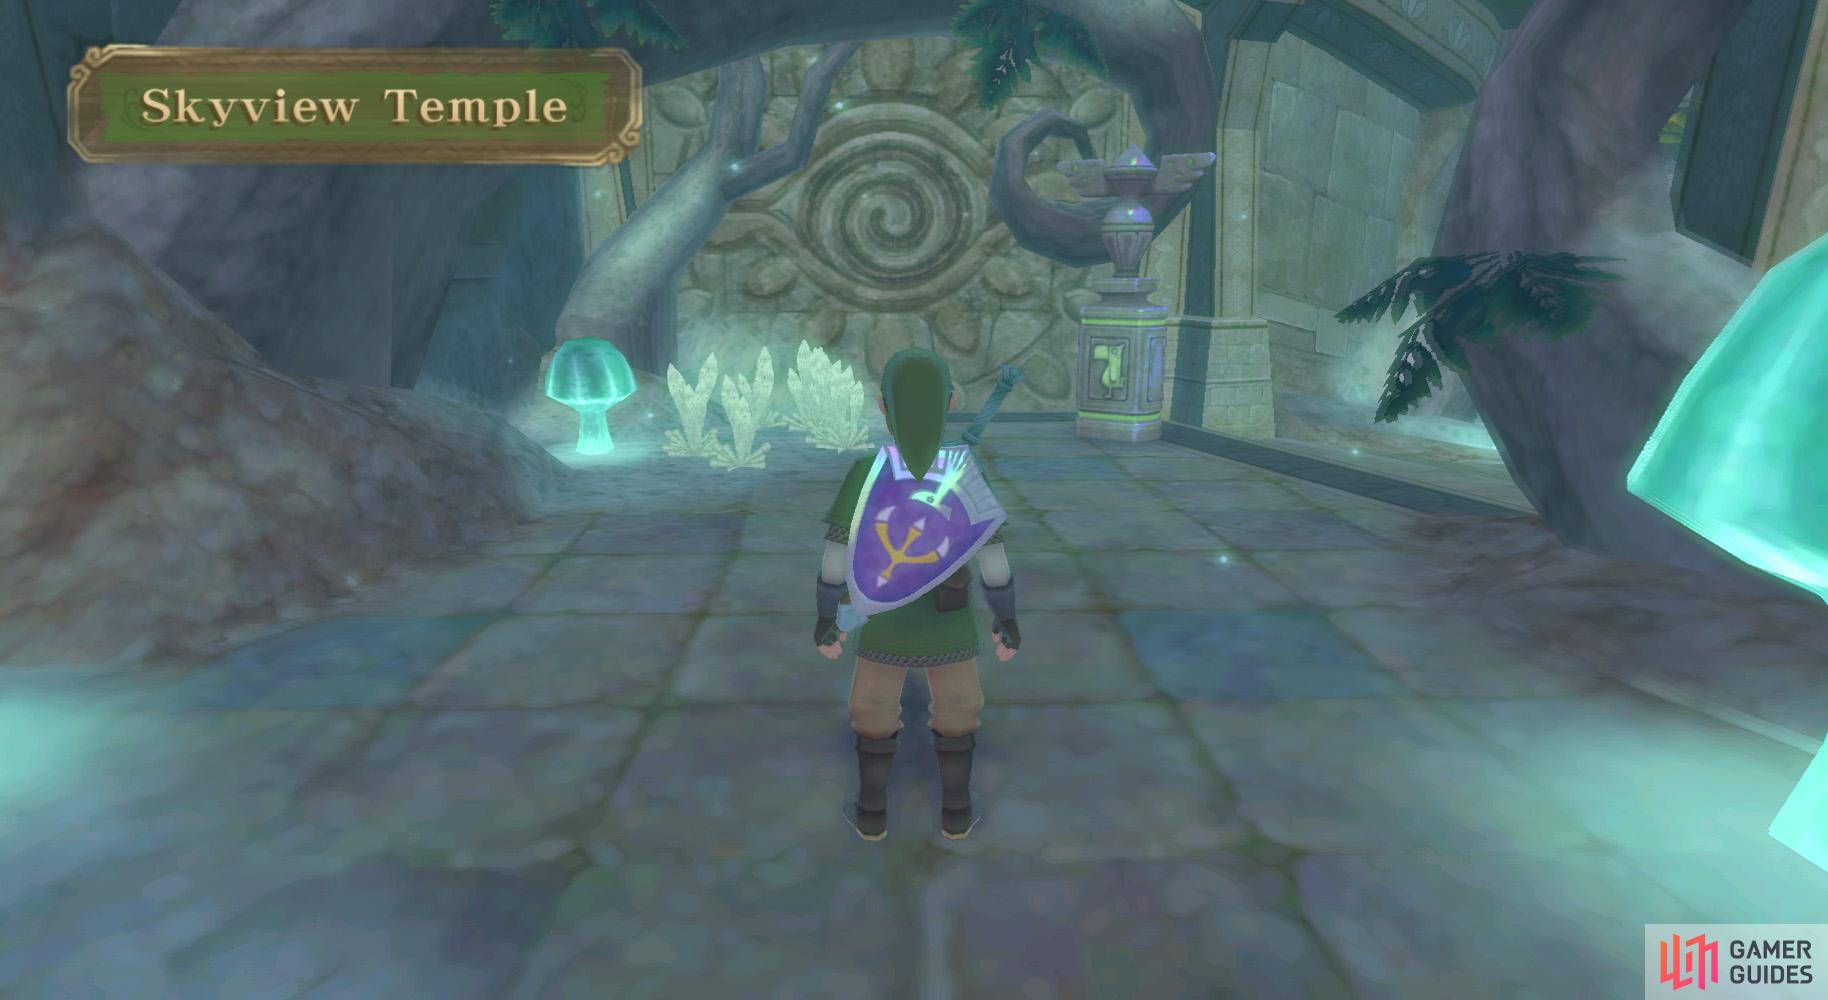
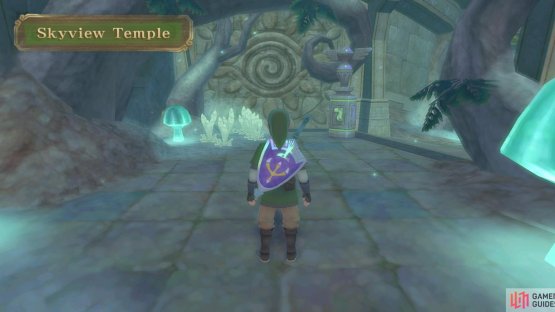
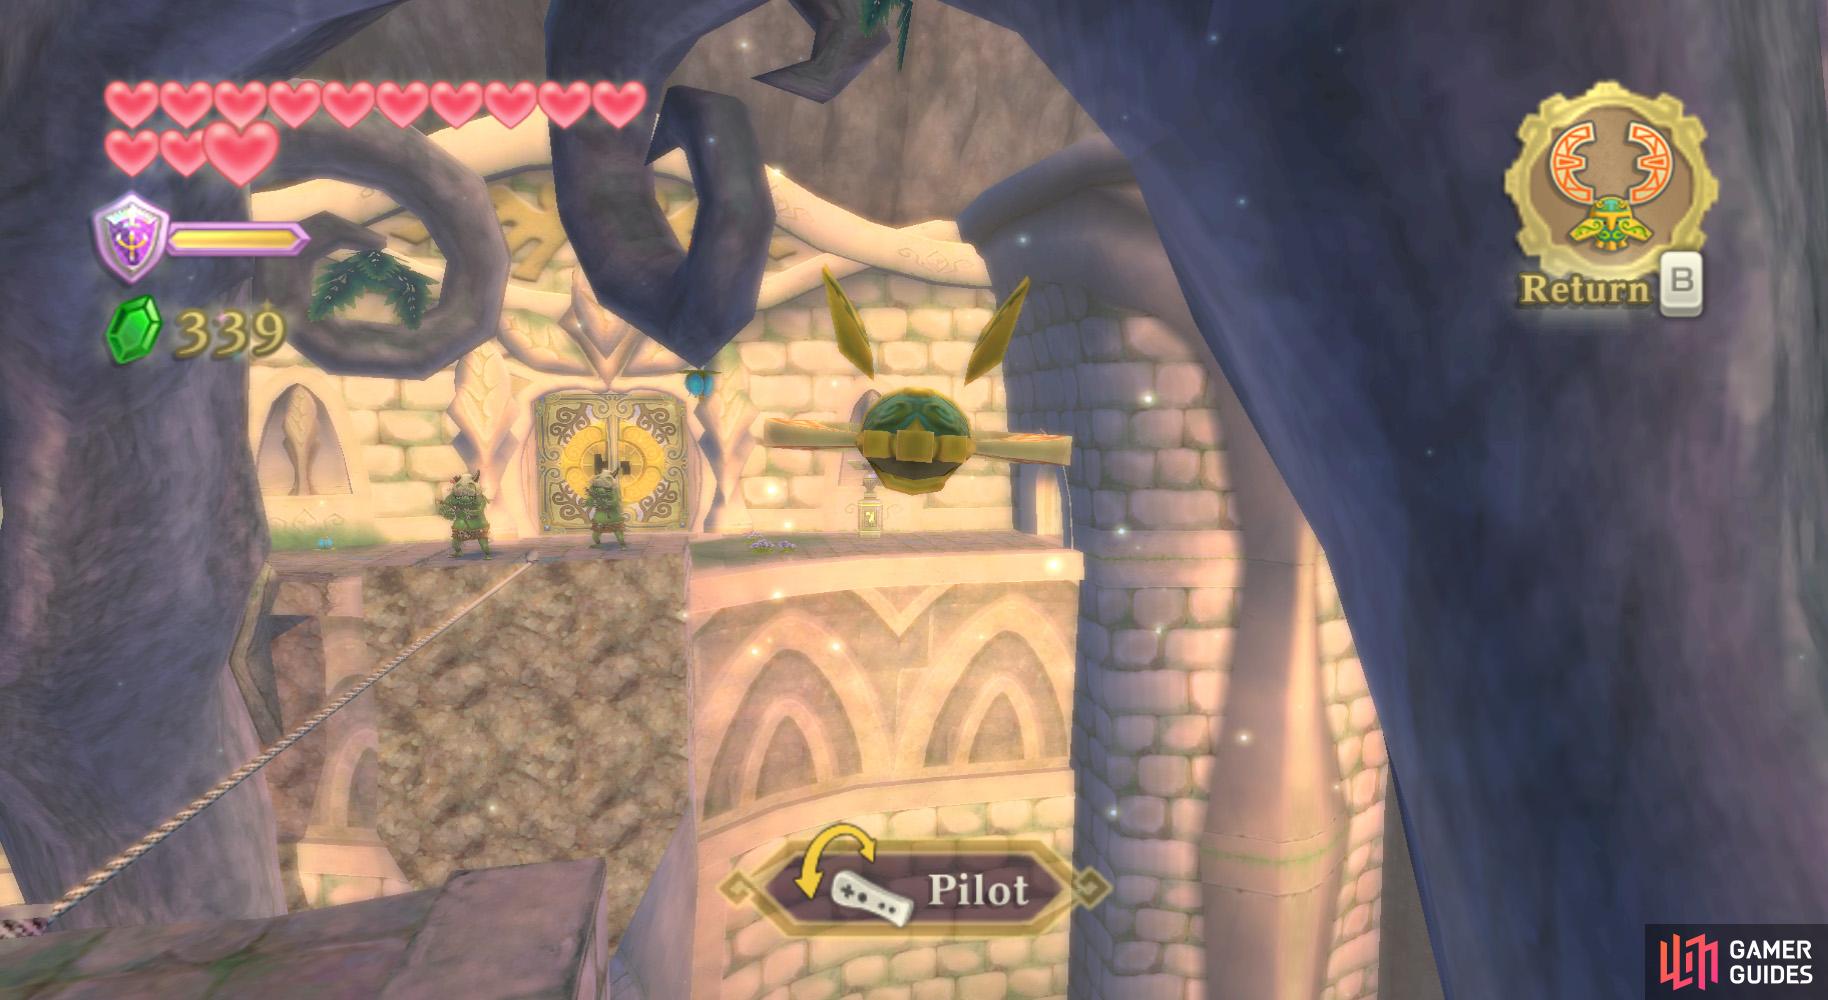
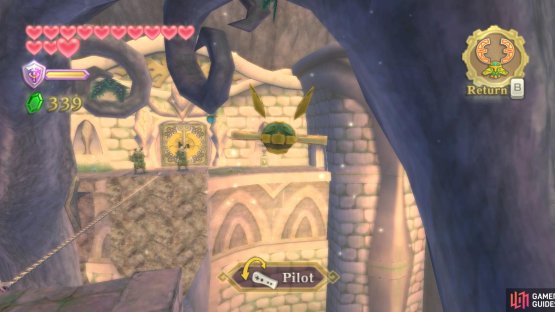
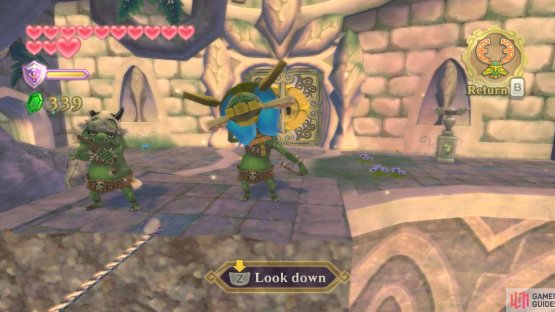
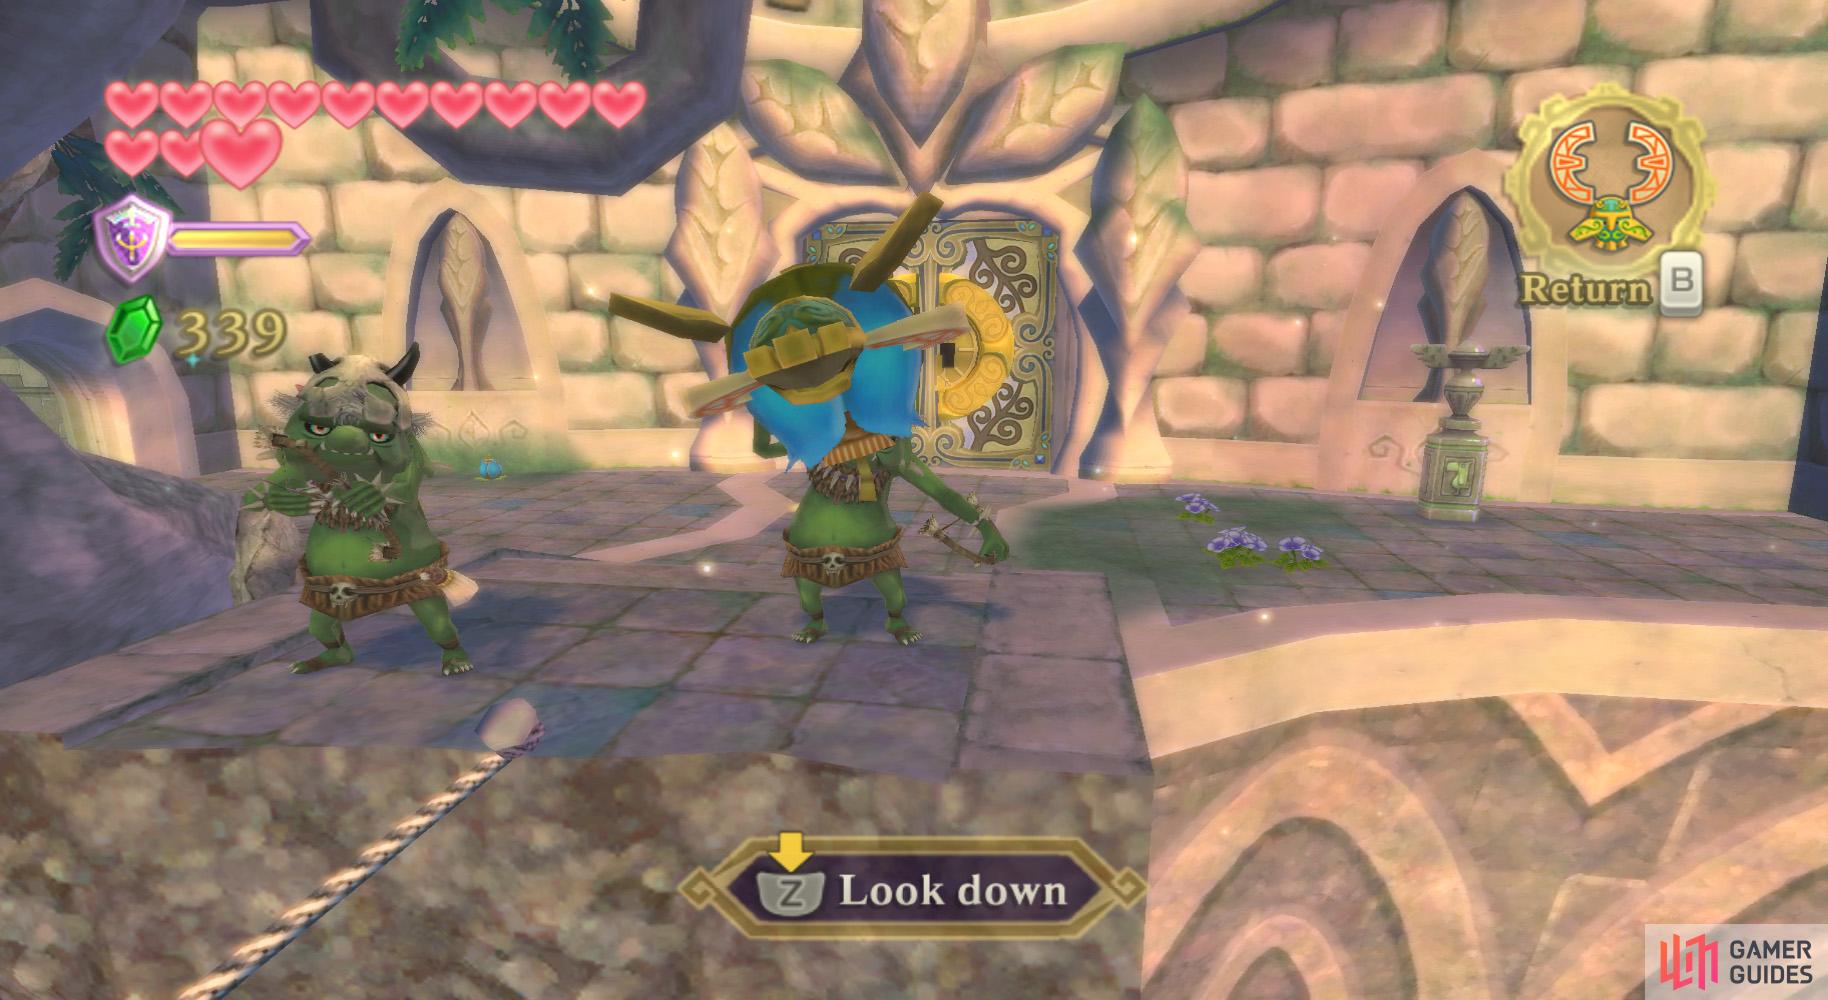
(1 of 2) Be careful: the enemies in this dungeon are stronger now.
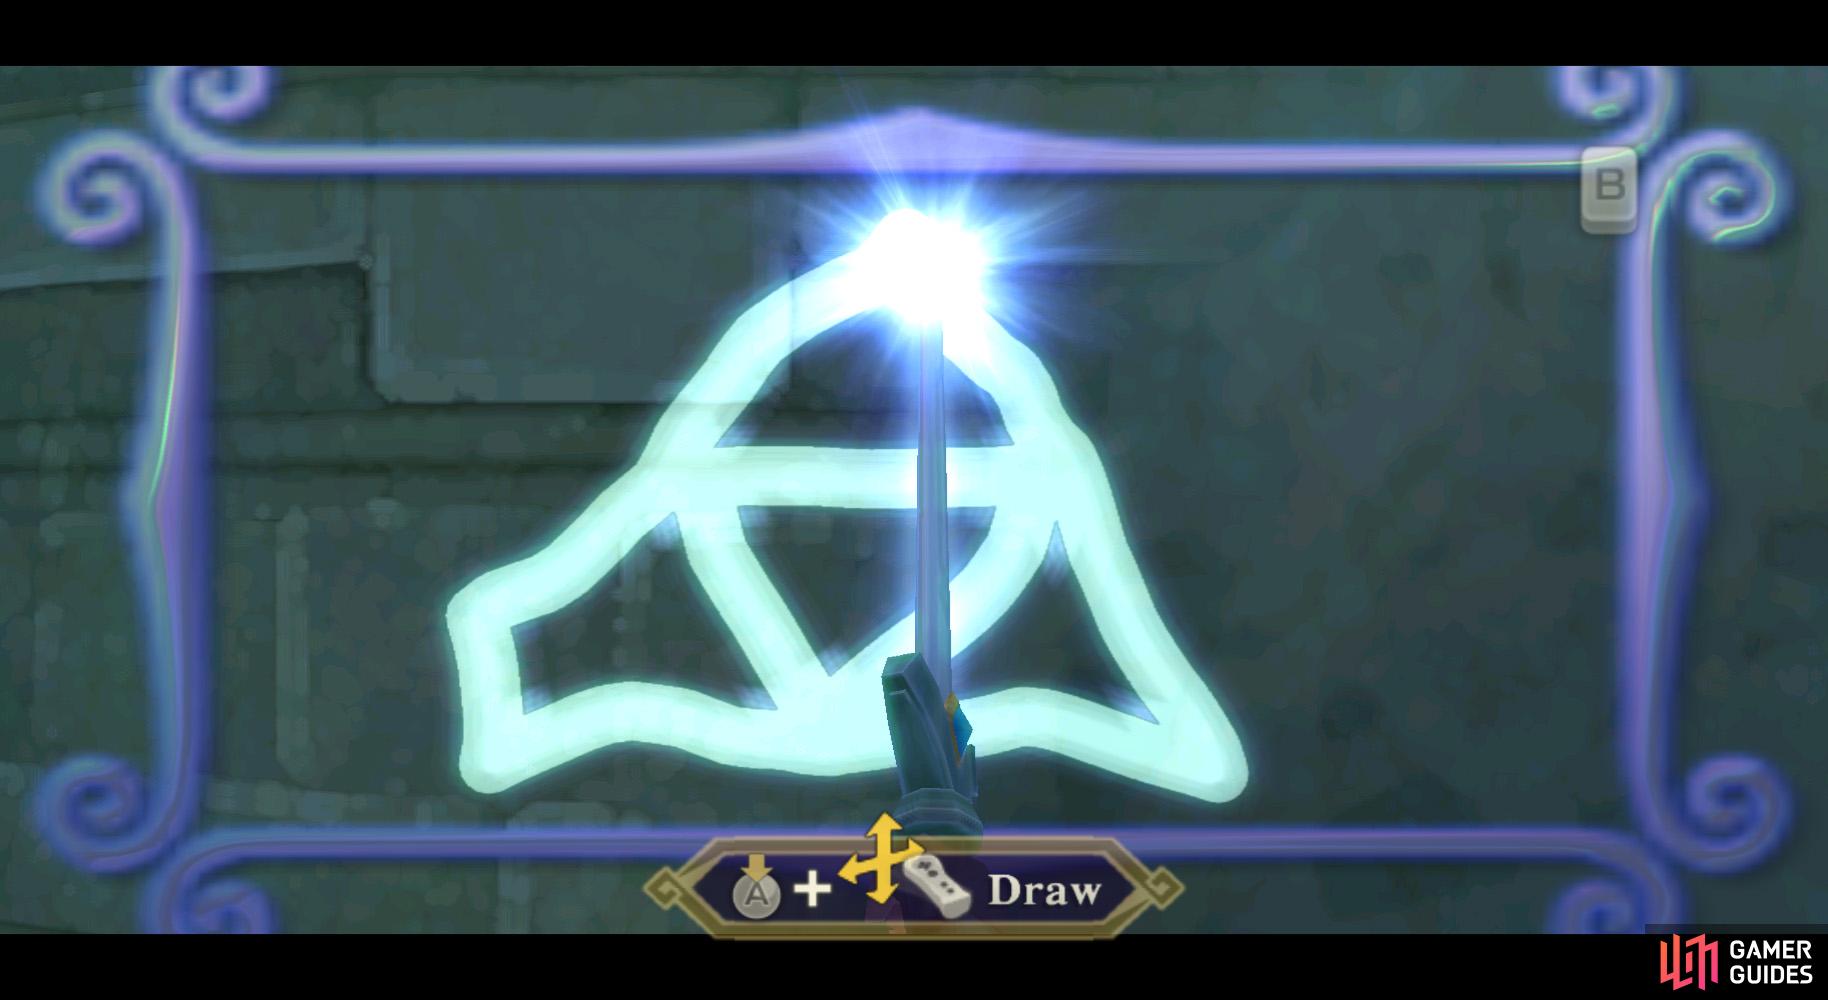
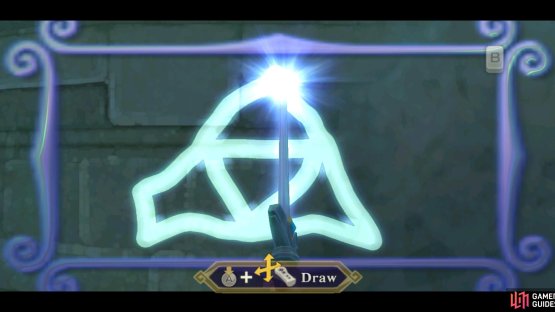
Be careful: the enemies in this dungeon are stronger now. (left), Here’s our best attempt at the Triforce. (right)
Once you enter the temple, go forward and use the Bird Statue, then start going downstairs, cutting down the Quadro Baba and spider webs as you continue. Eventually, in the northern portion of the area, you’ll find a group of Blessed Butterflies.
Play the Goddess Harp to find a Goddess Wall. It works in a similar manner to that of the gate to Lake Floria from earlier, but you can draw something and receive it - circle for Bombs, Rupee for Rupees, heart for hearts, etc.
Map
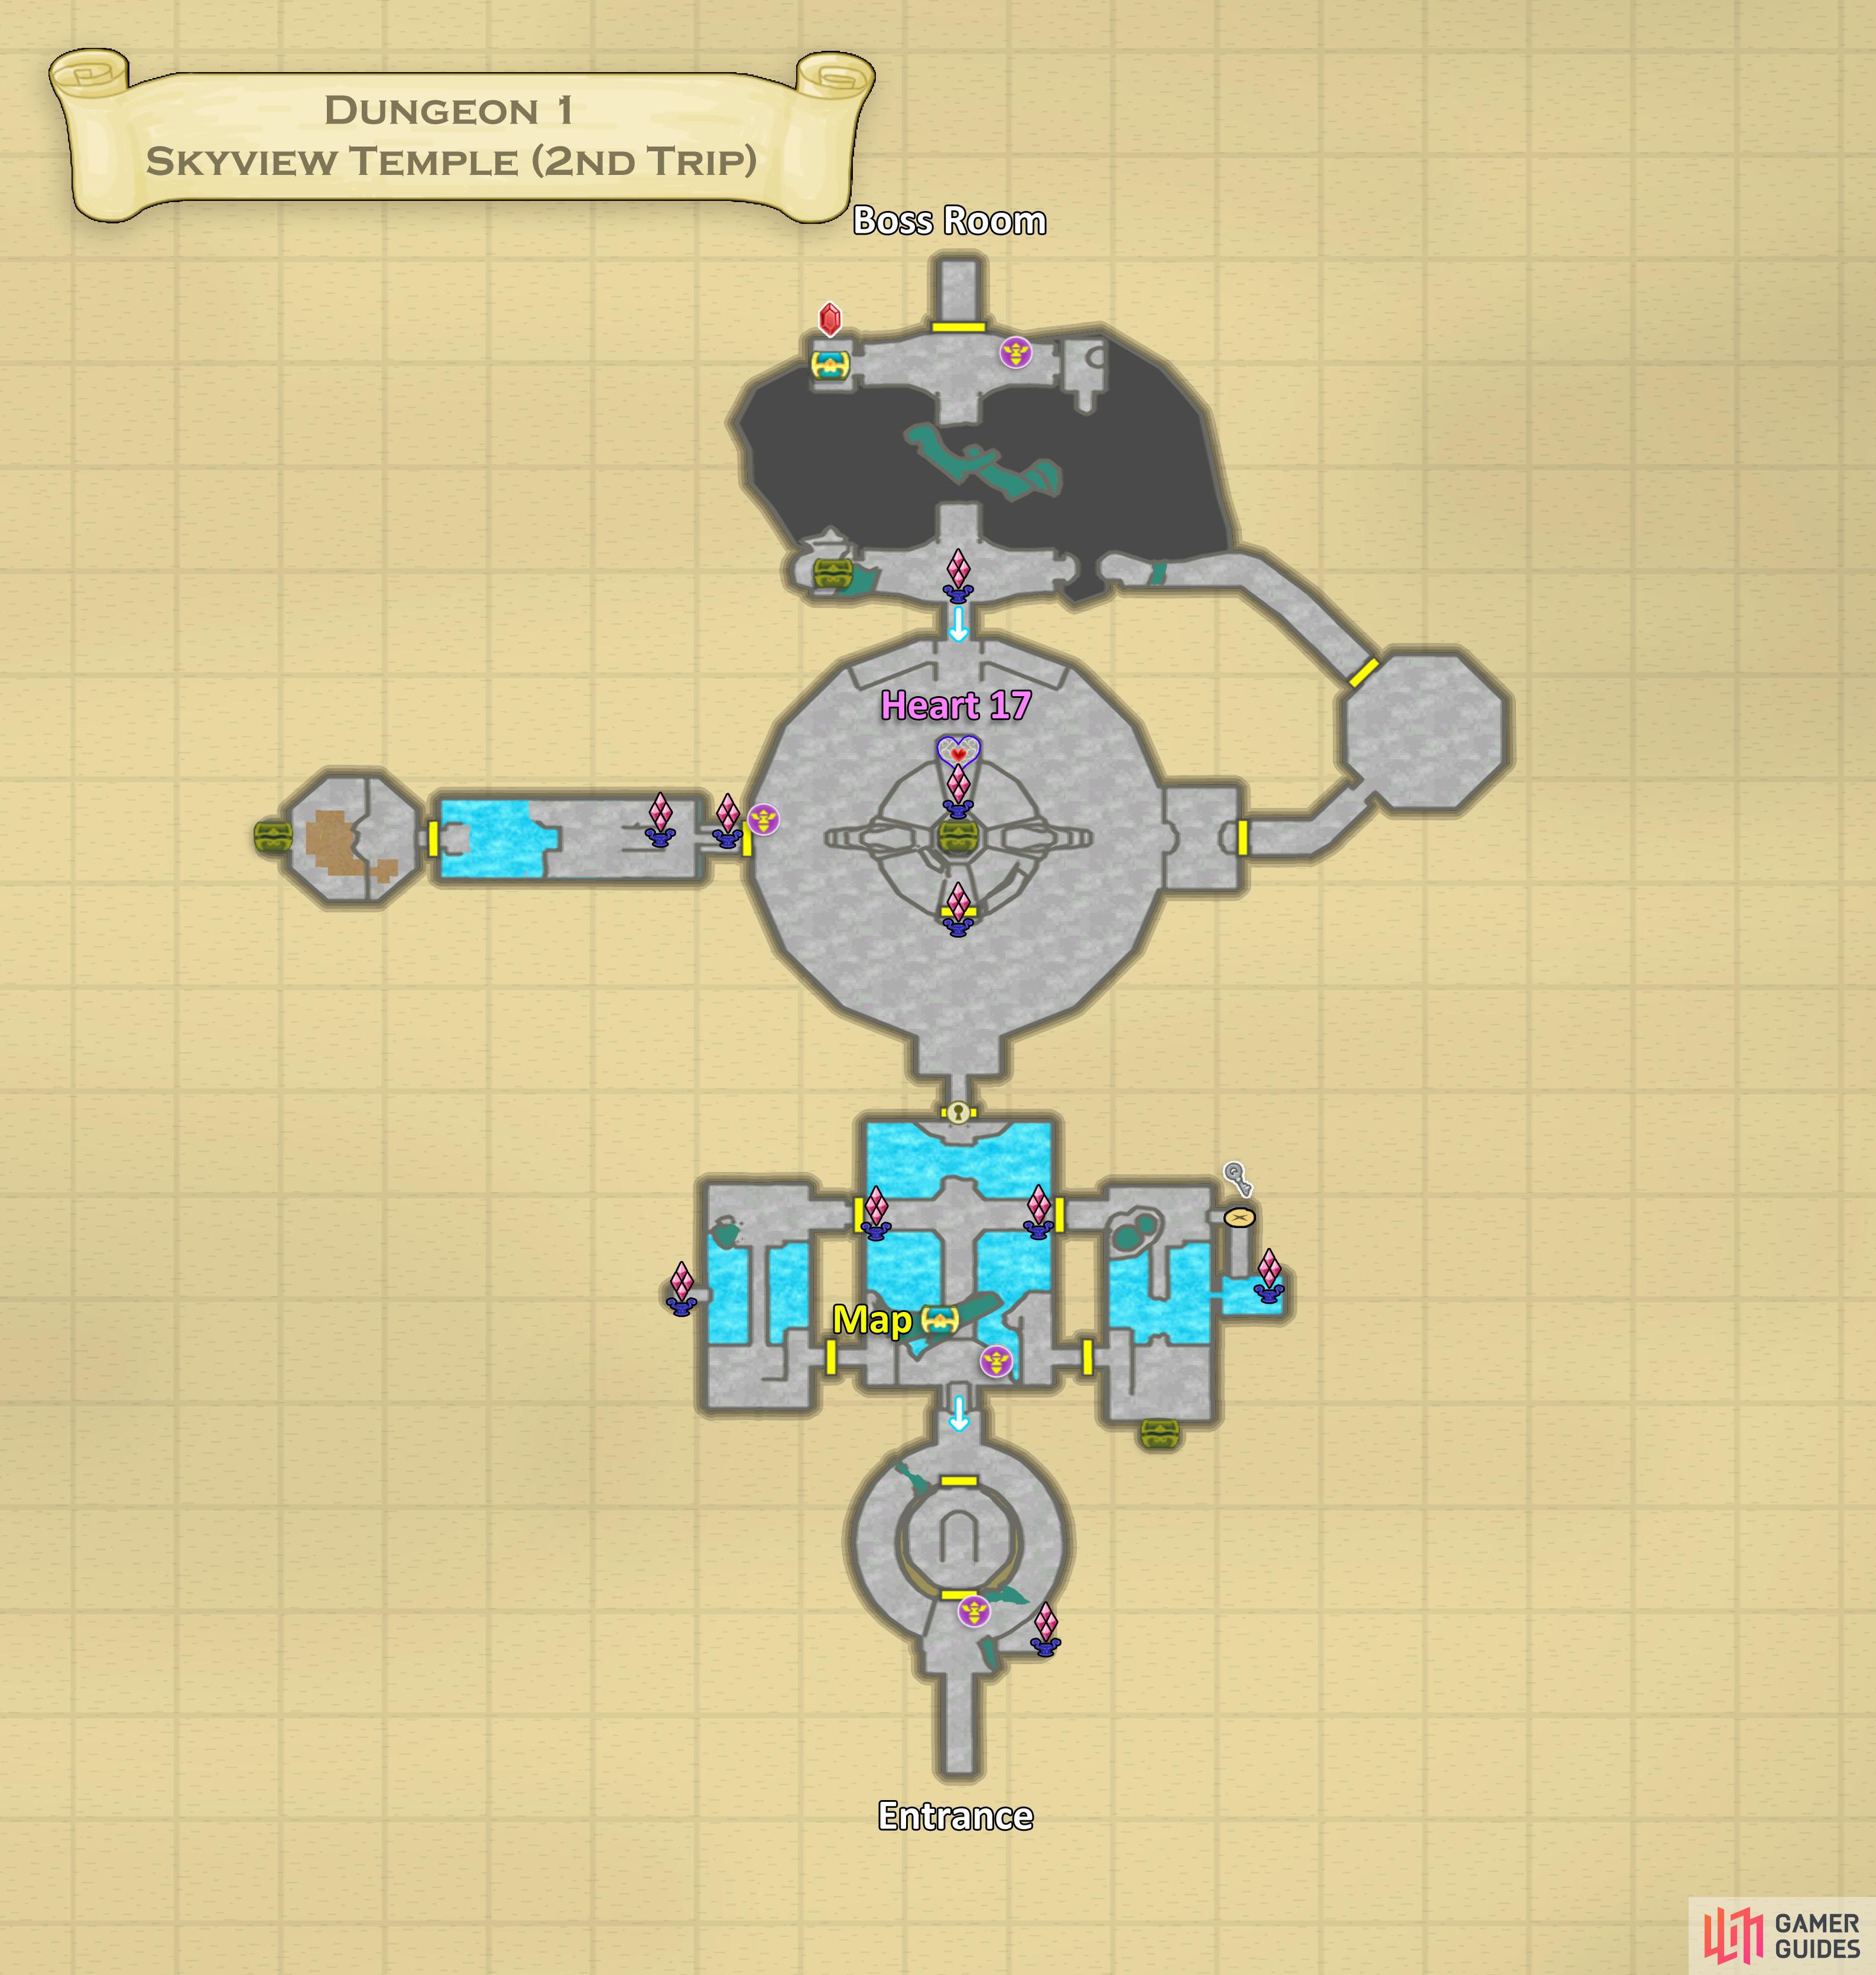
Map of Skyview Temple on your 2nd visit.
Opposite the wall, you should find an opening to the large central room that you flooded last time. Go on through.
South Room
Before proceeding, use the Bird Statue. Watch out for the Bokoblin Archer on the northern side of the room. Defeat the enemies in the room and go into the eastern room.
South-East Room
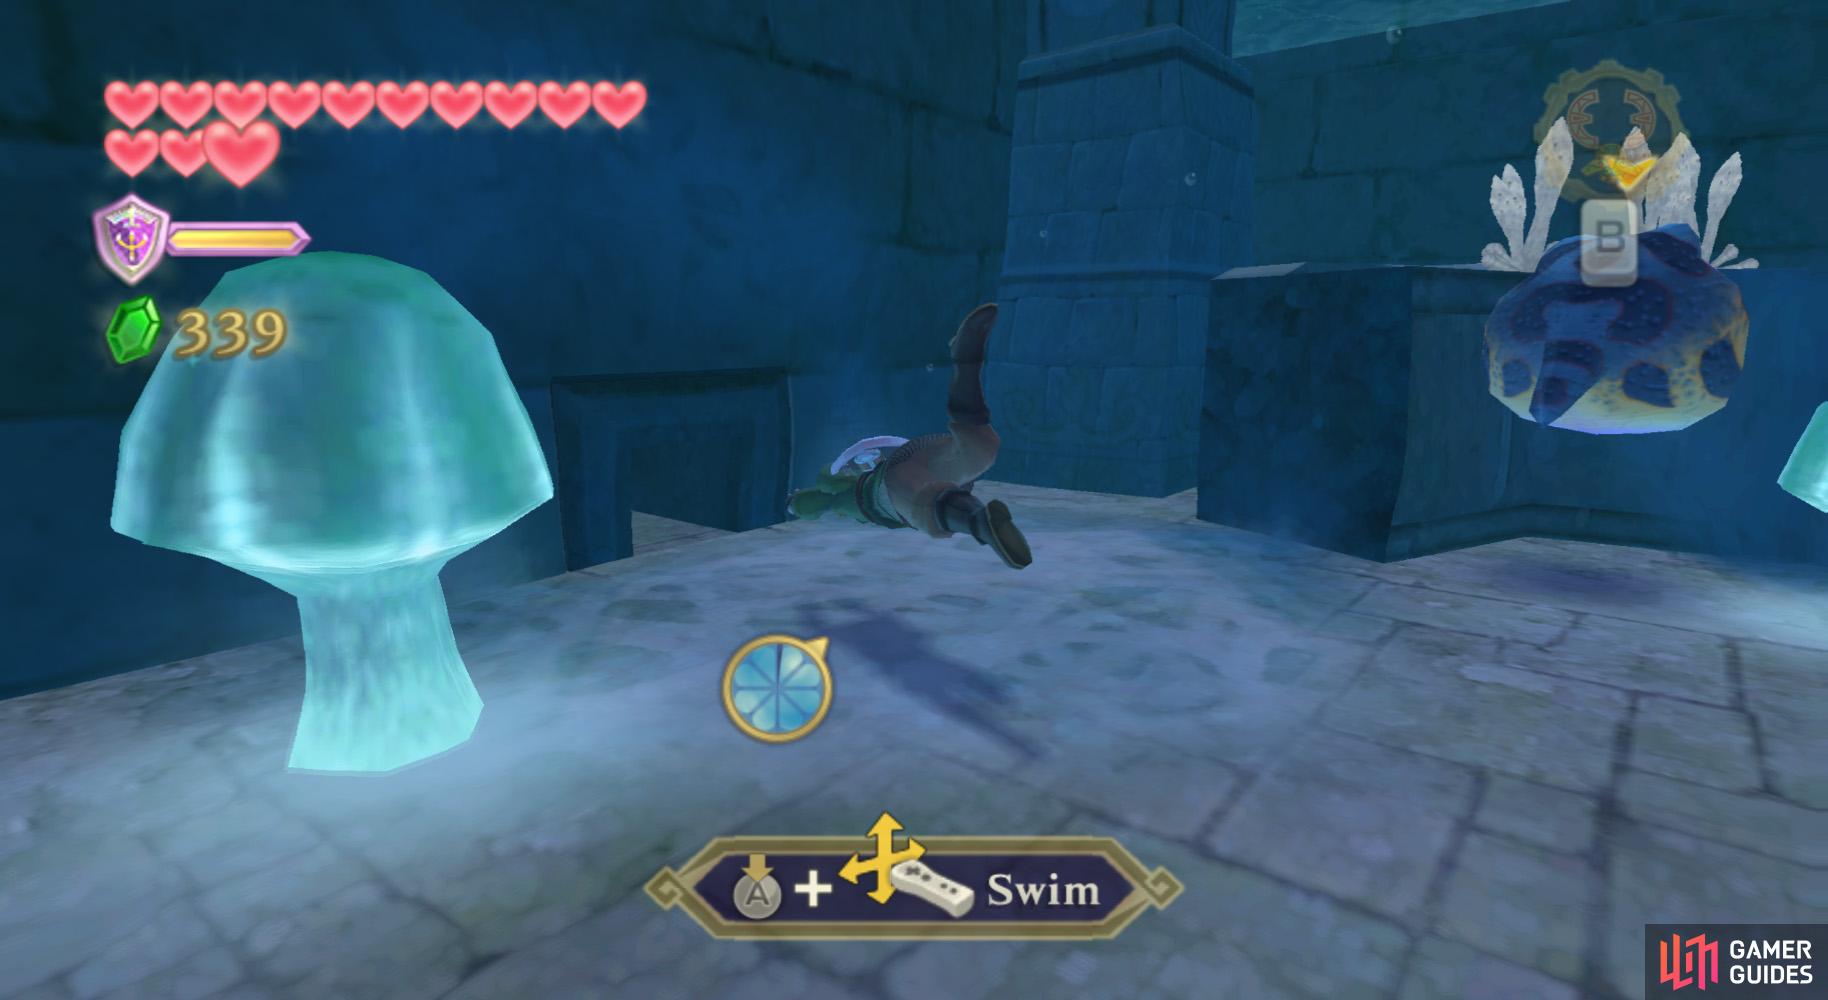
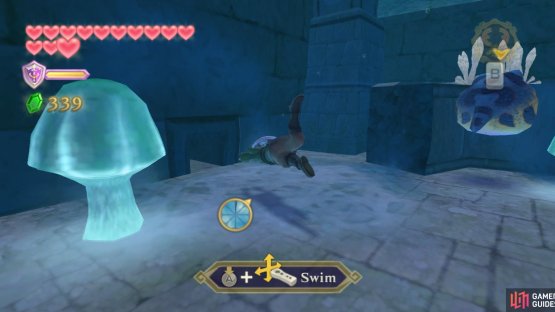
(1 of 2) In the eastern room, swim towards this gap.

In the eastern room, swim towards this gap. (left), Dig in the obvious spot nearby to find the Small Key you require. (right)
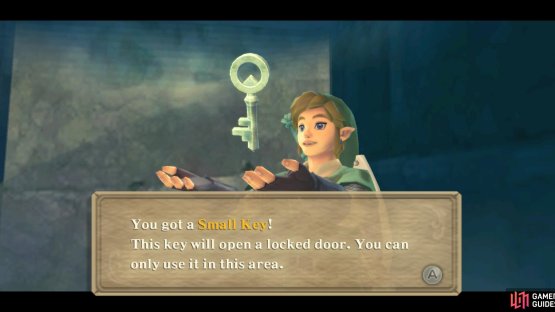
Go forward and cut down the spider web, then go further forward. When you reach the water pit, start swimming underwater and go through the tunnel at the bottom of the eastern wall to reach the small room with a crystal switch.
Climb the vinery you find nearby and dig in the spot at the end of the to find a Small Key. Crawl through the tunnel nearby and exit the room to the central room, then go through the northern door.
Center Room
You should be in the ever-large chamber room. You’ll find a few Staldras around here, so be careful. Simply head to the northern side of the room – if you made the shortcut from earlier.
Otherwise, you’ll need to take the long way around - go along the path through the eastern door for that.
North Room
(1 of 2) The arrows from the archers can stop your Beetle in its tracks.
The arrows from the archers can stop your Beetle in its tracks. (left), Drop a bomb onto the archers from above or slam it straight into their face. (right)
Anyhow, once you reach the room with the massive abyss, we’ll have a problem.
The two Bokoblin Archers at the other side of the pit can hit you from almost wherever you are in here, so head into the eastern alcove.
Launch the Hook Beetle and start flying way high up, out of the reach of the arrows – and stay high.
Above the tightrope, in that general vicinity, you’ll find a Bomb Flower. Grab it and continue staying high, then drop the Bomb Flower onto one of the Bokoblin Archers, or between them to try and get both of them.
Anyhow, after the Bokoblin Archers are gone, cross the tightrope and speak with the Mogma that arrives. Use the Bird Statue and open the door and go into the boss room.
Boss Room
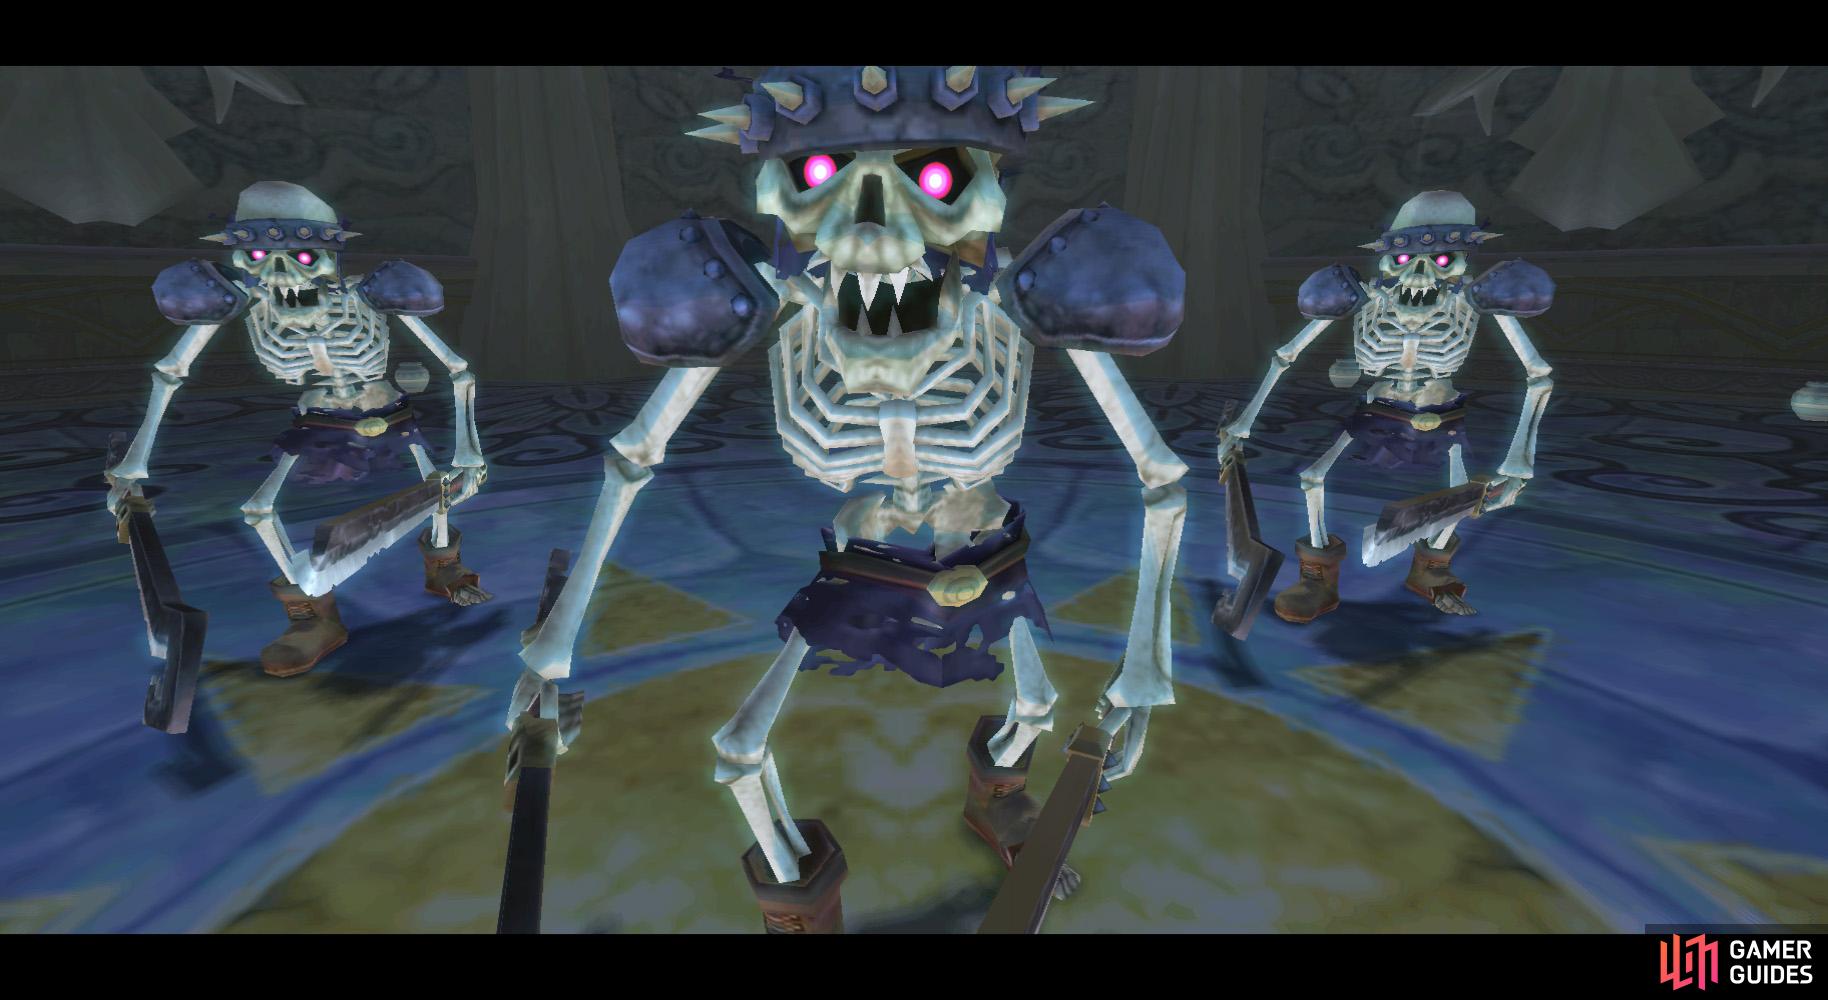

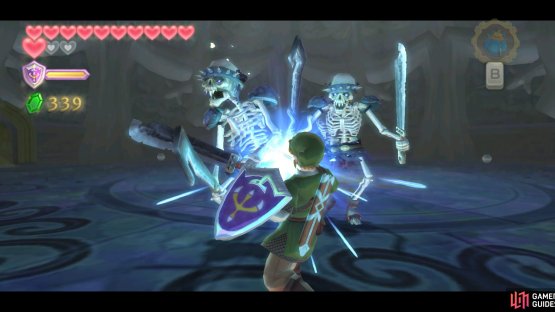
(1 of 2) Three versus one isn’t very fair, is it?
Three versus one isn’t very fair, is it? (left), Luckily, the Stalfos move very slowly, so you can take your time. (right)
Not really a boss here, actually. It is just three Stalfos. Tough, but not deemable as a boss fight. A good strategy, much like in Wind Waker, would be to stun the Stalfos with Bombs.
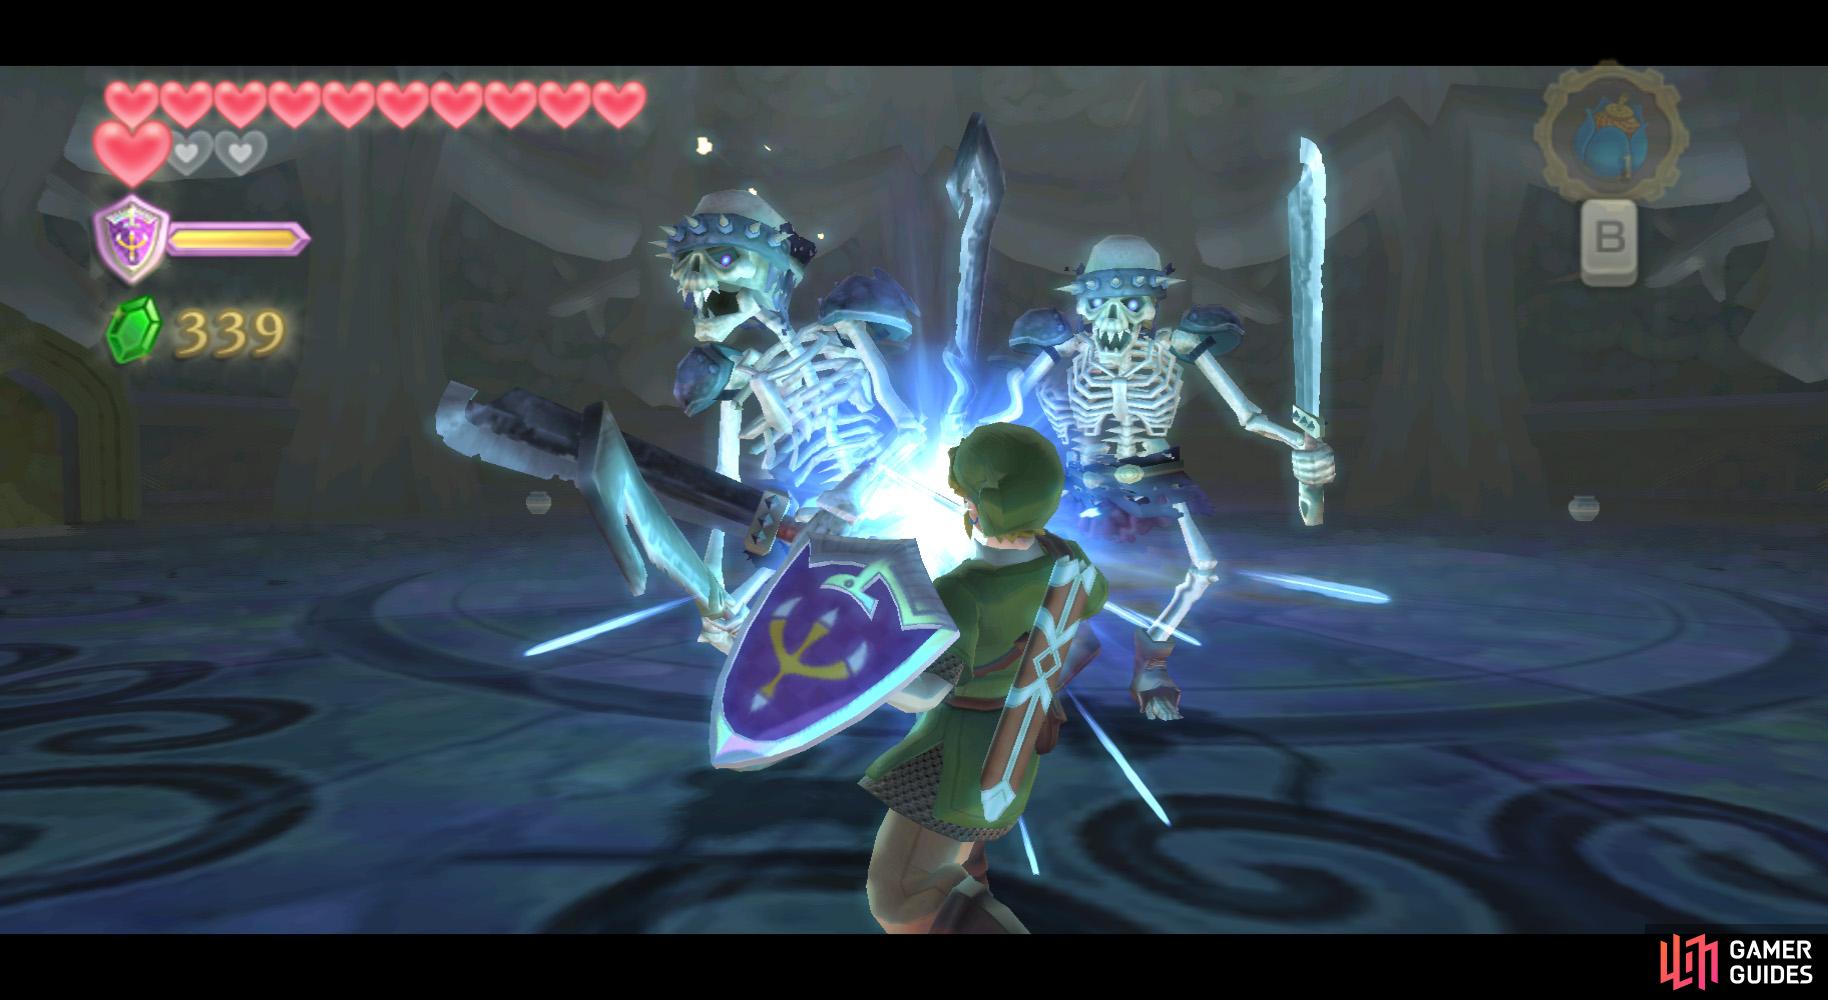
If you prefer close combat, you could also be Z-targeting one, moving backward or to the side when one is about to attack; their moves are kind of easy to dodge as long as you don’t screw up.
Hit the exposed sections repeatedly, regardless of strategy used, and you’ll be able to win. You can find some free Bombs and hearts in the pots around the room.
After the battle, the door will open to the Skyview Spring.
Skyview Spring
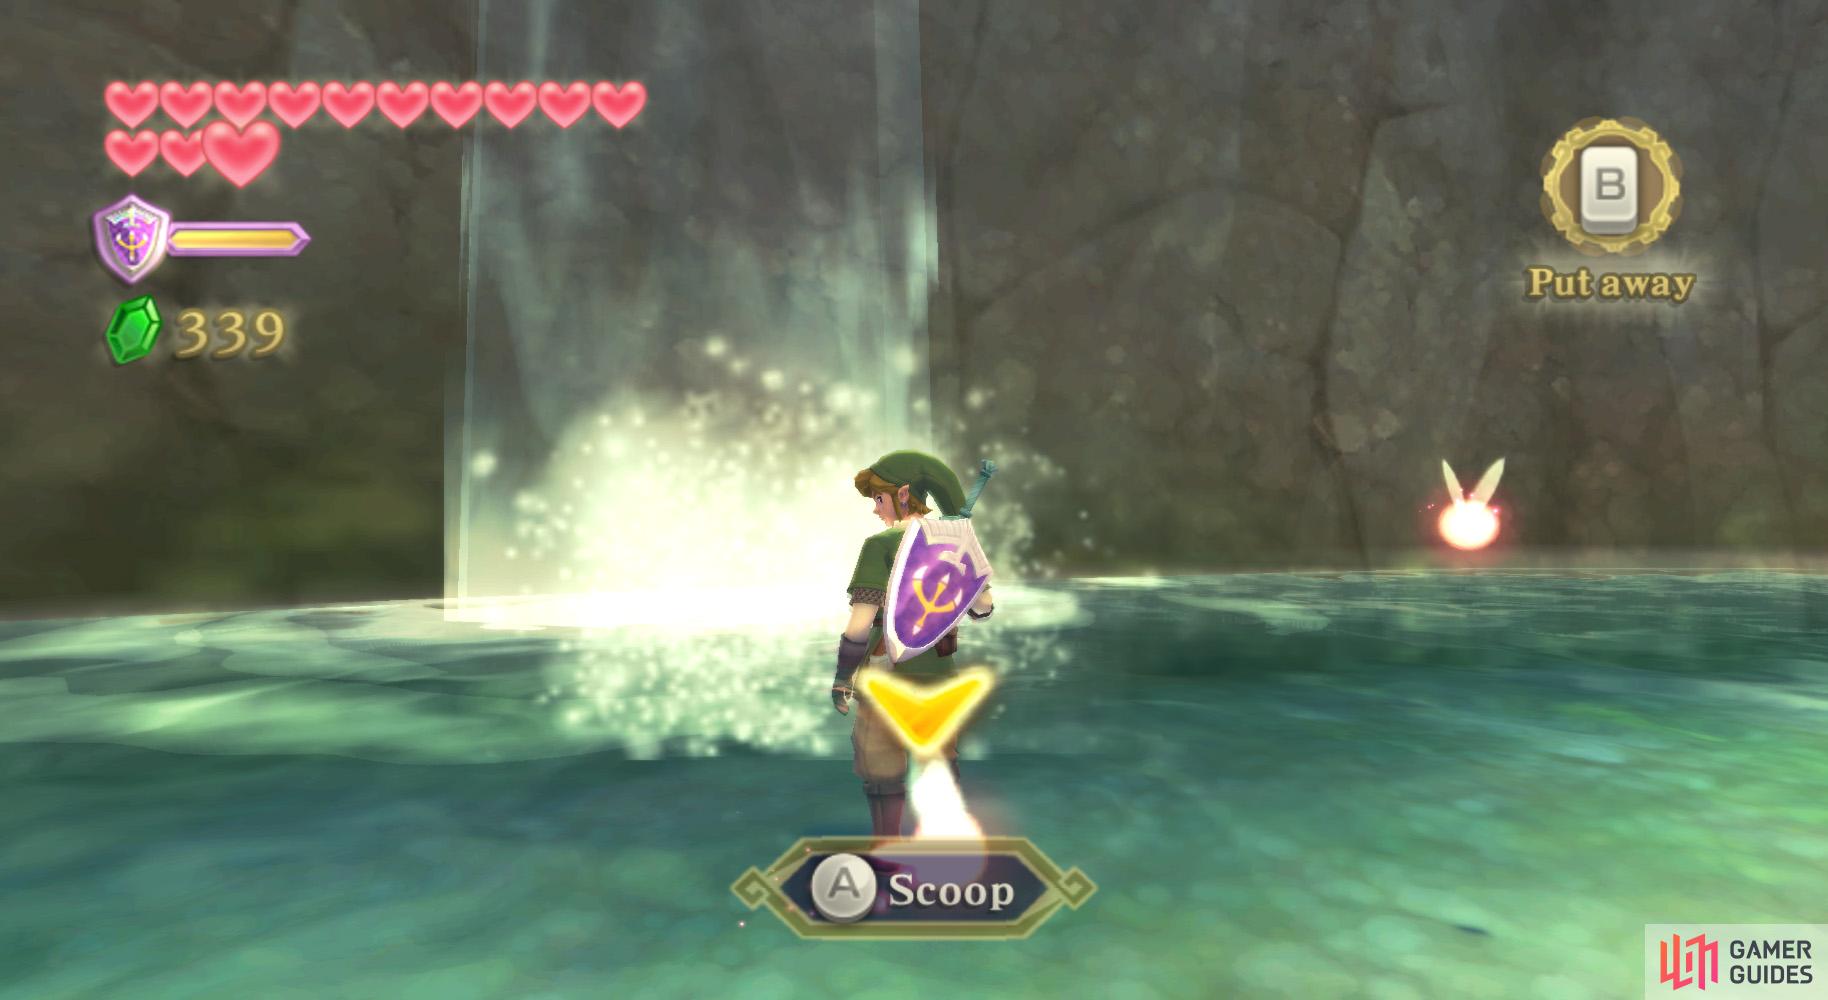
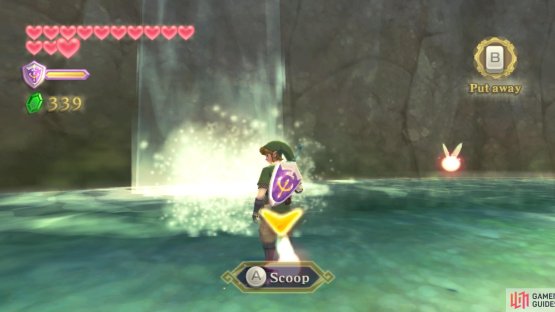
(1 of 2) Go up to the waterfall with the fairies nearby.
Go up to the waterfall with the fairies nearby. (left), Then scoop up the Sacred Water with an empty bottle. (right)
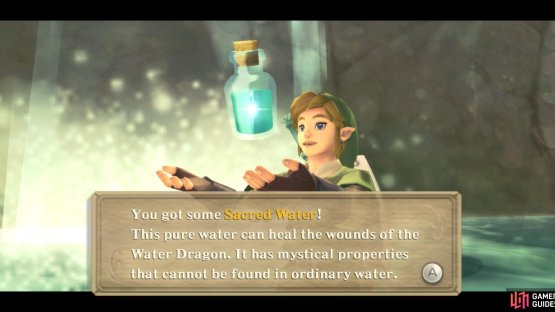
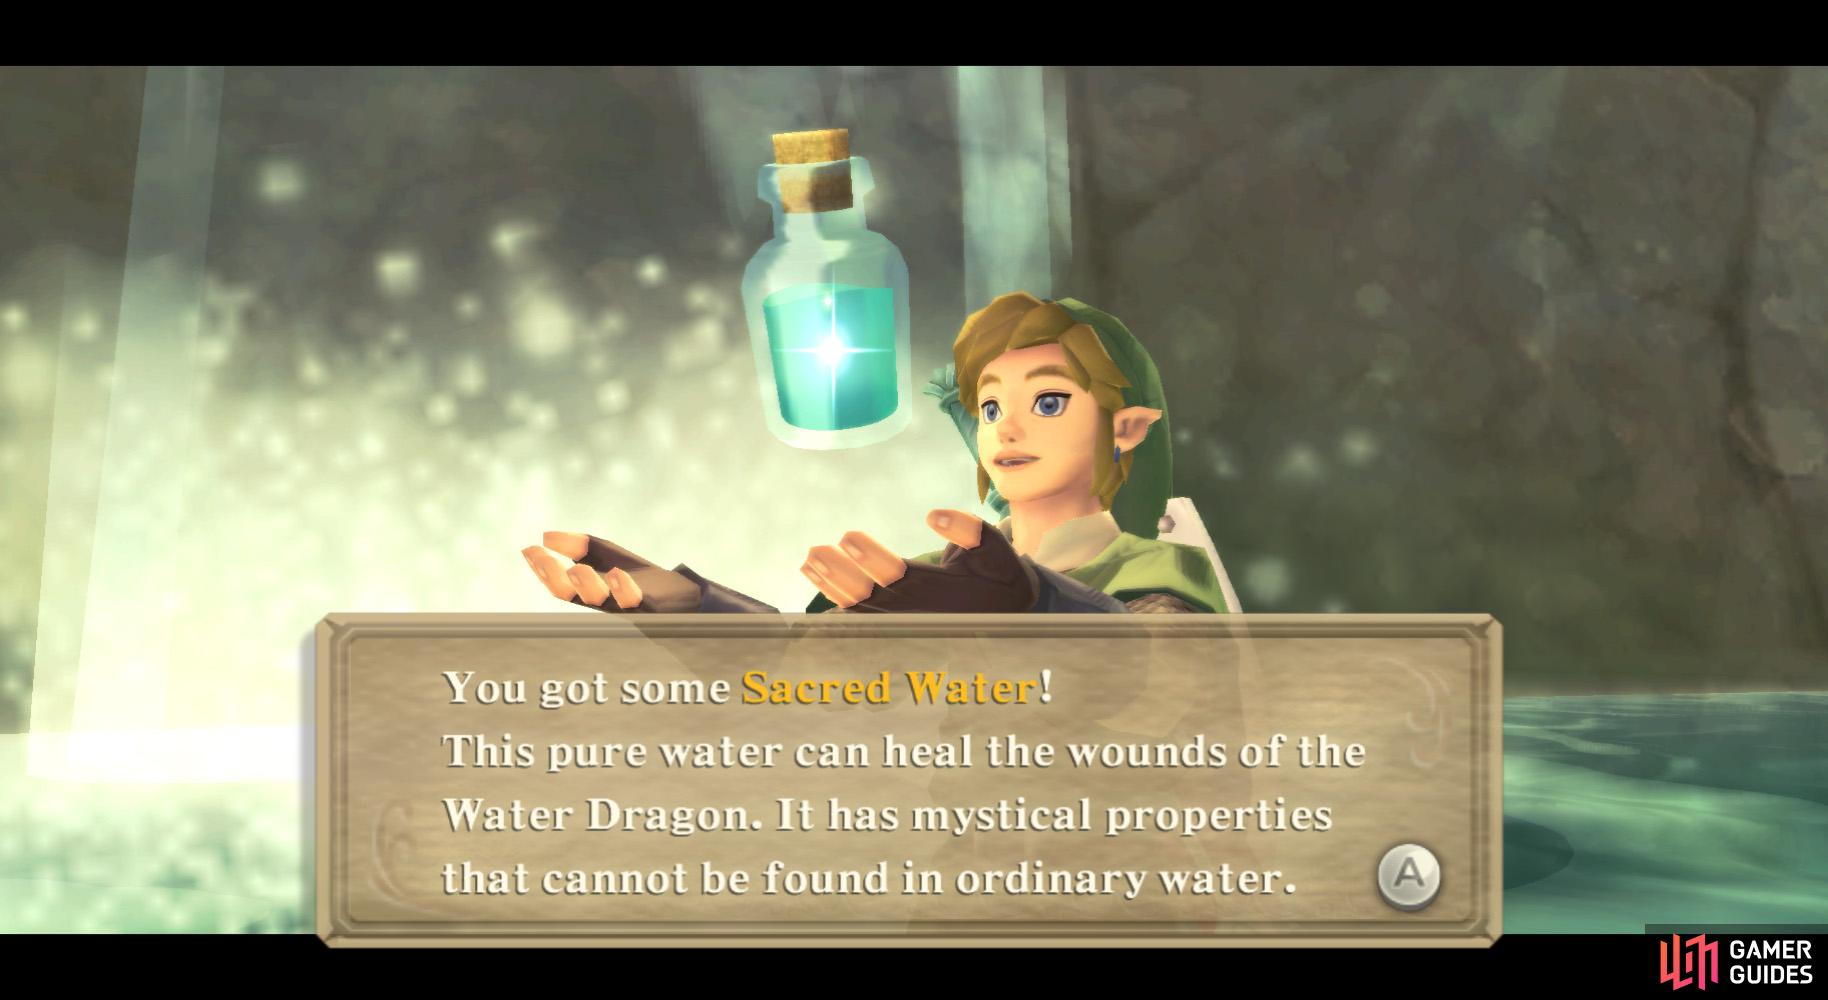
Okay, you’re going to have to empty one of your Bottles if you haven’t done so yet. Once you do, go to the backmost part of the area and into the waterfall. Scoop up some of the water nearby and it should be the Sacred Water.
After grabbing it, you’ll automatically be transported back to the Deep Woods.
Deep Woods (Again)
Here’s the “cheap” way of getting back to Lake Floria. Upon exiting the Skyview Temple, you should be able to find a Bird Statue nearby. Use it to return to the sky, then redescend into the Faron Woods, at the Floria Waterfall Bird Statue.
Lake Floria
Back here, exit back into the cavern and swim up to the Water Dragon’s ledge. Speak with her and hand over the Sacred Water. After she is healed, Faron leads you (back) outside to the large impenetrable waterfall. She will stop the water, allowing you to enter the Ancient Cistern.
No Comments