

(1 of 2) Faron Woods is the first main region in the game.
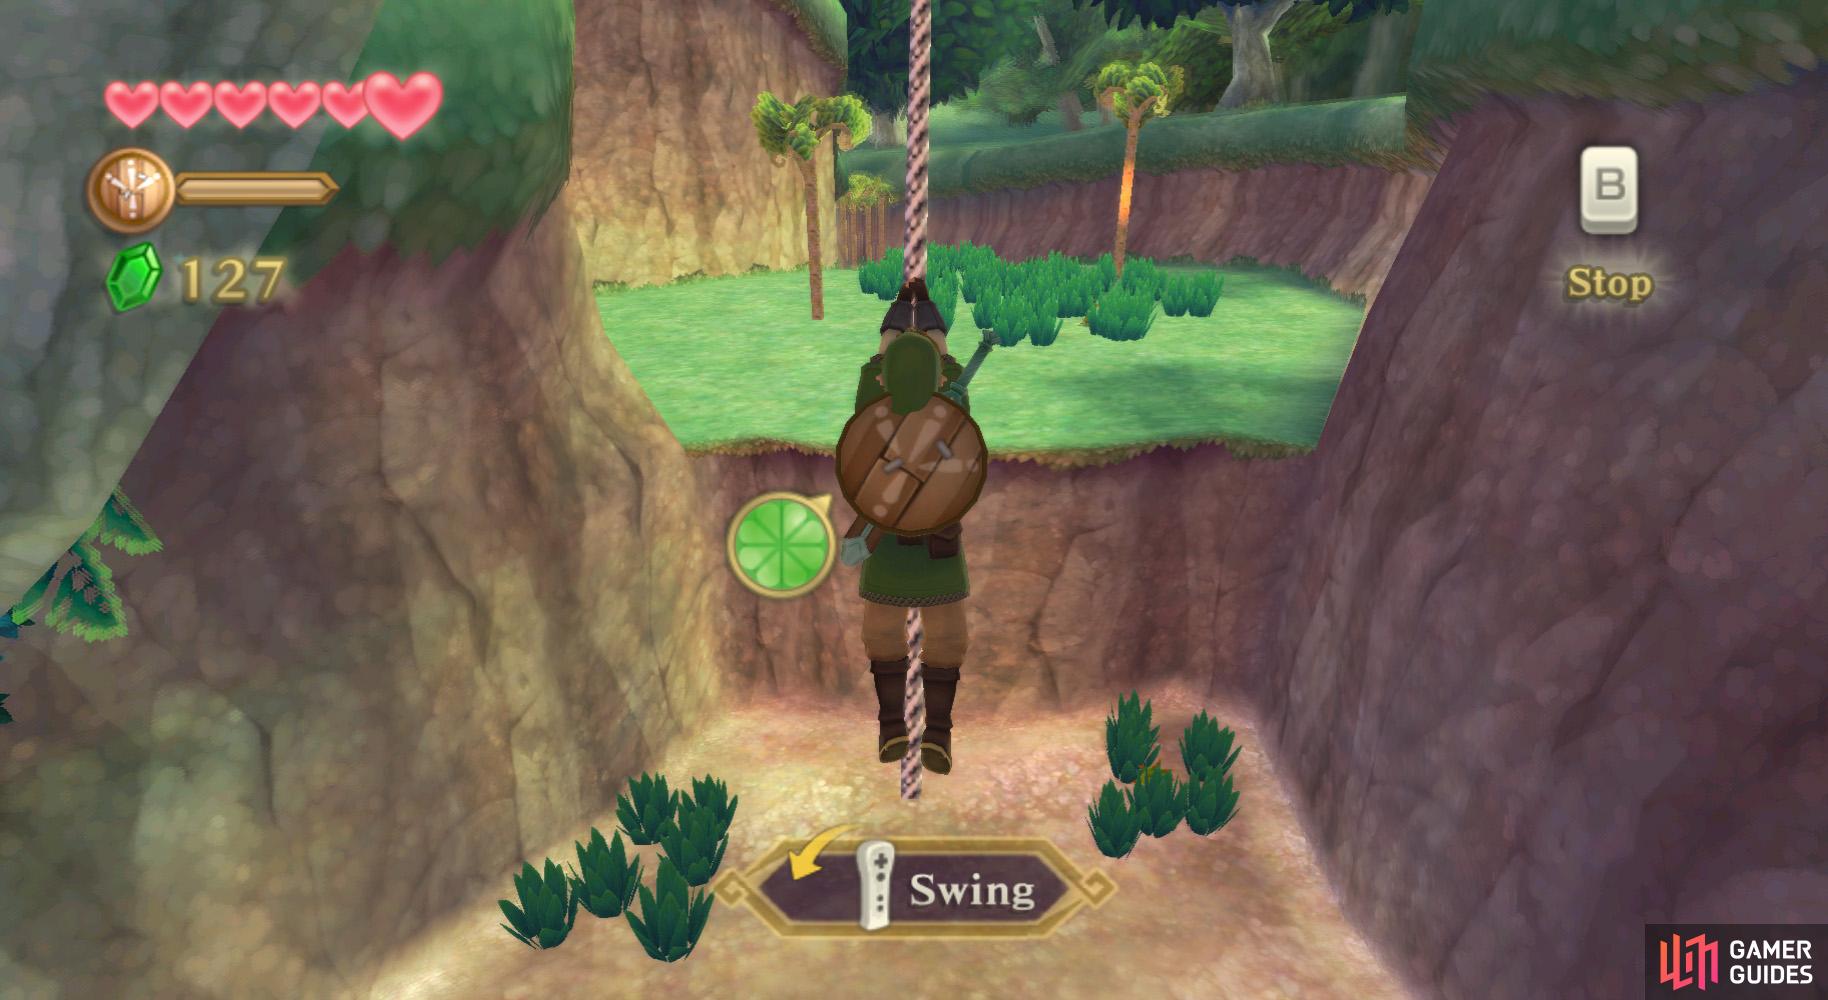
Faron Woods is the first main region in the game. (left), Swing like Tarzan. Geronimo! (right)
Upon arriving, Fi will give you a brief introduction of the Faron Woods, then you regain control. Go forward and examine the Bird Statue.
Go along the path for a bit. Soon, you’ll come to a large gap with a vine above it. Dash and jump towards the vine, then swing the Wii Remote back and forth until you feel you’ll reach the other side of the gap, then press A to jump.
Map
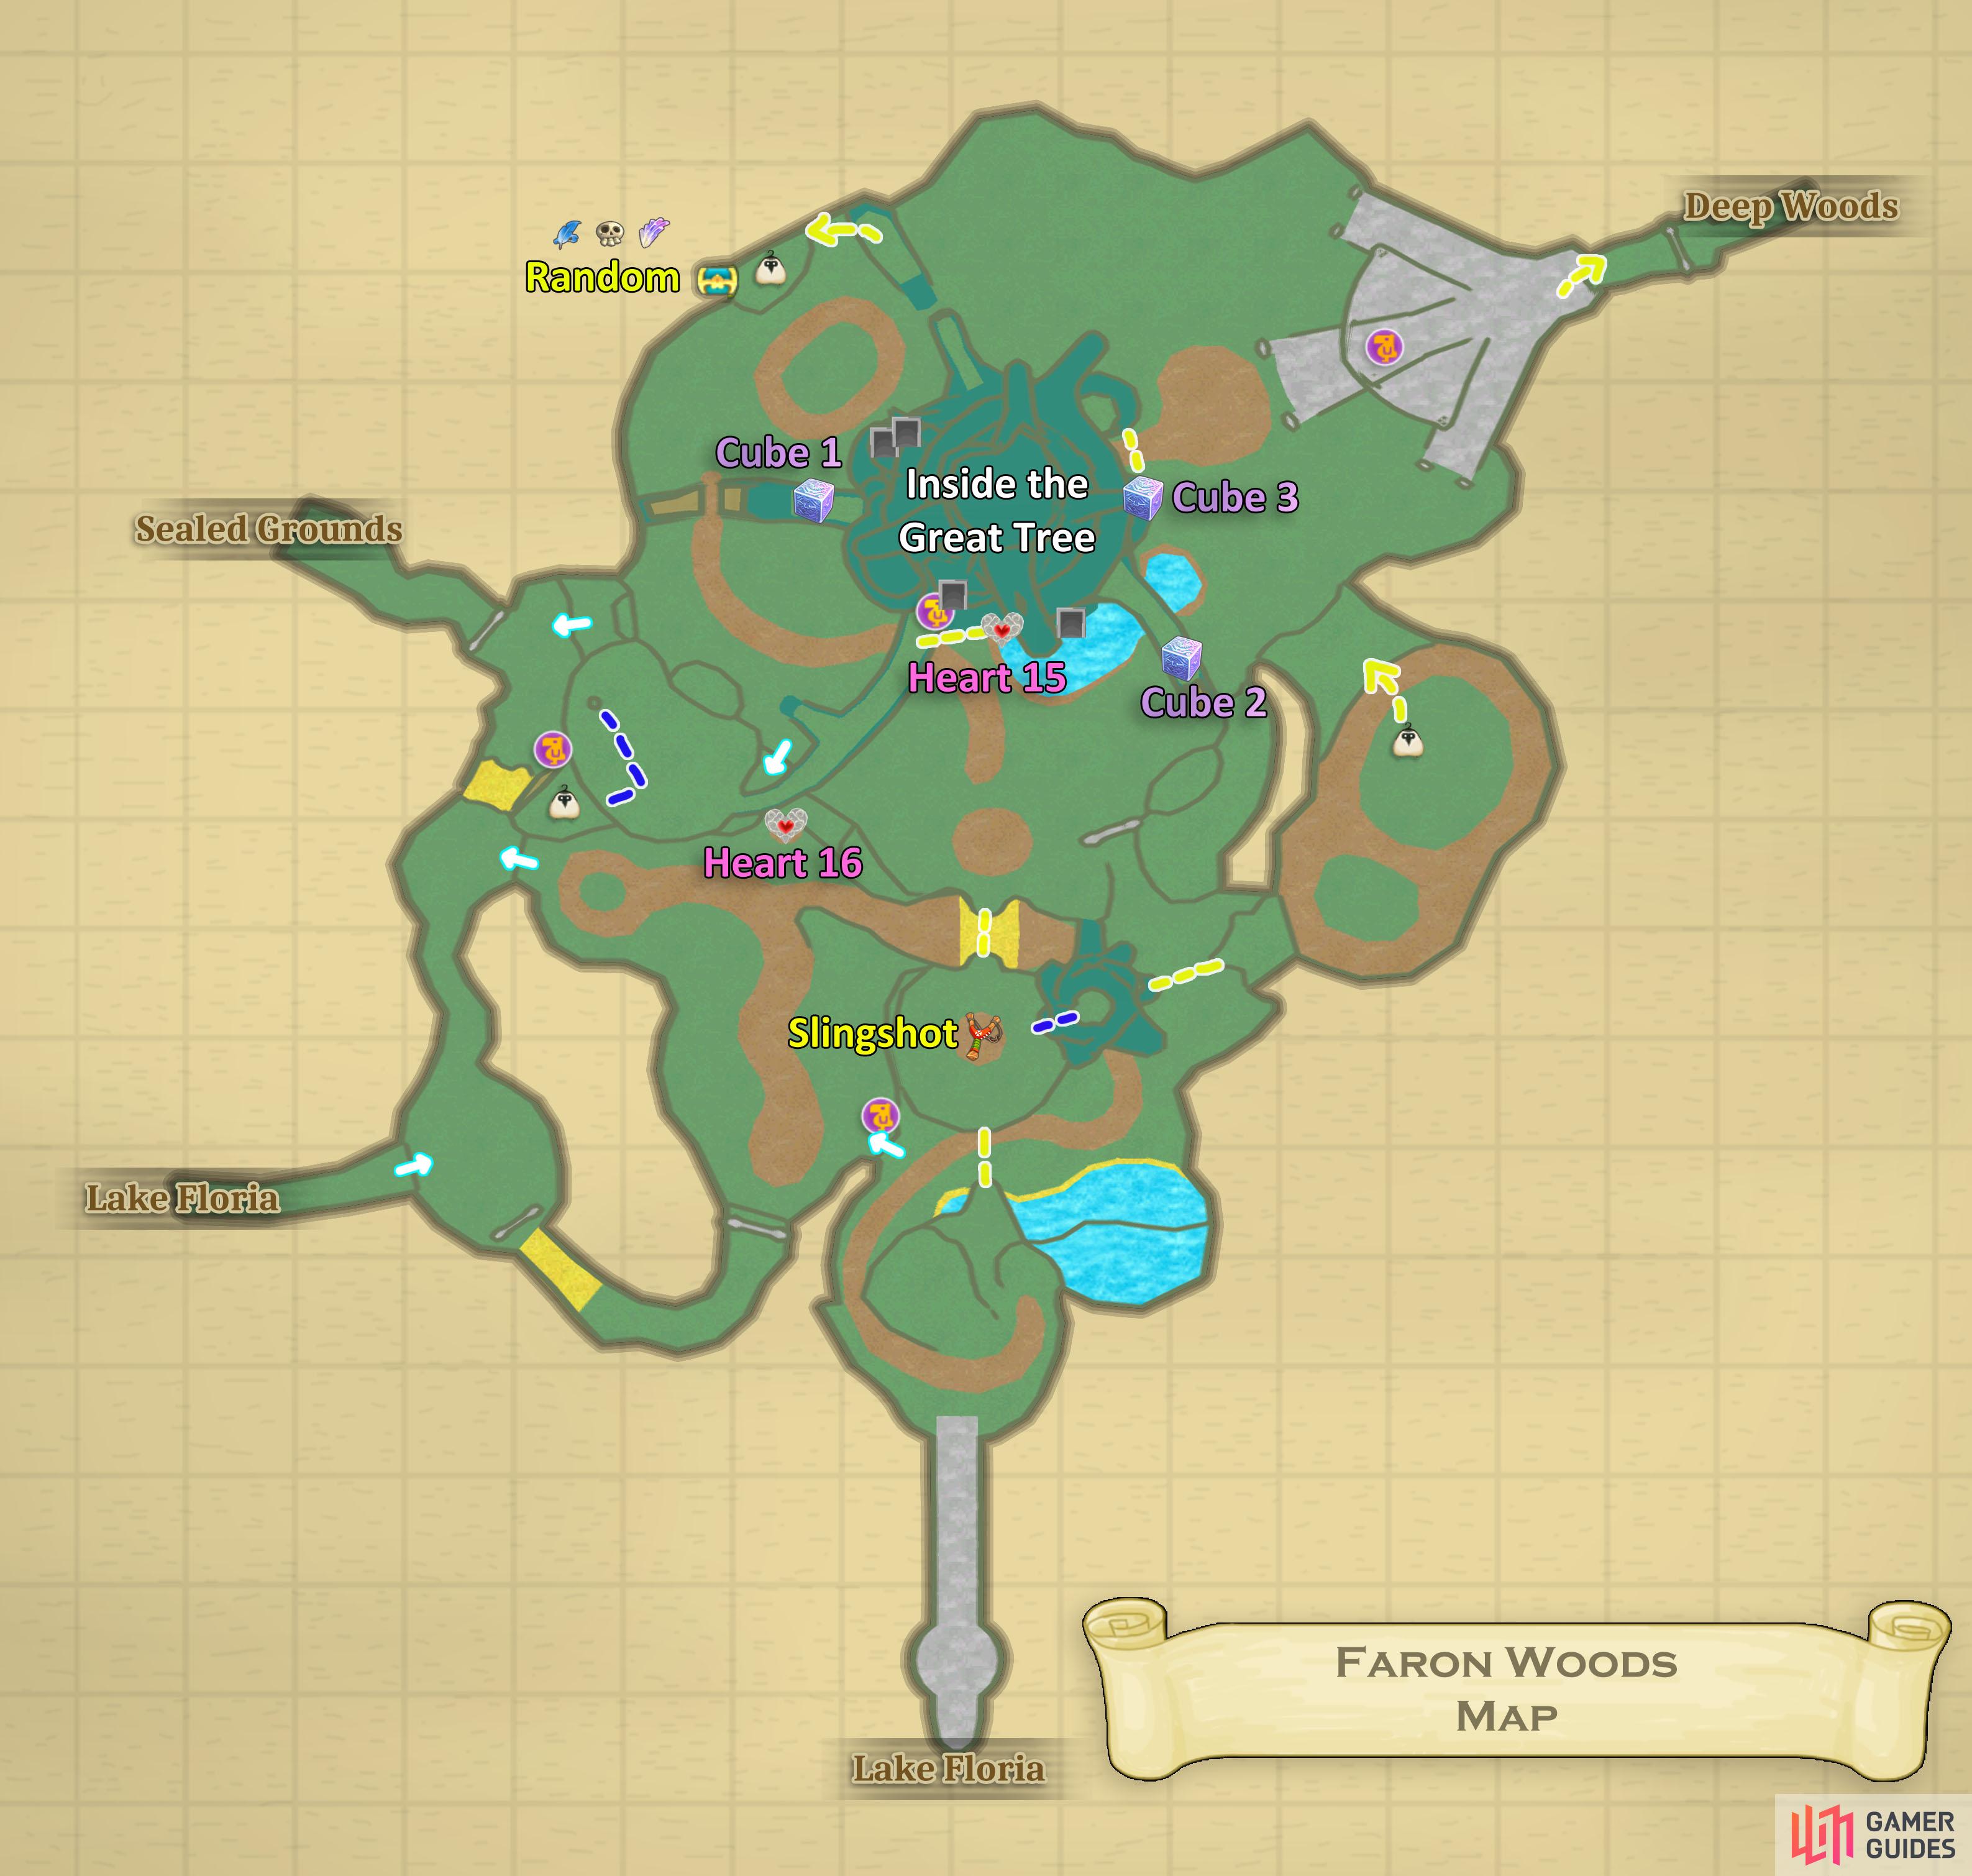
Map of the Faron Woods.
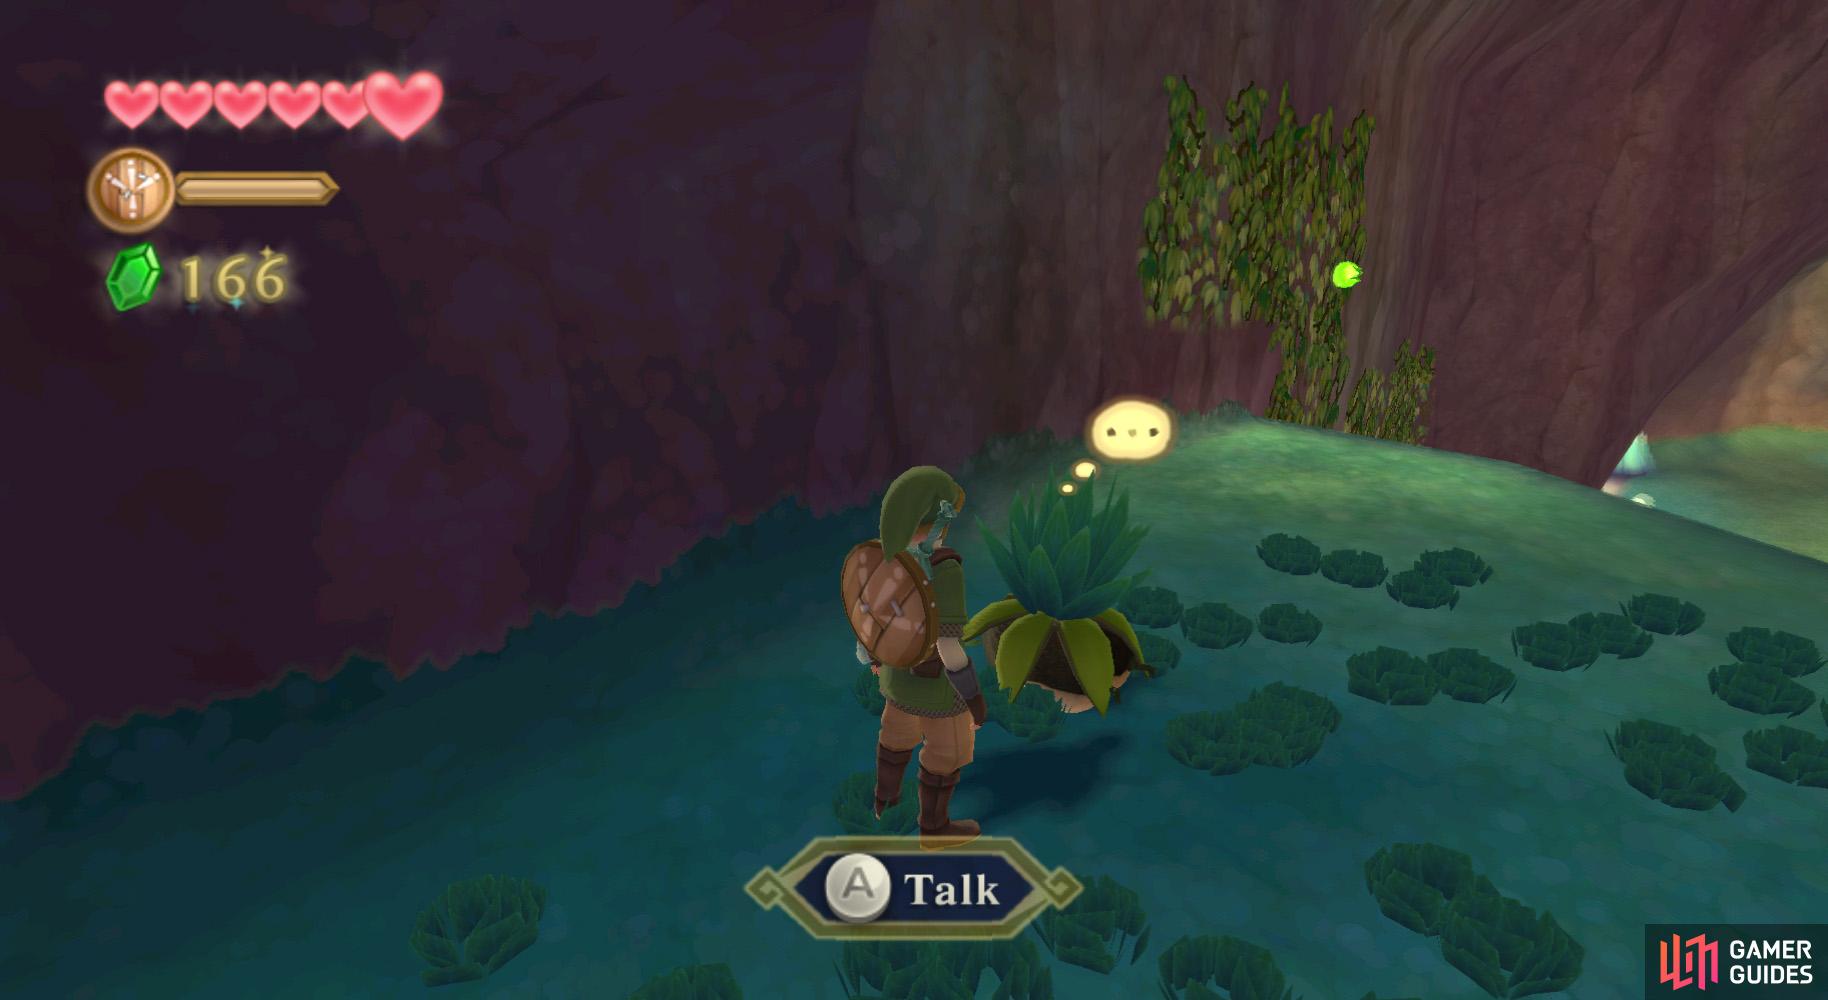
Further along the path, you’ll find a few Bokoblin surrounding a Kikwi. Defeat the Bokoblin. Afterwards, speak with the creature, or try to – reasonably, the Kikwi is afraid of you.
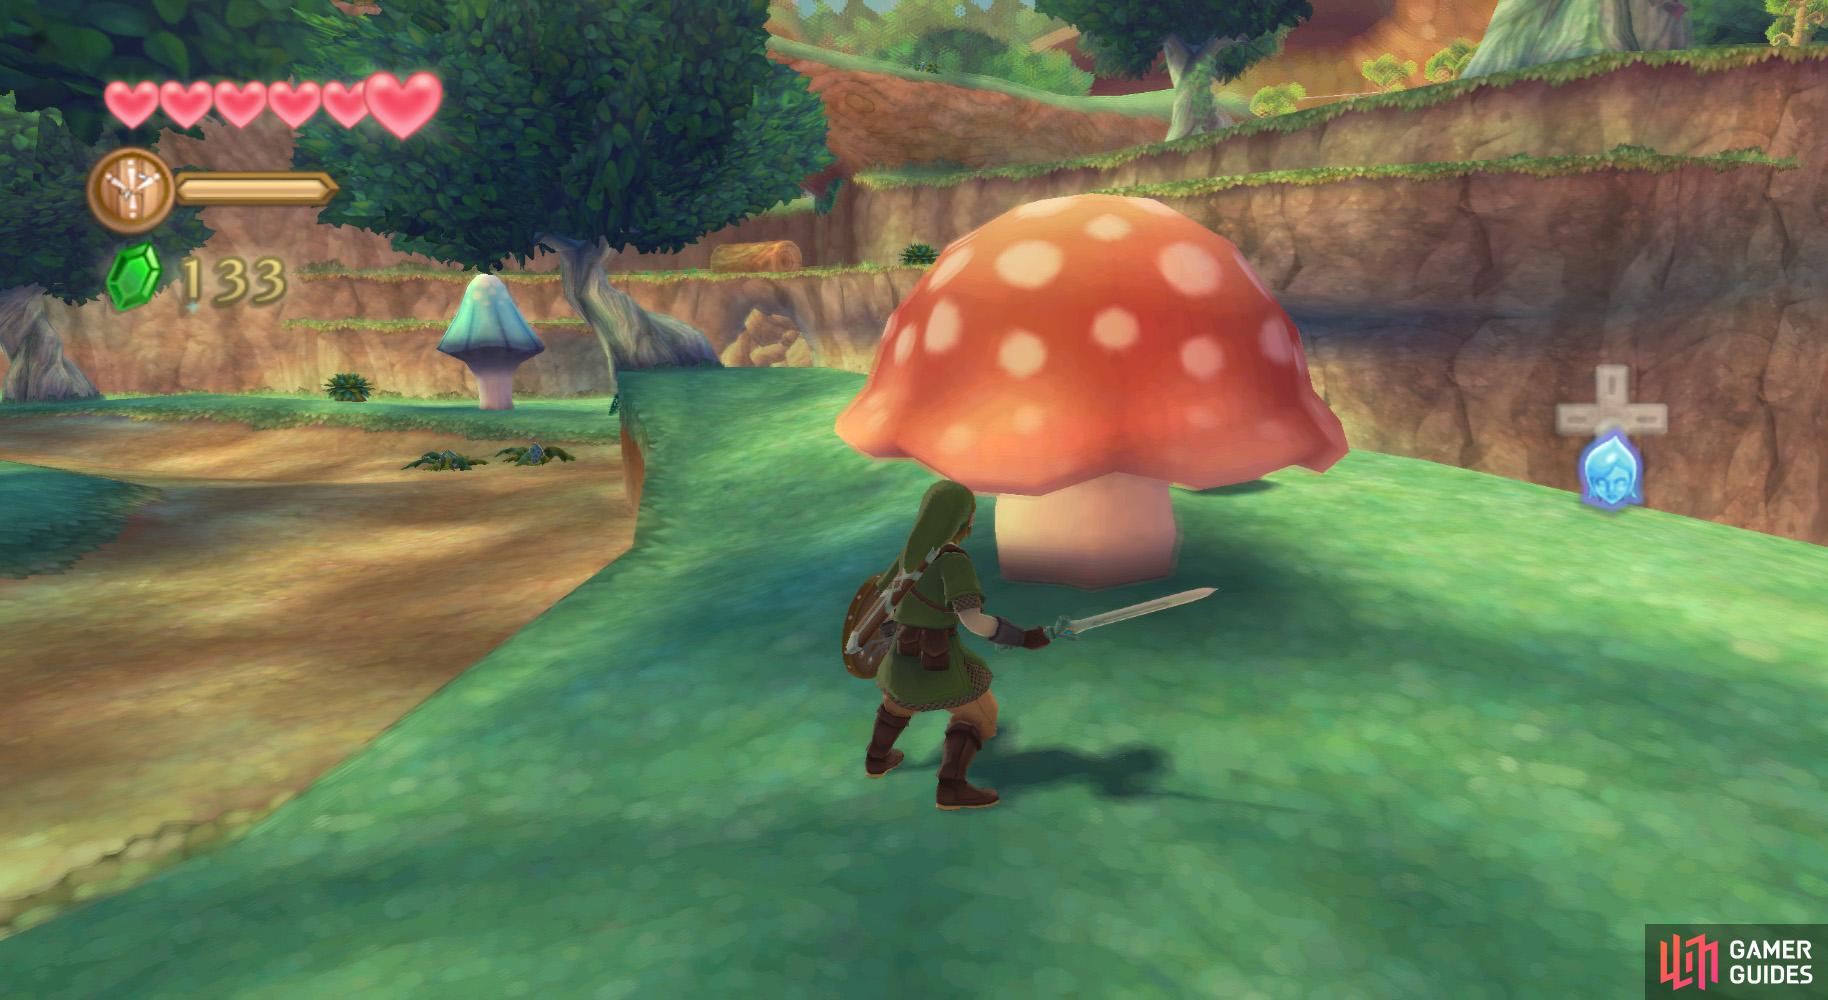
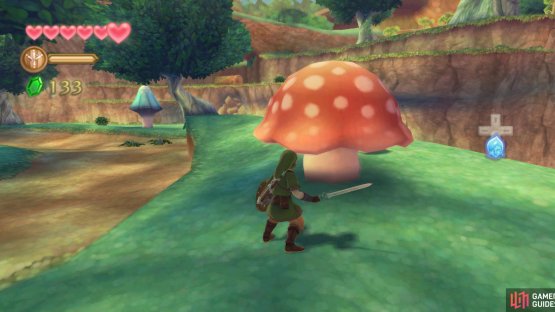
Follow it up the incline, which you must spring up, and you’ll find a mushroom-filled place. Use the Bird Statue to the right. Now, we are to find the Kikwi. It will just circle whatever it is hiding behind, so hit it with your sword or roll into the object to make the Kikwi run off.
(1 of 2) Poke the mushrooms the Kikwi is hiding behind to scare it out of hiding.

Poke the mushrooms the Kikwi is hiding behind to scare it out of hiding. (left), Eventually, you can just walk over and talk to the Kikwi. (right)
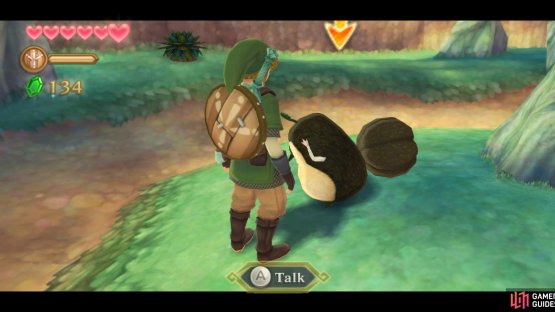
After a few times of doing this, the Kikwi will head under a tree. Speak with it to learn that is named Machi. After the conversation, look around for a log and push it off of the ledge for another shortcut. Also be sure to grab the nearby Amber Relic.
Meeting the Kikwi Elder
Next, return to the Bird Statue and, nearby, you’ll be able to see another incline, with this one having a Deku Baba about halfway up it. Run up the slope and dodge the Deku Baba, then, at the top, pick up and drop a boulder to the enemy.
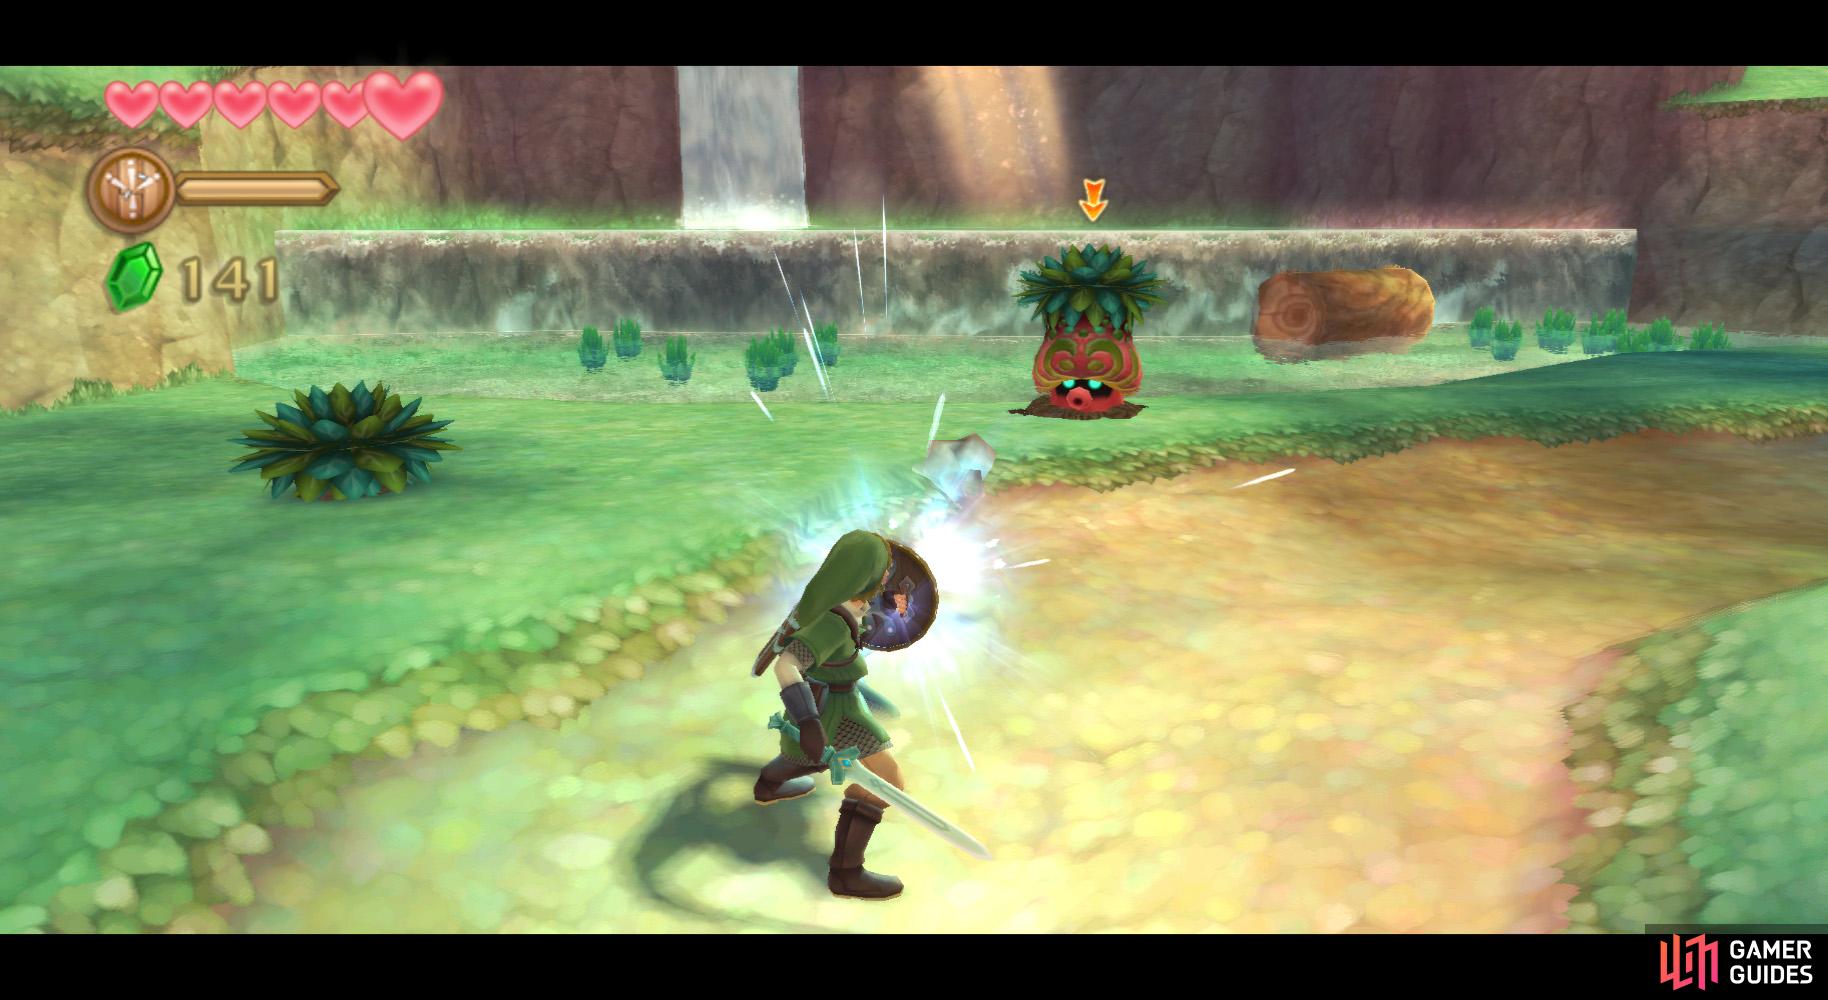
Continue along the path, defeating the enemies along the way. They should be pretty familiar, except the Deku Scrub. Whenever the aforementioned enemy shoots a rock, hit it back with your sword or shield (via bashing); the latter is much preferable.

(1 of 2) Time your shield bash right and you won’t lose durability.
Time your shield bash right and you won’t lose durability. (left), The elder has a spot of “convenient amnesia”. (right)
Further along the path, you’ll notice a log to your right. Push it down to make a shortcut to the mushroom area. Grab the nearby Amber Relic and go along the path some more. Once you reach the trees, cut them down and defeat the nearby Deku Scrubs.
Continue along the path and you’ll soon find a rope. Cut it with your sword to make a pseudo-vine. Dash-jump to it and swing across to the other platform.
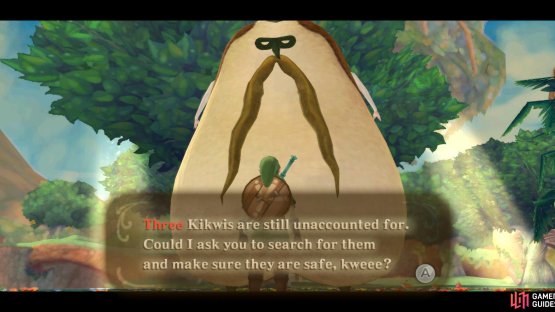
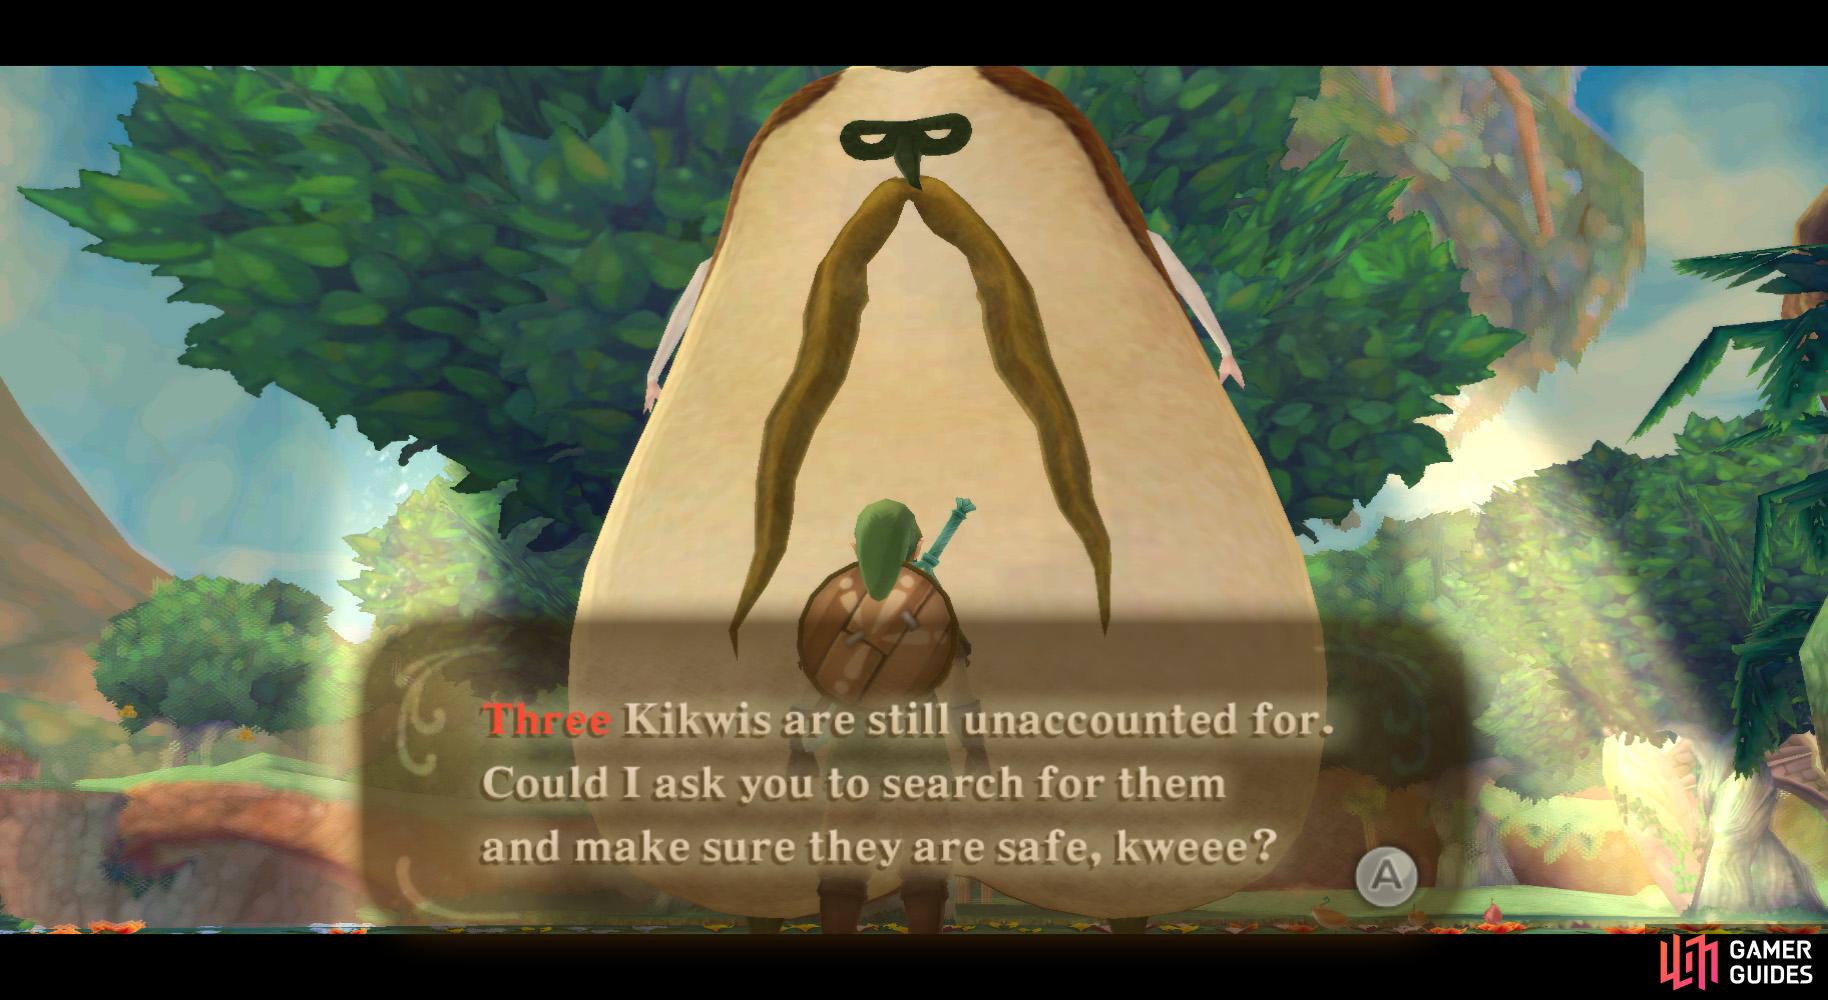
Here, you’ll speak with the Kikwi Elder. He’ll notify you that, aside from Machi, three other Kikwis are missing and he’ll, more or less, force you into helping him.
Missing Kikwi 1
Okay, then. Begin by observing the nearby large tree. Near its base is a tunnel; crawl through it and ascend the vinery to a ledge. You’ll find a tightrope here. You should notice a few spiky enemies here.
Balance on the tightrope by holding the Wii Remote vertically, tilting it left or right to maintain balance, and move it forward to shake off the spiky enemies; otherwise, you’ll take some damage later and have to get back up here.
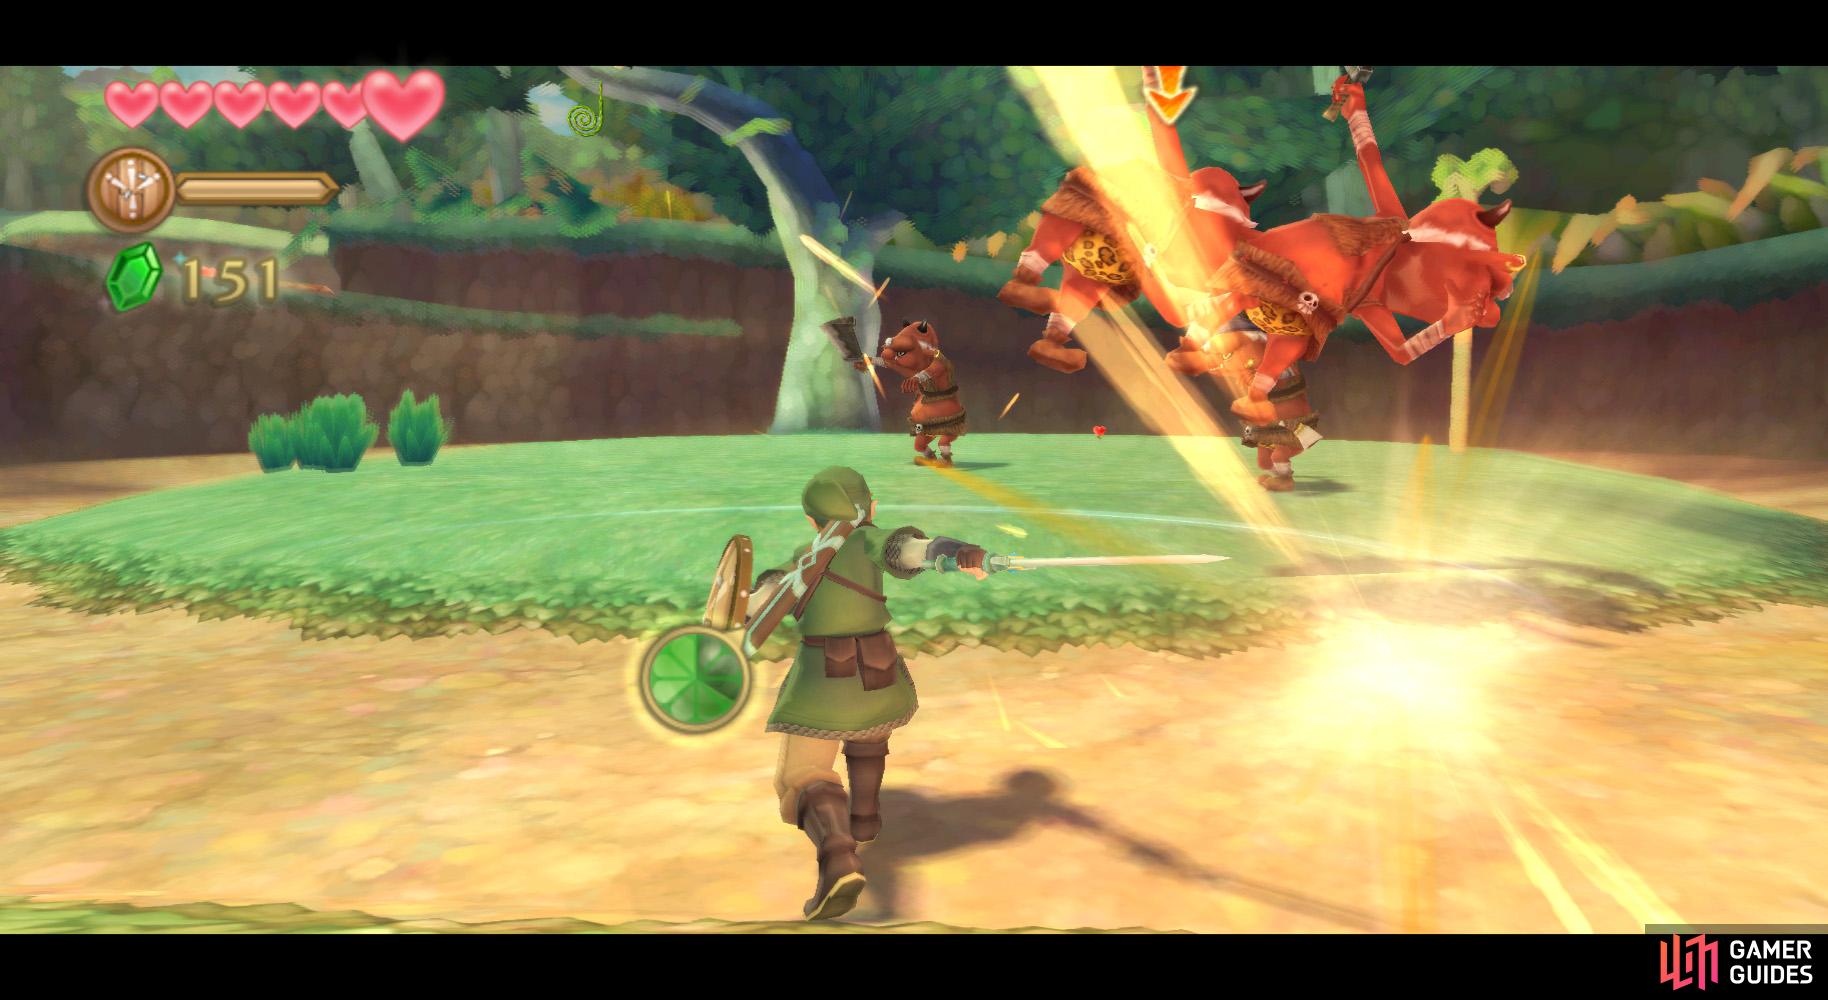
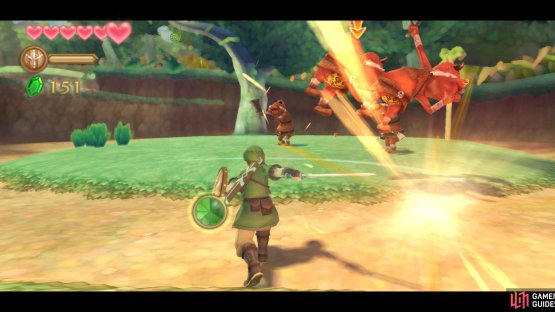
(1 of 2) You can use a spin attack to send the Bokoblins flying.
You can use a spin attack to send the Bokoblins flying. (left), To finish off, ram into the tree with a well-timed roll. (right)
After crossing the tightrope, go further along the path to a Bokoblin Leader. Defeat the Bokoblin and the others it summons. Approach the Kikwi, then roll into the tree to bring the Kikwi, Lopsa, painfully to the ground, as well as uncurling a vine.
Speak with the Kikwi, then grab onto the vine and swing onto the opposite ledge. Push down the log and go down.
Missing Kikwi 2
Here, turn to the left and you’ll find a bit of water. Go to it and, to the left, is a small path. Follow it to the other side and go along the river and through the woods…
Anyhow, go along the along the river and around the immense tree, then underneath the overpass. Go straight through the area and to the end to find a few clumps of grass.
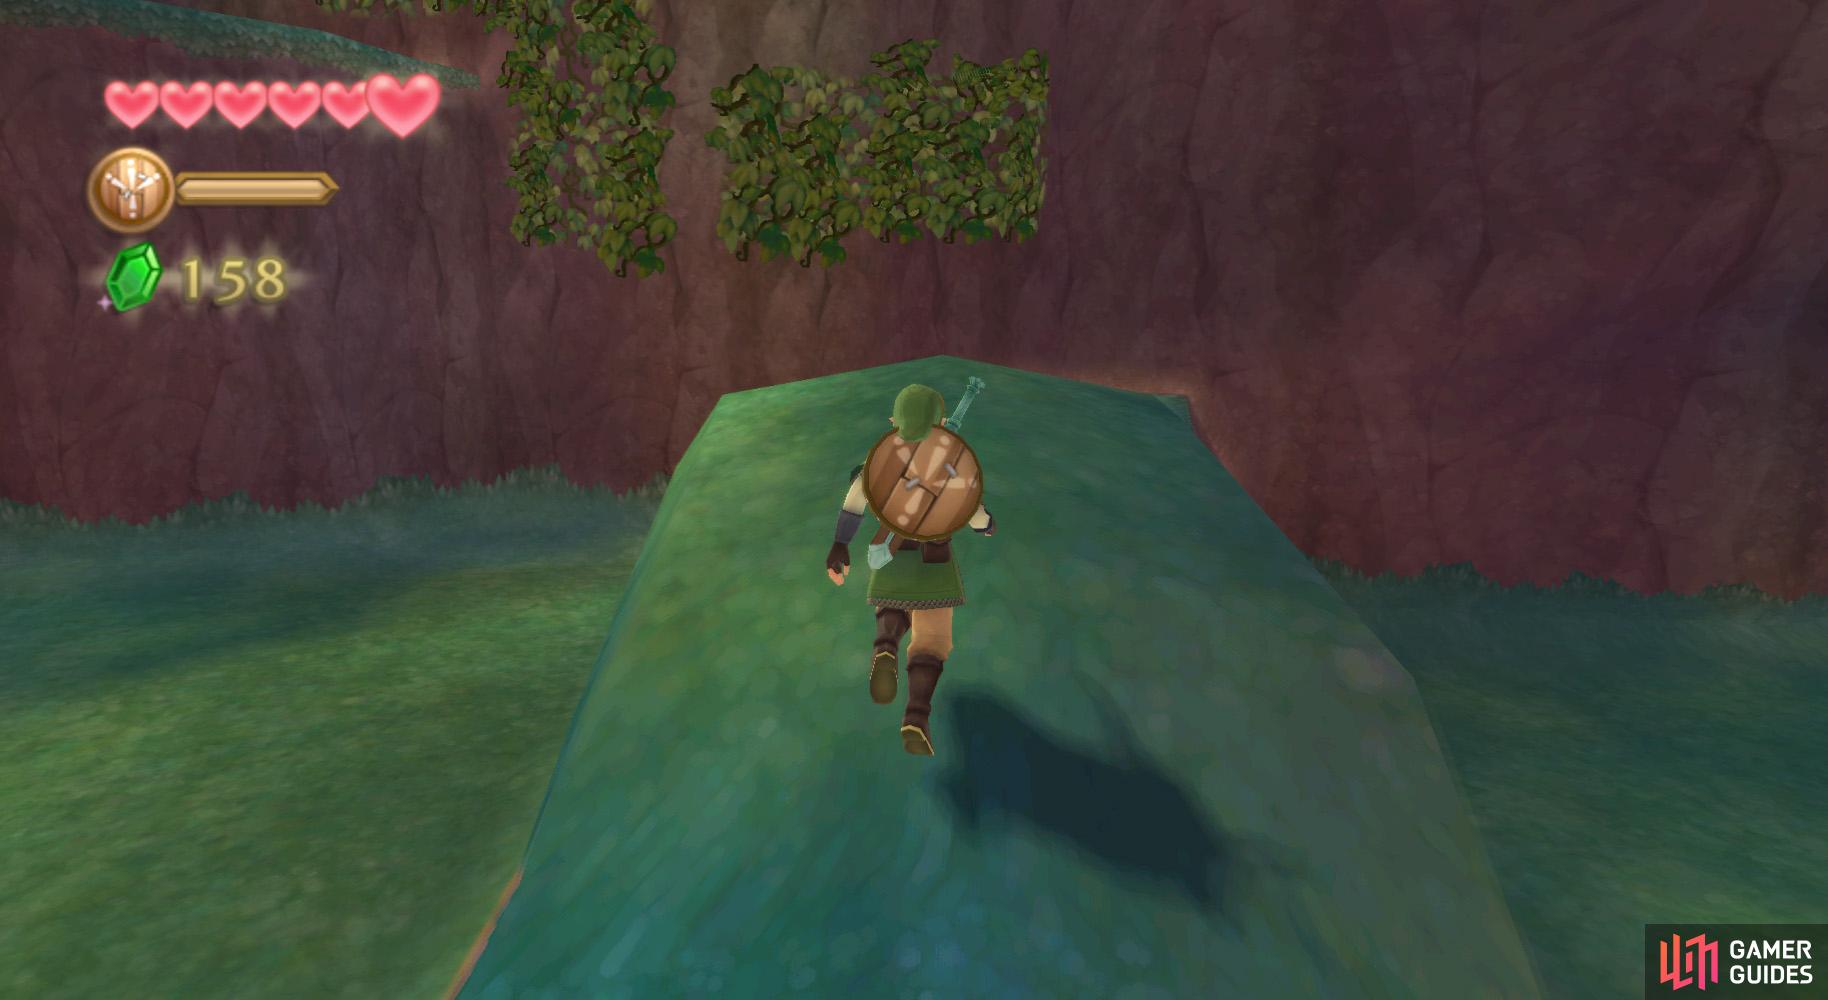

(1 of 2) Run this way, towards the vine-covered wall.
Run this way, towards the vine-covered wall. (left), Mow down the grass and this Kikwi will stop hiding. (right)
Cut them down to find a tunnel; crawl through it and defeat the Bokoblins on the other side. Continue along the path and onto the upper platform on the left.
Jump across to the vines, then proceed to climb them, using a leap to reach the second set on the left. Cut the grass and wait for the Kikwi to stop. Speak with this second Kikwi, Erla.
Missing Kikwi 3
Drop to the ground and go back through the tunnel from earlier. Here, go south slightly along the path and you’ll notice a ramp, kind of, leading to a higher pathway. Run up said ramp and go along said path, defeating the Deku Baba as you go.
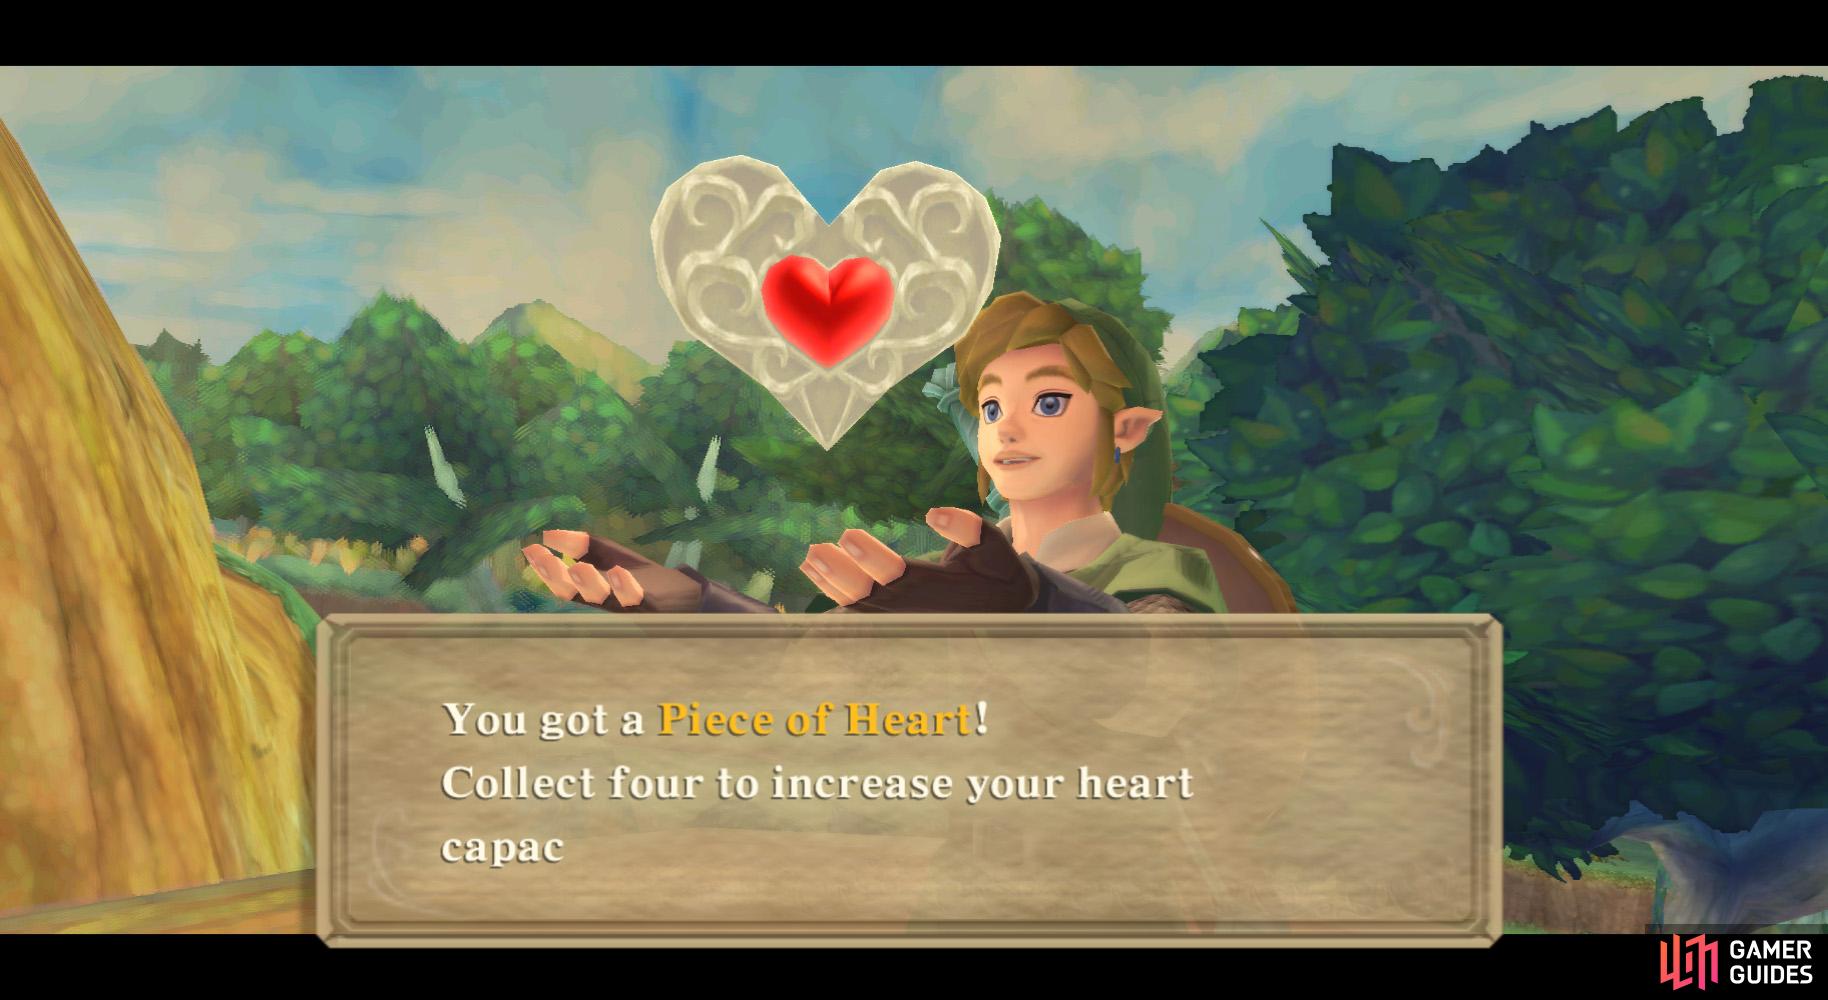
Once you reach the left/right fork, go left and across a tightrope to find Heart Piece 15.
Heart Piece 15
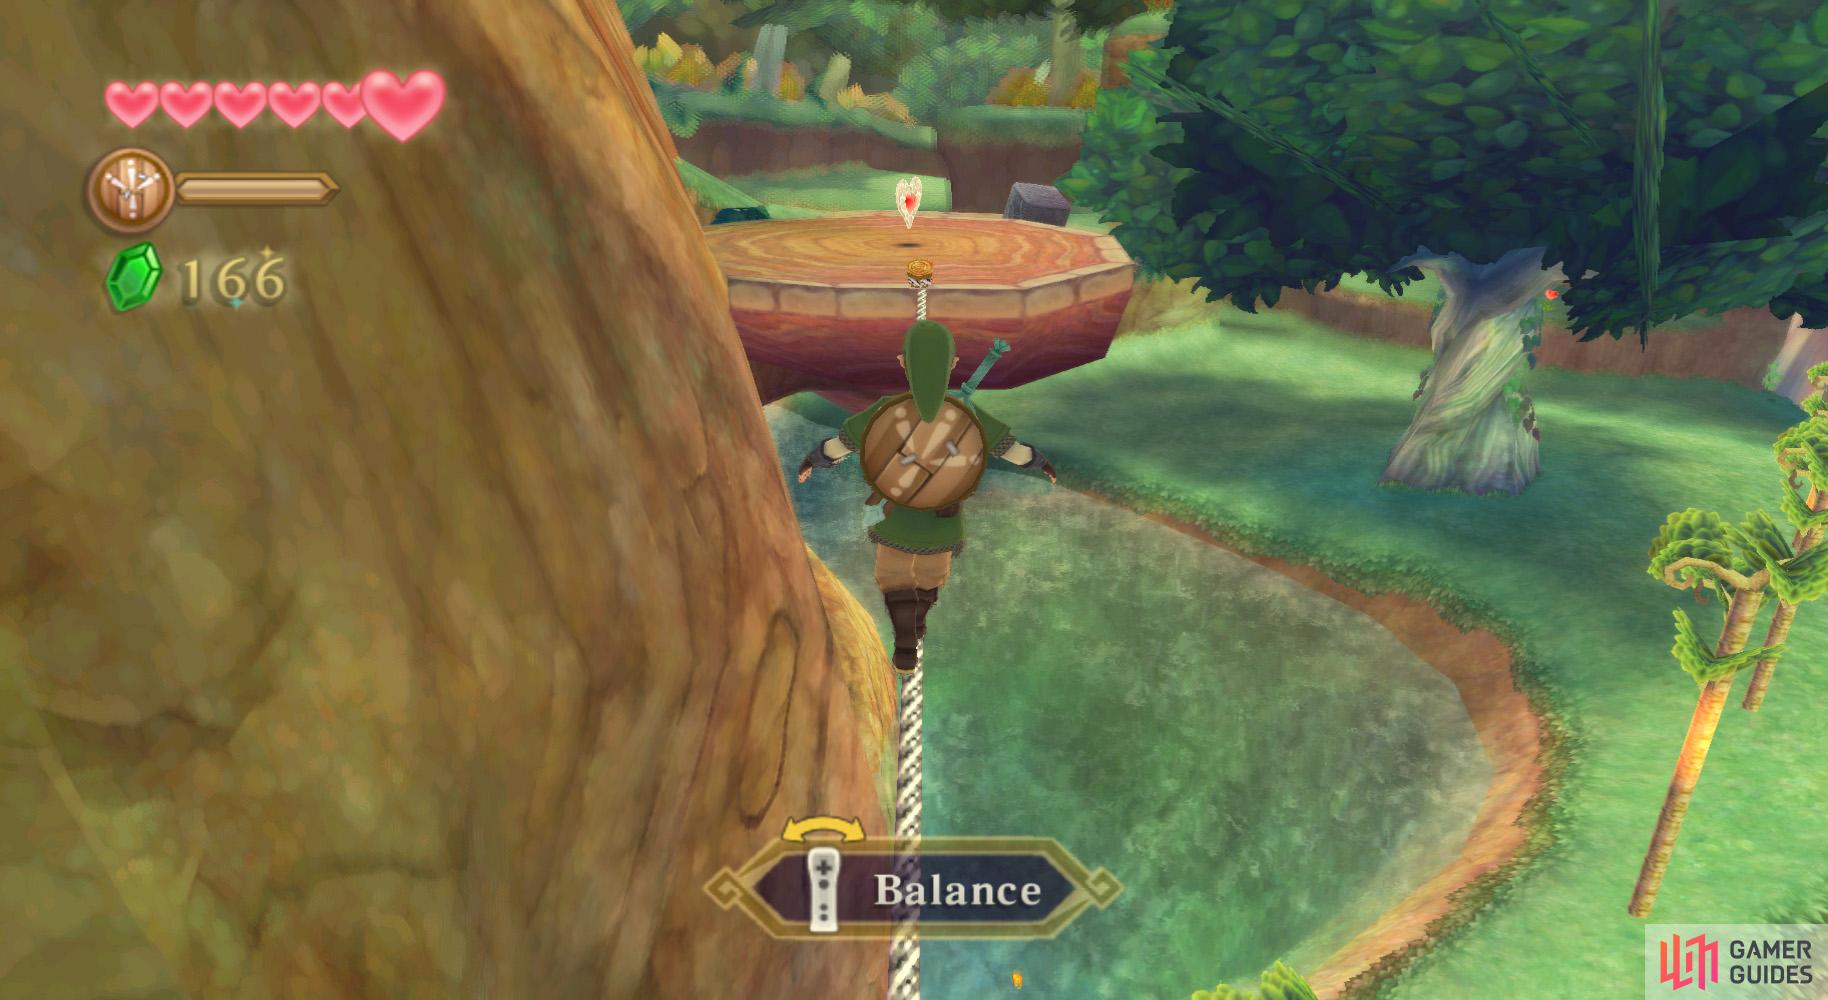
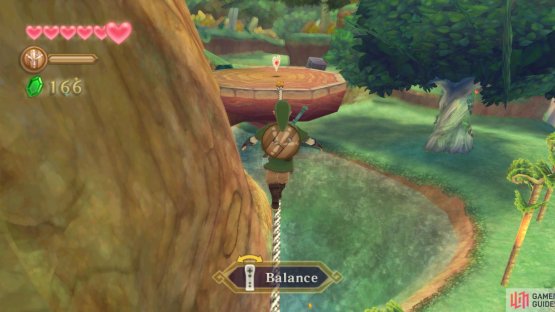

(1 of 2) On a platform connected by a tightrope, on the south side of the large, central tree.
On a platform connected by a tightrope, on the south side of the large, central tree. (left), (right)
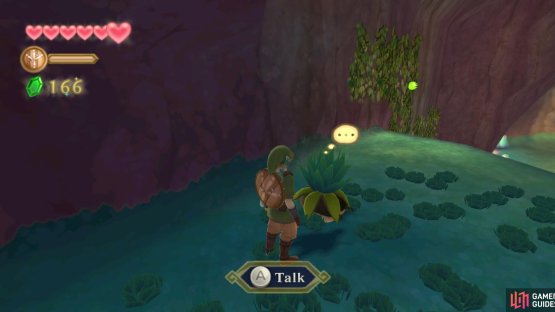
Return to the fork and take the unused branch of it, pardon the pun, and you’ll soon come to a platform. Drop into the hole you’ll find here and go along the path. You’ll reach the third Kikwi, Oolo; pick him up and you’ll converse with it. Now, to the Kikwi Elder!
Back to the Elder
Drop off the nearby ledge and you’ll be close to Machi. Head southeast to the Bird Statue, then climb up the log and the ledge. You’ll return to the corkscrew path you used earlier when you first met the Elder.
Go along it to the vine and swing across to the Elder. Speak with him and he’ll disclose that Zelda headed over to the temple deeper within the woods. As a reward for helping, you’ll receive your ever-trusty Slingshot; to get it, dash up the Elder’s back.
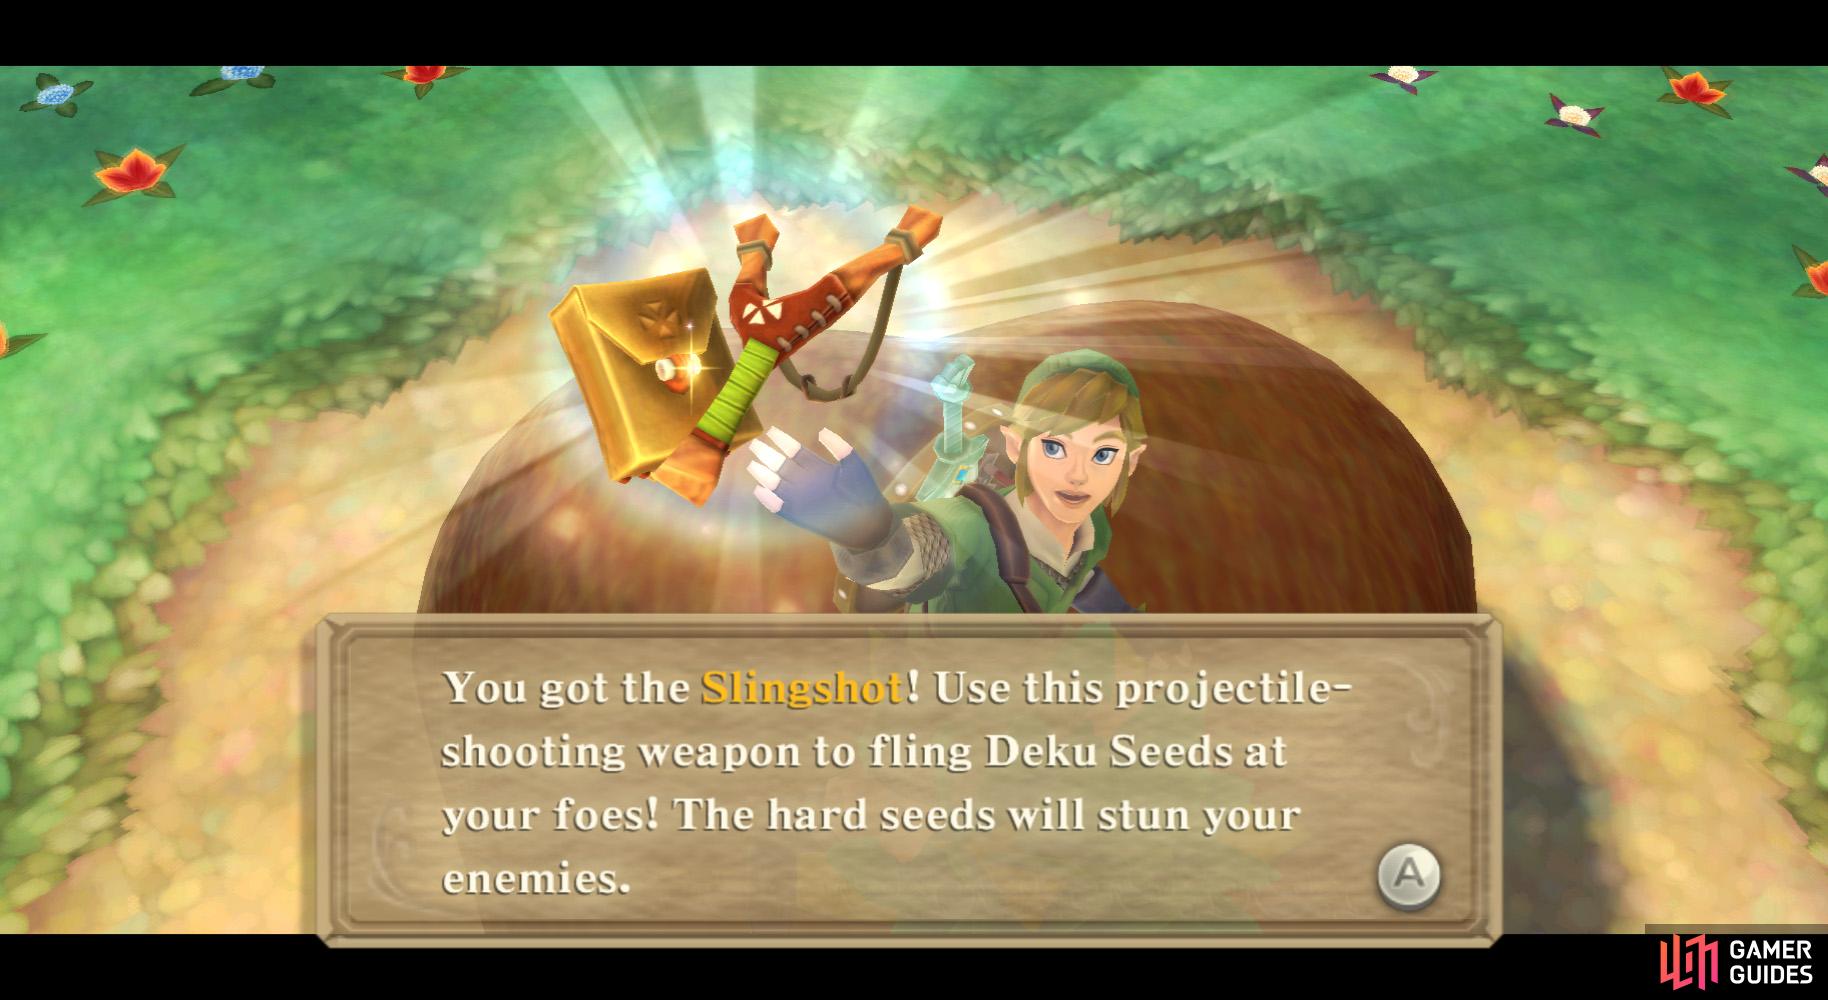
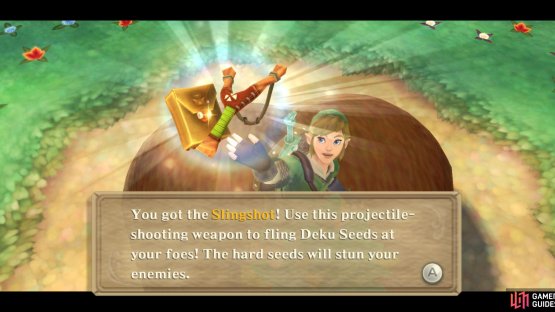

(1 of 2) Da na na! Your first piece of equipment: the Slingshot.
Da na na! Your first piece of equipment: the Slingshot. (left), Use the Slingshot to hit objects from afar. (right)
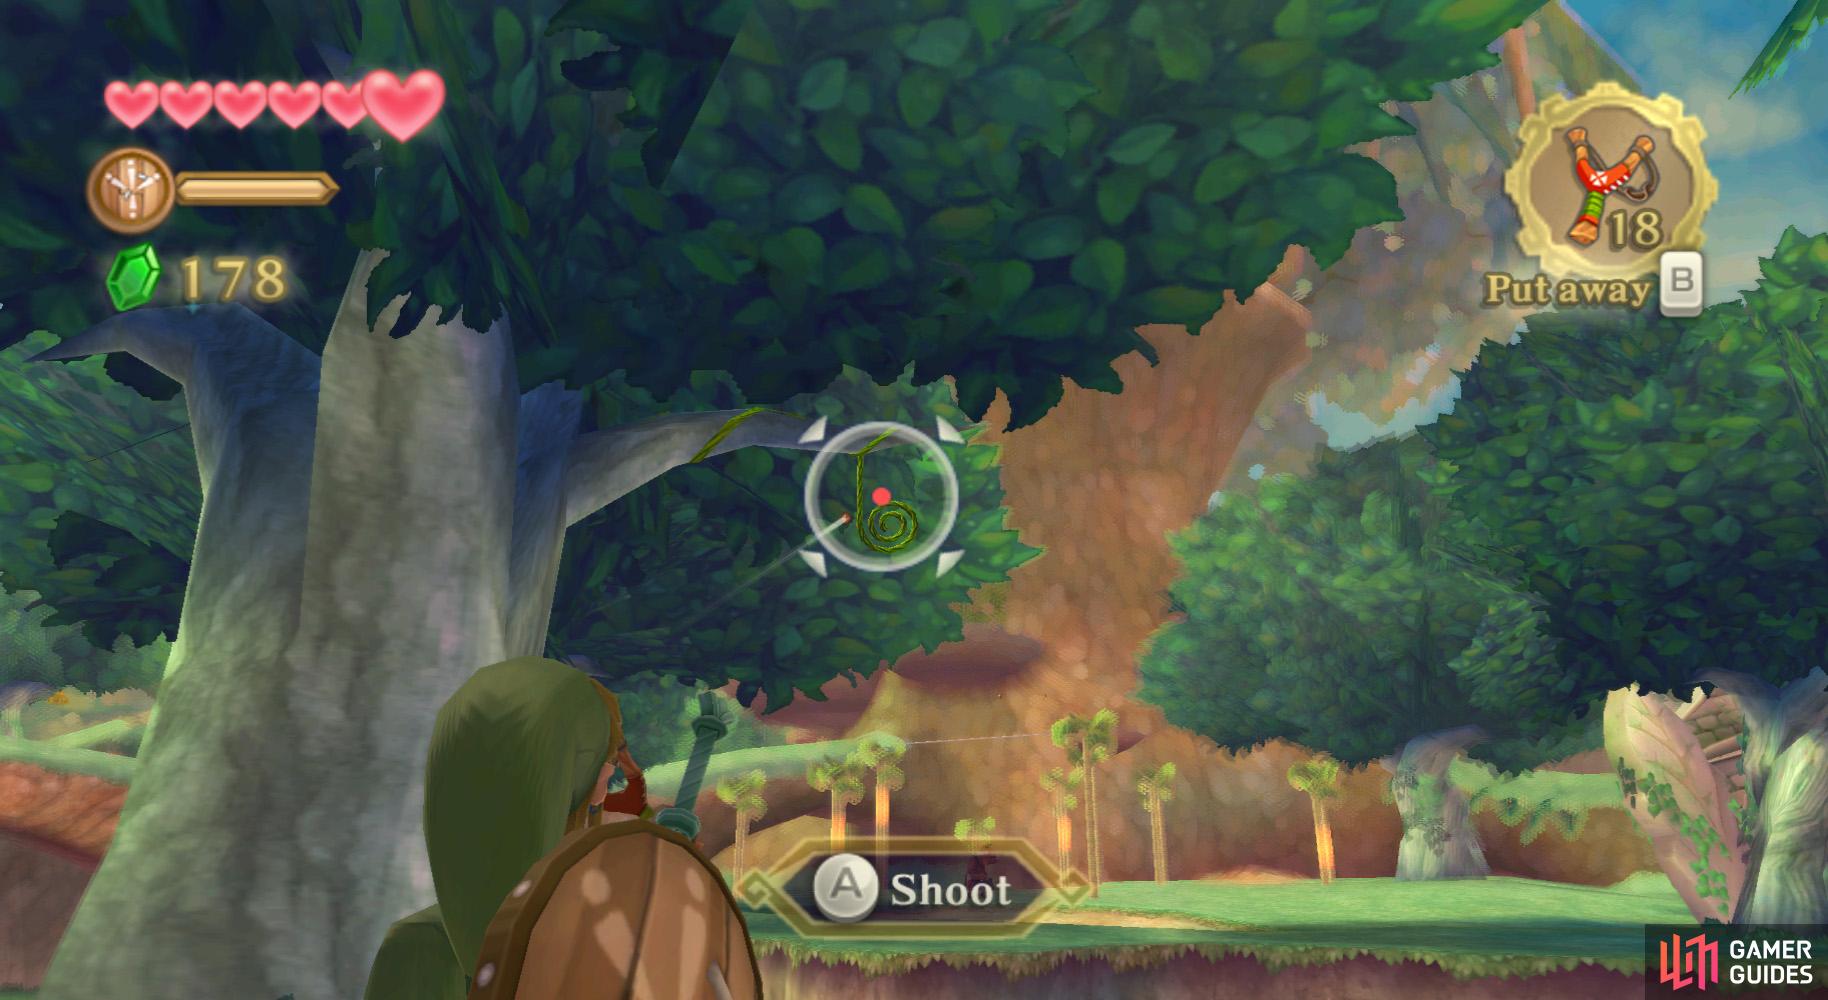
The Slingshot is one of the items you use by pressing B. The Slingshot acts much as it should. Hold A to load a Deku Nut, your unit of ammunition, then release to fire.
Note that the Deku Nut is affected by gravity, so you’ll want to always aim slightly above the desired target - the further it is, the higher you’ll want to aim. You can find more Deku Nuts by cutting grass or defeating enemies.
Anyhow, shoot the curled-up vine nearby to uncurl it. Jump to it and swing to the other ledge. Continue heading towards the northeast towards a temple. Defeat the enemies here, if you want - the crows actually yield a fair amount of Rupees, usually in the 5 ~ 20 range!
Continue towards the temple, but go around back and upstairs. Facing the cavern ahead, turn around to be able to find a Bird Statue. Examine it.
Finish whatever you may need to, then return to the Viewing Platform Bird Statue of the Faron Woods. Turn around and shoot down the vine you’ll see near the tunnel. Swing to the higher platform and continue into the Deep Woods.
No Comments