
(1 of 2) You’ll regain control with practically no equipment and 2 hearts.
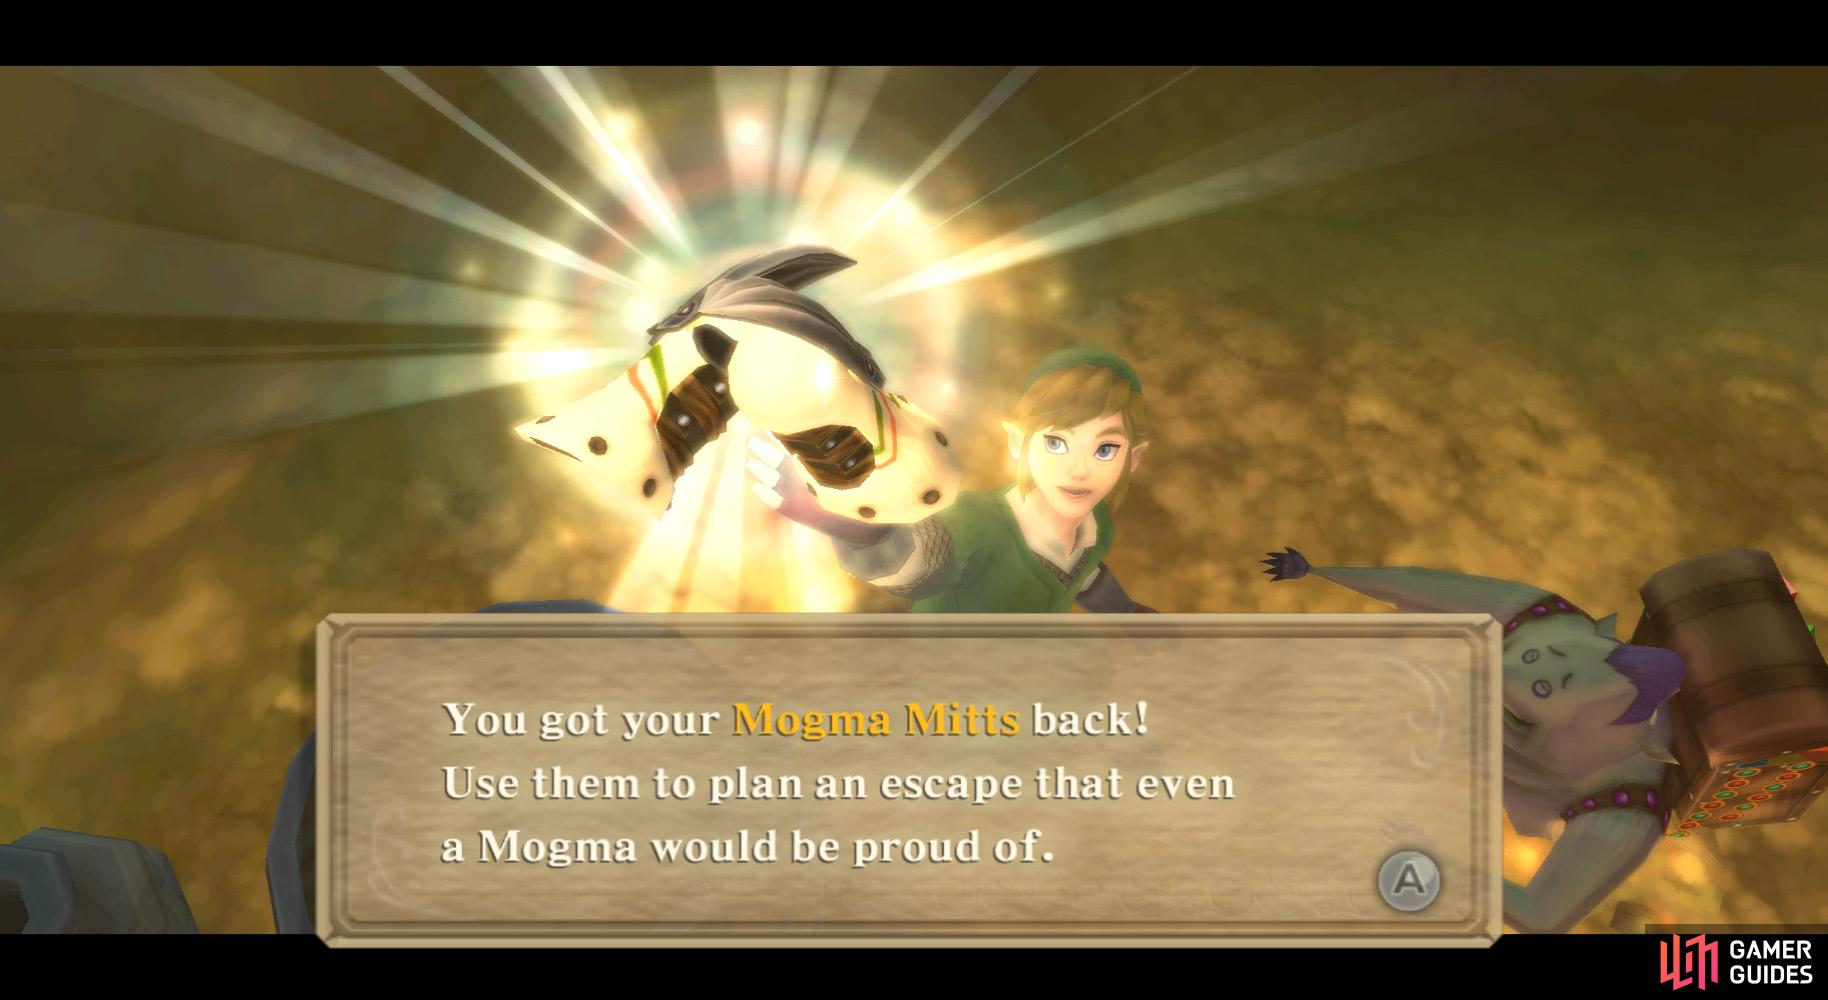
You’ll regain control with practically no equipment and 2 hearts. (left), Fortunately you’ll get the Mogma Mitts back very soon. (right)
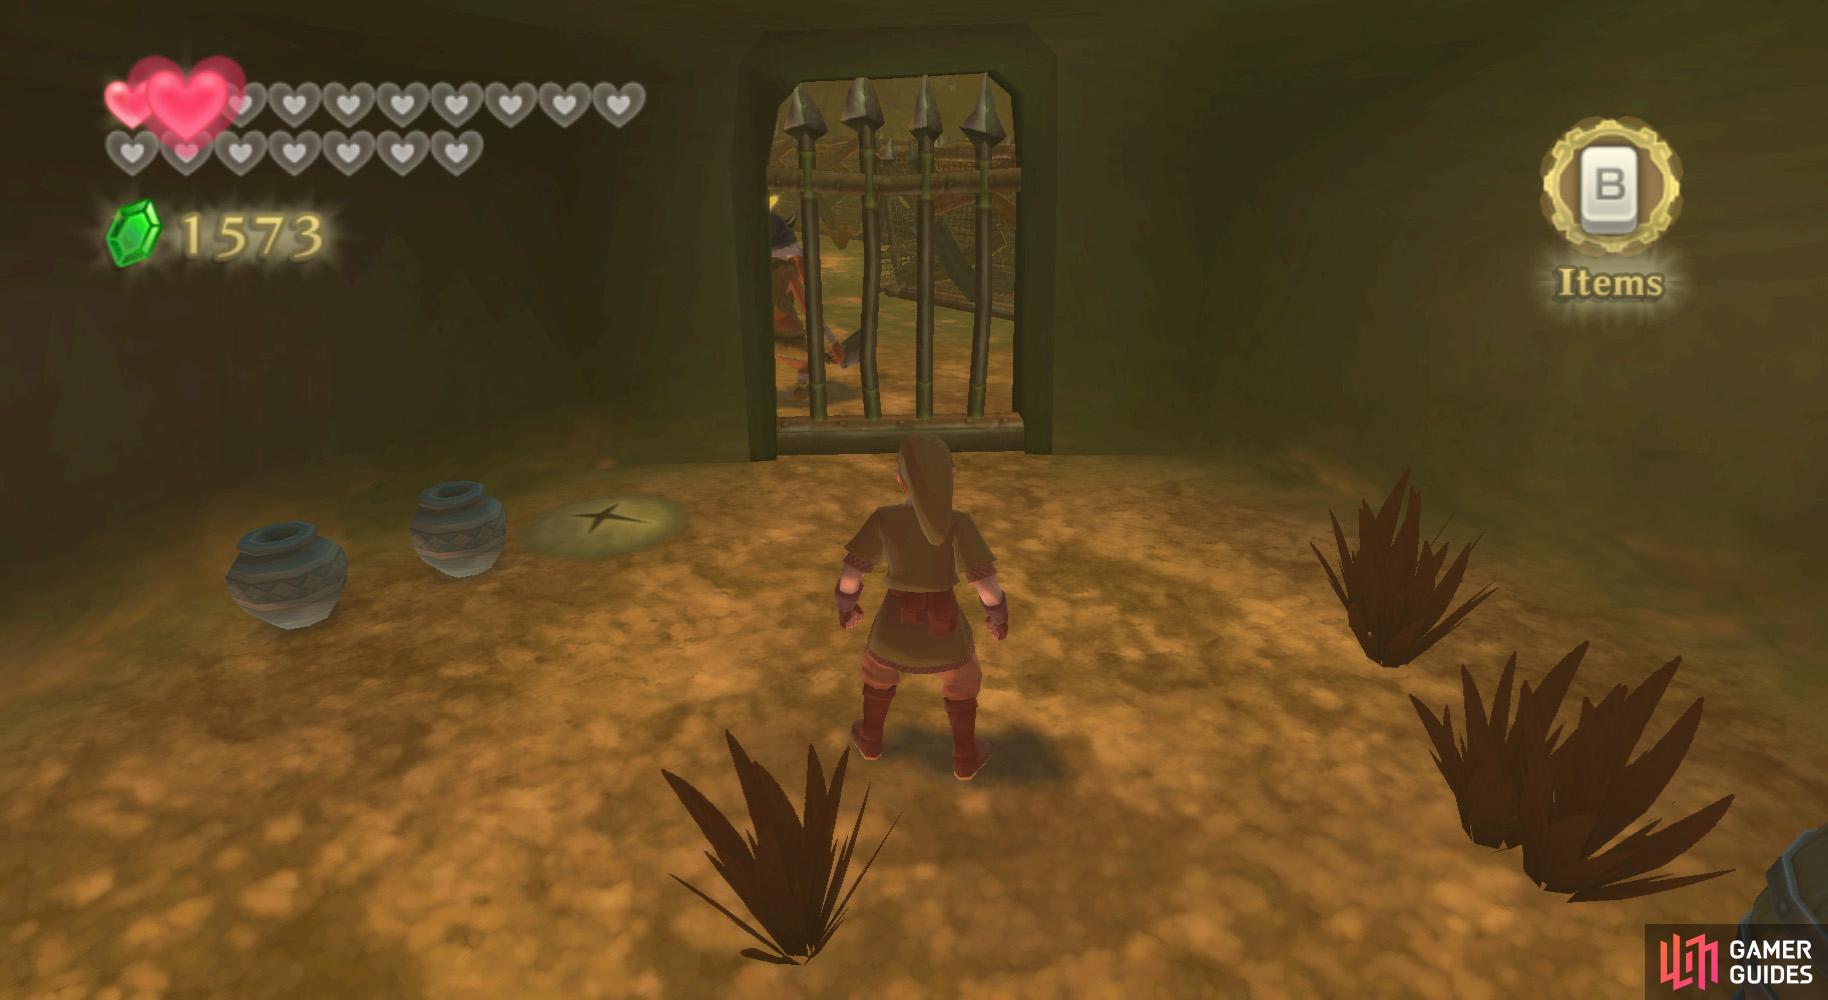
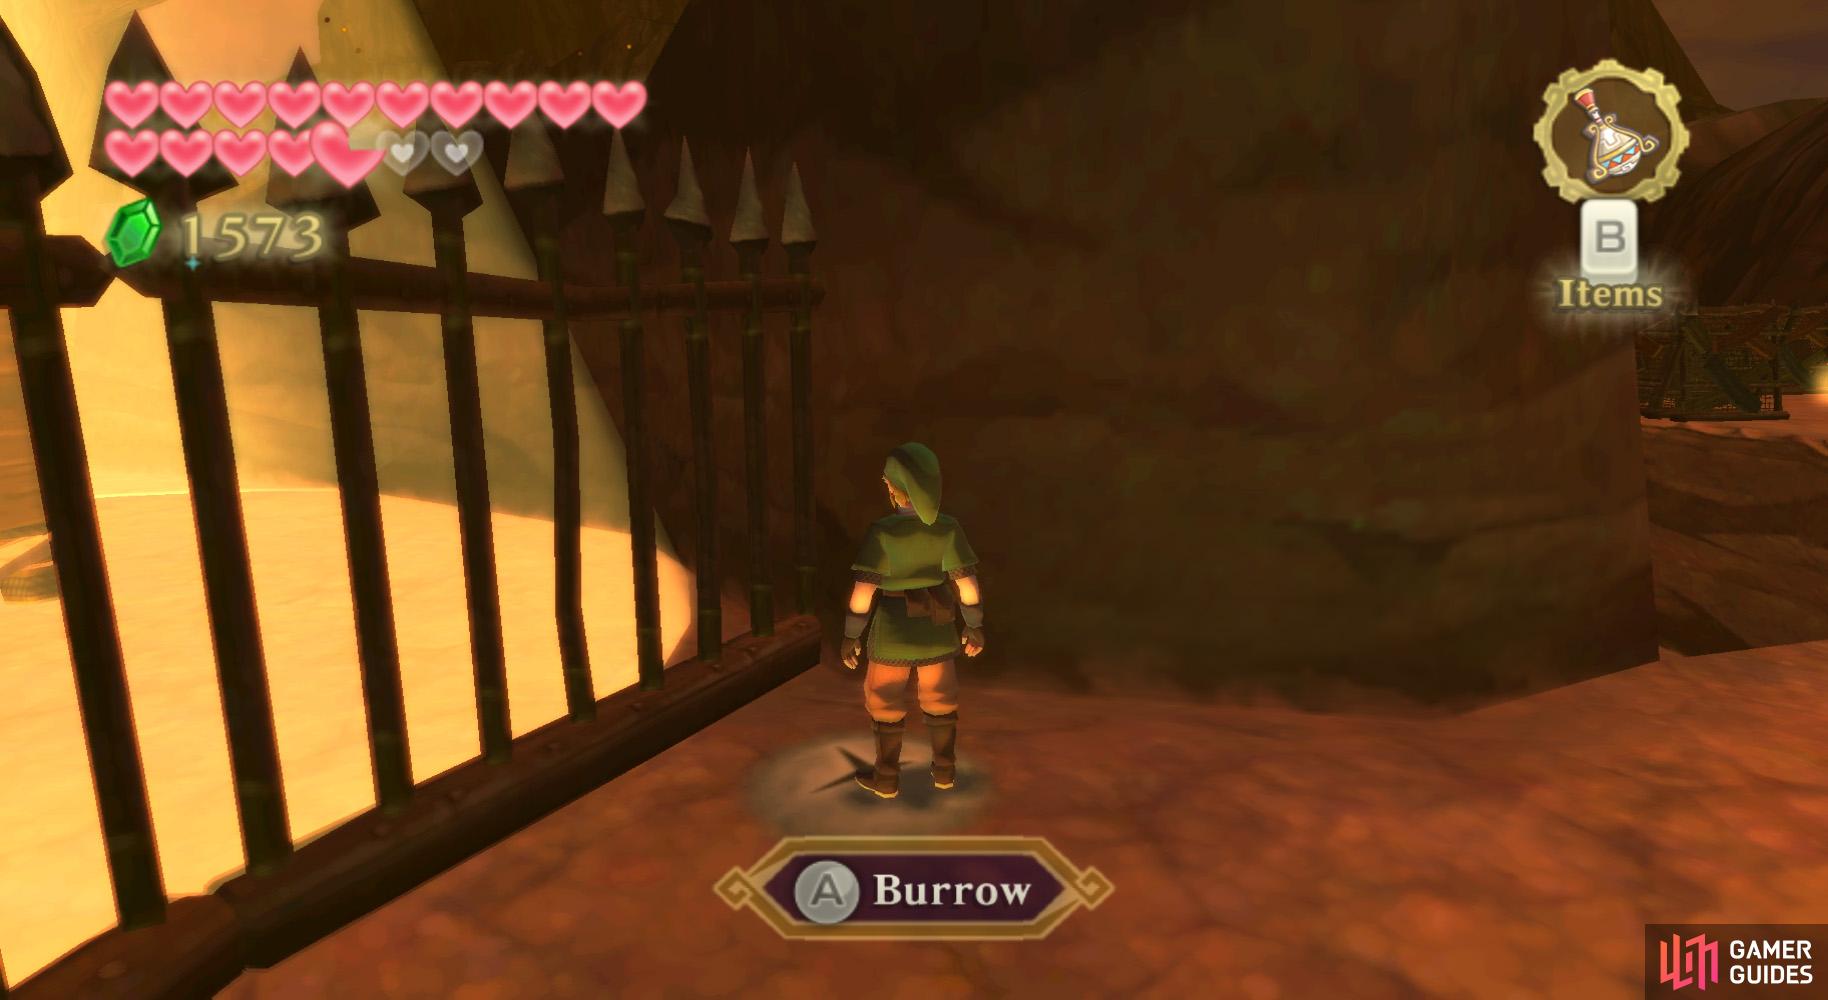
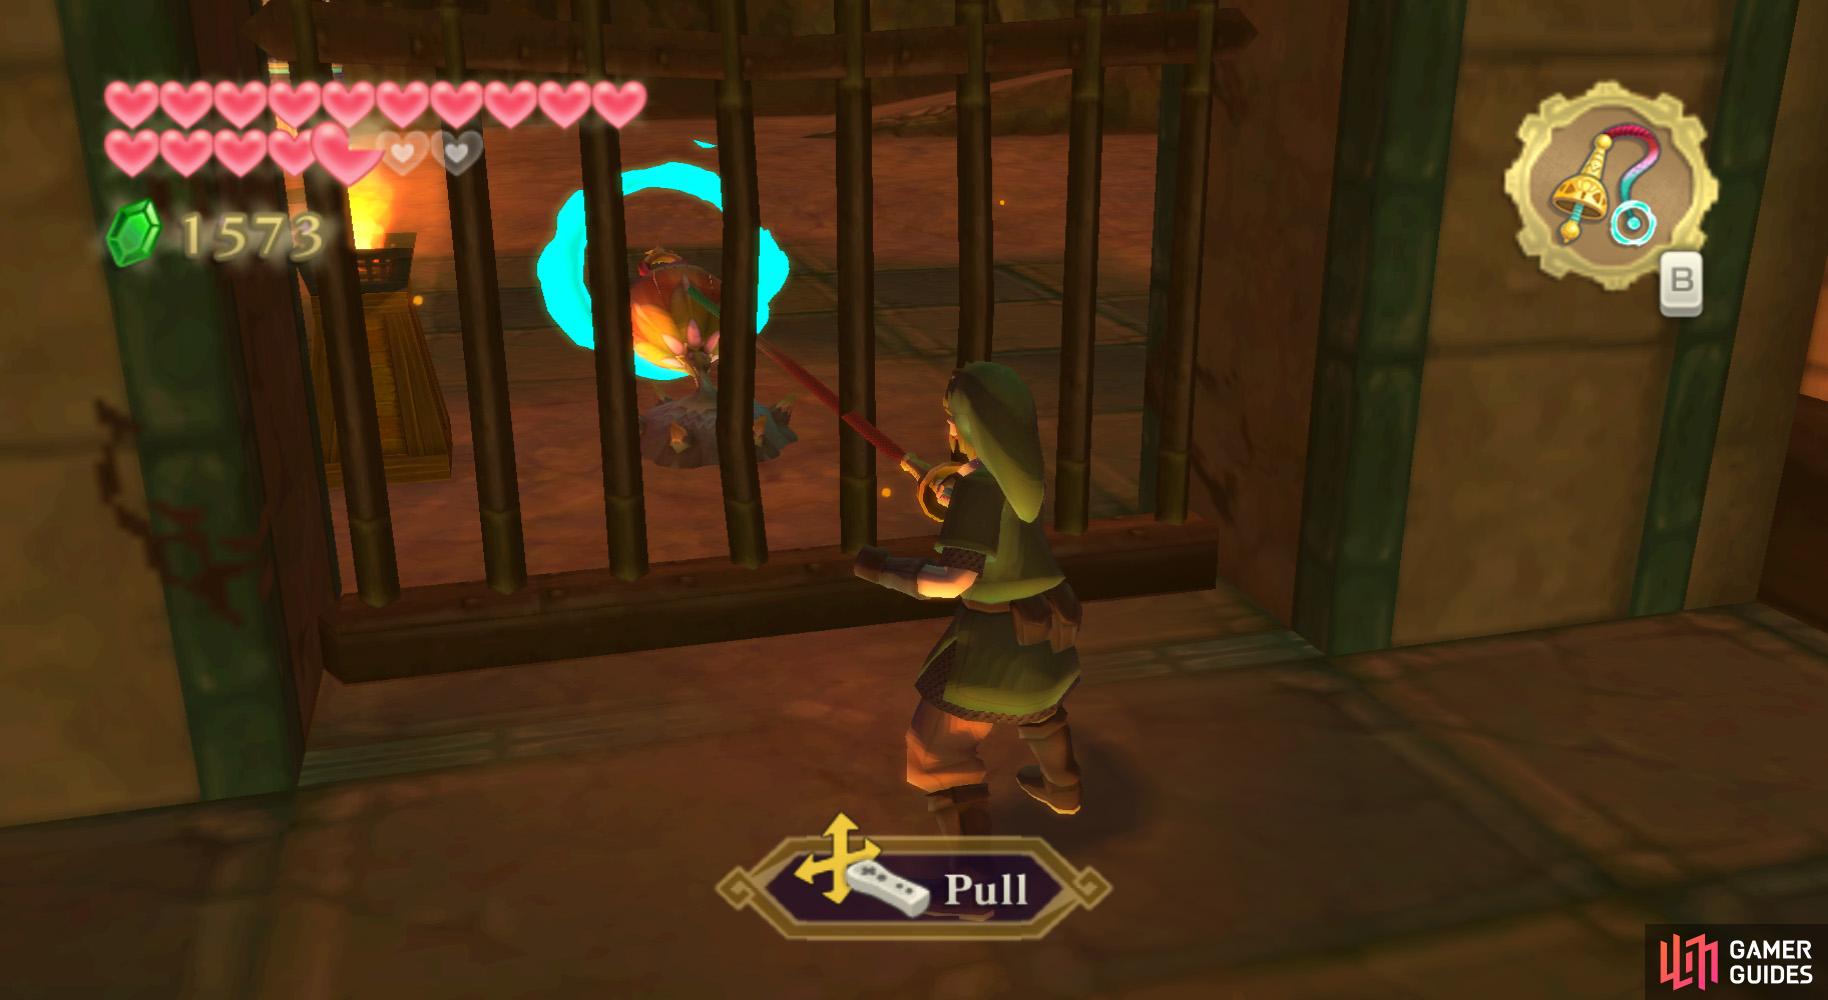
Right as you land, the Eldin Volcano will erupt and some weird stuff will happen. Long story short, you’ll end up in a Bokoblin prison. You’ll have absolutely no equipment (except the Goddess Harp scoffs) and be nearly dead.
Pick up some of the stuff around the room and smash it against the walls to find a few hearts (two or three), then lift the barrel. A Mogma will burrow into the cell and, after a short conversation, you’ll receive your Mogma Mitts back.

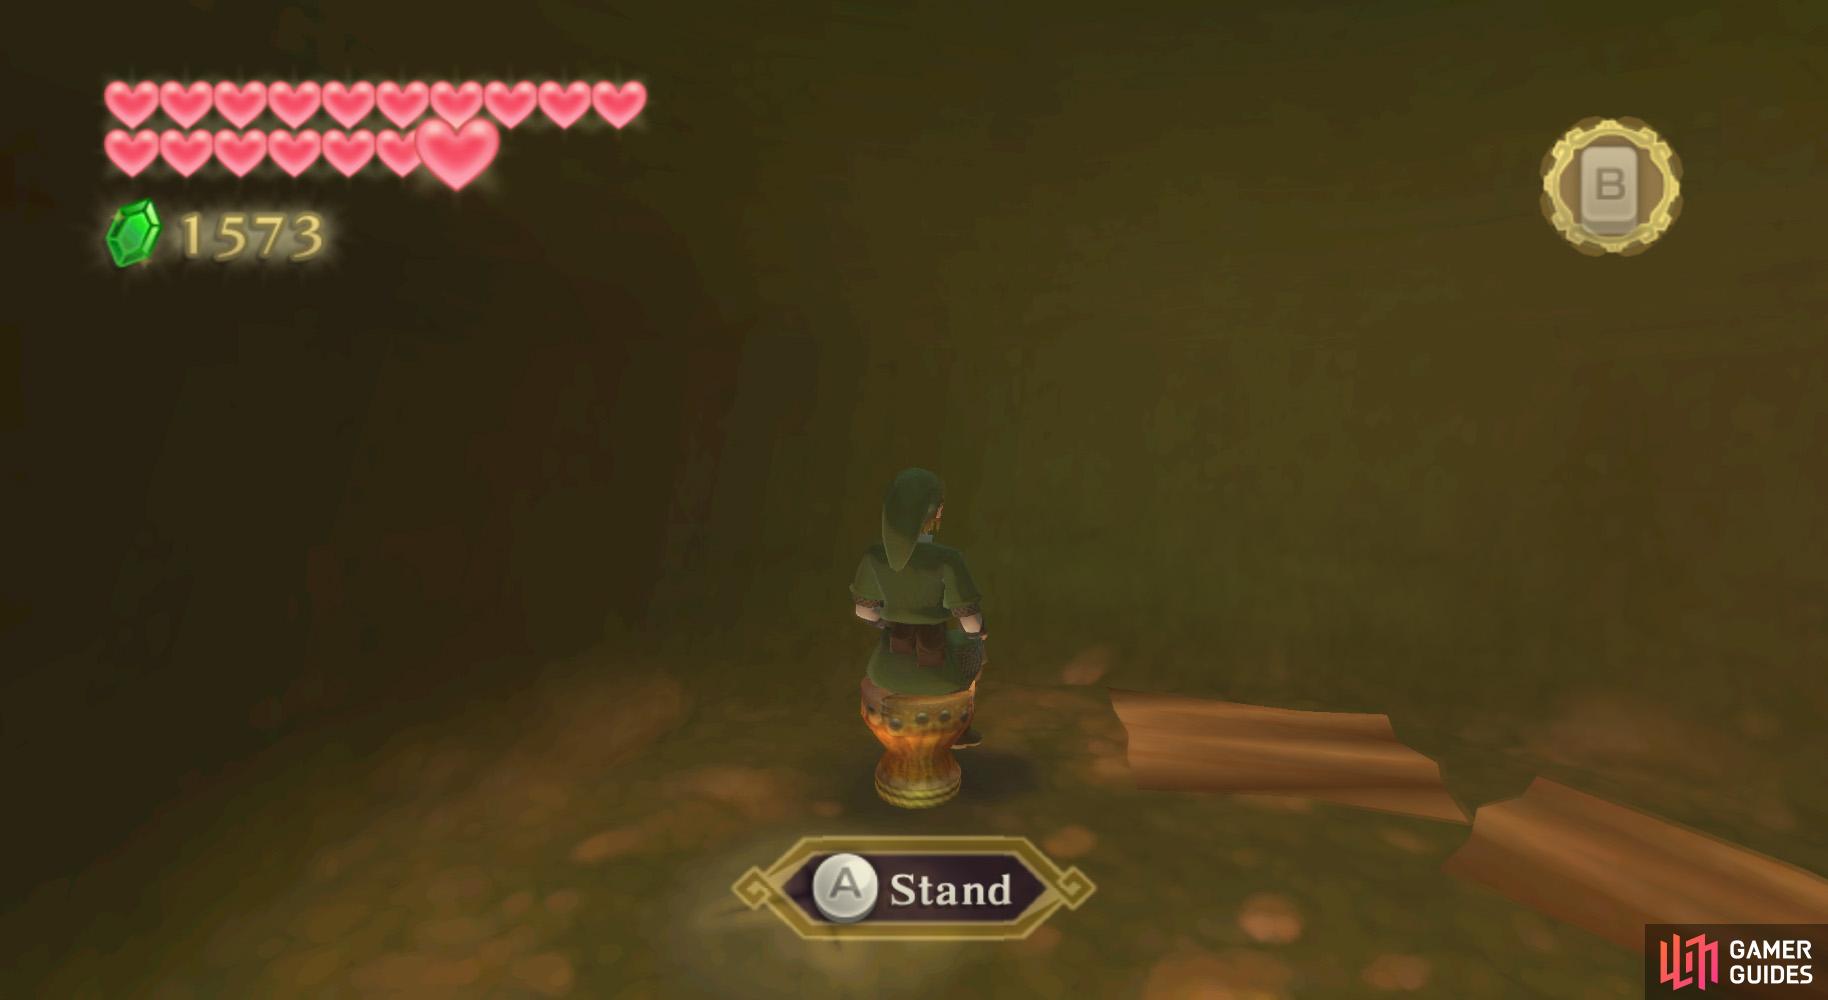
(1 of 2) Dig you way to the other side.
Dig you way to the other side. (left), Then relax at the chair until you’re back at full health. (right)
Eldin Volcano Stealth Map
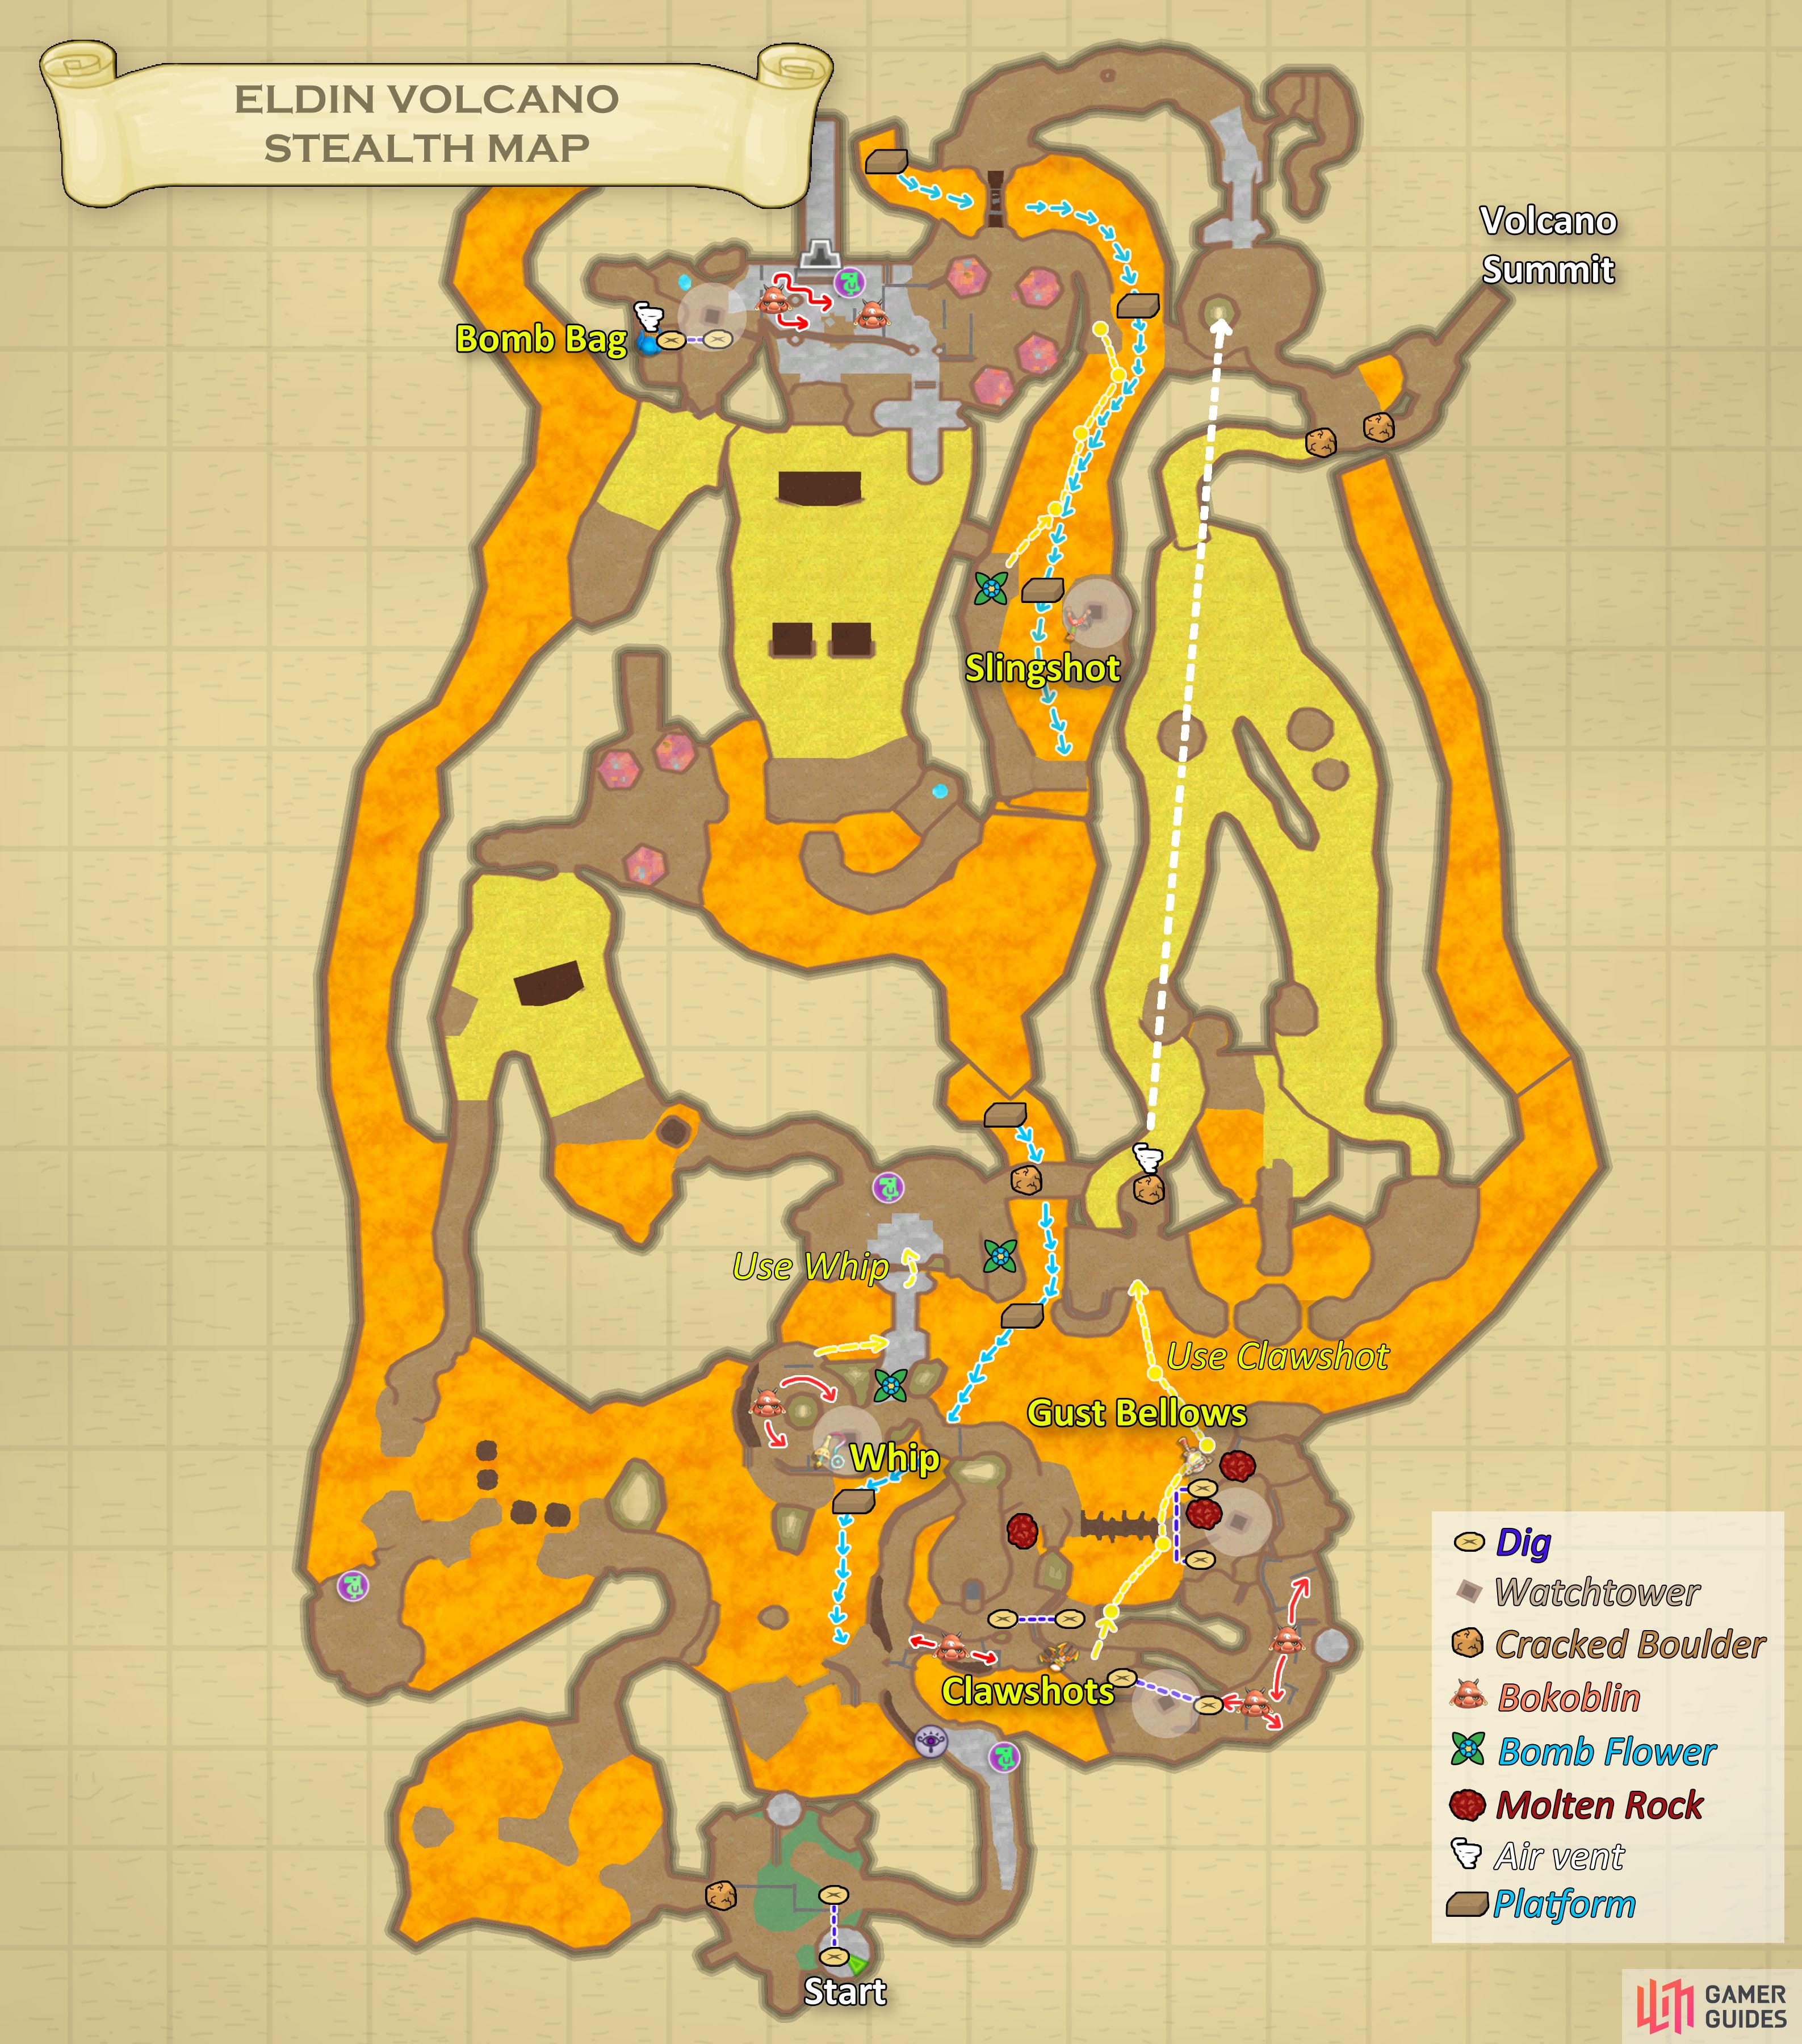
Map of the Eldin Volcano during the stealth section.
Outside, use the Bird Statue and the video-hint Sheikah Stone if you want.
Afterwards, go along the path and you’ll find the Mogma from earlier. He’ll show you the spots where your gear is, then mention how you need to avoid the guards here. (Kind of like the early Forsaken Fortress in Wind Waker, okay?)
(1 of 2) Wait till the Bokoblin turns around.
Wait till the Bokoblin turns around. (left), Then run forward and drop down to the left. (right)
Turn around and face the ledge you jumped from. Take the left path and go along it after the Bokoblin turns around. Follow it until you can reach the lower area on the left.
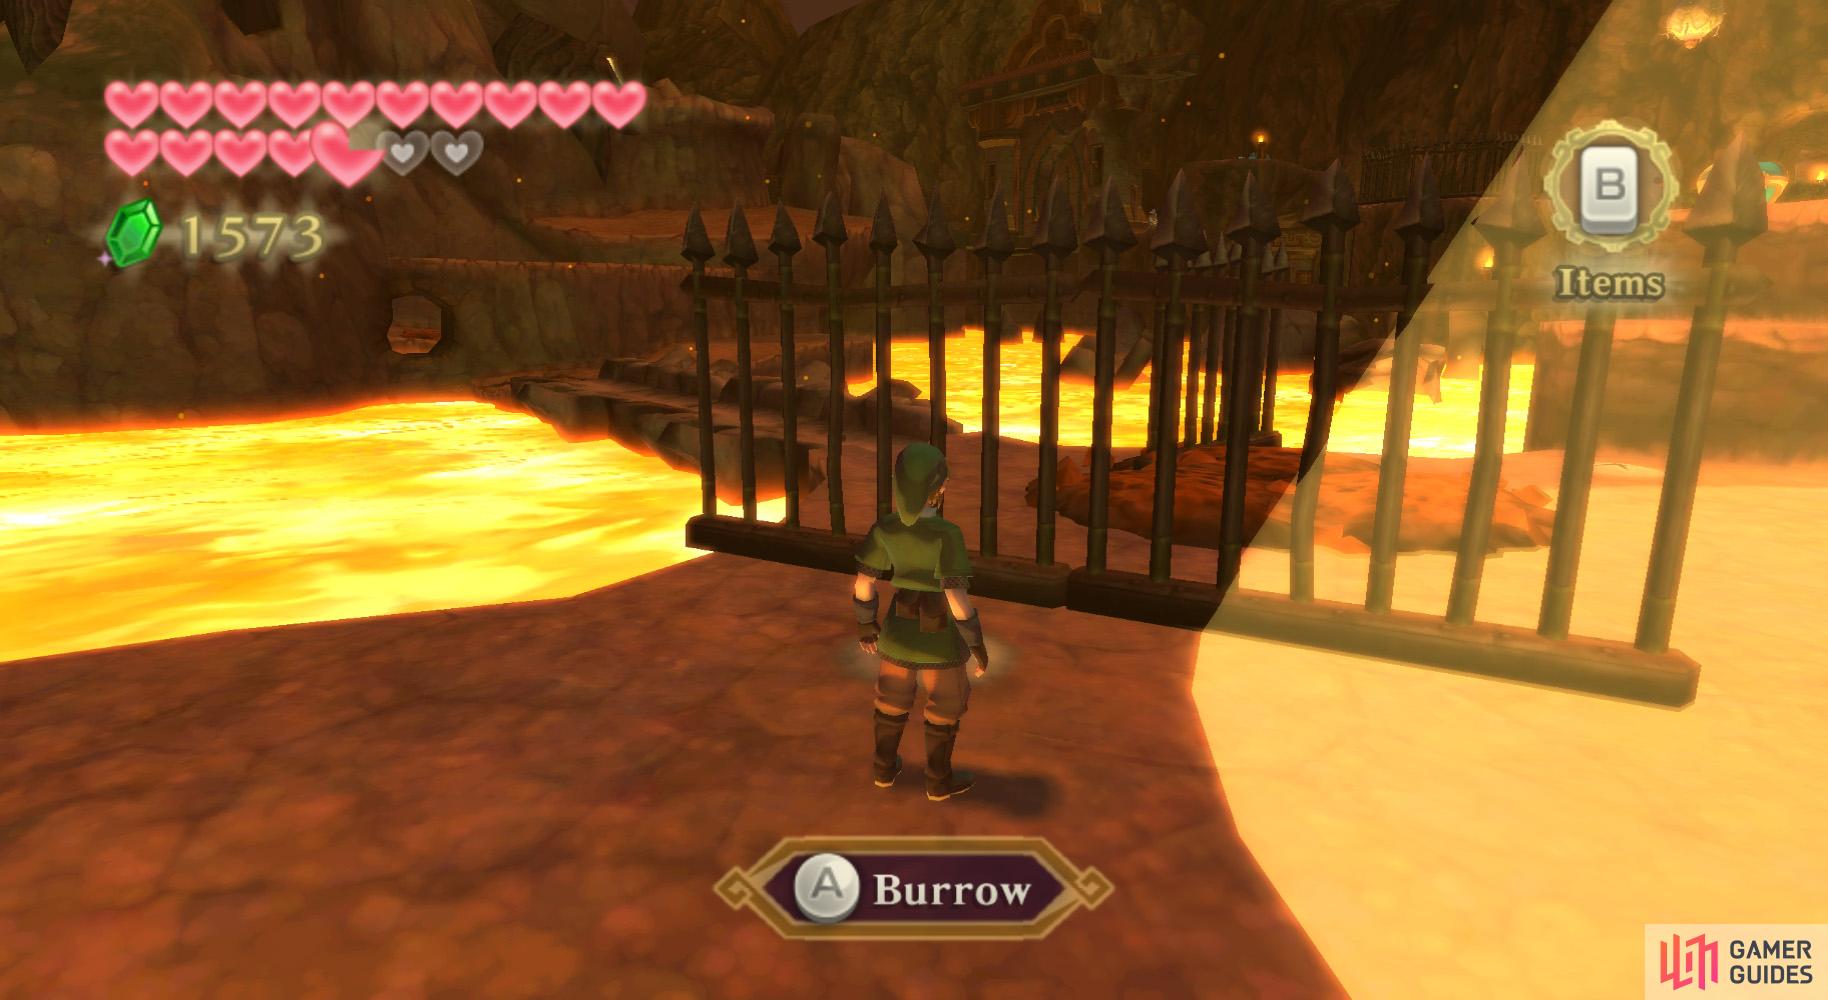
Go there when possible and burrow underground with the spot nearby. Break the breakable, lighter boulders, then smack the Bomb Flowers to get rid of the darker boulders. Emerge through the northern hole and climb the ledge, heading uphill. You’ll find a wooden tower.
(1 of 2) Steer clear of the watchtower lights and dig here.
Steer clear of the watchtower lights and dig here. (left), On the other side, there’s a chest with your Gust Bellows. (right)
See that light around it? It is a no-enter zone. Just remember to stay out of the light – anything beyond the yellow ring is relatively safe. Anyhow, drop to the lower area and underground. Ignore the Moldorm and go north to emerge.
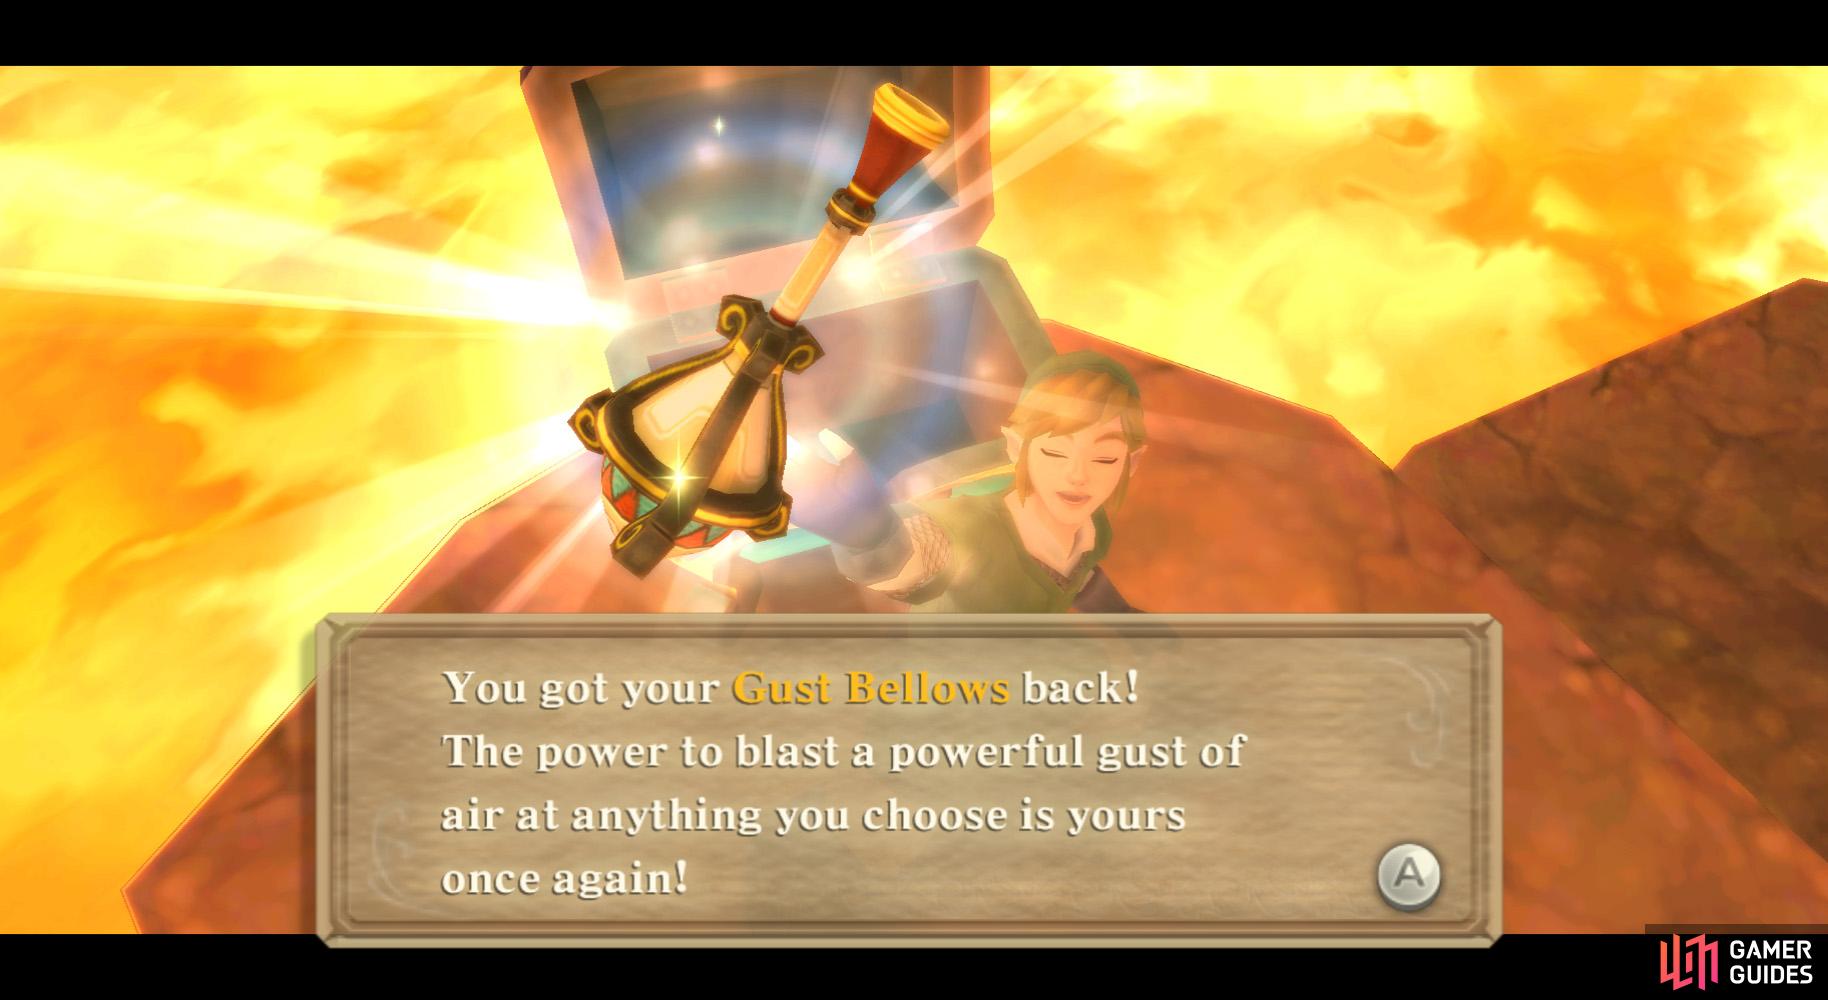
Here, climb the ledges you find nearby and open the chest for the Gust Bellows. Use it so as to get rid of the molten rock on the ledge below you.
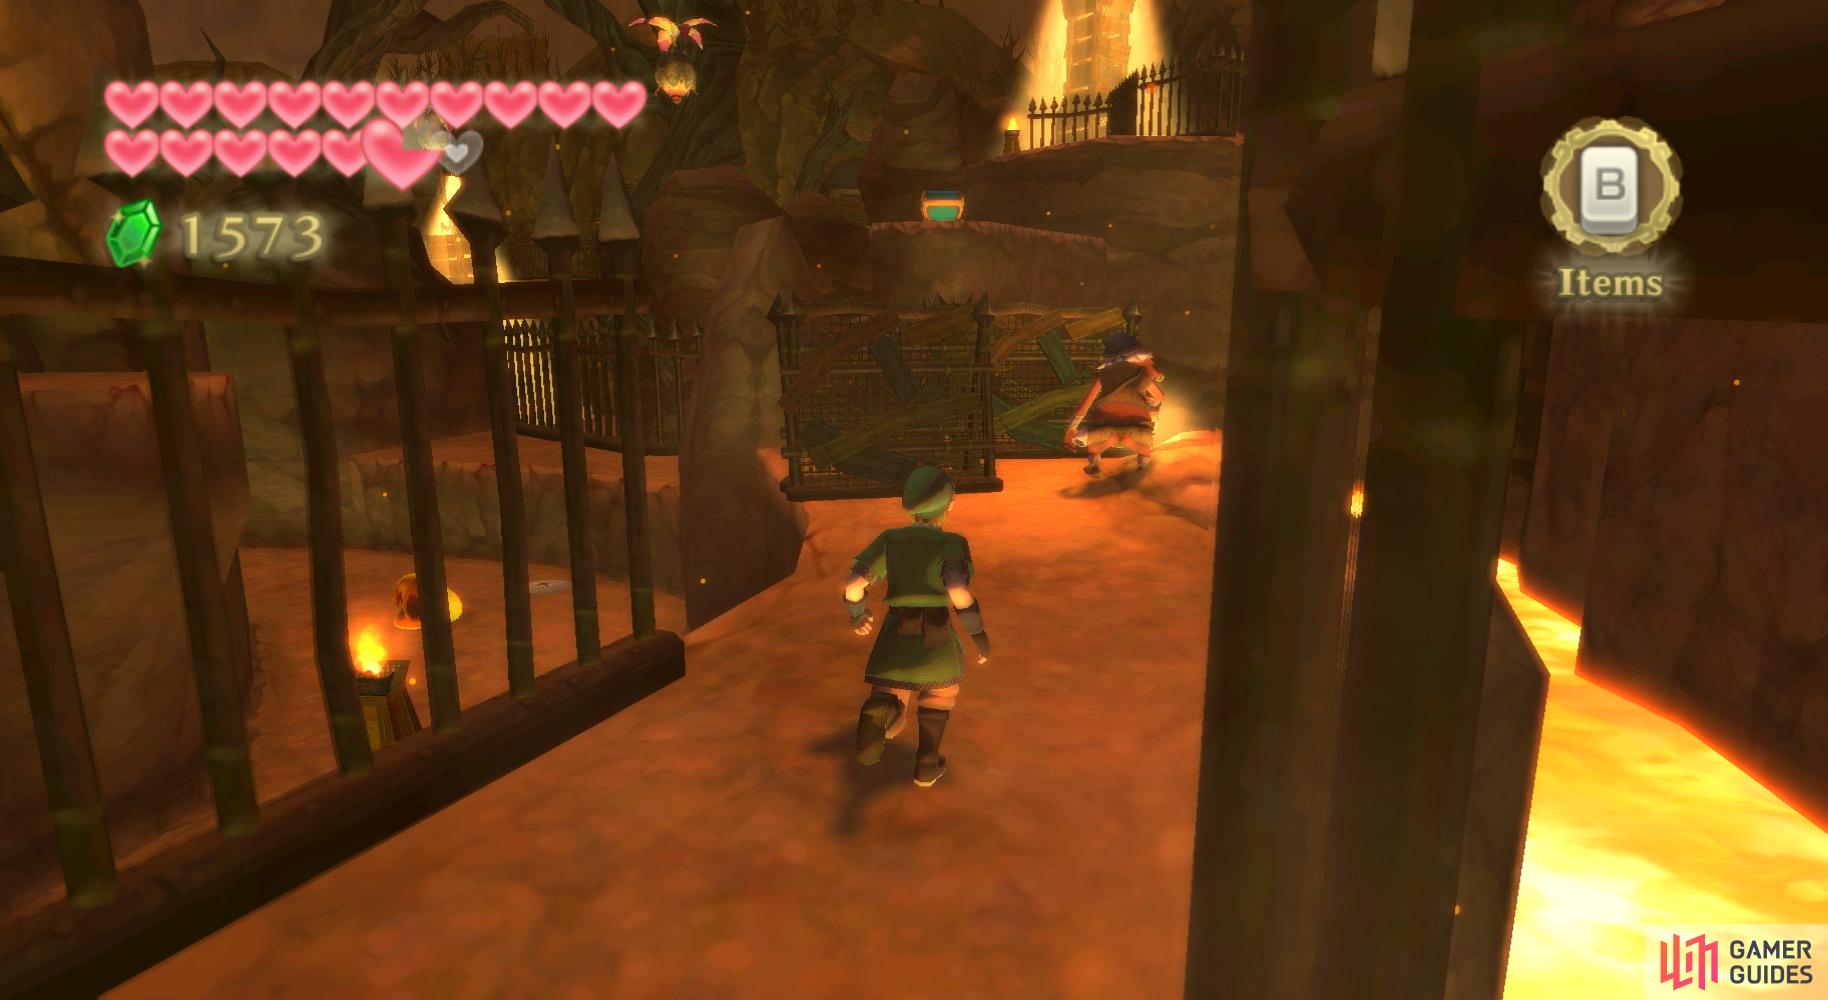
Continue up tthe path around the other side of the tower to find two Bokoblins patrolling the next path. Follow the first one (when going away from you), then, when it stops, use the fences for cover – they cannot see through hole-riddled fences.
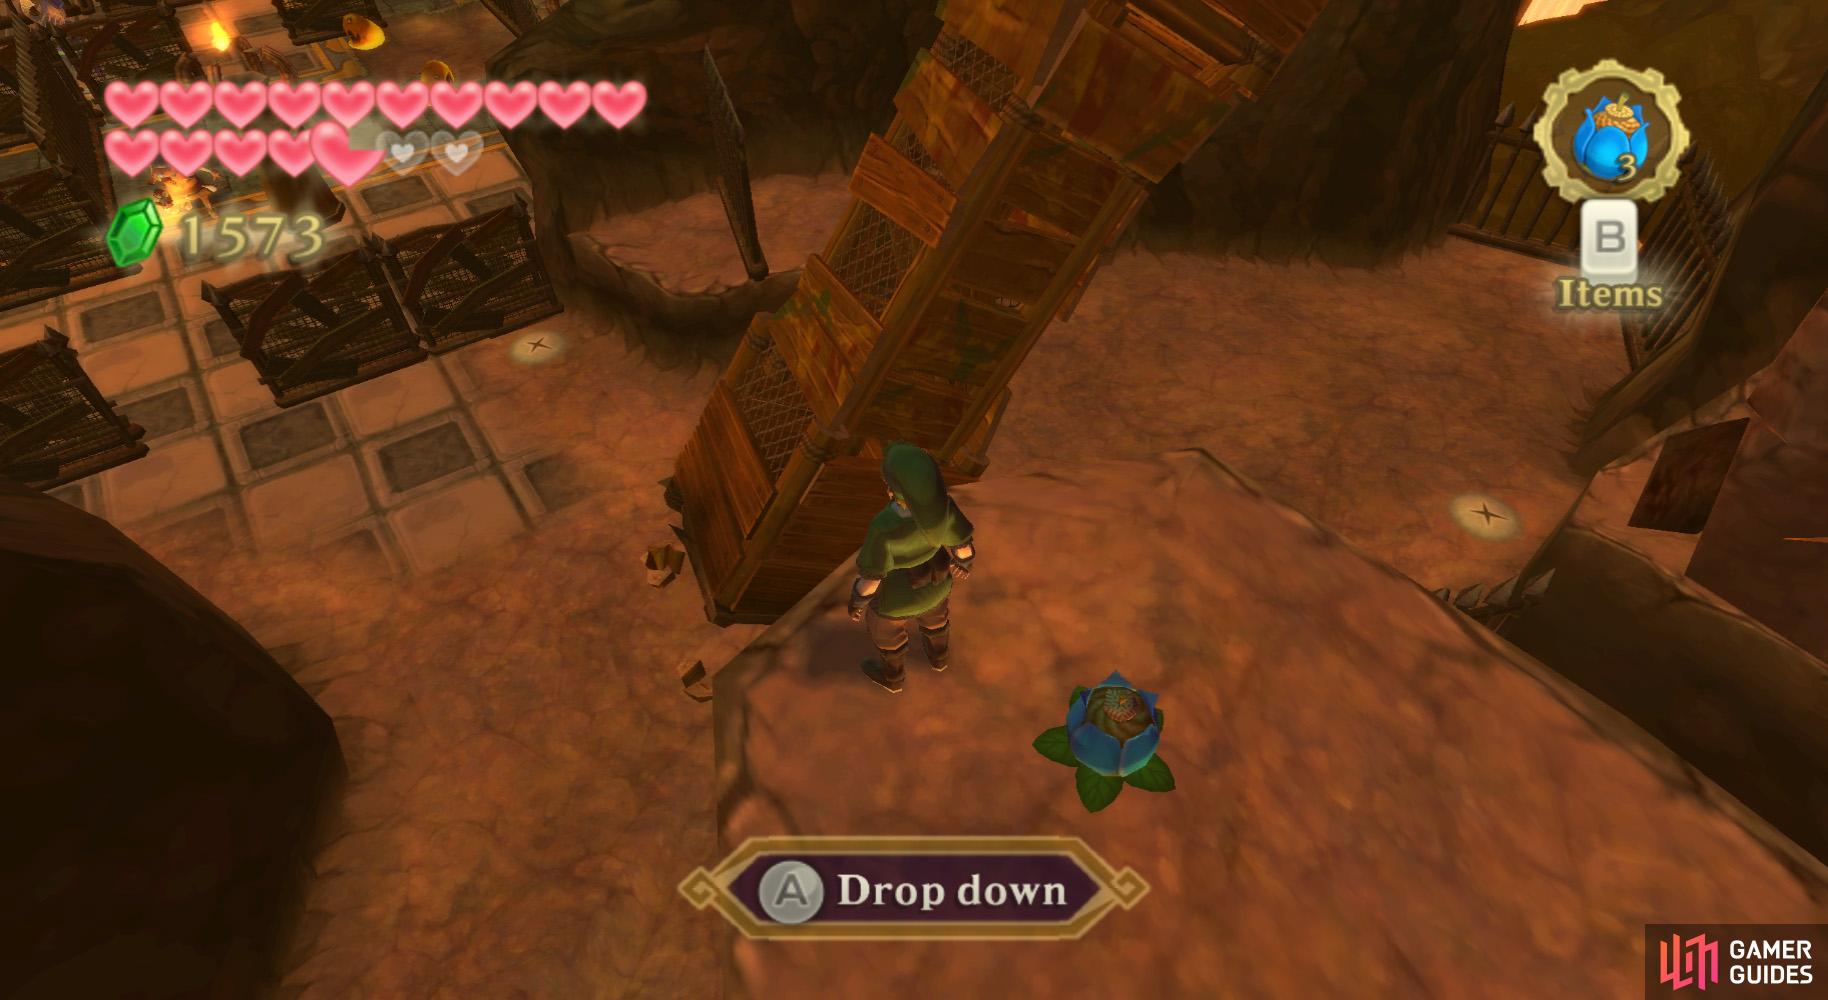
(1 of 2) Skilfully evade the guards until you reach this digging spot.
Skilfully evade the guards until you reach this digging spot. (left), On the other side, your Clawshots await! (right)
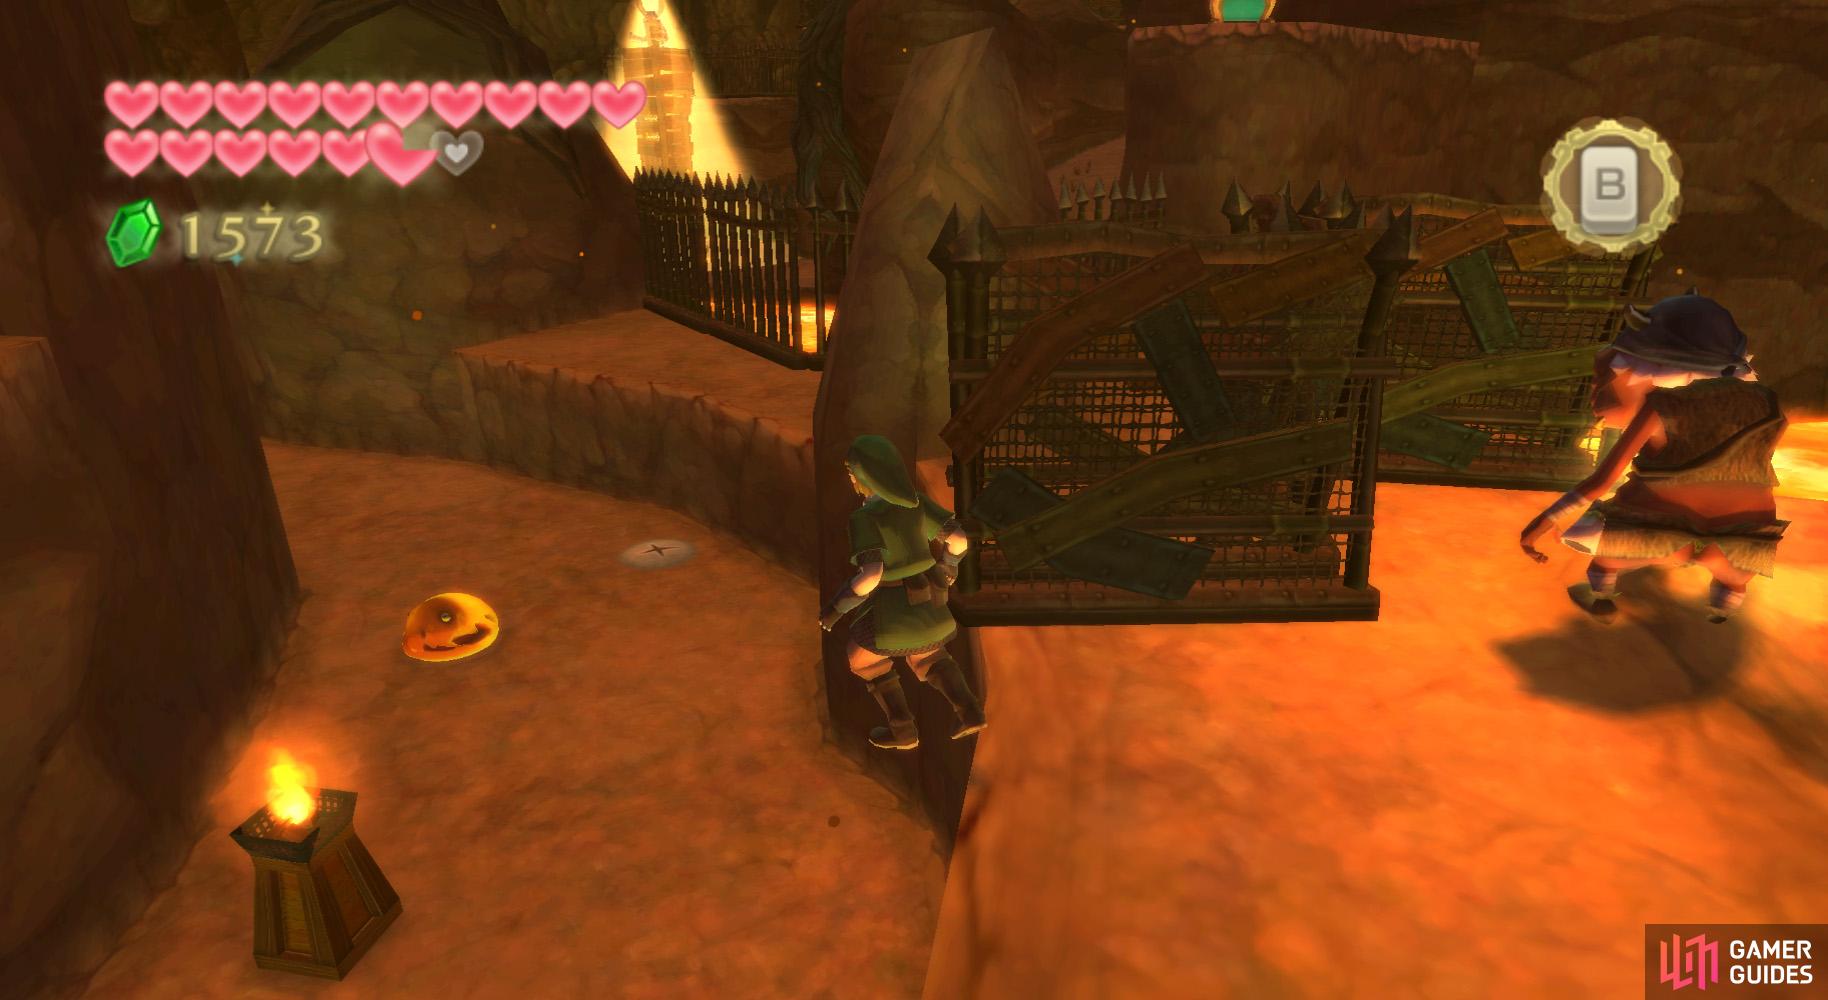
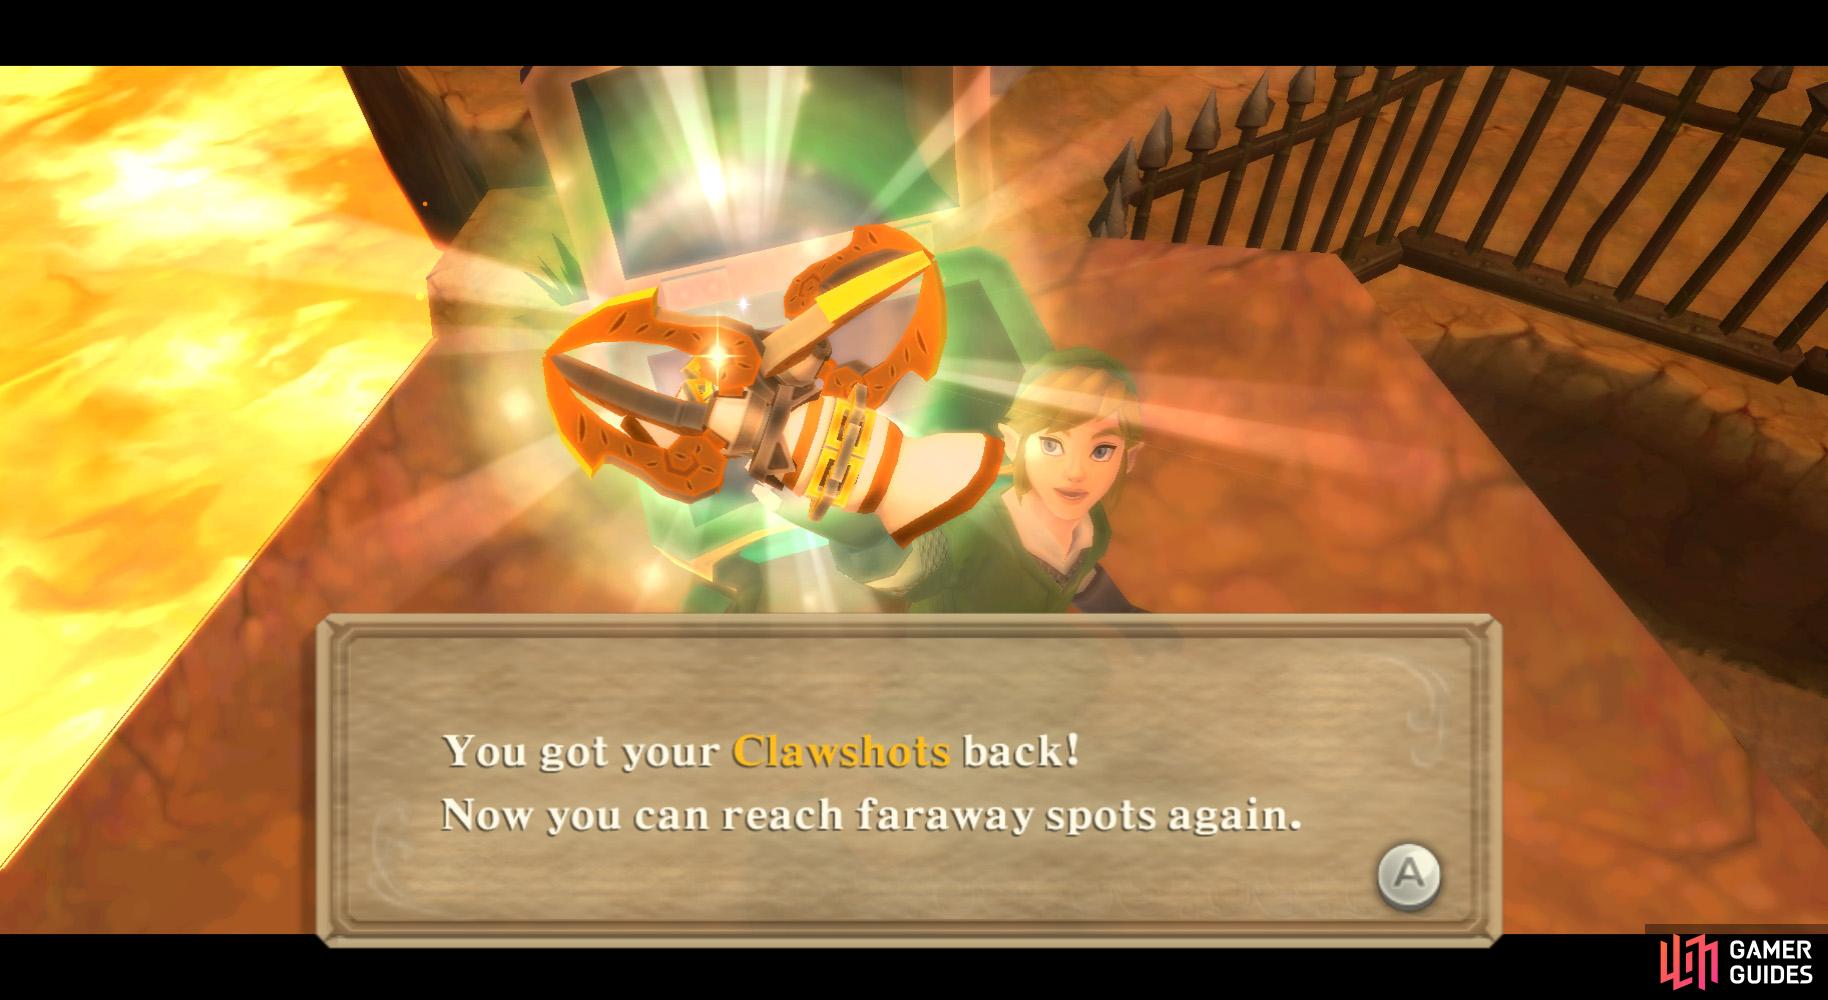
At the last fence, wait and stay on the left side, then start moving once the other Bokoblin begins walking away. Go around the left side of the fence to avoid it, then use the nearby dirt patch to burrow underground.
Underground, shatter the boulders to eventually find another Moldorm ahead. Ignore it and continue east. Break the boulders and get out of the tunnel. Aboveground, drop down the ledges nearby to find a chest, in which you’ll find your Clawshots.
Look around to find four or five Peahats just floating around and Clawshot along this chain of them. At the last one, Clawshot to the vines nearby and get onto the ledge below the vines. Go around this ledge to soon find some platforms floating along the lava current (you may have to wait, but they will come).
(1 of 2) You can’t go around this watchtower, so blow it up instead.
You can’t go around this watchtower, so blow it up instead. (left), Once it’s fallen over, open the chest to find your Whip. (right)
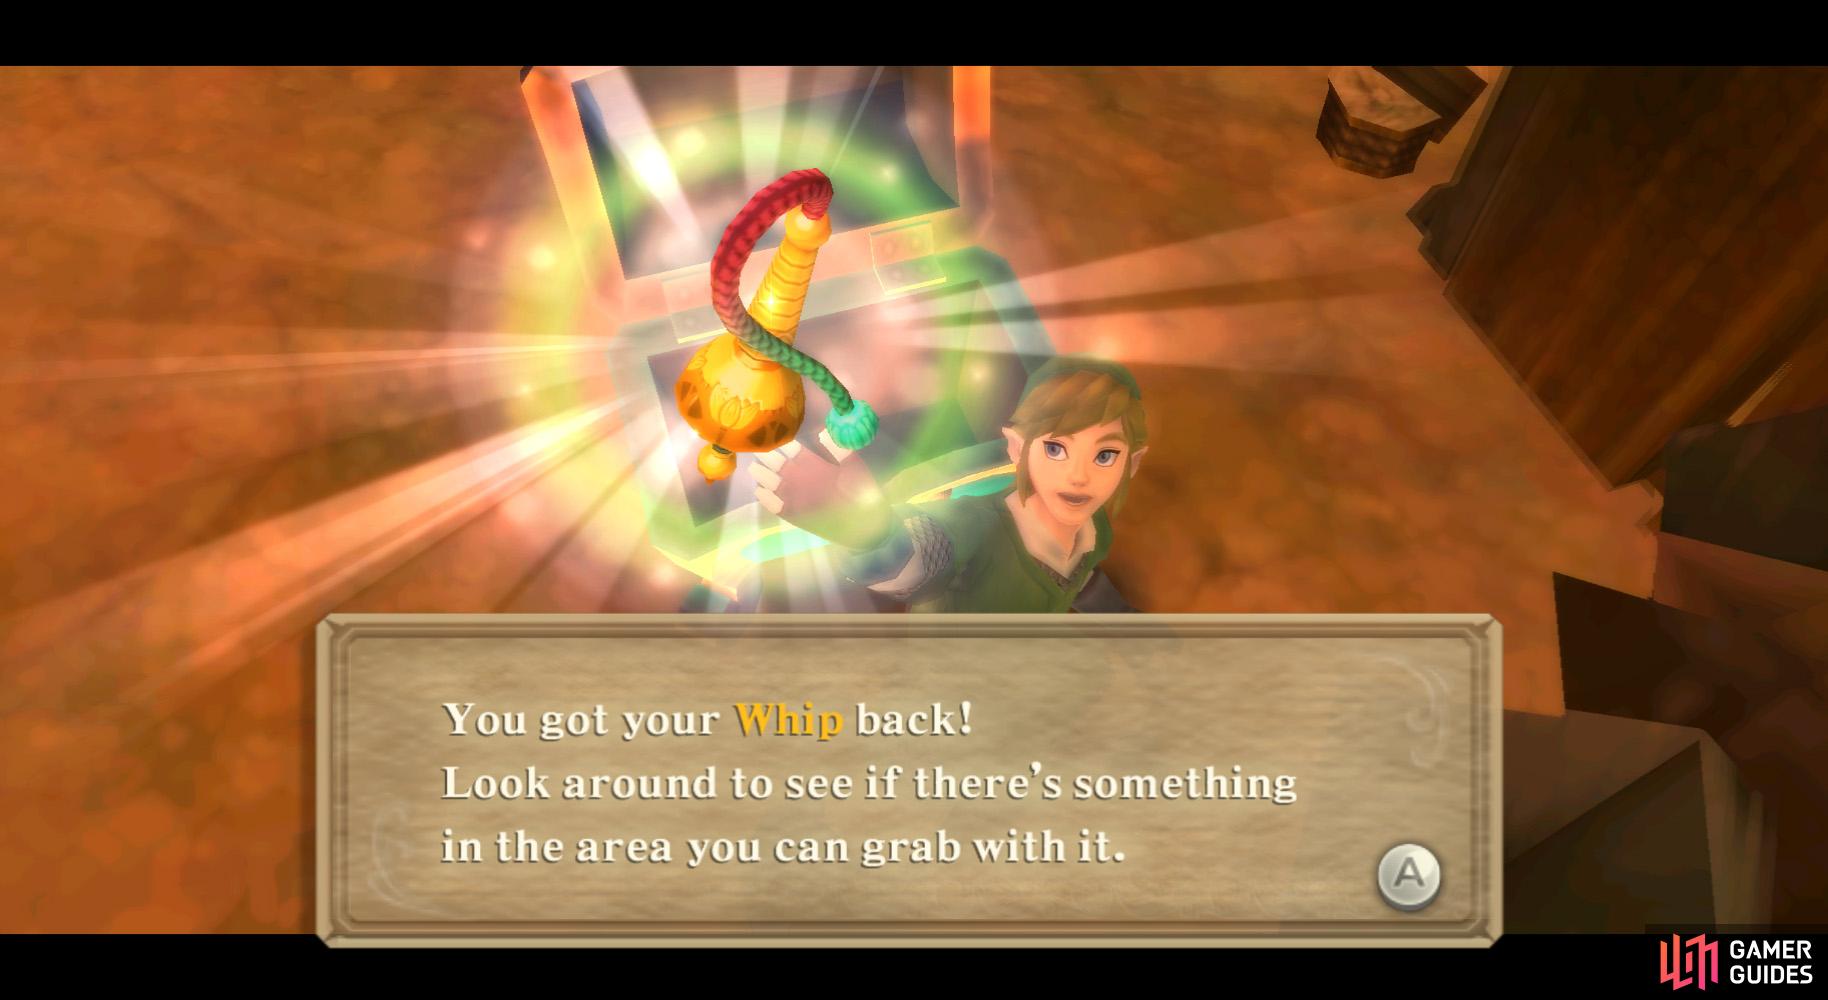
Jump onto one when possible. When possible, exit onto a ledge on your right. Follow the path to get a better view of the bridge ahead. Go along the path and a Bokoblin will be patrolling the path above this ledge. Wait for it to turn around, then speed by it on its left side and go behind the fence.
Pull out your Clawshots and Clawshot to the vines on the ledge near the bridge. You will find some Bomb Flowers nearby. Do a 180 from the bridge-gate combo to find a wooden tower. You are to use one of the Bomb Flowers nearby to knock over the tower. Once you do, get the chest near the fallen tower to find your ever-trusty Whip.
(1 of 2) Yank the grounded Peahat on the other side of the gate with your whip.
Yank the grounded Peahat on the other side of the gate with your whip. (left), Then fire your Clawshot at the released Peahat to skip the gate. (right)
Return to the bridge and use the Whip on the Peahat plant on the other side of the gate, then Clawshot to the Peahat. Land on the other side and utilize the Bird Statue. Go to the elevated path on the right side – it leads to the whirlwind tunnel, but is blocked.
Continue along the path to find a patch of Bomb Flowers. Grab one and clear the boulder blocking the cave entrance, then get another one to unblock the whirlwind tunnel. Then float up to the above area.
(1 of 3) Wait till a magma platform is almost here, then grab a Bomb Flower.
Here, go left and across the bridge. Go down the path and ignore the Fire Keese in the cave – you’ll be fine if you run. On the other side of the tunnel, go across the fallen tower and look to the left. You’ll find a chain of Peahats. Jump onto a moving magma platform and ride it down the incline.
Jump towards the non-tower ledge next. There should be a few Bomb Flowers nearby; situate yourself near one. As the next magma platform comes across, grab a Bomb Flower and jump onto the platform, then toss the Bomb Flower at the tower.
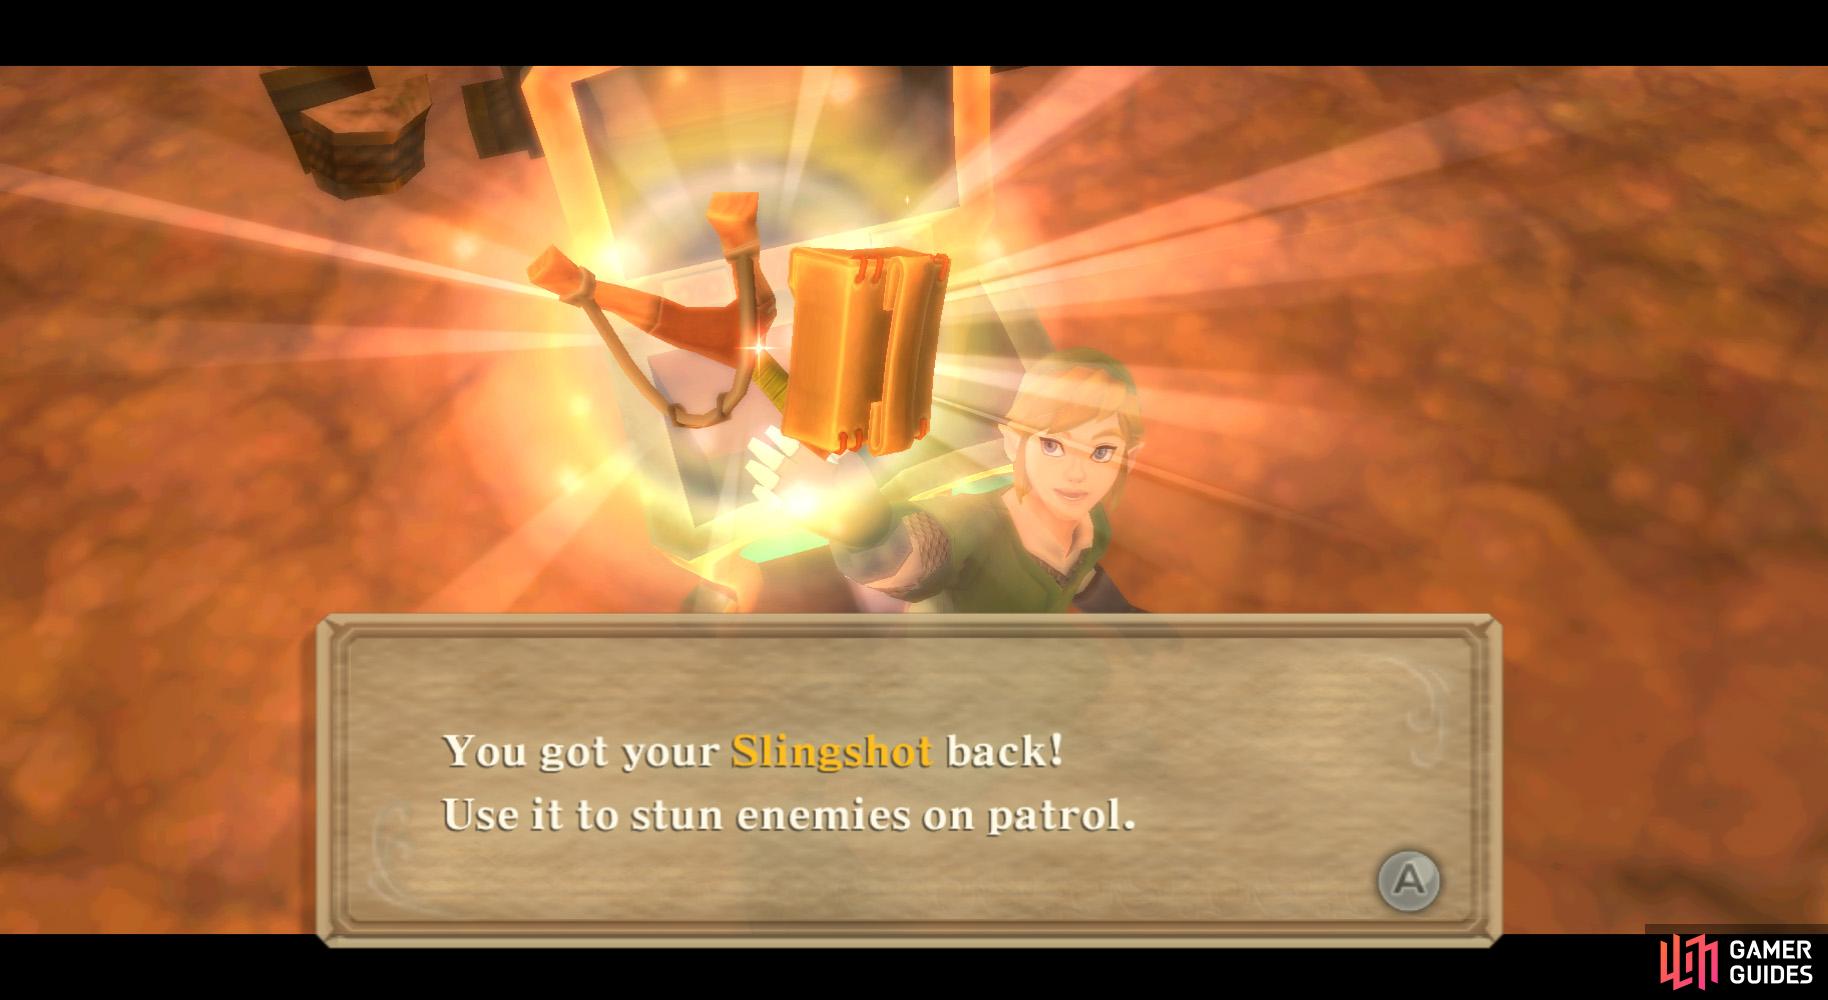
Once it topples, jump onto the nearest ledge and go back to the fallen tower’s ledge via another magma platform, where you’ll find a chest. Inside is your Slingshot.
(1 of 2) This diligent guard won’t shy from his post. So stun him with your Slingshot.
This diligent guard won’t shy from his post. So stun him with your Slingshot. (left), You can also stun the Bokoblins managing the watchtowers. (right)
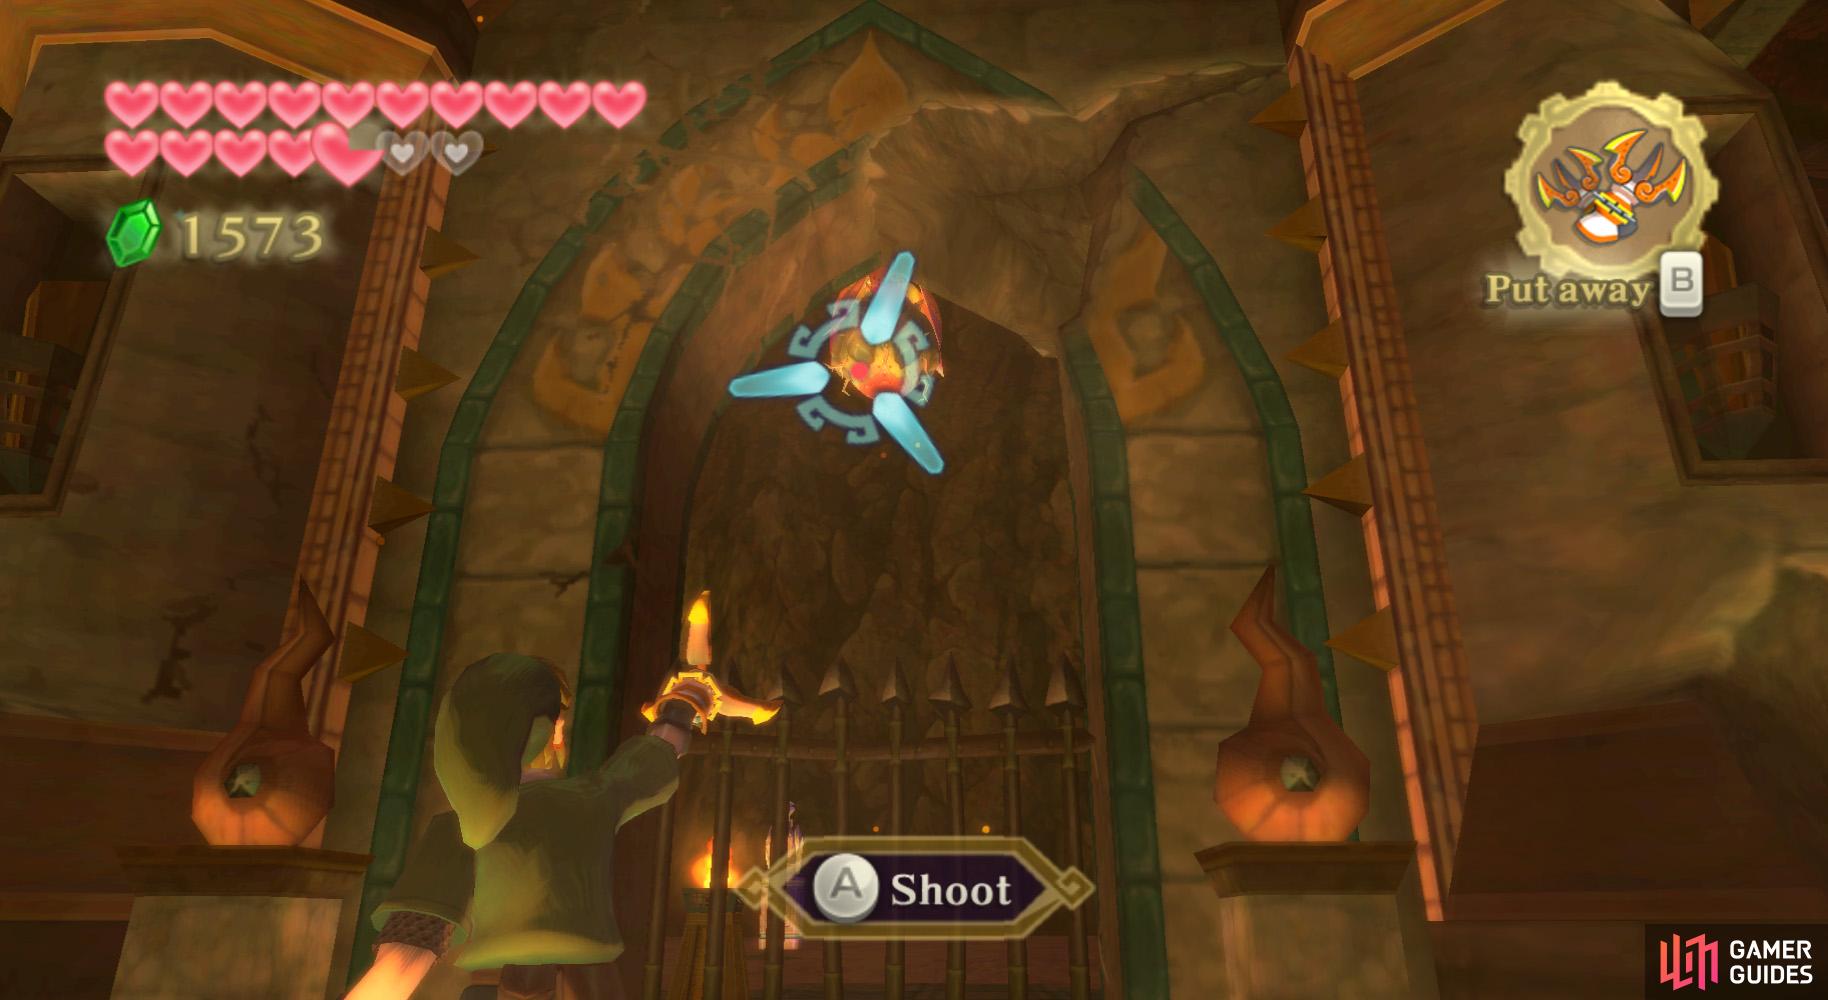
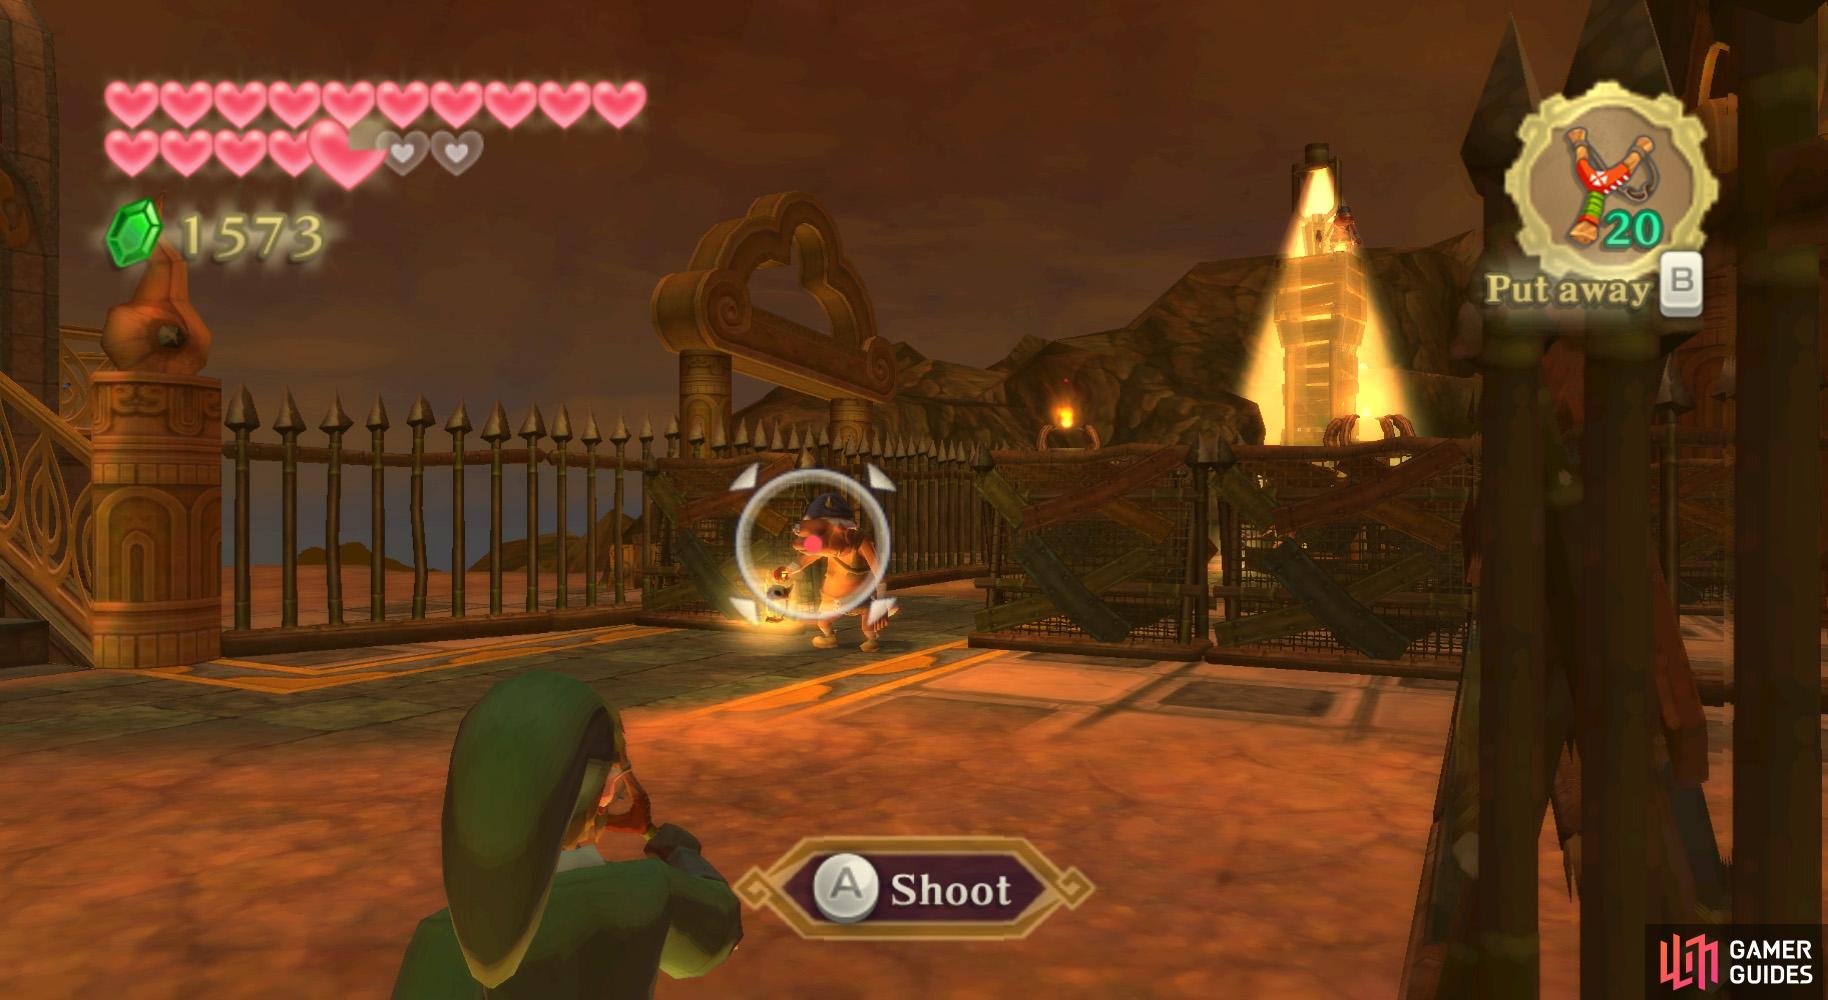
Use the Clawshots now to go back up the Peahat chain, dropping to the ground at the other end. Go uphill to find an encampment, the one near the Earth Temple. This area is guarded by Bokoblins – you can make things easier here by stunning the guards with your Slingshot.
Dash past the first one, utilize the Bird Statue, then go past the second one in a similar manner. During this time, you’ll find some Red Chuchus – at this time, it is impossible to deal with them in a reasonable manner. At the watchtower, shoot the Bokoblin atop it with the Slingshot and move quickly over to the dirt and underground.

(1 of 2) Knock the Bomb Flower towards the rubble to reach the exit.
Knock the Bomb Flower towards the rubble to reach the exit. (left), With the Bomb Bag back in your possession, you can throw Bombs anytime, anywhere! (right)
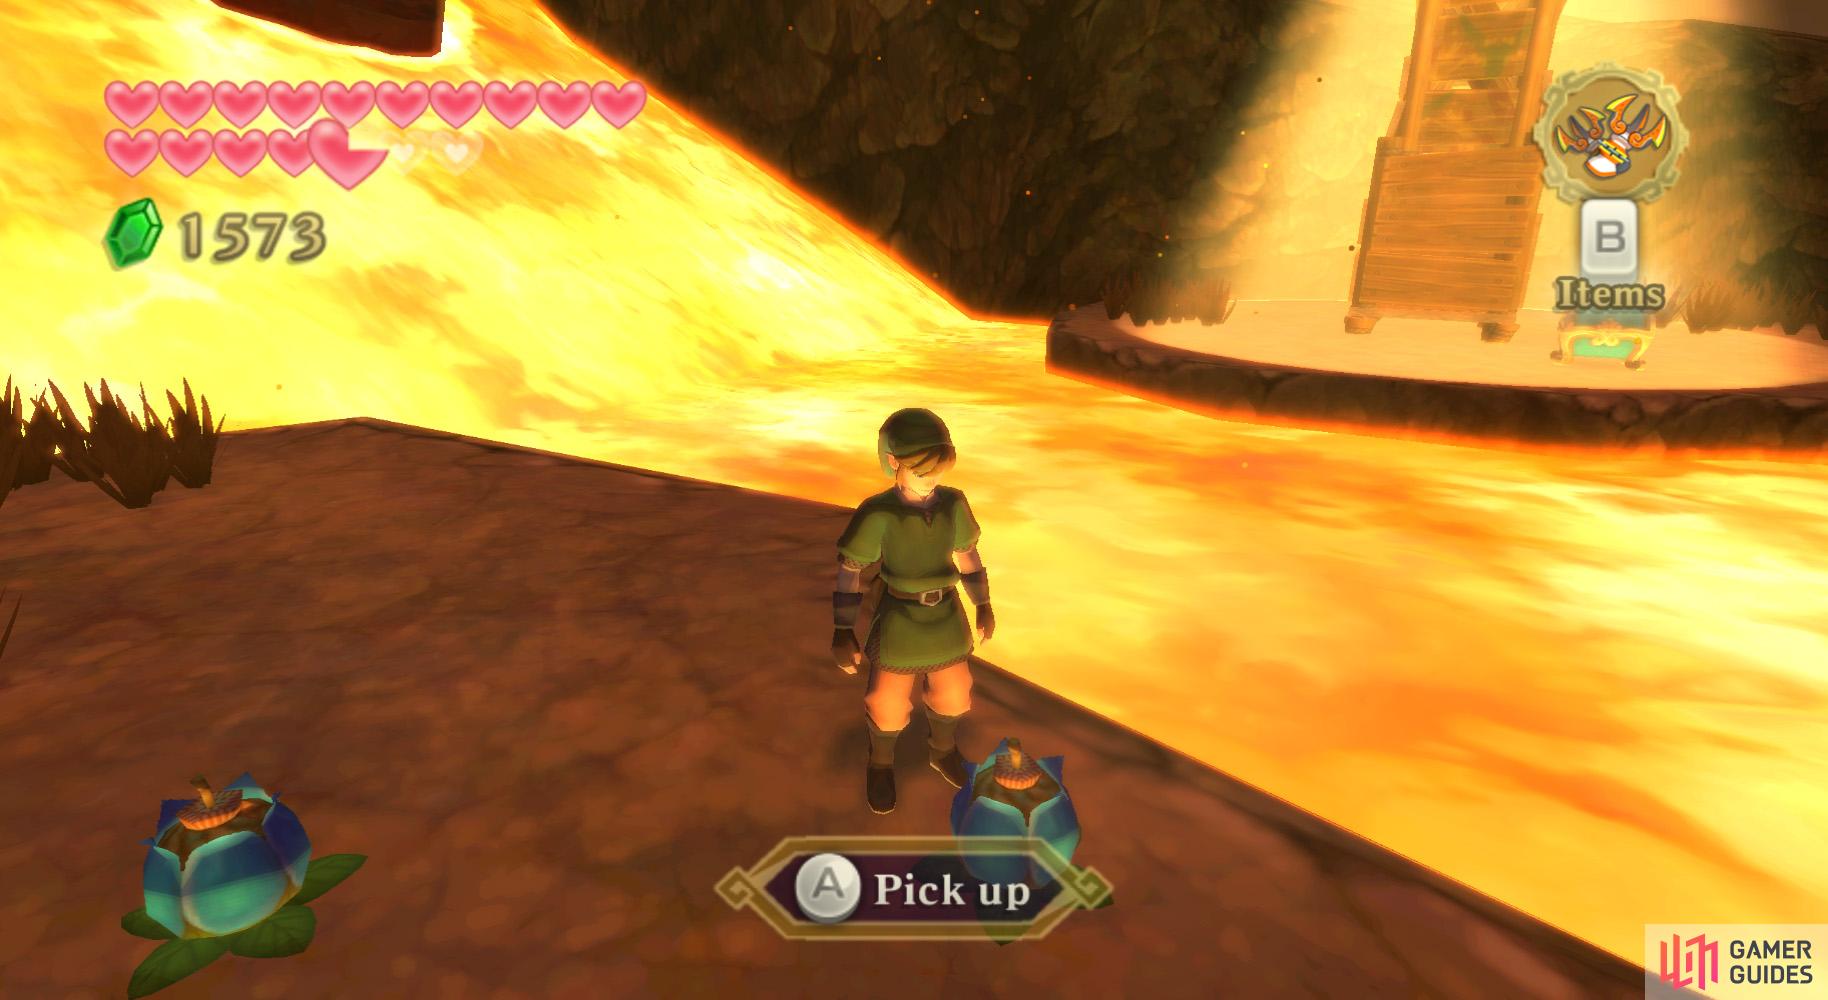
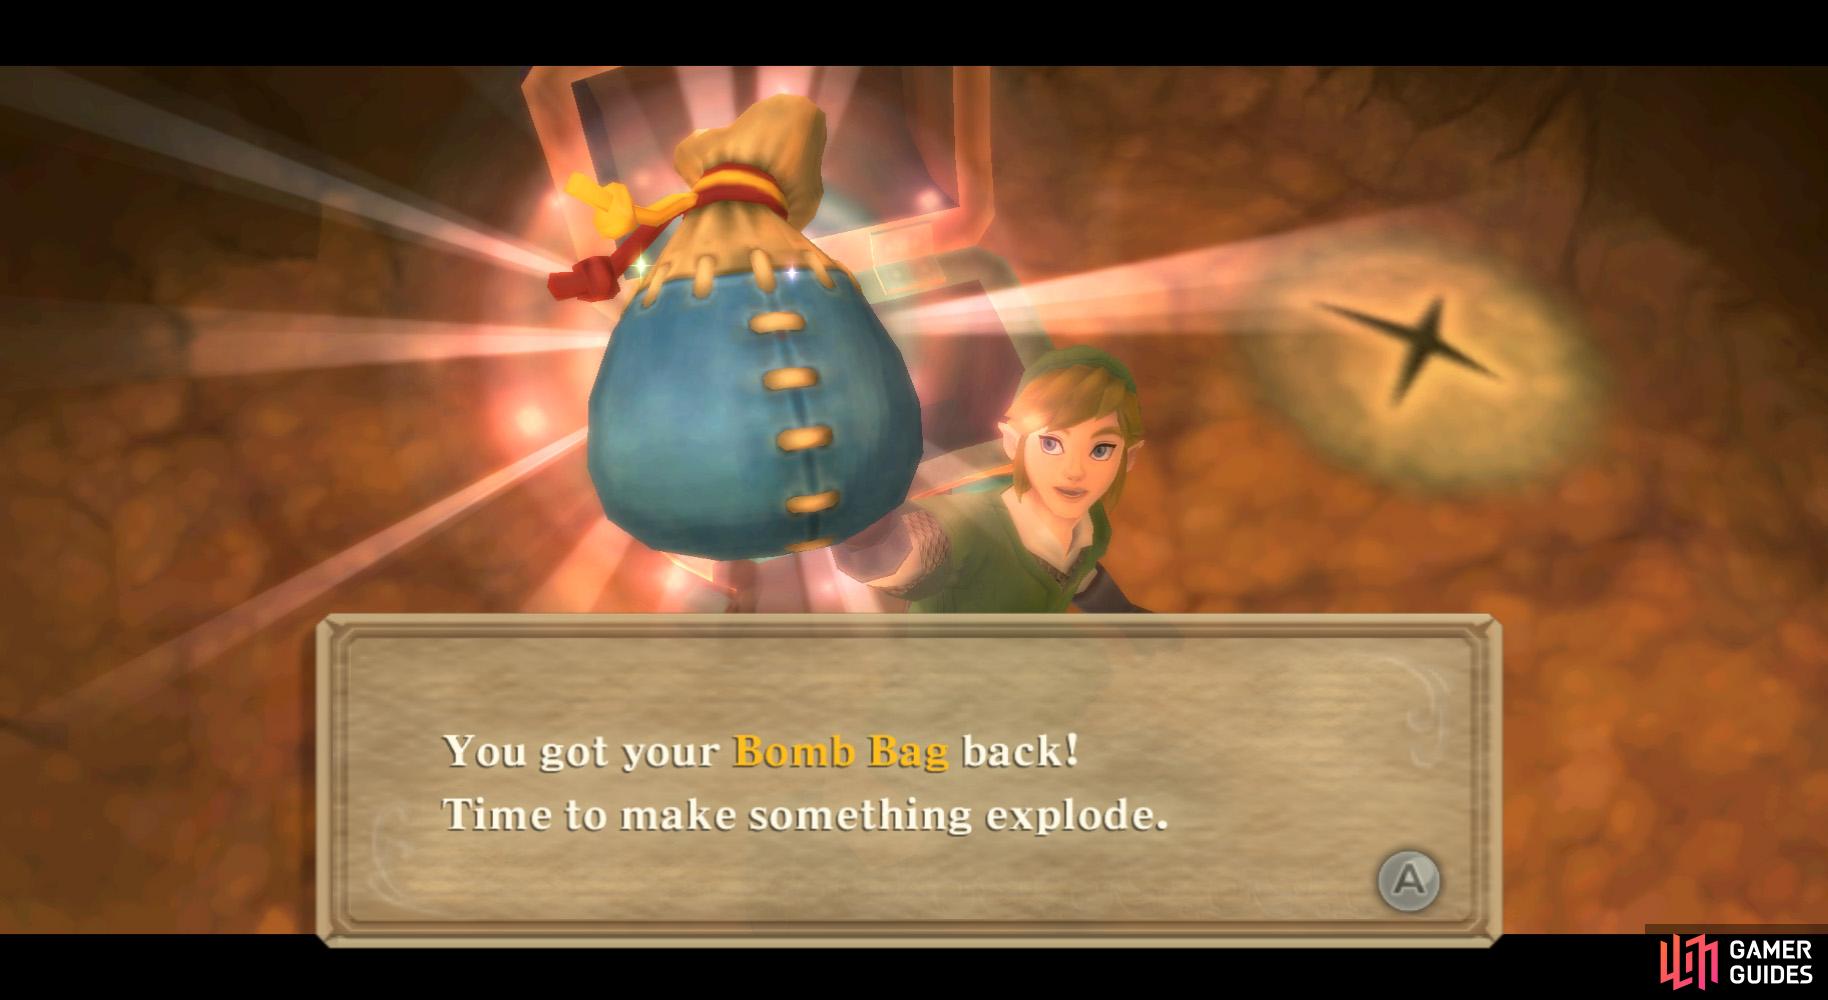
Here, break the boulders and smack the Bomb Flower to the east to clear out some impeding rubble. Emerge via the nearby hole. You’ll find your Bomb Bag in the chest nearby.
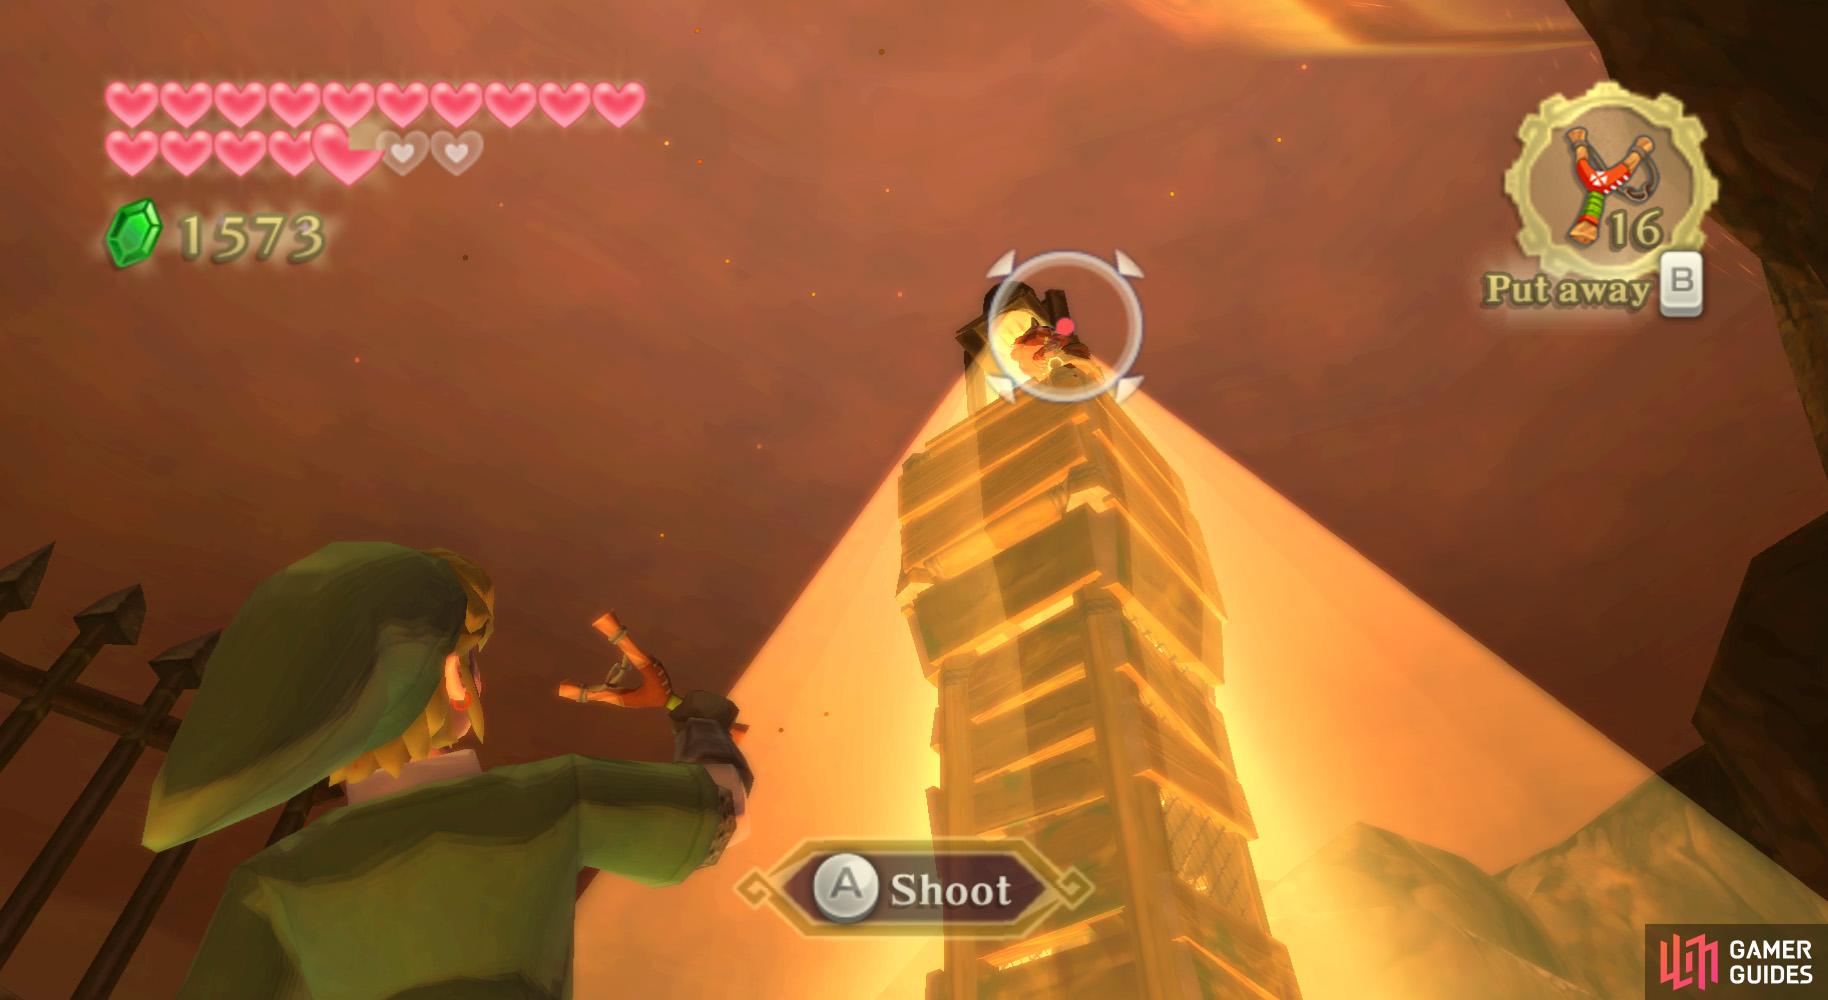
Dig nearby as well to find an air spurt. Ride to the above ledge and refill your Bomb Bag if needed, then throw a Bomb Flower at the tower to knock it over.
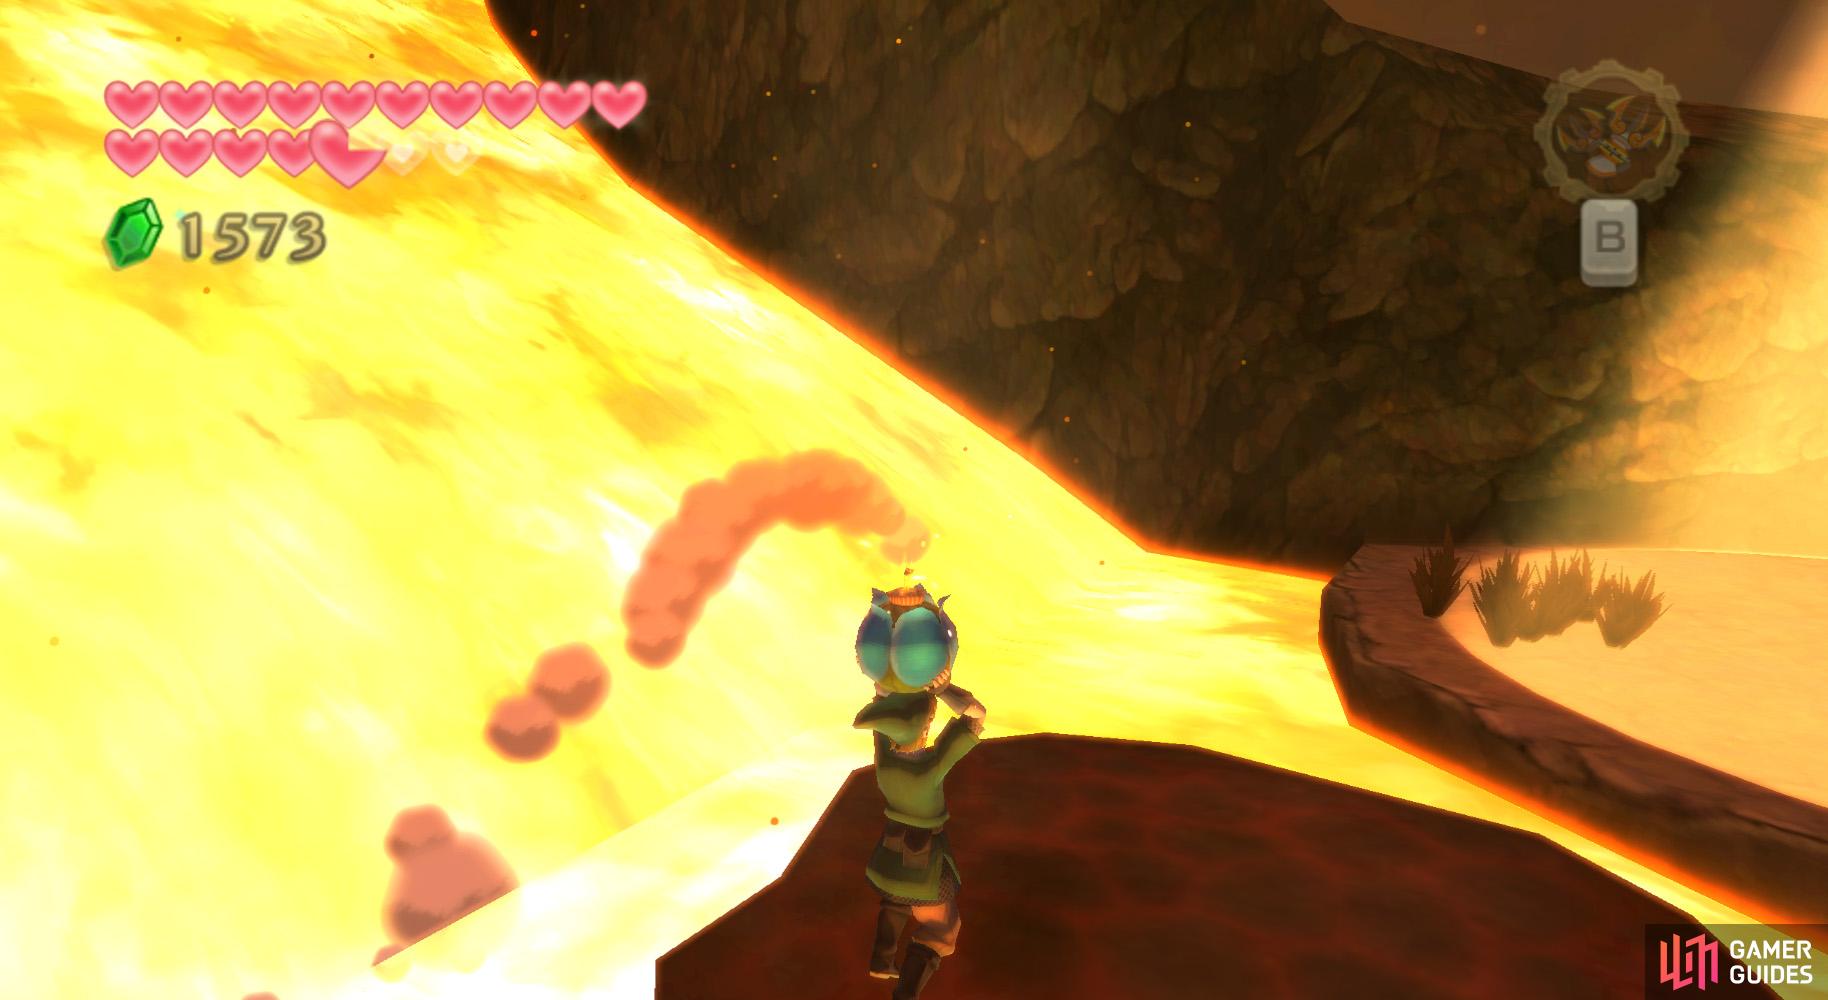
(1 of 2) Chuck a Bomb at the nearby watchtower so you can easily escape.
Chuck a Bomb at the nearby watchtower so you can easily escape. (left), Return to the entrance to the Volcano Summit and use your Bombs to clear the way. (right)
Now, backtrack through the Earth Temple entrance area, using the Slingshot as before to stun the guards before going past. Go through the encampment and across the fallen tower.
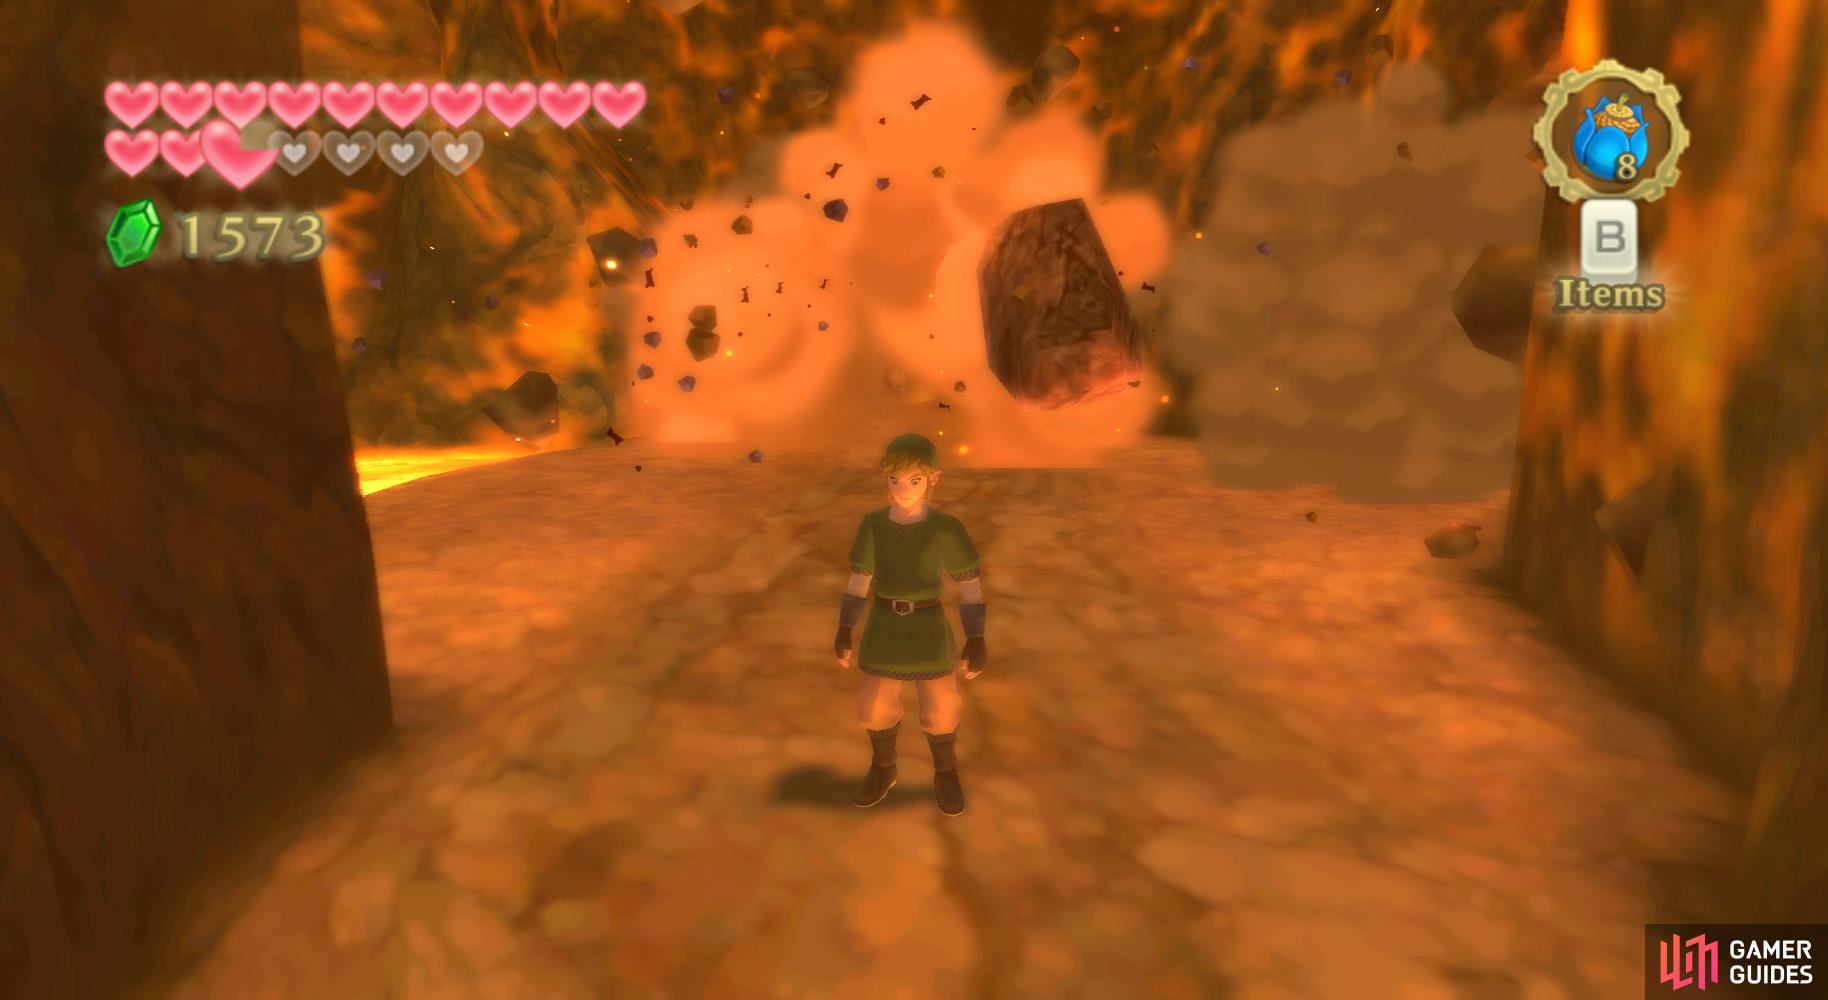
Continue along the linear path to the wind tunnel exit room, then go towards the super-heated room. Clear the path ahead of you with the Bombs and go up the incline to the Volcano Summit.

 Sign up
No Comments