
Lanayru Sand Sea
(1 of 2) Monsters can be found in the sea…
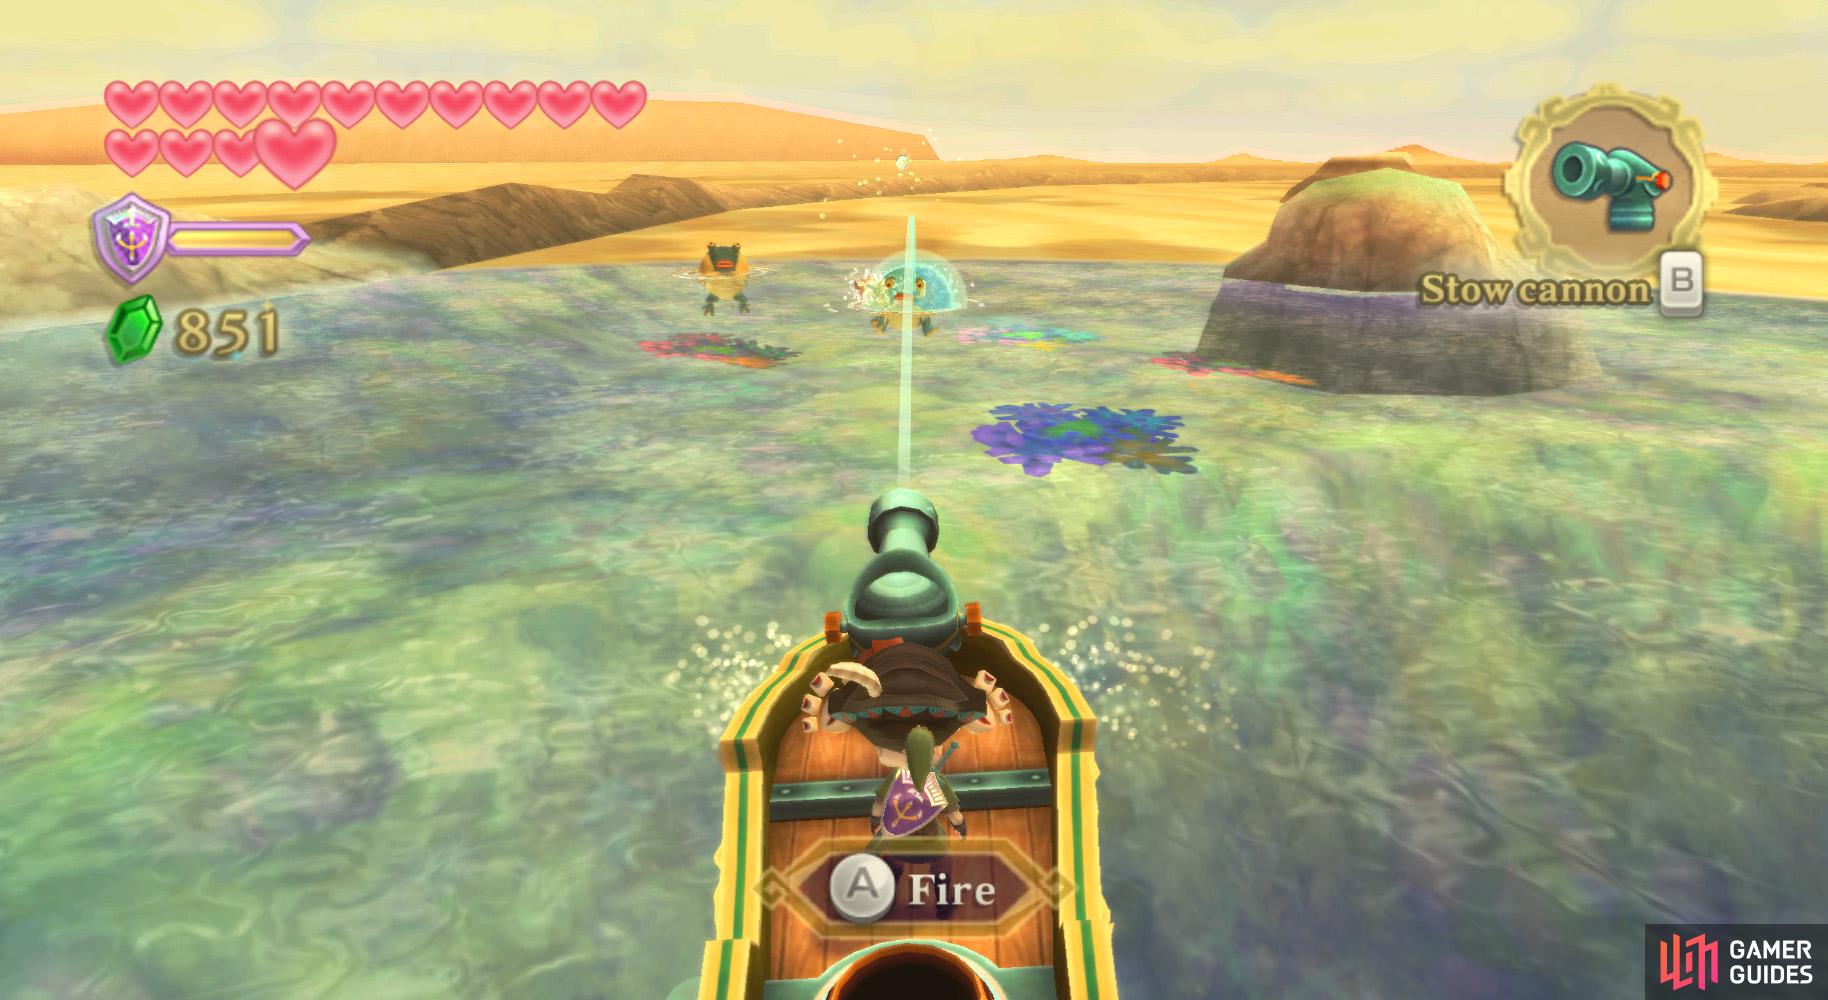
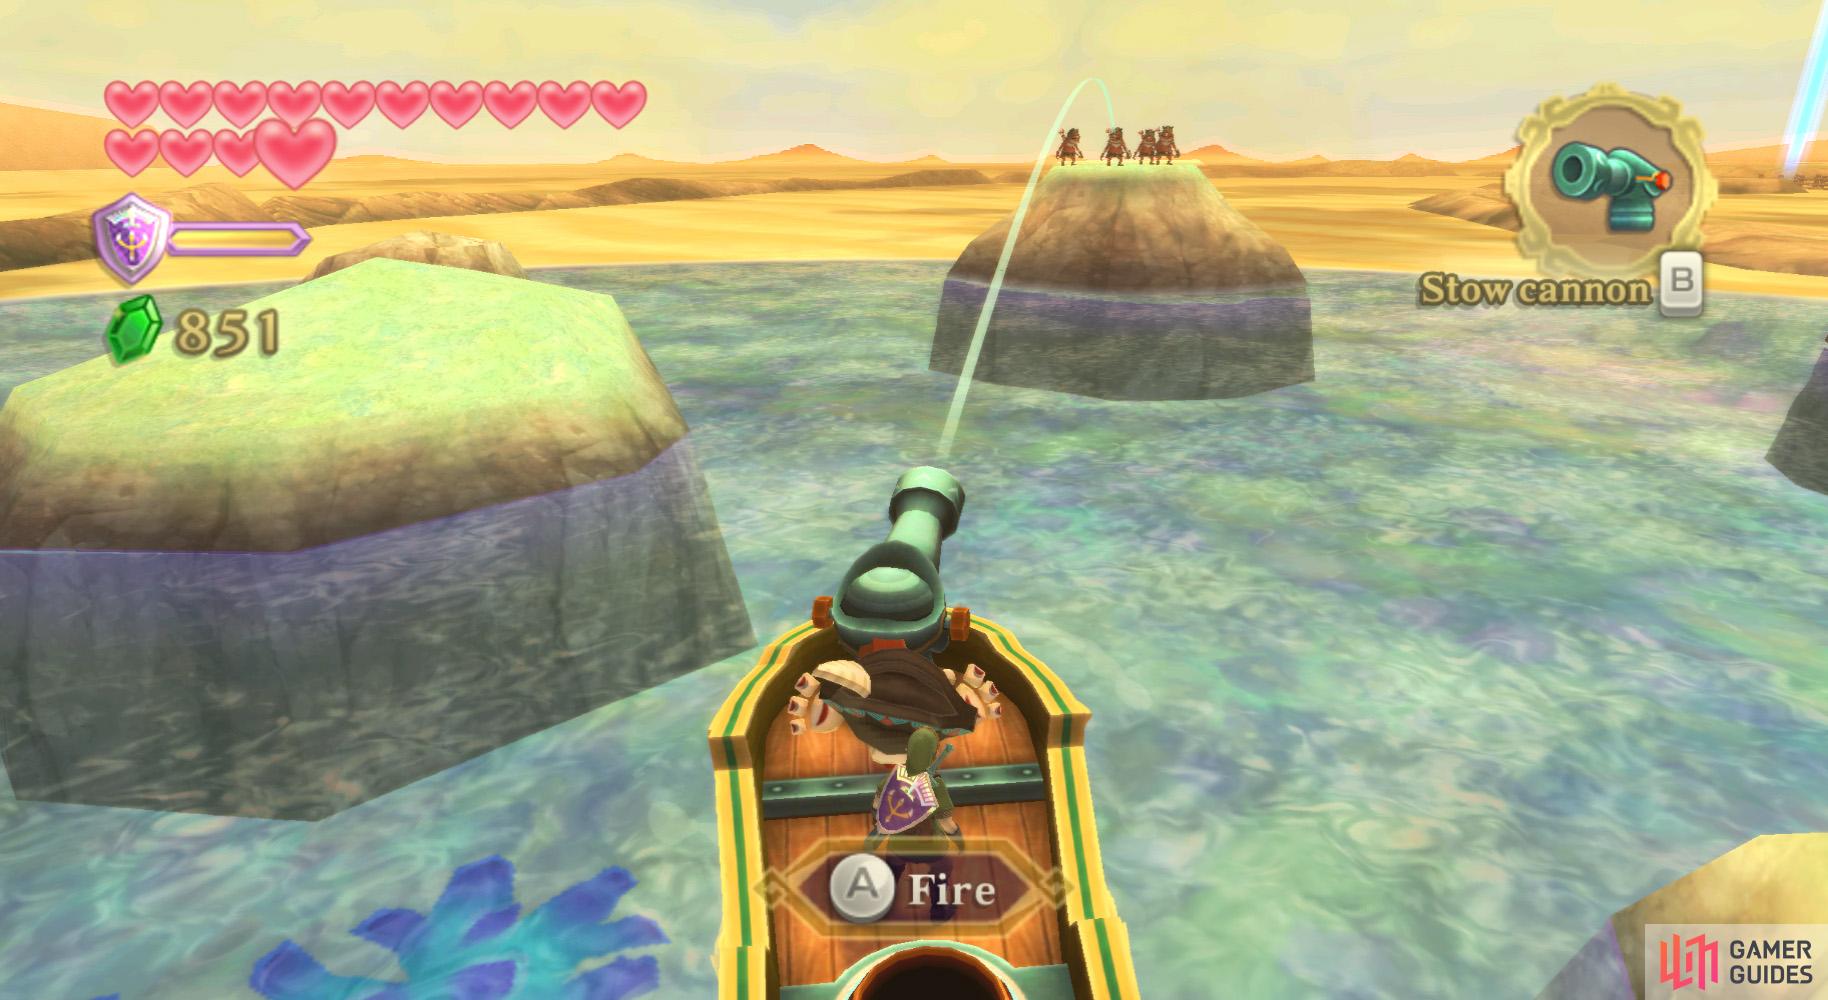
Monsters can be found in the sea… (left), …and on land. (right)
From the Skipper’s Retreat, start heading westward. As you do, be aware that you will encounter a few enemies. You can run them over with the boat (if they are on the water) or utilize the cannon (it shoots Bombs, so you don’t have to be precise).
Anyhow, proceed to the northwestern corner of the map to find the Shipyard. Once you arrive, get out of the boat.
Shipyard

(1 of 2) The Shipyard probably isn’t what you expect…
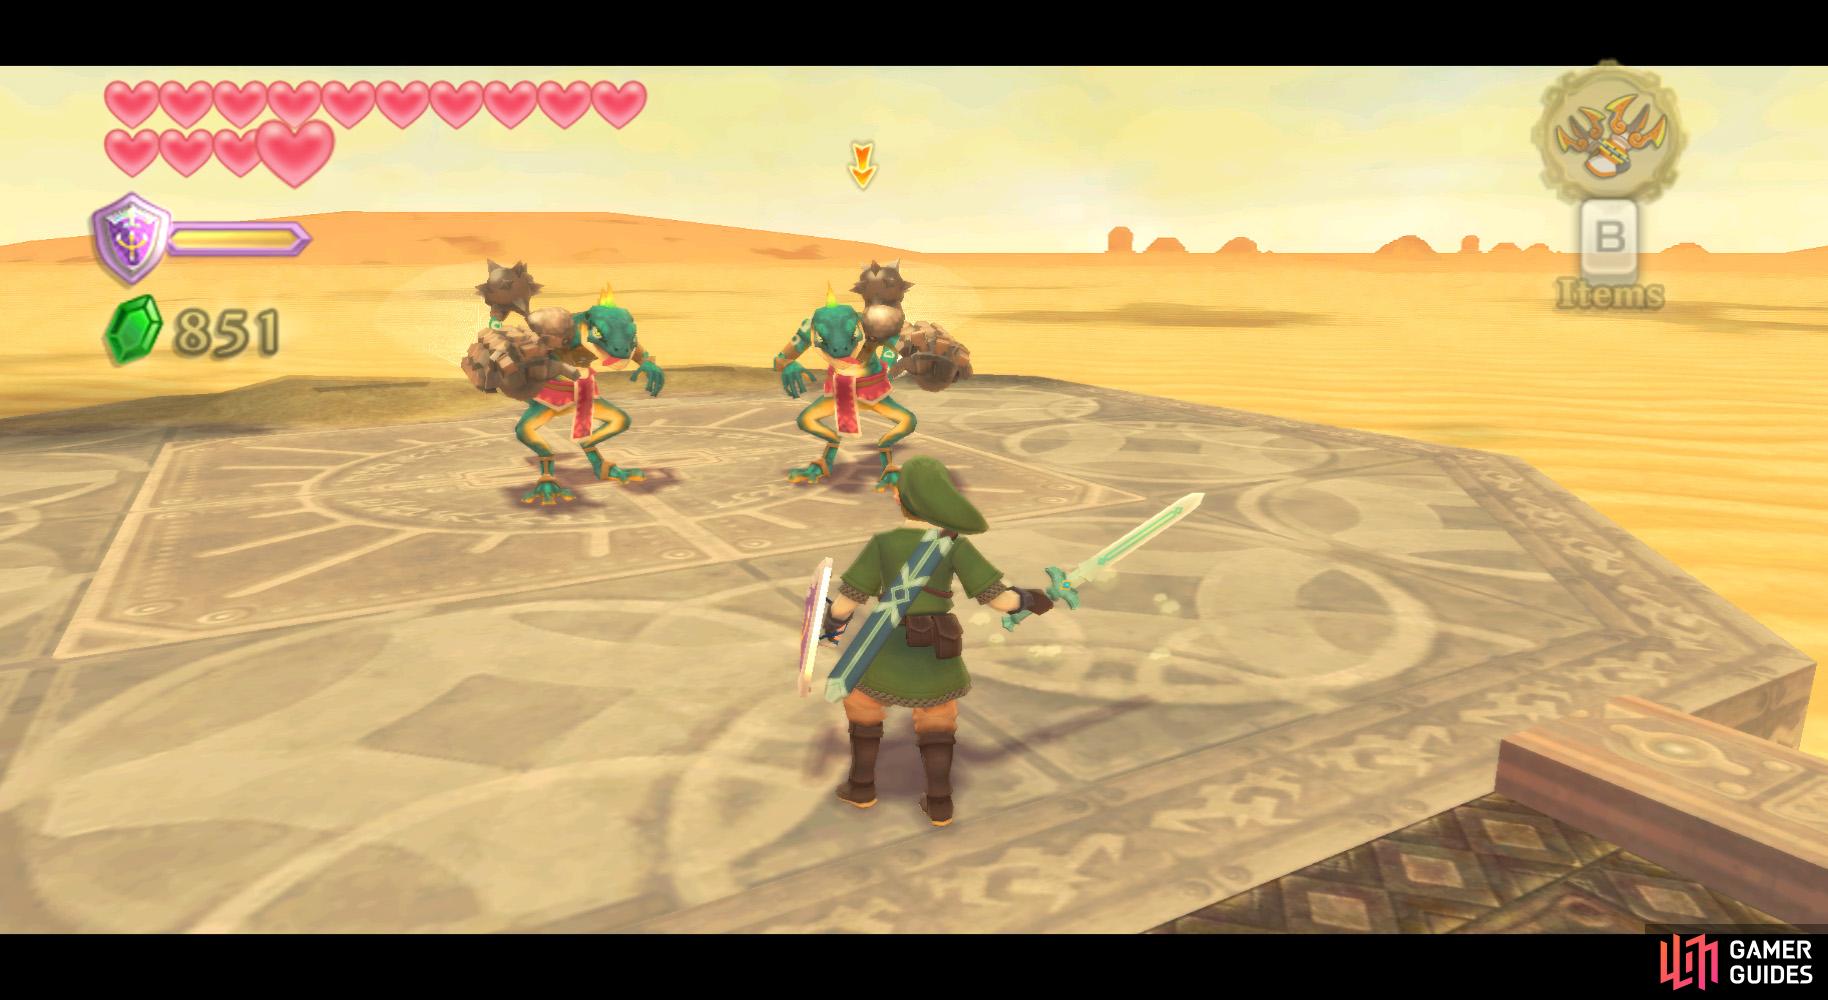
The Shipyard probably isn’t what you expect… (left), These Lizalfos should die quicker against your improved sword. (right)
Once you arrive, you’ll be notified that the main entrance is locked; however, the mine carts can utilized to find another way in. Save at the Bird Statue nearby, then go upstairs and east to find two Lizalfos.
Defeat both of them and continue upstairs to the first mine cart building. Speak with the Goron, as well as sit in a chair for heart healing. Once you learn the controls for a mine cart, get in.
Map
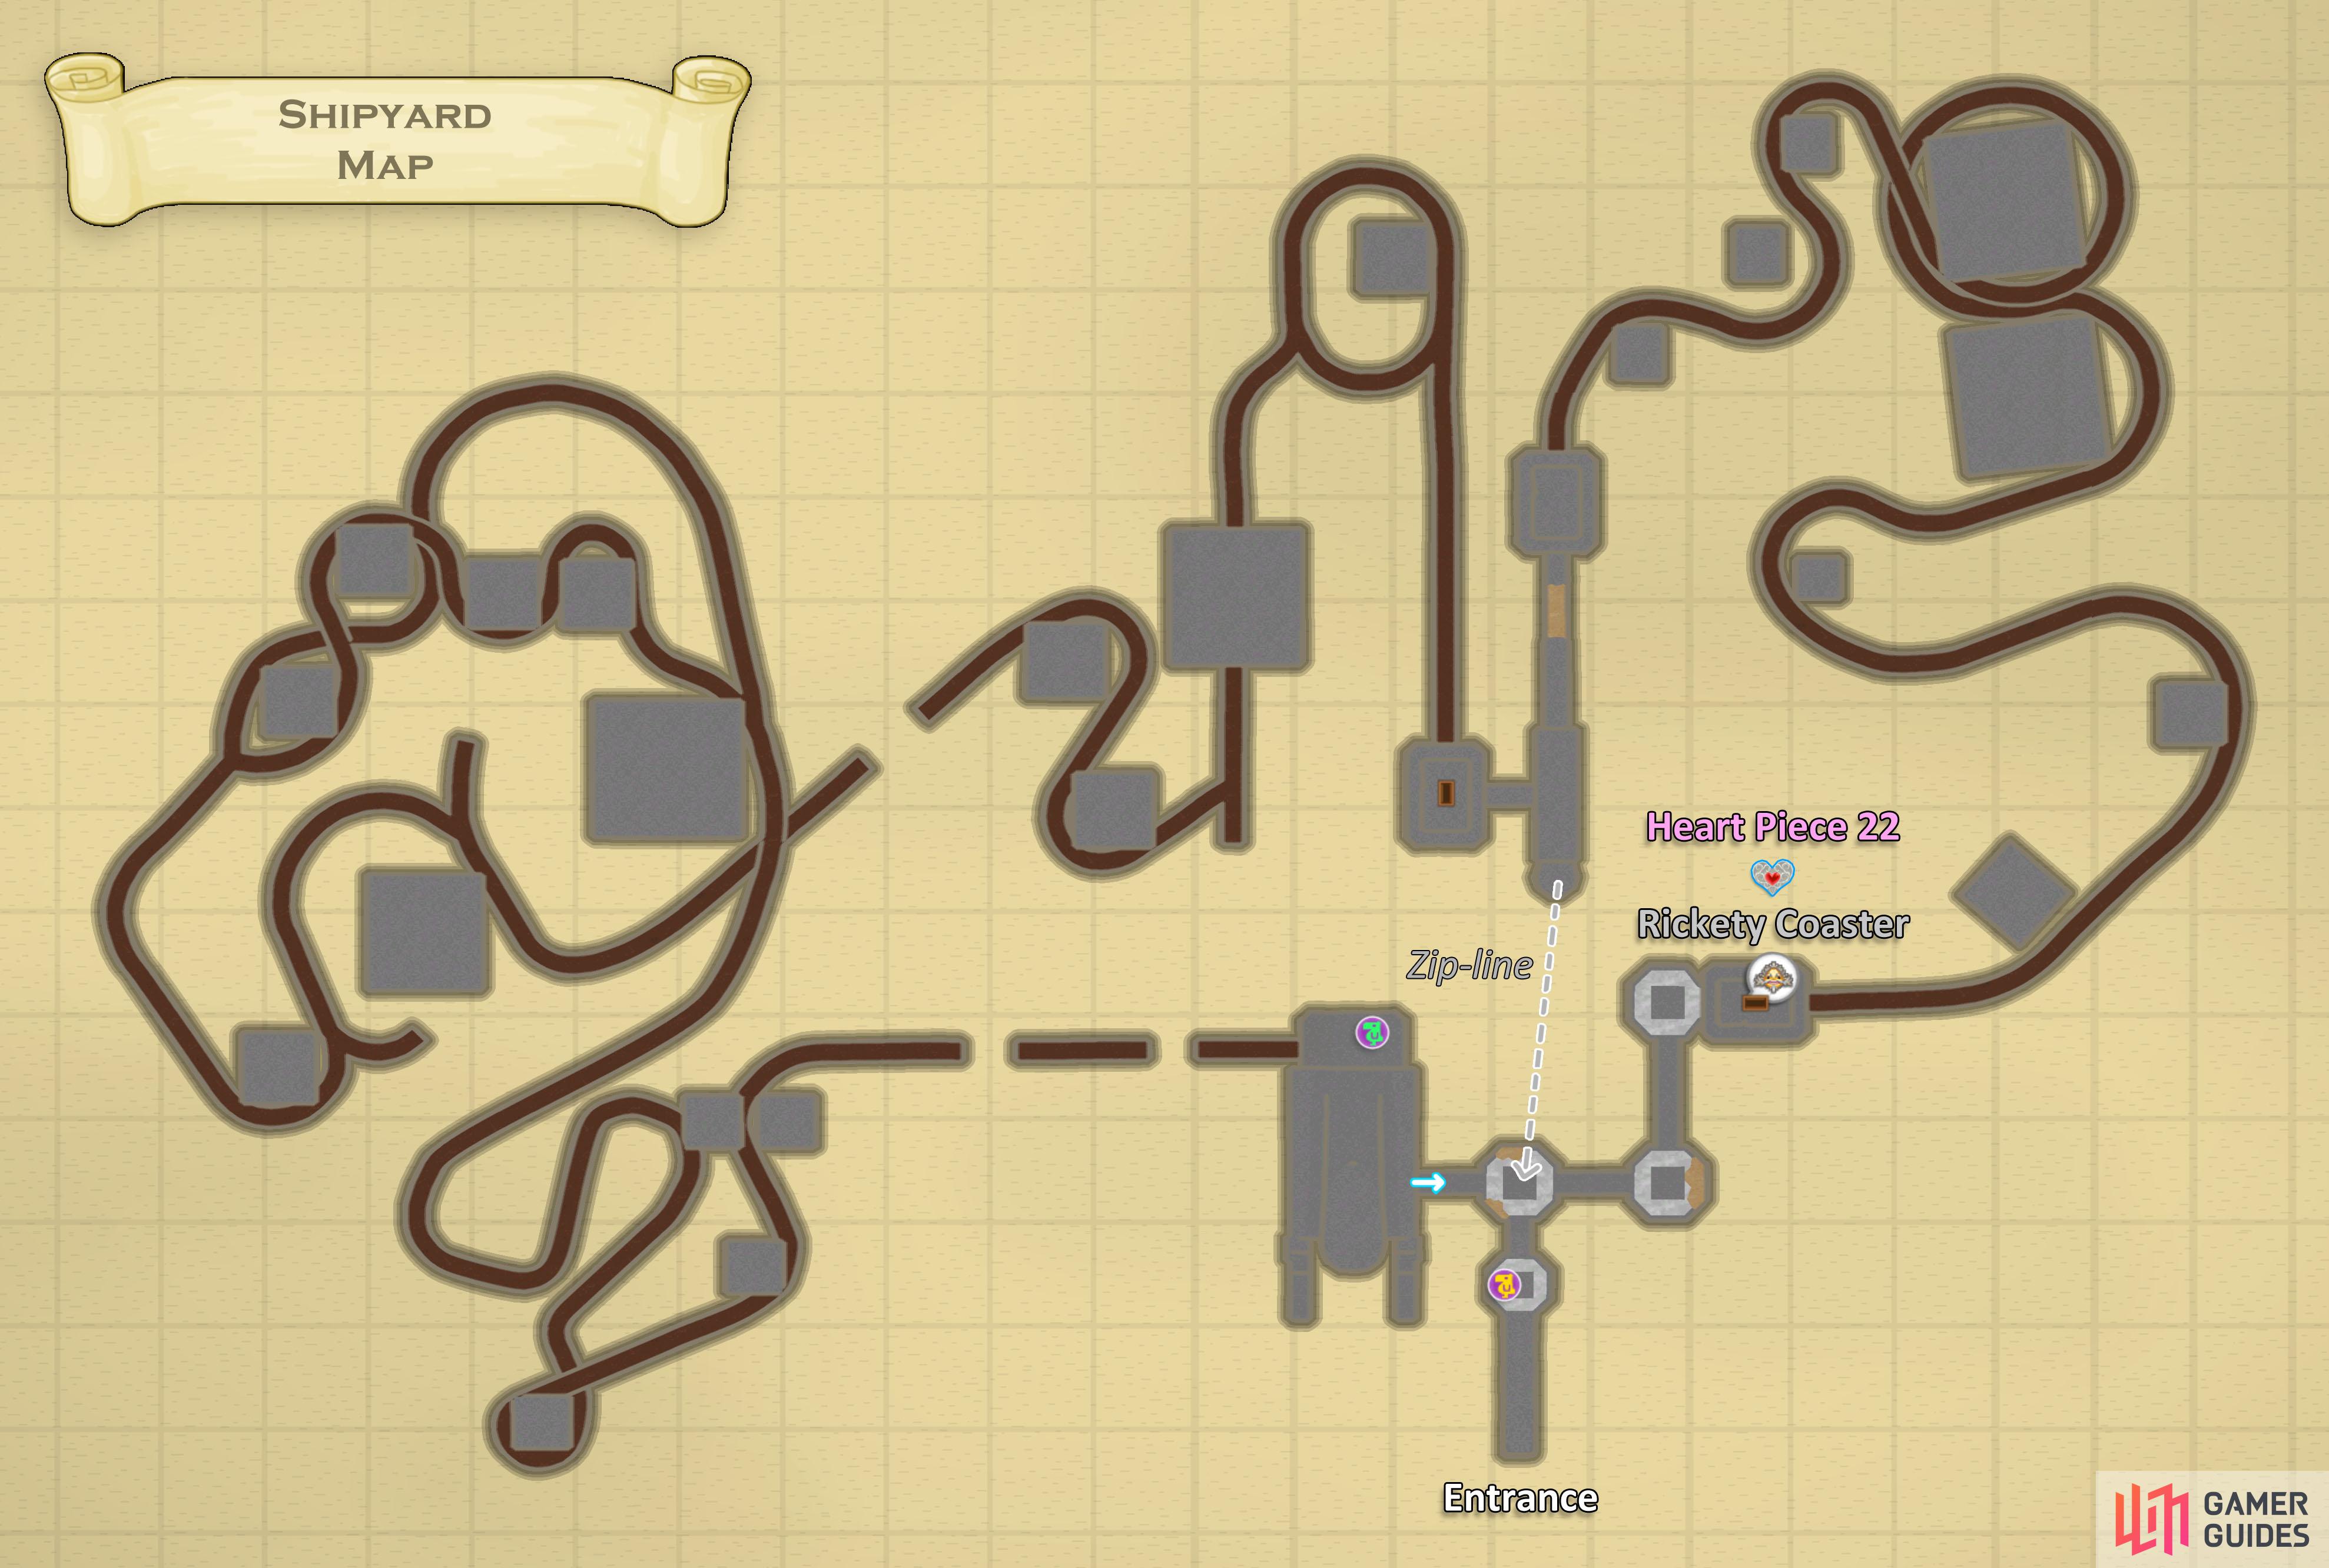
Map of the Shipyard.
To control a mine cart, you don’t have many options. The B button slows you down, tilting the Wii Remote left/right makes you lean left/right, and flicking the Wii Remote upwards makes you jump. You can get a speed boost by leaning into curves (ie. left curve means left lean).
I recommend doing so with every one of them - there have been times I’ve almost fell out of the cart and I was leaning into it. I probably would have fallen out had I not been leaning.
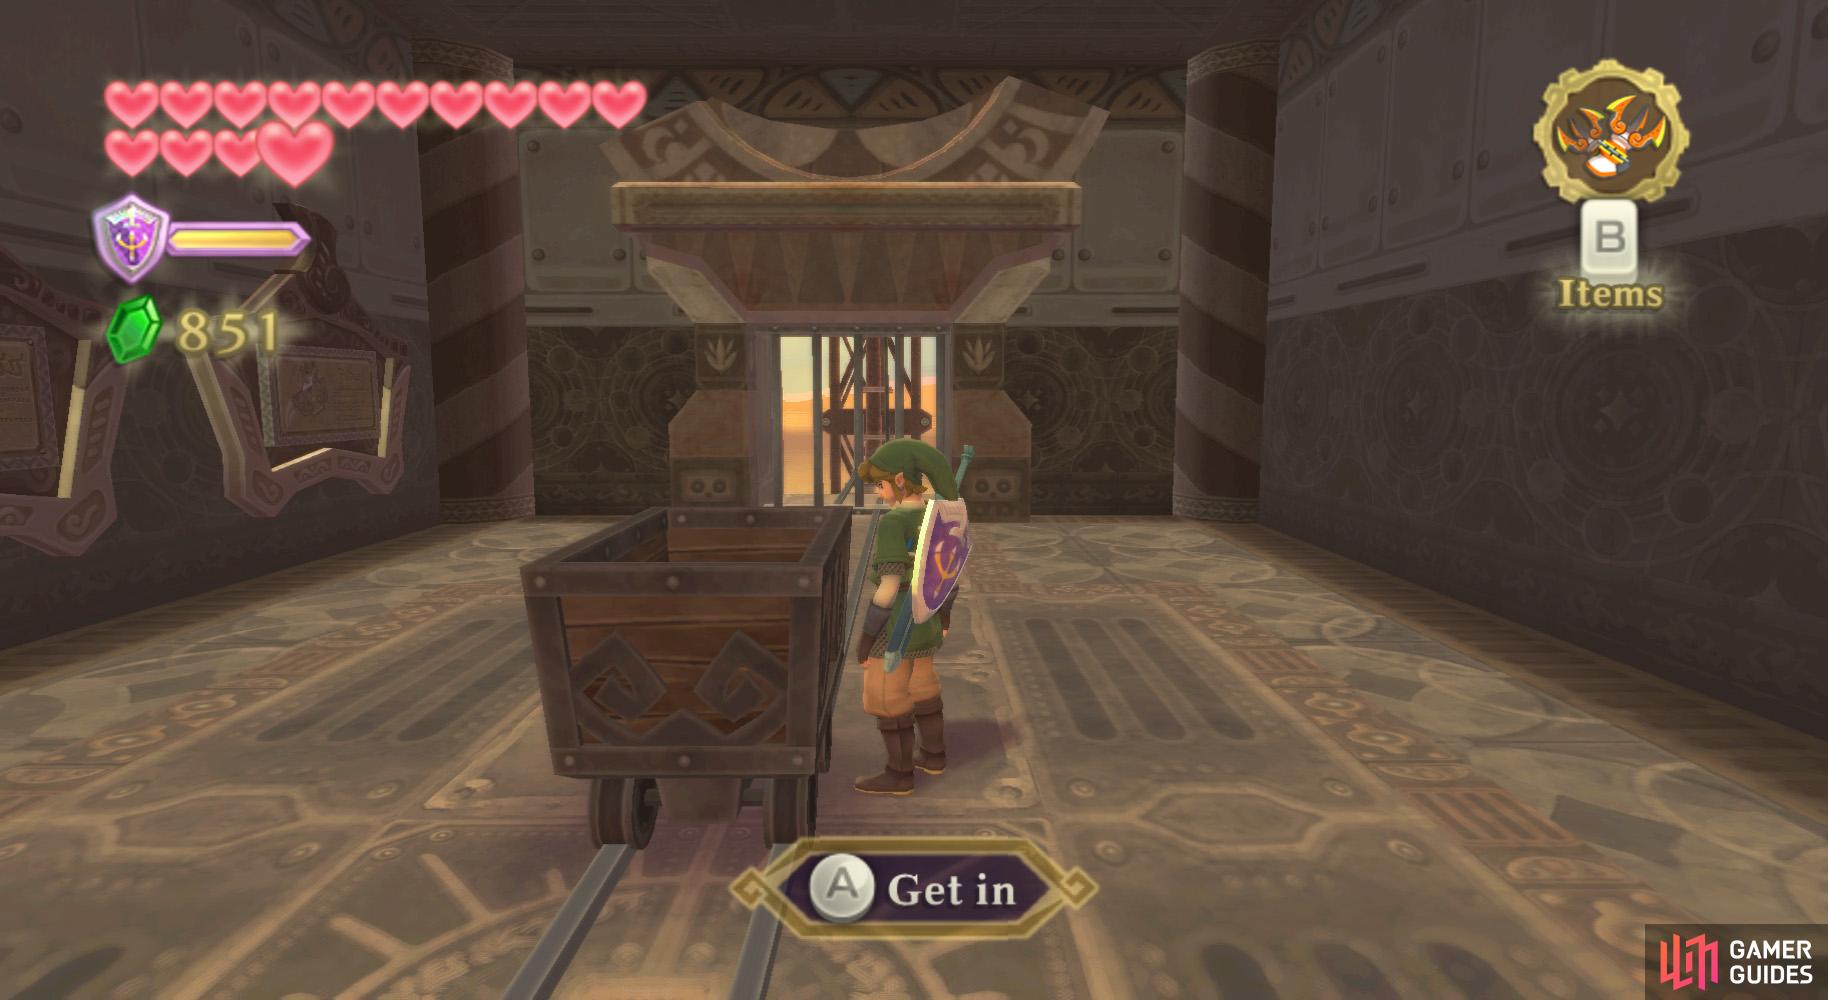
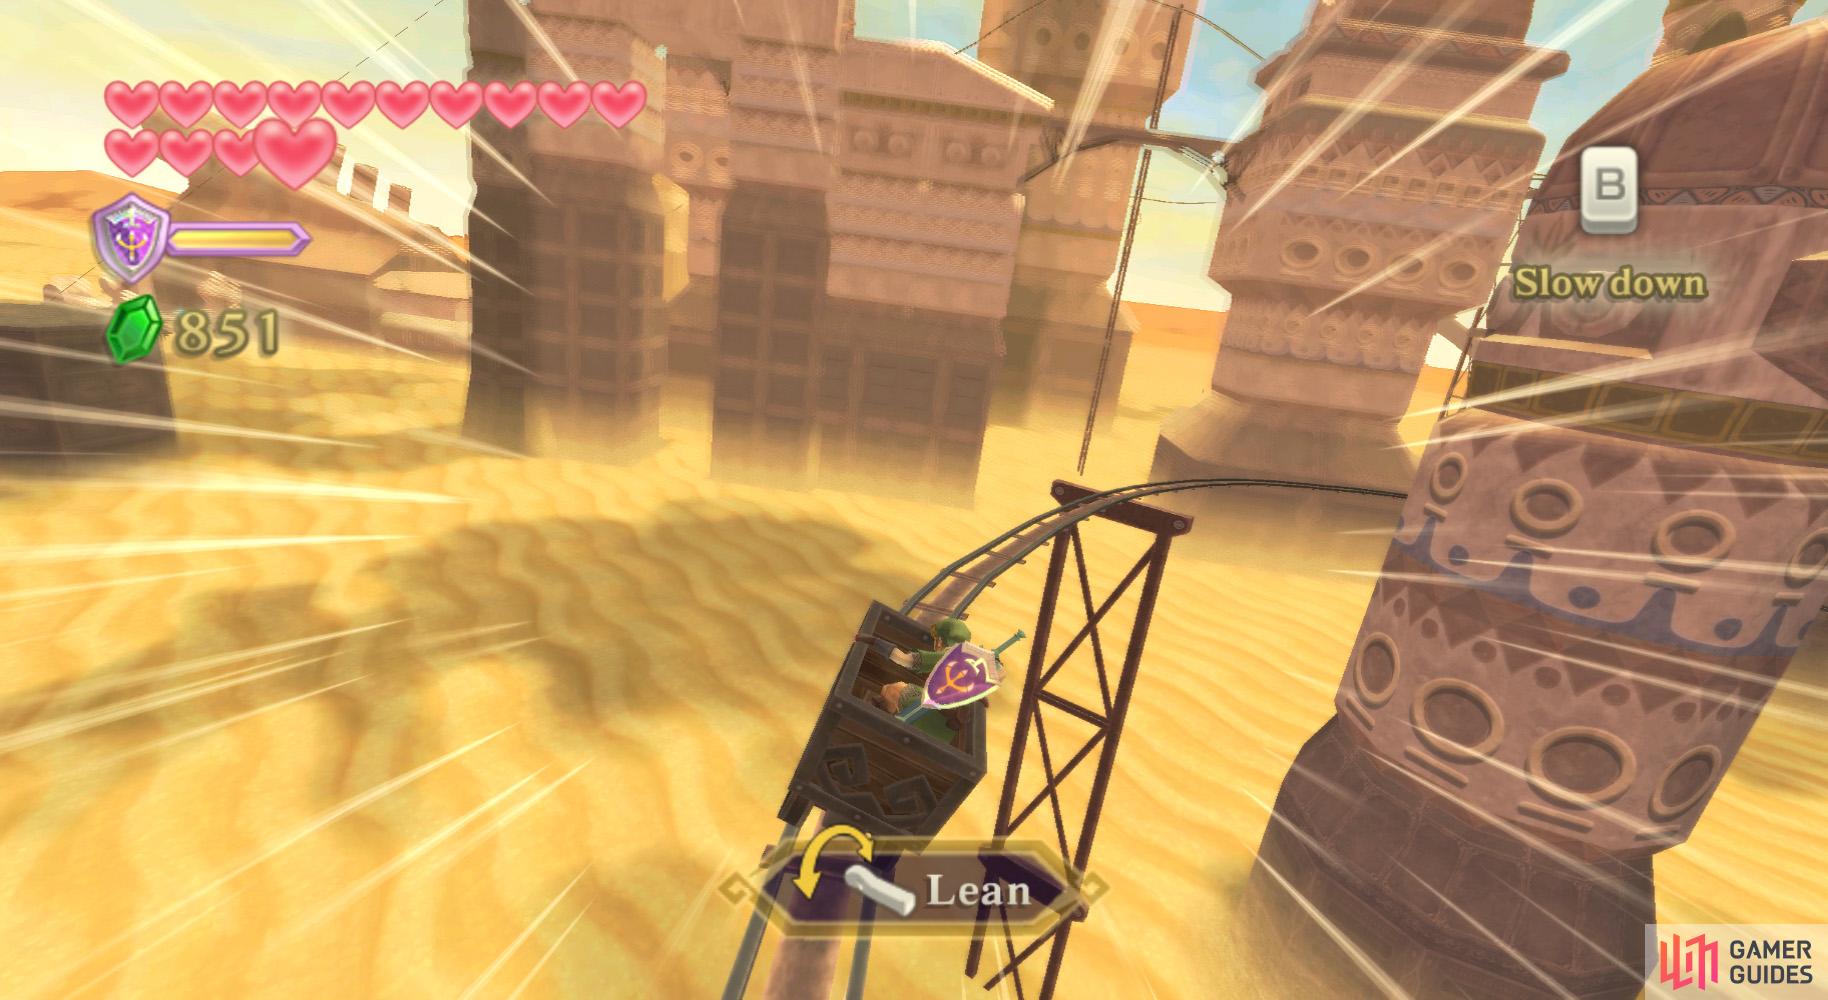
(1 of 2) Once you get in, you can’t get out!
Once you get in, you can’t get out! (left), Lean into the corners or you might go flying off the rails. (right)
Anyways, ride along the first mine cart track. It is more of a tutorial than anything.
At the end, exit the mine cart and go along the path. In the next room, you will have to slice up a bunch of Arachas. Nearby, you can find a zipline back to the area’s entrance, or take the other exit to the next mine cart track, which is much more complicated.
Throughout this track, you have some forks. One branch of a fork often ends in a dead end (in other words, retry the track). After the first loop, take the right branch (left to the right at the fork). Left immediately after the tunnel to avoid the dead end, then go across the speedy section and the jump.
Later, go left to avoid the dead end, then right after the wide curve to avoid another. The next branch will affect little - the left path is fast, long, and wide; the right path is faster, shorter, and has more tight curves.
At the end, heal any hearts you may need by sitting down in a chair, then go through the door nearby. In this room, drop down and blow away some sand from the central bulge. Ah, crap. Another one of these.
Boss: Moldarach

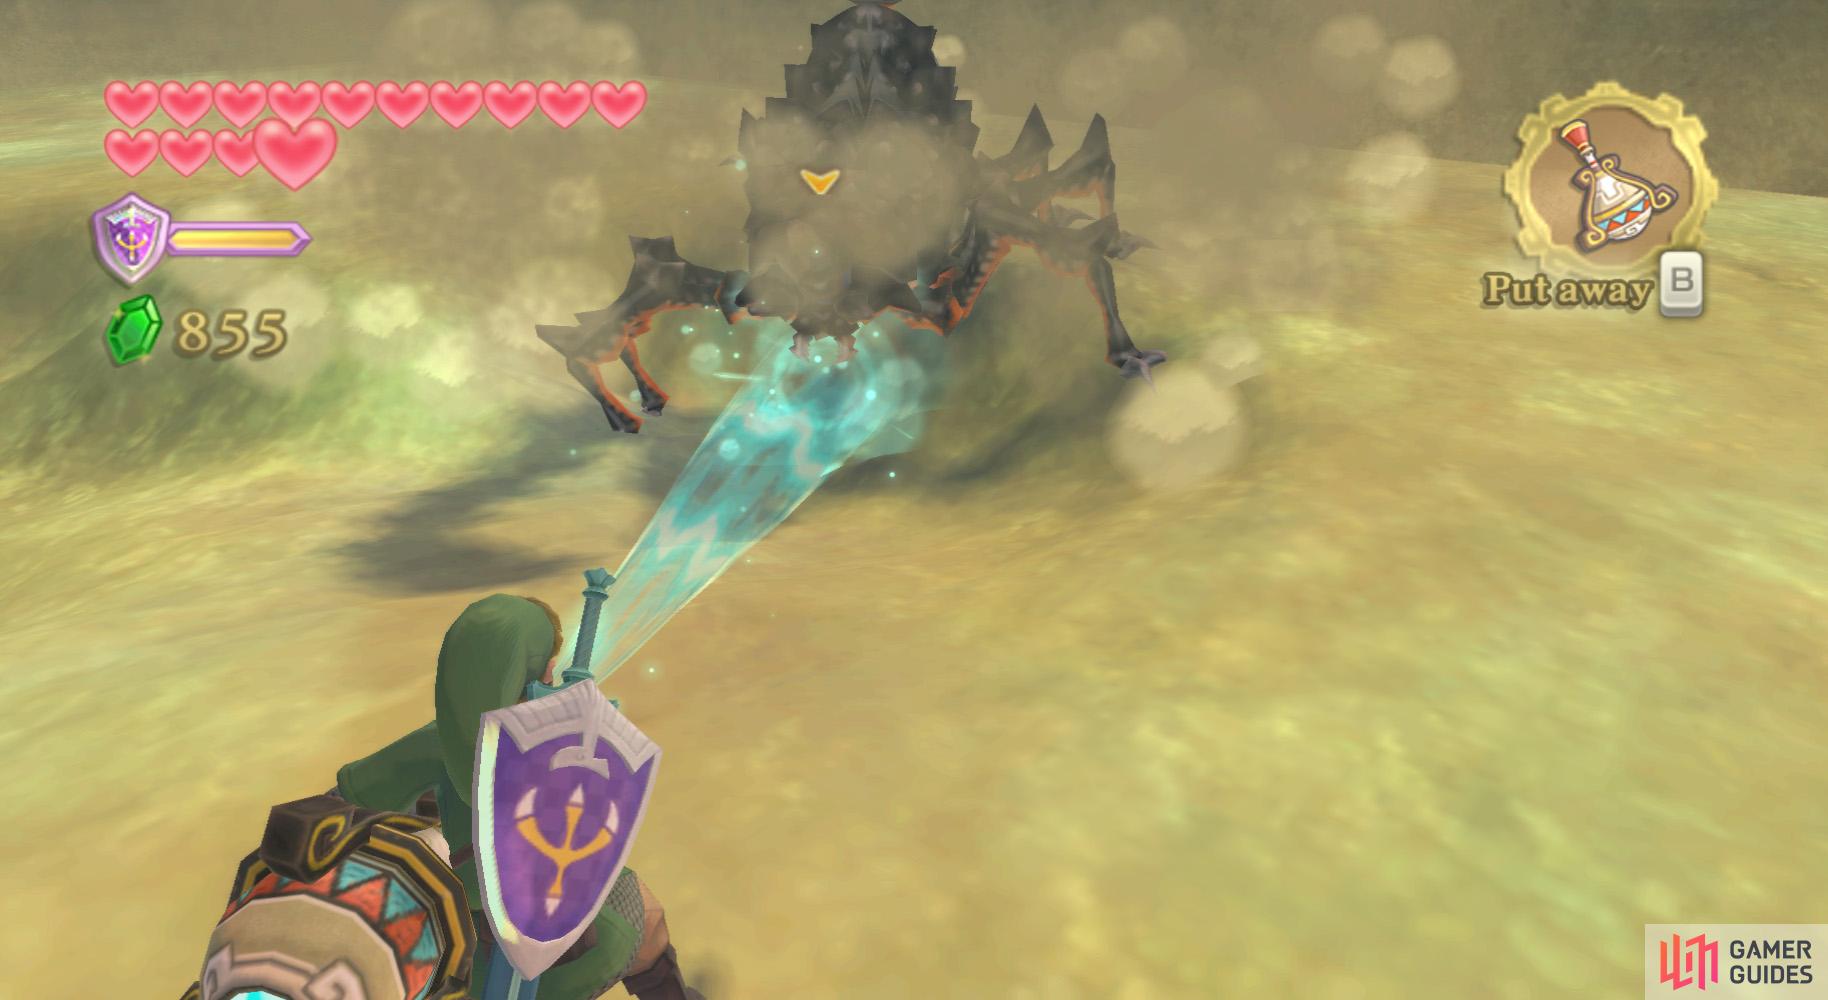
(1 of 2) Like the first time, hit the eyeballs at the correct angle.
Like the first time, hit the eyeballs at the correct angle. (left), Then “dig up” the boss with the Gust Bellows if it tries to hide. (right)
For the first part of the battle, you’ll initially be fighting the boss’s two pincers. The pincers’ weak points are the eyeballs within. You’ll have to hit the eye at a certain angle when the pincer is open – the angle is pretty easy to guess at, and the game is rather generous with this.
If you notice a red eyeball at any point, back off or you’ll be hit with a tail sweep attack. Continue hitting the claws until both are destroyed. Additionally note that the boss may, with one pincer left, use its tail to hit you from above.
After destroying both pincers, the real fight begins. You’ll notice a third eyeball open up where, I guess, the boss’s head is. You can only hit this one with a thrust. After a few hits, the boss will dig into the sand.
Now, you’ll be able to note where the boss’s body is. Try to stay away from there, or you’ll be hit with its tail. Use the Gust Bellows to blow away the sand near the boss to eventually bring it aboveground again. Continue to thrust at its eye and later dig it up until it is defeated.
After defeating it, Fi will report that nothing is likely to be found here and the door opens. May as well go through the door. Outside, speak with the robot and you’ll learn that the last place to look at would be the Pirate Stronghold. Set sail for it - it is north/northeast of your current location.
Heart Piece 22
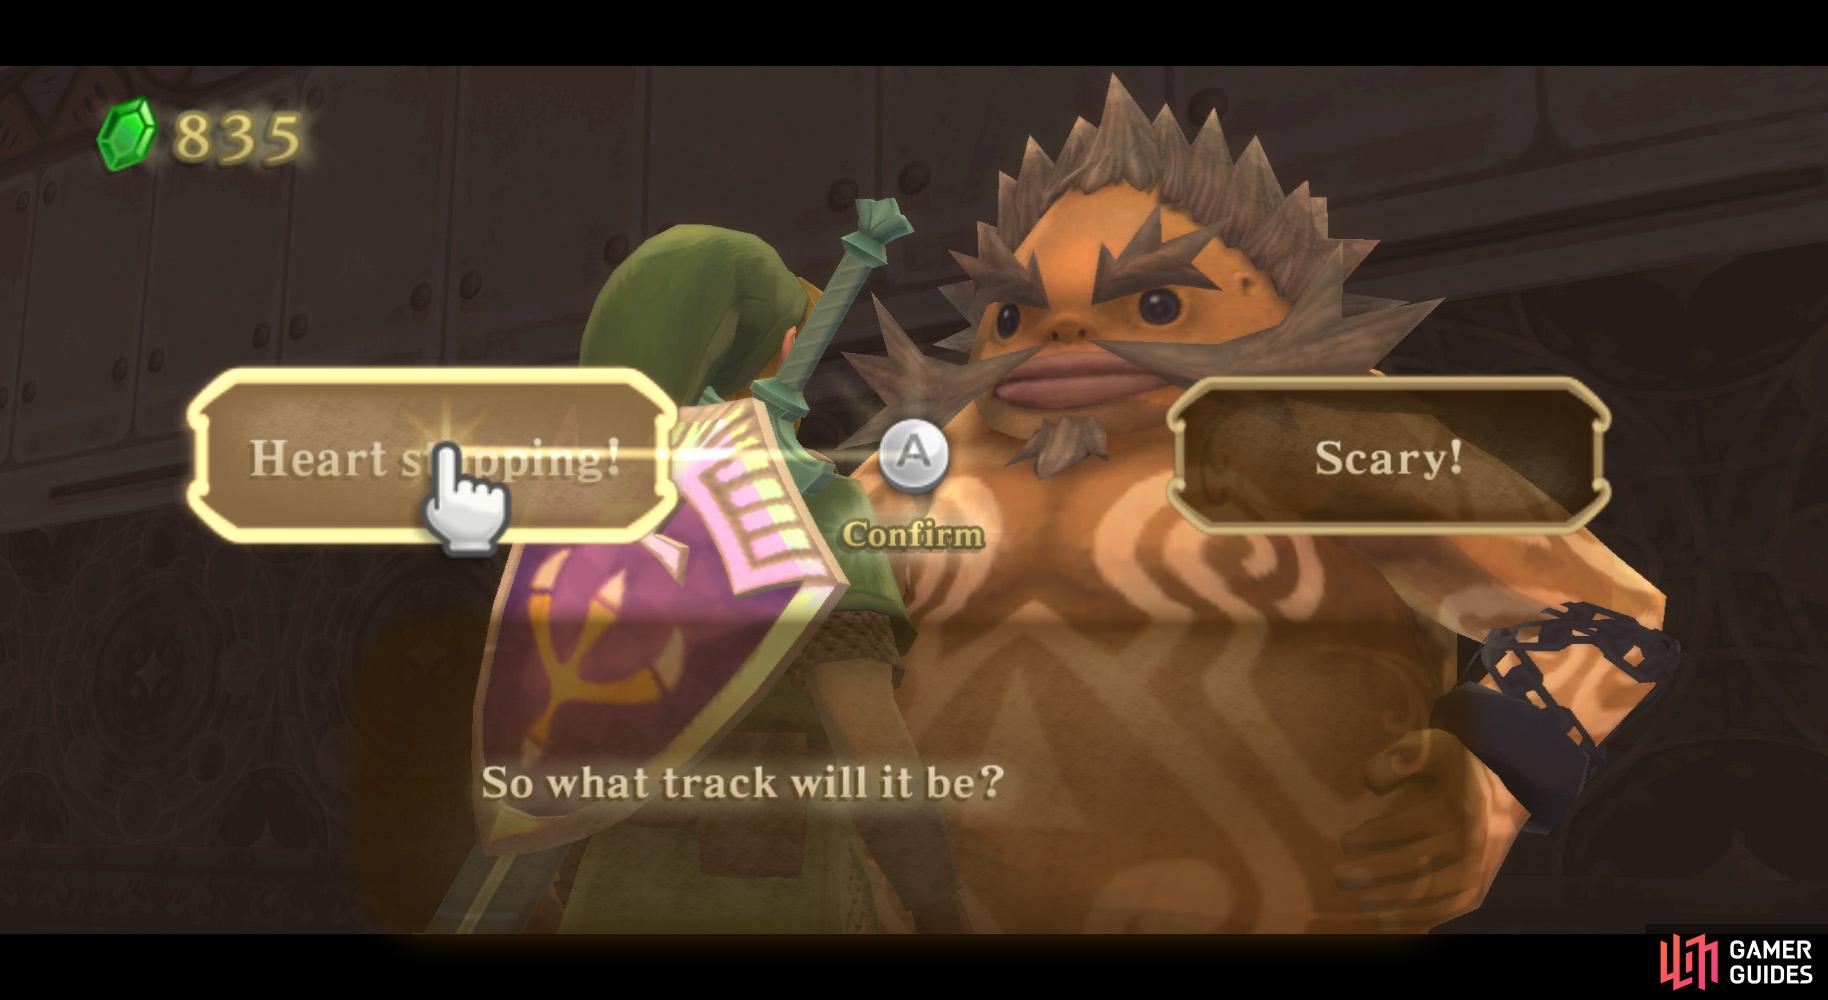
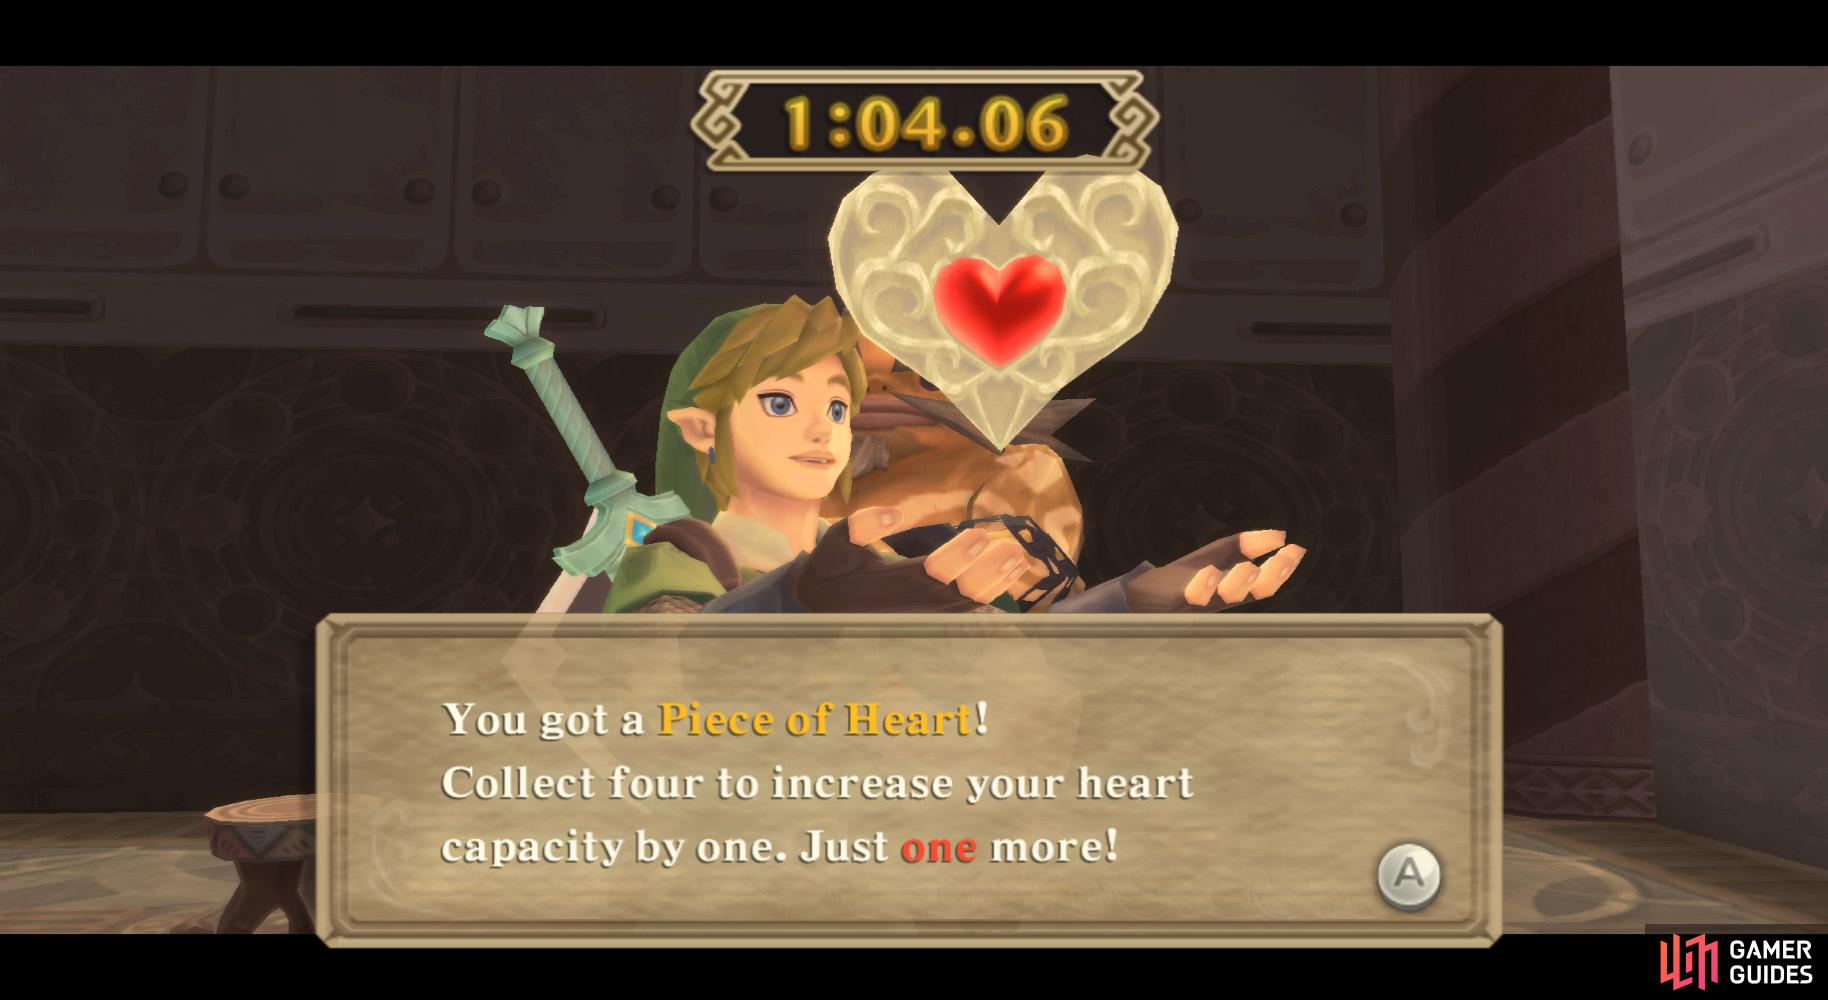
(1 of 2) You need to finish the “Heart-stopping” course in less than 1 minute and 5 seconds.
You need to finish the “Heart-stopping” course in less than 1 minute and 5 seconds. (left), (right)
Otherwise, if you’re still in the mood for some mine cart riding, go back and speak to the Goron near the entrance. Choose the “Heart-Stopping Course”. This is the same as the second mine cart journey you took. Anyway, aim to finish within 1 minute and 5 seconds.
It can take a few tries to get a fast enough time (or stay on the track…). Make sure to lean during every corner you can and try to flick upwards before a jump. Also, you must go along the (shorter, but harder) path on the right near the end. Beat the time and you’ll receive Heart Piece 22.
 Sign up
No Comments