
Eldin Volcano
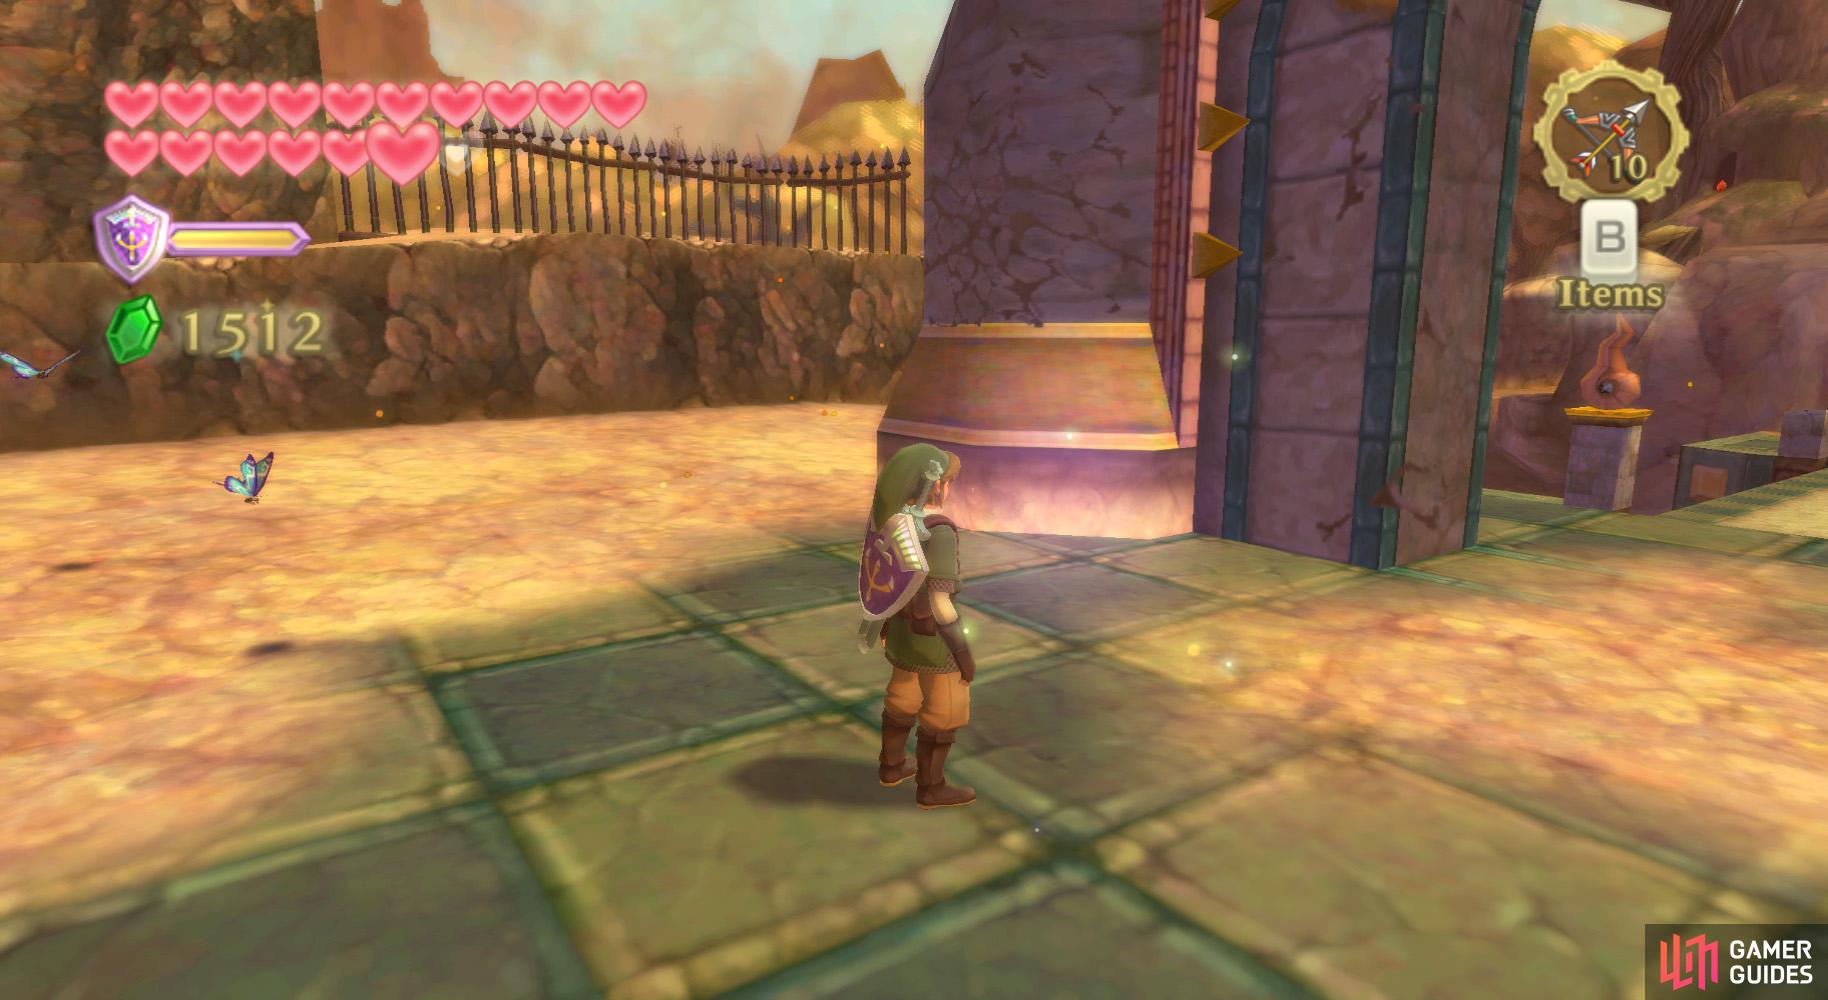
(1 of 2) Another trial gate conveniently located near a bird statue.
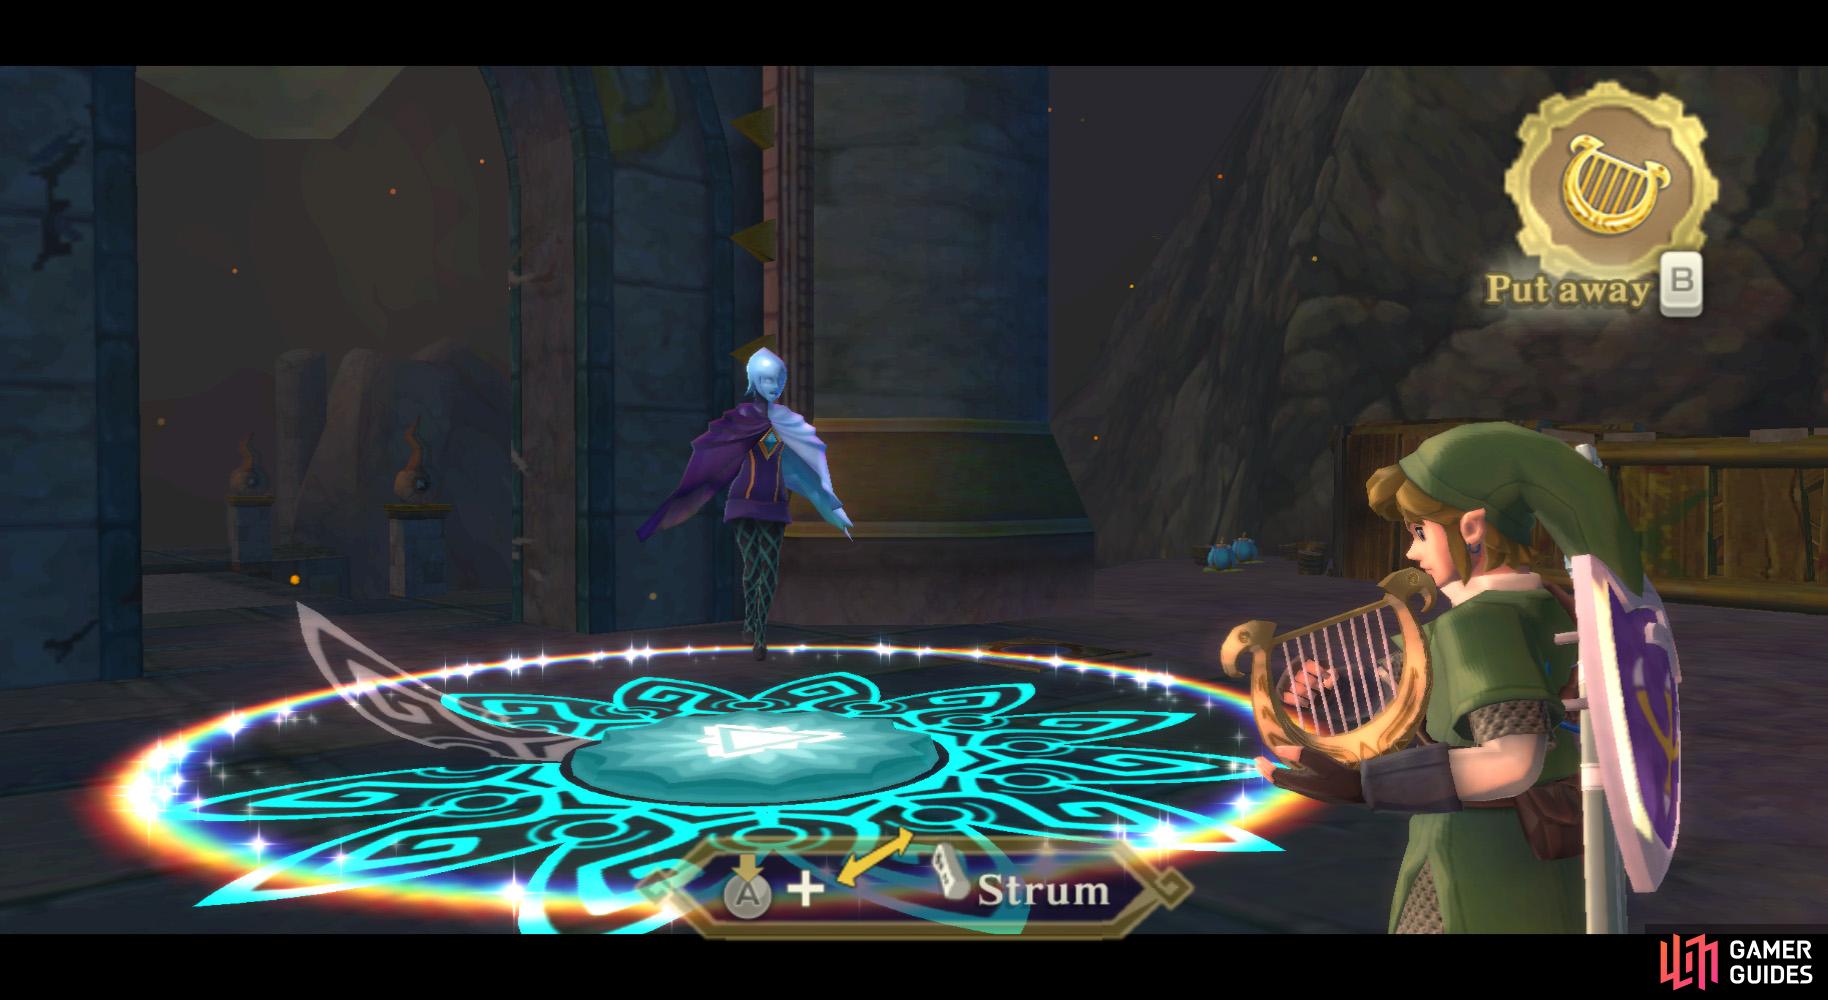
Another trial gate conveniently located near a bird statue. (left), Strum your harp to open the path to the silent realm. (right)
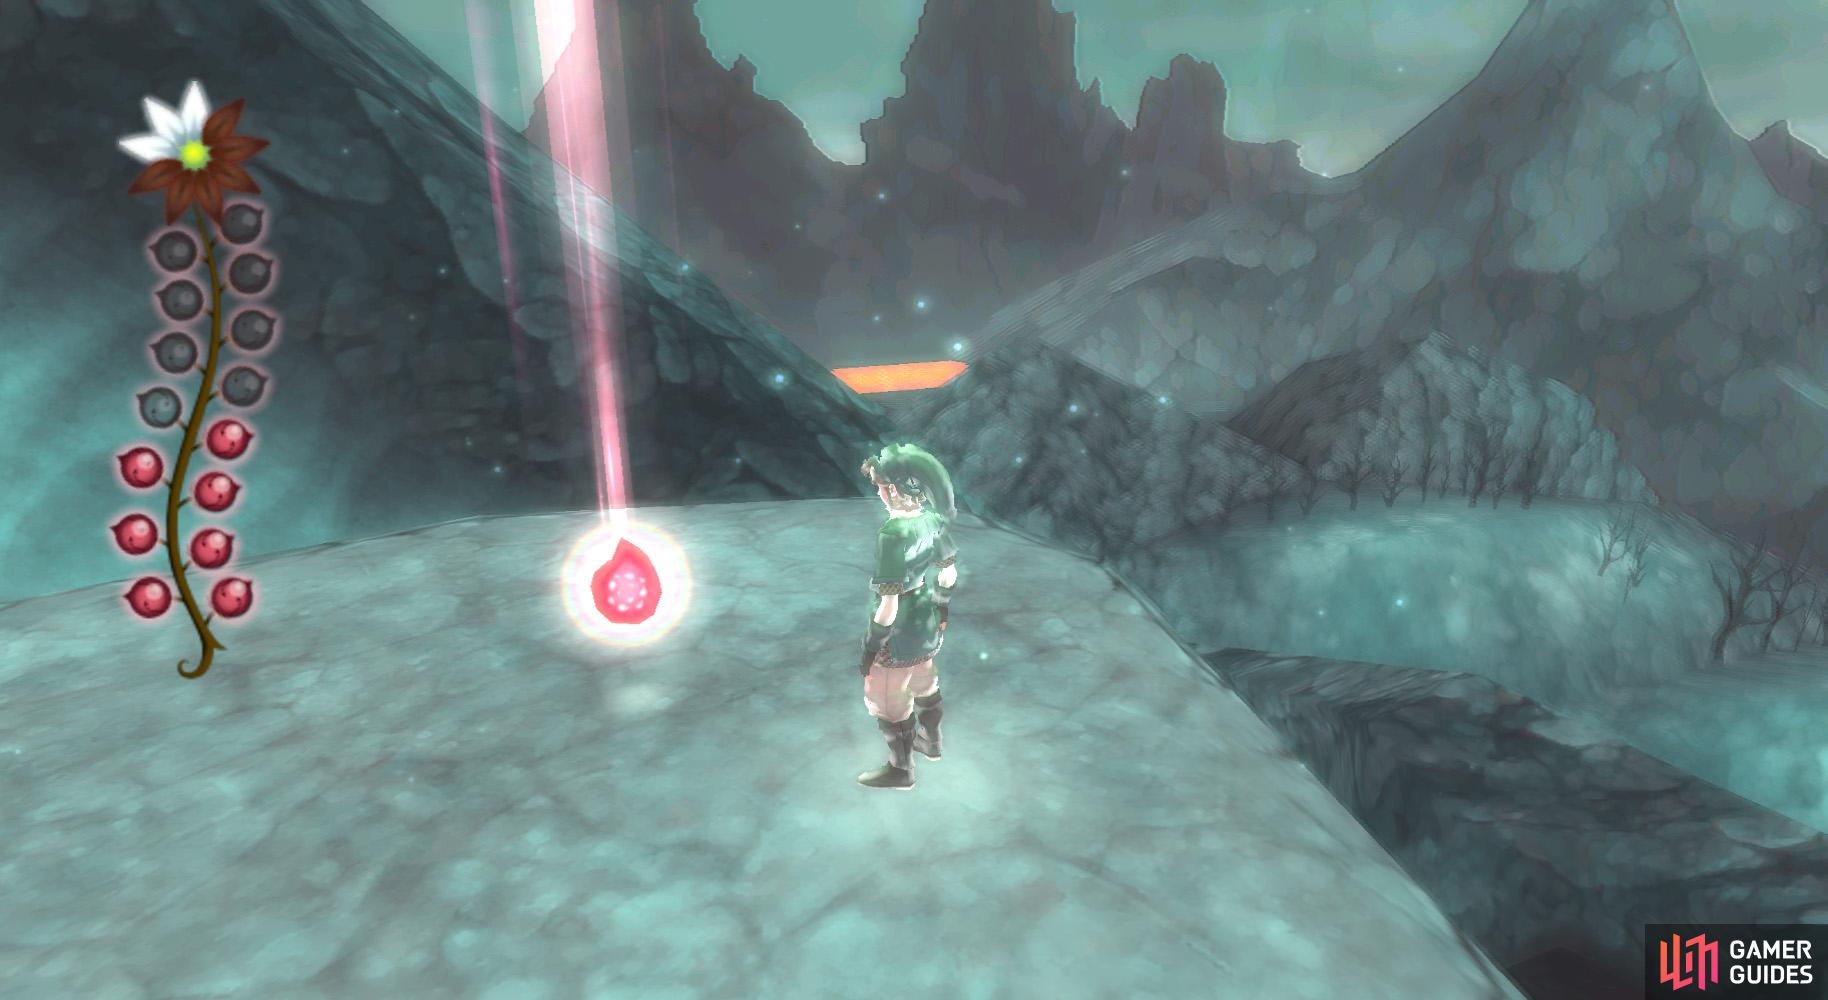
When you arrive, descend to the “Volcano Ascent” Bird Statue.
Once you land, the Blessed Butterfly group should be nearby. Catch a few if you want, then begin playing the Goddess Harp. When prompted, start playing in time with the circle of light as before, then thrust your sword into the ground for your next Silent Realm!
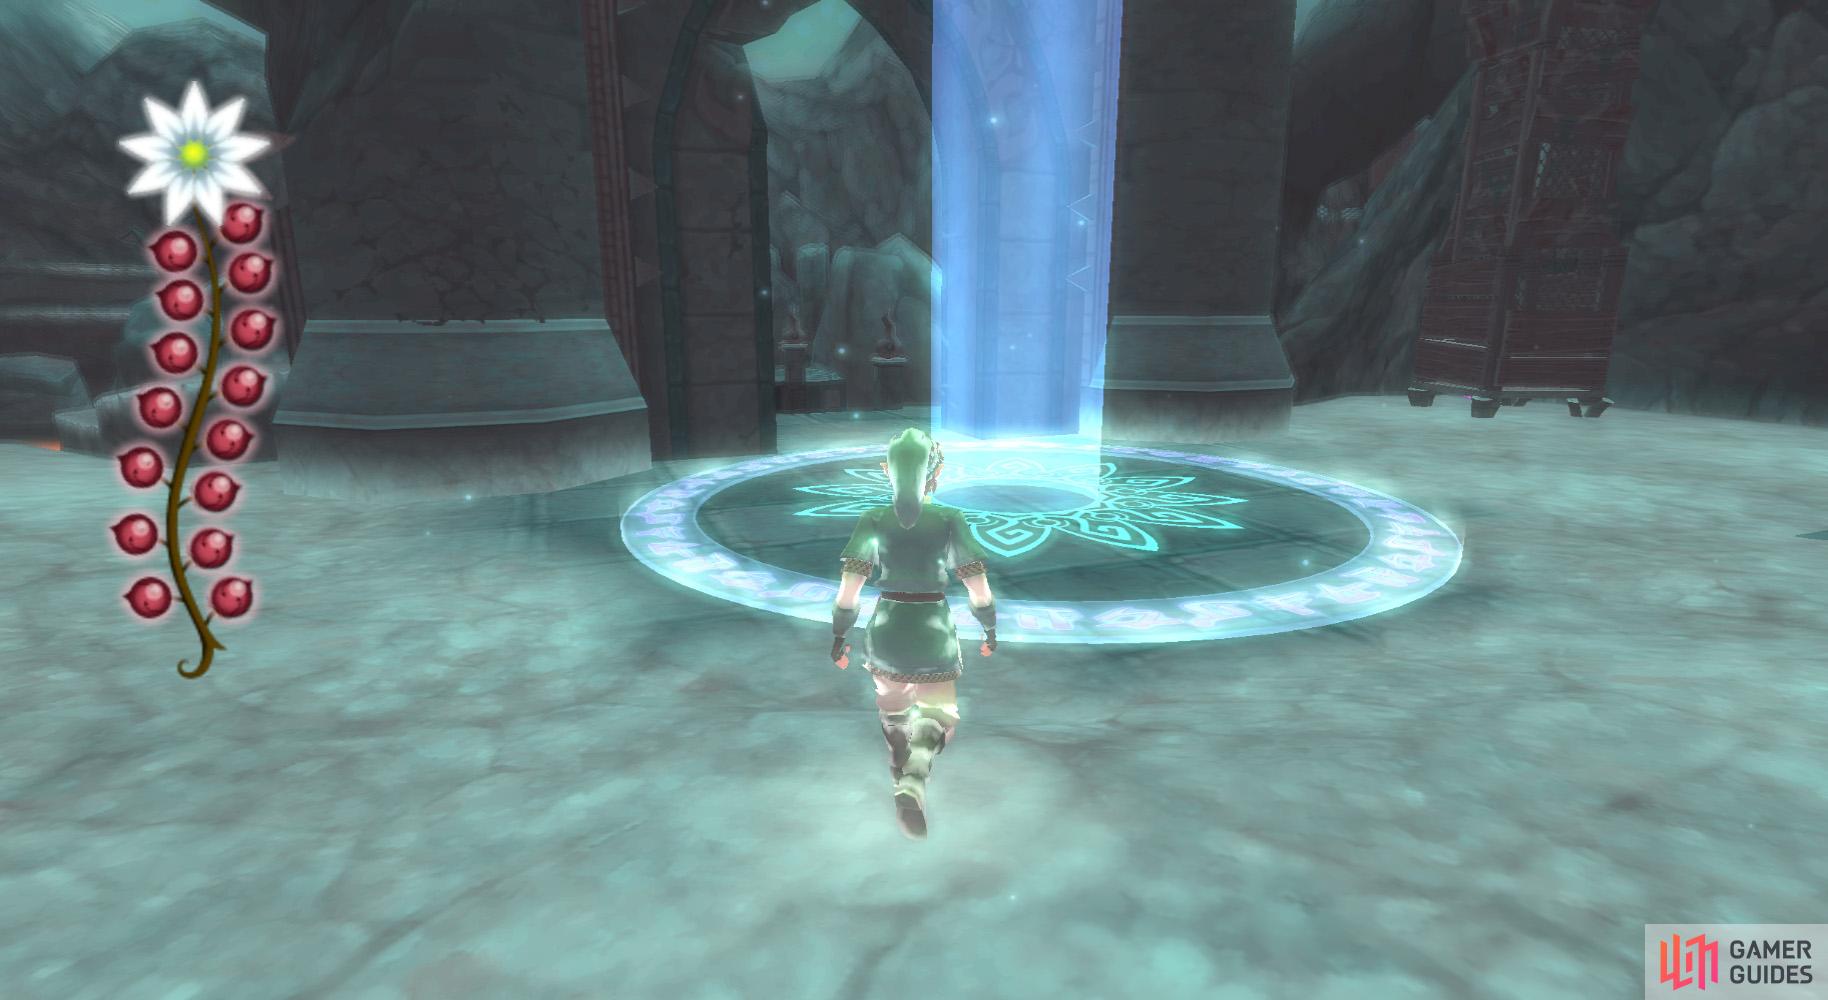
Din’s Silent Realm
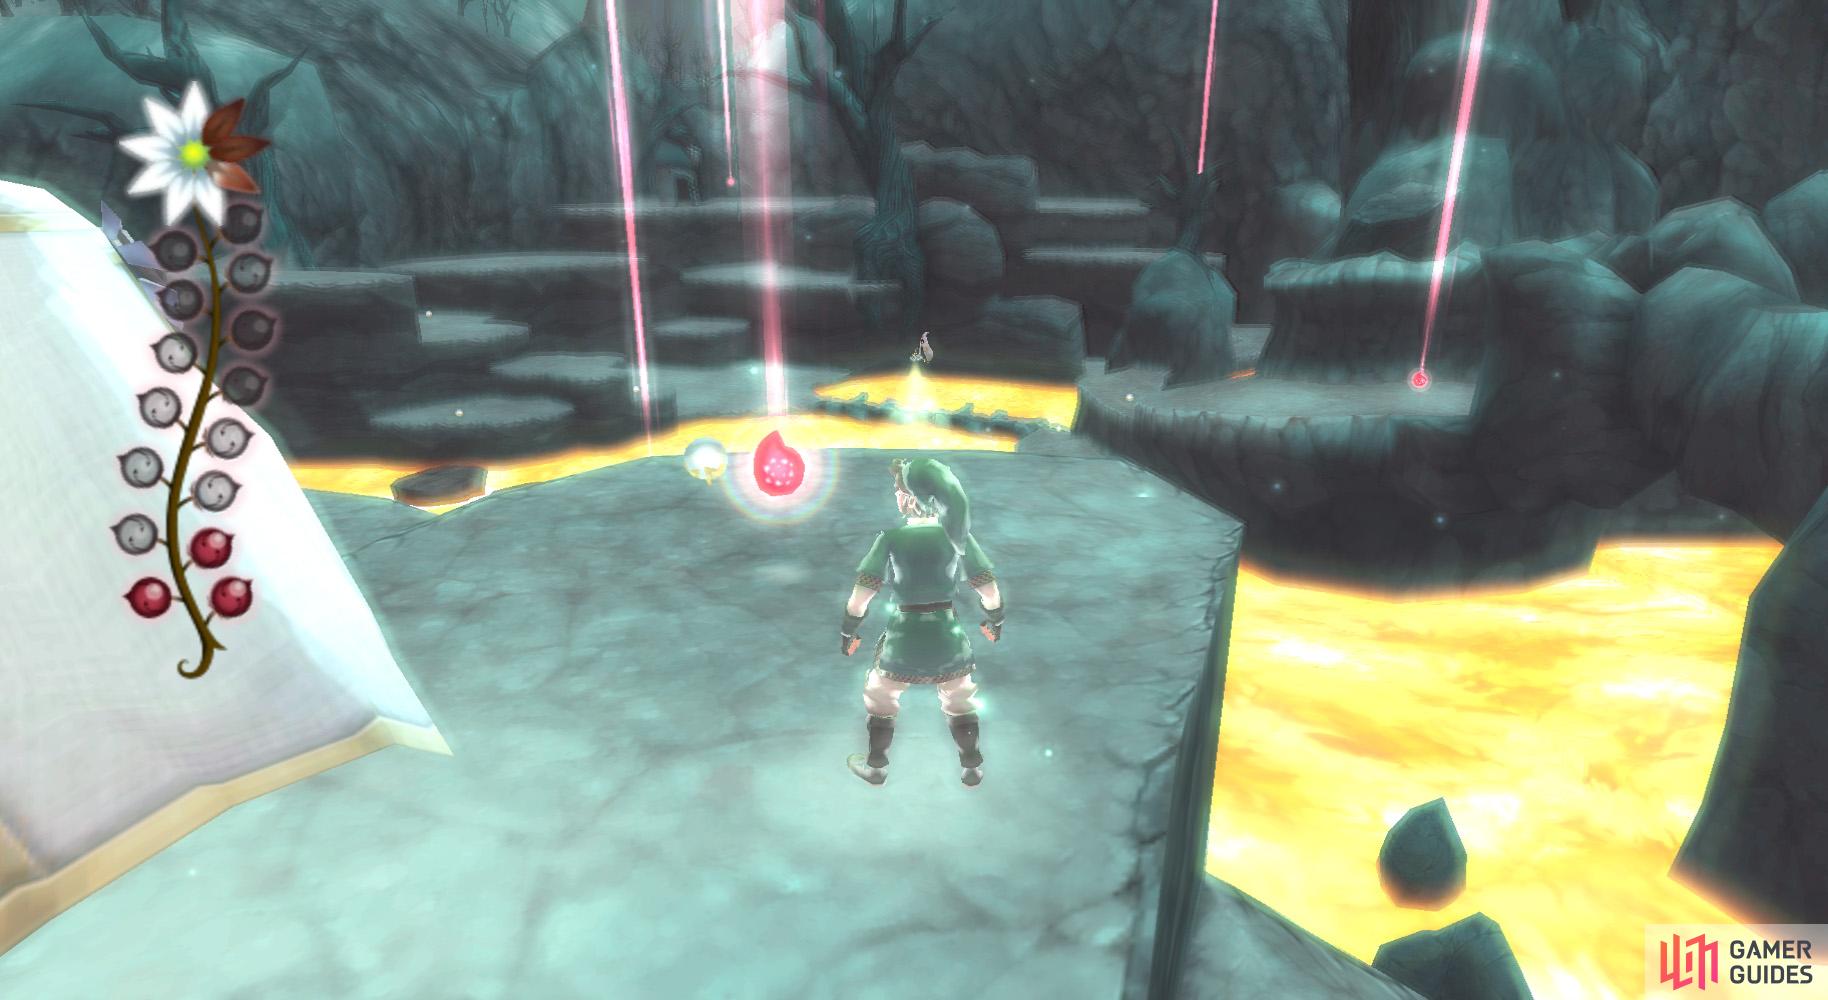
(1 of 2) There are a few tricky parts in this silent realm, but you can do it!
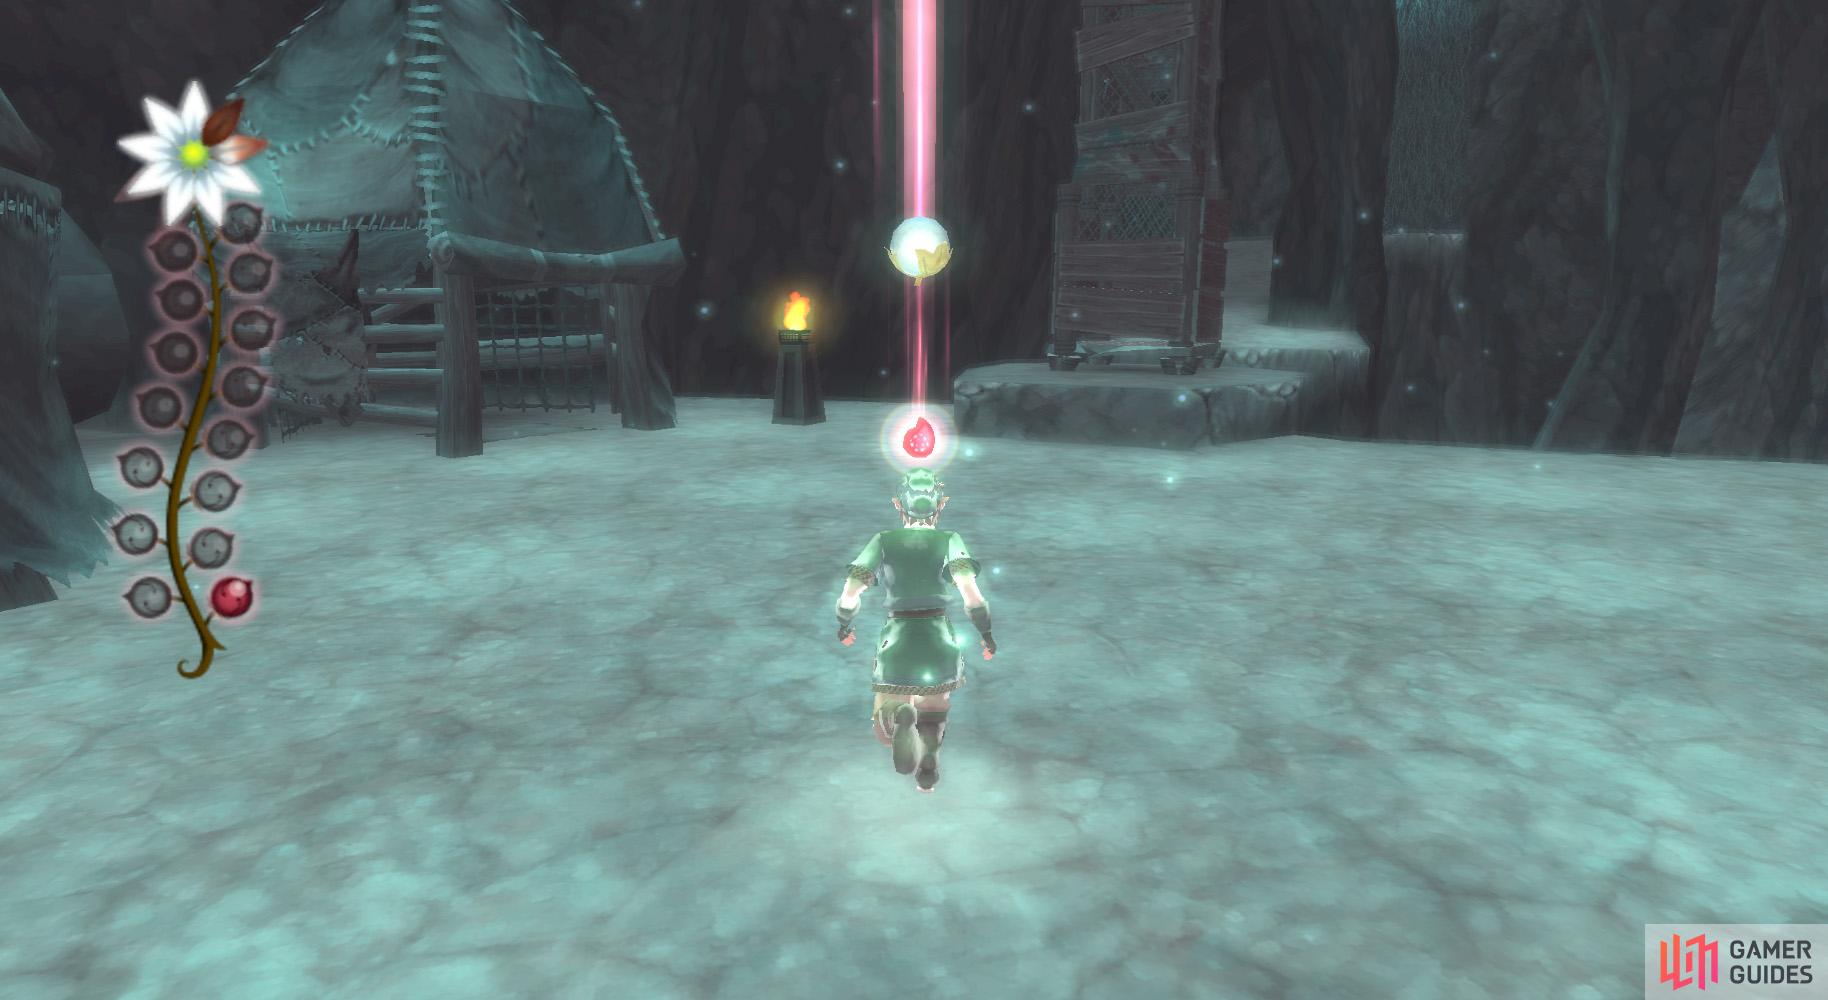
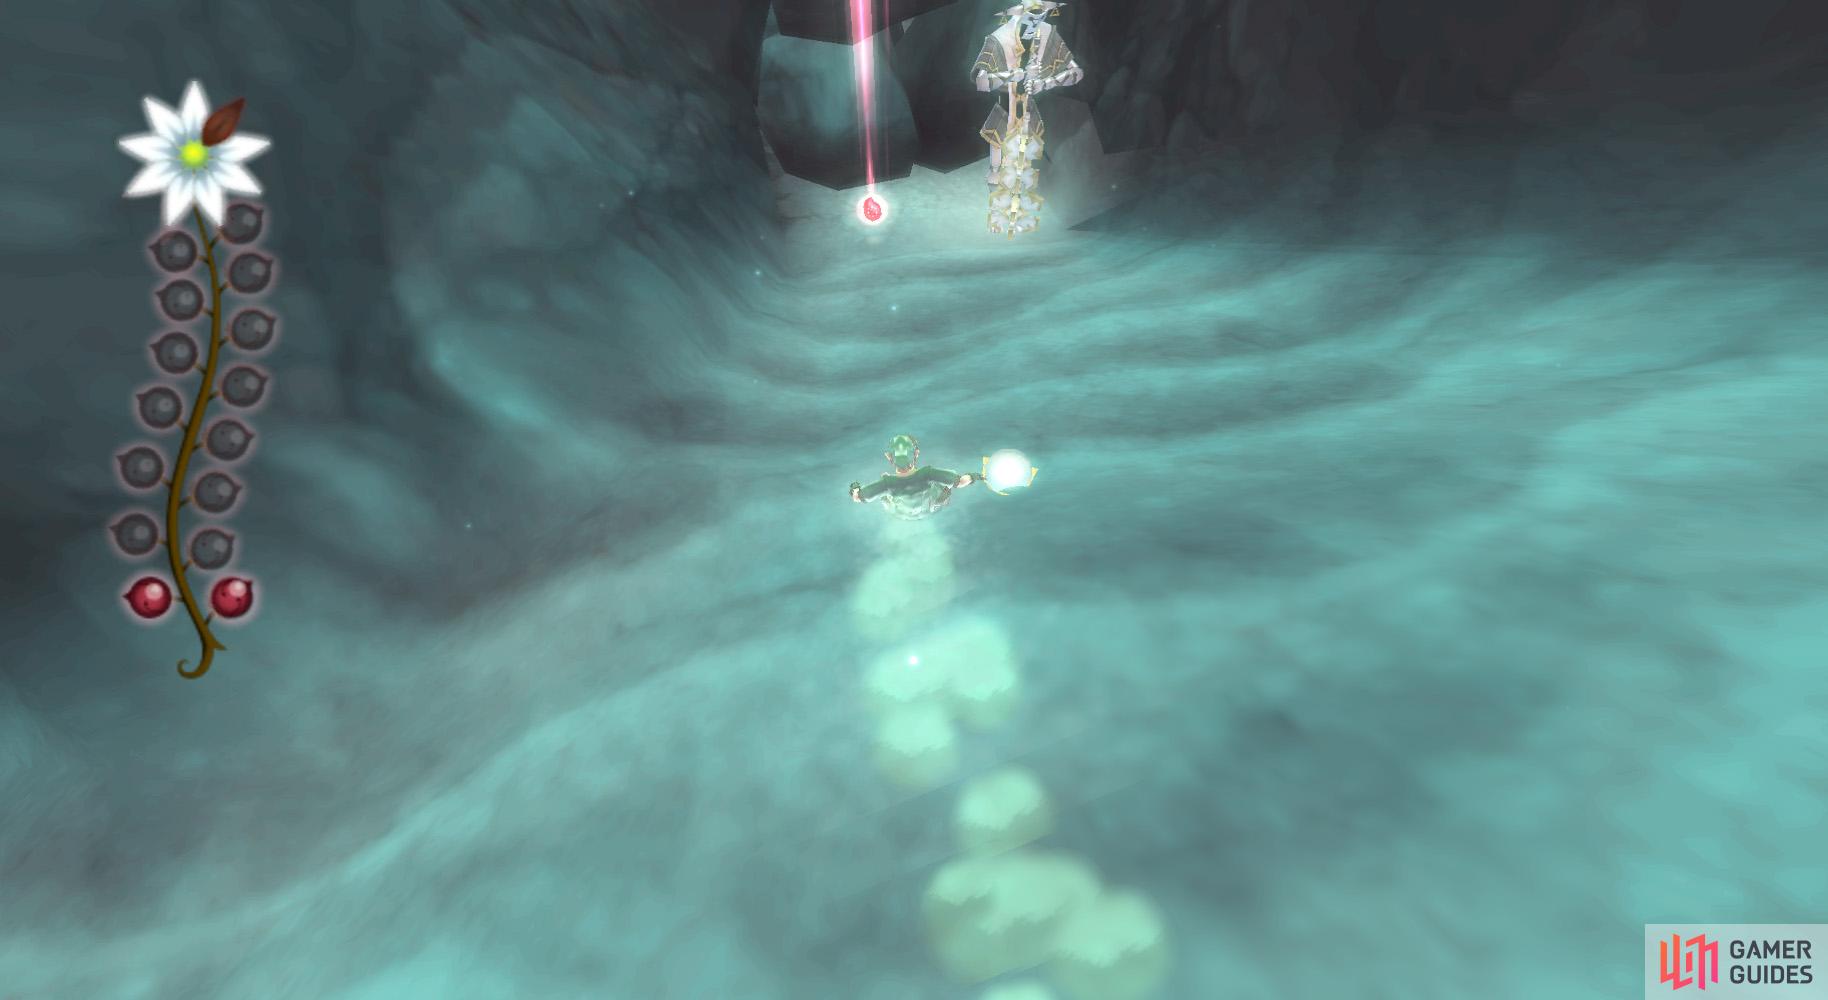
There are a few tricky parts in this silent realm, but you can do it! (left), As usual, you need to collect 15 tears. (right)
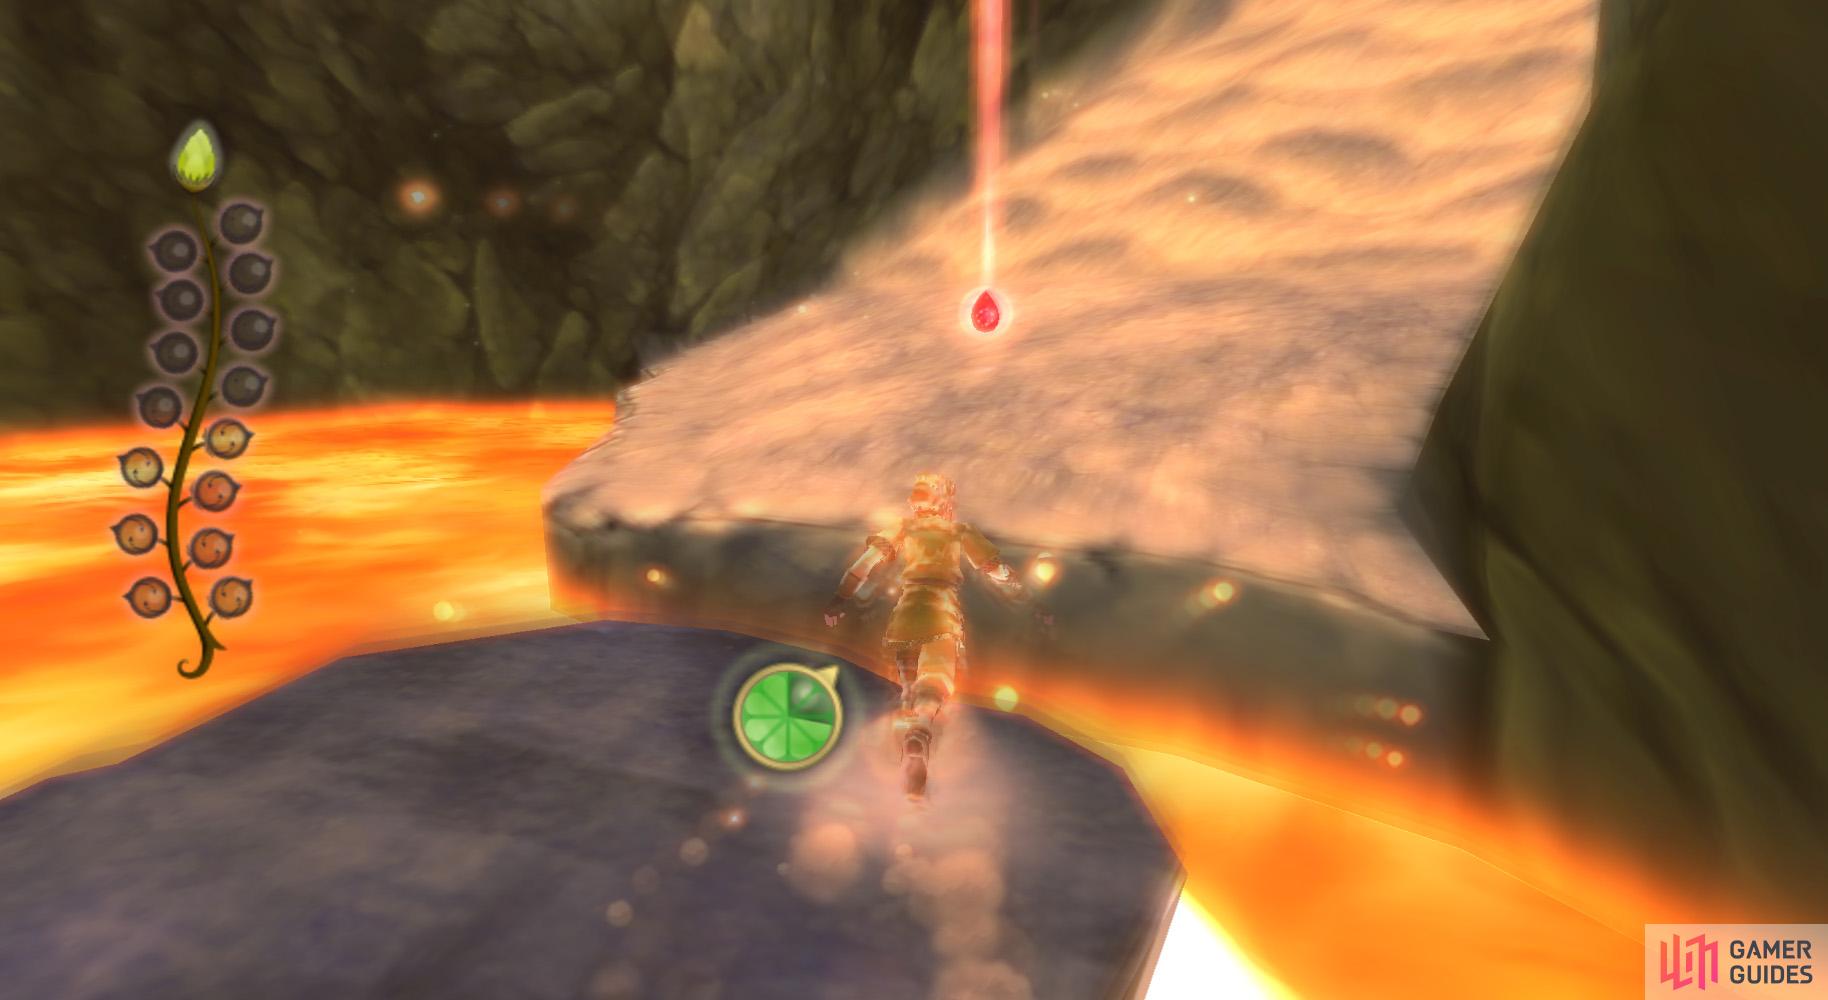
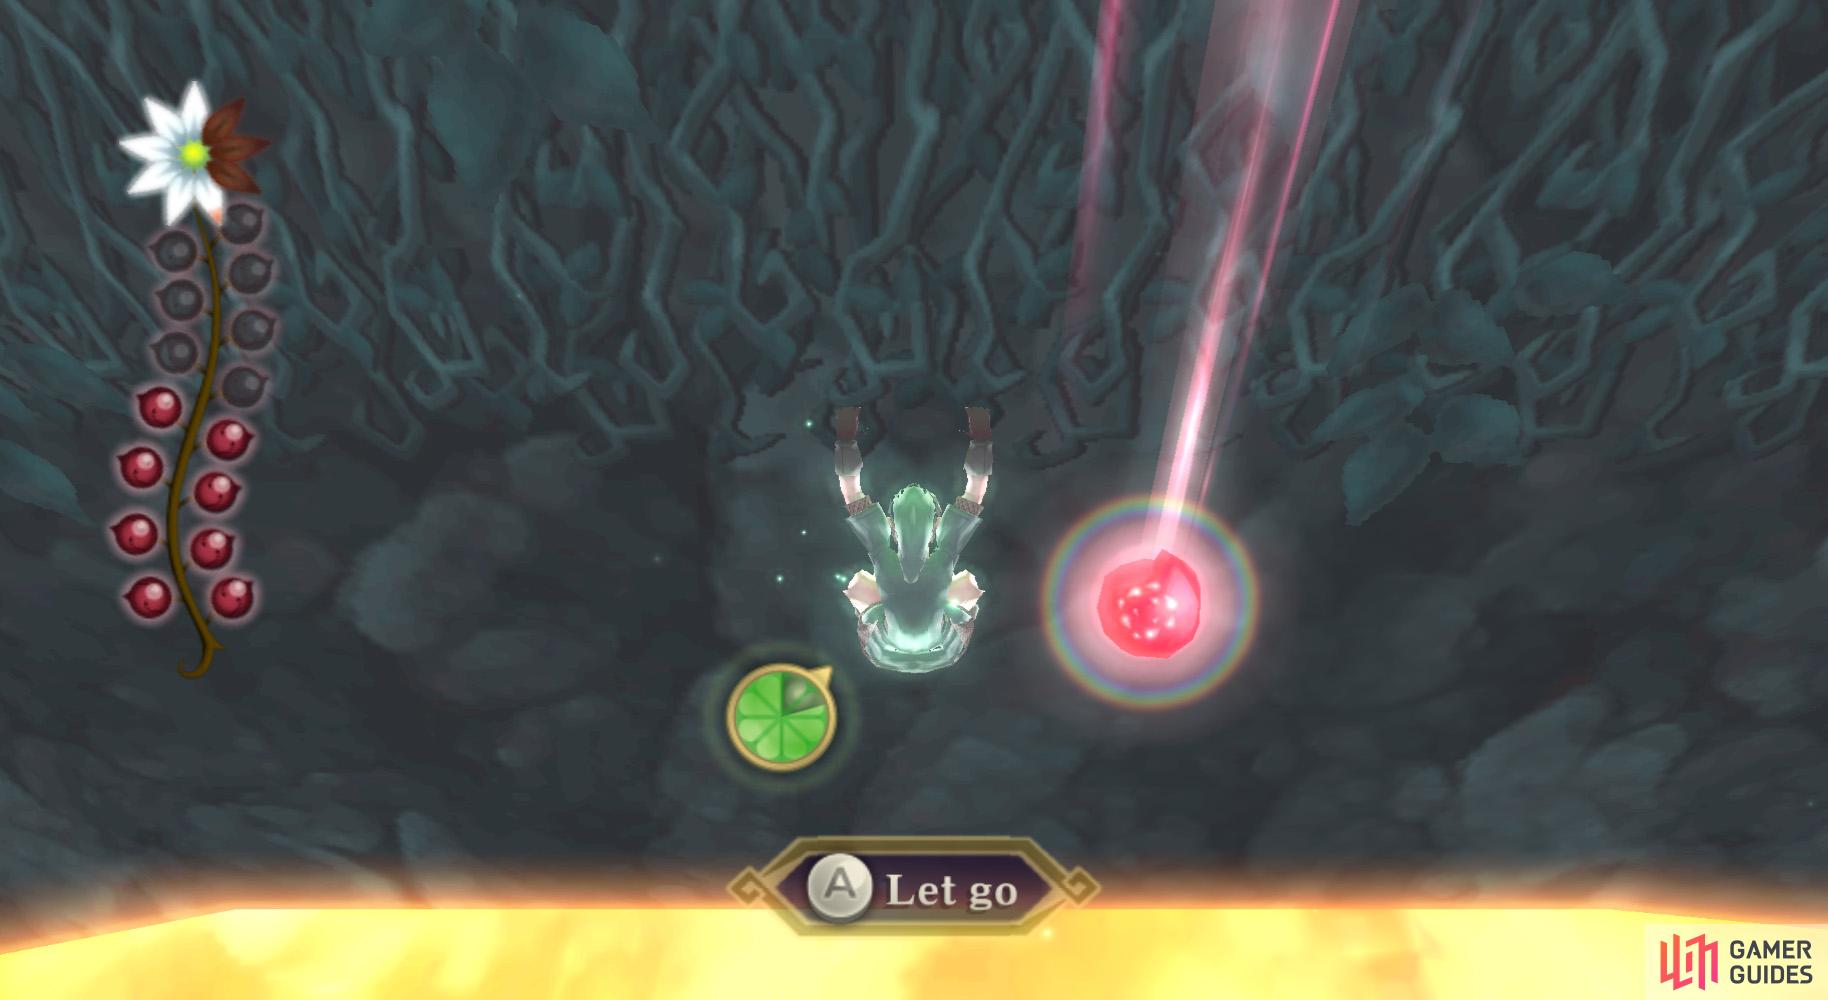
Okay, I think you get the idea this time. Fi will go over everything again if you need to. Nothing else really to mention, except about the lava. Much like the quicksand of Nayru’s Silent Realm, it won’t prevent you from finishing the trial; you’ll just lose a few seconds of that 90-second protection (because, odds are, you fell). Okay … here we go!
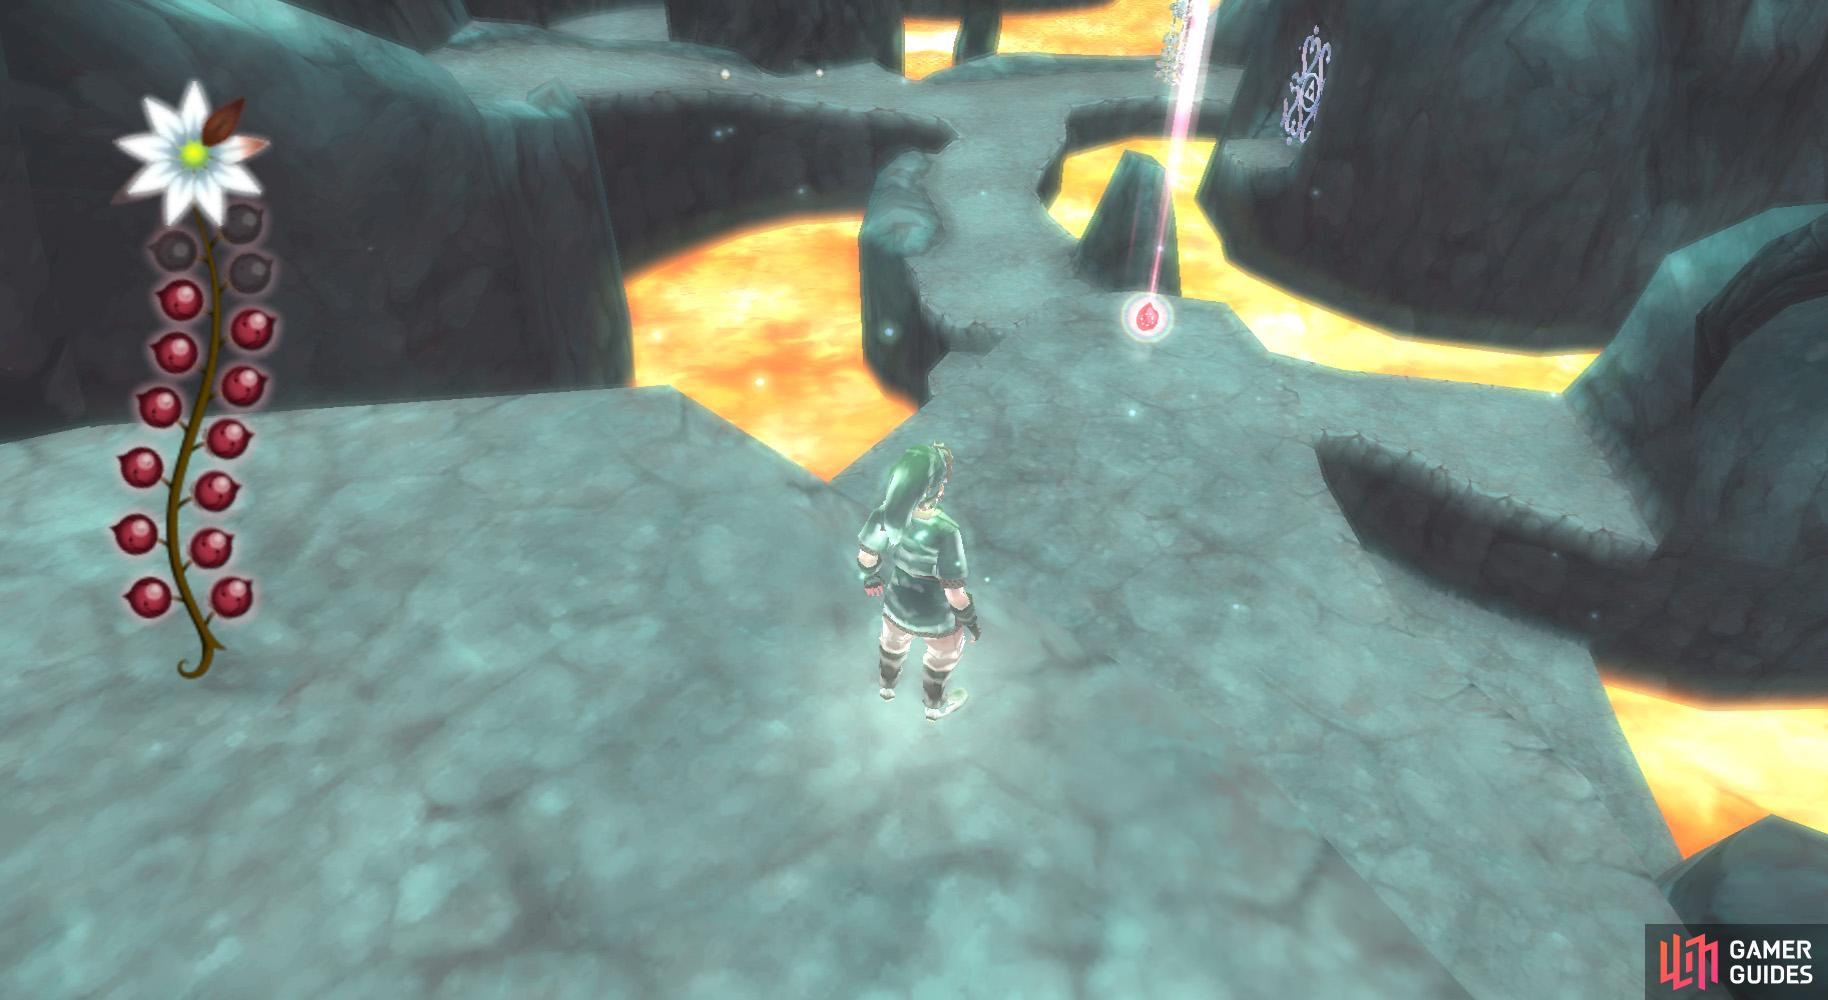
Silent Realm Map
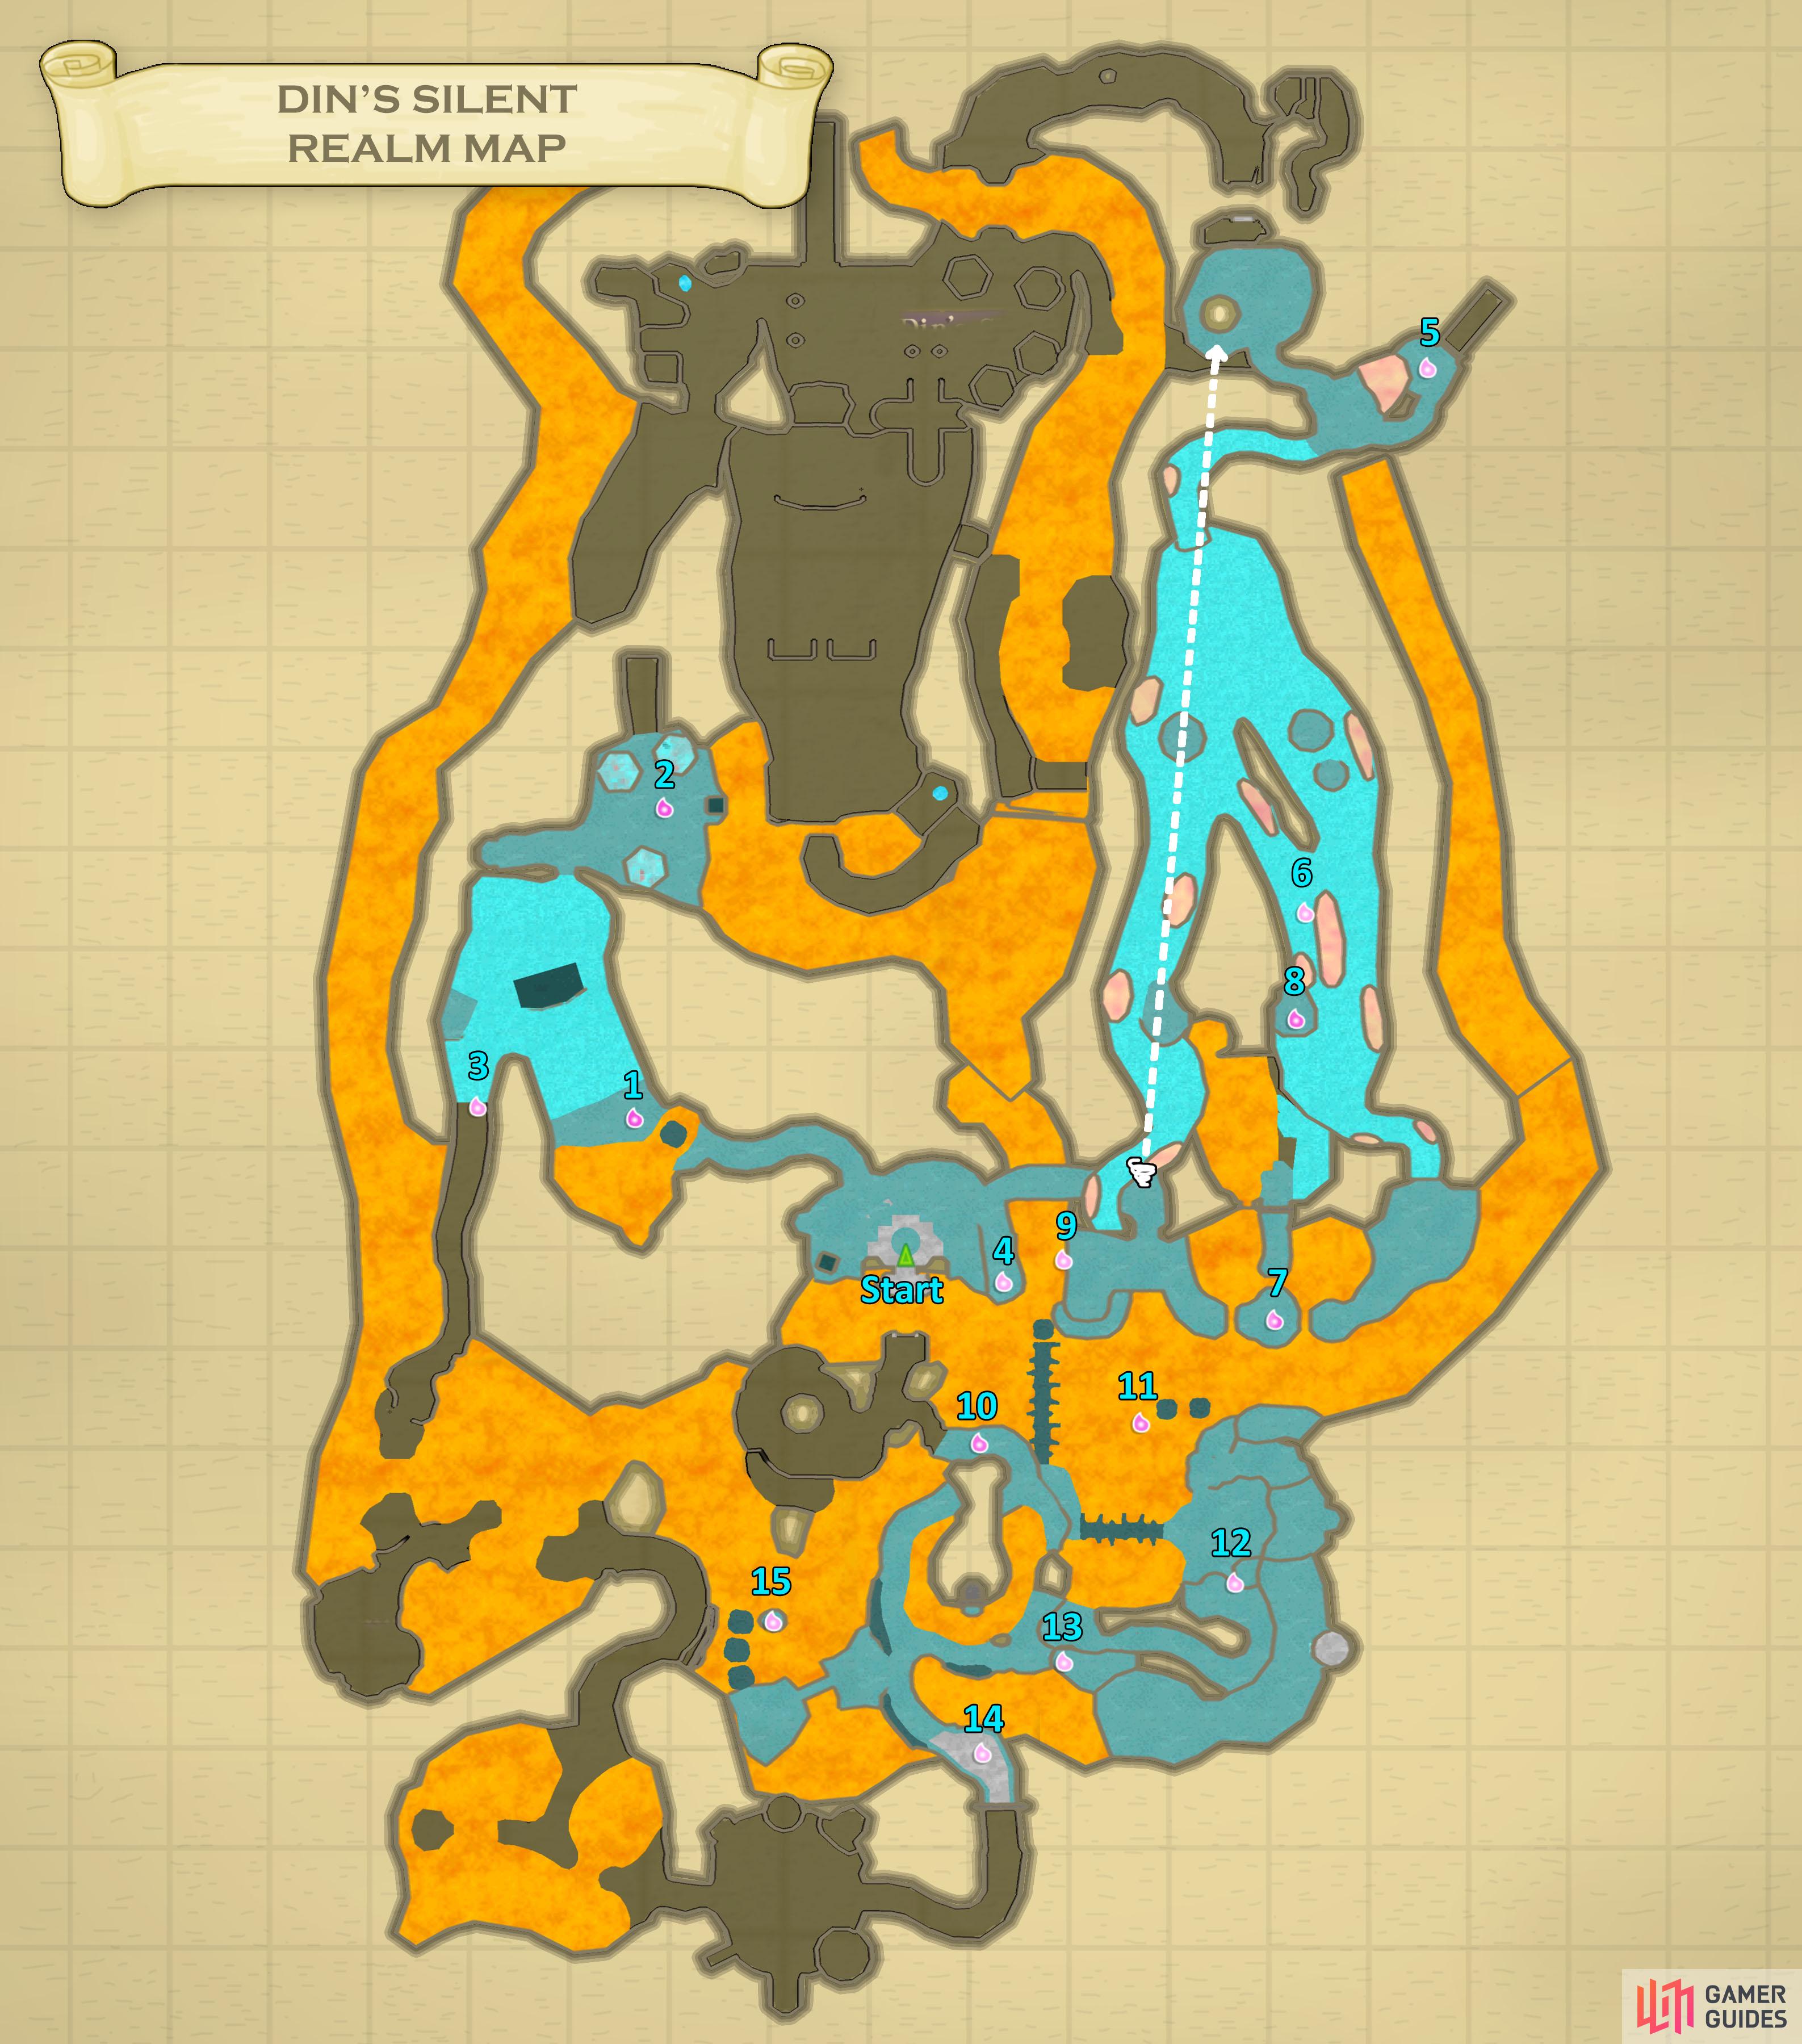
Map of Din’s Silent Realm.
Sacred Tears
(1 of 5) 1. Go forward (and slightly to the left) from the entrance. This tear is near the base of the slope.
-
At the beginning, go straight into the tunnel. Go through it and jump across the magma platforms to the first Tear of Din.
-
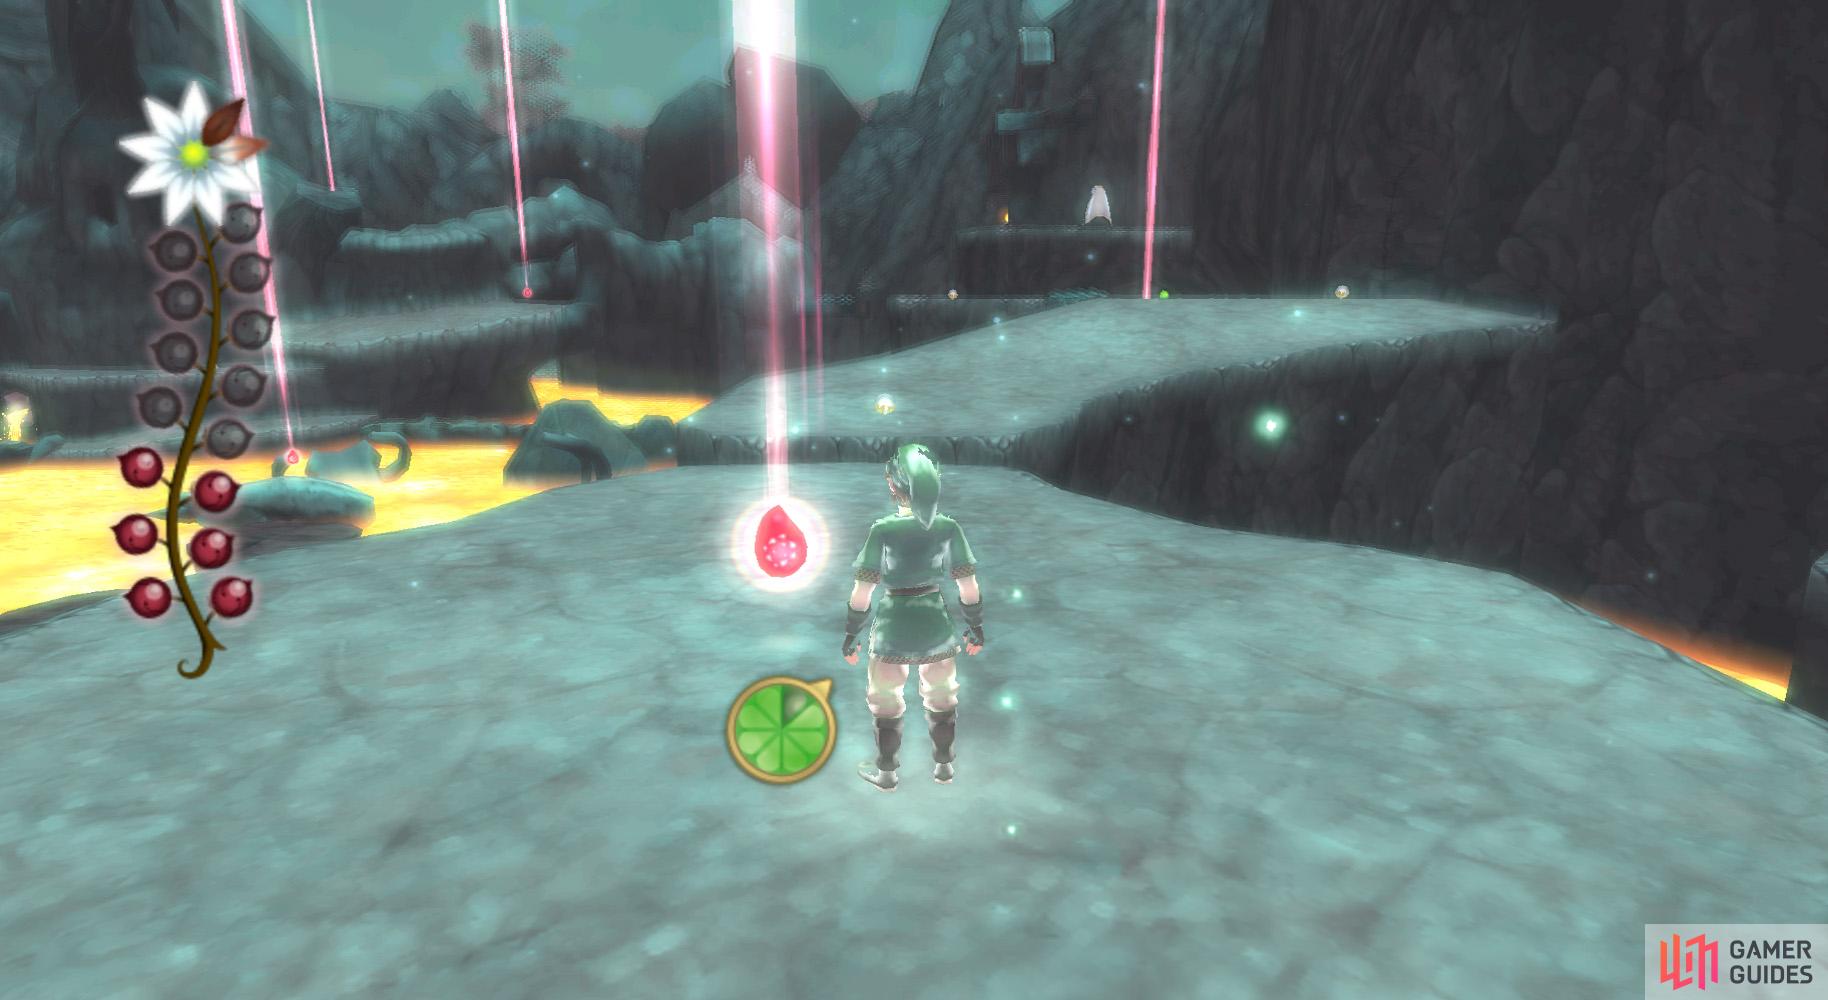
Now, you’ll find a Watcher-covered steep hill. First aim for the platform about half of the way uphill; going along the right wall aids in avoiding the Watchers, from my perspective. Grab the Stamina Fruit and continue to the hilltop and the ledge. Go east to the encampment to find, in the open, another Tear of Din.
-
Return to the steep hill and dash down and to the right. You really better avoid those Watchers now, or you will be hit by the Guardian at the bottom, or at least the odds work that way. The Tear of Din, in fact, is next to the Guardian.
-
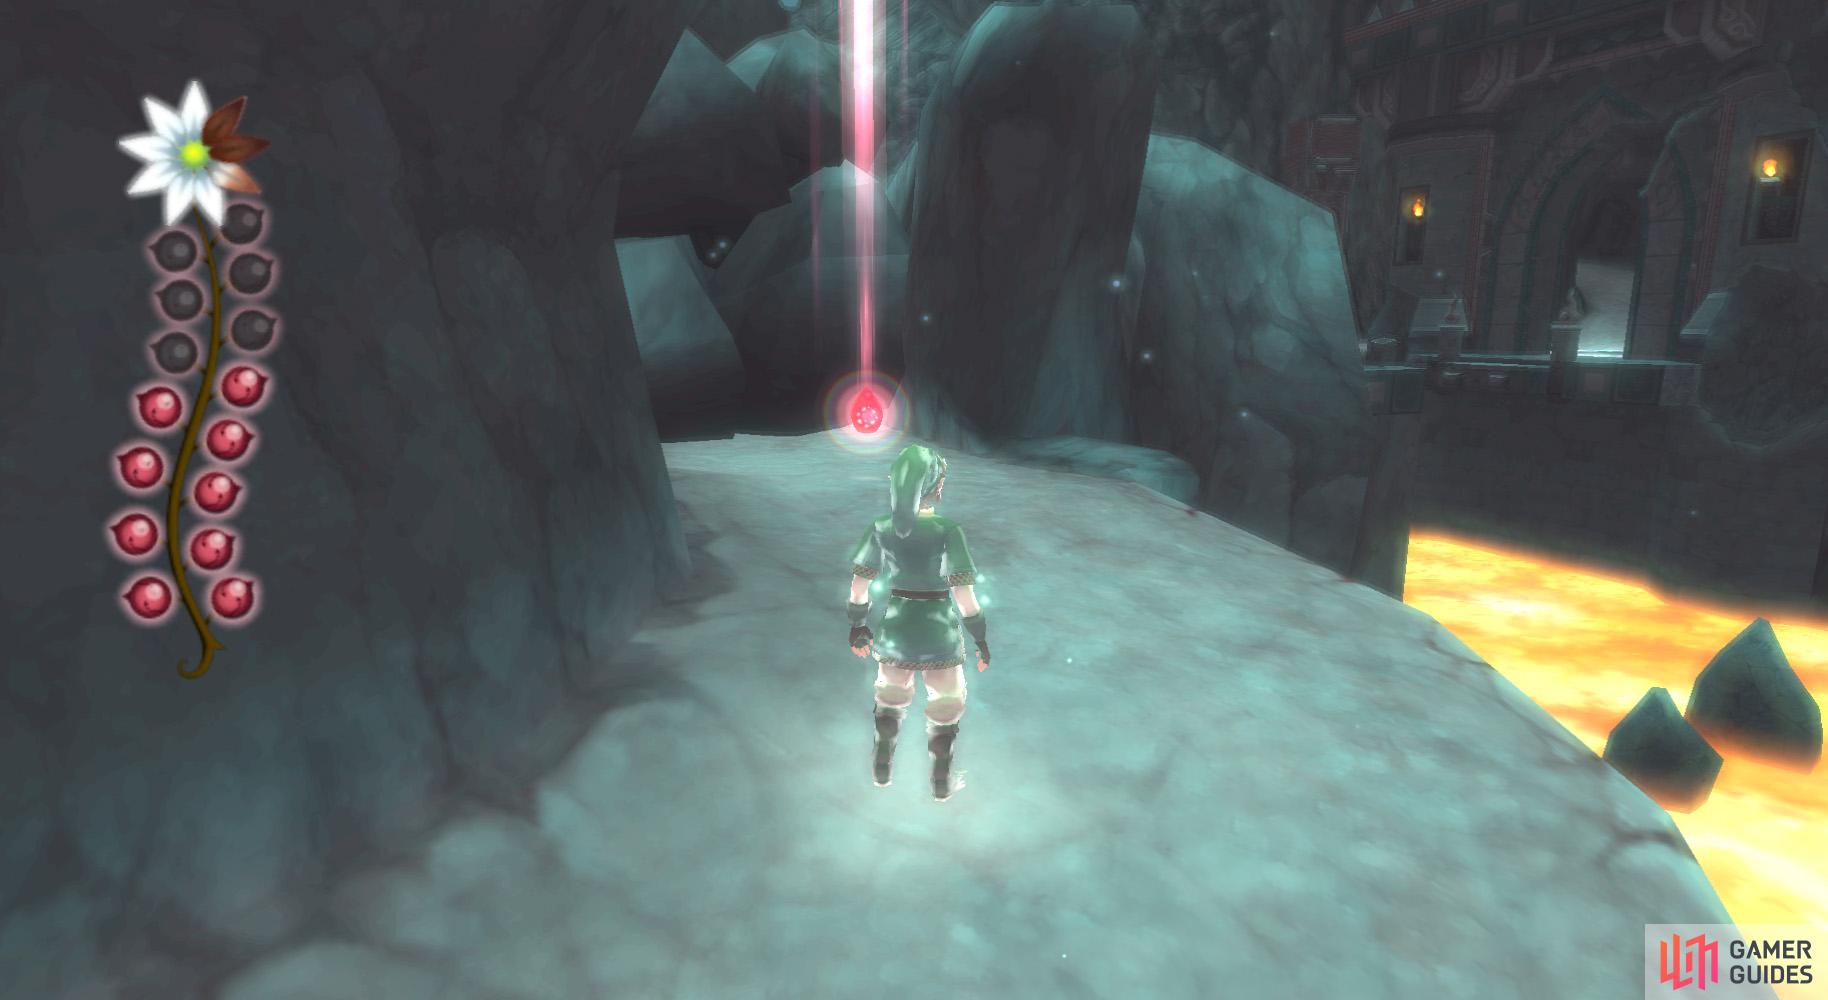
Go back up and around to the corner, then back across the magma. Jump at the wall for the now-more-visible Dusk Relic (it is easier to spot it coming back than going forward). Go back through the tunnel, then head along the incline on your left. Go to the Guardian and grab the nearby Tear of Din.
-
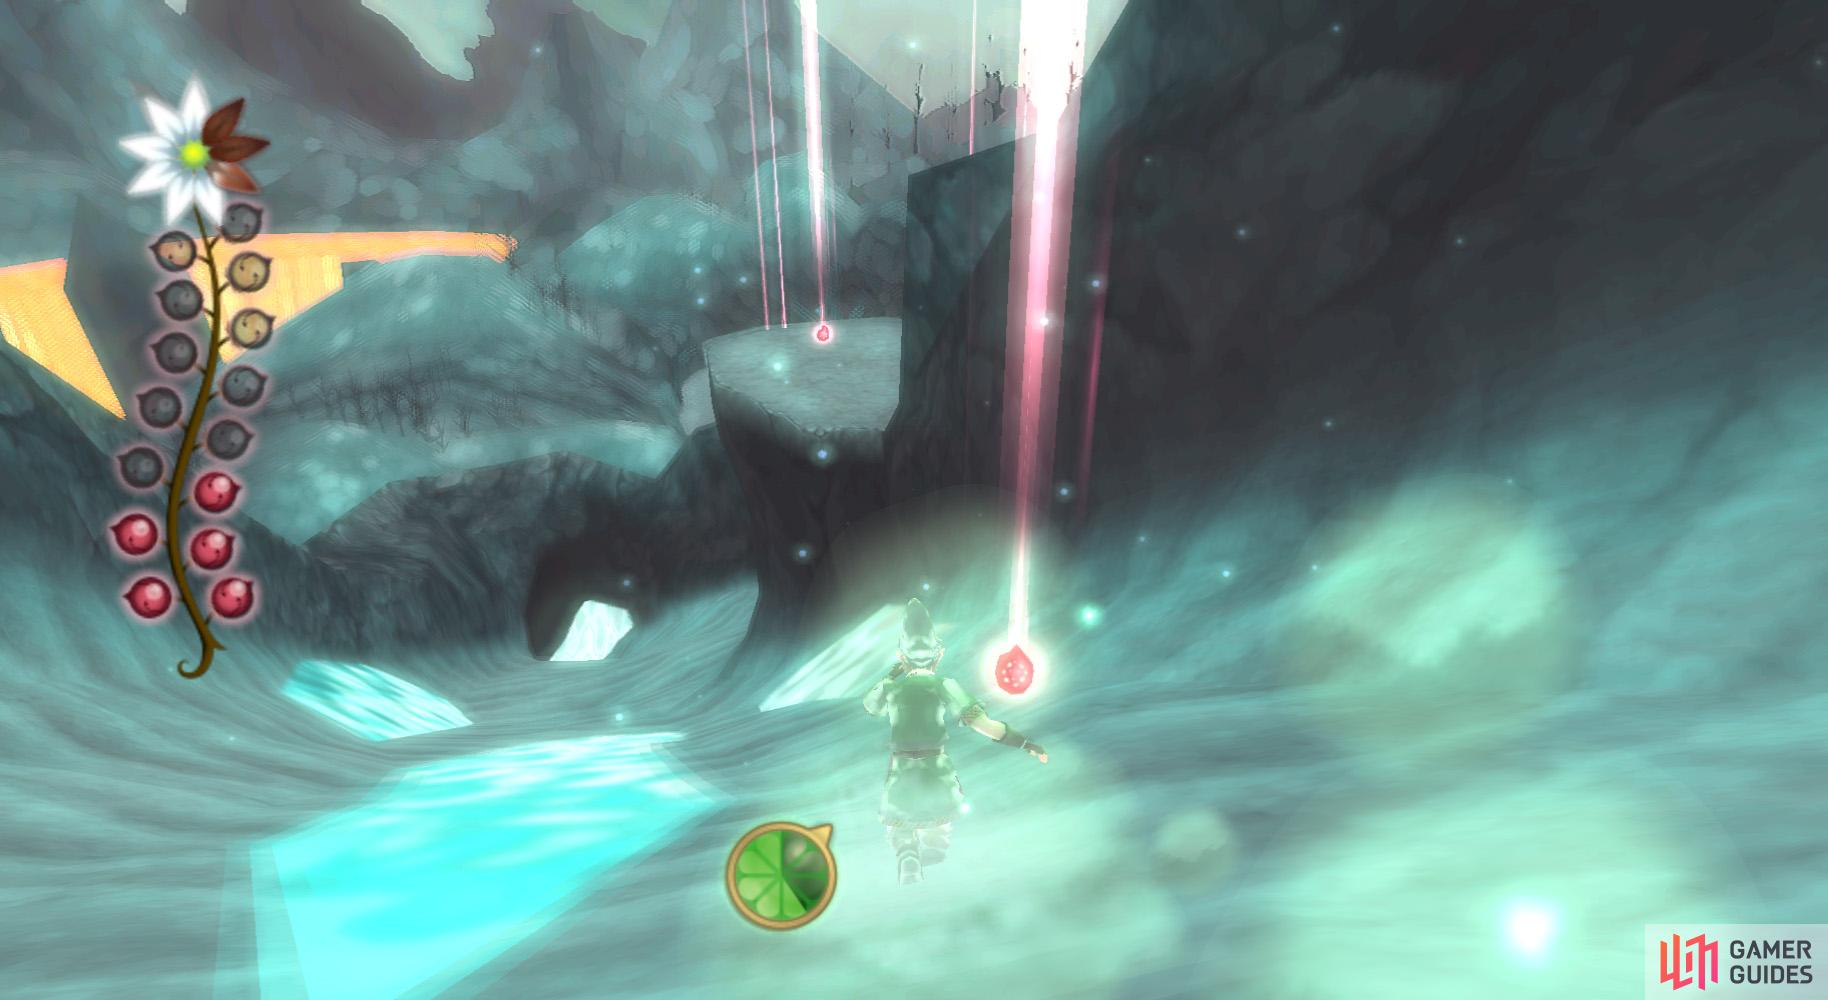
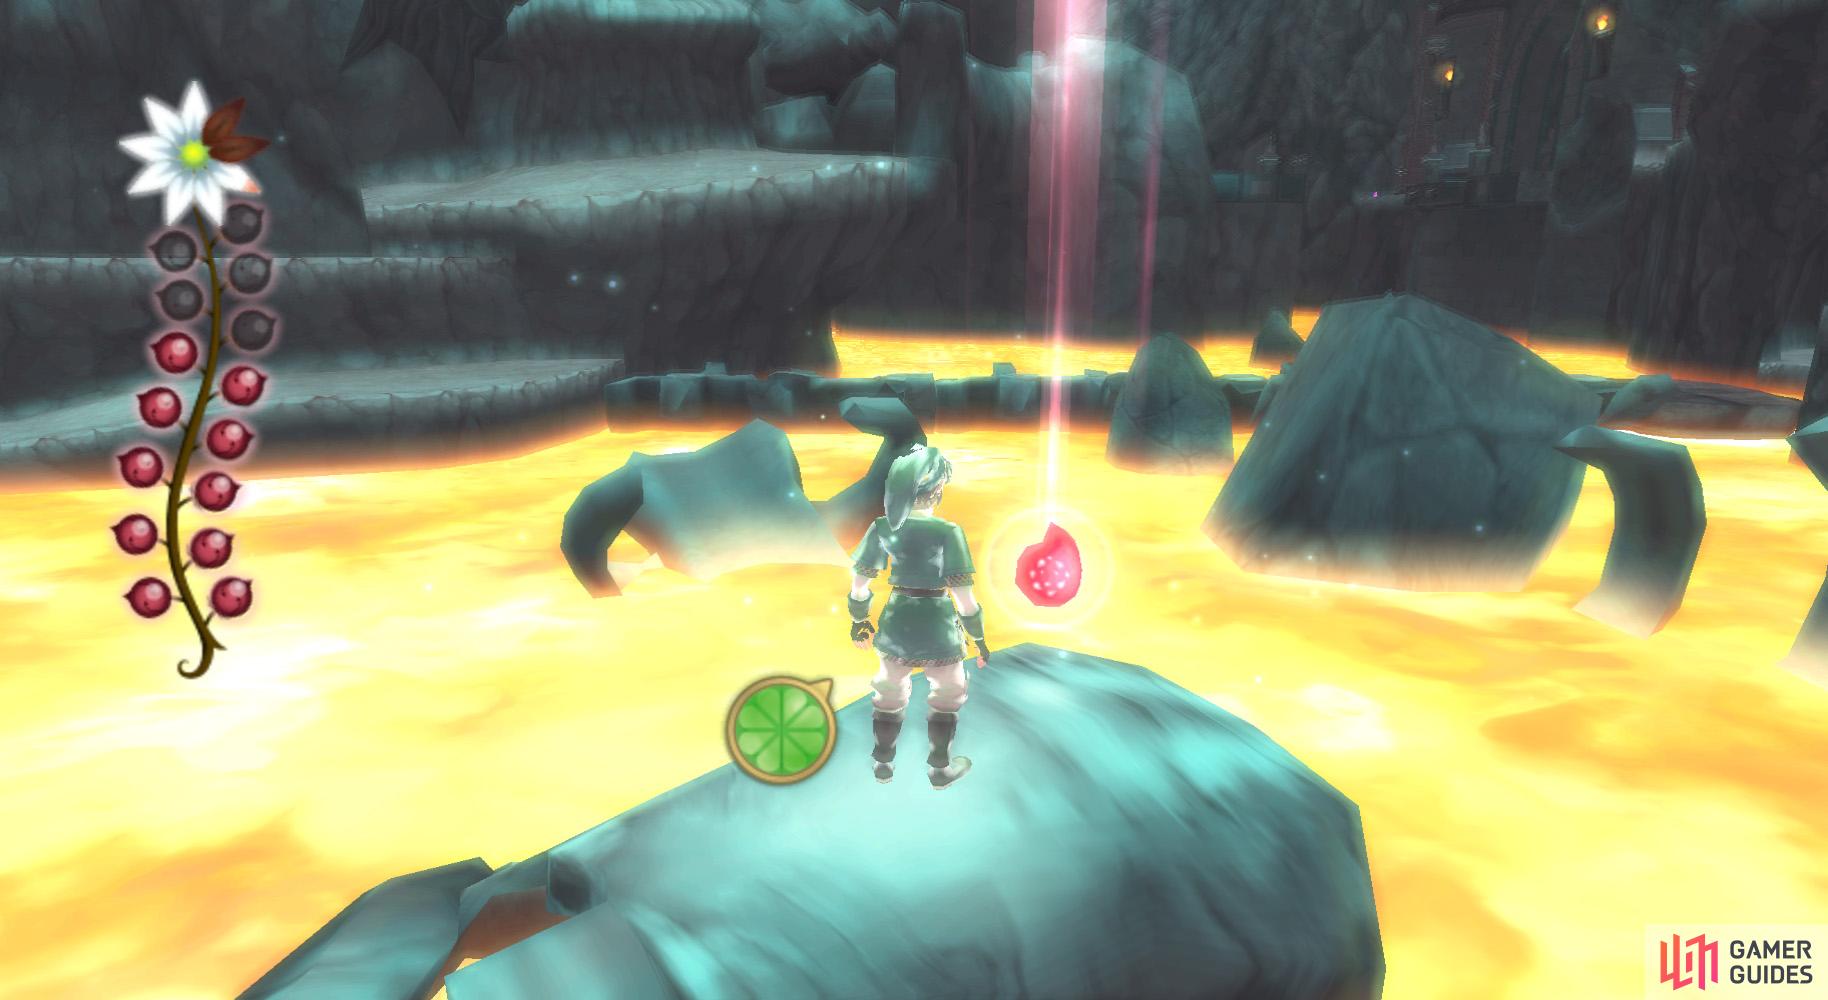
Backtrack a bit to the cavern. Go there and to the intersection, then left and into the whirlwind. Grab the Dusk Relic behind the wind tunnel you come out of upon landing, then take the path to the heat room (not so heated in the Silent Realm) and to the top of the incline for your fifth Tear of Din.
(1 of 5) 6. Go back down the ramp and jump into the giant slide where the Light Fruit is. After the first jump, hold A and run to the left air vent. Jump down to the platform in front. Then jump forward and run (not slide) towards the right.
-
Return downhill and go through the archway to the huge slide. Keep a watch out always here, because the place is littered with Waking Water. After the first jump, hold A and start running to the left air spurt. Rest there briefly, then drop down and go further downhill to the Tear of Din.
-
Continue to the bottom of the slide. Once you land, go along the path to the platform, atop which is another Tear of Din.
-
Continue along the path back to the whirlwind tunnel. Go into the whirlwind and back to the large slide. After the first jump, hold A and dash to the right air spurt. Rest briefly, then jump off of the ledge and dash down the right half of the hill to the ledge further below. Jump the two air vents here to find the Tear of Din.
-
Once more, go to the bottom of the slide and continue along the path as before, but don’t enter the cavern. Look around for some vinery on the platform nearest the cavern entrance. Climb down them to the Tear of Din below.
-
Go back up and to the nearby Light Fruit. Go to the below ledge and grab the Stamina Fruit. Dash across the skeleton bridge. At the other side, climb up the ledges on your right and head along the path to find the Tear of Din in front of a rock blockade.
(1 of 5) 11. Head towards the second skeleton bridge, which is being guarded by a Watcher. Run across the bridge and then take a left, hopping across the platforms to reach this tear.
-
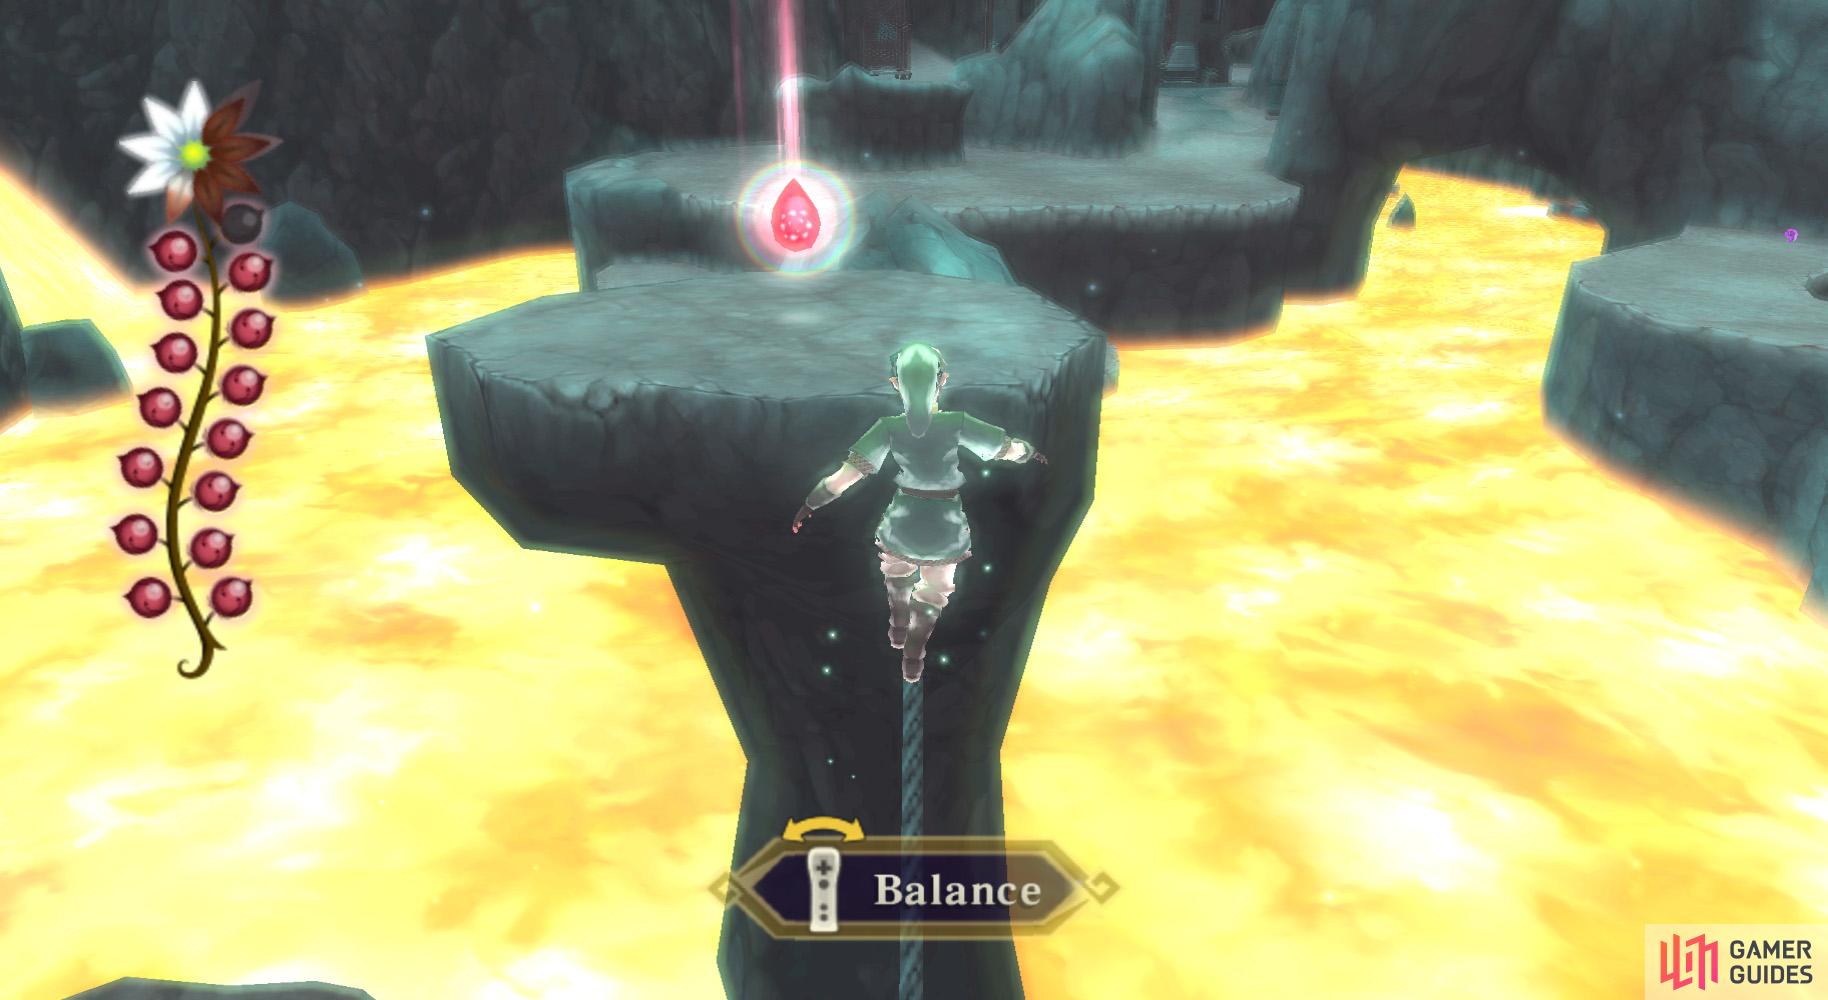
Go back down to the second skeleton bridge, this one being patrolled by a Watcher. You’ll need to time your run so that the Watcher’s light will be off of you by the time you’re in line with it. On the other side of the bridge, go left and up the ledges. Drop off of the other side and jump across the platforms on the lava to reach the Tear of Din.
-
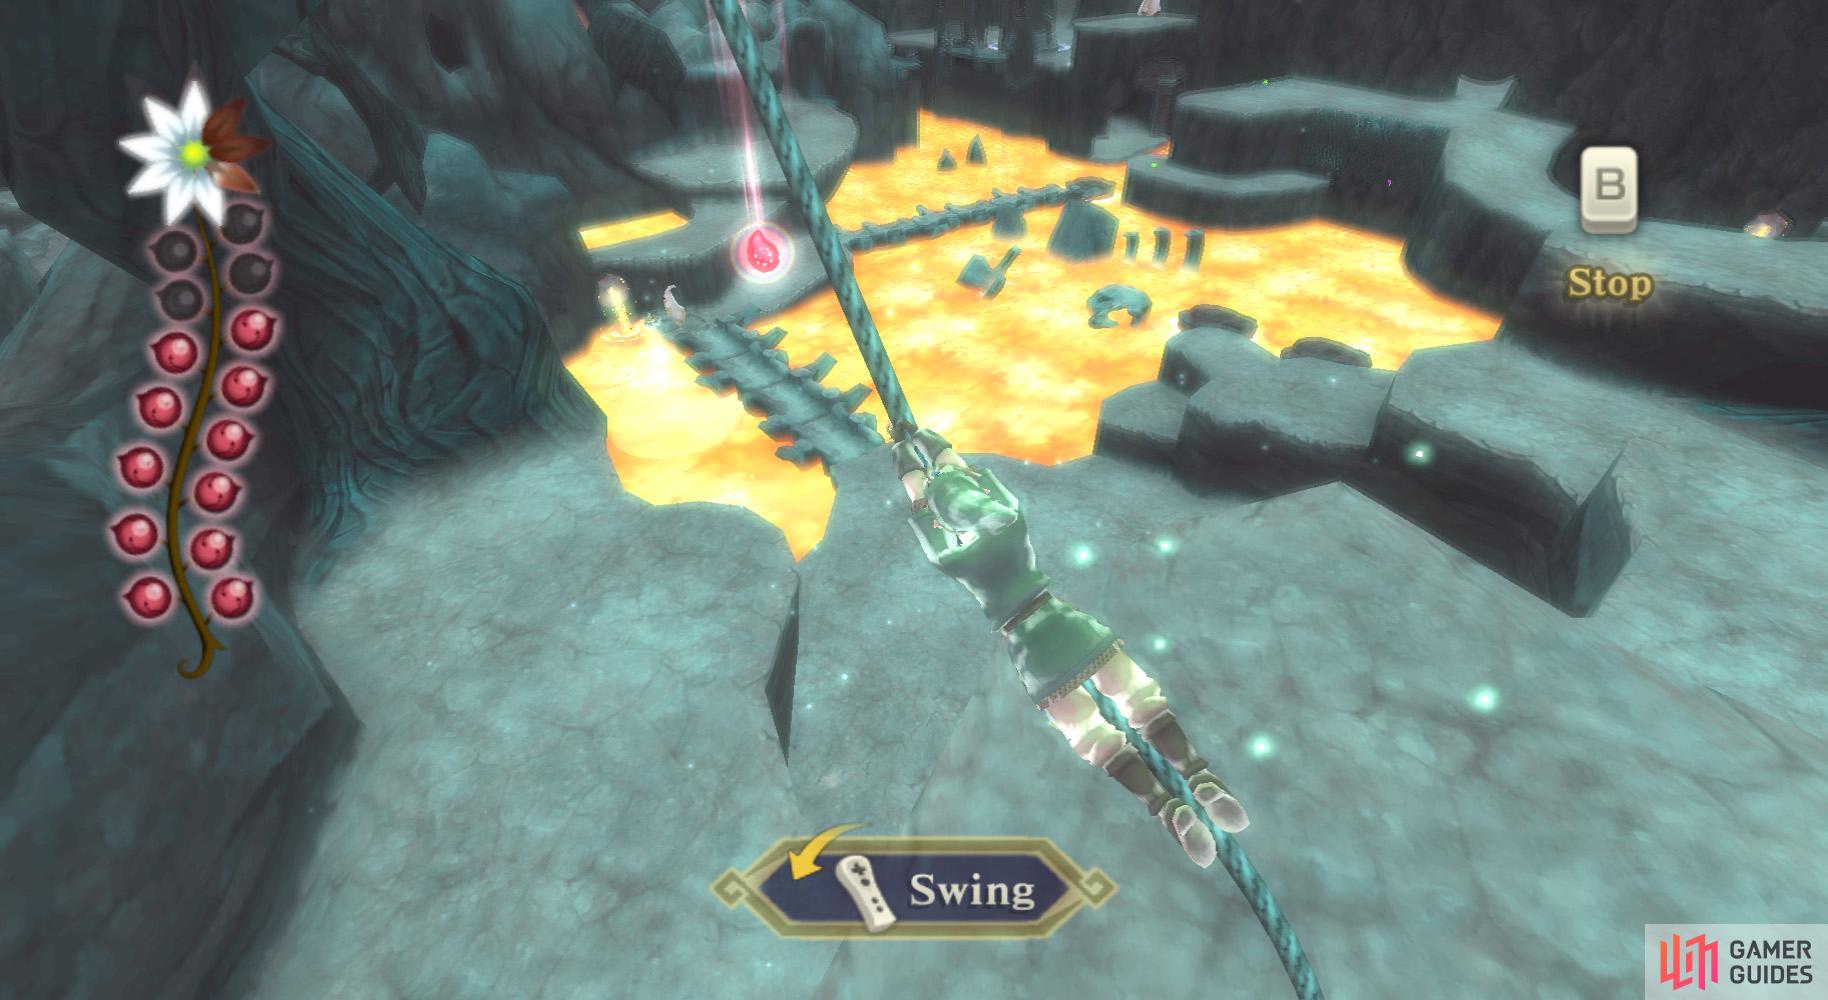
Ascend to the upper ledge again after getting the above Tear. Next, instead of going down by the bridge, go left to a higher ledge. You should find the Tear of Din in mid-air. Use the rope nearby to swing to and grab it.
-
Go along the path past the rope to find a Guardian. Go past it and down to a lower ledge. There, you’ll find Tear of Din #13.
-
Go down some more and west. You’ll soon come to another intersection overseen by a Guardian. Go left and uphill for the penultimate Tear of Din.
-
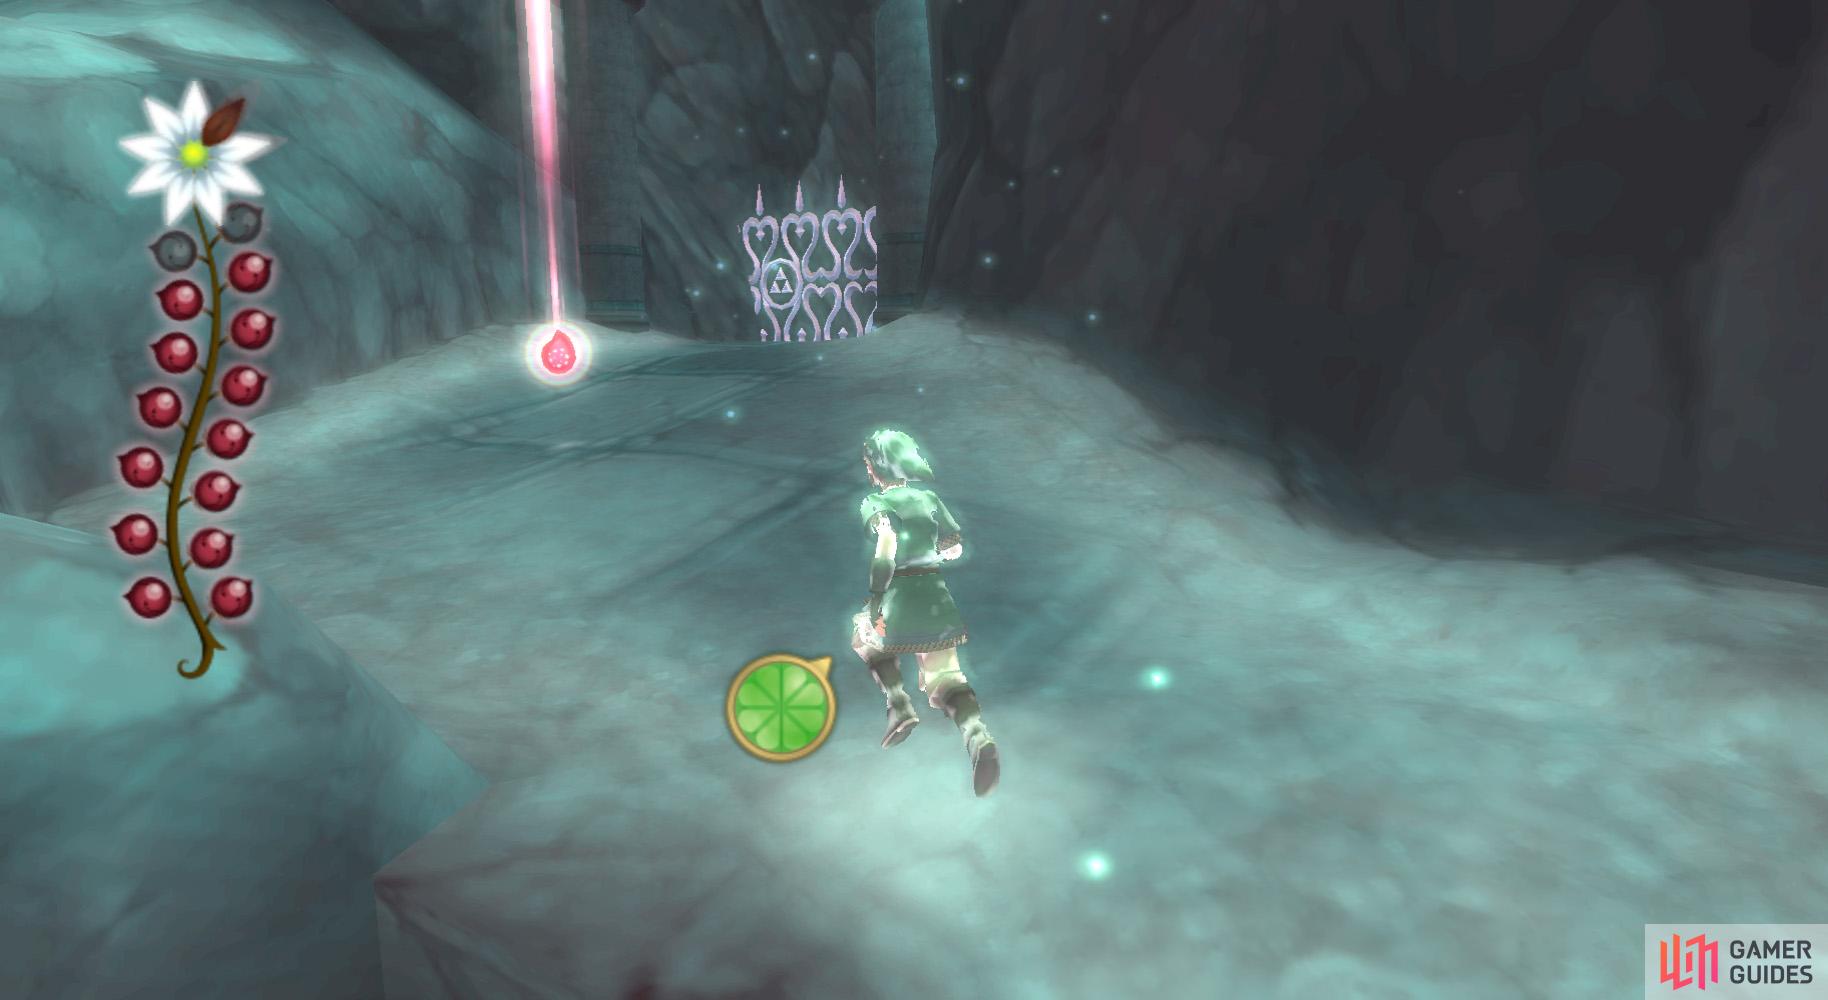
Go back downhill and to the lower ledge on the left. You’ll find a Light Fruit nearby; a tunnel should be behind it. Crawl through said tunnel to find the Tear of Din on a ledge. Cross the tightrope to get this final Tear.

(1 of 2) Sadly, it’s a long trek back. Be wary of the Watcher along the second skeleton bridge.
Sadly, it’s a long trek back. Be wary of the Watcher along the second skeleton bridge. (left), Wear these to negate the scorching heat from the volcano. (right)
Now, to the starting point. Backtrack and go across both of the skeleton bridges, then climb the ledges and vinery after them. After climbing the vines after the second bridge, you’ll find the often-used cavern. Go into it and left at the intersection; don’t use the whirlwind or things will get a heck of a lot harder. The Trial Gate should be within sight upon exiting the cavern.
As a reward, you will receive the Fireshield Earrings. These magnificent fashion accessories allow you to withstand extremely high temperatures. Within reason, of course – you can’t swim in lava. Aww…
Anyhow, you’ll soon return to the real world.

 Sign up
No Comments