
Basement Main
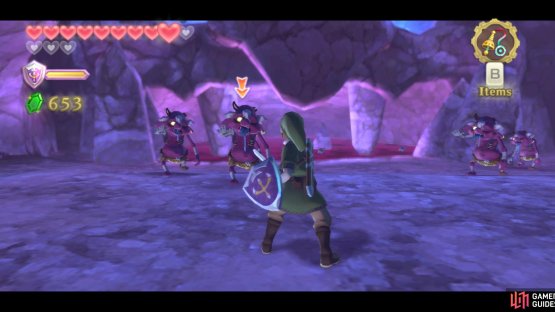
(1 of 2) Spin attack to knock these ugly mugs over, then use a Fatal Blow.

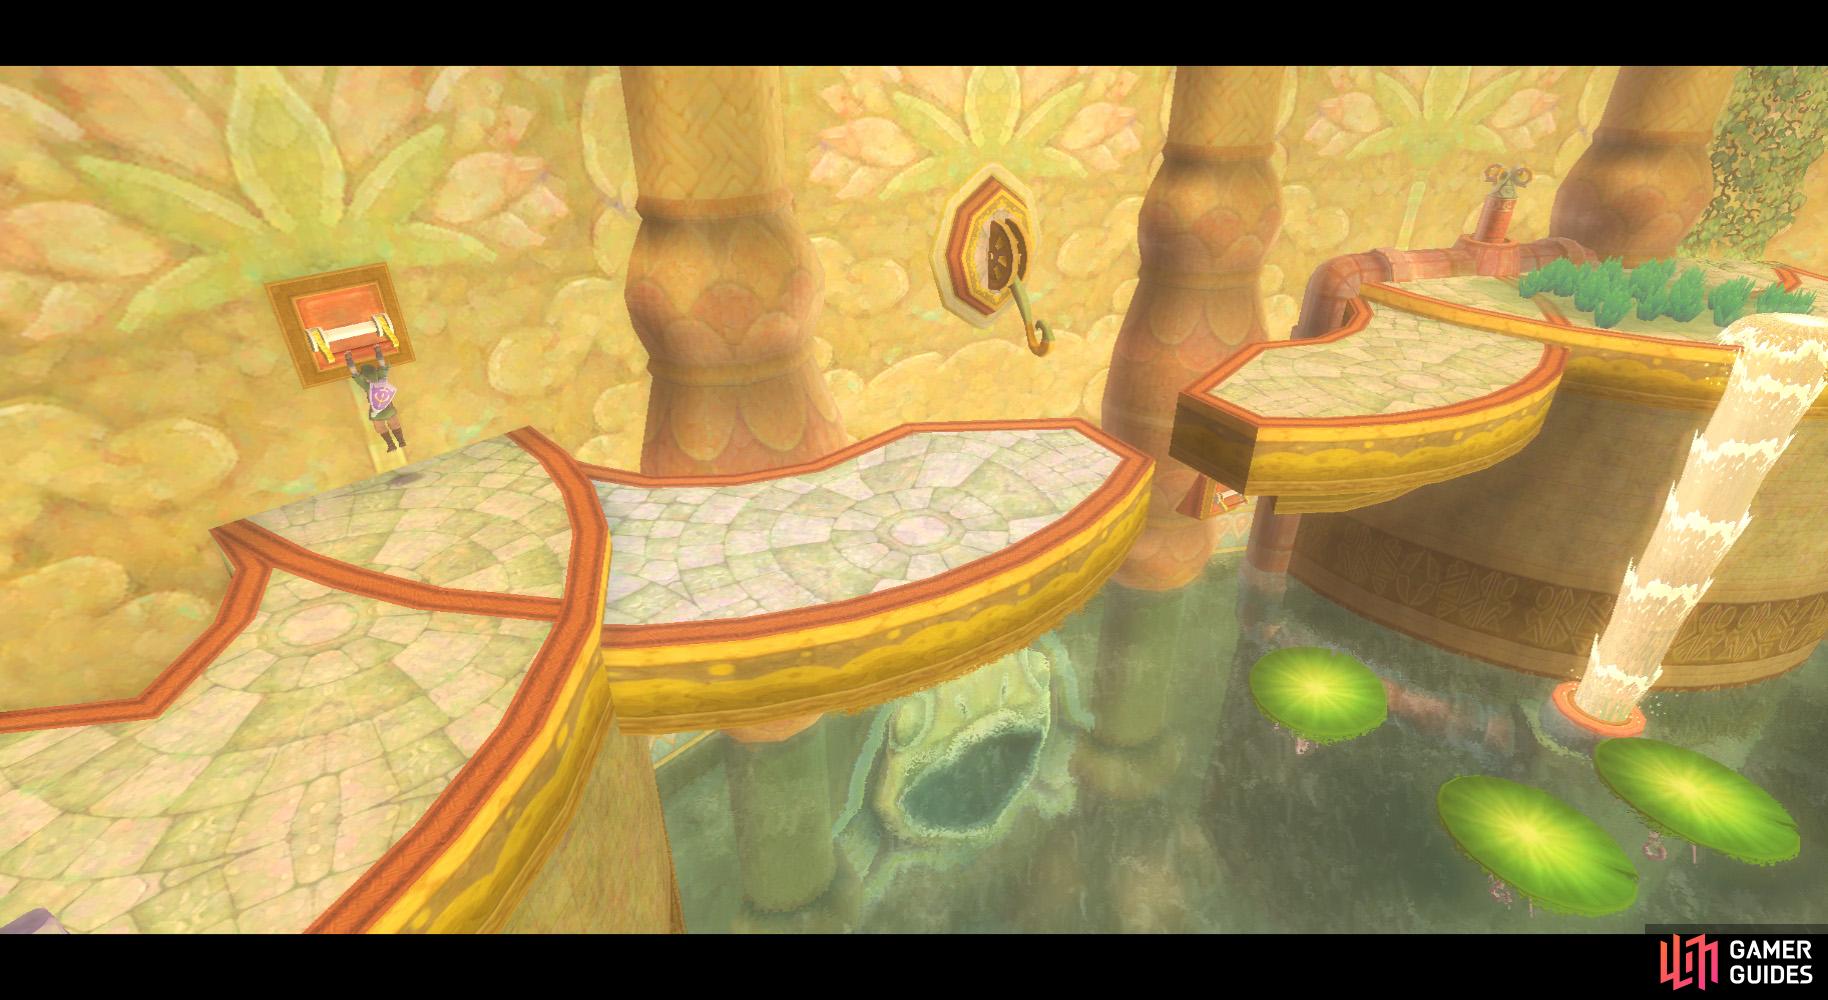
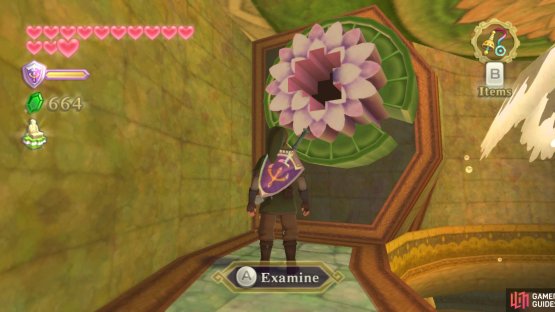
Spin attack to knock these ugly mugs over, then use a Fatal Blow. (left), Flip this lilypad upside down with your trusty whip. (right)
Be wary in this underground area. You’ll find a lot of Cursed Bokoblins here. They can Curse (prevent item usage) you and are only killed with fatal blows (a spin attack is most effective in creating the proper situation). They are also scared when they see your Sacred Shield (or an upgrade?) raised.
Get rid of the local Cursed Bokoblins, then follow the path to the side of the door to find some more. You see that purplish water nearby? Stepping in that will Curse you and can often hurt you.
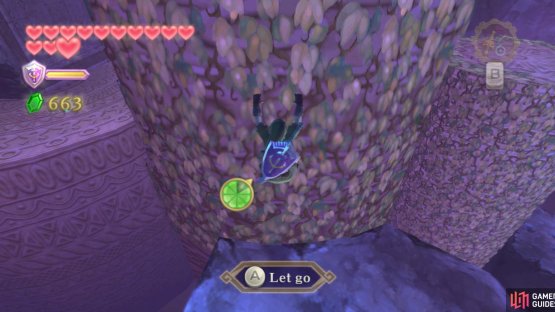
Anyhow, go to the (rotting) lilypads. Cross them quickly; have your Whip at the ready to flip the last one. (I need to emphasize speed here - those will fall into the cursed water if you stand on them too long.)
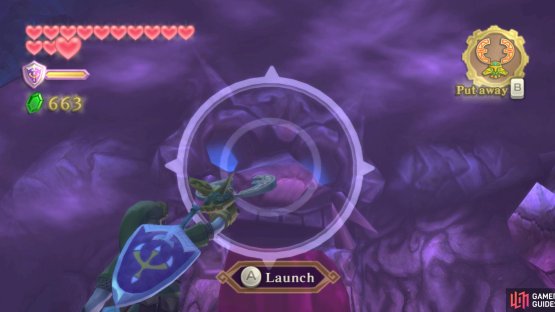
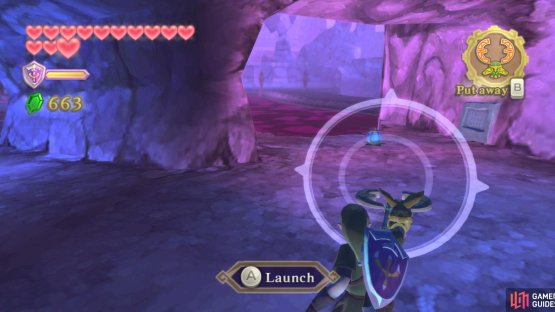
(1 of 2) Launch the Beetle into either of the eye sockets to find a hidden switch.
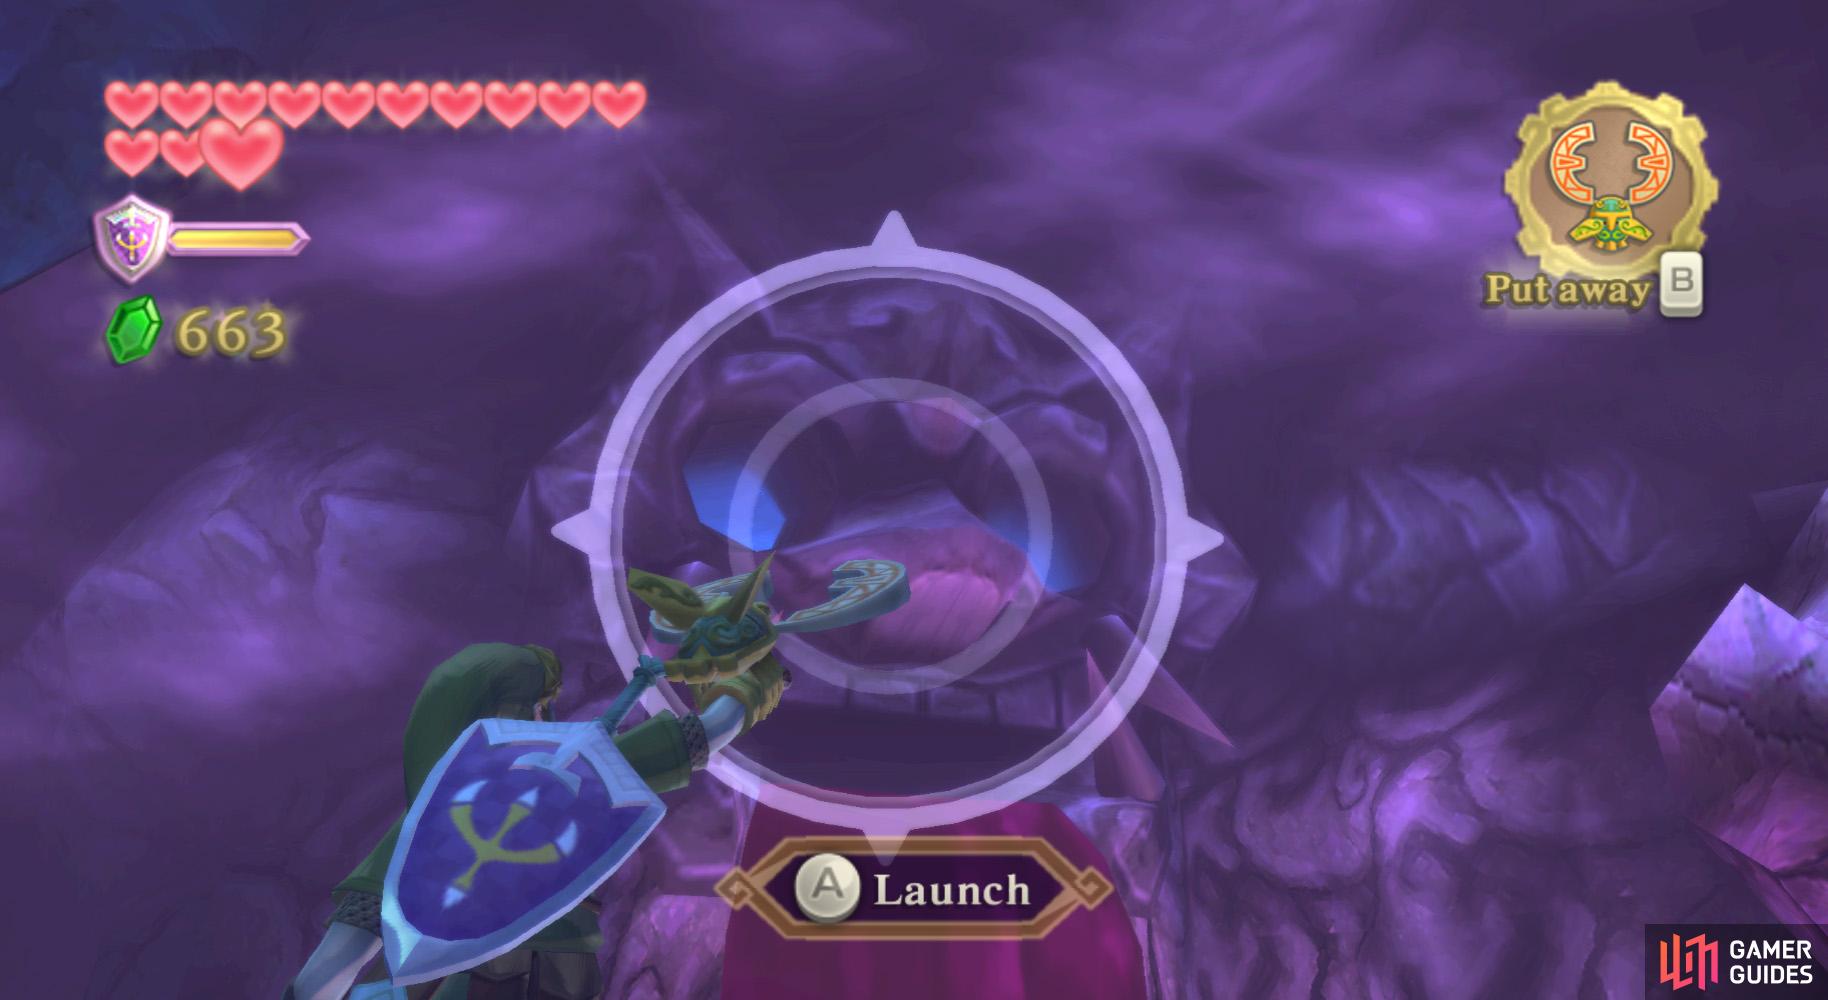

Launch the Beetle into either of the eye sockets to find a hidden switch. (left), Go around and shoot the Beetle at the bomb flower, the carry it right. (right)
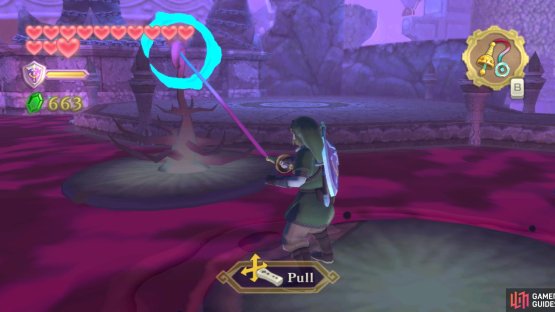
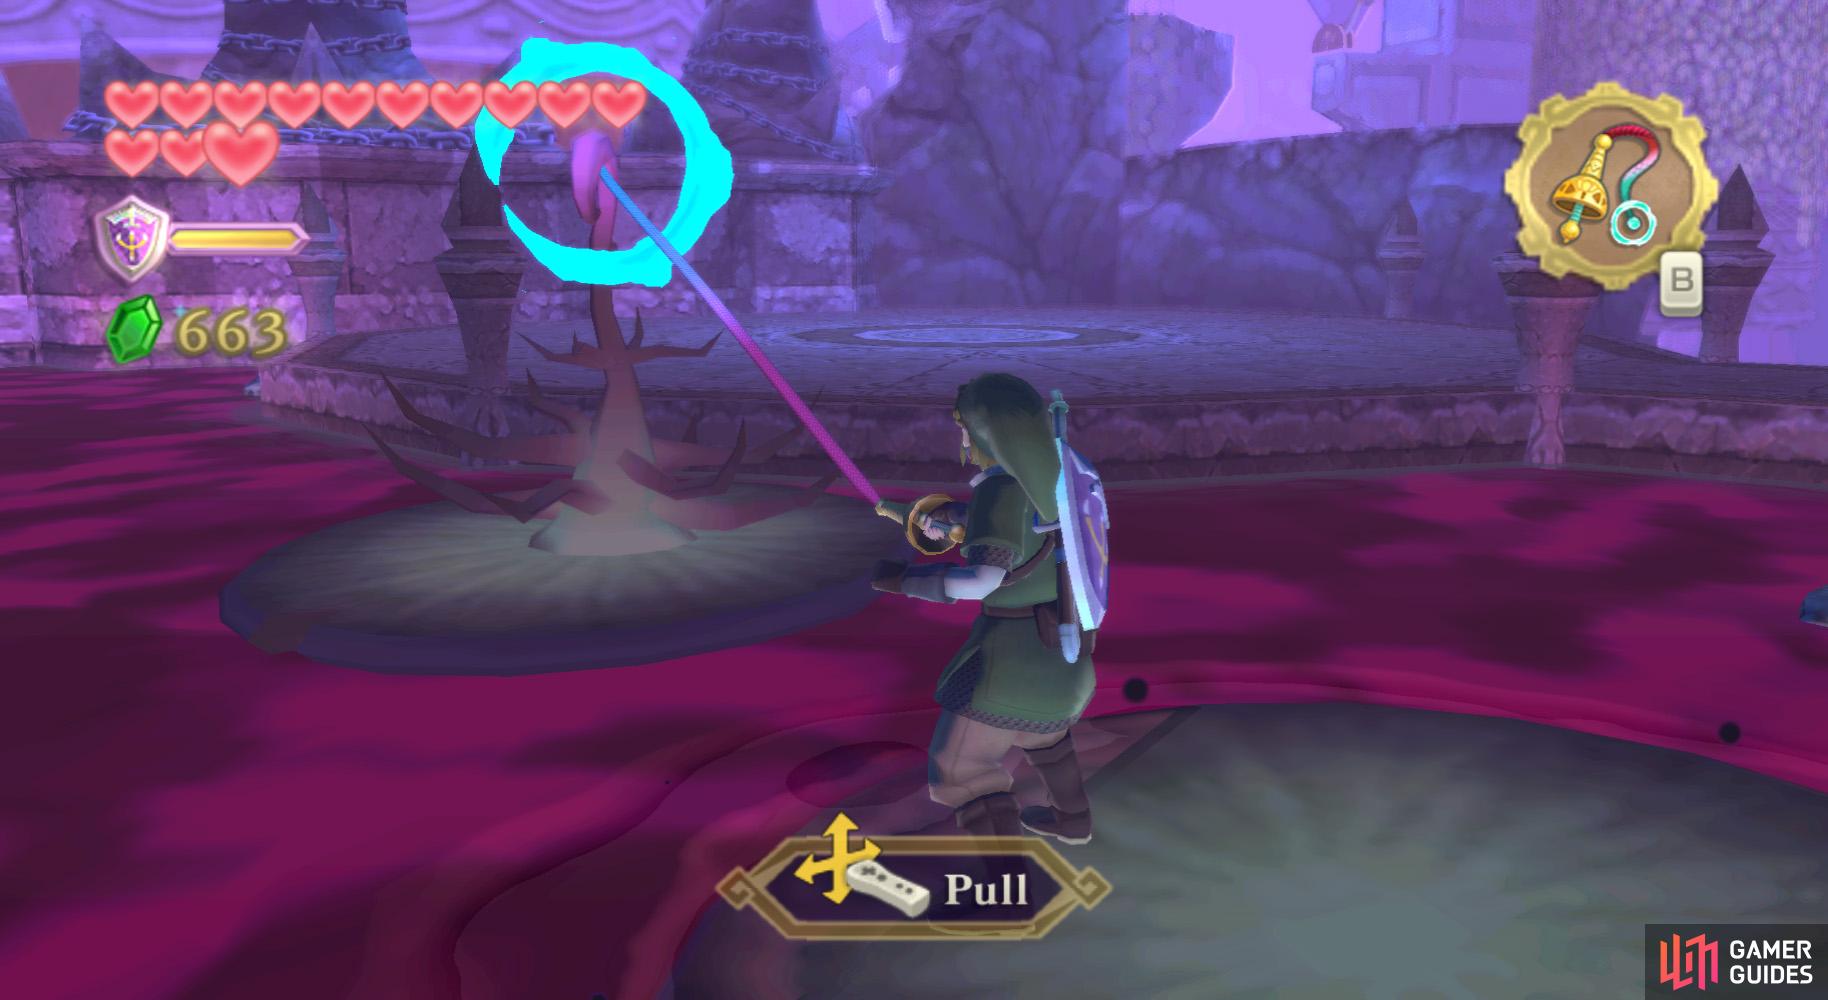
Hop across to the solid platform and look to the right. You’ll find a huge skull spewing out cursed water. You can send the Hook Beetle through one of the skull’s eyes to find a tunnel; hit the crystal at the end to stop the flow of cursed water.
Go back across the lilypads and go left at the solid land. Go ahead and defeat the Fire Keese, then, nearby, you should find a bunch of Blessed Butterflies. Play the harp nearby for a Goddess Wall.
Continue along the path to the Bomb Flower. Use the Hook Beetle to take one through the skull’s mouth to a cracked rock further ahead, on a ledge, to Bomb it and get rid of it.
Go back around and re-cross the lilypads. Go to the Bombed ledge by swinging to it from the post above using the Whip, then go further forward to the rotating column.
(1 of 2) On the second rotating column, drop down to the second (not first) ledge.

On the second rotating column, drop down to the second (not first) ledge. (left), Use the whip to flick this switch right. (right)
Climb the vines on it, then dash to the apex, then dash and jump to the next column. Hang onto this one as you pass the ledges. Ignore the first one; just jump onto the second one.
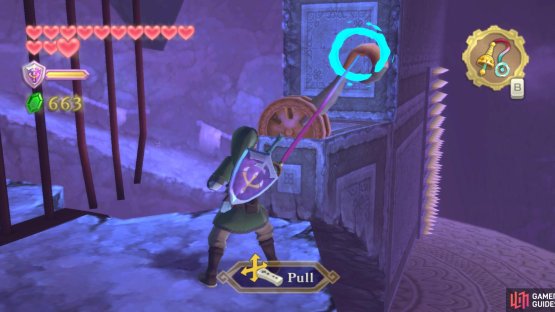
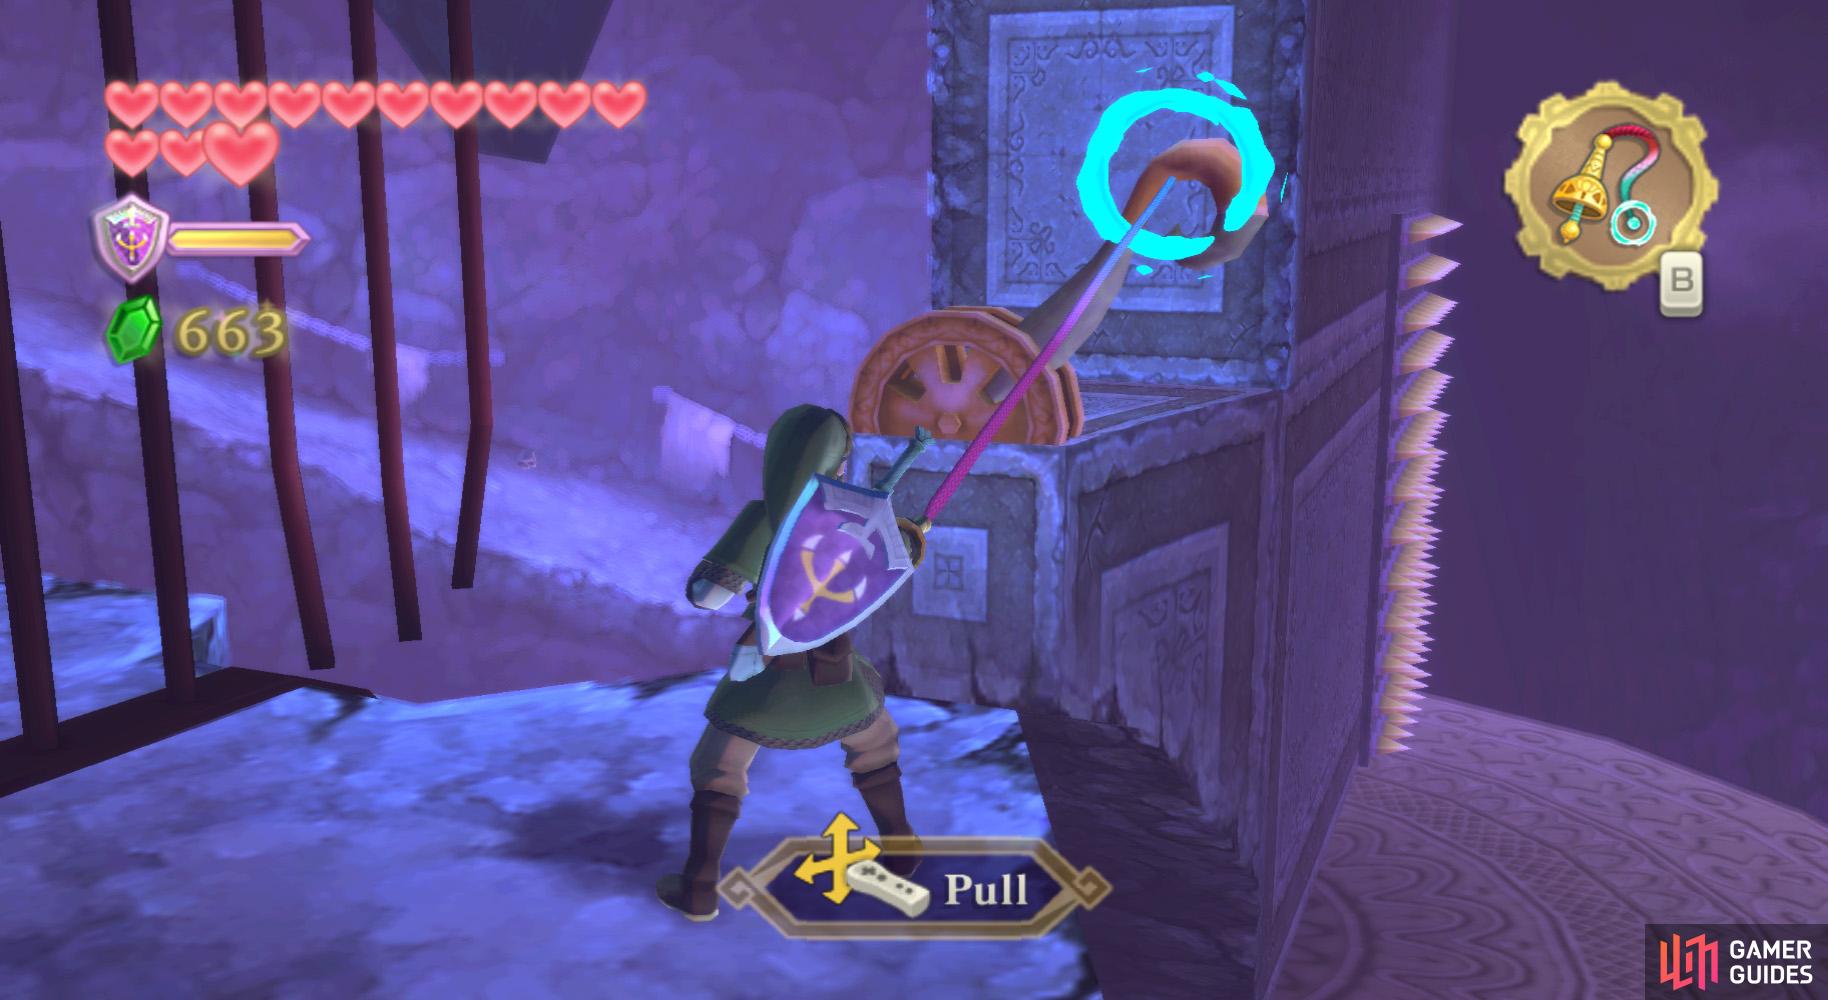
Follow the path you’re on to the end and you can (and should) dash to the non-moving column. Climb to the ledge above and go ahead to a switch. Use the Whip to pull this switch to the left, reversing the direction of the rotating columns.
Jump onto that same ledge, then go uphill and defeat some Cursed Bokoblin as you ascend. At the top, jump onto the next rotating column and hang on until you bang into the wall. Follow this path and another non-moving column; climb up those vines.
You should see the switch from earlier nearby; use your Whip to pull it to the right. Return to the previous vine column and ride to the end to fall on a new pathway. Go uphill to a high ledge overlooking an empty room. Needless to say, I hope Link doesn’t have acrophobia.
(1 of 2) Get ready to (literally) shake off some pursuers soon.
Get ready to (literally) shake off some pursuers soon. (left), Pull the lever in the middle again to raise the gigantic statue. (right)
Anyhow, drop into the aforementioned room and approach the rope dangling from far above. Grab it and – I kinda enjoyed how Nintendo thought of this – some Cursed Bokoblins will start climbing after you.
You can go down and fight them (I very much recommend doing this for a while with some Treasure Medals – you can farm large numbers of Evil Crystals this way), and/or continue climbing to the next area. If you’re grabbed while climbing up, shake off the enemy and climb some more.
Central Area
In the next area, utilize the Bird Statue, then jump at the nearby wall switch, causing a ledge to make it easier to hit the large lever from earlier. In fact, since we’re here, Whip it back upwards and drop back into the basement from whence you came!
Basement Main (Again)
(1 of 2) This looks far too easy. Get ready for an ambush or a trap–or both, in this case!
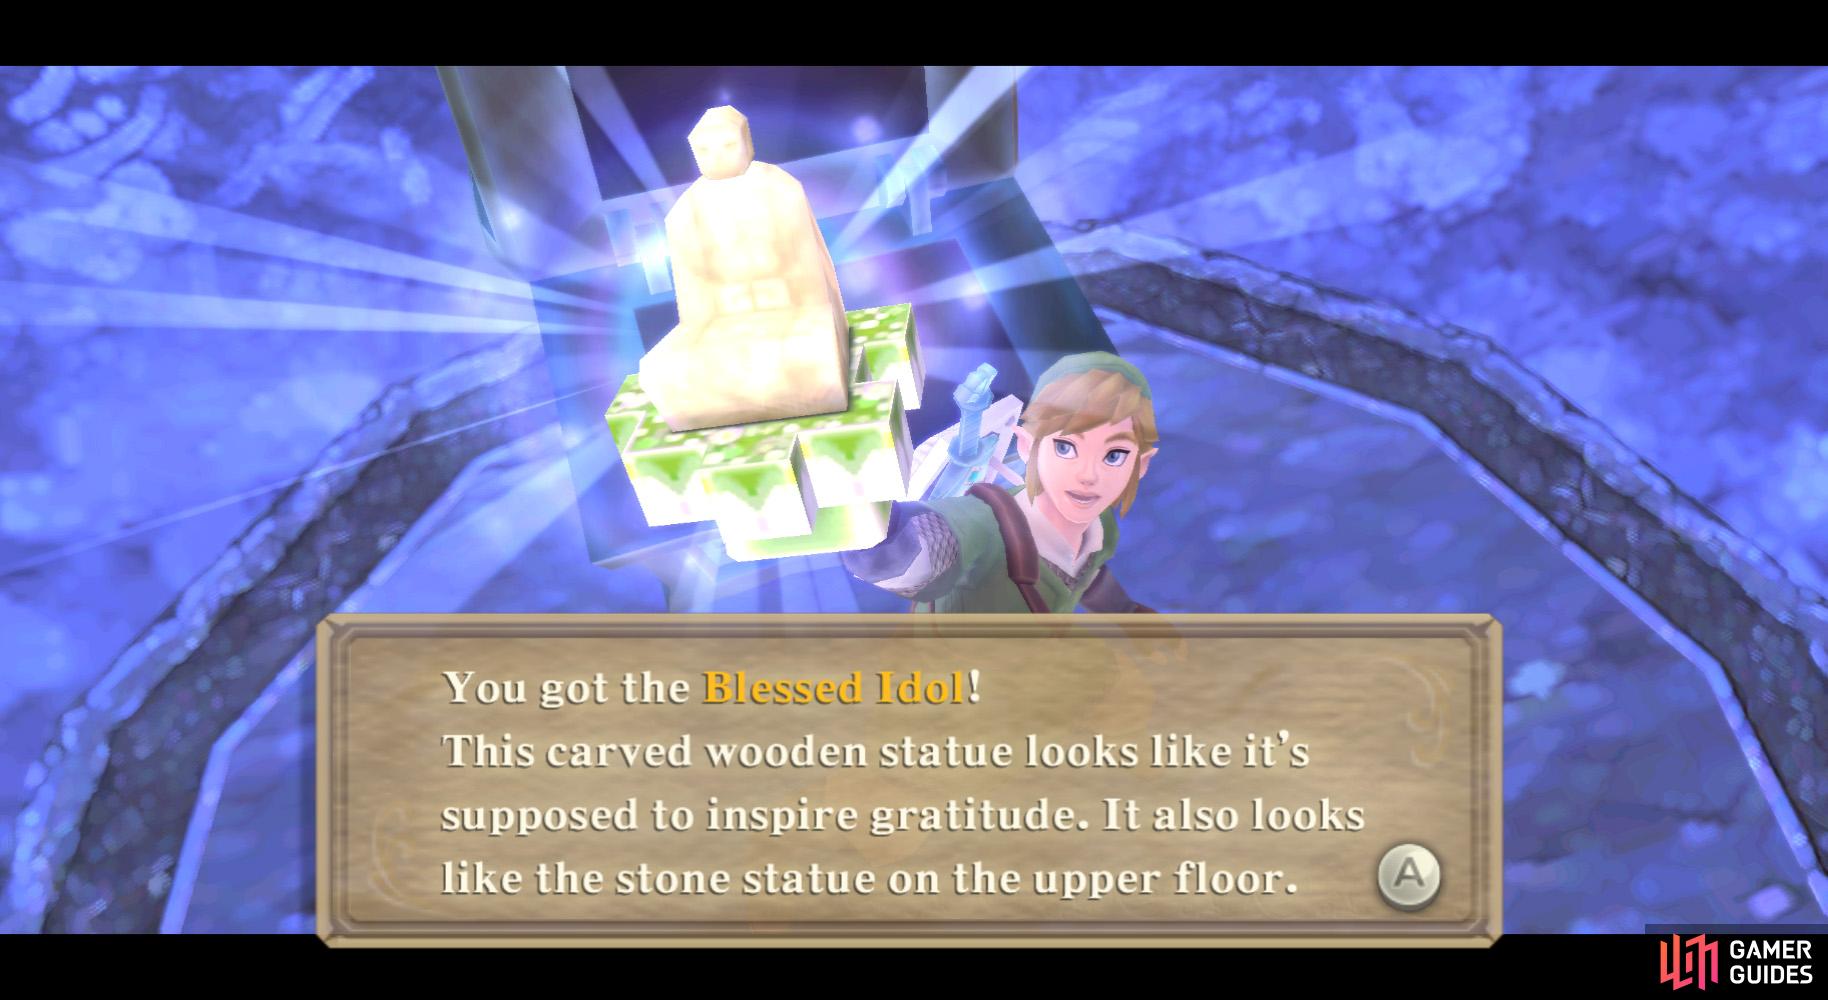
This looks far too easy. Get ready for an ambush or a trap–or both, in this case! (left), Grab the Blessed Idol and do a runner. (right)
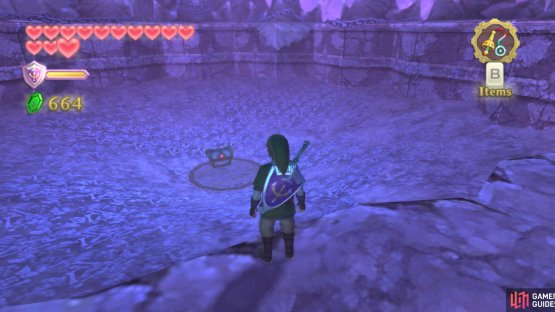
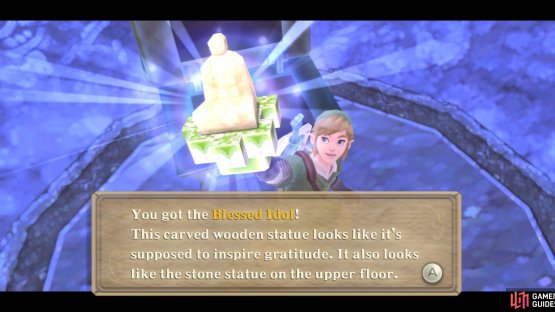
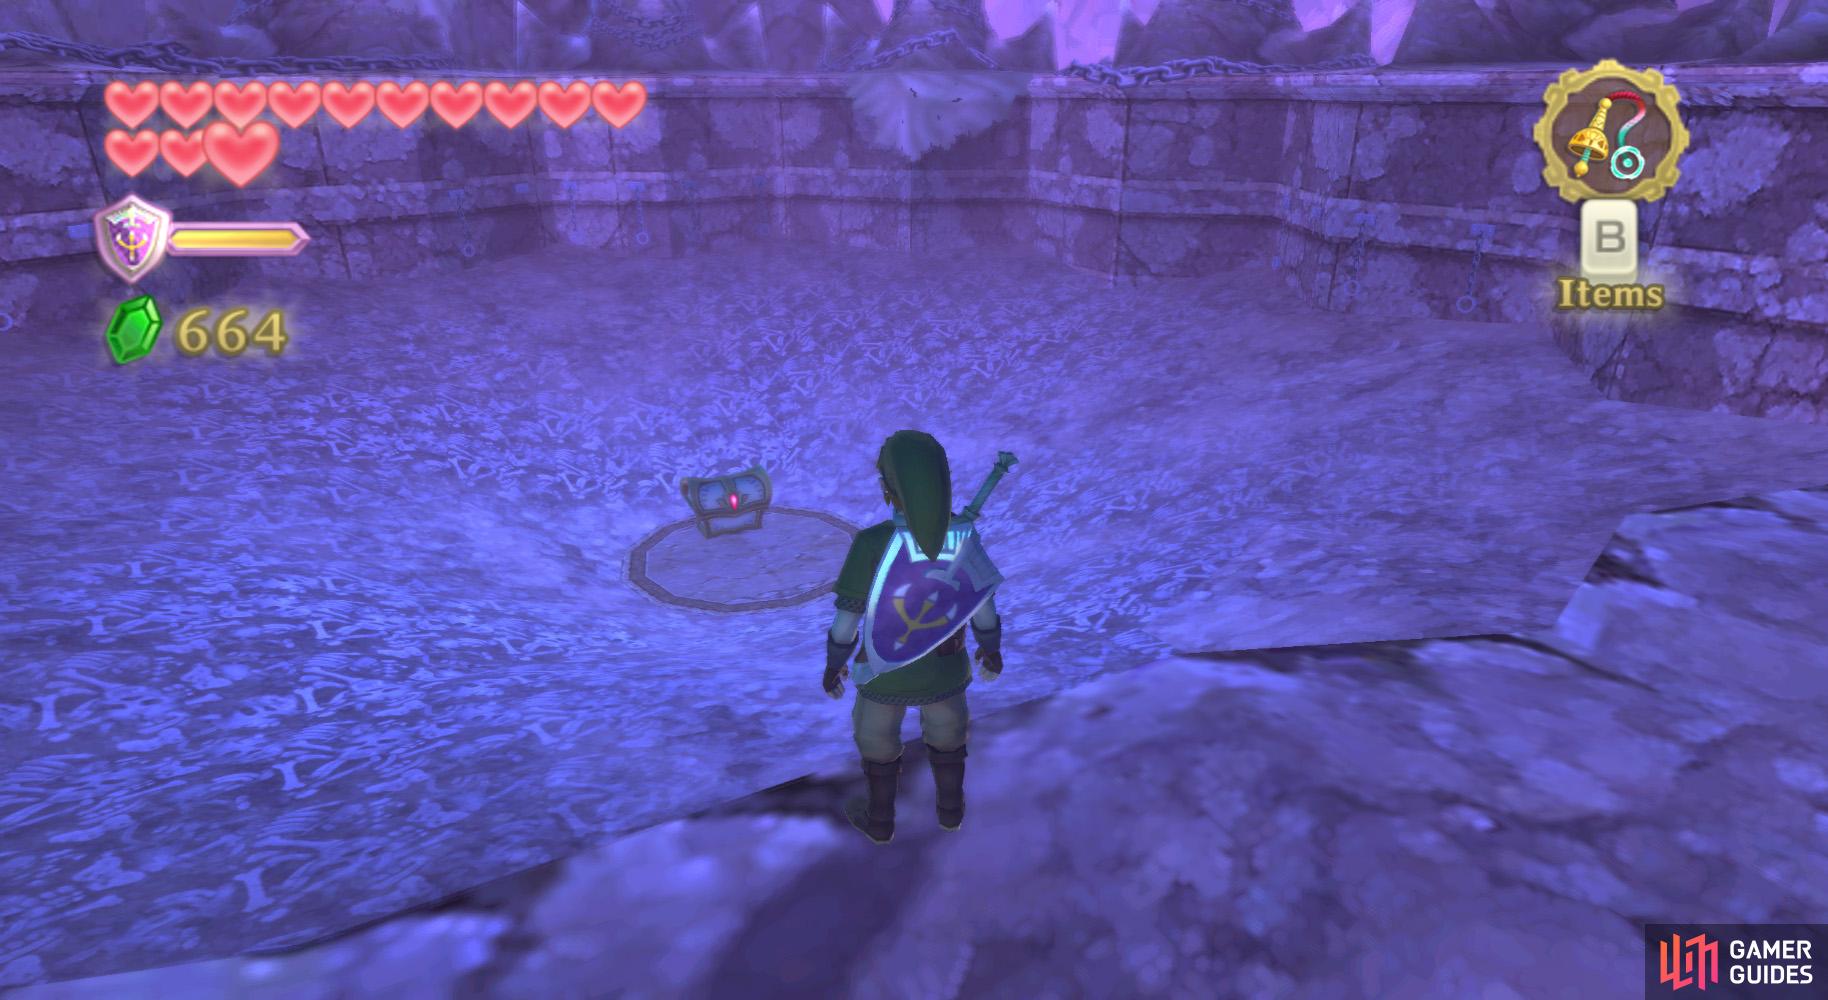
Enter the nearby unvisited room this time. Go forward some to find a valve; Whip it to make a water spurt appear. Go into the room below and snatch the Amber Relic nearby. Then go towards the chest you saw a while ago. Open it to find the boss key for this dungeon, the Blessed Idol.
Then a bunch of Cursed Bokoblin will appear and the above statue will start sinking. You know what…? Just run back out of the small indentation on the ground and squish all of the Cursed Bokoblin will be nice and flat, although you don’t get any rewards.
Mini-Boss Room
(1 of 2) Time for another rotating block puzzle!


Time for another rotating block puzzle! (left), This one is a bit easier, because the statue (idol) always goes into the lock. So you just need to rotate it. (right)
Once the statue hits the ground, go into it and start making your way to the top of the statue via the water geysers. You may need to Whip some of the valves if you didn’t do as such earlier when you where here.
Anyhow, at the top, use the Bird Statue and insert the Blessed Idol into the lock. After a short scene, go to the top of the statue and go around, using the Whip to trigger the four valves, causing the statue to rise even further.
In the next room, go around and collect some hearts if you need, then save at the Bird Statue. Go into the next room for your next cutscene and your next boss.
No Comments