

This page details how to find and kill ![]() Gorecrusher the Behemoth, one of the late Act 4 bosses in V Rising. We’ll cover how to reach the
Gorecrusher the Behemoth, one of the late Act 4 bosses in V Rising. We’ll cover how to reach the ![]() Lair of the Behemoth in the Cursed Forest, how to defeat the boss including an overview of their attacks, and recommended weapons / abilities for the fight.
Lair of the Behemoth in the Cursed Forest, how to defeat the boss including an overview of their attacks, and recommended weapons / abilities for the fight.
Gorecrusher the Behemoth is a level 83 Act 4 boss in V Rising.
Where to Find Gorecrusher the Behemoth
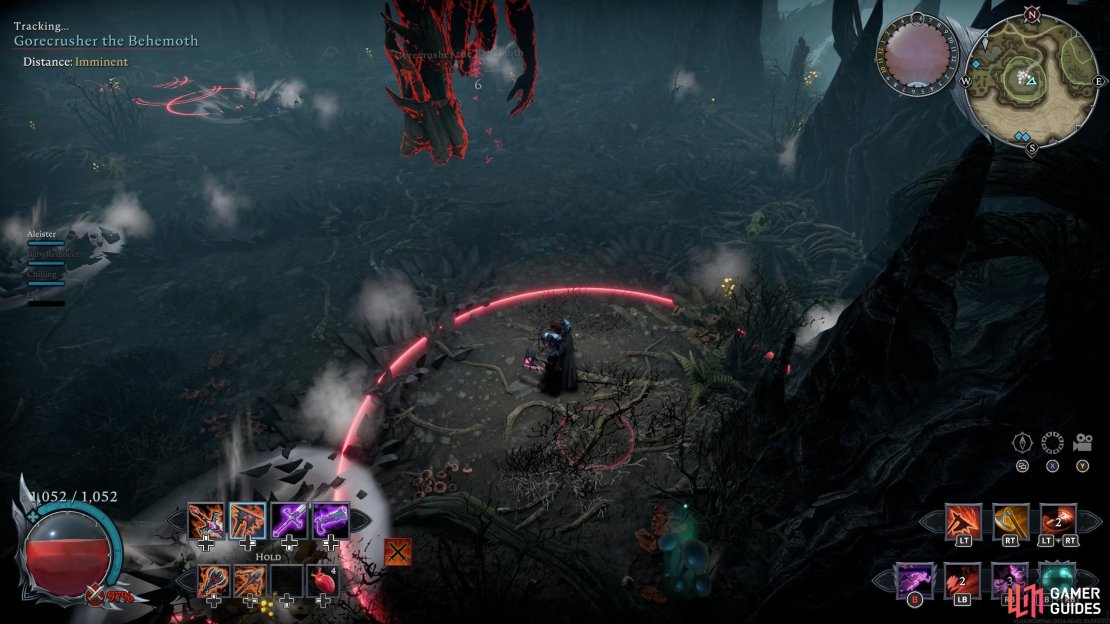
You’ll find Gorecrusher the Behemoth at the Lair of the Behemoth, which is located in the southeast of the Cursed Forest, as shown on the map below. You’ll find a winding path leading upwards towards the lair from the main path. Follow this up to reach the entrance to the lair. Note that the lair is shaded completely from the sun, so it doesn’t matter whether you fight this boss during the day or night. However, if you’re struggling with the fight, you may want to wait for a Blood Moon, which will boost all the effects of your Blood Type by 20%, and increase your movement speed by 10%.


(1 of 2) You’ll find a winding path just off the main path, leading up to the Lair of the Behemoth.
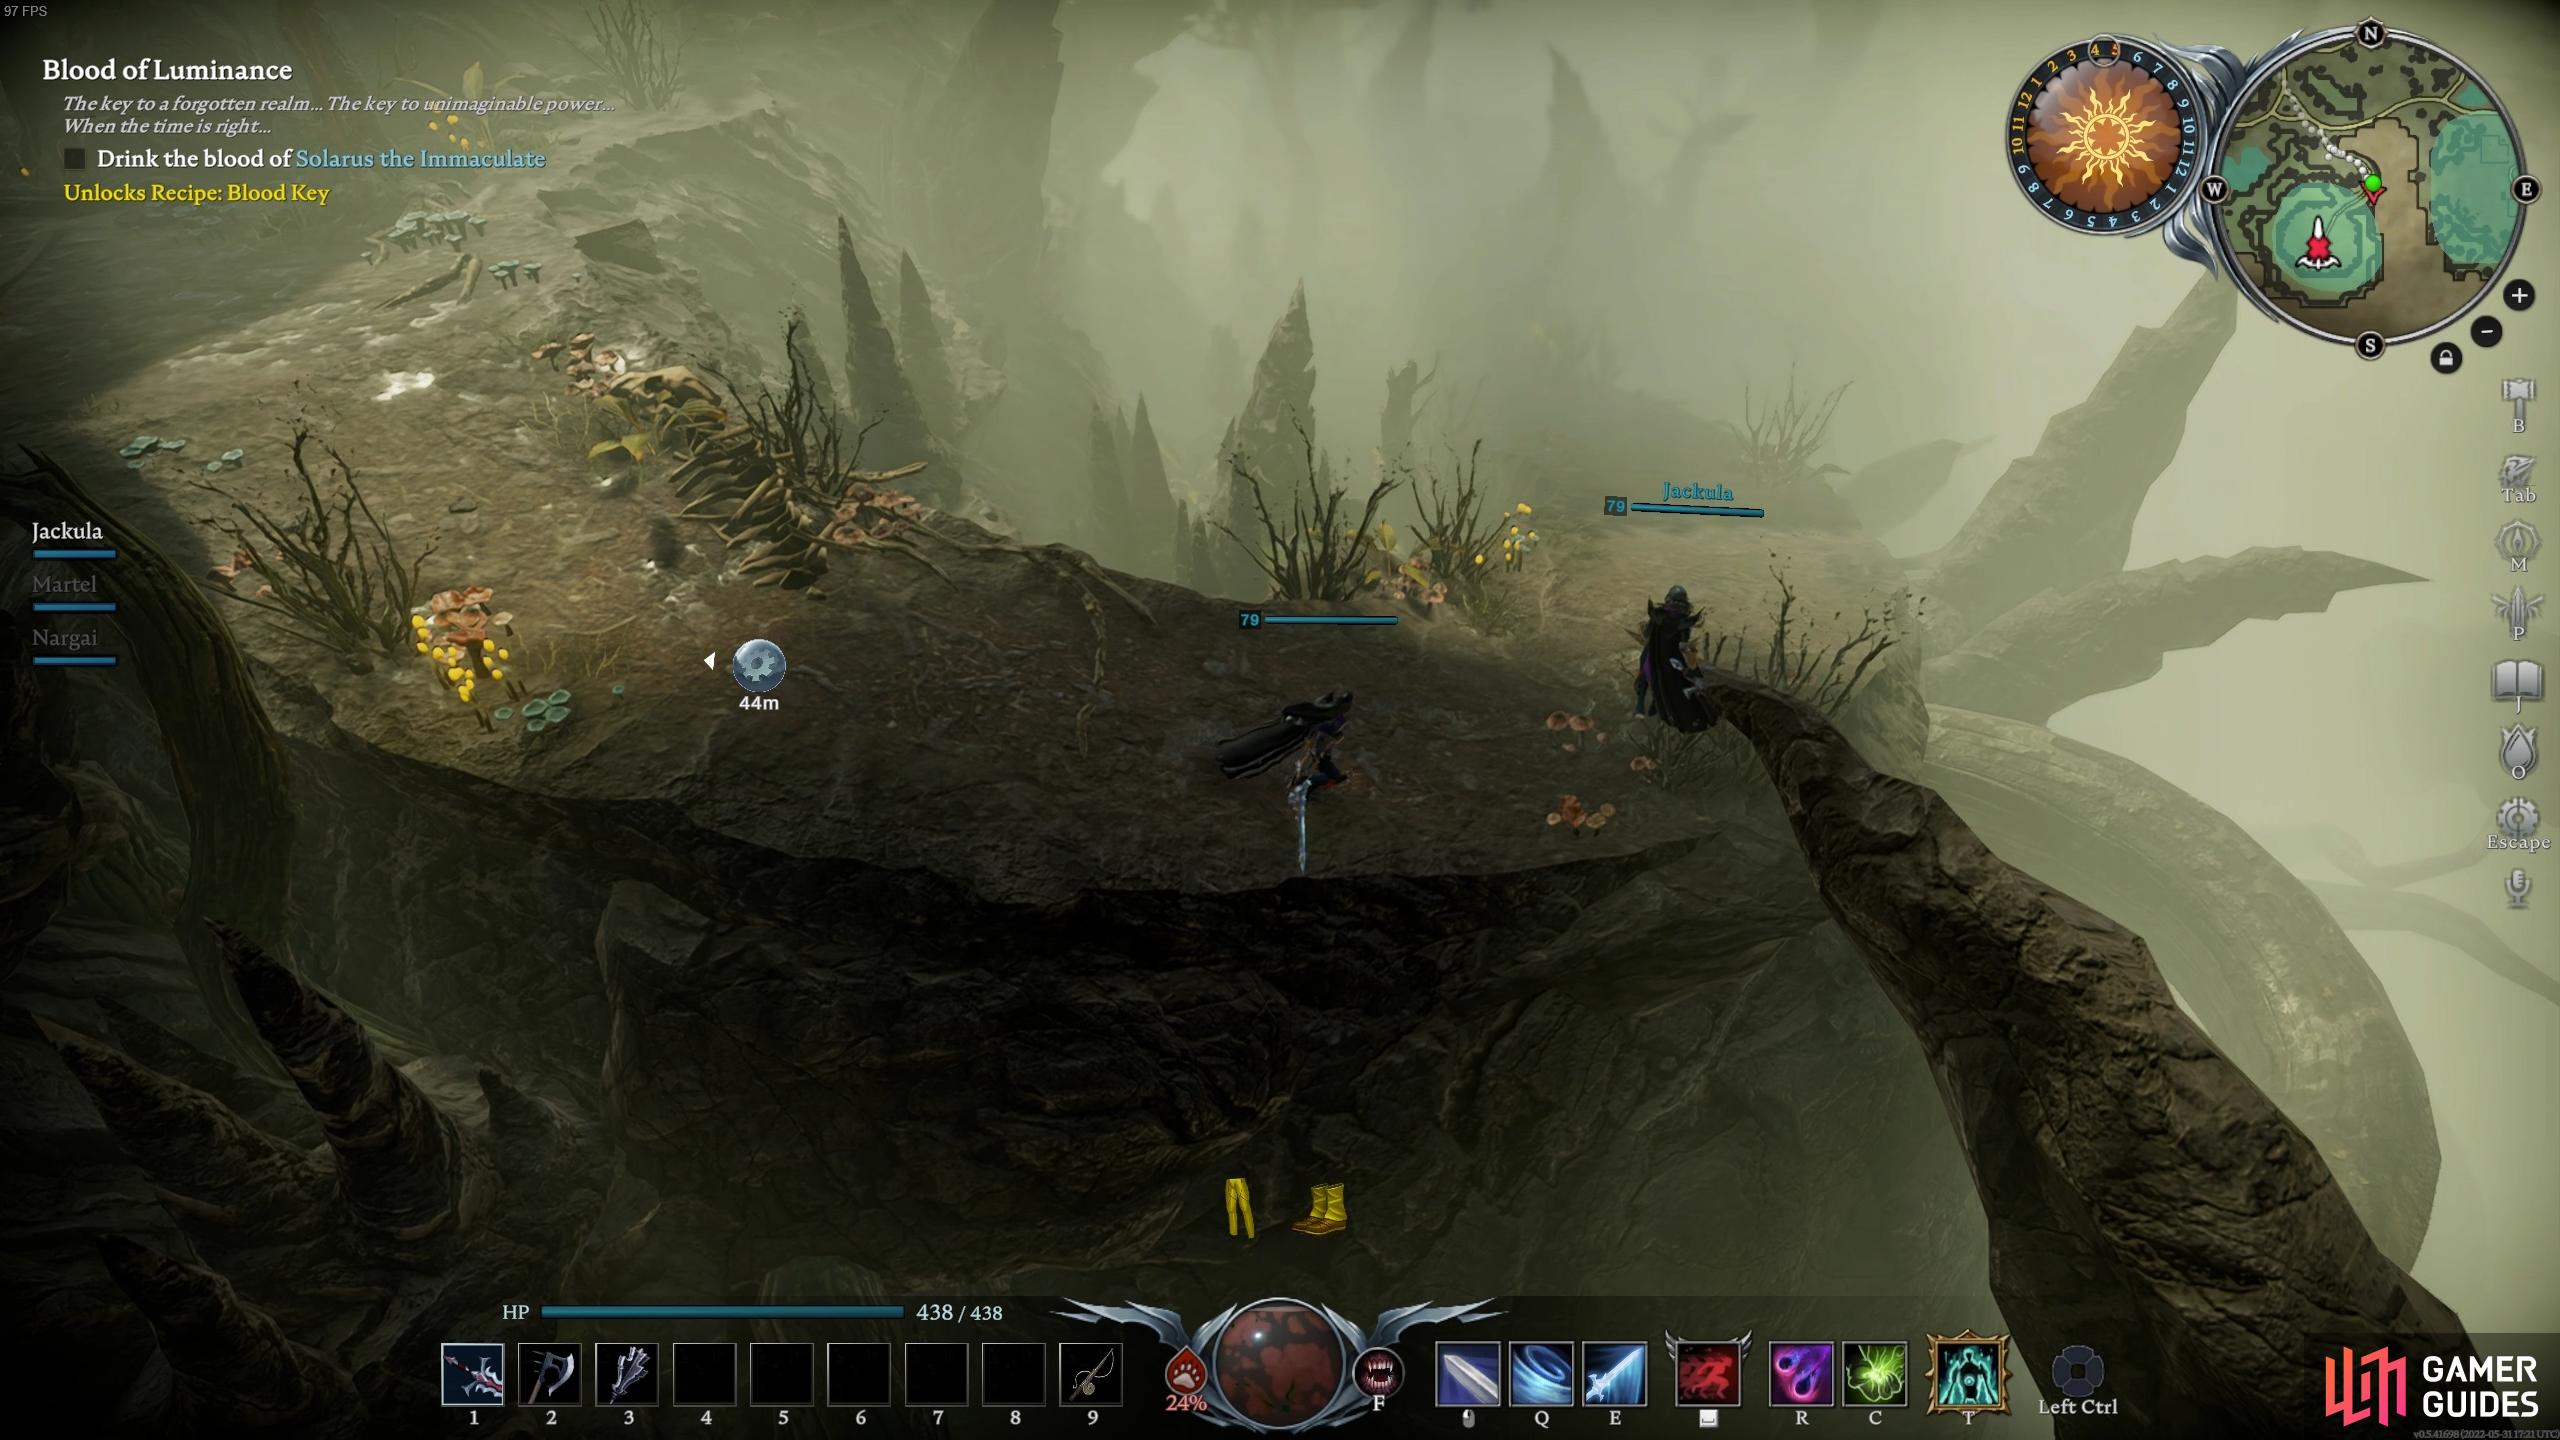
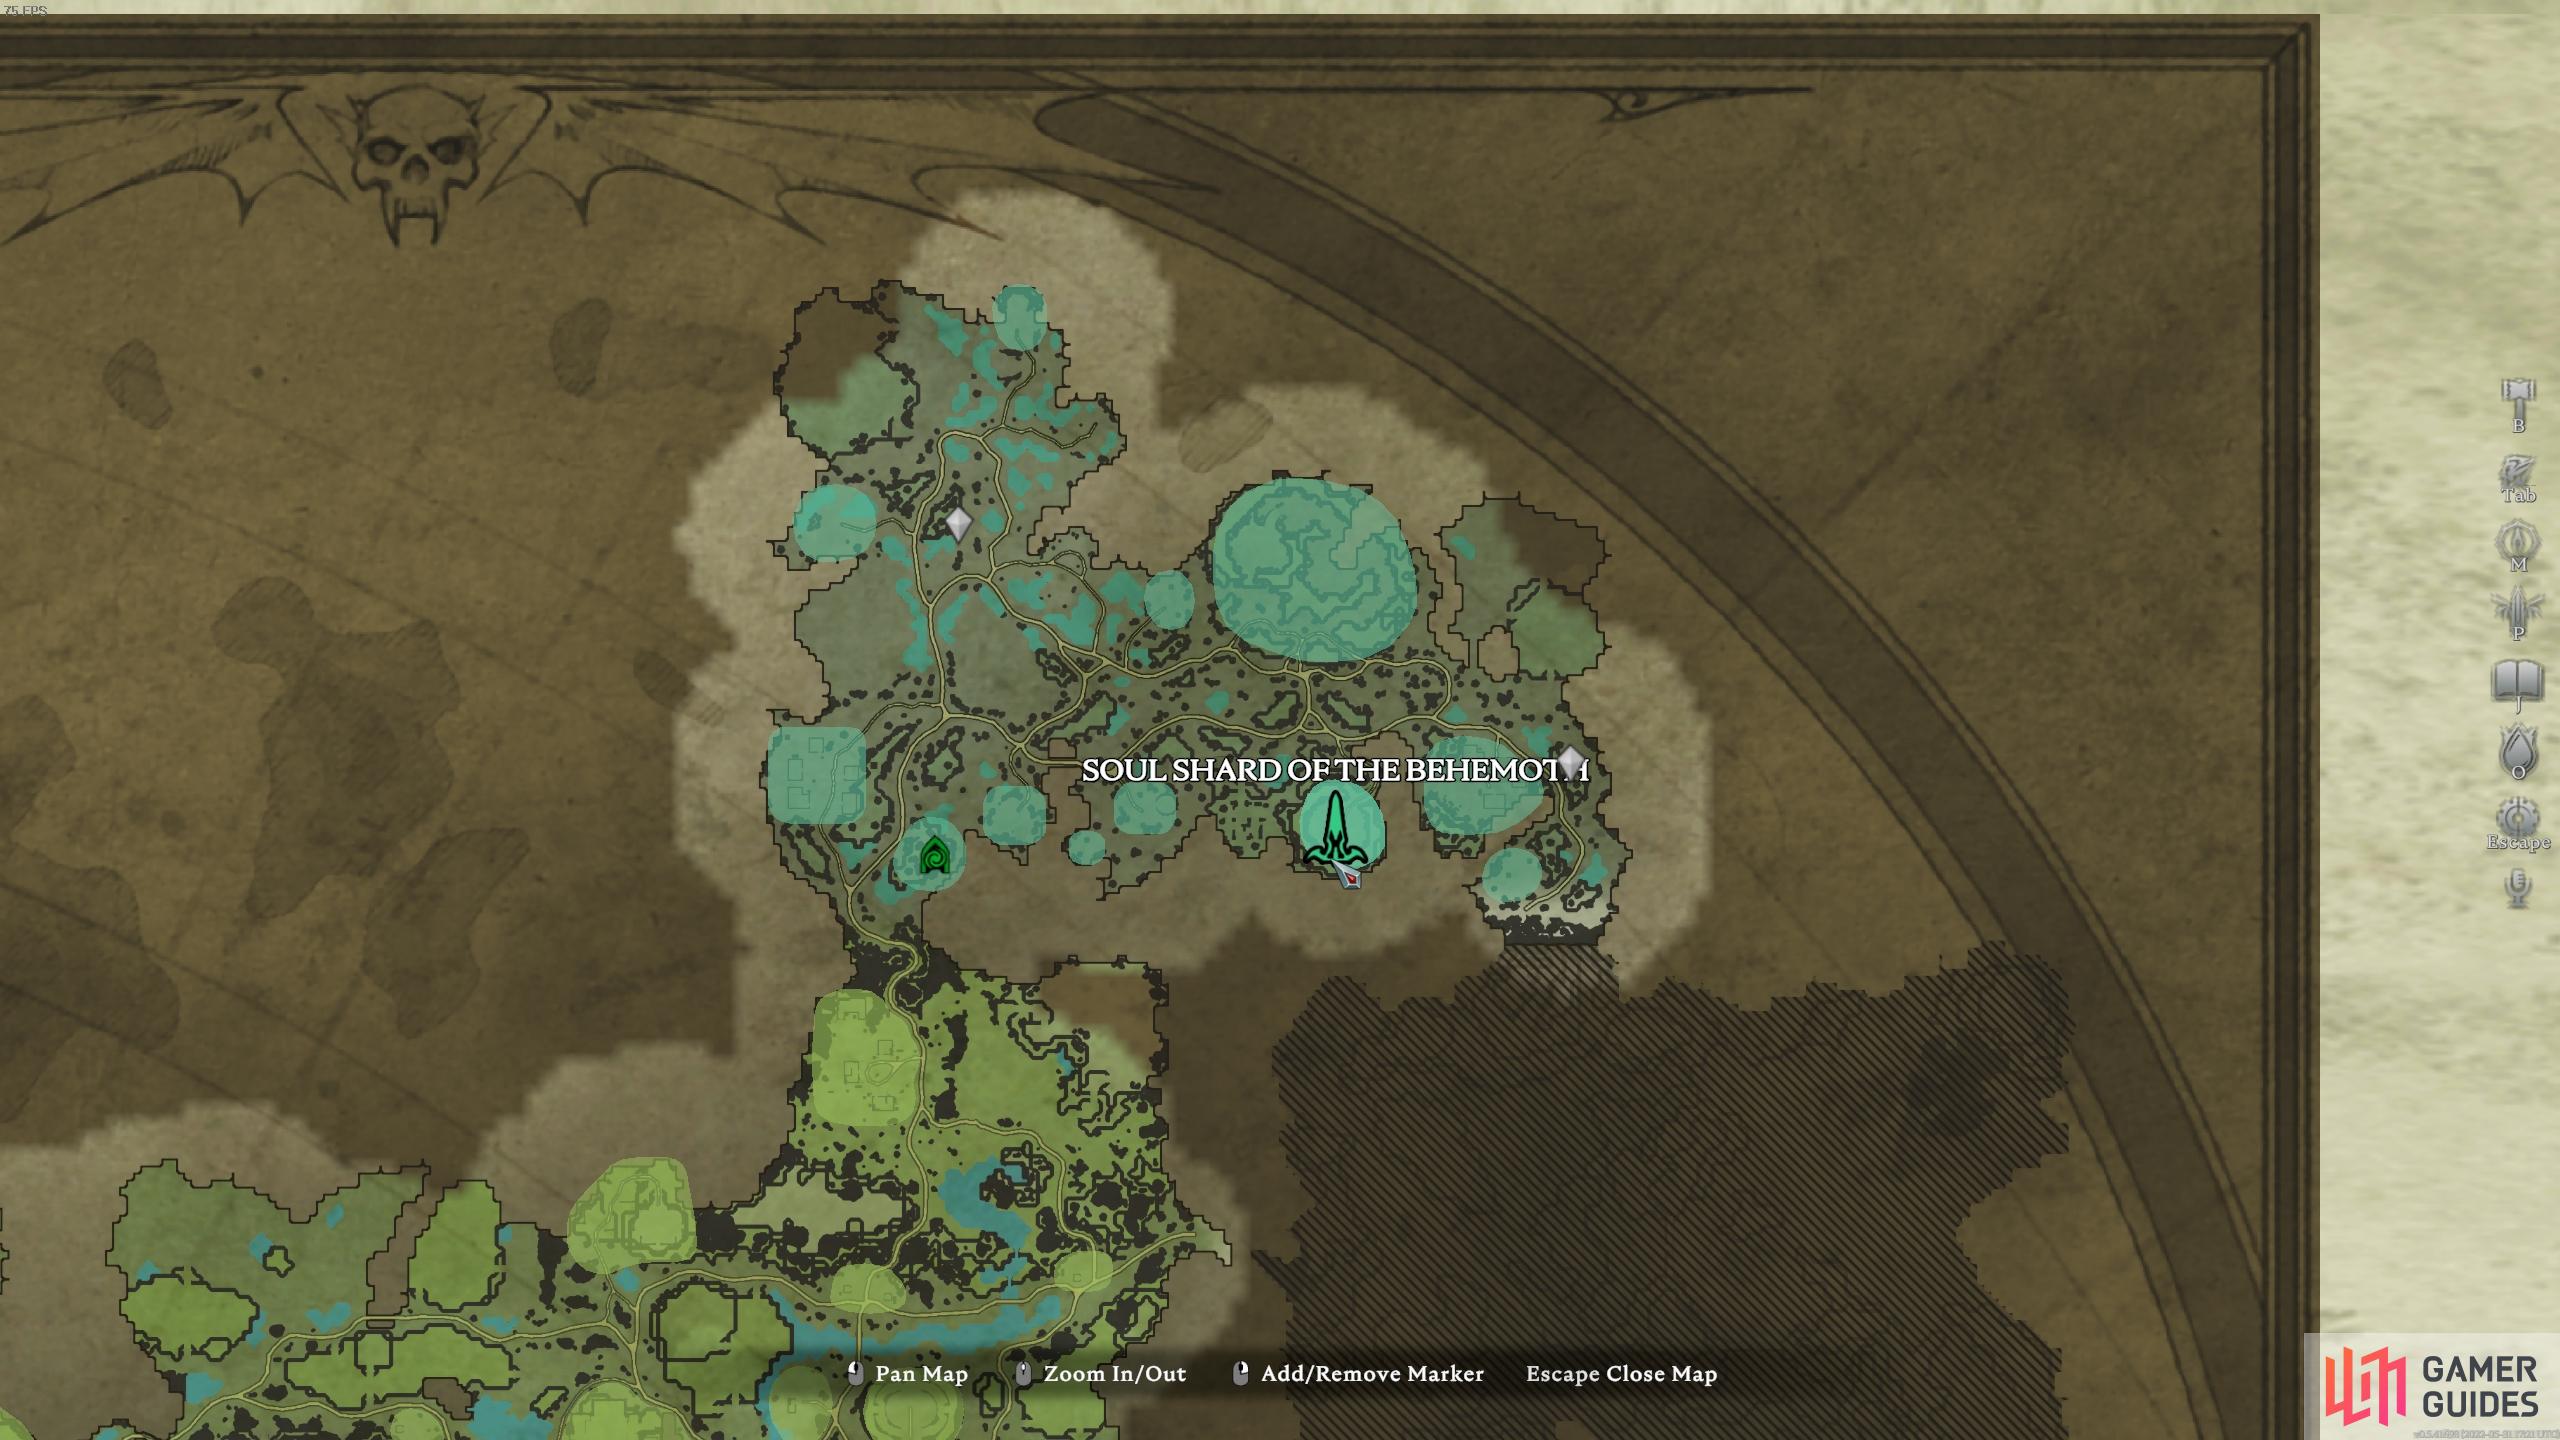
You’ll find a winding path just off the main path, leading up to the Lair of the Behemoth. (left), The location of the Lair of the Behemoth, in the southeast of the Cursed Forest. (right)
How to Defeat Gorecrusher the Behemoth
The fight with the Gorecrusher is probably one of the most chaotic in the game right now. Let’s take a look at what attack you can expect.
Attacks
- Swipe and Punch
This attack consists of two swipes with the Behemoth’s hoof-like limb, striking right then left. This has a fairly wide angle, so you’ll want to be as far back as possible from the boss when he executes this. The only indication that the attack is incoming is when the boss pulls the limb backwards, preparing a strike. The attack will often be followed up by a punch forwards.
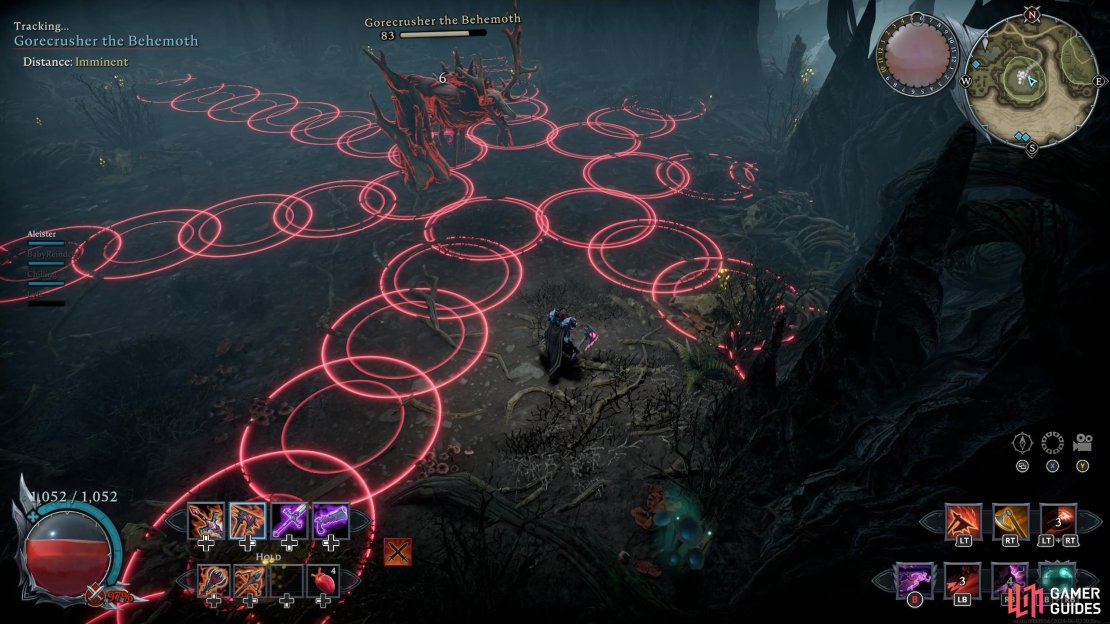
- Slam and Earthquake
This is an Area of Effect slam attack which begins when the boss lifts both arms up in the air. A red circle will form beneath the boss at this point, indicating the area where you’ll take damage if you’re within the circle. This gives you plenty of time to move out of the way, but the real danger comes after this attack, since waves of earthquake-like damage will emanate from the slam. A second wave of eruptions will often follow the first. There’s plenty of space to stand between as these waves move outwards, but you can expect to be caught in a few of them if you’re not careful.
- Leaping Slam
This attack is somewhat similar to the slam attack, without the waves of damage which come after. Instead, the boss will leap into the air as a red circle appears, indicating an area on the ground where damage will be taken if you’re within it. You’ll need to run out of this circle as soon as possible, or you can use your travel skill to quickly dash away from it if necessary.
- Short Charge
The boss will sometimes charge forward a short distance, ending in the antlers lifting up, which throws you into the air and stuns you when you land. You should avoid this at all costs, since the boss will often follow it up with a few swipe or smash attacks.

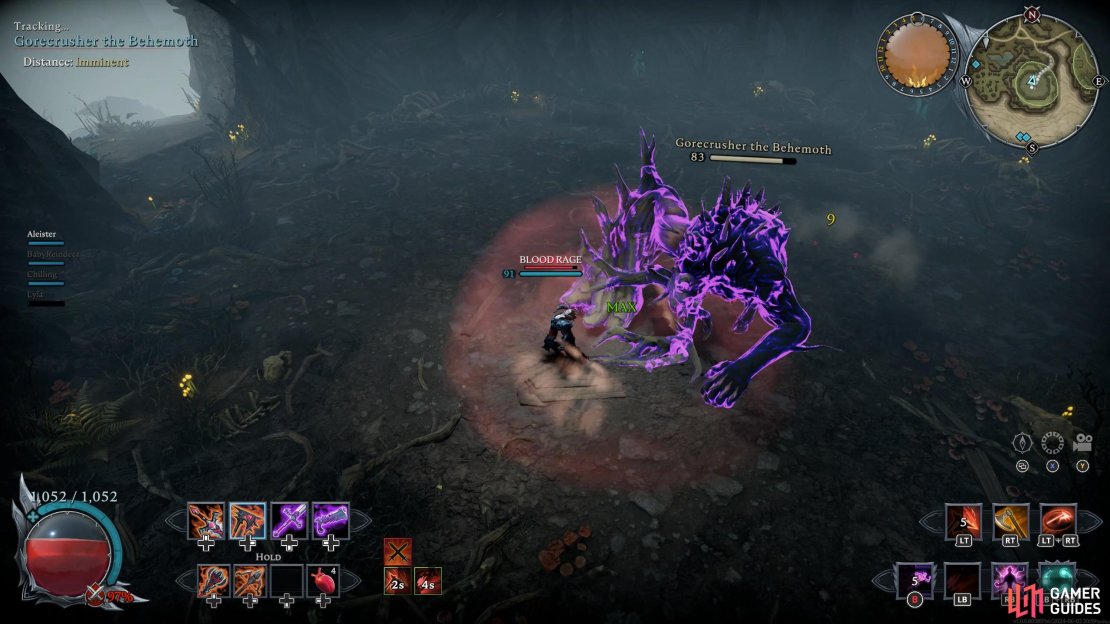
(1 of 4) Swipe and Punch: A three-hit melee combo consisting of a horizontal swipe, a backhand swipe, and a punch.
- Long Charge
This charge attack is similar to the Short Charge mentioned above, but as the name implies: the duration of this charge is increased, and it’s marked by a teal trail emitting from behind the Behemoth as it charges forward. The first charge will often be followed by two more, so you’ll need to be ready to avoid all three to avoid taking damage.
- Summon Illusions
At around 60% health, the boss will summon a spectral wolf and bear. These are more powerful than regular wolves and bears, but they can still be taken out fairly easily. They will perform many of the same attack moves that their regular counterparts do. The Behemoth will be immobile and immune to damage for the first few seconds after the wolf and bear are summoned, giving you a chance to kill them quickly.
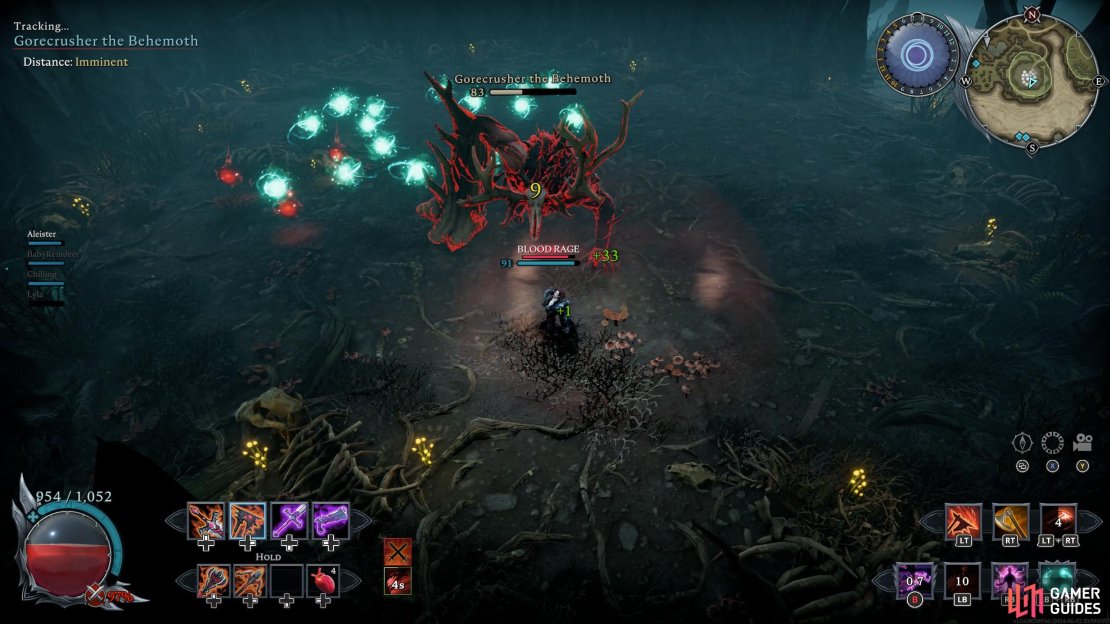
- Dancing Wisps
This attack will occur when the boss is around 40% health. A number of teal orbs (wisps) will be summoned, and they will begin to roam around the lair, inflicting damage upon contact. Reposition away from the wisps until they dissipate.
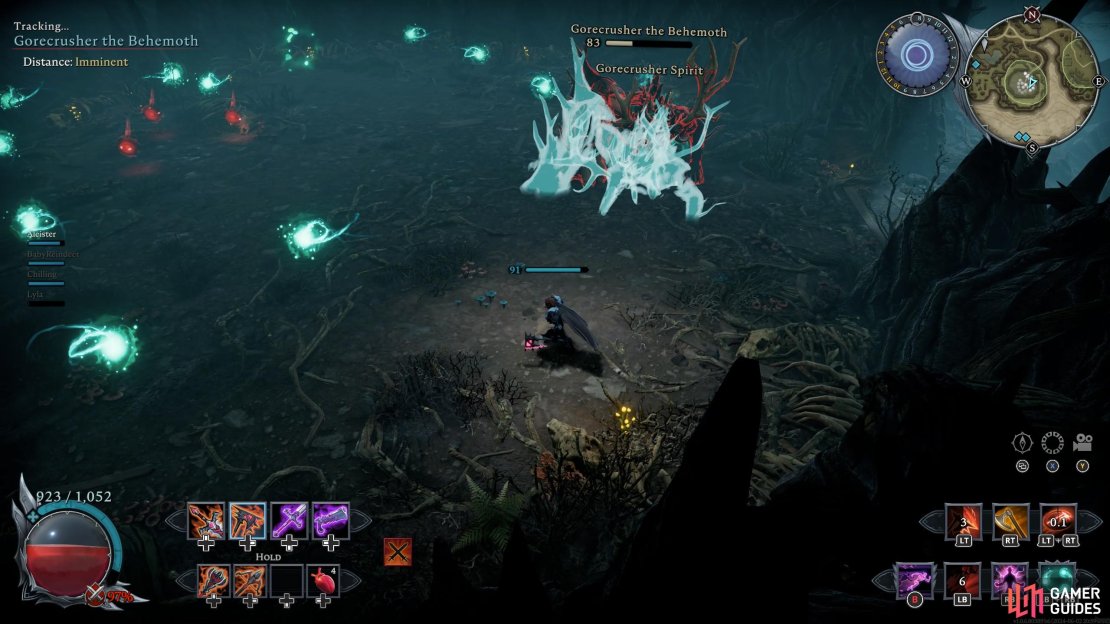
- Spectral Behemoth
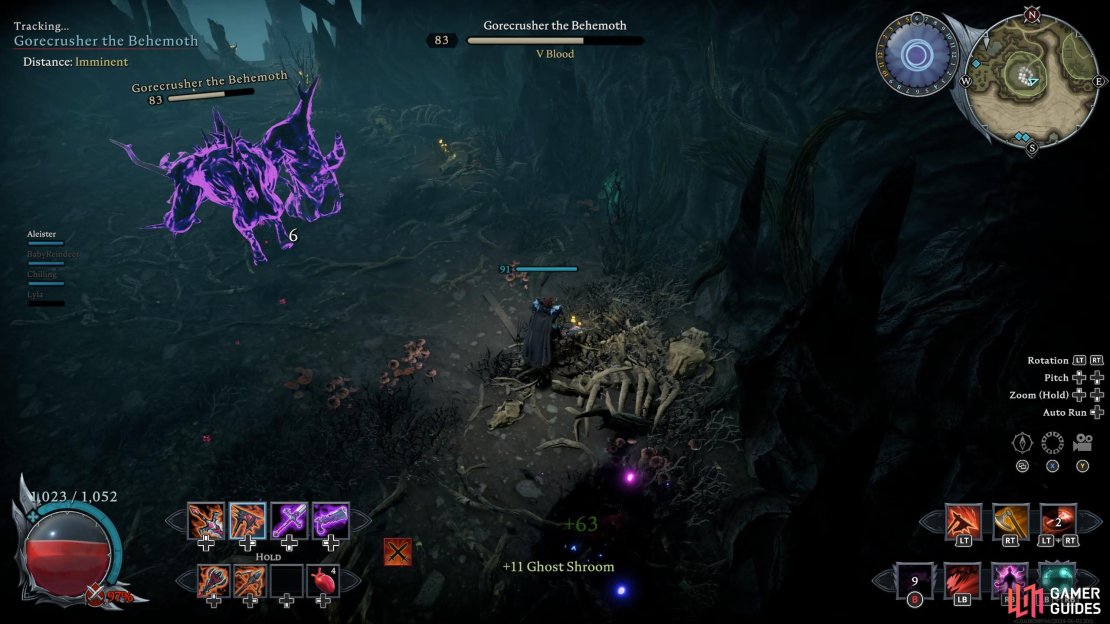
Towards the end of the fight (around 30% boss health), the Gorecrusher will summon a spectral copy of itself which has less health than the real boss. You cannot kill this copy as it will regenerate whenever you deplete its health, though it will return with less health each time.
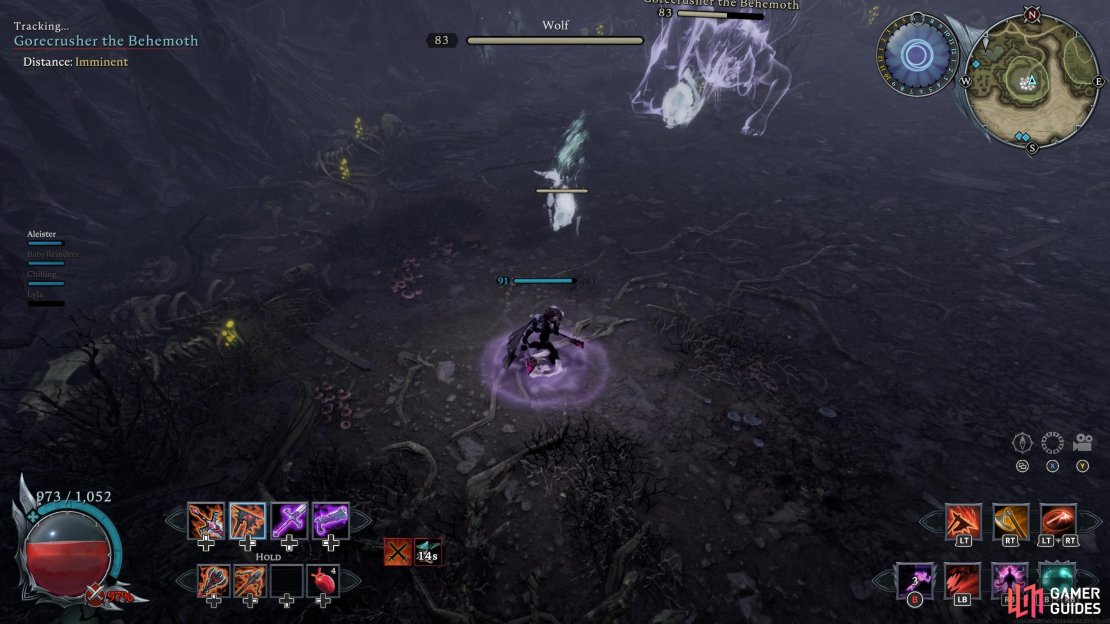
(1 of 4) Long Charge: Multiple charges back and forth across the lair.
Strategy
Blood Types
To give yourself the best chances of success in this fight, you’ll first want to find an enemy with 100% Blood Type, or take the blood of a prisoner that you’ve kept in your castle. The blood type that you choose will depend on your combat preferences, but as part of this guide we recommend either 100% Brute blood or 100% Rogue blood. You can learn more about blood types and their buffs on our All Blood Types and Quality Effects page.
The Brute blood is particularly good because it provides you with a passive Life Leach, allowing you to heal a small amount whenever you hit the boss. It will also give you an extra Gear Level, which will reduce the damage you take and increase your own output. It also buffs your primary attack speed and provides a chance to increase your movement speed by 20% and damage of primary attacks by 25% for a brief period, with a 6% chance per relative health recovered, which can give you the edge in terms of burning the health of the boss down while avoiding its most devastating attacks.
If you find that you’re struggling to avoid some of the highly damaging attacks coming from the Behemoth, you may want to try 100% Rogue blood instead. This will increase your movement speed by 15% and reduce the cooldown on your travel skill by 25%, allowing you to dodge attacks more frequently while guaranteeing a 100% chance to critical strike on the next physical attack after using the travel skill. At the same time, Rogue blood will increase the chance of a critical hit on all weapon attacks by 20%, and provide a base 50% chance to expose victims armor on a crit, increasing damage taken from all sources by 15% for 4s.
These two blood types have the potential for the most impact during the fight with the Behemoth, since the circumstances for triggering their buffs can all be met throughout the boss fight. However, you may want to consider the Warrior blood type if you prefer a reduced cooldown on your weapon skills, or a 15% chance to reduce damage taken by 50%, while increasing your own damage by 25%. The tier III buff from the Warrior blood is less useful, since you will most likely rarely be at full health throughout the fight, though it is possible if you master the attack moves from the Behemoth.
When you reduce the Spectral Behemoths health, it’ll be in a downed state before eventually getting back up.
Keep Moving!
The chaotic nature of the attacks coming from the Behemoth will essentially force you to keep moving around the lair for the duration of the fight. You won’t want to stay in one place for too long, and if you do, you’ll be punished for it. You can easily dodge or run away from most of the attacks, such as Smash and Swipe. Things become a bit more tricky when you need to react swiftly to avoid the Charge attacks, or when you need to pay attention to the waves of damage which emanate from the Slam attack. If you can master the movements and patterns of these attacks, the other more basic attacks shouldn’t be too difficult to consistently avoid.
The pattern of your own movements will need to change somewhat later in the fight (around 40% boss health), when the boss begins to use Dancing Wisp. This will send roaming orbs floating around the lair, which will inflict a fair bit of damage if you’re caught by one. Thankfully, the orbs don’t move very quickly, but they can easily catch you off guard if you find yourself running into them while attempting to dodge an attack from the boss. This will become even more difficult as the boss summons a spectral copy of himself, since you’ll now have two versions of the boss to contend with, although the spectral version has a more limited attack rotation which consists mostly of charges and basic melee attacks. However, it will still use some of the more devastating attacks, just less frequently than the main boss.
Prioritise the Spectral Wolf and Bear
As the boss is brought down to around 60% health, he will summon a spectral wolf and bear into the lair. These are tougher than your regular wolves and bears, but you should be able to bring them down fairly quickly if you focus all your damage on them while ignoring the boss. This is made easier by the fact that the boss will become motionless (and immune to damage) for a few seconds after summoning the creatures, so you won’t need to worry about attacks coming from the Behemoth for a while. If you have a high-damage Ultimate ability such as ![]() Chaos Barrage or
Chaos Barrage or ![]() Heart Strike, this would be a good time to use it to ensure that the adds are out of the picture as soon as possible. Heart Strike provides the additional bonus of healing you over time as you fight the creatures, which is why we’d recommend this Ultimate ability overall (more on that below).
Heart Strike, this would be a good time to use it to ensure that the adds are out of the picture as soon as possible. Heart Strike provides the additional bonus of healing you over time as you fight the creatures, which is why we’d recommend this Ultimate ability overall (more on that below).
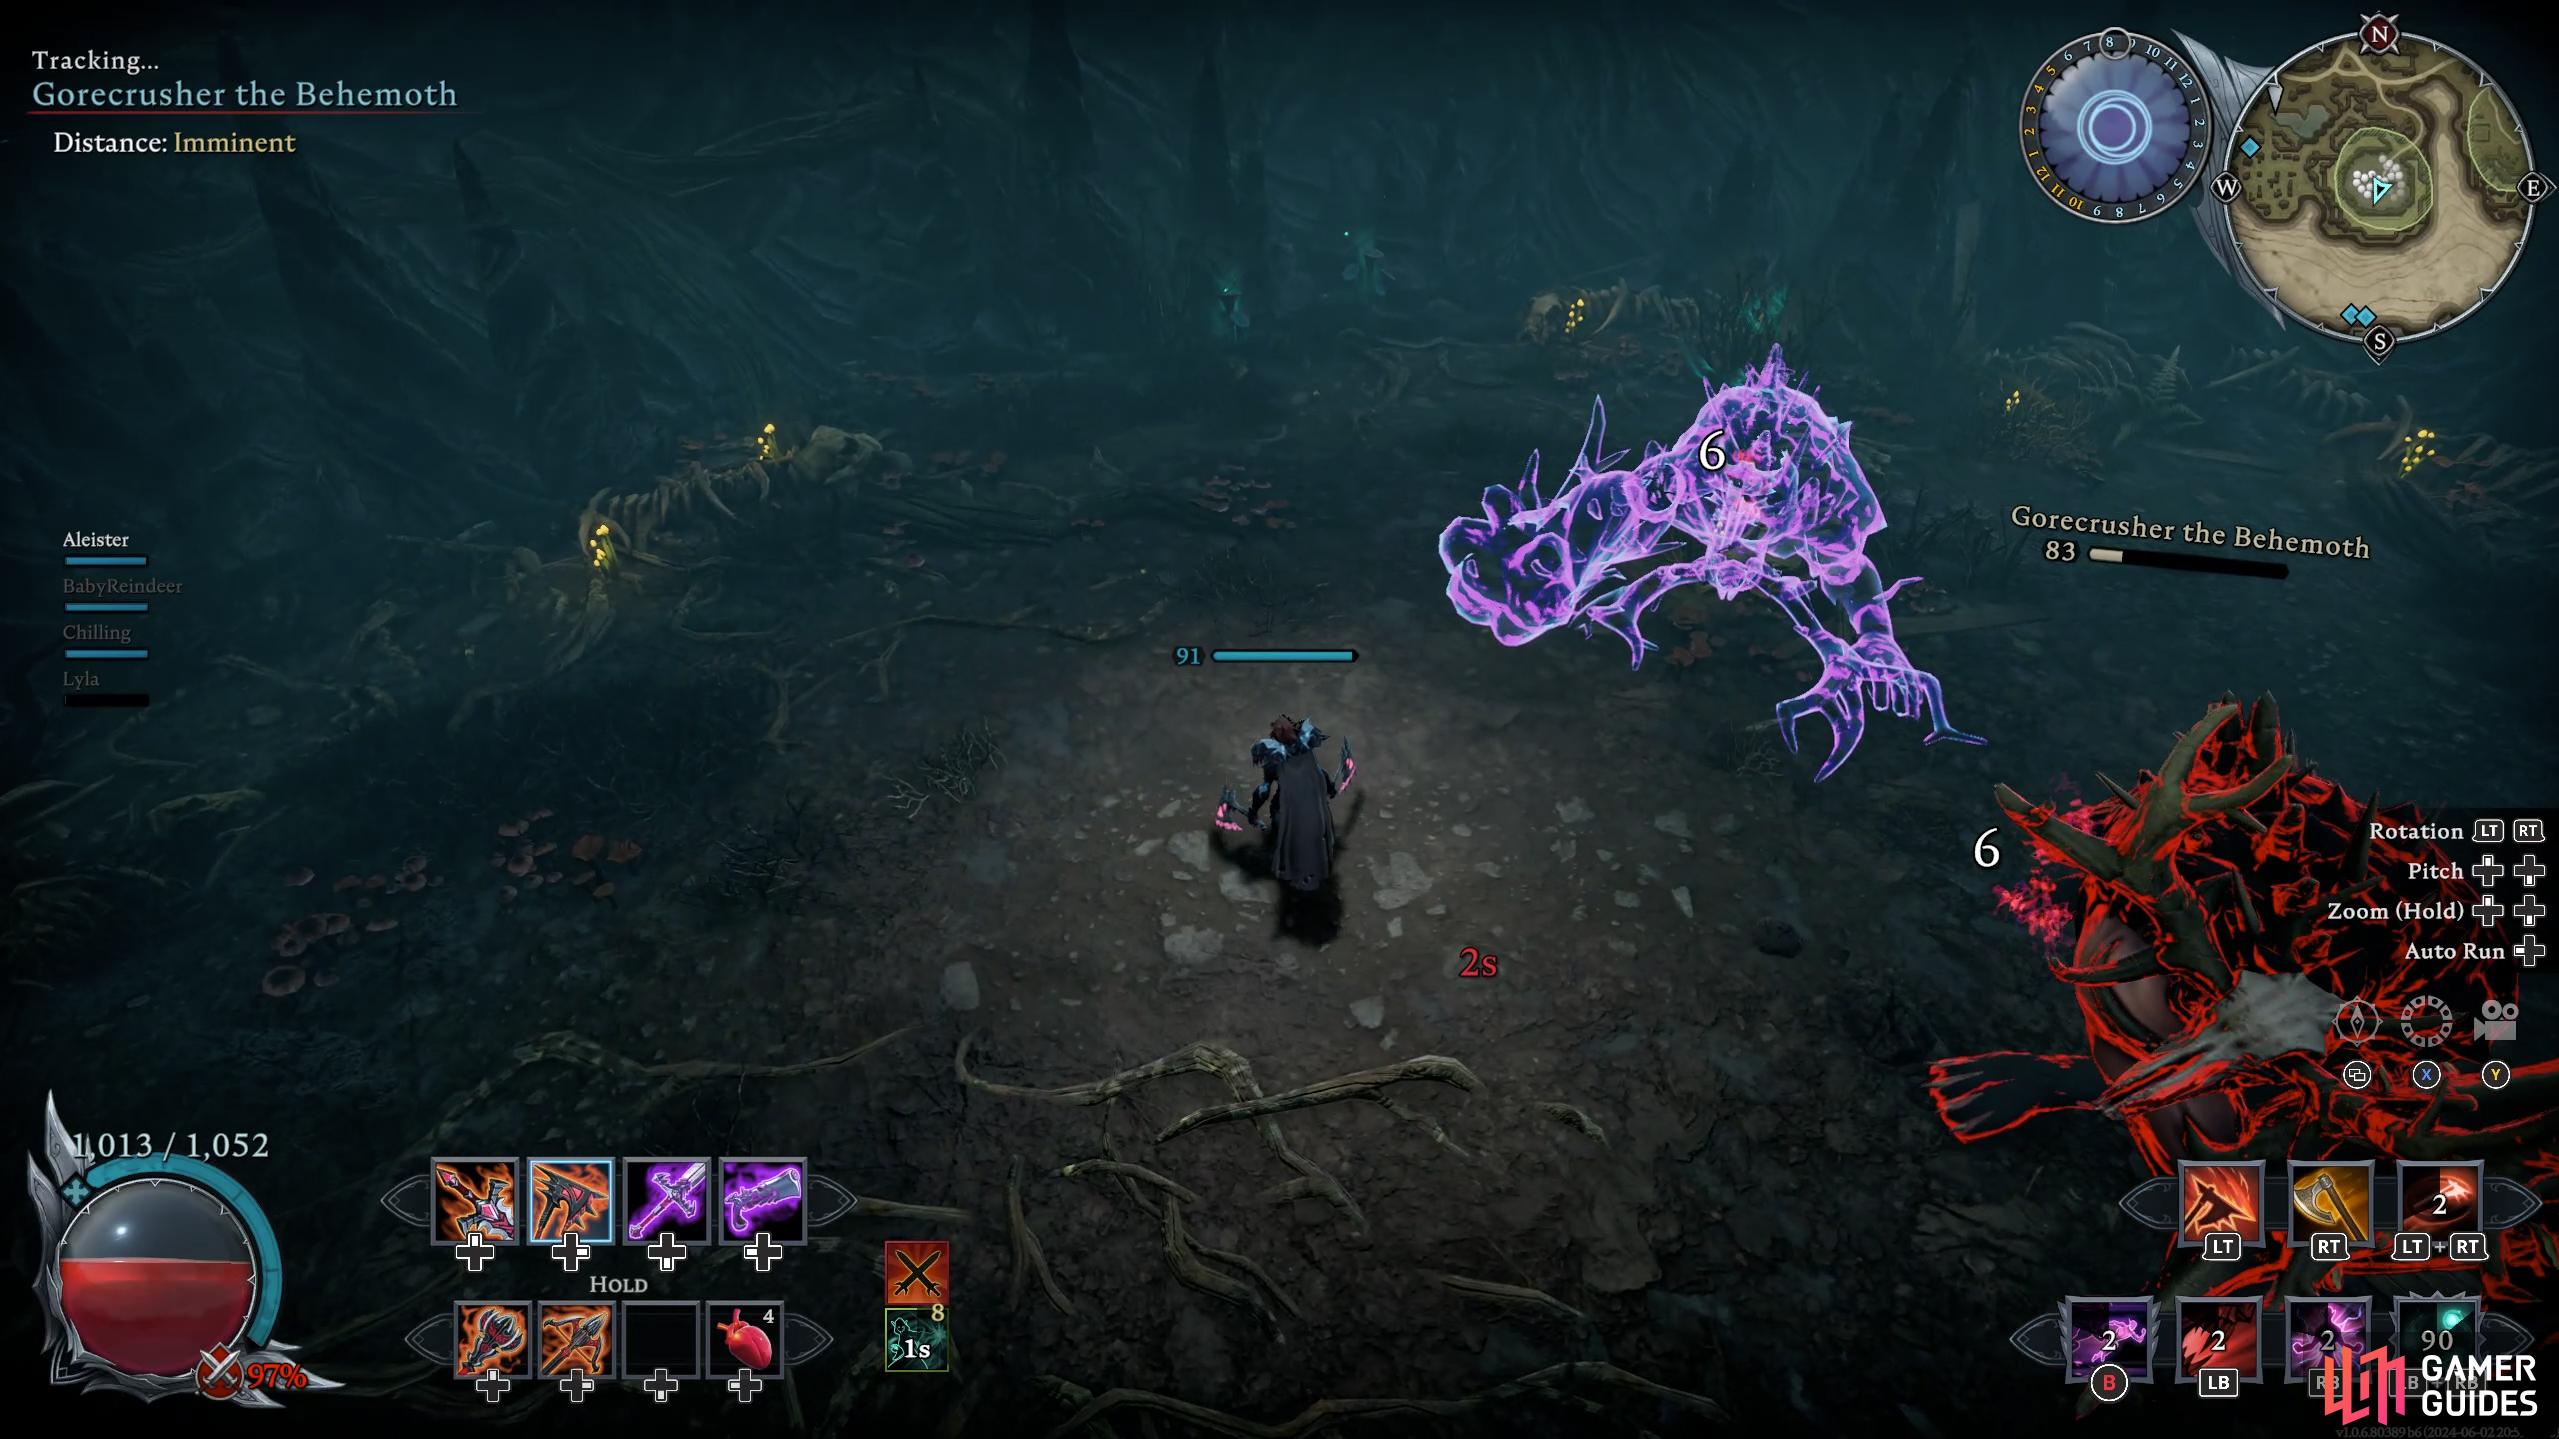
Ignore the Spectral Behemoth
At around 30% health, the boss will summon a spectral Behemoth which is essentially a copy of itself. This spectral version will take more damage than the original and it will use many of the same attacks, making the fight much more difficult toward the end. You may consider focusing on the spectral Behemoth to bring it down quickly, especially since it takes more damage, but this will only buy you a few seconds of time without it being active in the fight. This is because as soon as you bring the spectral Behemoth down to 1% health, it will begin a channeling phase after which it heals some of its health pool. This means that you can’t kill the spectral copy, so it’s a waste of your time to bother focusing on it. Instead, your goal at this stage in the fight should be to inflict as much damage as possible as quickly as possible to the boss, while continuing to avoid the most damaging attacks.
Recommended Weapons
| Primary Melee | Secondary Melee | Ranged |
|---|---|---|
The Reaper is arguably the best weapon for this fight, since it provides a good balance of ranged and melee attacks. The ![]() Howling Reaper attack is particularly useful to sustain damage on the boss while they’re rooted in place during an attack animation, giving you a chance to move out of the way.
Howling Reaper attack is particularly useful to sustain damage on the boss while they’re rooted in place during an attack animation, giving you a chance to move out of the way. ![]() Tendon Swing provides a swift attack that you can use to knock back the spectral wolf and bear, or to inflict some damage to the boss just before you dodge away with the travel skill.
Tendon Swing provides a swift attack that you can use to knock back the spectral wolf and bear, or to inflict some damage to the boss just before you dodge away with the travel skill.
The ![]() Sanguine Axes offers you an extra dodge due to the animation of
Sanguine Axes offers you an extra dodge due to the animation of ![]() Frenzy while also boosting your attack speed, and the power dealt with
Frenzy while also boosting your attack speed, and the power dealt with ![]() X-Strikes is nothing to sniff at. Because Gorecrusher has a large hitbox, every hit of X-Strike will connect, dealing tremendous damage. If you choose this weapon, it pairs well with the
X-Strikes is nothing to sniff at. Because Gorecrusher has a large hitbox, every hit of X-Strike will connect, dealing tremendous damage. If you choose this weapon, it pairs well with the ![]() Blood Rage and
Blood Rage and ![]() Power Surge spells, which also increase movement and attack speed.
Power Surge spells, which also increase movement and attack speed.
Finally, you have the Pistols. These allow you to attack a bit further back while also giving you a dodge with ![]() Explosive Bullet. For damage,
Explosive Bullet. For damage, ![]() Fan the Hammer is strong, but it will root you in place while you use it. The main advantage of this weapon is you don’t have to be as close to Gorecrusher as the other weapons, meaning you can constantly deal damage to it at range.
Fan the Hammer is strong, but it will root you in place while you use it. The main advantage of this weapon is you don’t have to be as close to Gorecrusher as the other weapons, meaning you can constantly deal damage to it at range.
Recommended Abilities
| Travel | Basic 1 | Basic 2 | Ultimate |
|---|---|---|---|
| Veil of Chaos |
The above recommended abilities are based on a damage-focused build against this boss, but you may consider swapping out the Chaos Barrage Ultimate for something with more defensive or healing capabilities such as ![]() Spectral Guardian or Heart Strike. The latter provides decent single-target damage so long as you align the attack properly, and it can also be useful to take out the spectral wolf and bear quickly, while the former provides an escape from incoming damage for a few seconds when things get hectic. However, if you’re confident in your ability to avoid most of the Behemoth’s attacks, Chaos Barrage will inflict a massive amount of damage, allowing you to take him down quickly.
Spectral Guardian or Heart Strike. The latter provides decent single-target damage so long as you align the attack properly, and it can also be useful to take out the spectral wolf and bear quickly, while the former provides an escape from incoming damage for a few seconds when things get hectic. However, if you’re confident in your ability to avoid most of the Behemoth’s attacks, Chaos Barrage will inflict a massive amount of damage, allowing you to take him down quickly. ![]() Chaos Volley is also difficult to beat in terms of pure damage output for a basic ability, so you should be repeatedly using this as often as possible.
Chaos Volley is also difficult to beat in terms of pure damage output for a basic ability, so you should be repeatedly using this as often as possible.
For your other spell, Blood Rage is great for the movement speed and health leech while Power Surge is great for the movement and attack speed while also inflicting Ignite. Both of these can be equipped with a jewel that allows them to remove status effects while also increasing the duration of the boons they offer you. We highly recommend finding and using these jewels if you can get one.
Veil of Chaos is probably the most useful travel skill for this boss, mostly because it provides an opportunity to dash a second time, which is invaluable during those moments when you’re stuck within a red damage circle, or if your first dash was poorly timed. Vail of Chaos will also leave behind an illusion of yourself, which explodes after a few seconds, inflicting 50% magic damage.
Gorecrusher the Behemoth Rewards
You’ll receive the following rewards upon defeating Gorecrusher the Behemoth:
| Name | Description |
|---|---|
| Tier 2 Illusion Spell Point | Spend spell points to unlock new abilities using the spellbook. |
| Tanned bat hides used to craft armor, bags, and various leather items. Produced at a Advanced Tannery. | |
| A bag increases the amount of items you can carry. Attributes: +18 Inventory Slots, +500 |
No Comments