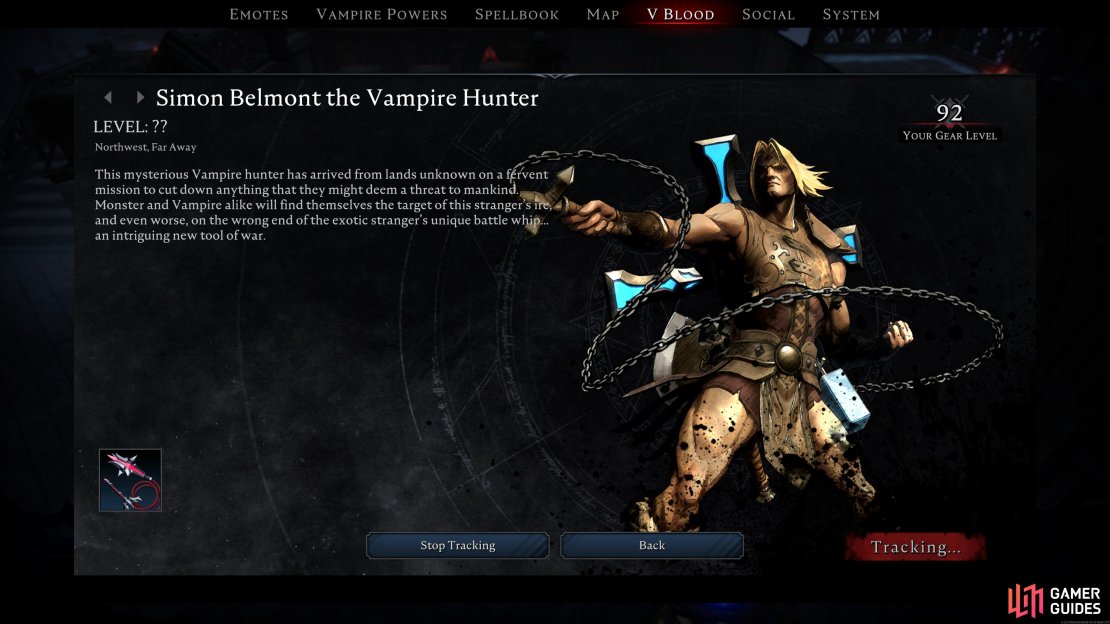
There are many bosses to take down in V Rising, and upon defeating them, you’ll be able to earn new Spell Points, Recipes, and Structures to increase your overall Vampire power level. If you’re a fan of the Castlevania series, you’ll be delighted to know that ![]() Simon Belmont the Vampire Hunter makes an appearance here as a V Blood boss and defeating him will allow you to unlock a powerful whip. This boss is not for the faint of heart, so keep reading to learn how to take him down.
Simon Belmont the Vampire Hunter makes an appearance here as a V Blood boss and defeating him will allow you to unlock a powerful whip. This boss is not for the faint of heart, so keep reading to learn how to take him down.
Simon Belmont from Castlevania is a boss in V Rising.
Table of Contents
If you want to jump straight to our strategy, or perhaps see what rewards you get from beating Simon Belmont, check out the following table:
Simon Belmont Location
To begin with, you’ll be forgiven for assuming that you need the Legacy of Castlevania DLC pack before you can have Simon start appearing in your world. Fortunately, this pack is mainly for cosmetics and Simon Belmont can be found in any 1.0 version of V Rising. The next thing you should take into account is to make sure you’re fully prepared as Simon is one of the most difficult battles in the game, as the ?? for his Level alludes to.
Simon is, in fact, Level 80, but he features attacks that can make short work of you if you’re not fully prepared. Look to be around at least Level 86 before taking him on, with some of the better equipment in the game. Finally, make sure that you only fight him at night, you’ll need to move about a lot and you will be fighting him out in the open.
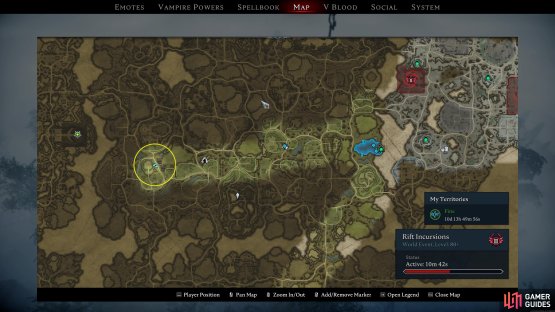
(1 of 2) Simon Belmont mainly roams around the Dunley Farmlands region
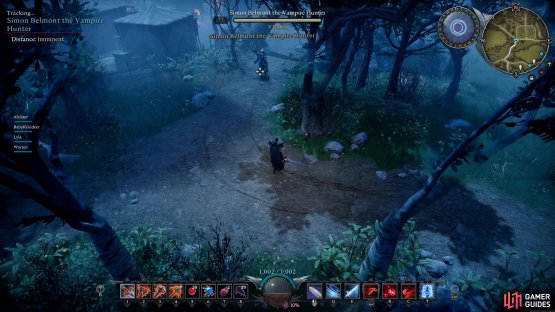
Simon Belmont mainly roams around the Dunley Farmlands region (left), Look to get the first strike on Simon from behind. (right)
To actually find Simon Belmont, you’ll need to search around the Dunley Farmlands as for the most part, he mainly roams around that region. His patrol can sometimes take him into the Farbane ![]() Woods or Silverlight Hills but for the most part, we’ve found he keeps his patrol to that of the Dunley Farmlands. The easiest way to find him, especially if you have Bat Form unlocked, is to track him and fly around the Dunley Farmlands until the message reads “Very Close”. At that point, land and follow the blood trail until you find him.
Woods or Silverlight Hills but for the most part, we’ve found he keeps his patrol to that of the Dunley Farmlands. The easiest way to find him, especially if you have Bat Form unlocked, is to track him and fly around the Dunley Farmlands until the message reads “Very Close”. At that point, land and follow the blood trail until you find him.
Simon Belmont Boss Strategy
As mentioned above, don’t even attempt Simon unless you are at least Level 85-86 and have excellent mid-long range weapons available to you. Bringing brews to resist both Fire and Holy will also make life a lot easier. Additionally, remember that you need to make sure you have ample time at night to defeat him, otherwise you’ll find yourself quickly out of room once day rolls around.
Simon Belmont has multiple attacks that you’ll need to watch out for and you can learn about them all below:
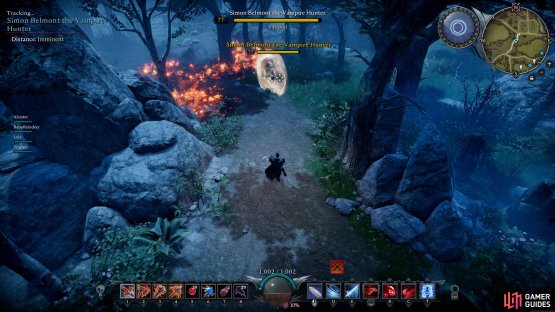
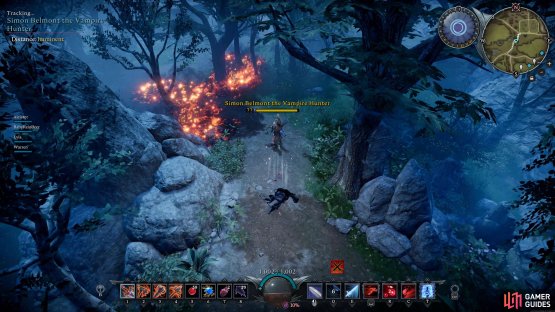
Holy Water
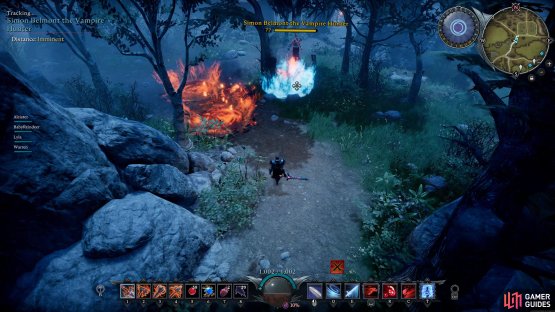
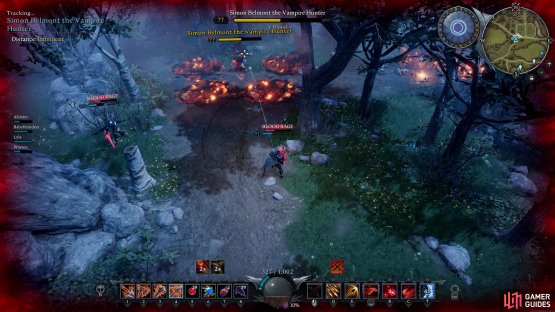
Simon will toss a bottle of Holy Water towards you, which then splinters off to three more smaller bottles. Each of these will create a pool of fire upon impact, which persists in the area for a while so be sure to keep on the move after he uses it (![]() Fire Resistance Brews help here).
Fire Resistance Brews help here).
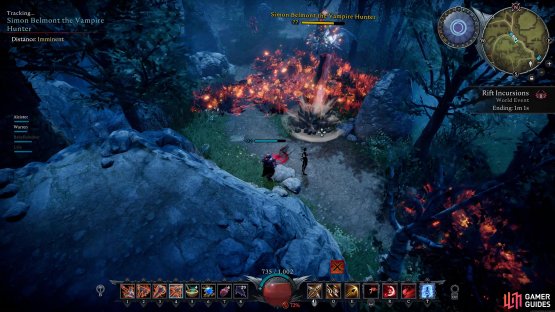
(1 of 2) Simon will begin by tossing a single Holy Water into the air
Simon will begin by tossing a single Holy Water into the air (left), which will cause three more to split off from the initial impact. (right)
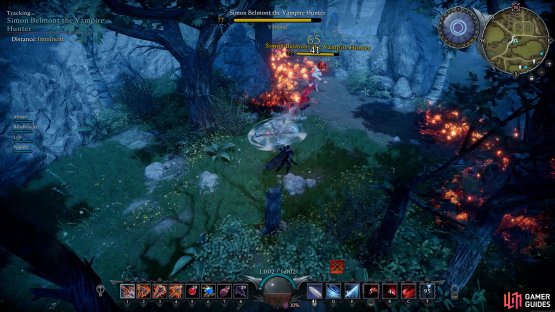
Whip Barrier
Simon will spin his whip furiously around in front of him, preventing any damage and dealing damage to anyone it comes into contact with. If you’re playing with other players, have one of them hit him from behind while he leaves himself open.
Whip Grab
Simon will perform a Whip attack which has a long range on it, should you be struck by it, he will pull you back to him and then kick you away, dealing moderate damage and causing Stun for a short period of time. Provided you have a dash available, this is simple to avoid. He can perform this attack multiple times in quick succession as the battle rages on and can even use it after dashing at you himself. After Mending Cross, this will cause pools of fire wherever he strikes the Whip.
(1 of 2) The Whip Barrier will protect Simon from frontal attacks
The Whip Barrier will protect Simon from frontal attacks (left), he will stun you if he catches you with the Whip Grab. (right)
Cross
Simon will toss out a large spinning cross that will travel towards you before returning to him like a Boomerang. If you get struck by this, you’ll take moderate damage and it will leave you open to other attacks such as Holy Water. Following Mending Cross, he will launch three Crosses out at the same time, in different directions.
(1 of 2) The Cross will boomerang back to Simon
The Cross will boomerang back to Simon (left), keep your distance to avoid the Dagger easily. (right)
Dagger
Simon will throw multiple daggers toward you; these are imbued with Fire so drinking a Fire Resistance Brew will help lower the damage you take here. If you’re keeping your distance from Simon, these should be simple to avoid, just be ready to dash the follow-ups. If you’re at close range (which you really shouldn’t be against Simon), these will almost certainly hit you.
Axe
Simon will toss a spinning Axe into the air that will create a small shockwave around the impact. This is one of the simplest attacks to avoid from him, especially as it doesn’t leave anything like the fire pools that the Holy Water creates.
(1 of 2) Simon will leap to where the Axe lands and deal AoE damage
Simon will leap to where the Axe lands and deal AoE damage (left), get away from the Whip Whirlwind to avoid being stunned. (right)
Whirlwind Whip
Simon will spin his whip around him in a large AoE that will cause knockback and Stun you should you be hit by it. This is one of the larger AoEs to avoid so be ready to dash away from him once you start seeing him ready the attack.
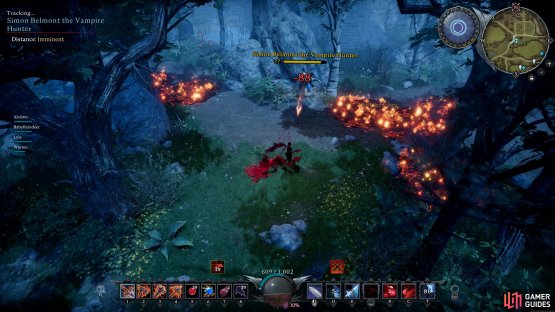
Flame Tornado
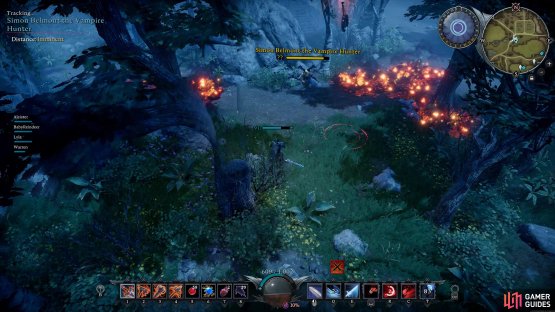
Similar to ![]() Whirlwind Whip, Simon will once again begin by spinning his whip around him to conjure up a tornado before dropping pools of fire all around him in that AoE. This is easy to avoid if you keep your distance, but will limit where you can move in the arena following this attack, making it tougher to avoid the other attacks.
Whirlwind Whip, Simon will once again begin by spinning his whip around him to conjure up a tornado before dropping pools of fire all around him in that AoE. This is easy to avoid if you keep your distance, but will limit where you can move in the arena following this attack, making it tougher to avoid the other attacks.
(1 of 2) Look for the fire particles on this tornado
Look for the fire particles on this tornado (left), and keep your distance as Simon will drop pools of fire around him. (right)
Mending Cross
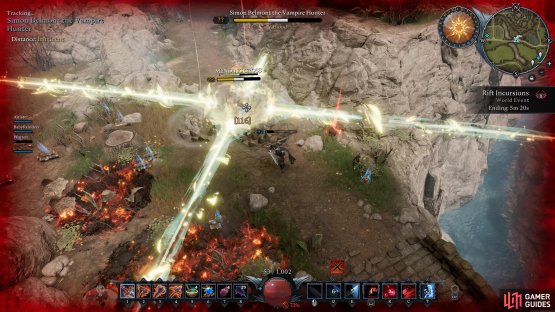
This is Simon’s ultimate attack and he will use it when you take his health down to the final quarter. This will cause beams of light to shoot out from him in a cross pattern and will spin around him. At the same time, this will cause Simon to regenerate his health while the attack is in motion. He is protected by a shield during this attack but if you manage to deplete it, you will stun him and allow you to get some free hits on him.
(1 of 2) Mending Cross is Simon’s ultimate attack
Mending Cross is Simon’s ultimate attack (left), if you deplete his barrier, you will stun him and stop the attack. (right)
Holy Bolts
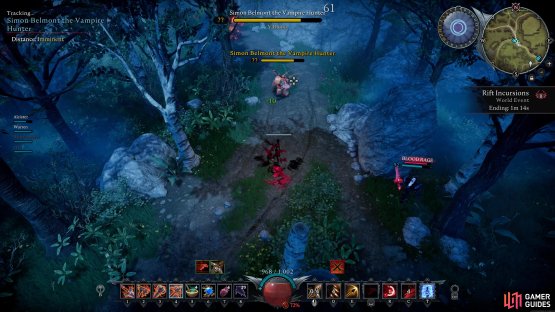
Following Mending Cross, Simon will cause Holy Bolts to constantly rain down from the sky and they will persist for the rest of the battle, so you need to be constantly on the move.
Defeating Simon Belmont
Simon Belmont is by far one of the tougher battles in the game, and don’t even consider fighting him unless you have a Fire Resistance Brew (which will last for 30 minutes) and possibly a Sun Resistance Brew to aid you in the event the battle may last into the daytime. You’ll want to use weapons with range to them, such as a Crossbow, the Longbow, or ideally, the Pistols, as you’ll need to be on the move constantly across Simon.
Having methods to restore your health in this battle is also useful, so consider spells such as ![]() Sanguine Coil, and the
Sanguine Coil, and the ![]() Ice Block Ultimate (which is useful to protect yourself and heal at the same time). For the final ability, we like to go with
Ice Block Ultimate (which is useful to protect yourself and heal at the same time). For the final ability, we like to go with ![]() Blood Rage too, as the increased movement speed and health leech properties are immensely useful in this chaotic battle.
Blood Rage too, as the increased movement speed and health leech properties are immensely useful in this chaotic battle.
You should be able to get the first strike in against Simon, especially if you come at him from behind. Once the battle begins, get ready to move as more often than not, Simon begins the battle with Holy Water, creating multiple pools of fire. This is where that Fire Resistance Brew comes into play as you will find moments in this battle where you have no choice but to go through the flames.
You should always keep your distance from Simon, as the majority of his attacks are melee and his ranged and AoE attacks are much easier to avoid when you have range. The goal, then, becomes looking for an opening when you can deal some damage to Simon. We found the easiest times are when he uses his Whip Grab (provided you evade it) and his Cross attacks, these leave a large opening for you to deal damage to him.
(1 of 2) Simon can dash at you to close the gap
Simon can dash at you to close the gap (left), he can also leap, leaving earthen explosions behind in his wake. (right)
Once you take Simon down to a quarter of his health, he will use his ultimate attack, Mending Cross. This will cause beams of light to shoot out in a cross from him while erecting a barrier that gradually heals him. You have two options here, use this time to heal up and prepare for the final phase, or attack the barrier and break it, causing him to become Stunned and allow you to get some more free hits from him.
Regardless of what method you take, Simon will now call down Holy Bolts from the sky for the rest of the battle, so you’ll need to keep on the move. Not only that, but all of his other attacks will now be altered for the rest of the battle. The Cross attack will now toss out three of them at once, the Whip will leave pools of fire behind and Holy Water will toss out more bottles at once. Time is of the essence at this stage, focus on dealing damage as quickly as possible to him to try and prevent this phase of the battle from dragging on too long.
Simon Belmont Rewards
When you defeat Simon, you’ll unlock the ![]() Sanguine Whip, a powerful melee weapon based on Simon’s Castlevania origins. Seeing as the previous Whip is Level 20, this makes a massive improvement if you’re a fan of this playstyle and is useful against the final battles in V Rising in general. There’s also a chance for a Legendary weapon to drop, although this appears to be a rare occurrence.
Sanguine Whip, a powerful melee weapon based on Simon’s Castlevania origins. Seeing as the previous Whip is Level 20, this makes a massive improvement if you’re a fan of this playstyle and is useful against the final battles in V Rising in general. There’s also a chance for a Legendary weapon to drop, although this appears to be a rare occurrence.
















No Comments