
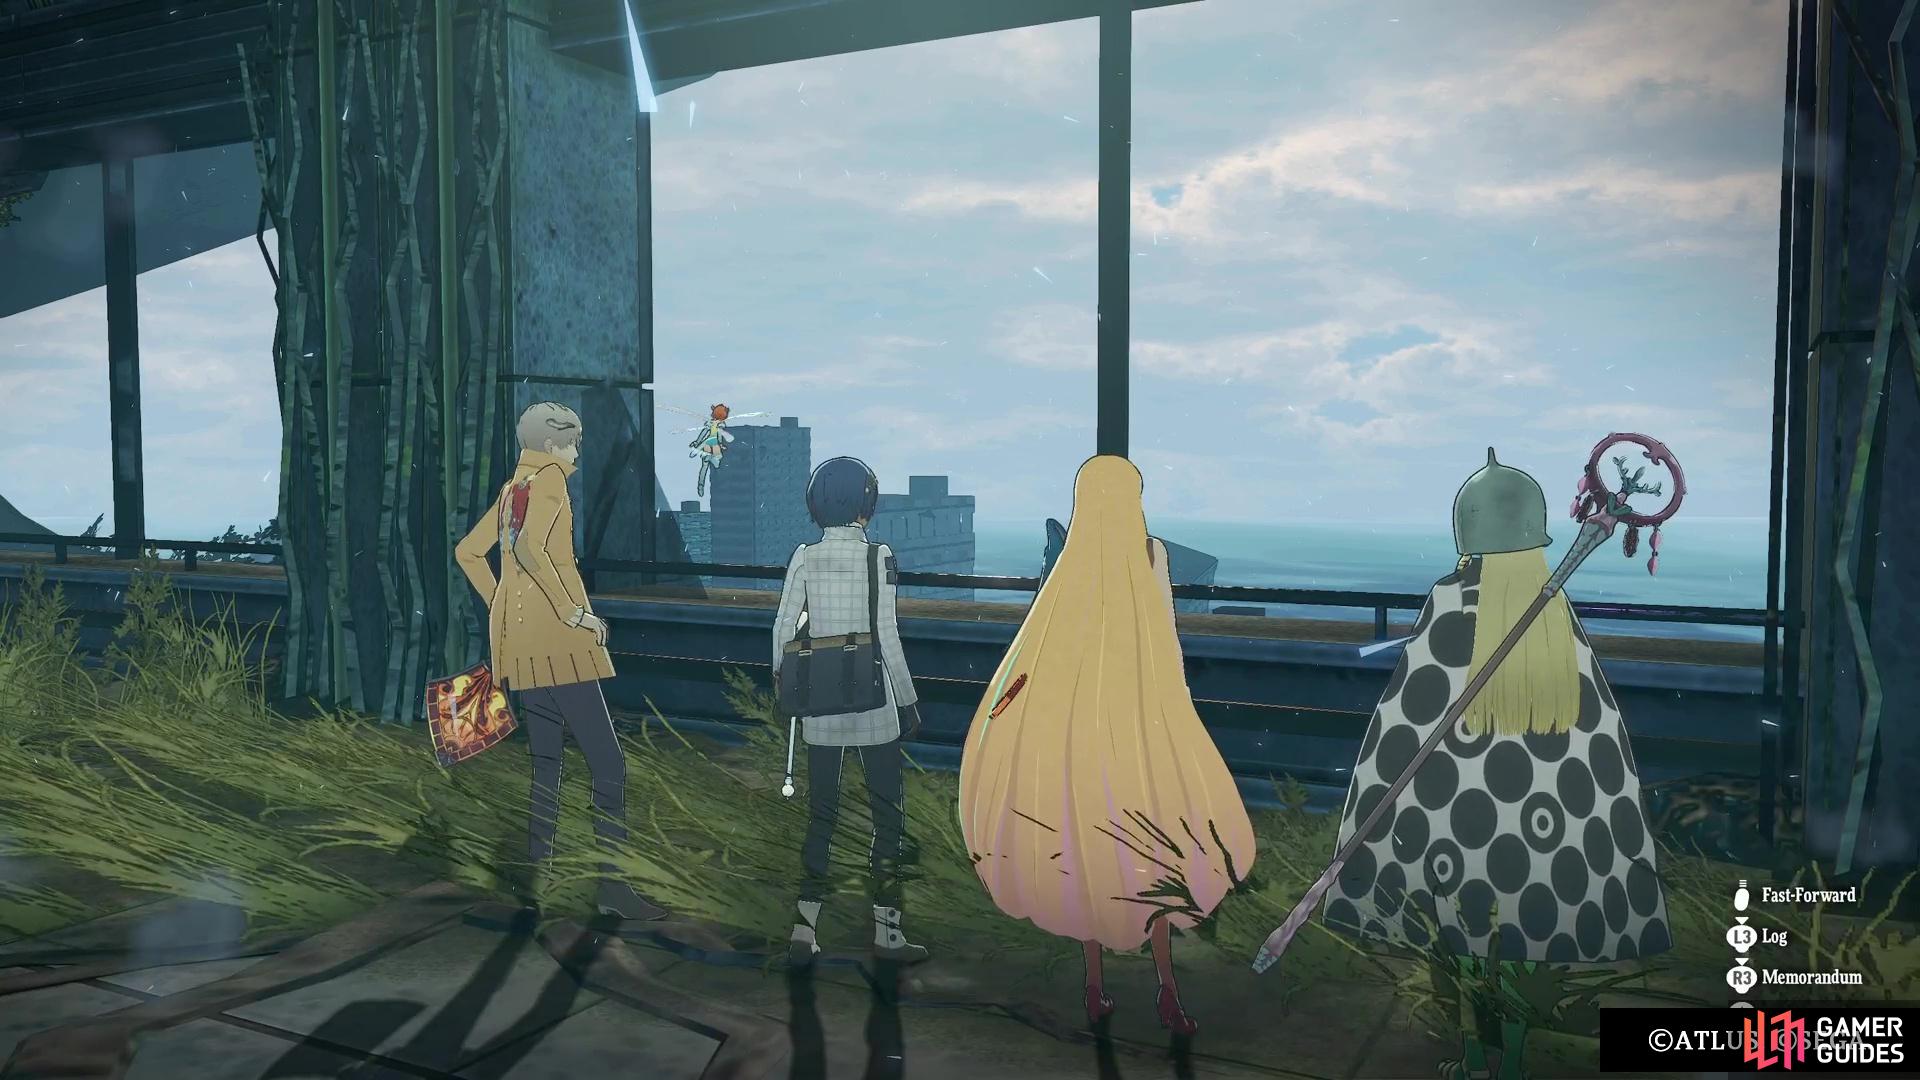
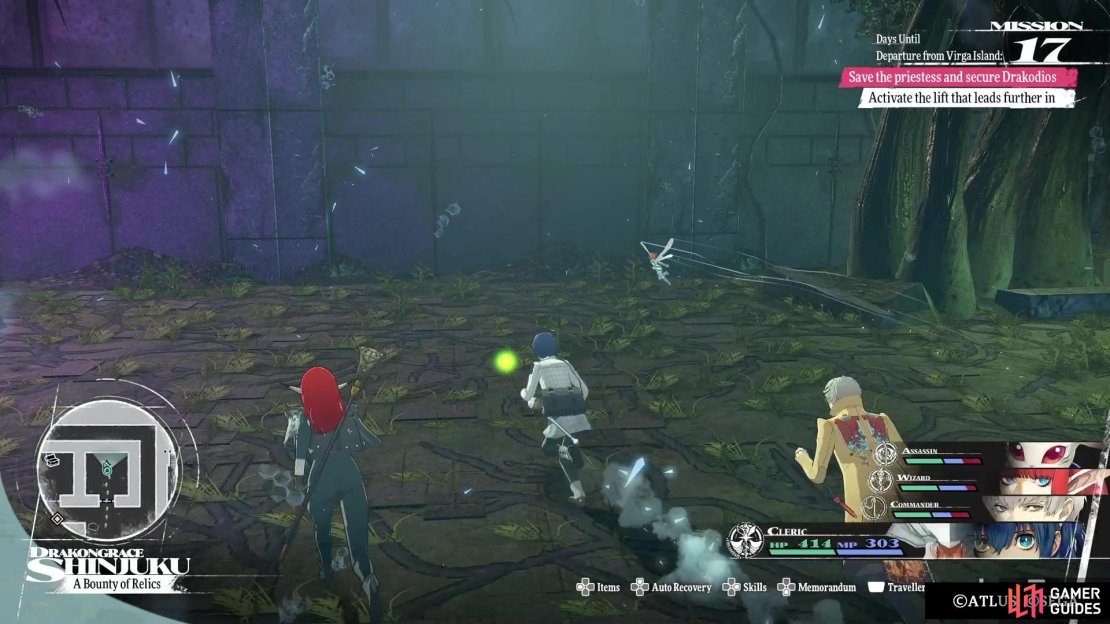
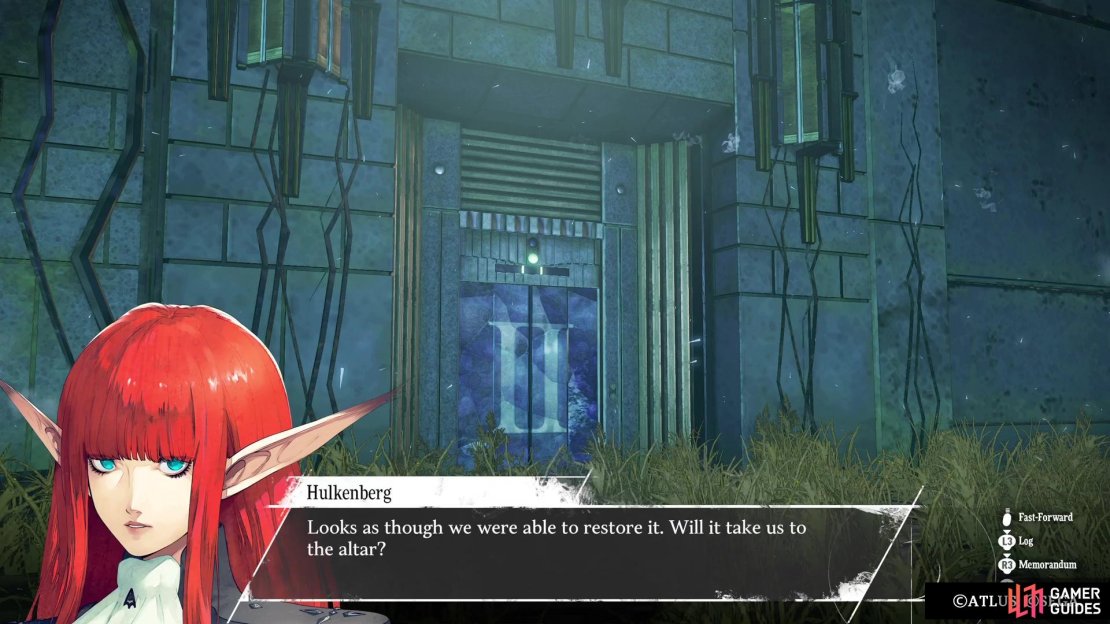
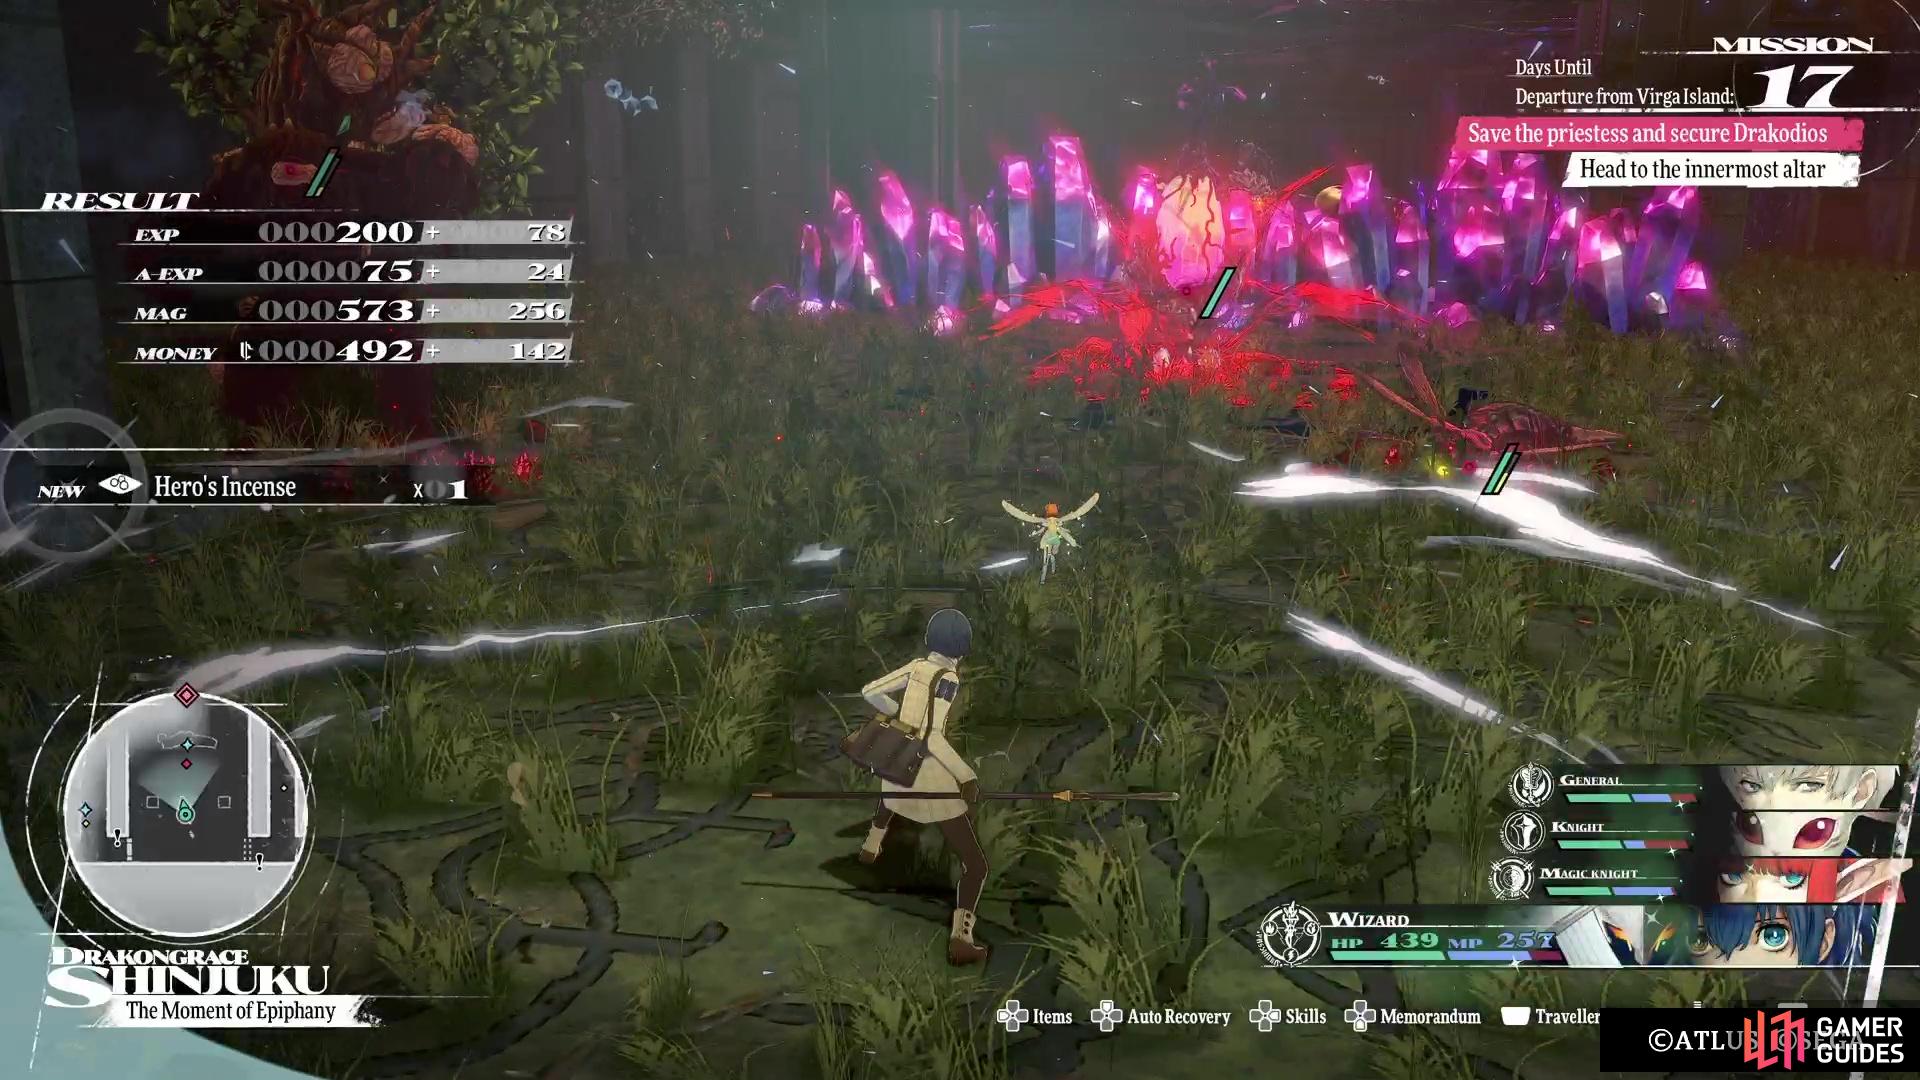
Upon reaching the bottom of the Dragon Temple, in Metaphor: ReFantazio, you will meet up with the priestess, whose name is ![]() Eupha. She mentions that the altar for the sacrifice is deeper into the temple, so you follow her directions. At the very bottom, you pass through a door and find yourself in another area, named Drakongrace Shinjuku, which is essentially a second dungeon.
Eupha. She mentions that the altar for the sacrifice is deeper into the temple, so you follow her directions. At the very bottom, you pass through a door and find yourself in another area, named Drakongrace Shinjuku, which is essentially a second dungeon.
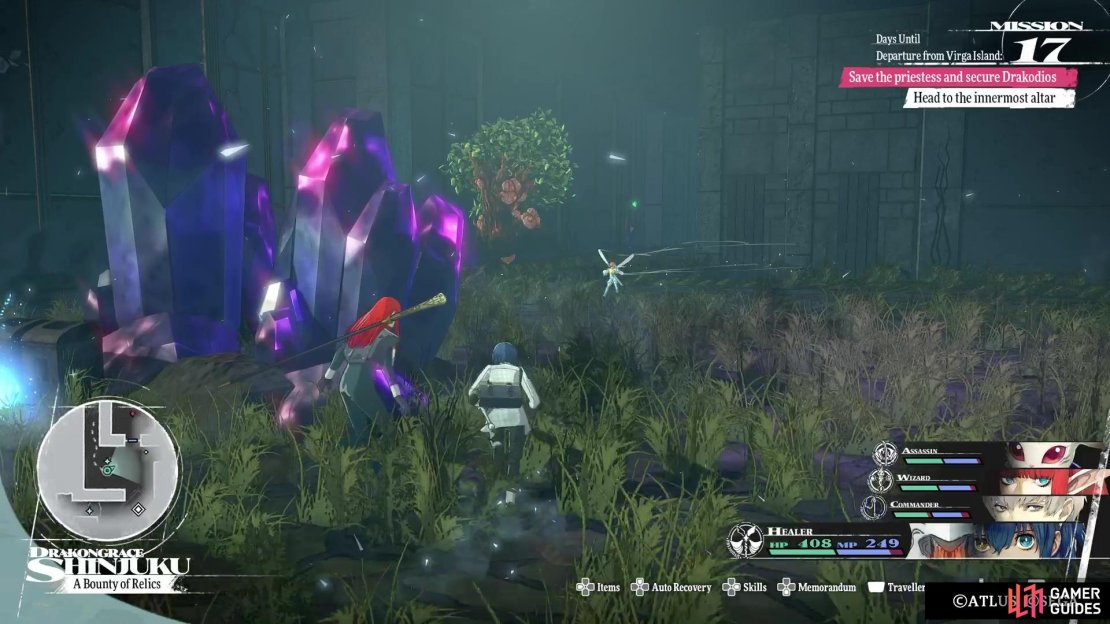
Drakongrace Shinjuku is the second part of the Dragon Temple and a very long dungeon.
Table of Contents
If you wish to quickly jump to any of the sections below, click on any of the links.
Drakongrace Shinjuku Enemies
The following list will contain all of the enemies you will find in the Drakongrace Shinjuku, including their levels, weaknesses, and any resistances they have.
| Enemy | Level | Weak | Strong |
|---|---|---|---|
| Papyrga | 37 | Pierce, Wind, Dark | Ice/Lightning (Resist), Fire/Light (Reflect) |
| Tropic Alento | 38 | Fire | Ice/Lightning/Wind/Light/Dark (Resist) |
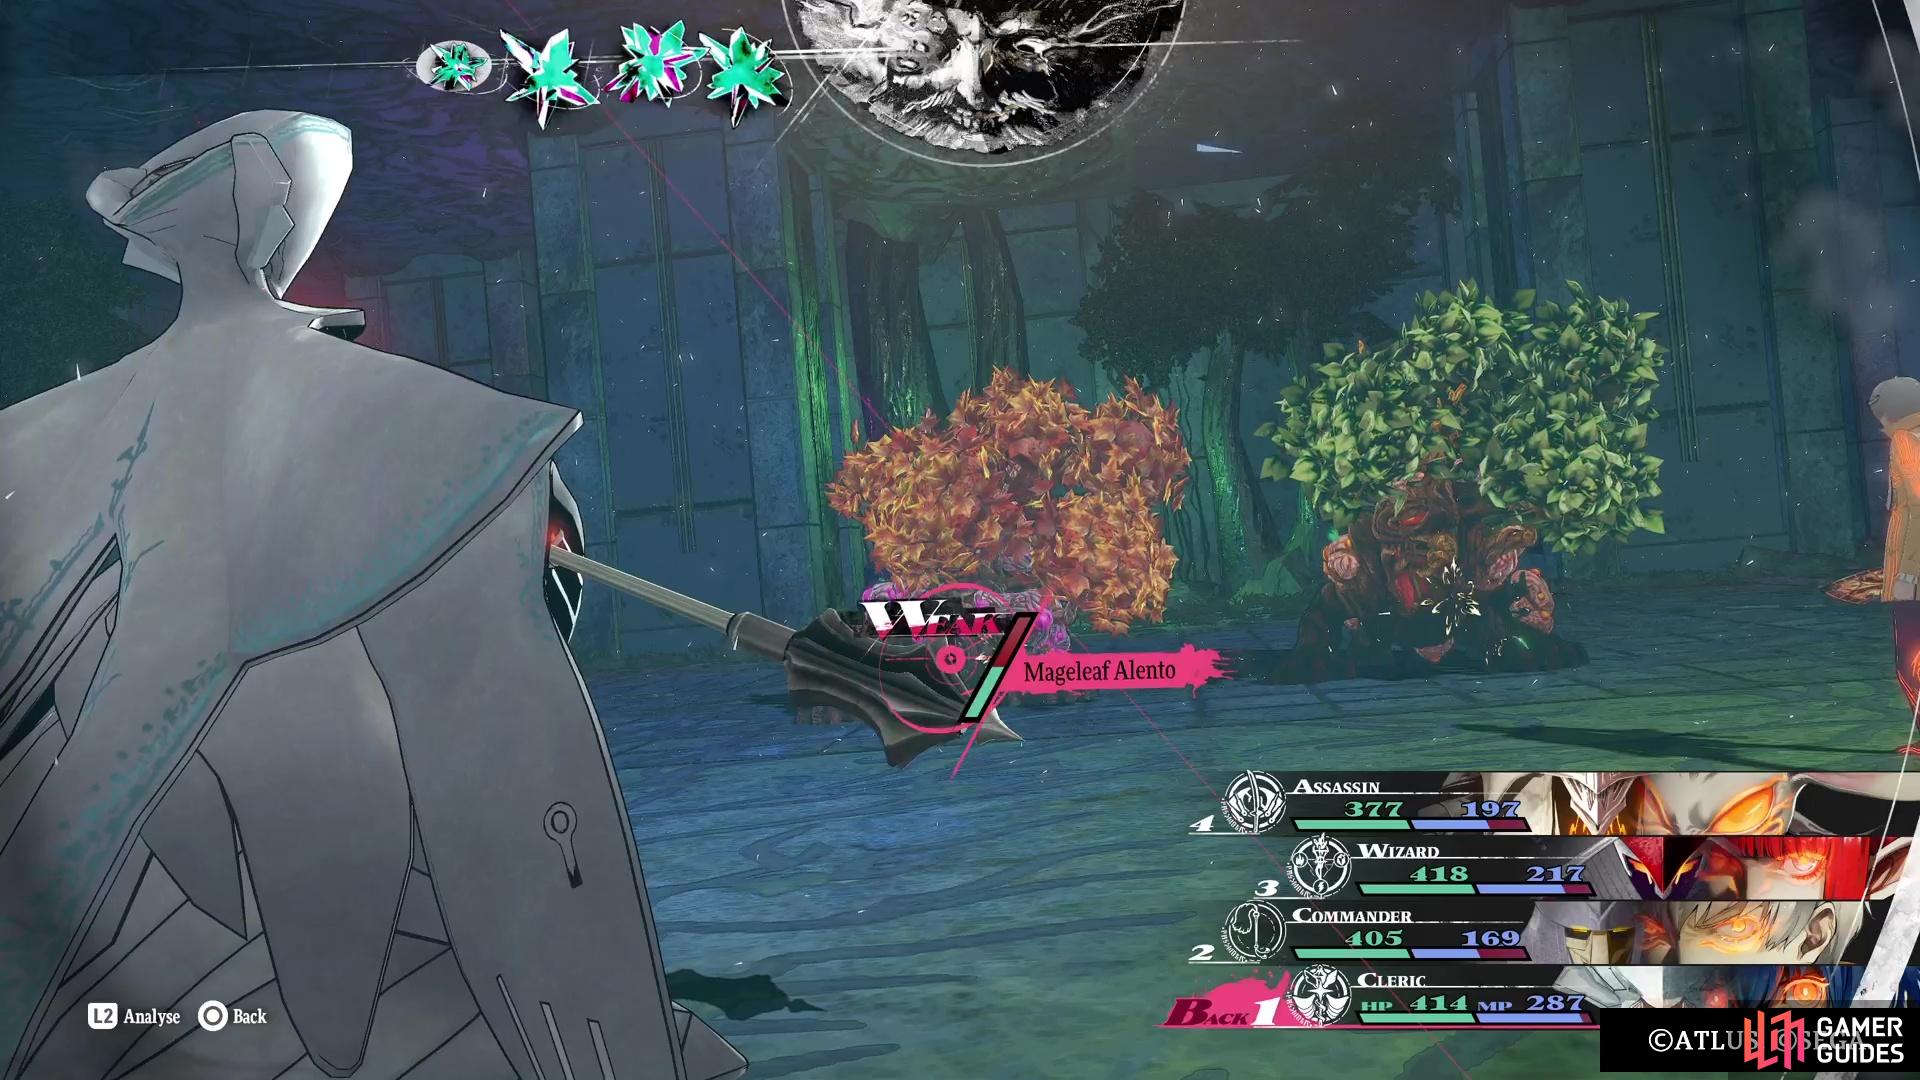
| Mageleaf Alento | 38 | Wind, Light | Slash/Pierce/Strike (Resist), Fire (Block) |
| Labovesp | 37 | Pierce, Wind | Lightning (Block), Fire (Absorb) |
| Trove Imitec | 33 | Light | Dark (Resist) |
| Raptor Corvo | 28 | Pierce | Lightning (Block) |
| Potolpo | 30 | Lightning | Fire/Ice (Resist), Strike (Block) |
| Benepetia | 40 | Ice | Fire/Wind (Resist) |
| Ostoflo | 41 | Fire, Light | Lightning (Resist), Ice (Block), Dark (Absorb) |
| Crag Manjula | 45 | Strike | Slash/Pierce (Resist), Ice (Block) |
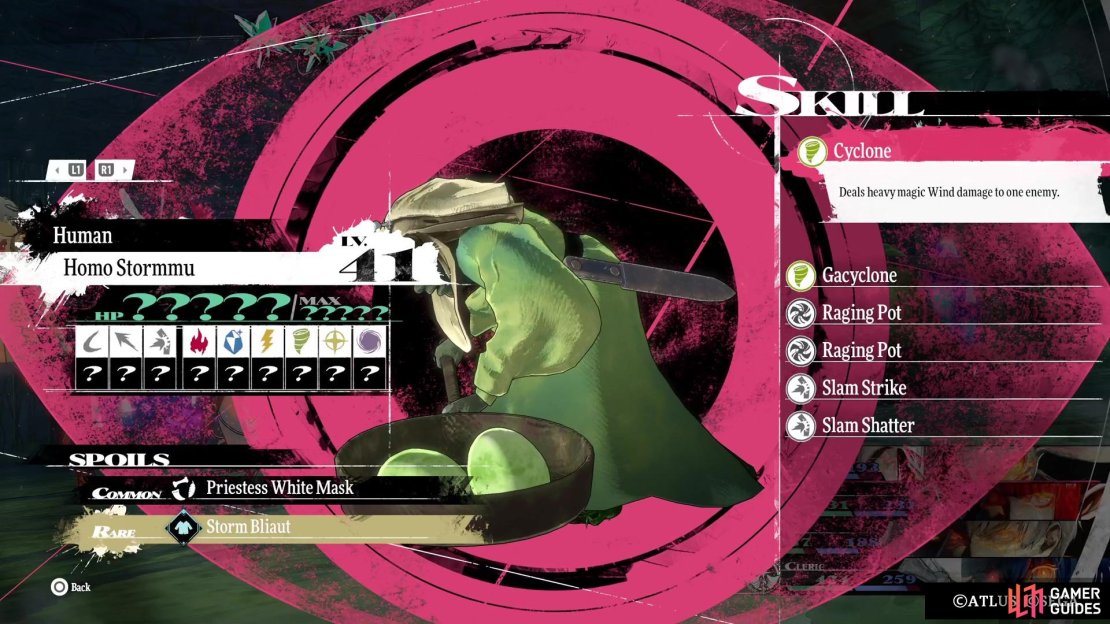
| Homo Stormmu | 41 | Slash, Lightning | Fire/Ice/Light/Dark (Resist), Wind (Reflect) |
| Homo Fizic | 41 | Strike, Dark | Slash/Pierce (Resist), Light (Reflect) |
| Psyocro | 45 | Pierce, Wind | Lightning (Absorb) |
| Golden Homo Tenta | 40 | – | All (Resist) |
| Spekto of Lament | 35 | Fire, Light | Slash/Pierce/Strike (Reflect), Ice/Wind (Absorb) |
| Homo Frostine | 43 | Pierce | Light (Resist), Ice (Reflect) |
Drakongrace Shinjuku Items
The table below will have all of the items you can find in the Drakongrace Shinjuku dungeon, including those from the blue orbs, as well as the treasure chests.
| Item |
|---|
| Priestess White Mask |
| Mossy Weapon |
| Fortune White Mask |
| Justice White Mask (x2) |
| Superior Mossy Curio |
| Death White Mask |
| Star White Mask |
| Superior Mossy Weapon |
| Fool White Mask |
| Magician White Mask |
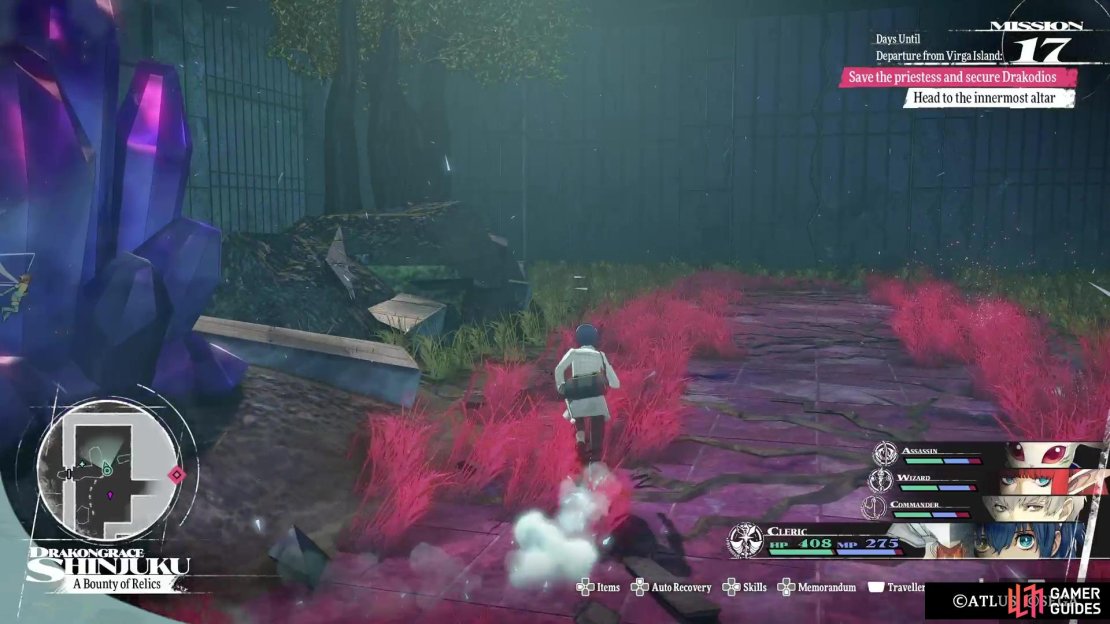
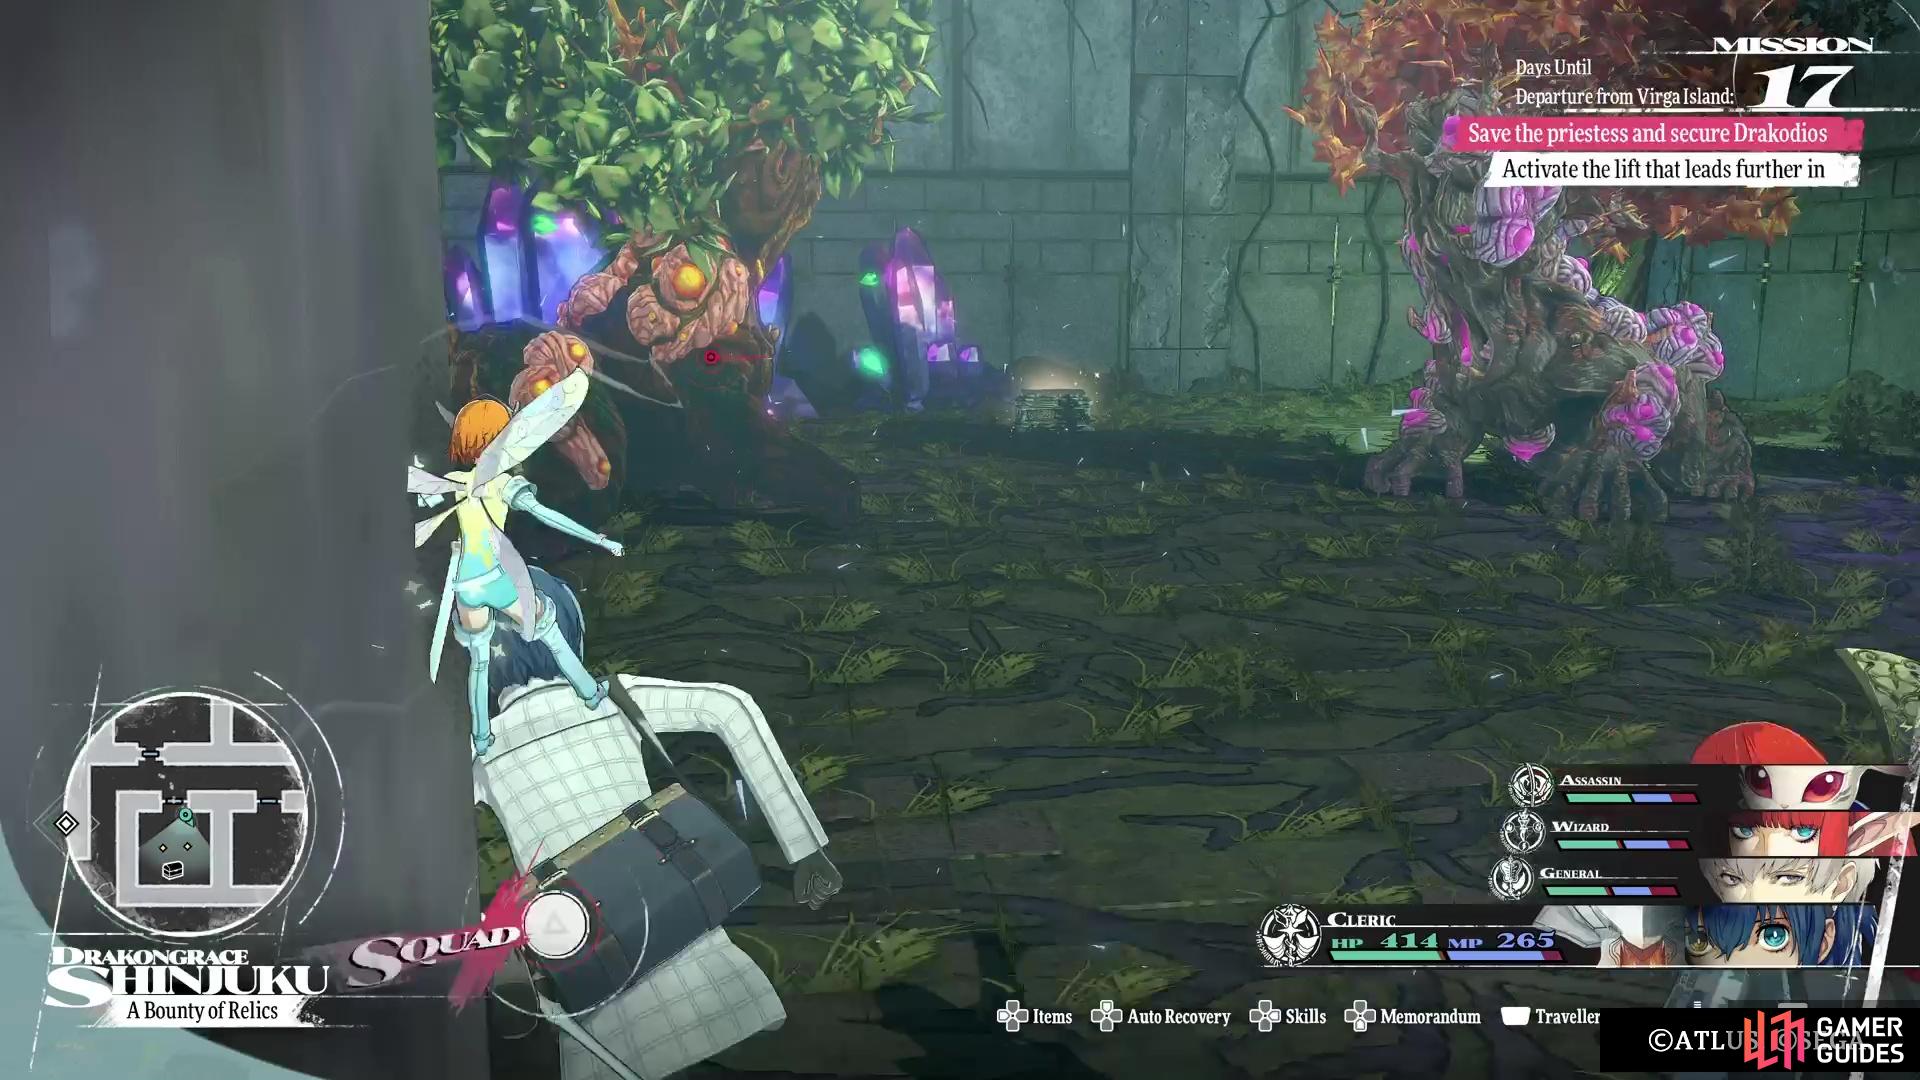
A Bounty of Relics
While it might be your first instinct to fully explore, there is something you should do before that, as this dungeon is extremely long if you want everything. As soon as you gain control, head south and loot the ![]() Pallid Thinstalk in the corner, then go a little west to find the safe room. Unfortunately, this is pretty much the only one in this dungeon, other than one more near the end, so you won’t get a lot of breaks. Exit the safe room and return to the stairs to the north, then take the northern path here to find a
Pallid Thinstalk in the corner, then go a little west to find the safe room. Unfortunately, this is pretty much the only one in this dungeon, other than one more near the end, so you won’t get a lot of breaks. Exit the safe room and return to the stairs to the north, then take the northern path here to find a ![]() Quartz Vine, then continue in that direction to come out on the western side.
Quartz Vine, then continue in that direction to come out on the western side.

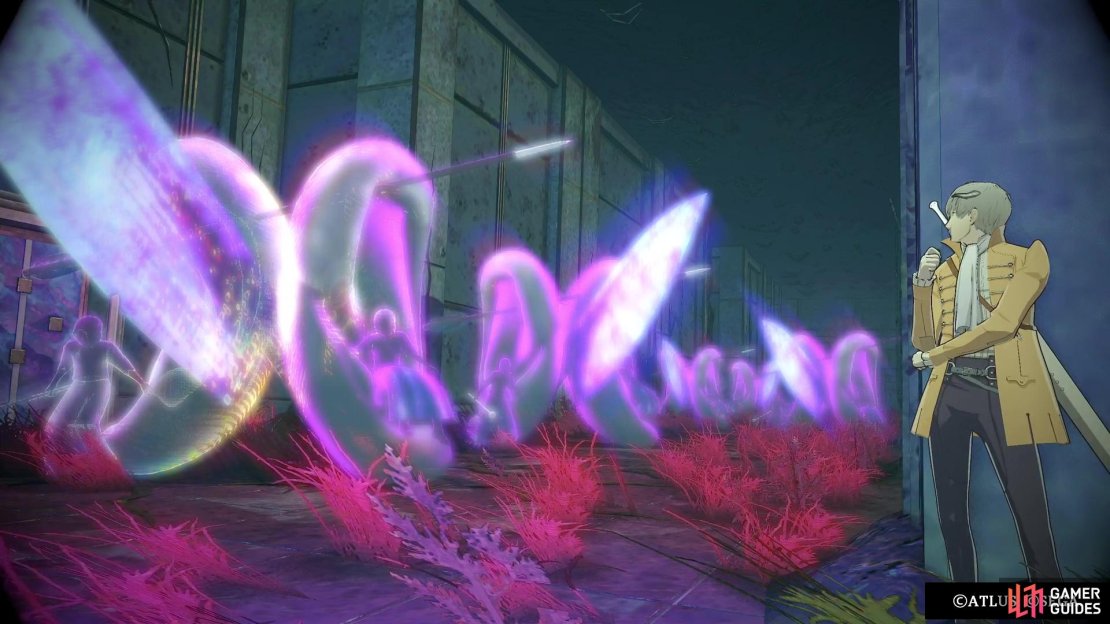
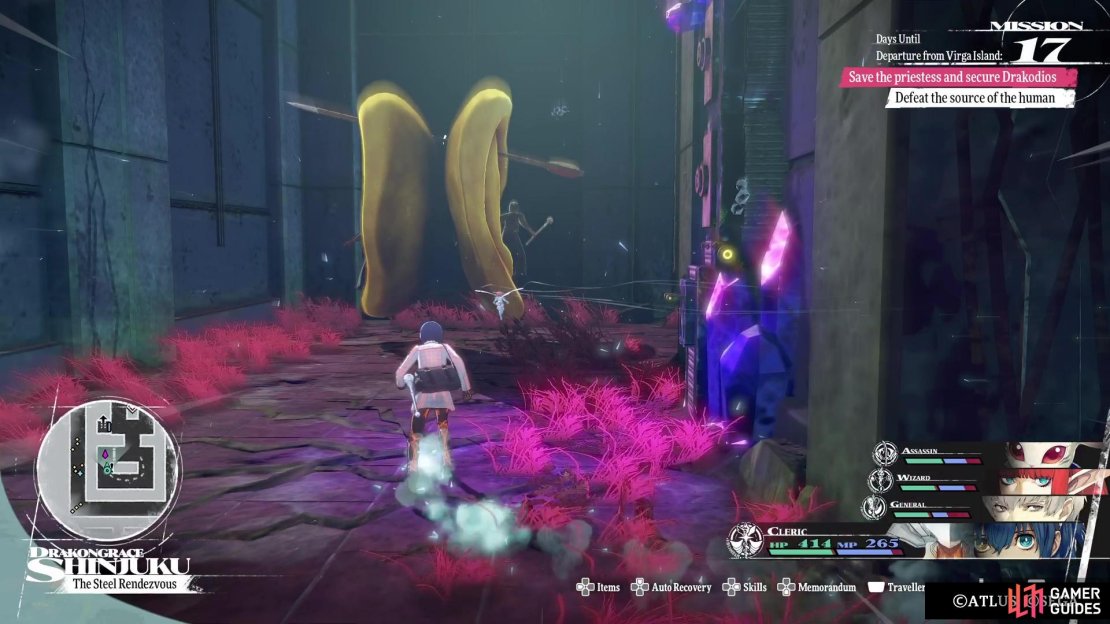
(1 of 4) There are plenty of enemies simply running the hallways throughout this dungeon.
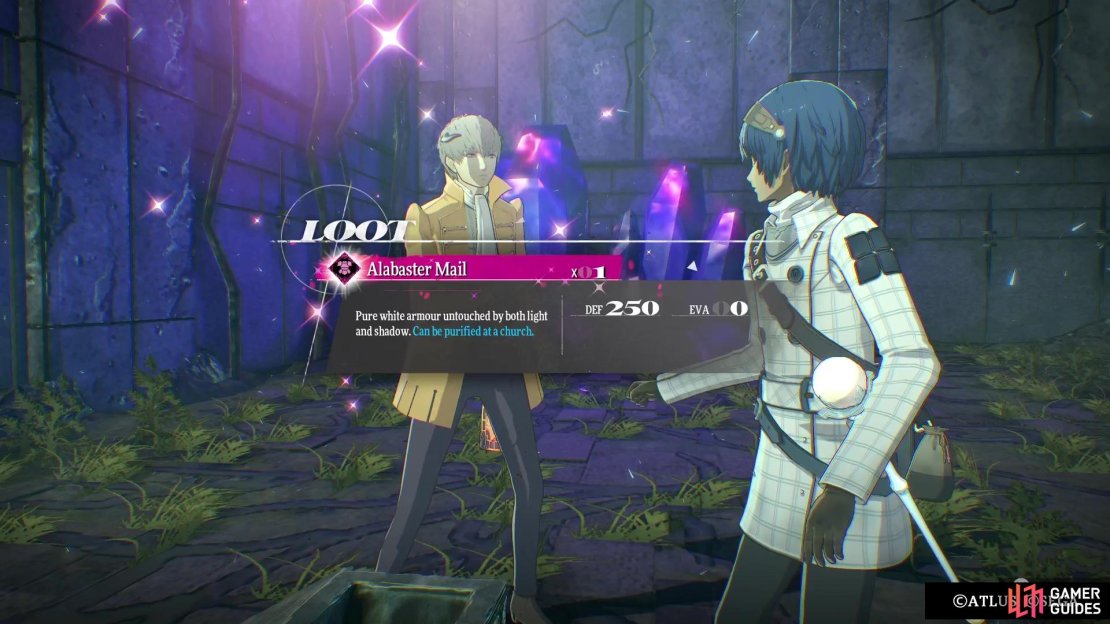
There will be an item by the crystals there (Priestess White Mask), but be aware of the Tropic Alento running back and forth there. Next to the safe room is another room, but opening the door reveals a Trance Crystal inside, which will spawn both Labovesps and Papyrgas. This is a tough one, since it’s a very small room, so try to thin out the herd before going after the crystal itself. Once you have destroyed it, you will be able to open the chest in that room, which contains an ![]() Alabaster Mail. Head south from there now to trigger a cutscene, with the game pointing out the elevators.
Alabaster Mail. Head south from there now to trigger a cutscene, with the game pointing out the elevators.
You cannot use those elevators near you yet, so continue south until you see a path going west. This will put you in a long north-south hallway, which has one of those tree enemies running along it. Once you take it out, head all the way north until you get to the dead end, where you find an item (![]() Talisman of the Raptor). Return to the long hallway and go all the way to the southern end, where you can take the stairs to another area of the dungeon. Fortunately, this is a really small section of the second area, with only a small room that contains a treasure chest.
Talisman of the Raptor). Return to the long hallway and go all the way to the southern end, where you can take the stairs to another area of the dungeon. Fortunately, this is a really small section of the second area, with only a small room that contains a treasure chest.
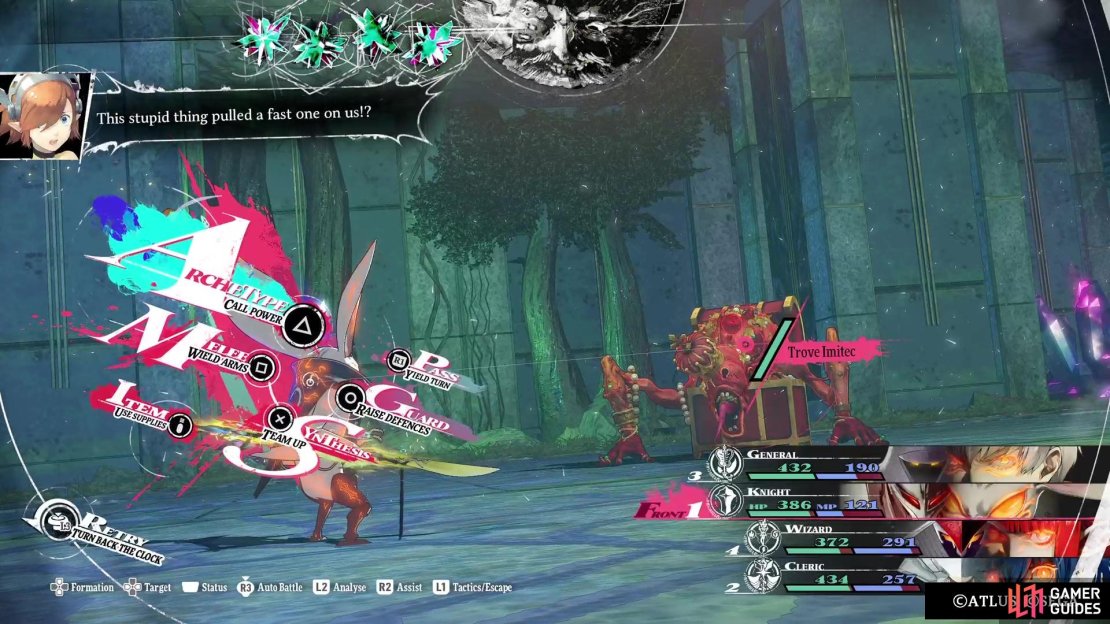
Of course, that chest is actually a mimic, the Trove Imitec you’ve previously fought. Defeat it to obtain a ![]() Lightning Glaive, then double all the way back to the elevators on the previous floor. There is another dead end to the south of the elevators, with some enemies, so defeat them all and loot the item there (
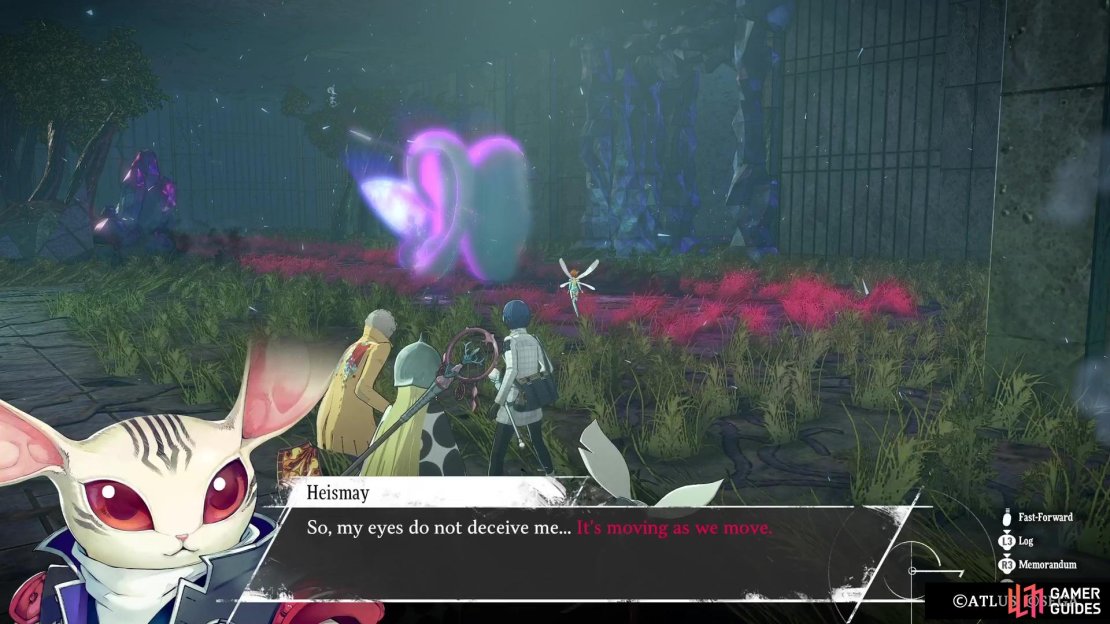
Lightning Glaive, then double all the way back to the elevators on the previous floor. There is another dead end to the south of the elevators, with some enemies, so defeat them all and loot the item there (![]() Graced Water). You can only go one way now and as you pass through the door, you will be faced with some weird creature. Basically, you should avoid fighting these things, but they move whenever you do on the field.
Graced Water). You can only go one way now and as you pass through the door, you will be faced with some weird creature. Basically, you should avoid fighting these things, but they move whenever you do on the field.
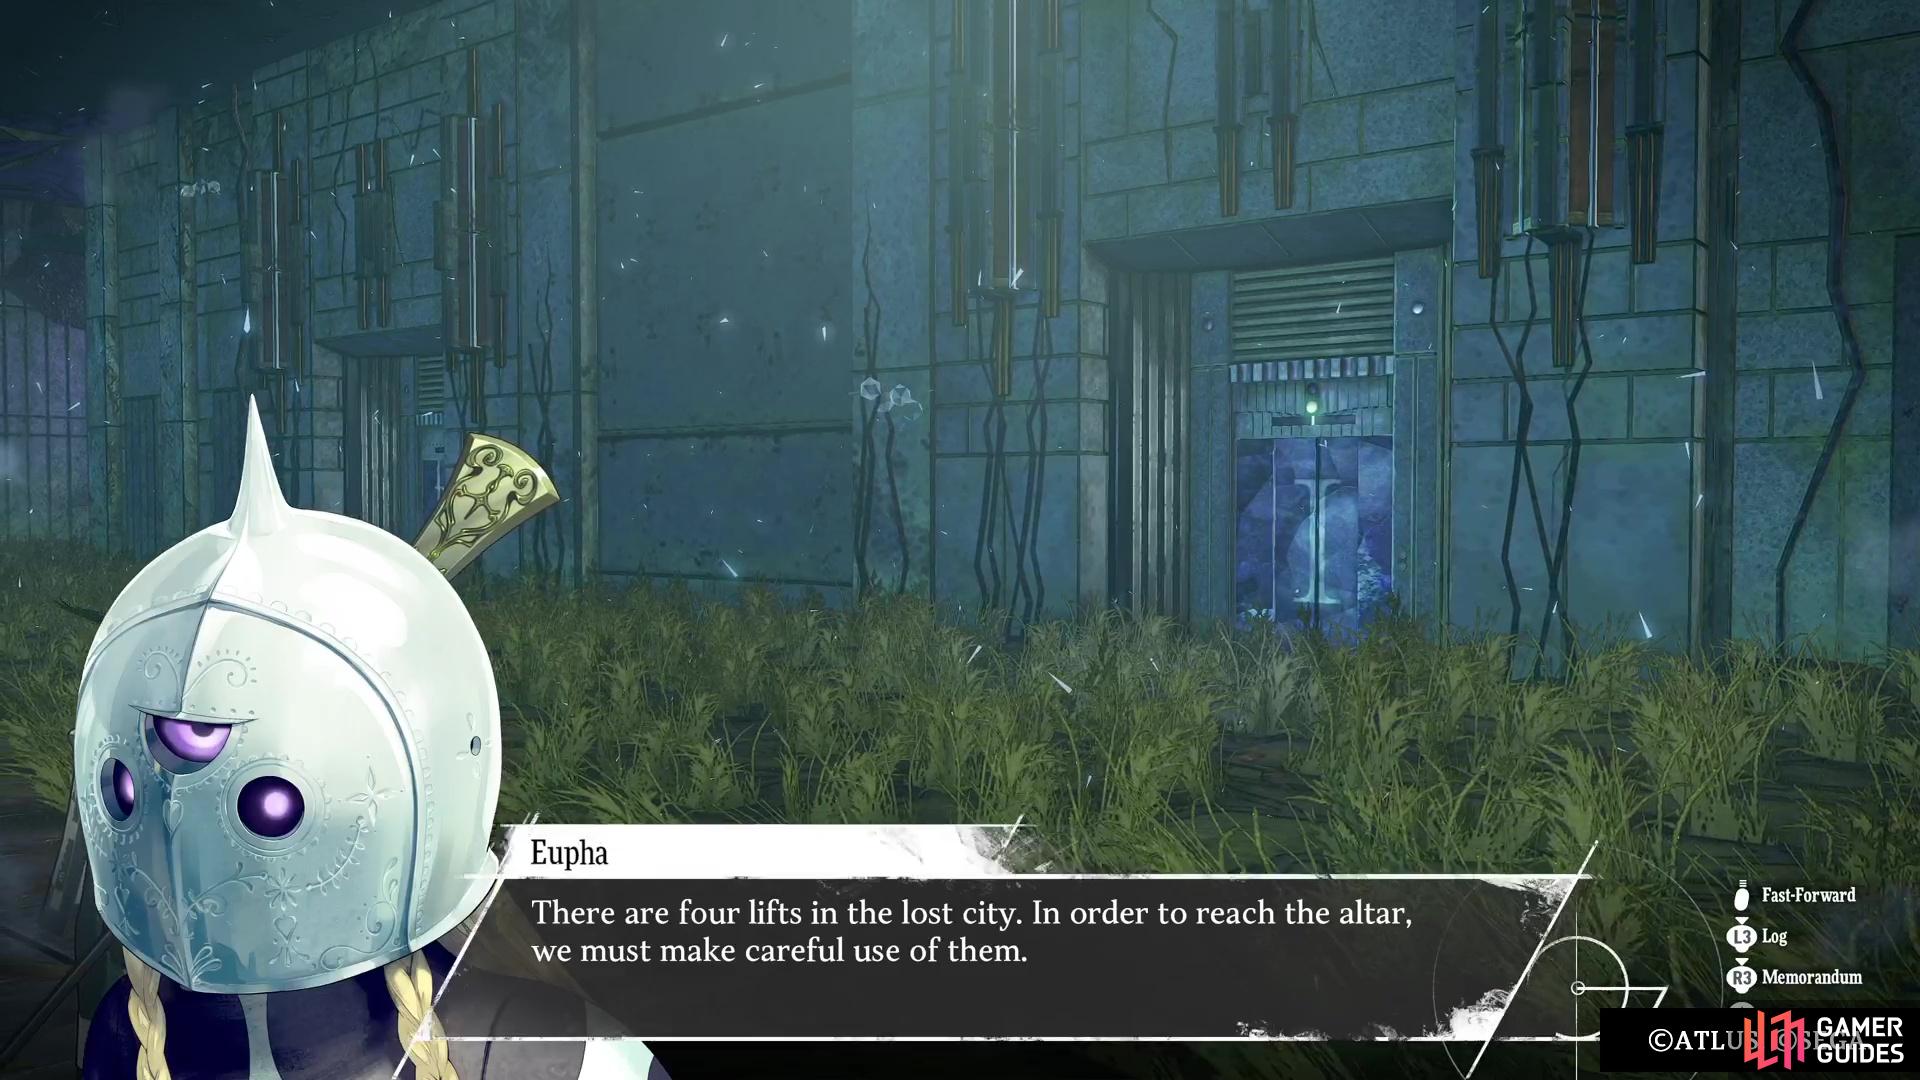

(1 of 4) The ancient lifts are just elevators you can use to get to different floors throughout this dungeon.
They are also restricted to a specific area, so they are not chasing after you and it’s not too difficult to get by them, either. The Homo Orelon, as its called, is not worth fighting either, as you simply get a good amount of experience and not much more. Should you feel like testing the waters, it is weak to lightning and takes full damage from everything else. Dodge this enemy and go to the northern end of the room for an item (Mossy Weapon), then continue eastward. As you cross the bridge-like section (grab the ![]() Golden Strand along the way), you will see a tree enemy in front of you. Thankfully, it doesn’t charge at you, so you won’t be forced into a fight.
Golden Strand along the way), you will see a tree enemy in front of you. Thankfully, it doesn’t charge at you, so you won’t be forced into a fight.
However, the area it’s in is populated with other enemies, so it can be a little tricky to get the jump on them. Carefully clear some of the enemies out of the way, loot the item on the northern side (Quartz Vine), then try and ambush the tree enemy in front of the door, if you can. Exiting to the east will lead to two more elevators, although the one you need doesn’t seem to have enough power, so Eupha mentions to take the one next to it. Before doing that, though, you have a number of directions to explore here.
For starters, go straight south to encounter a dead end area, with a new tree-like enemy here, the Mageleaf Alento. Despite the other one being weak to fire, this one will block it, so don’t use it (Mageleaf Alento is weak to both wind and light). It will be guarding a Fortune White Mask, should you want to snag it. North of the elevators will be another item sitting there (![]() Aquamarine), as well as another of those Homo Orelon enemies. Avoid confronting it, but it will be guarding two rooms you can enter, one of which will have a chest. The best way to get to it is to circle around the side path, to the western side, where you can have easier access to the room with the chest.
Aquamarine), as well as another of those Homo Orelon enemies. Avoid confronting it, but it will be guarding two rooms you can enter, one of which will have a chest. The best way to get to it is to circle around the side path, to the western side, where you can have easier access to the room with the chest.

(1 of 3) There are two different tree enemies in Drakongrace, so make sure not to confuse them.
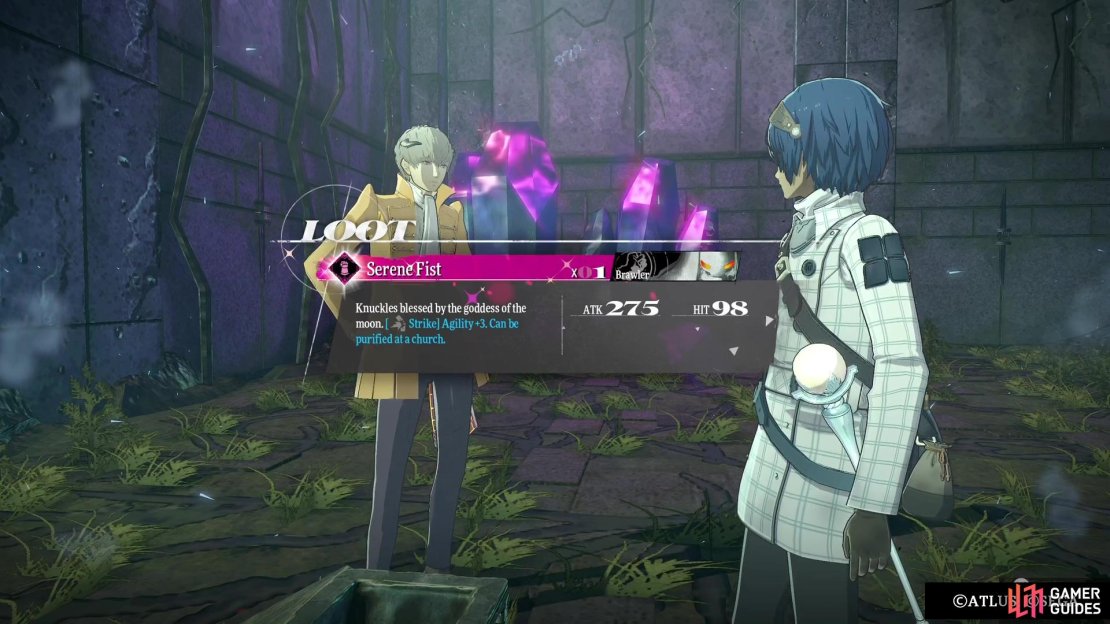
There will be an item on the western side (Quartz Vine), so grab it and sneak into the room with the chest for a ![]() Serene Fist. Double back to the elevators and enter the long hallway to the east, then head all the way south for an item (
Serene Fist. Double back to the elevators and enter the long hallway to the east, then head all the way south for an item (![]() Speed Incense). Going all the way north will lead to some stairs that go to the second area.
Speed Incense). Going all the way north will lead to some stairs that go to the second area.
The Steel Rendezvous
Pass through the door right in front of you and look to the west, where you will see some familiar Potolpos. If you forgot about these enemies, they will pretty much detonate whenever they see you, so it’s best to just trigger that and move away as quickly as possible. Head west, then west again, where you can see an item at the dead end there, along with some enemies (![]() Quartz Wall Material). Just south of there, you should see an exclamation point on the map. This is a switch you can push to open the door right next to it, allowing you access to more of the map. Before going that way, though, return to the entrance to this floor.
Quartz Wall Material). Just south of there, you should see an exclamation point on the map. This is a switch you can push to open the door right next to it, allowing you access to more of the map. Before going that way, though, return to the entrance to this floor.
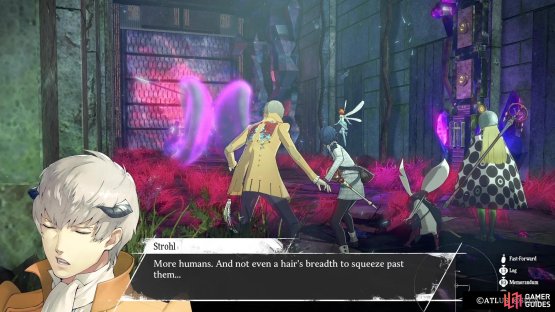
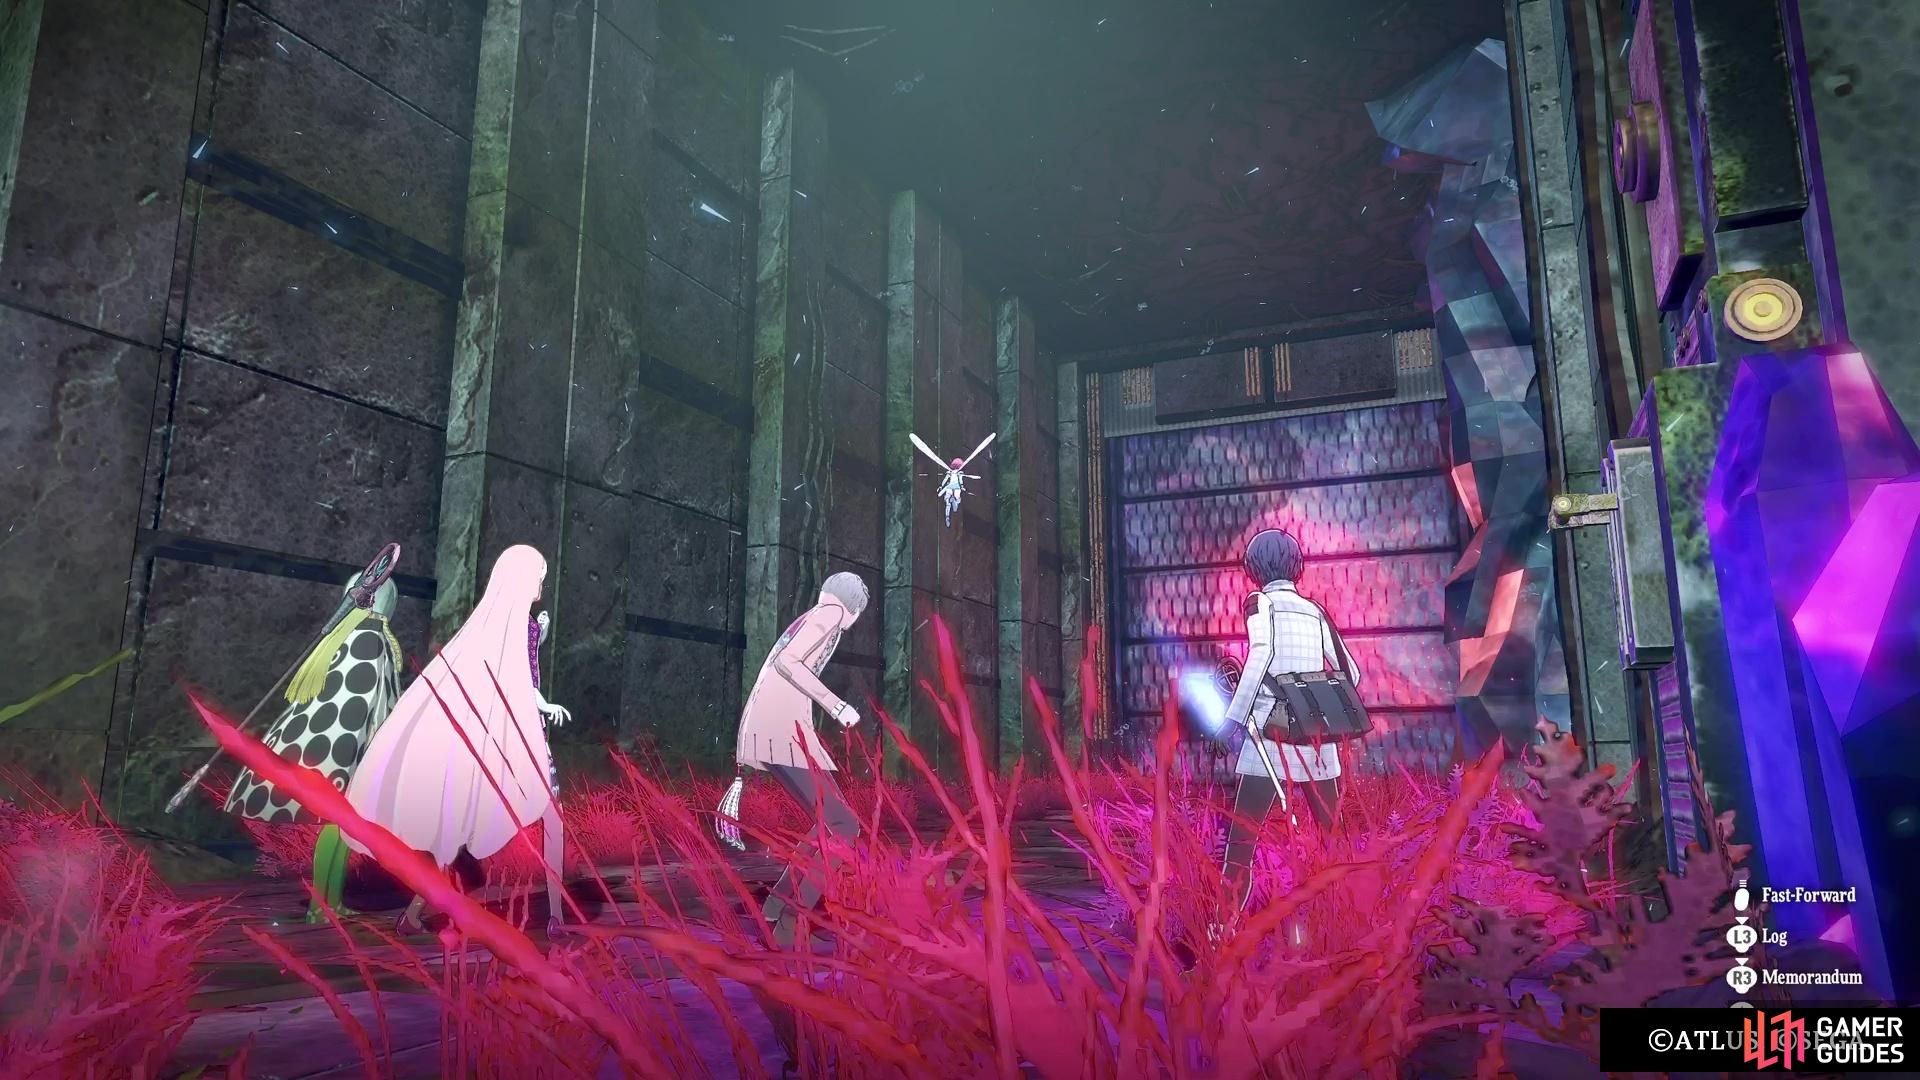
Be careful of the snake enemies here, as they move fast and have a little range to their overworld attack. Head south, west, then south to the dead end that has an item, which is a ![]() Miraculous Medicine. You can now pass through the door opened with a switch, with some enemies waiting for you not far into that section. The dead end just to the west has a Justice White Mask, so grab it and head along the northern path. Another one of those ghostly Human enemies are here, but you don’t have much in the way of room to squeeze by it this time.
Miraculous Medicine. You can now pass through the door opened with a switch, with some enemies waiting for you not far into that section. The dead end just to the west has a Justice White Mask, so grab it and head along the northern path. Another one of those ghostly Human enemies are here, but you don’t have much in the way of room to squeeze by it this time.


(1 of 2) This Human is hard to avoid, as there’s not much room to get past it.
This Human is hard to avoid, as there’s not much room to get past it. (left), Use the switch and its corresponding door to trap it, allowing you free passage. (right)
What you want to do here is move around to get the Human away from the switch, which opens the door to the south. Once you open it, move around a bit more to get the Human to the southern end, then hit the switch again to close the door, trapping it in that little section. You can see a chest on the map in that part, but ignore it for now, since you’ll be able to get it later. The path to the west is another of those long bridges, but this one will have enemies on it. The Crag Manjula will generally stick to the far end, but there are also some Papyrgas up in the air that will come down when you get close enough.
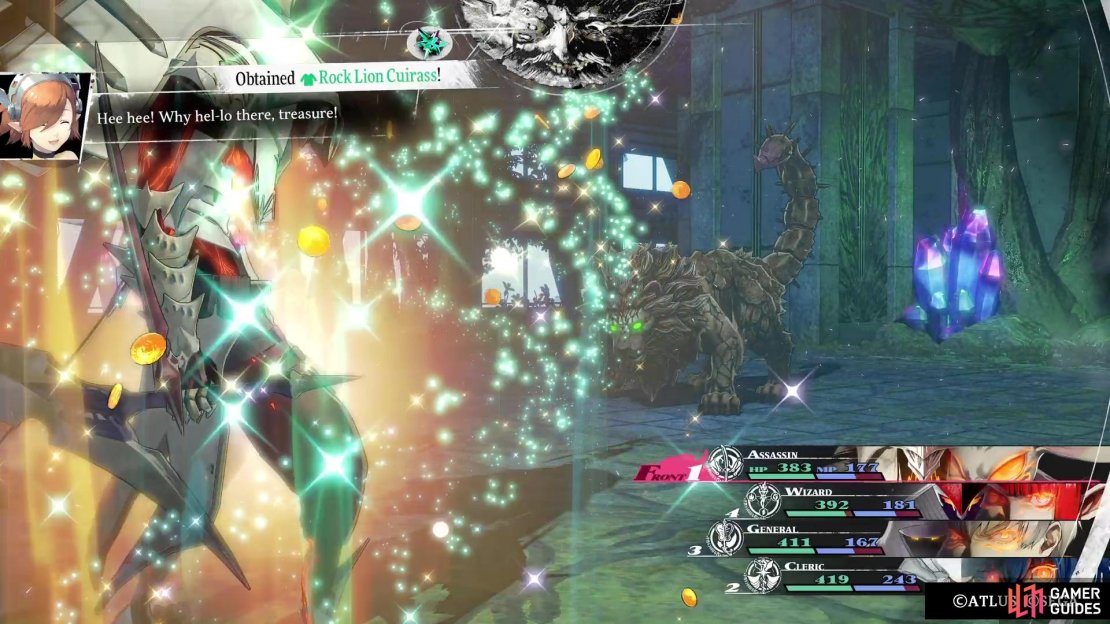
Of course, the Crag Manjula here is quite a tough enemy, with both ice and electric attacks, some of which will hit your entire party. However, should you fight it, you can steal a nice ![]() Rock Lion Cuirass from it, which is a nice piece of armor that can be purified at the church once you get out of here. Follow the hallways beyond that, to an area with more switches and doors. Ignore the north switch, since it’s trapping one of those Humans and there’s no way to get past it. The southern switch leads to another long hallway, along with more of those snake enemies (pick up the
Rock Lion Cuirass from it, which is a nice piece of armor that can be purified at the church once you get out of here. Follow the hallways beyond that, to an area with more switches and doors. Ignore the north switch, since it’s trapping one of those Humans and there’s no way to get past it. The southern switch leads to another long hallway, along with more of those snake enemies (pick up the ![]() Hero’s Leaf of Light along the way).
Hero’s Leaf of Light along the way).
When you reach the northern end, there is another Human here, so dip into the alcove (Potolpos will be here) and grab the item (![]() Talisman of the Avatar). Run around in here after to get the Human to move enough so you can squeeze by it and head eastward. Ignore the dead end here (nothing there but enemies, so no point wasting more MP) and go through the northern door. Snag the item to the west (
Talisman of the Avatar). Run around in here after to get the Human to move enough so you can squeeze by it and head eastward. Ignore the dead end here (nothing there but enemies, so no point wasting more MP) and go through the northern door. Snag the item to the west (![]() Ariadne’s Thread), then continue to the east. Be mindful of the Crag Manjula here and go along the northern path, where there is a green orb at the end that gives some lore. Head to the south portion on this side and into the room for the chest there (
Ariadne’s Thread), then continue to the east. Be mindful of the Crag Manjula here and go along the northern path, where there is a green orb at the end that gives some lore. Head to the south portion on this side and into the room for the chest there (![]() Fire Mist Katana).
Fire Mist Katana).

(1 of 3) The Crag Manjula is one of the strongest enemies in this dungeon.
Double back to the west and you’ll find two Humans in the northern part, so sneak behind one as it’s moving west to access the area beyond it. The stairs here will go down to the third section of this dungeon, the Ghost Town of Dreams.
Ghost Town of Dreams
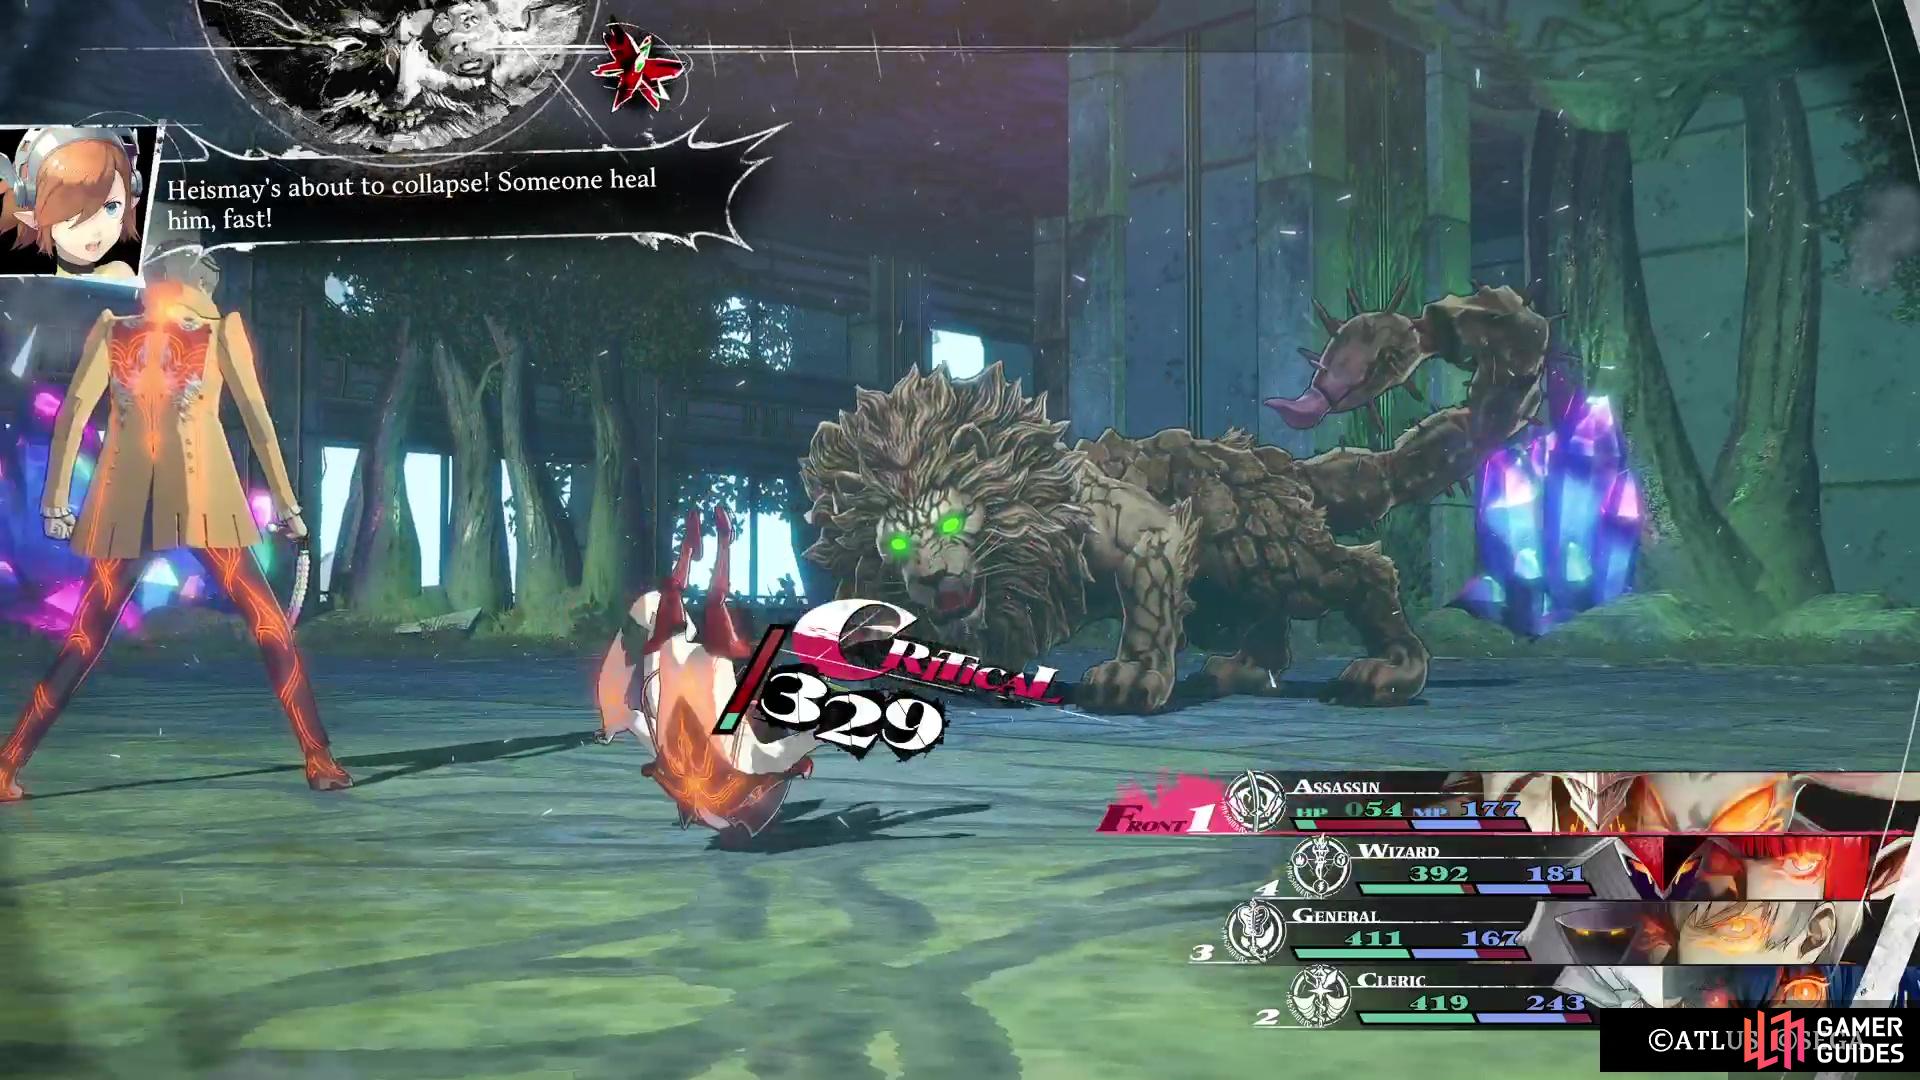
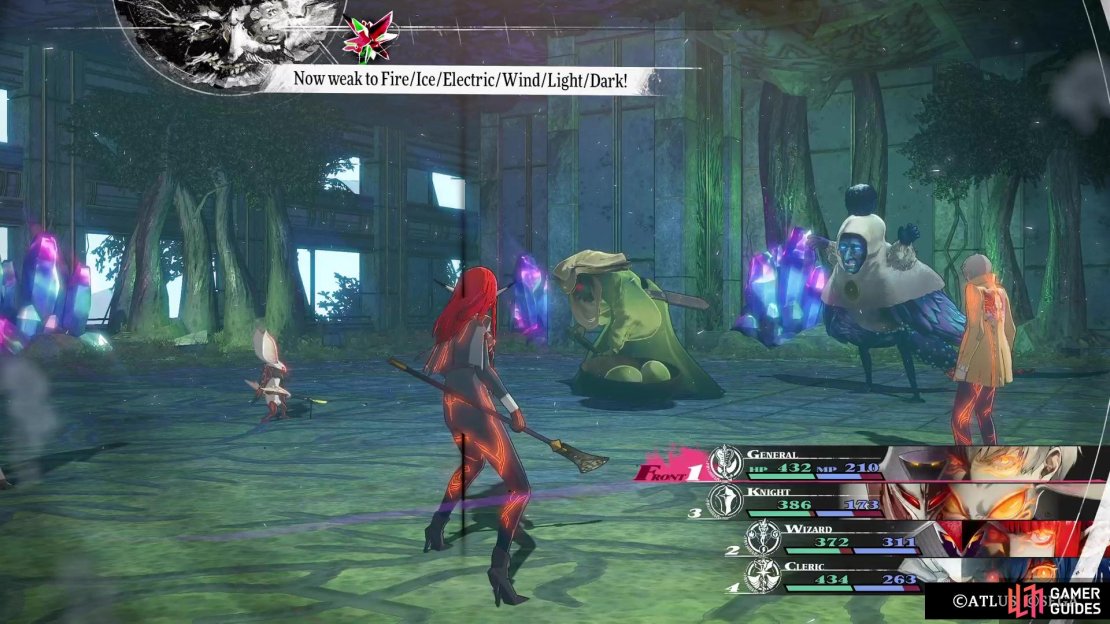
Immediately to your south will be two new enemies, the Homo Stormmu and the Homo Fizic. The former has two skills that can inflict weaknesses onto characters (one for physical and another for elemental), but it does have a nice armor to steal. Continue straight south, and to another dead end and item (Superior Mossy Curio). To the east will be an elevator that takes you back to A Bounty of Relics, should you need a breather. Northeast is another dead end, but you will meet the Psyocro here. This hulking brute should be dealt with first in a battle, as if left for last, it will use an ability to get four Turn Icons, then proceed to wreck your party with physical attacks.
The item past that enemy is a Justice White Mask. Back at the elevator, go the other past to the east to come to two Trance Crystals. These will be spitting out the Ostoflos, along with level 20 enemies. If it wasn’t for the former, you could sit here and use the ![]() Mage class on your protagonist to replenish your MP. The two items in the area are a Pallid Thinstalk and a
Mage class on your protagonist to replenish your MP. The two items in the area are a Pallid Thinstalk and a ![]() Magla Potion, so nab them if you want. If you want to save the crystals for farming later, leave them alone and pass through the door on the eastern side.
Magla Potion, so nab them if you want. If you want to save the crystals for farming later, leave them alone and pass through the door on the eastern side.
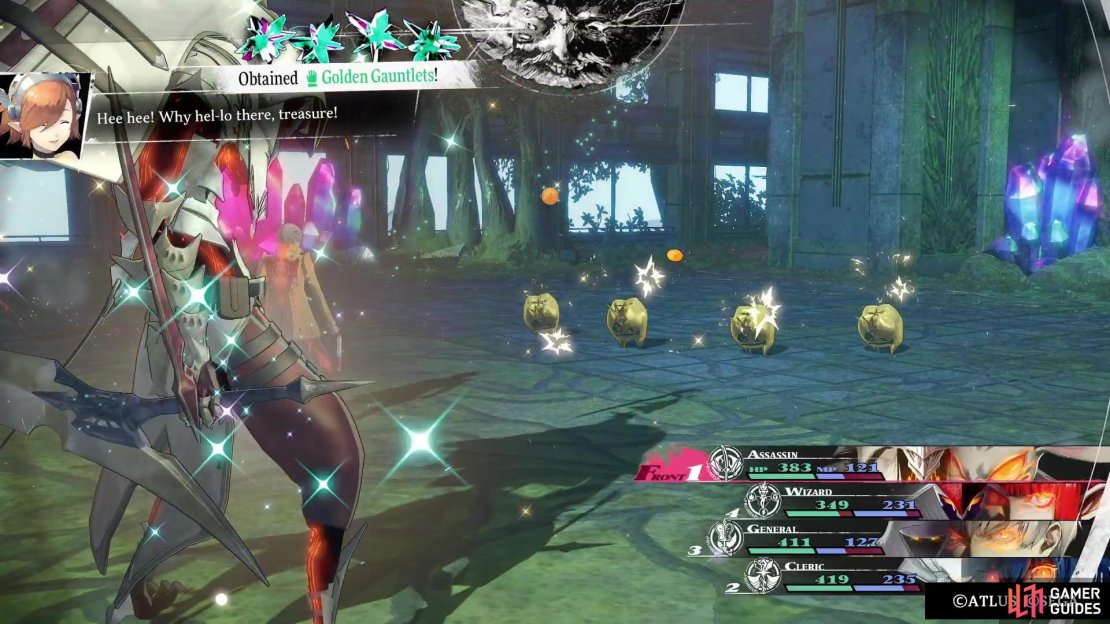
Around this time, you might find some golden enemies that pop out of the ground, called Golden Homo Tentas. These things resist all damage types, except for Almighty, so something like ![]() Gold Attack works great and they drop a lot of money. You can also steal
Gold Attack works great and they drop a lot of money. You can also steal ![]() Golden Gauntlets from them, which aren’t great, but anything you can sell is great. After passing through the door by the crystals, go north for an item (Golden Strand), then start heading east. There will be some more Psyocros here, so make sure you defeat them first before the other enemies in the battle.
Golden Gauntlets from them, which aren’t great, but anything you can sell is great. After passing through the door by the crystals, go north for an item (Golden Strand), then start heading east. There will be some more Psyocros here, so make sure you defeat them first before the other enemies in the battle.

(1 of 4) You will sometimes see some gold teeth enemies that pop out of the ground.
You can probably see the item on your map to the north of the Psyocros, along with one of those Human enemies. This item isn’t a real item, but one of those lore green orbs, so you can completel ignore it. However, you still want to hit the switch, as it will open another door that leads to the south. Ignoring that for now, continue east (Gold Elmenta at the dead end to the south) and through the door. Head south first just past the door and to the dead end for a ![]() Magla Injection. Return to the previous spot and a little more east will be two more Trance Crystals, which spawn the same enemies as the prior ones.
Magla Injection. Return to the previous spot and a little more east will be two more Trance Crystals, which spawn the same enemies as the prior ones.
Feel free to destroy these, if you want, but there’s a green lore orb behind the one, and a ![]() Spirit Dew by the one in the room. Remember that door leading southward you opened a little bit ago? Well, take that path now and follow it until you reach a larger hallway. There will be an item to your west (Death White Mask), but nothing else on that side as it’s a dead end. As you venture east, grab the Quartz Vine, then enter the area with the two Humans moving around a pillar. There’s an item in the northeastern corner, so follow one until you reach it (
Spirit Dew by the one in the room. Remember that door leading southward you opened a little bit ago? Well, take that path now and follow it until you reach a larger hallway. There will be an item to your west (Death White Mask), but nothing else on that side as it’s a dead end. As you venture east, grab the Quartz Vine, then enter the area with the two Humans moving around a pillar. There’s an item in the northeastern corner, so follow one until you reach it (![]() Hero’s Fruit), then do another round to get to the eastern exit.
Hero’s Fruit), then do another round to get to the eastern exit.
Open the door with the switch, then keep using the switches until you can leave to the east, while avoiding the Human. Be very careful at the end of the hallway with the low-level enemies, as a Psyocro will be hiding right around the corner. It will be guarding another item (Pallid Thinstalk), so snatch it and continue westward. When you reach the next Human, try to get to the switch in the southeastern corner while it’s on the southern side of the door. If you don’t, then you’ll have to quickly get to the exit before it reaches it. Of course, the safe alcove is housing an item, so pick it up (![]() Raiju’s Breath) before leaving.
Raiju’s Breath) before leaving.


(1 of 3) You can use the Trance Crystals to help recover MP by switching to the Mage class.
Fight your way to the end and grab the final item in this corner (Golden Strand), then climb the stairs back up to the second area.
The Steel Rendezvous Again
You’re now in another section of the second area, which you couldn’t get to from the previous time you were here. Journey to the north, watching out for the cluster of enemies here, then go back south. There’s a Crag Manjula roaming the long hallway here, but make sure you nab the item before going down it (Golden Strand). Continue east, into the snake-infested hallway, first, where there will be a green lore orb at the end of the first northern pathway. Follow the other hallway here, to a door that leads to a chest that contains a Star White Mask.
Return to where the split was and destroy the Trance Crystal here, which will be spewing out the Benepetia enemies. Through the door, go straight north first to an item (Superior Mossy Weapon) and a sneaky exploding pot enemy. The zig-zag path will lead to another Human, which might be tricky to dodge. Squeeze by when it’s at the left end and head straight east (the item is a ![]() Ruby, but you will probably have to fight the Human). Keep going east, stopping to pick up the item to the north behind the one enemy (
Ruby, but you will probably have to fight the Human). Keep going east, stopping to pick up the item to the north behind the one enemy (![]() Balm of Life).
Balm of Life).
There’s not much left in this area, so ignore the elevator and head into the long hallway on the eastern end. At the northern tip is an item (![]() Mindbreak Hammer), but the path to the south is blocked by a roaming Human. Go all the way to the southern end and look for the dead end being guarding by a Crag Manjula; the item it is protecting is a Hero’s Leaf of Light. All that’s left is using the stairs in the southeastern corner to go back up to A Bounty of Relics.
Mindbreak Hammer), but the path to the south is blocked by a roaming Human. Go all the way to the southern end and look for the dead end being guarding by a Crag Manjula; the item it is protecting is a Hero’s Leaf of Light. All that’s left is using the stairs in the southeastern corner to go back up to A Bounty of Relics.
A Bounty of Relics Revisited
You’ll be in the southeastern corner of the area and the long hallways here loop around two smaller rooms, with some tree enemies running them. Go around the long hallways and grab the two items here (Graced Water and ![]() Garnet), then let’s look inside the rooms. The western one contains a chest guarded by two trees (
Garnet), then let’s look inside the rooms. The western one contains a chest guarded by two trees (![]() All-In Abacus), while the other room has a Gold Elmenta and a green lore orb. When you enter the door to the north, you will see a switch and the party thinks this will set things straight to the altar, but it does not.
All-In Abacus), while the other room has a Gold Elmenta and a green lore orb. When you enter the door to the north, you will see a switch and the party thinks this will set things straight to the altar, but it does not.

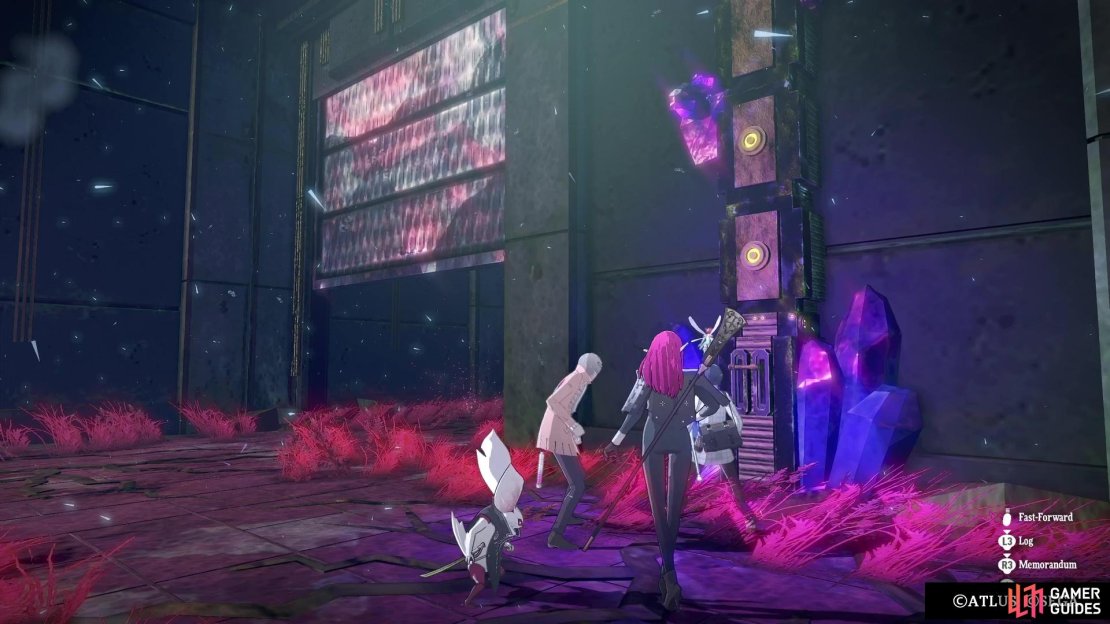
(1 of 3) The chest with the Abacus is being guarded by two tree monsters.
Eupha mentions following the path for a little longer, so head west now. When you reach the southwestern corner, hit the switch to create a shortcut back towards the western set of elevators and the safe room. Pass through the door to the south and you’ll come face-to-face with a bunch of those Humans. Eupha suggests that there is a source for these Humans, so it’s time to track it down. The objective marker will be on one of the western elevators now, so take it down to find the real culprit.
This one will still move whenever you do, but it will continually run away from your characters. Follow it for now and anytime you see a switch, hit it to bring down a gate. There are three in total and doing this will allow you to corner the Human, triggering a battle with it.
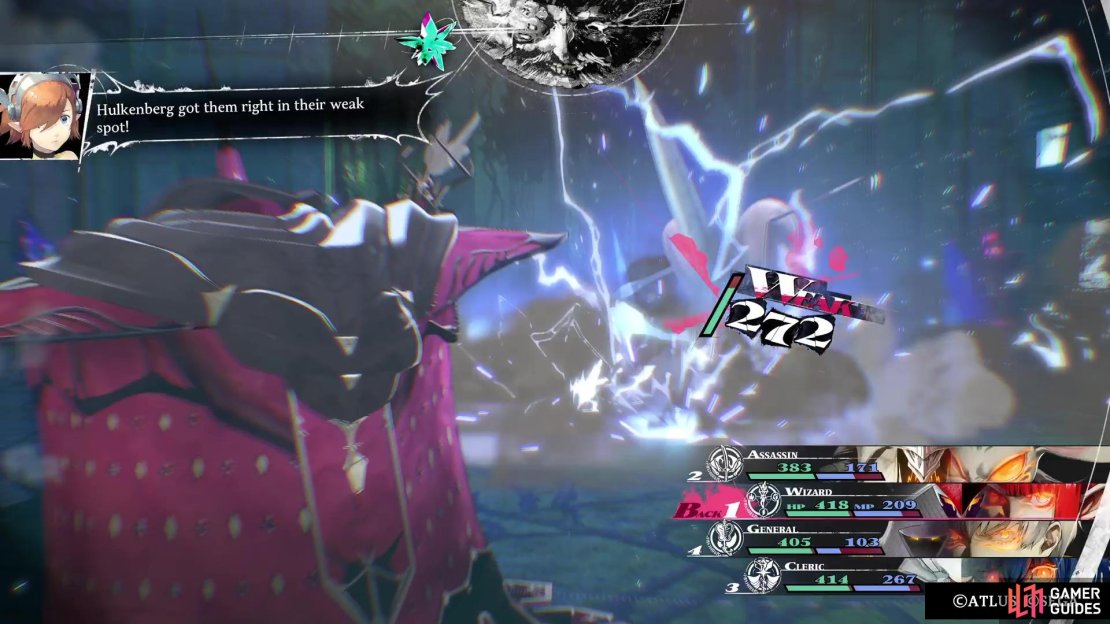
Homo Flaemo Boss Strategy
If you fought one of the Homo Orelons, then this is a pretty similar battle. Flaemo will primarily use physical attacks, with ![]() Rising Slash hitting all of your characters.
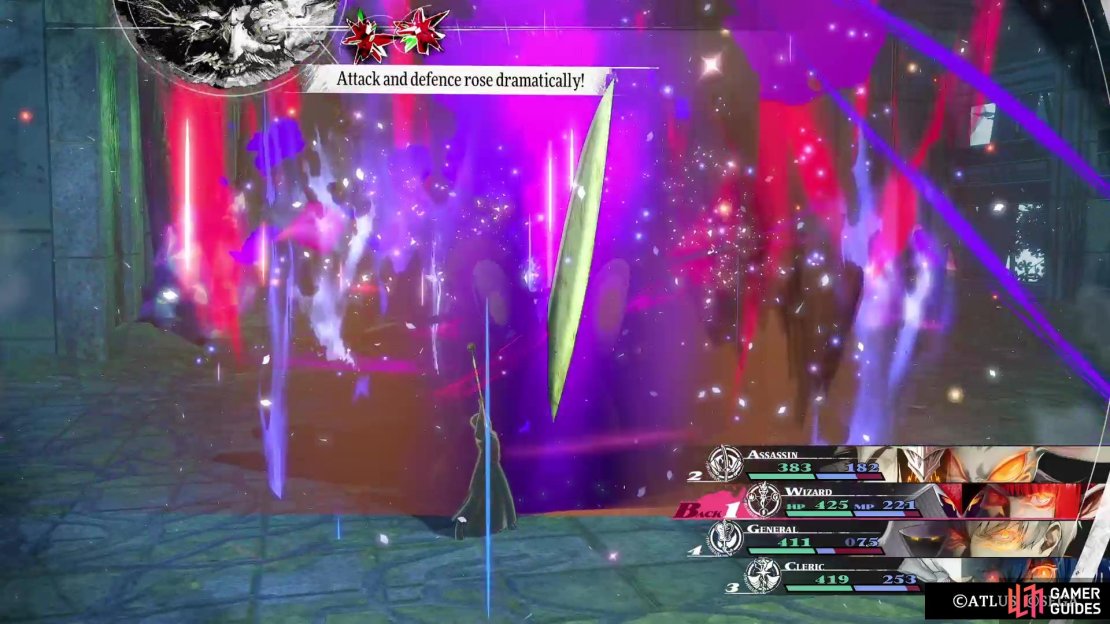
Rising Slash hitting all of your characters. ![]() Mad Rush is a single target attack, so you will want to see that more than the other. You also might be afflicted with Forget by Skull Cracker, so make sure you heal that, should it happen. Once you bring its health to below 50% or so, it will use Breath of Battle to dramatically increase both its attack and defence (three ranks), which means its attacks will hit harder and it’ll take less damage. It is weak to Lightning, so hopefully you have attacks that can hit the weakness.
Mad Rush is a single target attack, so you will want to see that more than the other. You also might be afflicted with Forget by Skull Cracker, so make sure you heal that, should it happen. Once you bring its health to below 50% or so, it will use Breath of Battle to dramatically increase both its attack and defence (three ranks), which means its attacks will hit harder and it’ll take less damage. It is weak to Lightning, so hopefully you have attacks that can hit the weakness.
Once the Human has been defeated, all of the other ones will disappear from the entire dungeon, so you can free to explore the dungeon and grab any treasures you couldn’t prior to this. If you’ve been following this walkthrough, there should only be a single chest on The Steel Rendezvous you couldn’t get, since you trapped a Human in the hallway with it. The stairs in the northeastern corner of A Bounty of Relics will bring you close to it (the chest contains some ![]() Chef’s Mitts).
Chef’s Mitts).


Double back to where all of those Humans were seen and run the loop around to get two items (![]() Heavenly Water and
Heavenly Water and ![]() Luck Incense). Enter the eastern room here for a chest that holds a
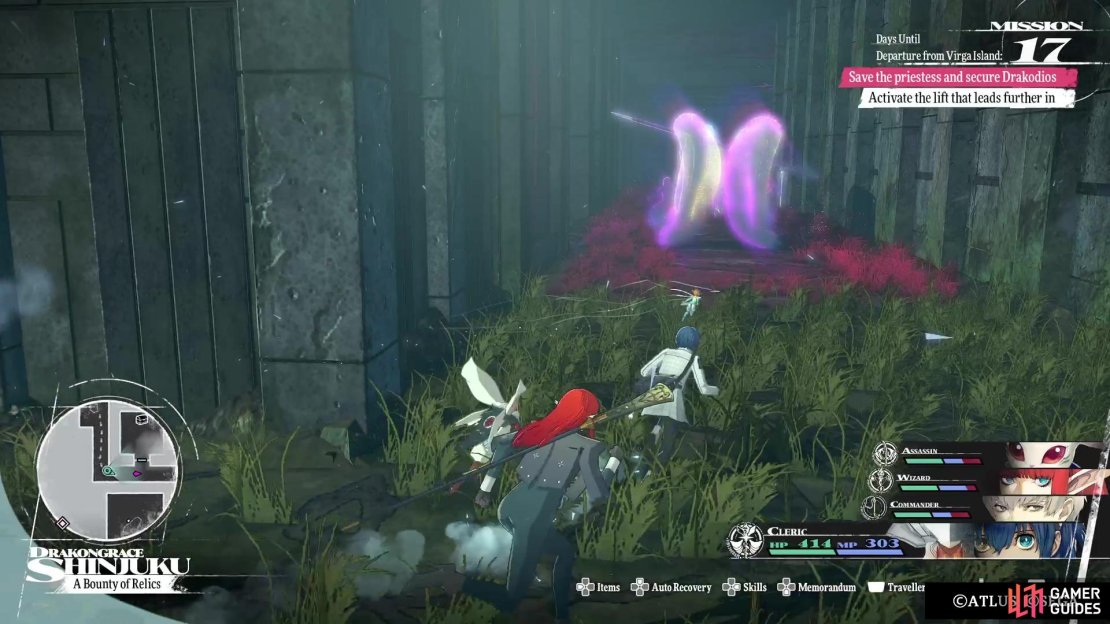
Luck Incense). Enter the eastern room here for a chest that holds a ![]() Coddled Choker, with the other room containing the switch that activates the elevator with “III” on it. Make the run over there and use the elevator to arrive in the final area, The Moment of Epiphany.
Coddled Choker, with the other room containing the switch that activates the elevator with “III” on it. Make the run over there and use the elevator to arrive in the final area, The Moment of Epiphany.
The Moment of Epiphany
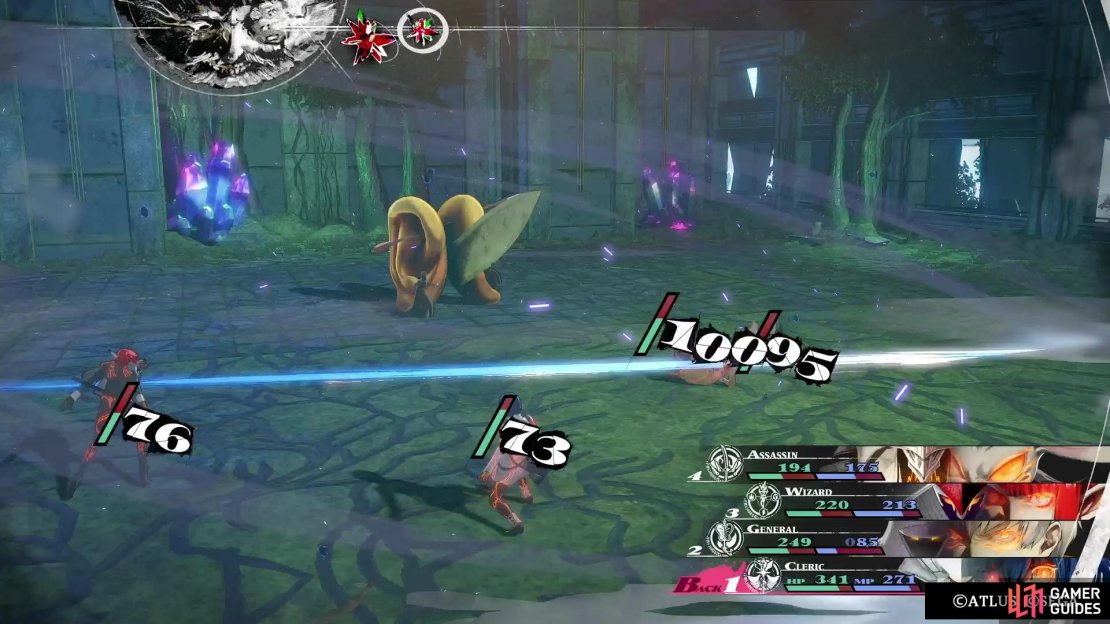
The final area will be filled with the hardest of the enemies you’ve faced thus far, but they should all be familiar. At the start, go north and grab the item you see there (![]() Blessed Water), then continue north and follow the hallway as it turns south. In the corner before the hallway narrows, there is an item (Pallid Thinstalk). When it bends to the west, be wary of the one new enemy on this floor, the Homo Frostine. This beast should look familiar, as it uses the same model as one of the early bosses in the game, but this one will use a lot of ice attacks (only weak to Pierce and obviously, don’t use ice).
Blessed Water), then continue north and follow the hallway as it turns south. In the corner before the hallway narrows, there is an item (Pallid Thinstalk). When it bends to the west, be wary of the one new enemy on this floor, the Homo Frostine. This beast should look familiar, as it uses the same model as one of the early bosses in the game, but this one will use a lot of ice attacks (only weak to Pierce and obviously, don’t use ice).
The path here will loop around, with an item to be found on the northern side (Magla Potion). When you find the path heading south, go east first for another item (Quartz Vine), then make the trek to the southeastern corner (![]() Evil Eye Talisman along the way) to a room. There are two green lore orbs in here, as well as a chest, which is a mimic (Trove Imitec). Defeat it to receive a
Evil Eye Talisman along the way) to a room. There are two green lore orbs in here, as well as a chest, which is a mimic (Trove Imitec). Defeat it to receive a ![]() Sumptuous Magla Feast, a great item that fully restores one ally’s MP. Note that the Spekto of Laments are back on this floor, usually accompanying the Frostine or on their own.
Sumptuous Magla Feast, a great item that fully restores one ally’s MP. Note that the Spekto of Laments are back on this floor, usually accompanying the Frostine or on their own.
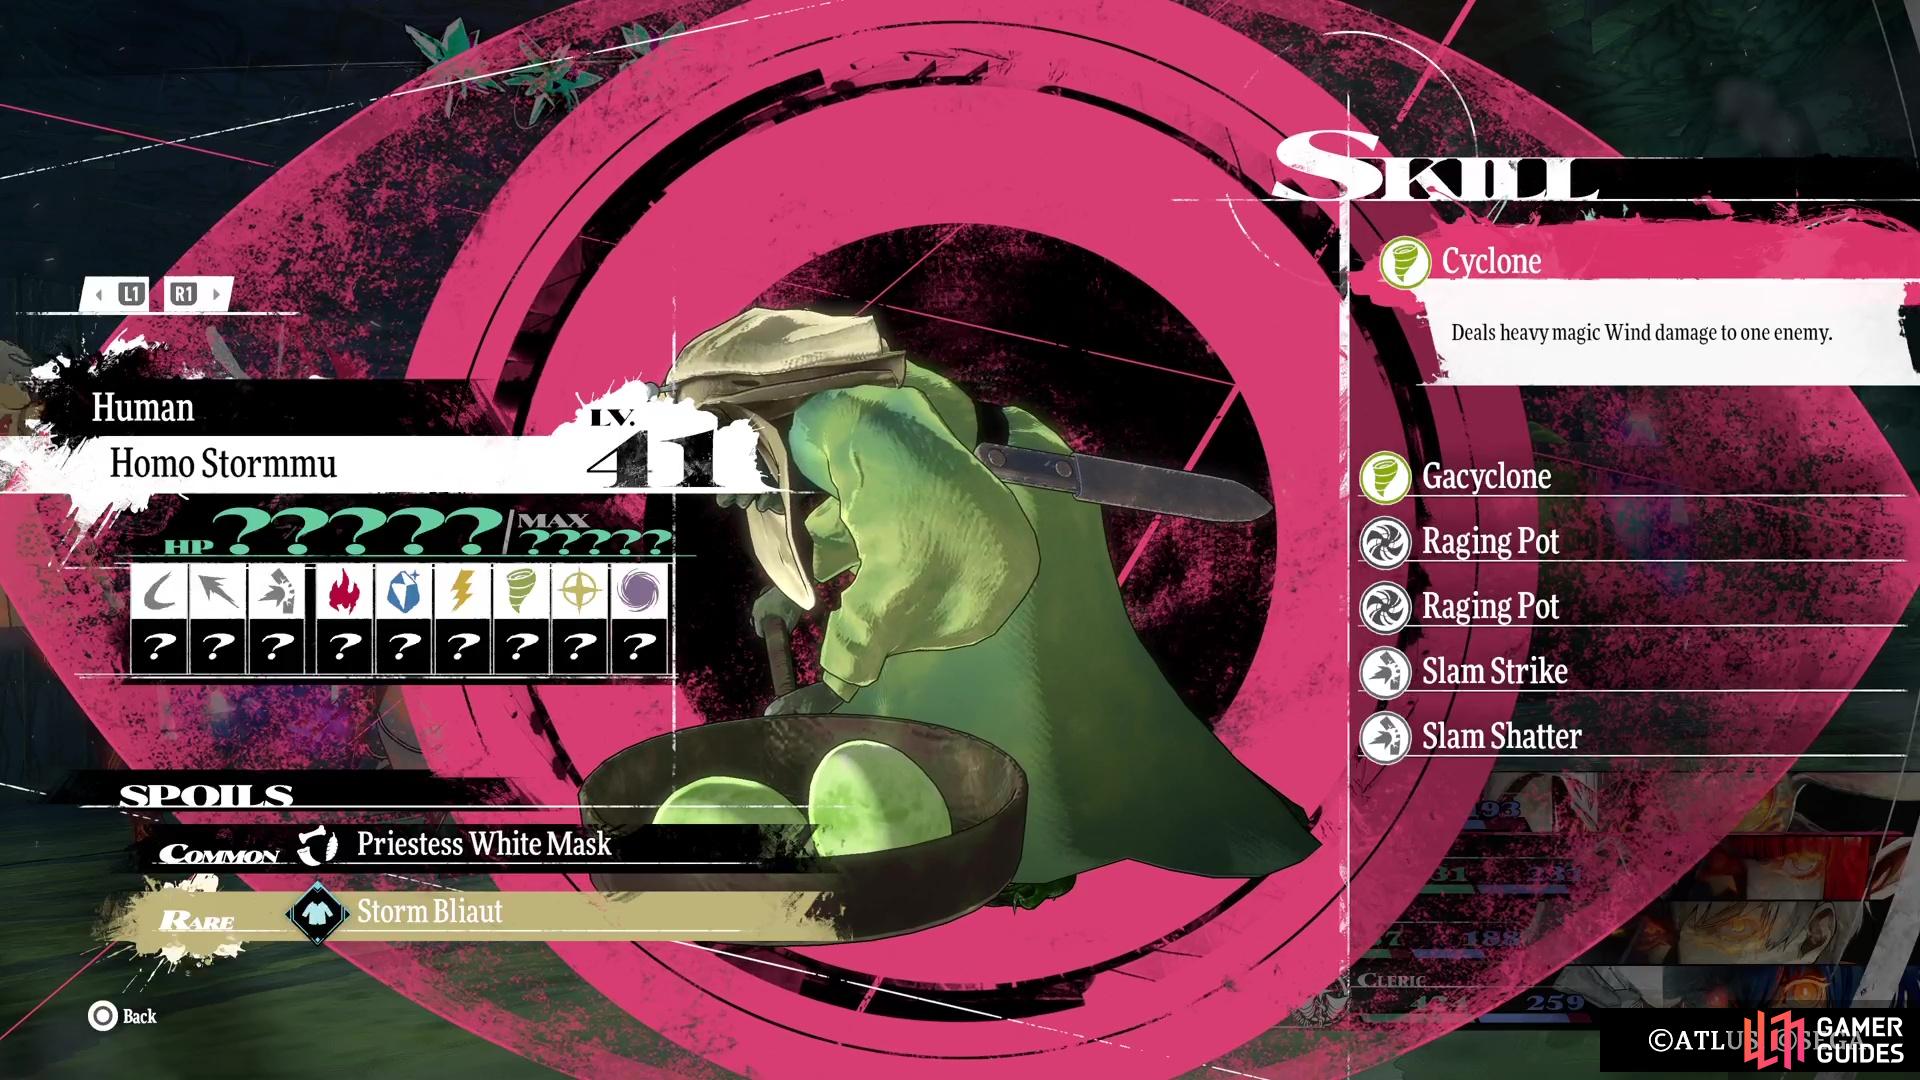
(1 of 3) The Storm Bliaut is a great piece of armor you should look into stealing.
You can either trigger their explosion or try to fight them in Squad Battles, but at this point, you should be able to defeat them on the overworld. After the mimic, exit the room and go west, north and then south when you can (Golden Strand on the way). At the end, you should happen upon a locked gate, so hit the switch next to it to open the gate (Fool White Mask next to it, too). You’ll be in a large hallway now, with a Trance Crystal just north of your position (spawns a tree, wasp and moth). If you’re level 41 or higher, you can farm these monsters to replenish your MP or for money.
For right now, though, ignore the large hallway and backtrack all the way to the elevator. Take the other path to the west, where you want to head to the northeastern corner. There is a room here with another green lore orb, as well as a chest. Thankfully, this one isn’t a mimic, but it contains a pair of ![]() Hare Breeches. Exit the room and take the northernmost path to the west, grabbing the item along the way (Quartz Vine). There is also a small alcove with one of those egg enemies, where you’ll find another item (Magla Injection).
Hare Breeches. Exit the room and take the northernmost path to the west, grabbing the item along the way (Quartz Vine). There is also a small alcove with one of those egg enemies, where you’ll find another item (Magla Injection).
Eventually, you’ll reach the northwestern corner and another room, with a green orb and chest, which contains a ![]() Tortoise Jambeau. Of the two southern ways before you, the eastern one looks like it has an item, but it’s just another green orb, so you can ignore it. The other path will have an item at the bottom (Golden Strand), before it bends to the east. When you can go north, do that to find another item along the way to the east (
Tortoise Jambeau. Of the two southern ways before you, the eastern one looks like it has an item, but it’s just another green orb, so you can ignore it. The other path will have an item at the bottom (Golden Strand), before it bends to the east. When you can go north, do that to find another item along the way to the east (![]() Superior Mossy Longarm). This will loop around to another path heading south, where you want to go west first to find an item at a dead end (
Superior Mossy Longarm). This will loop around to another path heading south, where you want to go west first to find an item at a dead end (![]() Energy Incense).
Energy Incense).
There will be an item along the way to the southwestern corner (Pallid Thinstalk), where there’s one final room. As with the others, a green orb is here, as well as a chest, although this one is a Trove Imitec. For defeating this one, you’ll receive a ![]() Thrilling Tricorne. All that’s left to get to the southeastern corner of this western half, where there’s another locked door and switch (
Thrilling Tricorne. All that’s left to get to the southeastern corner of this western half, where there’s another locked door and switch (![]() Matterbreak Hammer is found near these). Open it to return to the central hallway with the Trance Crystal. The best thing to do here is destroy the first crystal, since there are two more a little more north of it.
Matterbreak Hammer is found near these). Open it to return to the central hallway with the Trance Crystal. The best thing to do here is destroy the first crystal, since there are two more a little more north of it.

(1 of 2) If you’re level 41 and higher, then take the time to farm the Trance Crystals on the final floor.

If you’re level 41 and higher, then take the time to farm the Trance Crystals on the final floor. (left), This can provide a nice boost to your levels and Archetypes. (right)
Of course, there’s also a Crag Manjula roaming up here, too, so take it out first if you want to farm the enemies from the crystals (same ones spawn as from the southern one). When you’re done, either destroy the crystals or leave them be, since they don’t respawn. To the north of the double crystals, you can see a Gold Elmenta, but it’s not worth chasing it, since there are three larger enemies lying in wait. Clear all of the enemies in this central hallway, then go around and loot the items you can see on your map (Magician White Mask, ![]() Sapphire and
Sapphire and ![]() Great Spirit Dust).
Great Spirit Dust).
The door in the northeast corner can be opened with the nearby switch, but it’s just a shortcut back to the elevator. When you’re ready, pass through the northern door for some scenes. Back in control, go around to the two sides for two final items, which are nice ones (![]() Dragonblood Sap and
Dragonblood Sap and ![]() Divine Elixir). Take the stairs down for two more scenes, then you’ll finally find the other safe room to the north.
Divine Elixir). Take the stairs down for two more scenes, then you’ll finally find the other safe room to the north.
The rest of the way is uneventful, but remember that you’ll be fighting two bosses back-to-back coming up. Thankfully, you’ll be fully healed in between, but you’ll be forced to use a character in each of those battles, in addition to the protagonist, of course. Next up is the Malvirta Drako Eht boss fight!
No Comments